It is July already and I am not quite sure how I got here. How are you feeling? Is time getting faster in your world this year?
I have really been focused on The Blanket Project, Threads of Colour – A Year in Squares for the last six months. And the Renovation. And now the final bit of the last years move – the Organization. In between I try to fit in some life. This last week had a lot of “life” in it.
La Dolce Vita – living a life.
It has been a beautiful Sunny week. With a little bit of rain here and there. We popped up to Fanny Bay Inn to meet some family on Wednesday and had a lovely lunch. it was a gorgeous day and the views were spectacular.
On Saturday we drove down to Victoria to catch some baseball with our Grandson. The afternoon before the game we popped over to Cadboro Bay for lunch and a wander down to the beach. Tom had read about a new Olympic sport being practiced there. It was a combination of running and rowing and then running again – Rowing Beach Sprint. It was being run in timed heats. It showed potential I think.
As for the game – the Harbour Cats won the night and Logan was thrilled.
We stayed the night and made our way leisurely back up Island. We stopped at Goldstream and wandered a bit. Checked out the Farmers market and had lunch with some friends… A very satisfactory week in all.
So I took a few photos over the week as we travelled.
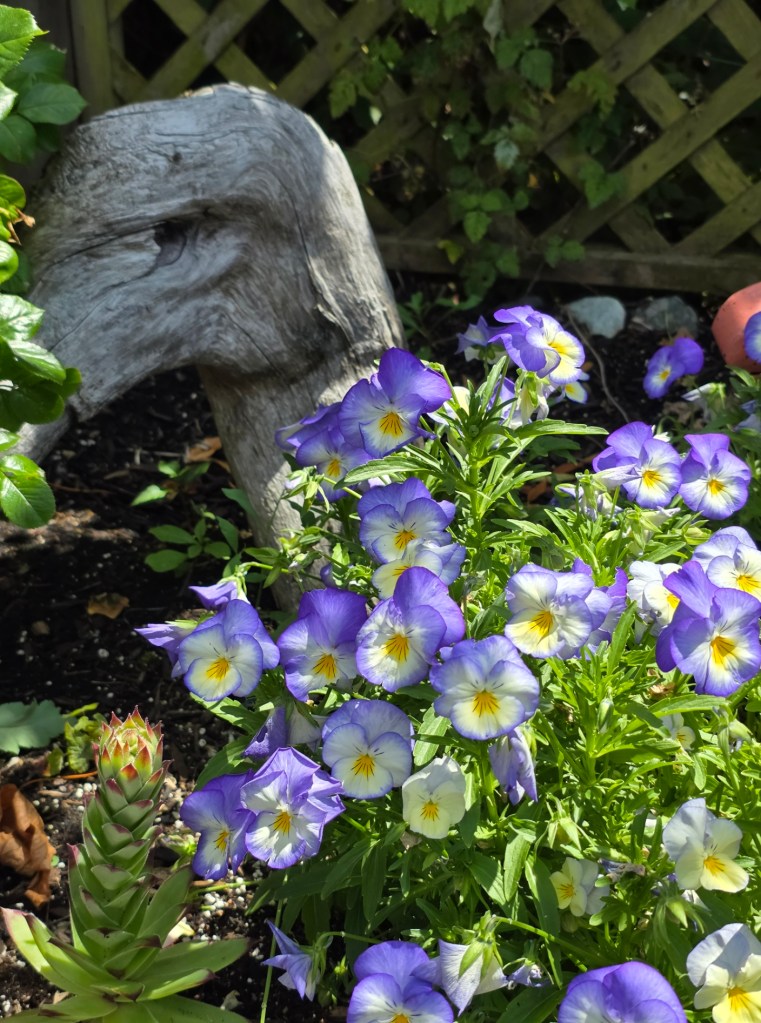
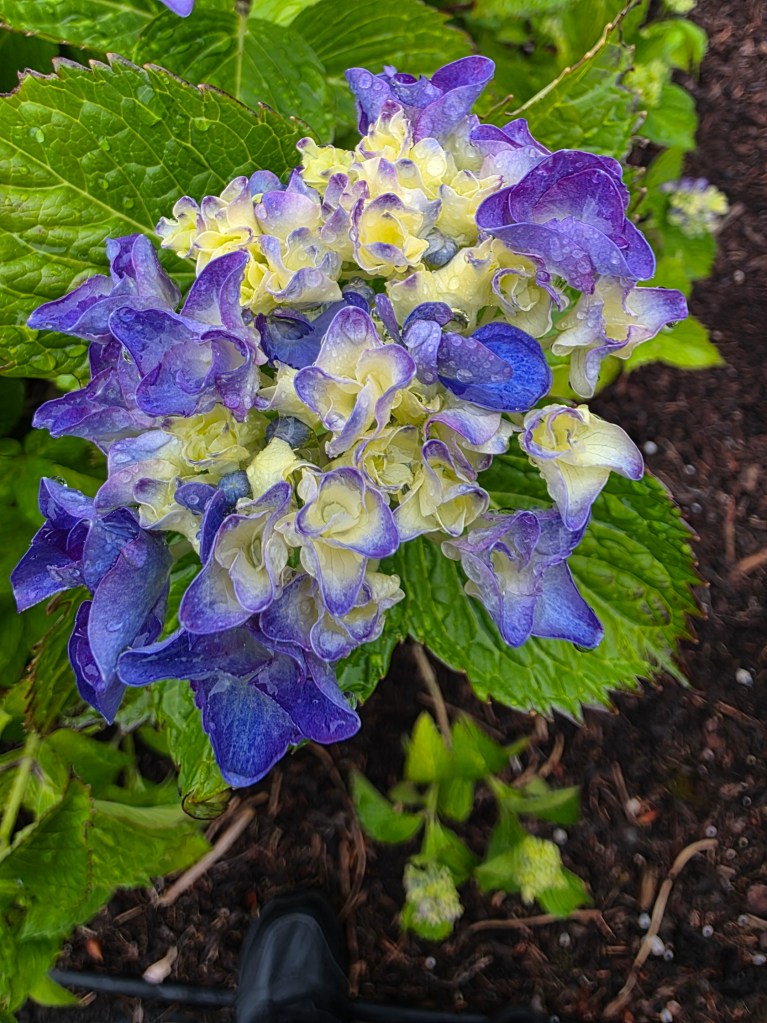
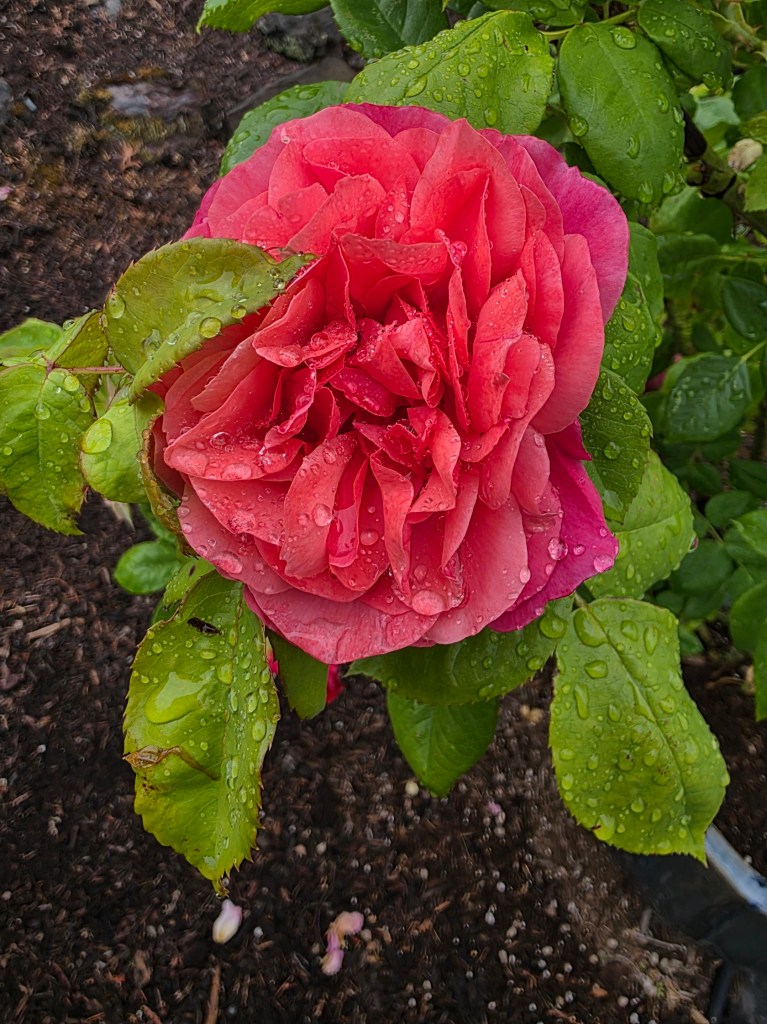
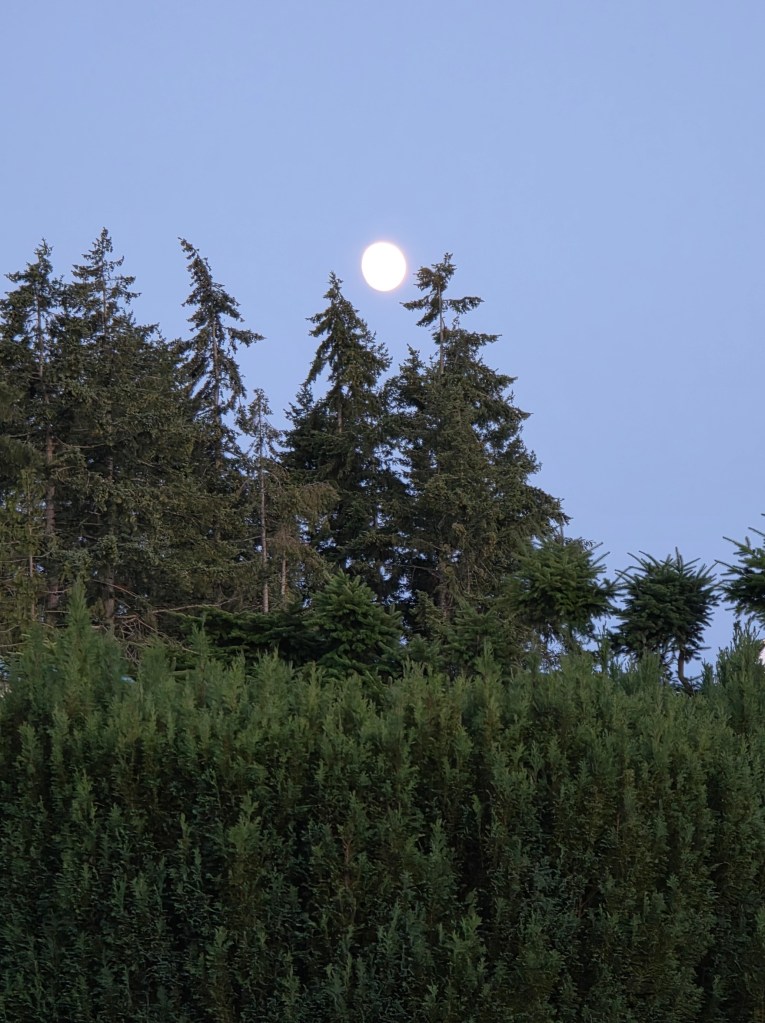
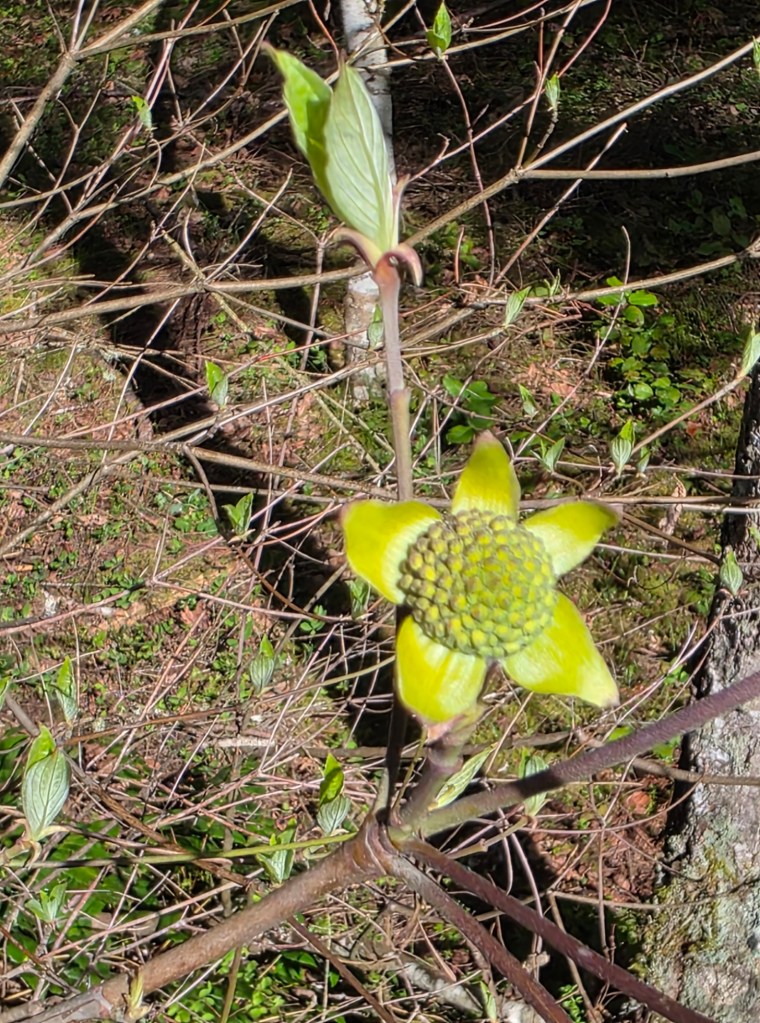
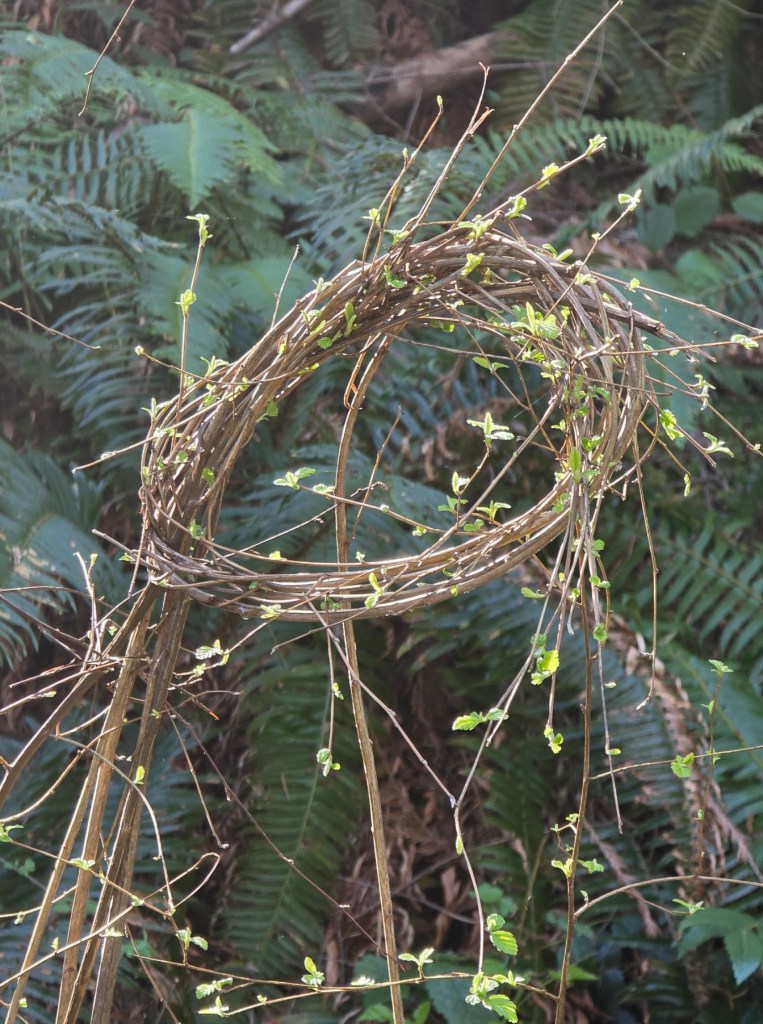
A beautiful view with a perfect Gary Oak at Fanny Bay Inn.Fanny Bay Inn has a lovely little garden.Rain dapple Hydrangea – I love watching how these flowers open up.Roses in the rain.Sun reflecting off the Moon one morning this week.Cadboro Bay – watching a new Olympic sport develop. Running and rowing.Sun dappled new growth at the point of a broken off branch! Such a vivid green.Looking Waayy up at Goldstream Park.More new growth at Goldstream.
Threads of Colour – the July Square and Fancy
I have a new block and a fancy for you today.
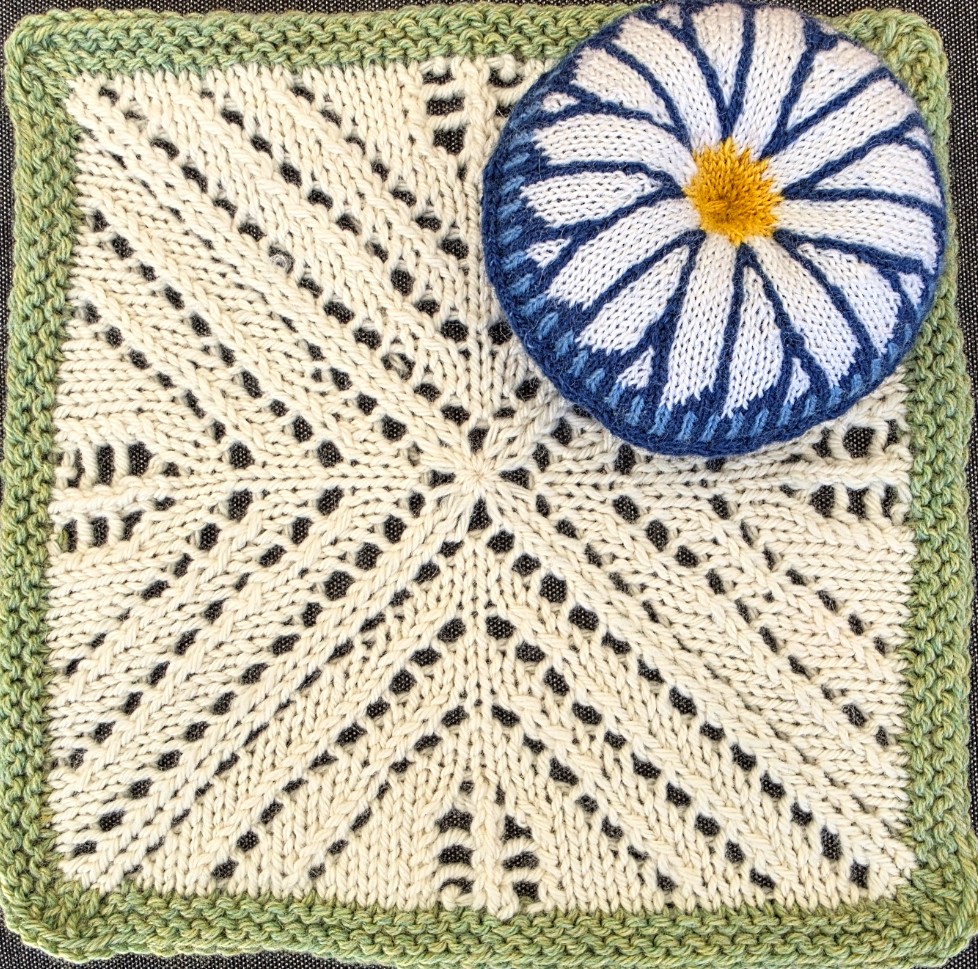
For the block I went with the tried and true. One of my favourite Shetland Lace patterns, Old Shale, is always beautiful and always effective. Here it is representing Waves. Reminding me of Summer leisure time, idling away hours at the beach, swimming and reading.
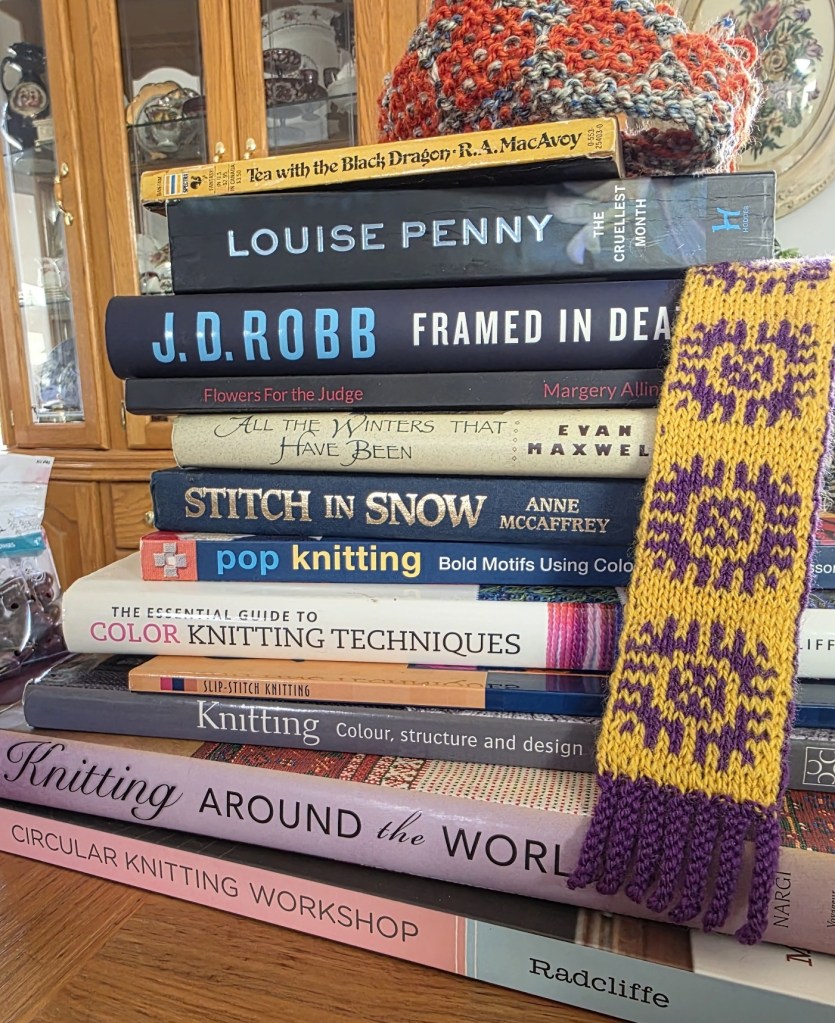
Are you a Summer reader? I read more in the Summer than I do in the winter. Light reading, science fiction, mystery and romances to while away time when I feel too hot to knit. And not so light reading, research for my fall classes and patterns – I love delving into my knitting book collection and playing with ideas!
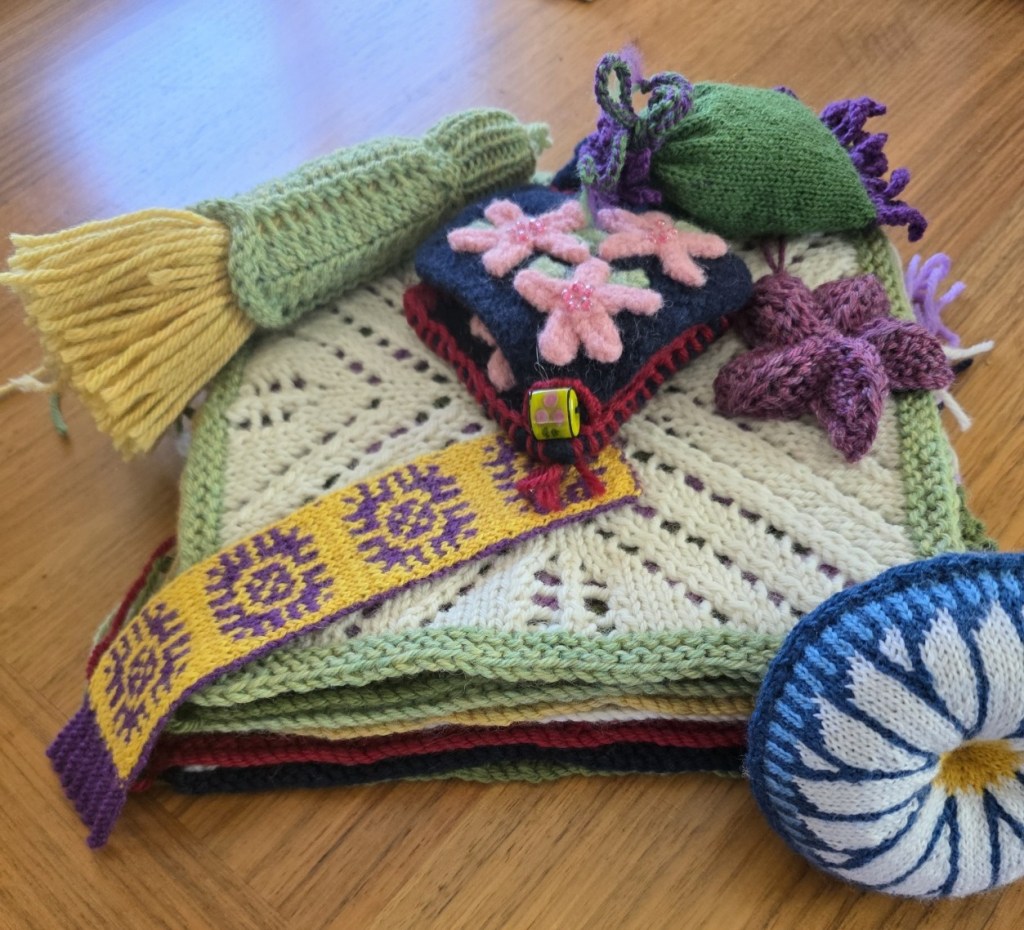
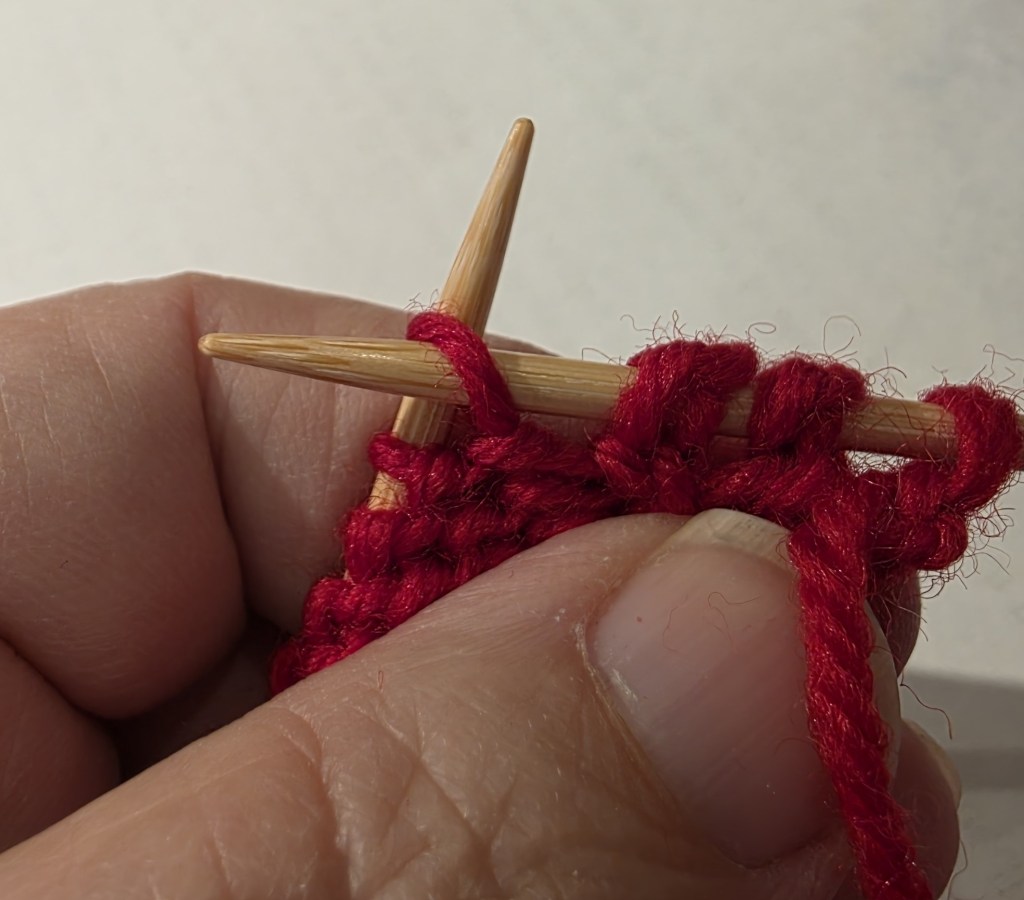
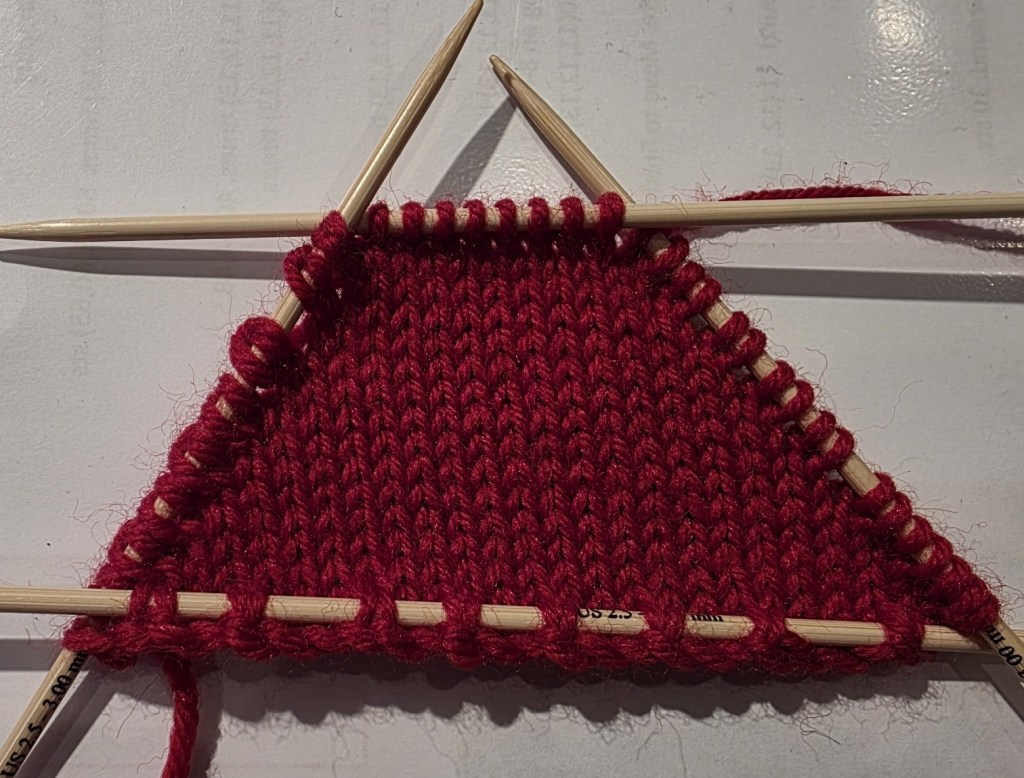
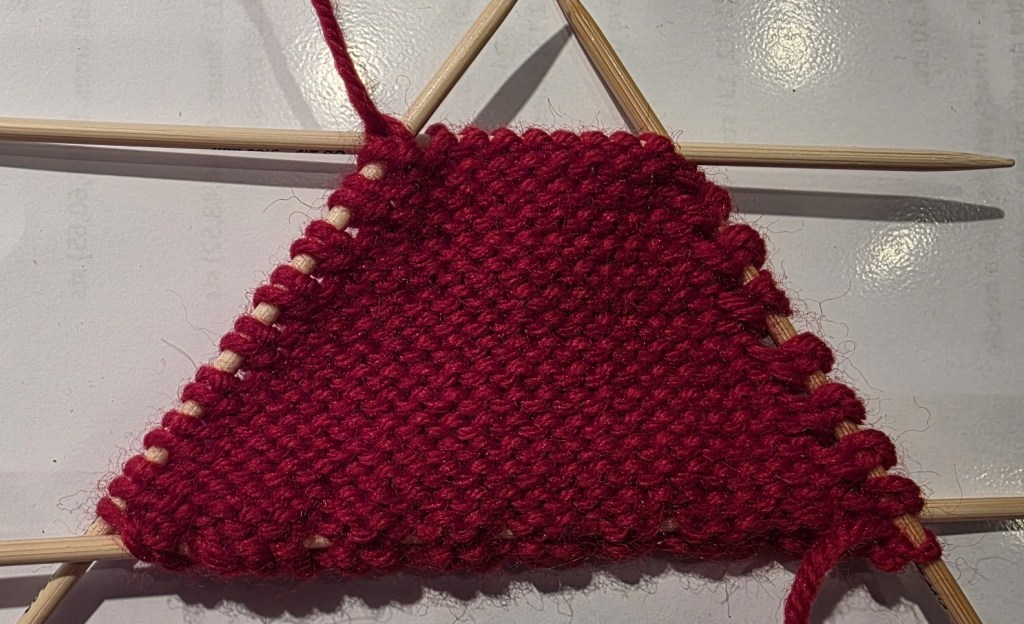
So this month I took a look at double knitting and decided the technique would create a fun fancy. How about a bookmark to go with the Summing Reading.
This one is light weight, totally revesible and was a really fun, quick knit!
The July block is the start of the second half of our block collection. If you have knit all of the blocks so far you will have 8 blocks completed. I am having fun playing with technique and colour and hope to add a few more colourful, textural options in the next couple of months.
Planning Ahead
If you have been knitting every block you will have 8 blocks completed. I will be knitting 20 blocks for my blanket (maybe 24) so I have to decide which Squares I like best and knit an extra one or two. If you want a more Afghan sized blanket your will need to double up on a few of your squares as well. The 12 or 16 squares I have planned for the year will make more of a lap robe sized blanket.
I have started to play around with how to connect our blocks into an interesting and useful blanket. Of course we could keep it simple with just the basic connections outlined. Those ideas will be covered. As well as a few more unique ideas. More on that in the next blog post.
Happy Knitting
And Happy Canada Day!
Lynette
Our Collection to date. Only the February fancy is not here. It is currently attached to a hat, which is somewhere in my very disorganized yarn room.
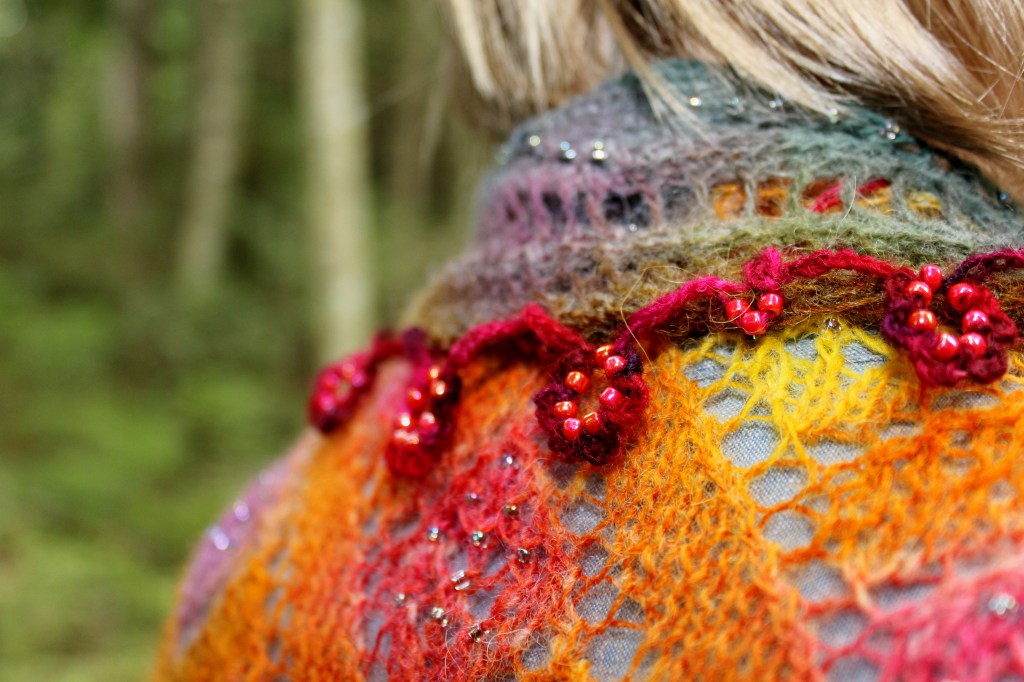
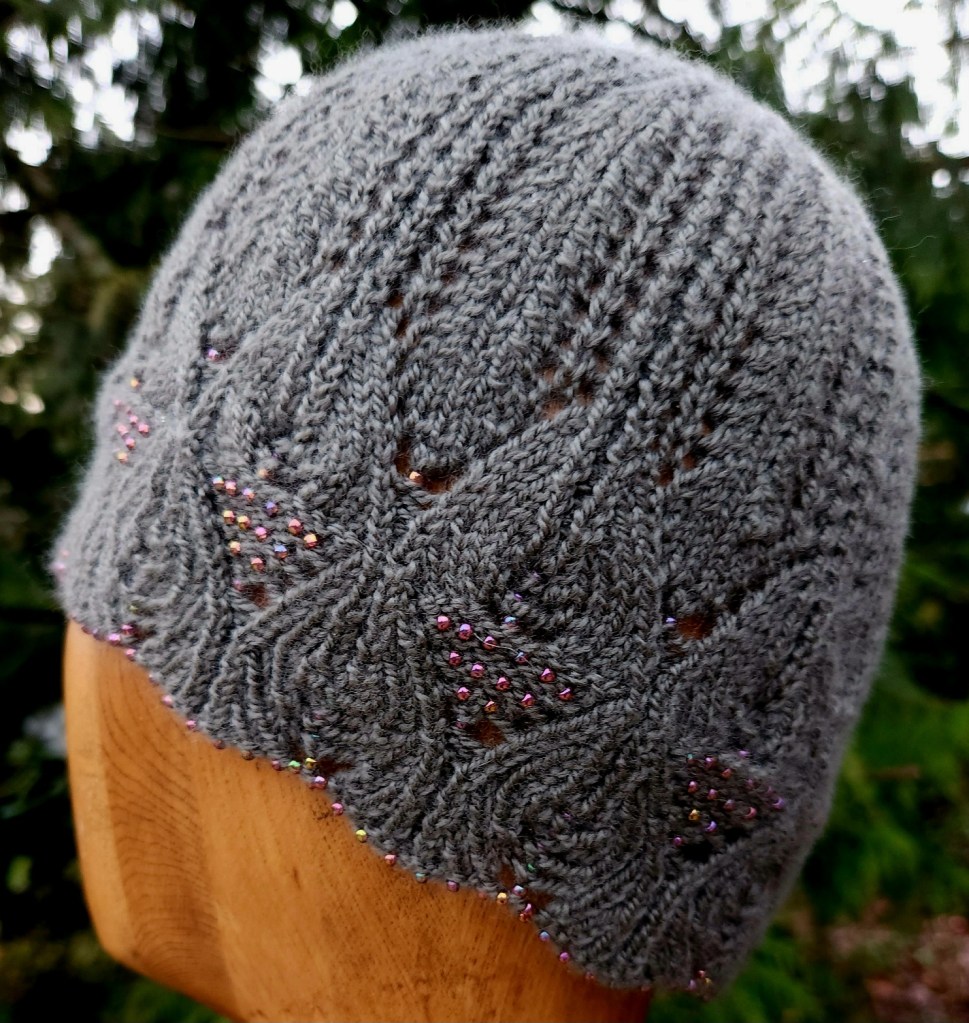
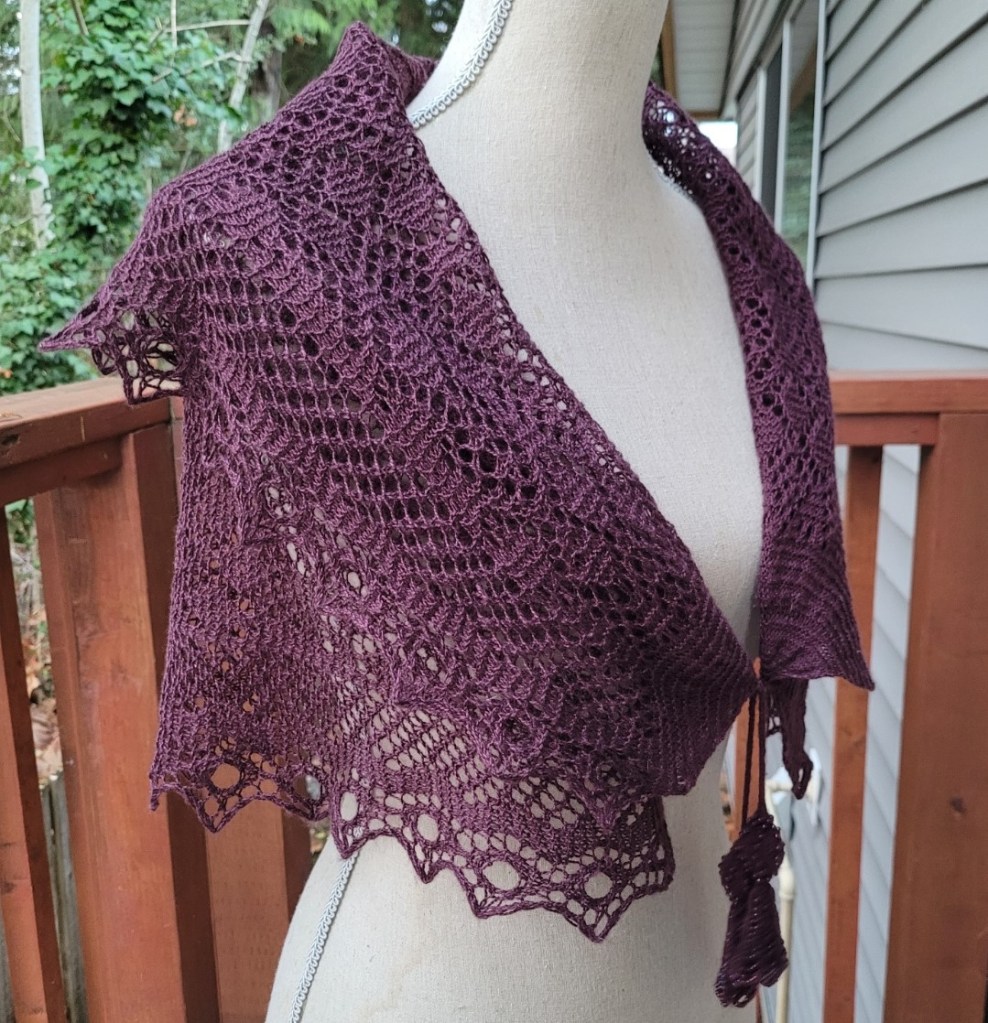
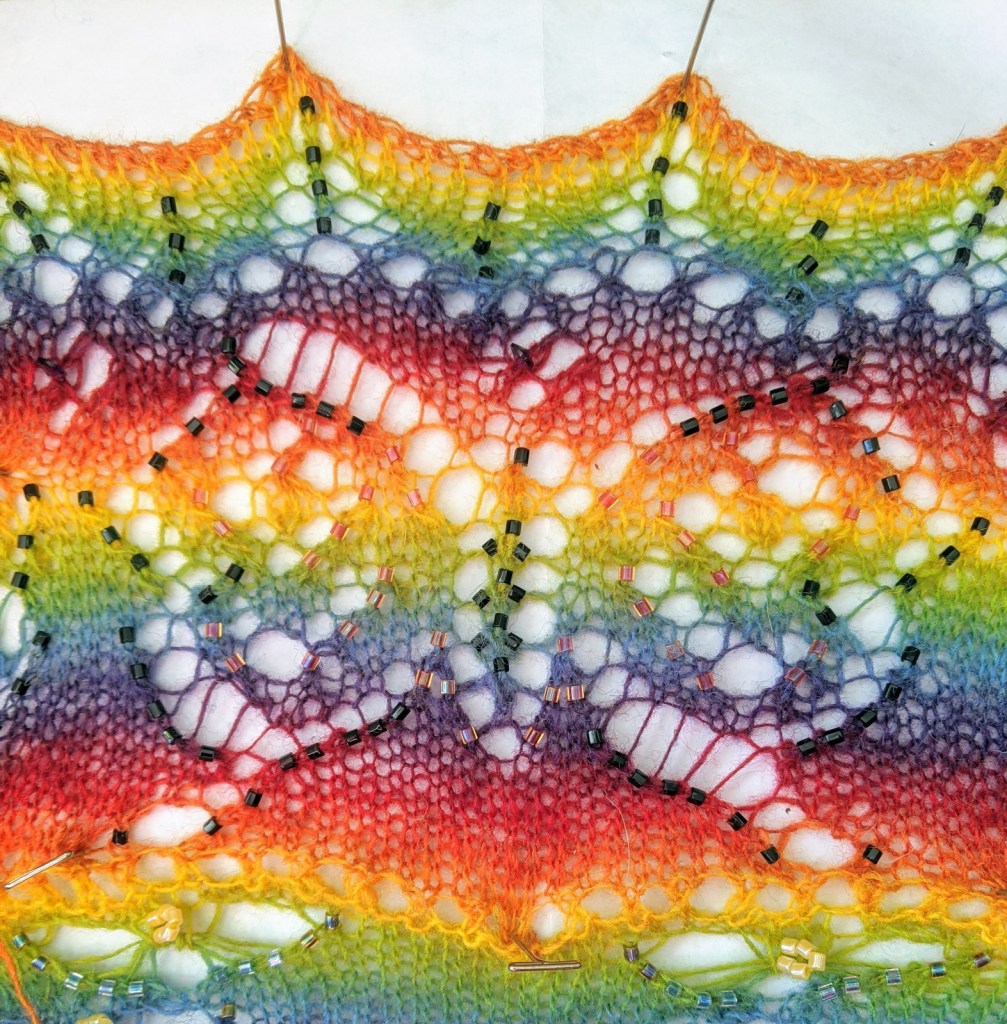
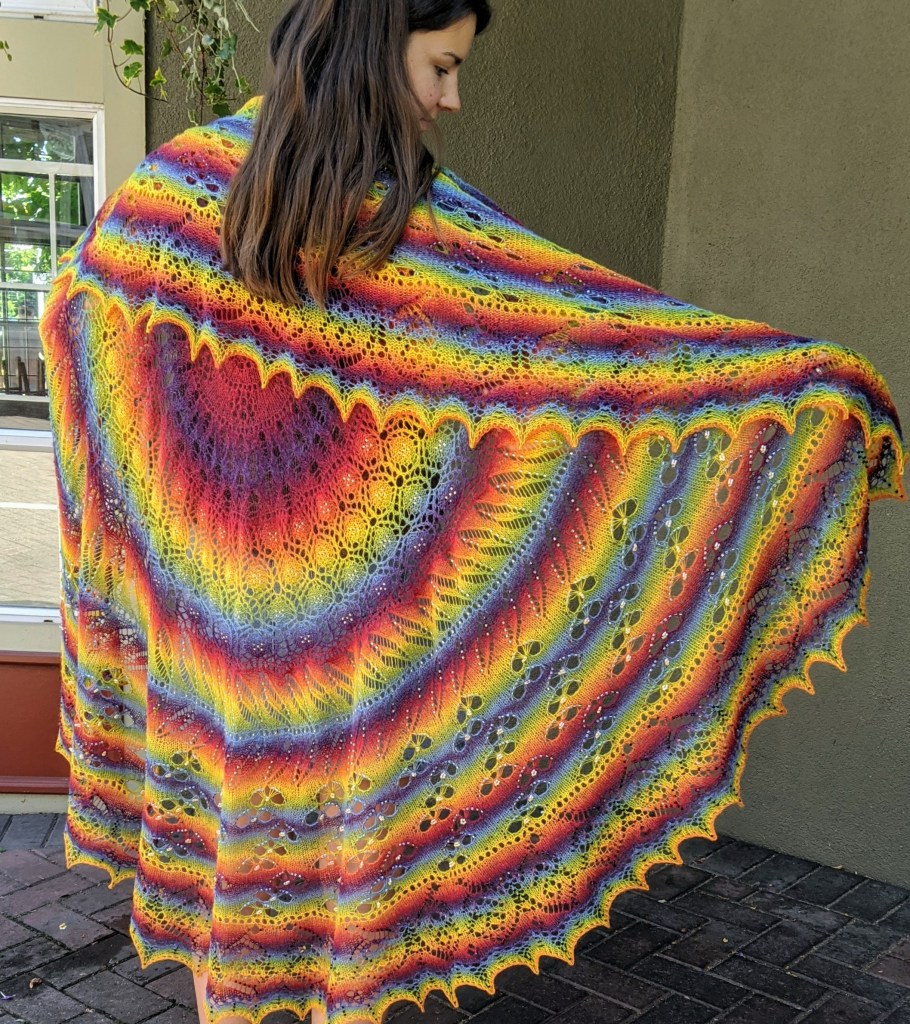
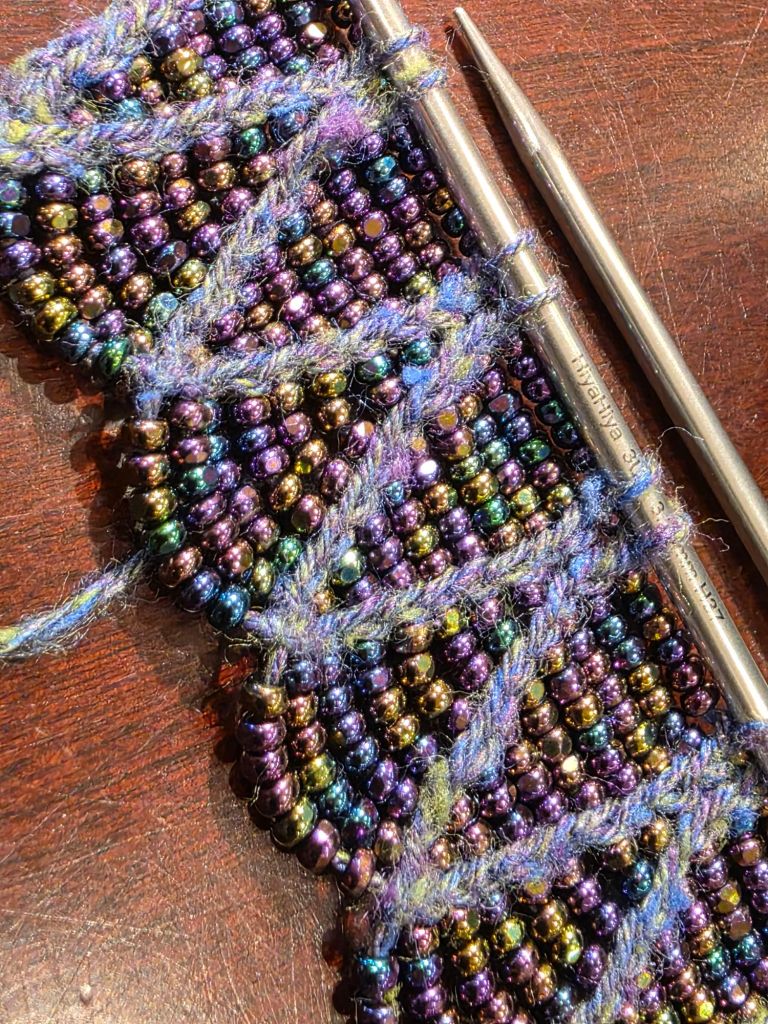
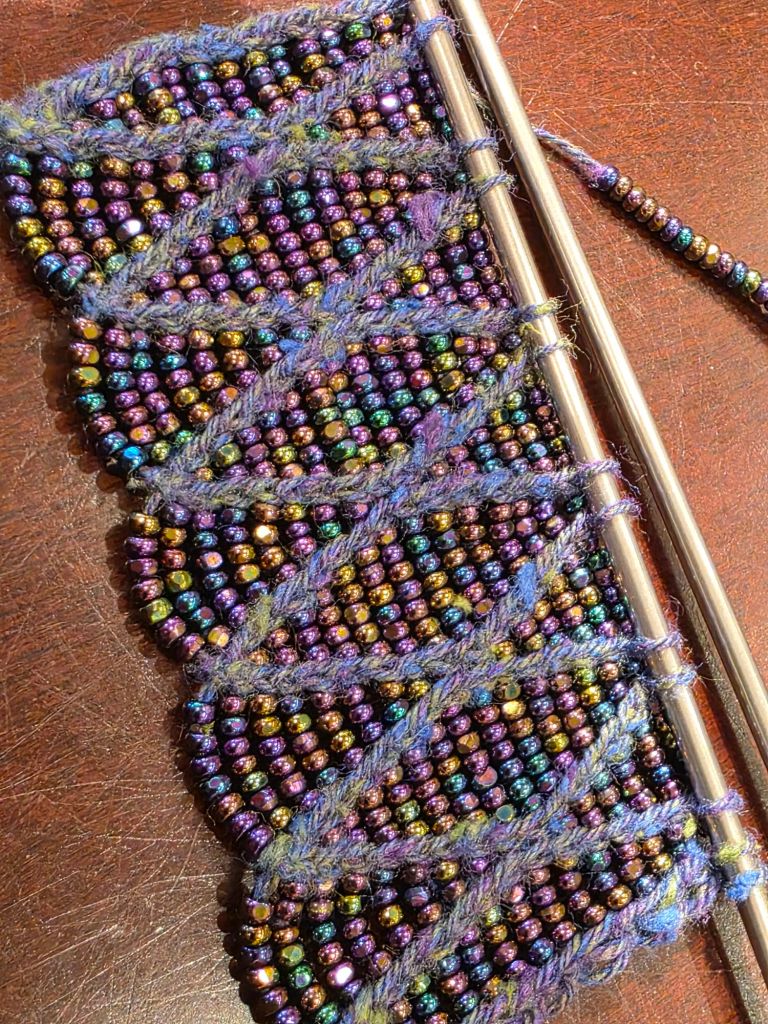
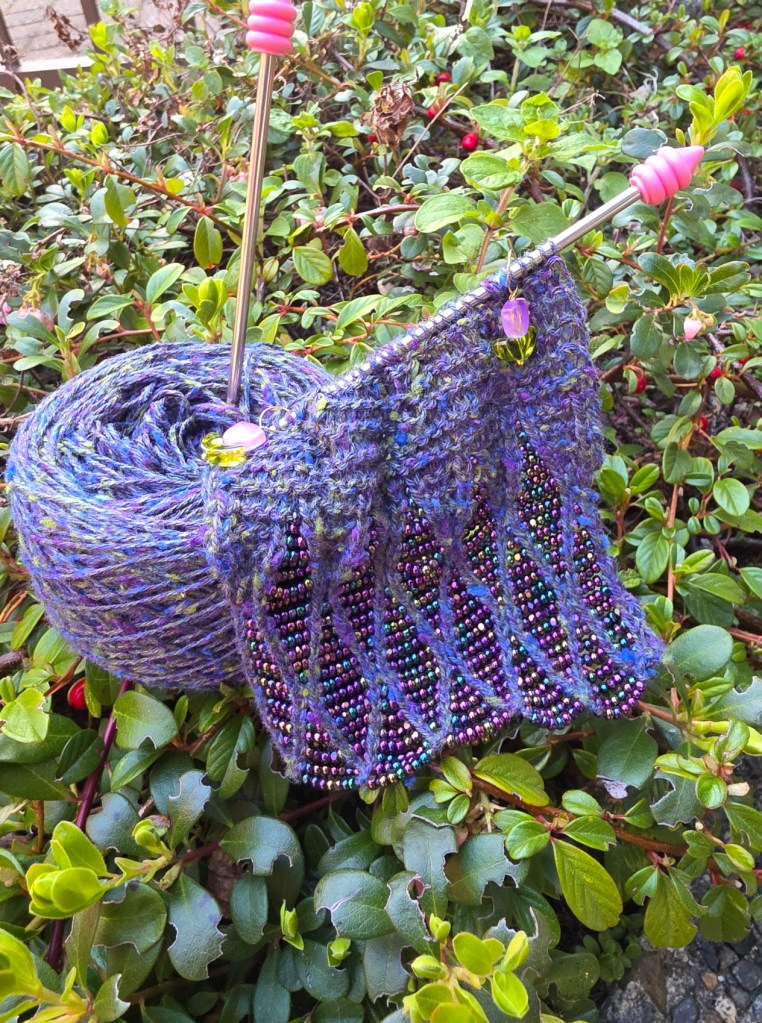
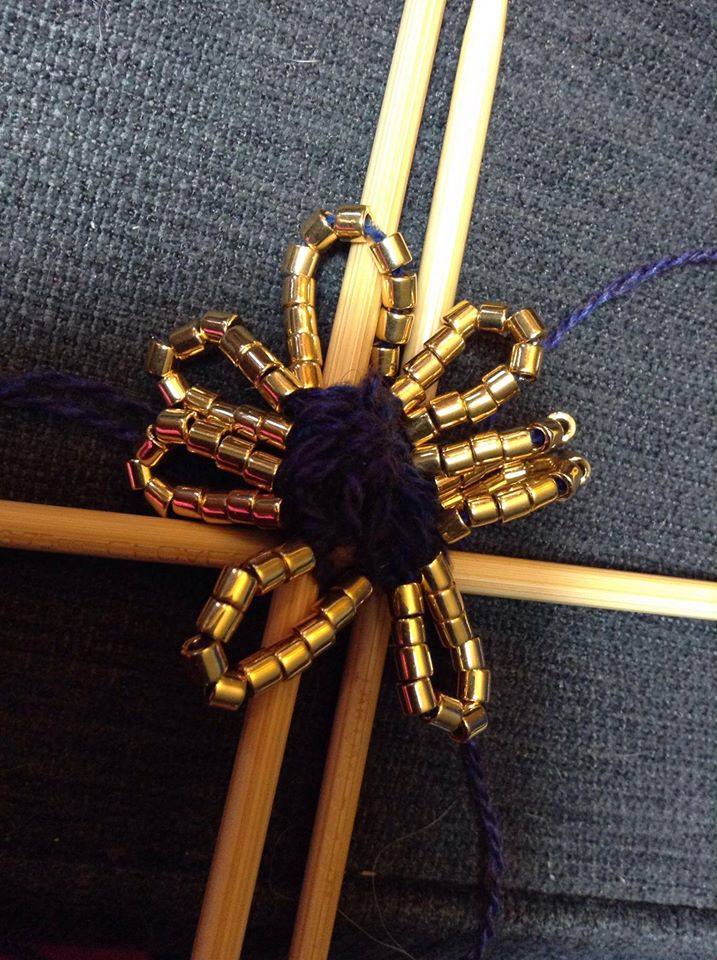
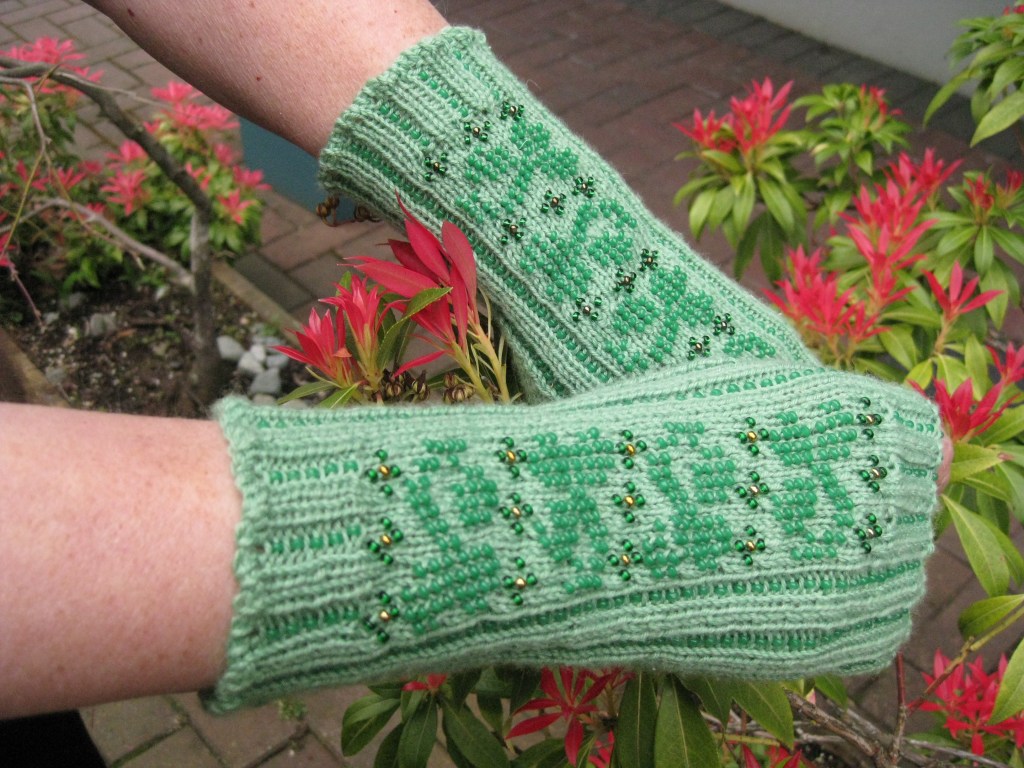
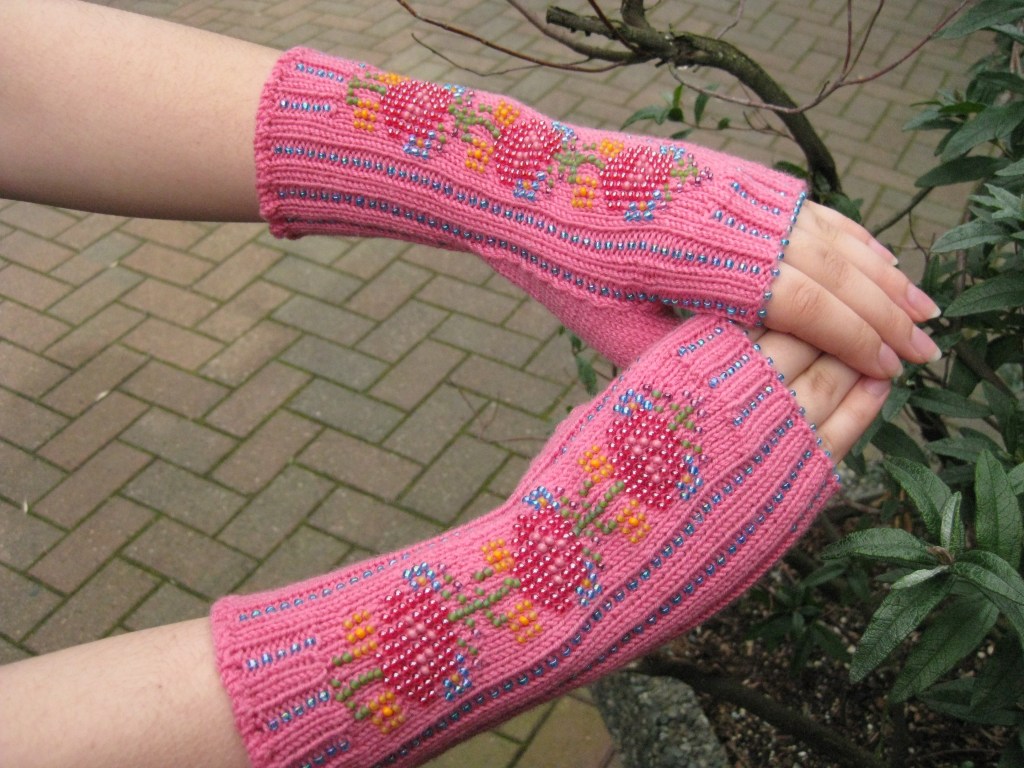
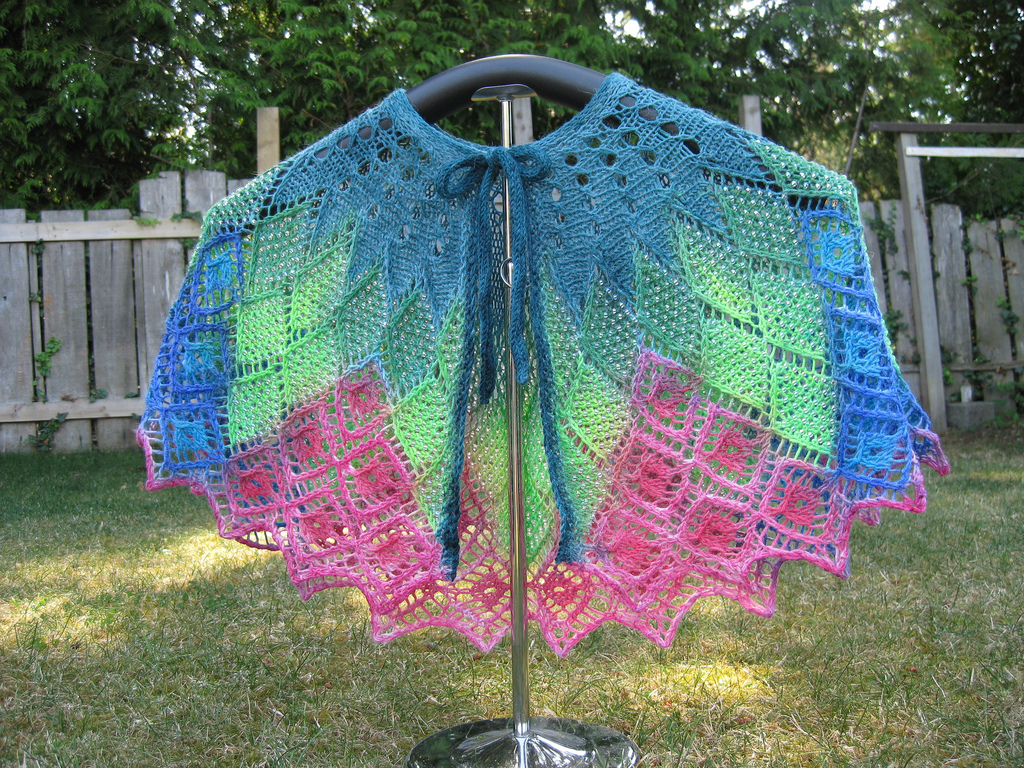
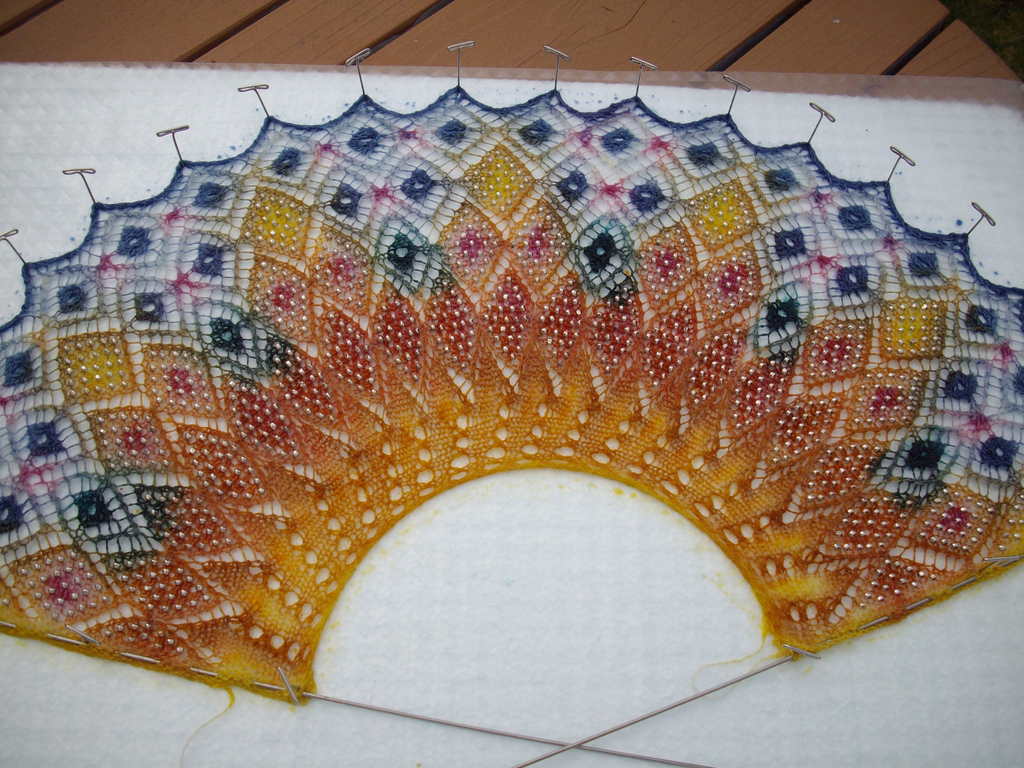
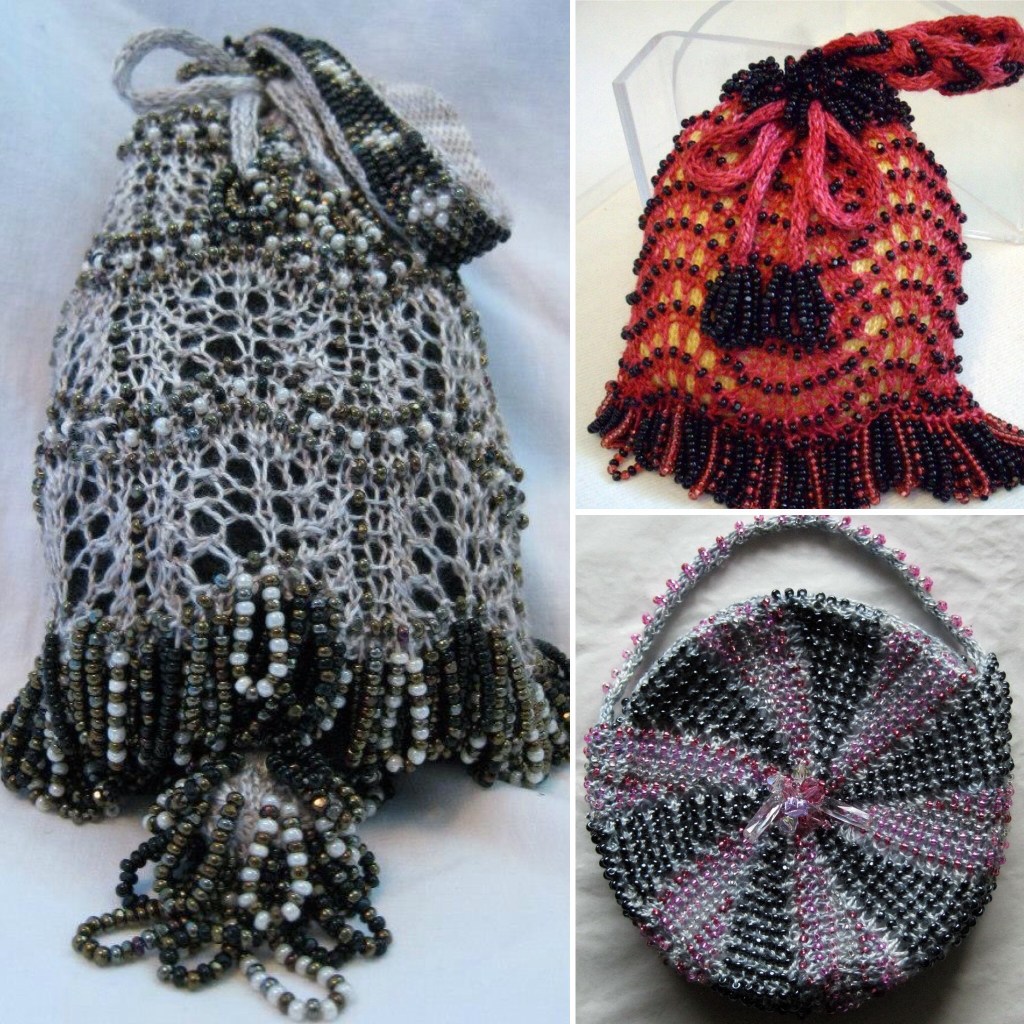
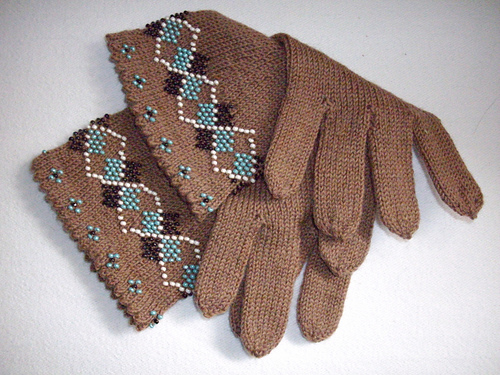
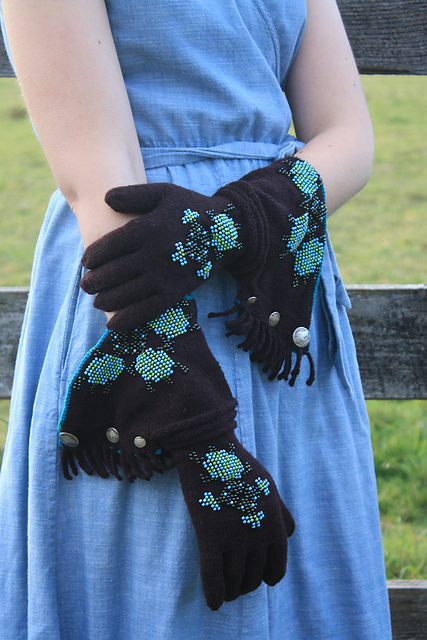
I love working with beads in my knitting. I try to add them to lace knitting at every opportunity. These are a few of my favourite pieces. They each have a story.
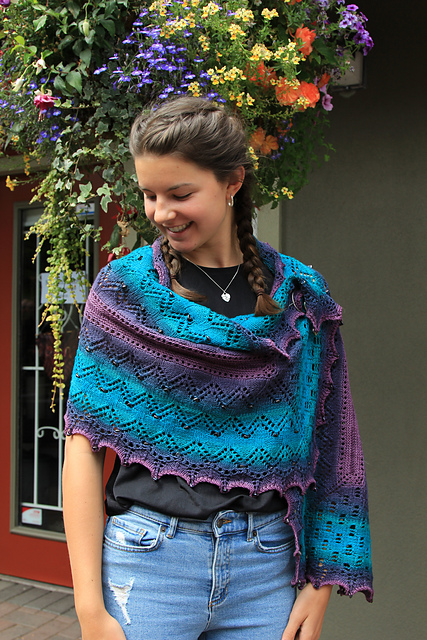
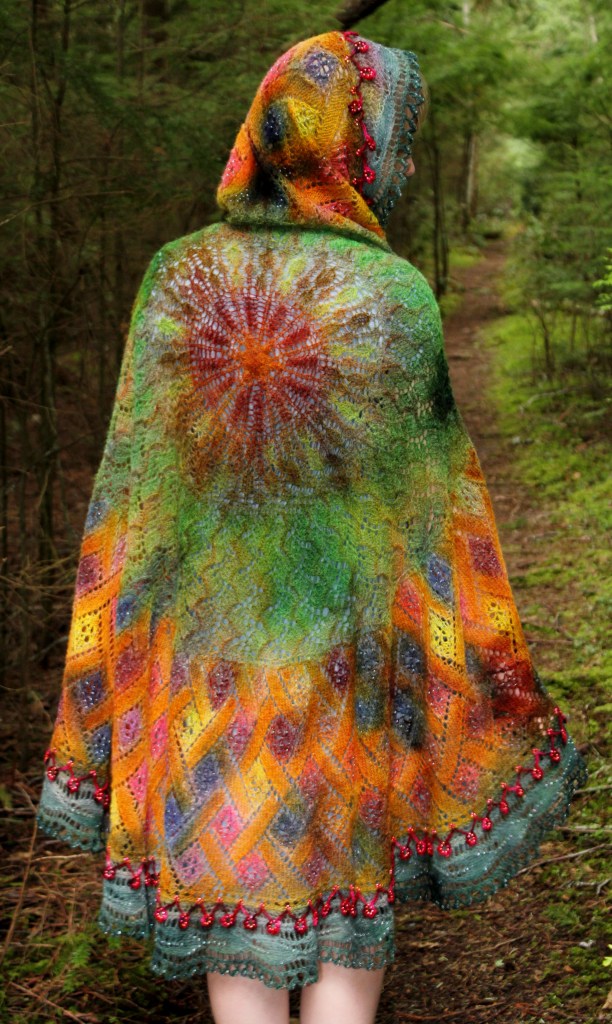
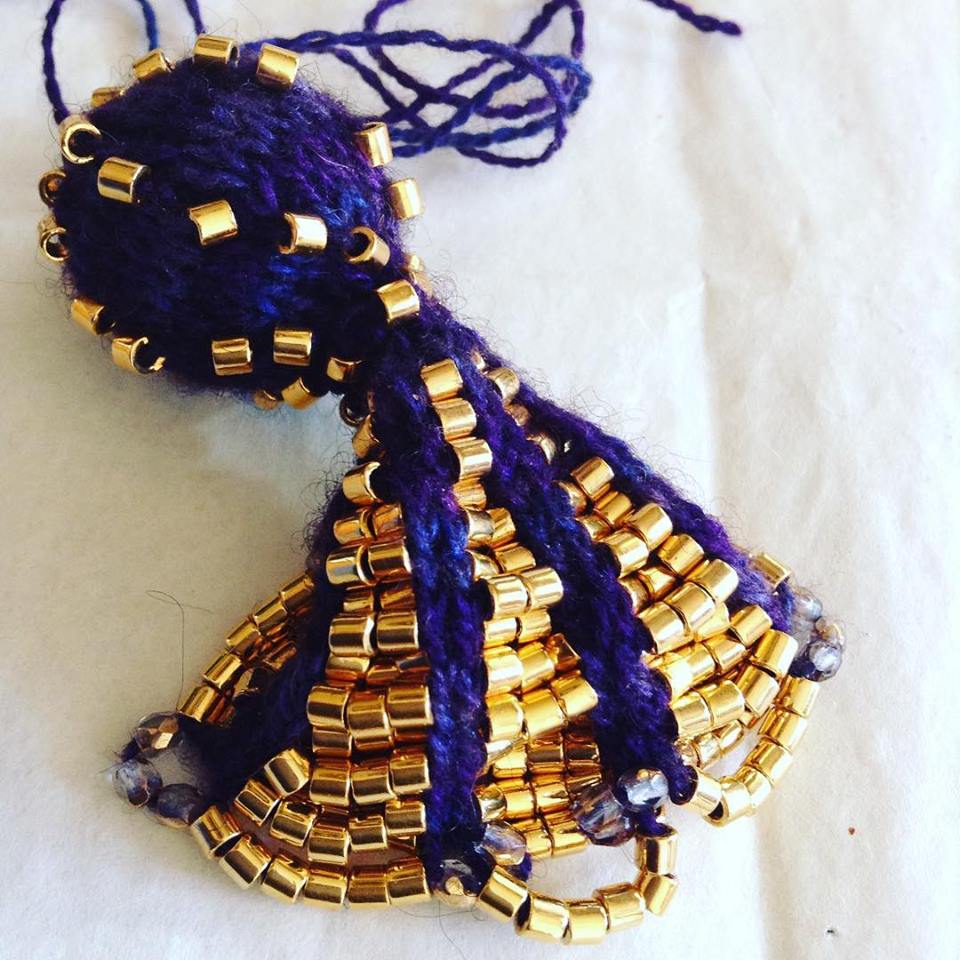
Some, like the beaded lace hat, Galadriel’s Gift, I have knit multiple times. The painted circular shawl is the Garden Gate Shawl, showing my favourite pictures of one of my painted pieces. The Shetland Fascinator, the little lace shawl, has the prettiest little beaded tassels.
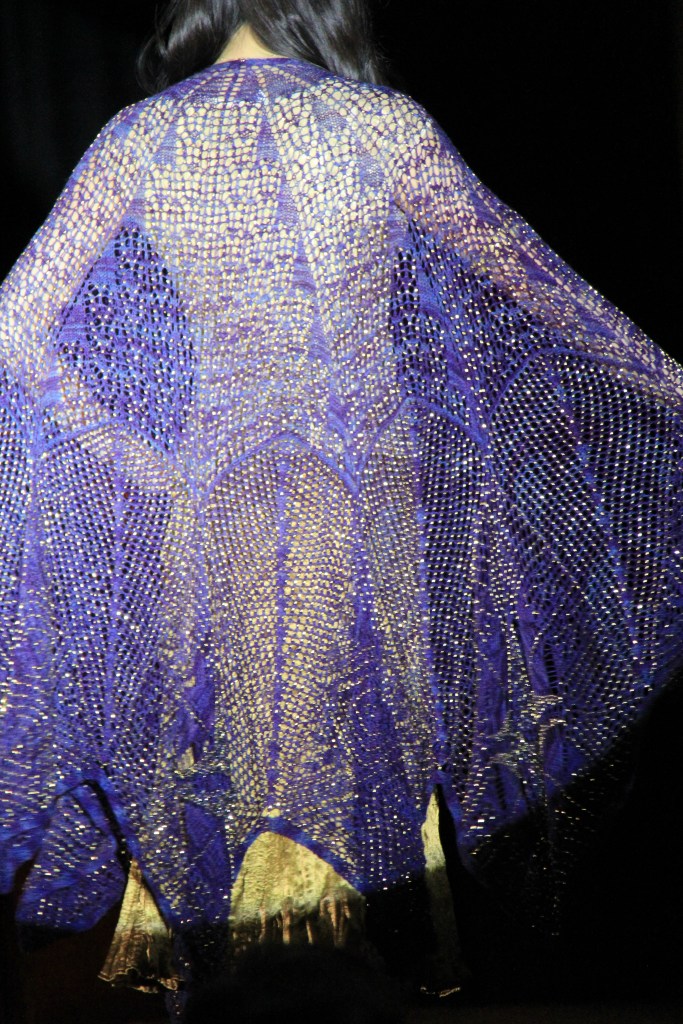
Rhiannon’s Wrap, the purple shawl, is the most beautiful thing that I ever knit, that never won a prize. A story for another day. I never wrote a pattern for this large version. But there is a pattern for a smaller version, the link is attached to the beaded tassel photo in another gallery in this post.
And Covid Be Damned – The Impulsive Shawl – rainbow, bees, butterfly’s and beads – there are so many ways to add beads.
If you want to know more about the pictures below click on the picture. Some of them are linked to patterns.
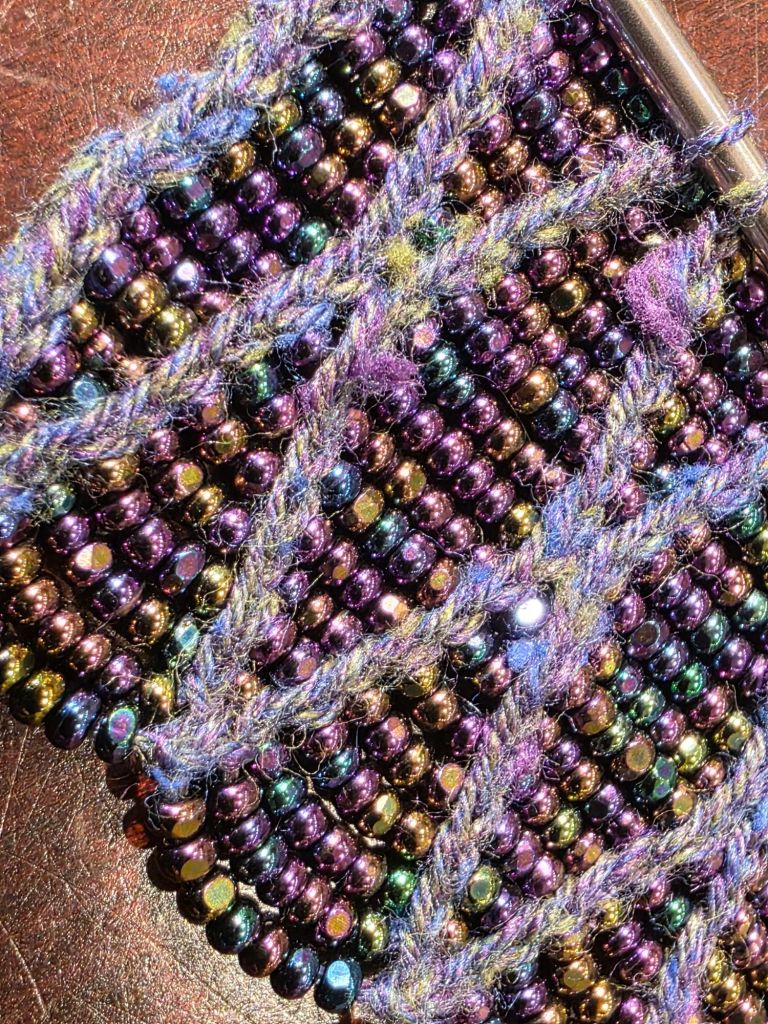
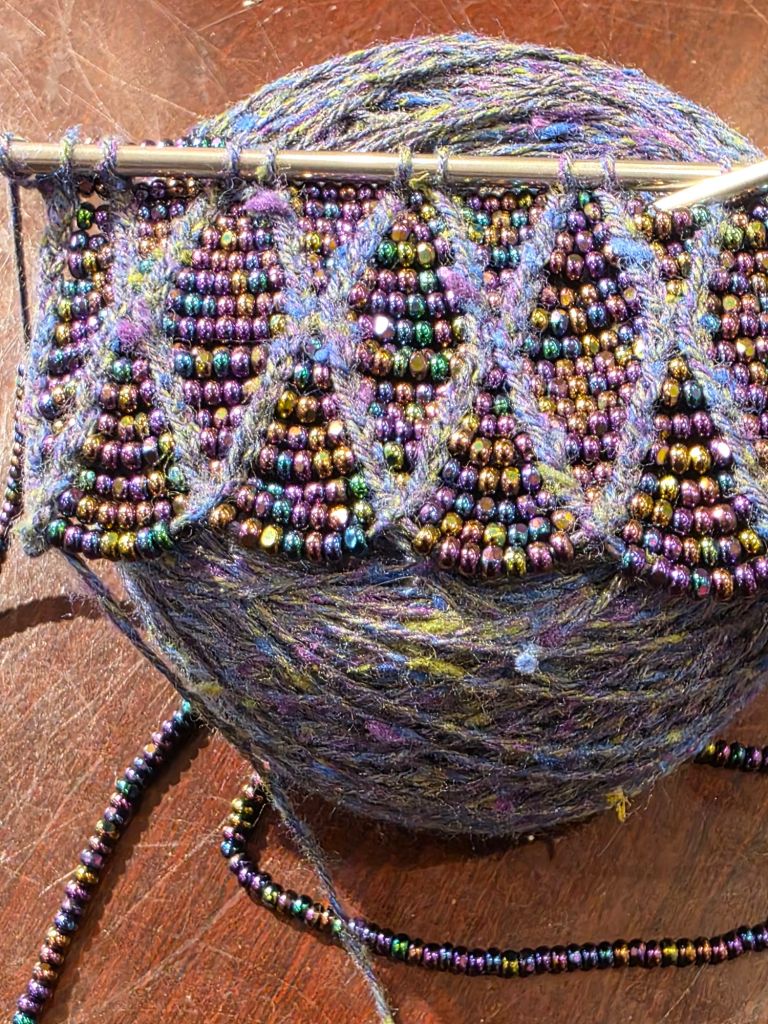
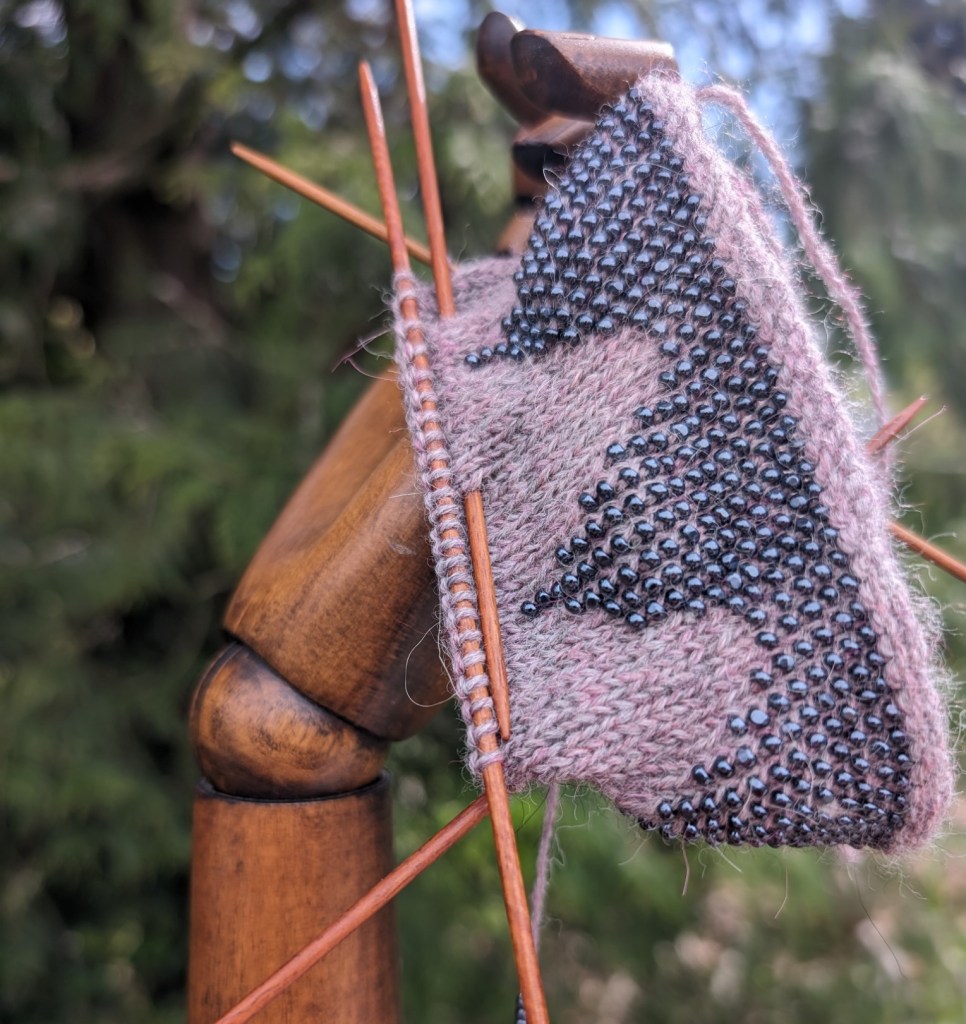
But when I discovered bead knitting (beads knit into every stitch) I thought that here was a pinnacle of achievement. I have been working towards that pinnacle every since. My inspiration and resolution just got a big boost.
Treasure
I was in Victoria not too long ago, spending some quality granny time looking after my Grandson. As he is in school I had some time to wander around during the day. I visited family, met up with a friend and got myself into trouble of the best kind.
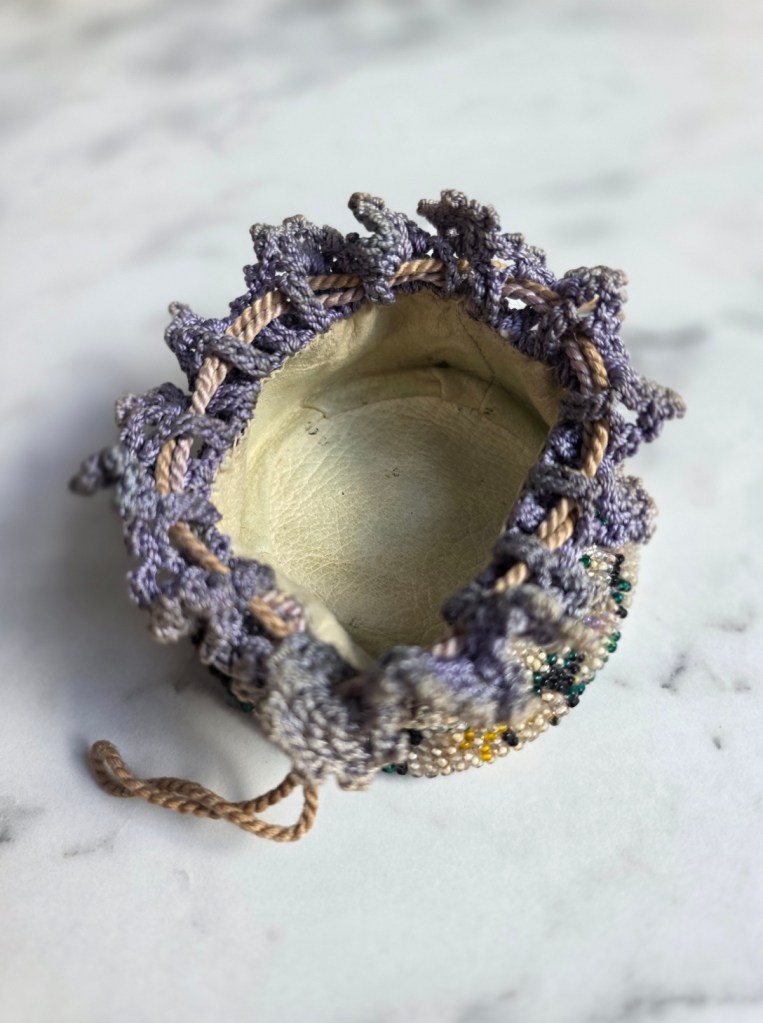
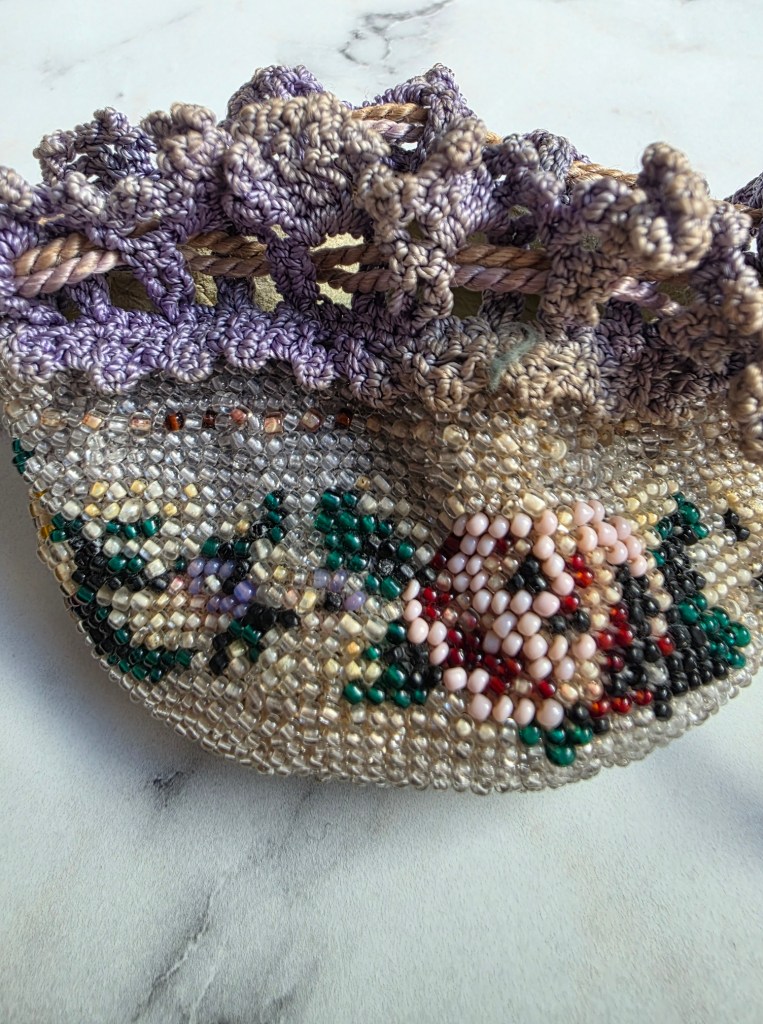
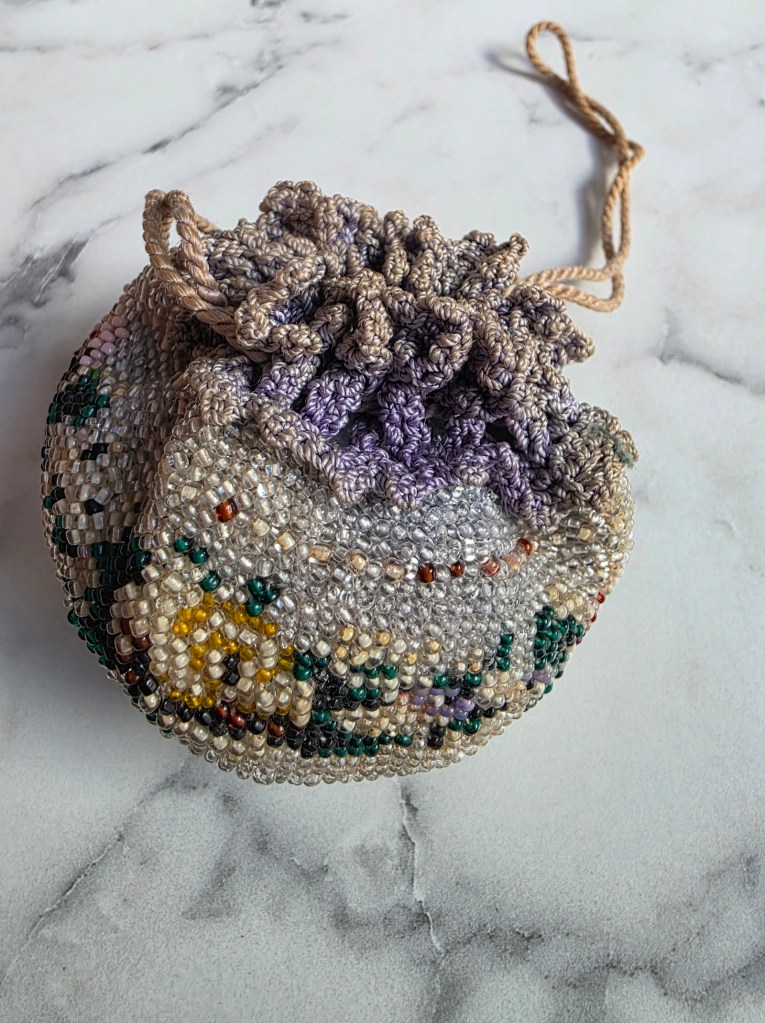
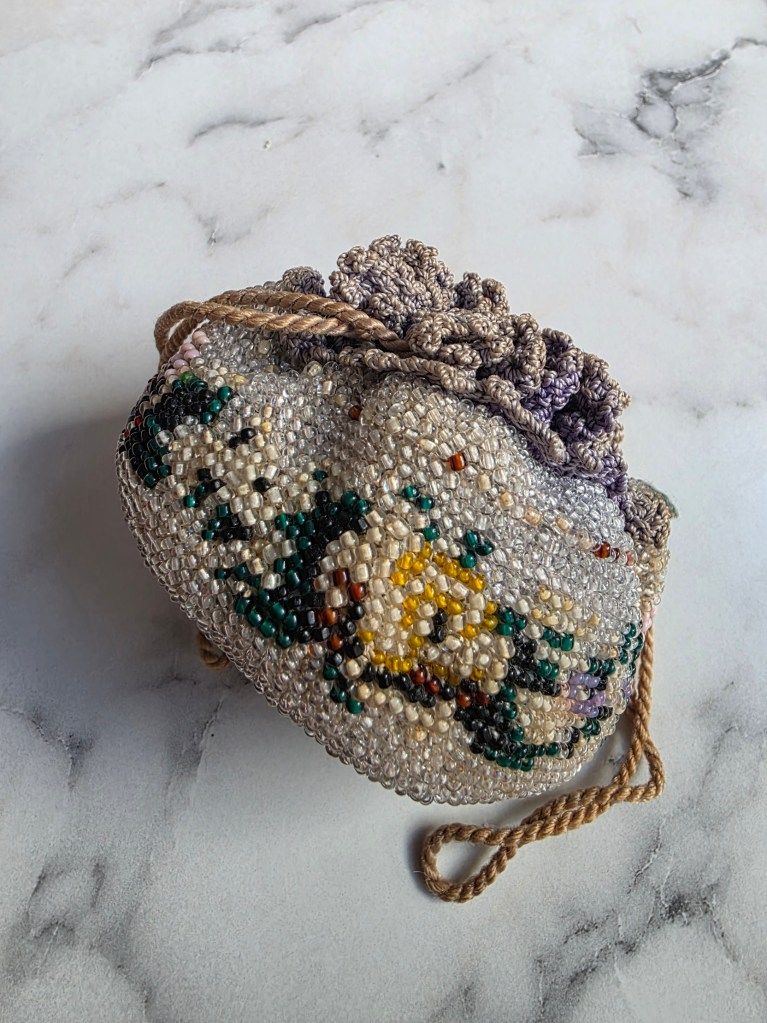
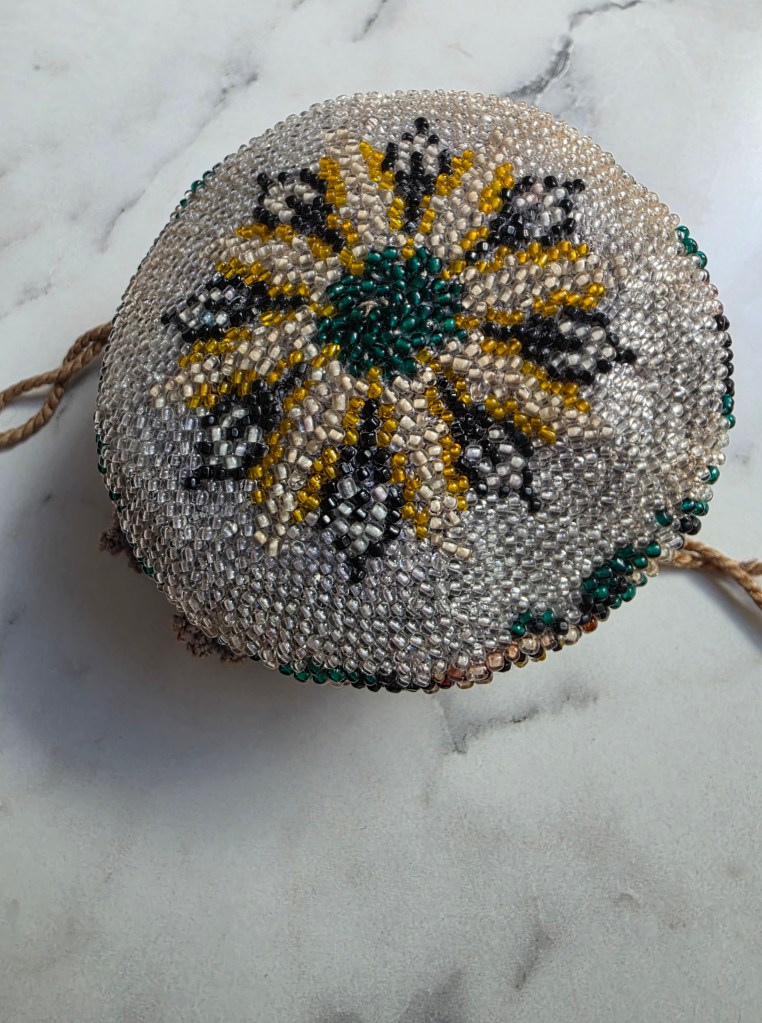
My daughter lives close to a wonderful little second hand store. I have been there a few times but this last time I found something I had never seen in real life, not outside of a museum. I have seen pictures in books or magazine articles – I found a small, exquisite, circular knit, beaded bag!
I did not buy it immediately. I went back to my daughter’s and slept on it, as it was not cheap. It was not useful and I wanted it. So I didn’t do much sleeping! I kept thinking and thinking and in the morning rushed back to the store and looked at it again. Who was I kidding – it was mine!
It is tiny, only 3 inches across and about 2 and 1/2 inches high, maybe three inches high if you include the closure. But it is perfect. A perfect little coin purse.
Kid Leather lined, designed to sit upright on a table, lavender cotton lace top and a beautiful, twisted silk cord… And the BEAD work!
Micro Bead Knit bag with Pink and Yellow and roses, deep green leaves and the bottom is a beautiful spiraling bottom, in a leaf and bud pattern. There is just 1 loose bead, you can see it resting in the center of the bottom of the bag. For its age it is in great shape!
This bag is roughly dated to the 1920’s and 30’s and unlike most beaded bags, which were designed only to hang this bag was designed to sit on the table and hold a few essentials, a bit of “mad” money, a compact perhaps, just the necessities necessary for a evening on the town.
These bags were mostly knit in Europe at this time. I can see a woman in a garret apartment in Paris madly knitting away and creating a bag for her month’s wages. I have knit with beads, a lot. But knitting circularly with such fine thread and micro beads… it boggles the mind.
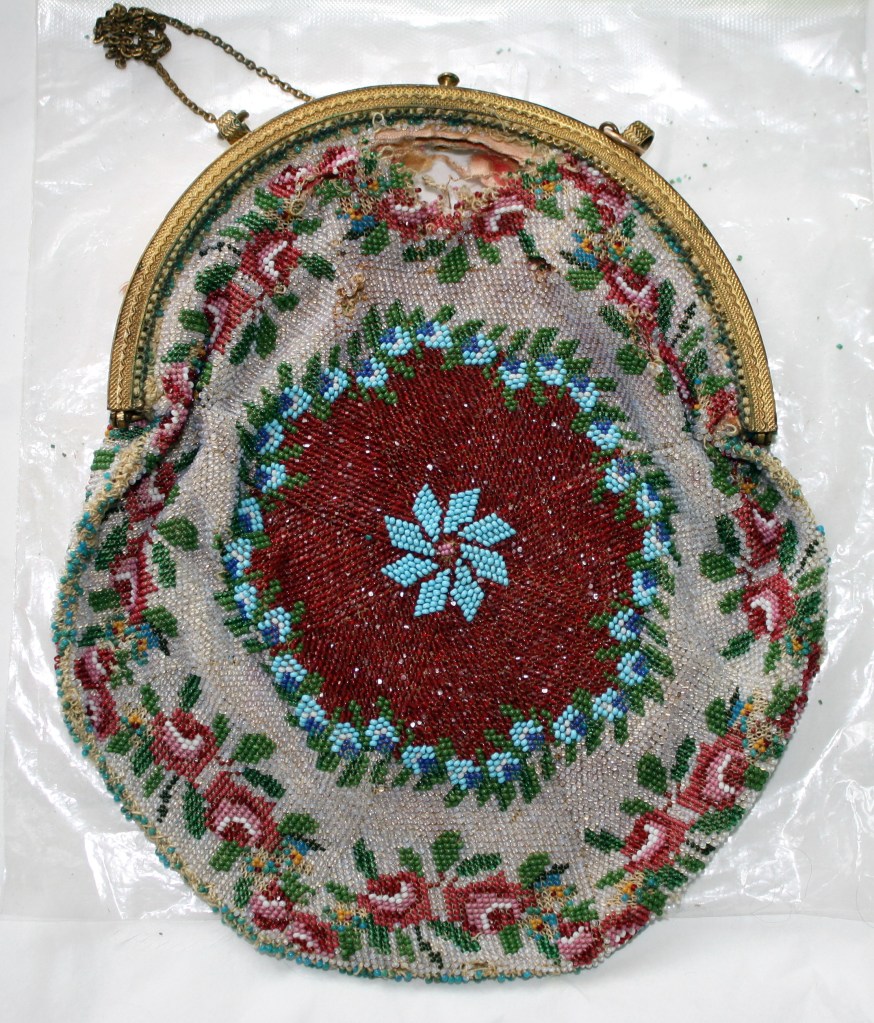
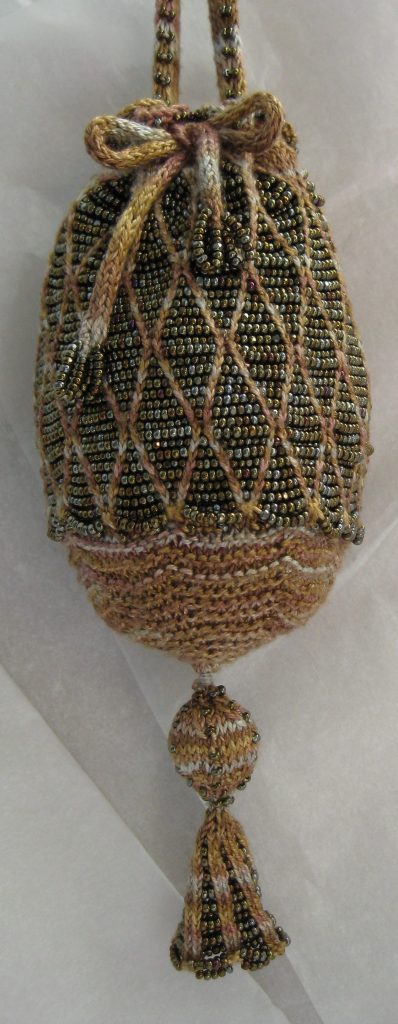
My other beaded treasure was a gift from a customer, someone who wanted the bag saved and appreciated. I call it the Napier-Hemy bag to reflect the name of the original owners. This bag came to me in pretty rough shape. It is losing beads and had started to fall apart. But it is still beautiful. The work that went into such creations. The beads are smaller in this bag than in my new treasure. That allows for greater detail in the design. The colours are stronger too – less light exposure perhaps.
You might have noticed that I have been creating a few things with a tiny circular cast-on. lately I am playing with a crazy idea – I think I want to try knitting a small bag like this one.
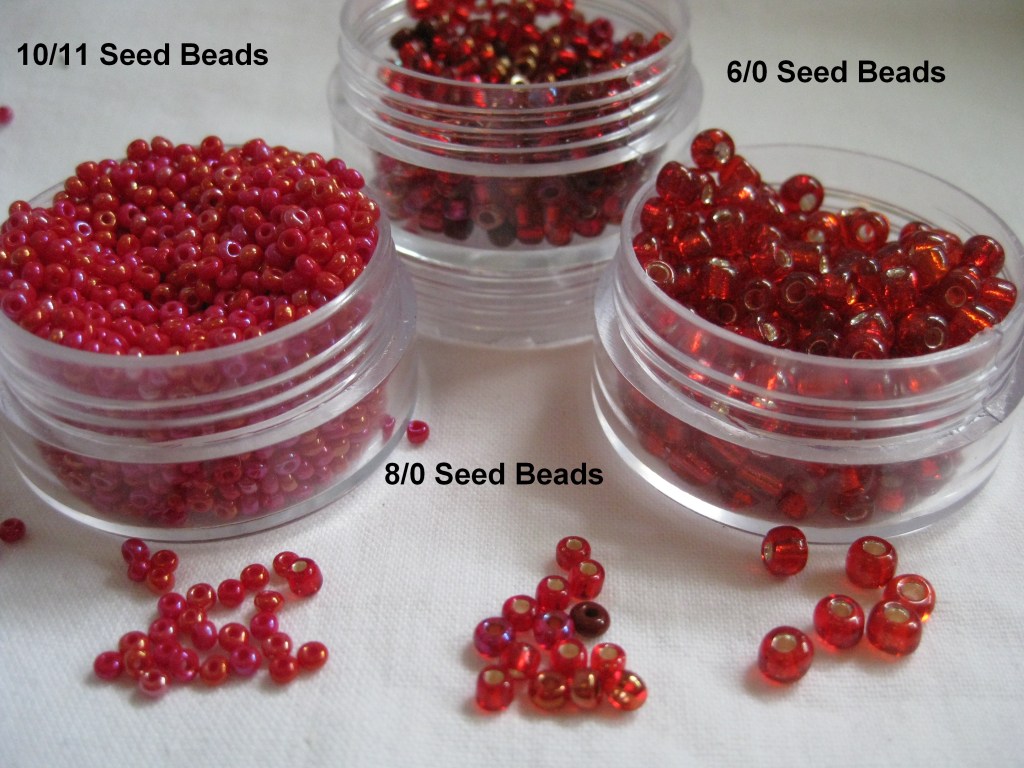
I won’t knit my bag with such tiny beads, I am thinking of size 8/0’s and then of course what kind of pattern do I want to tackle with my beads? It can’t be too complex – I am not totally insane.
So Many Styles of Working with Beads
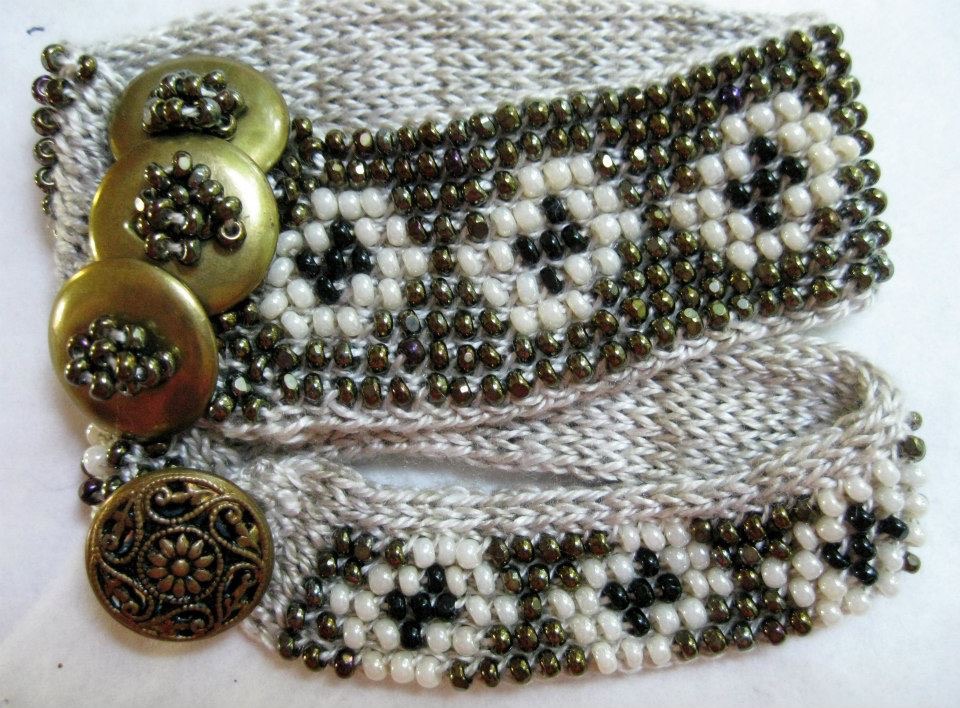
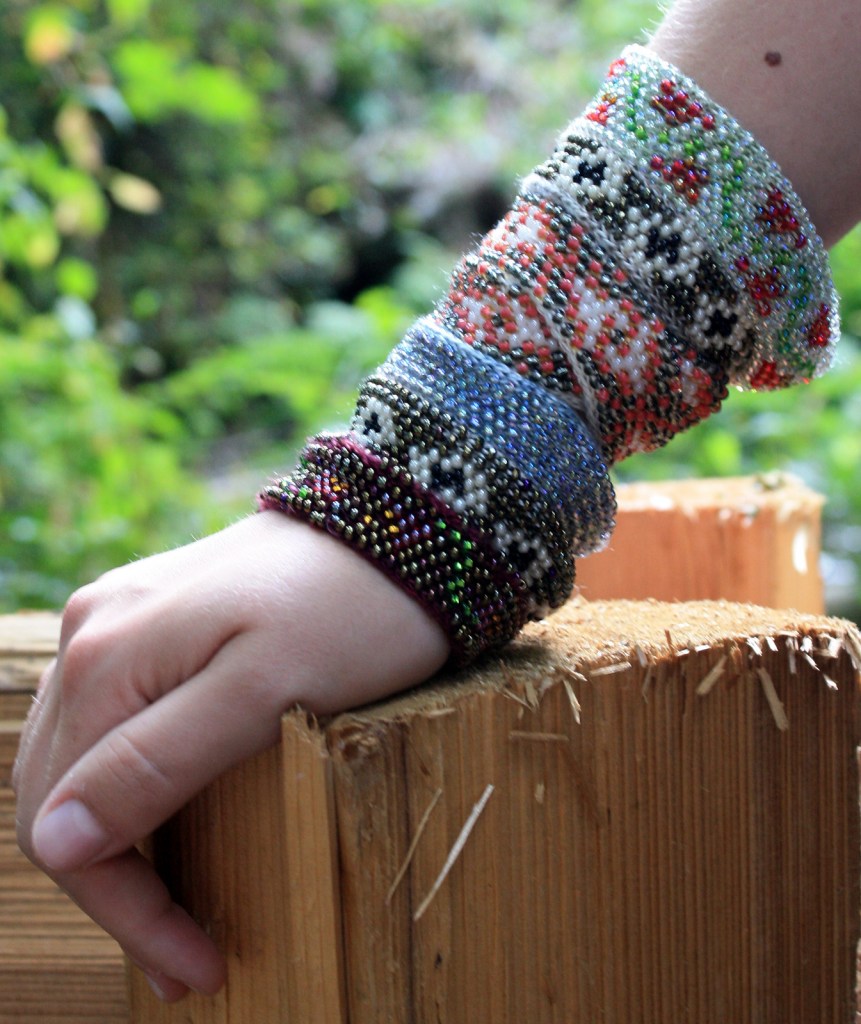
I am not without some experience in working with beads. I have tried a great many different beading techniques over the years. I have knit quite a few other beaded bags. Or shawls and tassels with beaded details. Beaded bracelets as well. I could incorporate aspects of these into a circular bead knit bag.
Beaded Mesh – Knitting with Beads
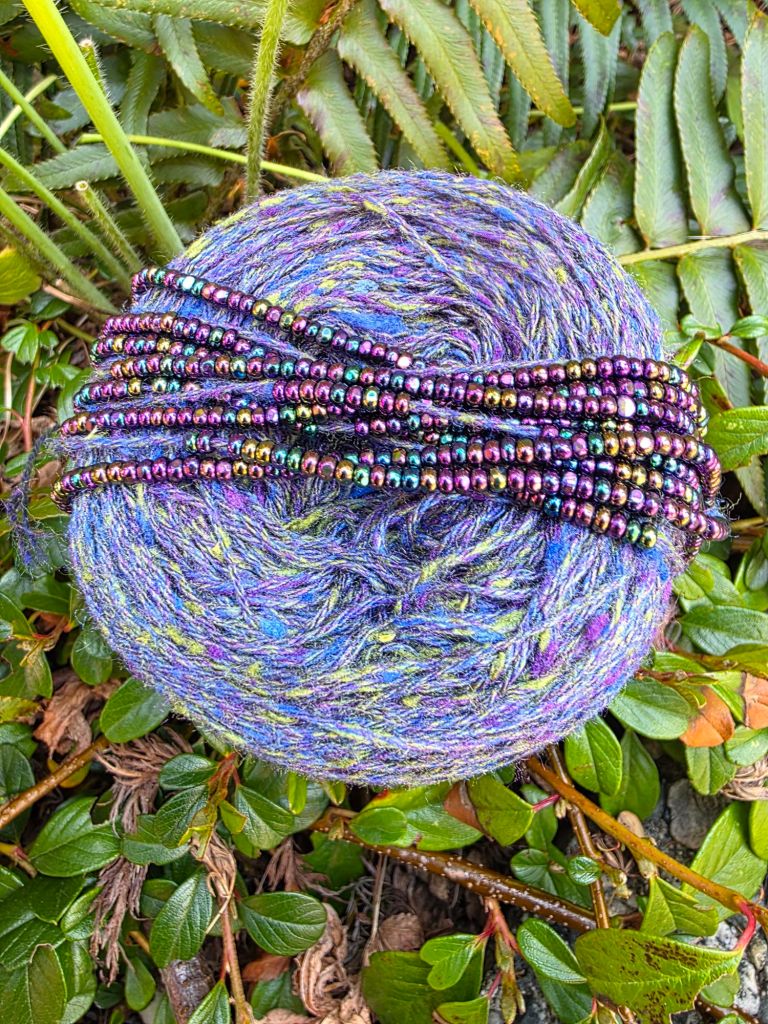
The yarn is BC Garn Tussah Tweed Silk
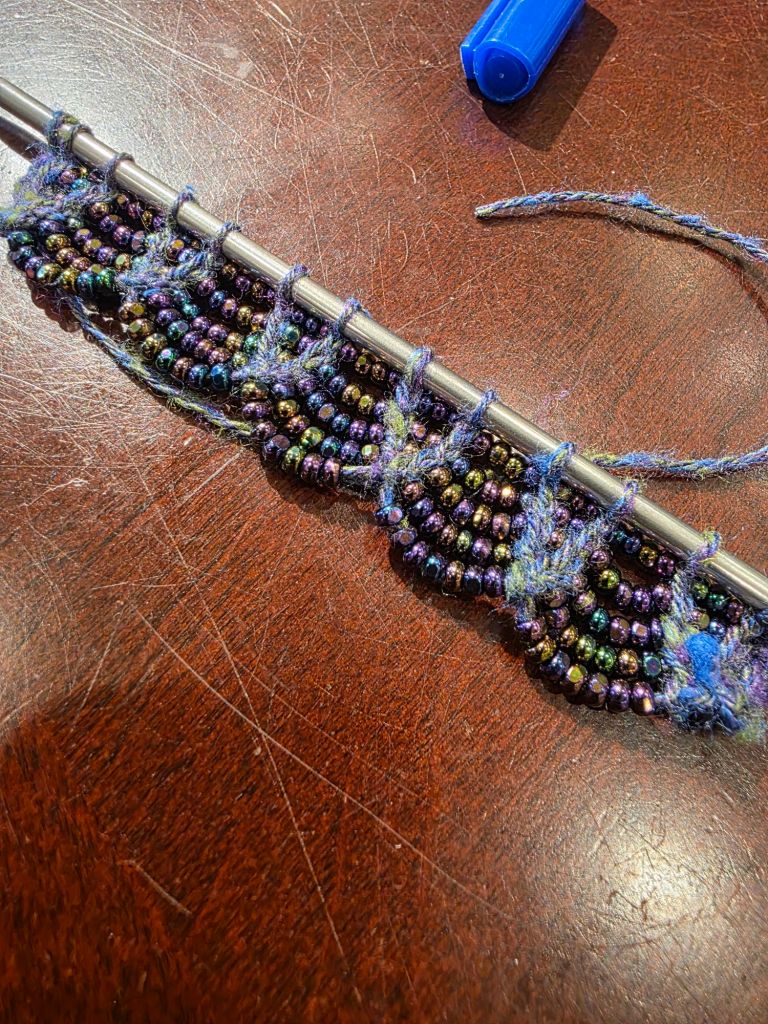
This is the Victorian Beaded Mesh Bag. It is a lot of beads and not quite so much knitting. But is was the start of my fascination with beads and beaded bags in particular.
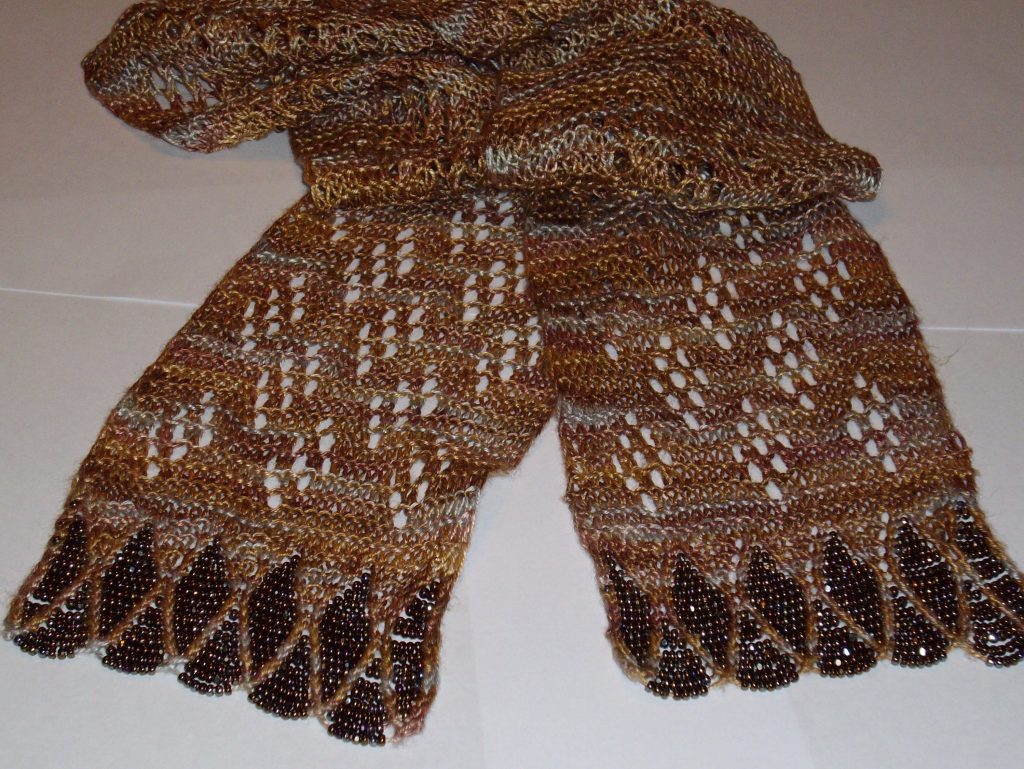
I also designed a scarf, Victorian Beaded Mesh Scarf to co-ordinate with the bag. It is a little short scarf with beads at both ends. I have just started knitting myself a new version.
Being a small piece, knit in two pieces and grafted – it knits up relatively quickly and gives a great finish! It is also fun to wear!
I am making myself a new version just long enough to tie around my neck. You can see it’s progress in the pictures above.
You can use beads in so many ways in your knits! Below are just a few. Some of these are just pretty pictures of my work (well, I think they are pretty). If you want to know more about the pictures below click on the picture. Some of them are linked to patterns.
Just in case you want to be crazy too! Here is some information on different styles of working with beads in your knitting.
Beading Techniques:
Placed while Knitting – knitting with beads – beads are placed in pattern, but not creating a solid beaded surface
This technique is the most commonly used technique in modern knitting. A bead is carefully placed on a stitch as your knit. It can be placed before or after the stitch has been worked. When you place the bead determines which row it sits on.
The bead is placed with a small crochet hook or beading tool. The size of the hook is determined by the weight of the yarn and the size of the hole in the bead. I have a small collection of hooks from a .60mm to a 1.25mm. I always try to use the biggest hook possible, but some beads, especially the ones with the beautiful finishes have smaller holes.
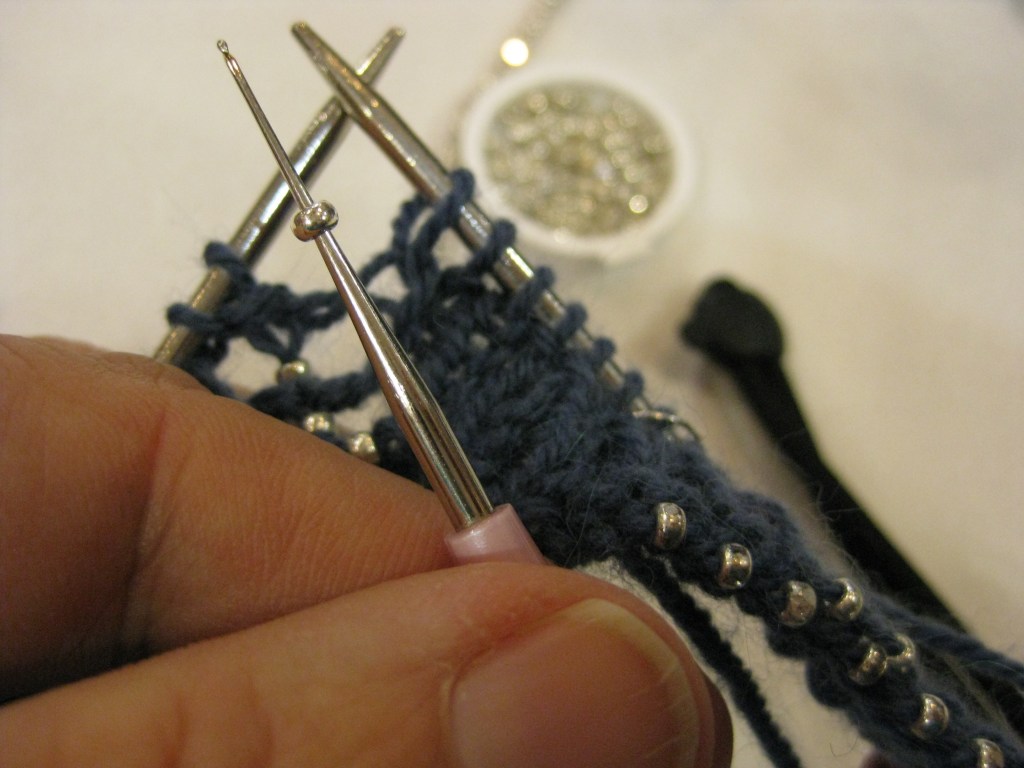
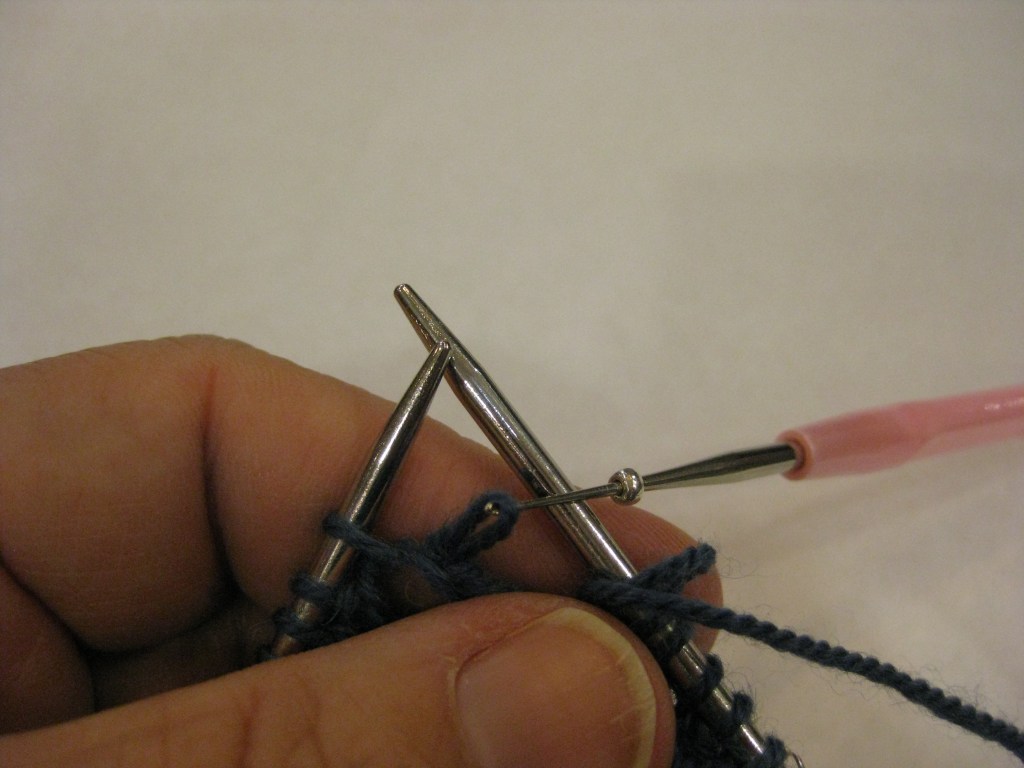
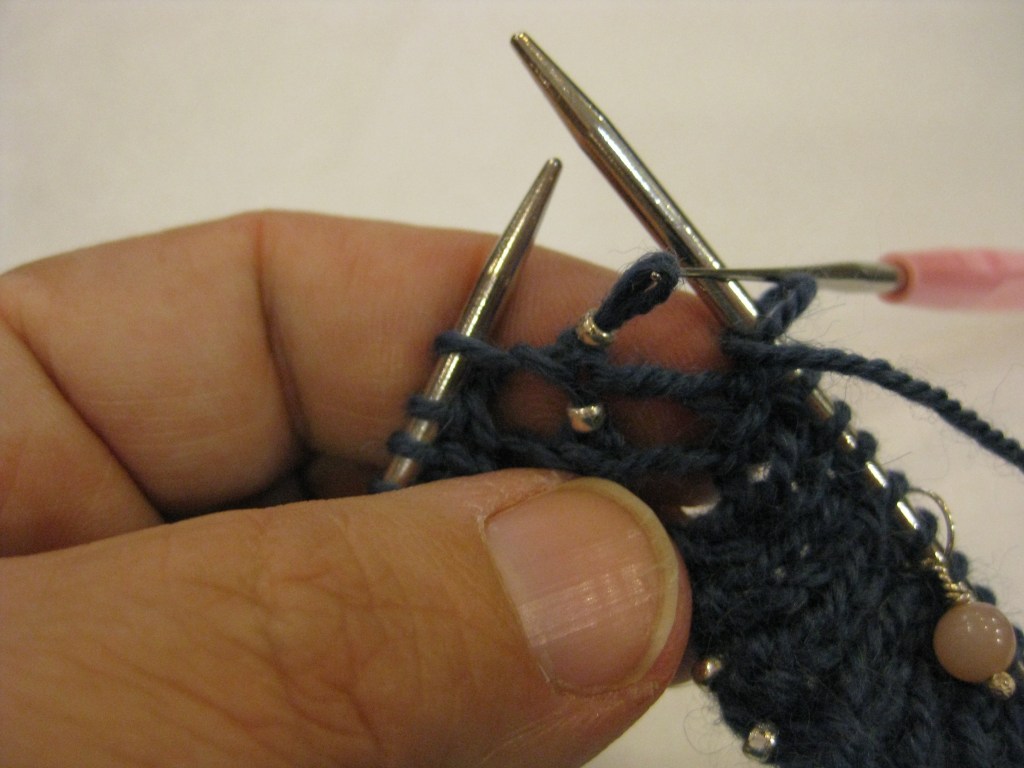
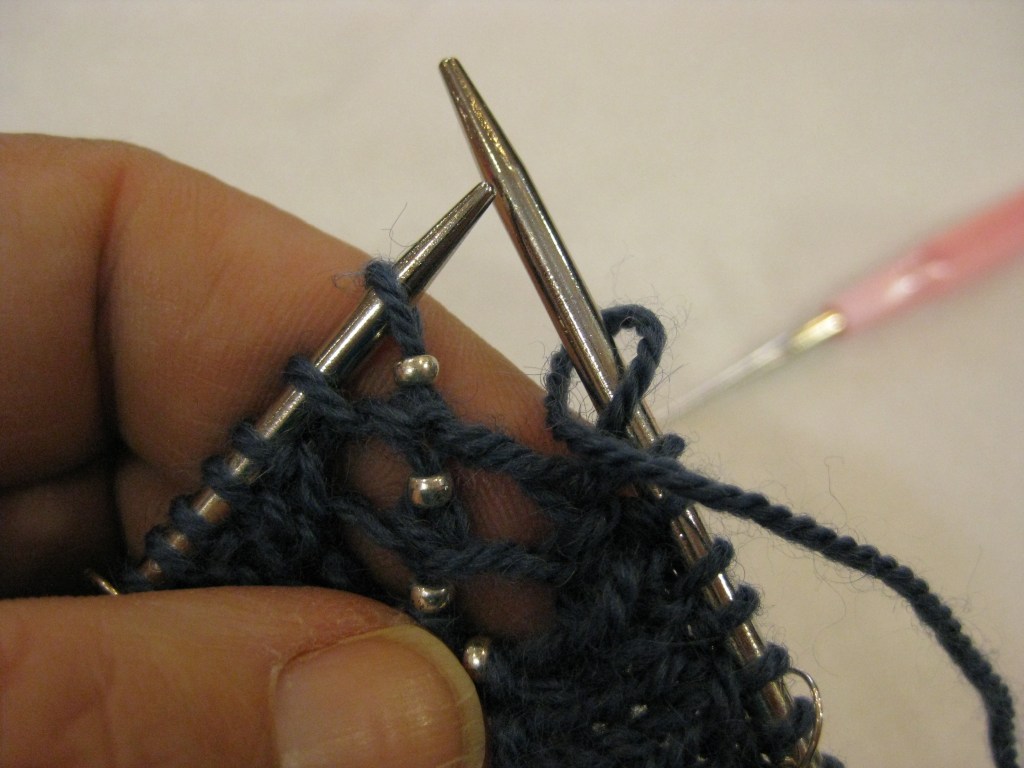
.60mm hook with 8/0 bead – hook is ready to pick-up the stitchpicking up the stitchbead has been slipped onto the ststitch is ready to be worked
This technique allows you to place beads exactly where you want them as you knit. It requires a very small crochet hook – 0.6mm – 0.75mm most commonly (bead holes can vary, sometimes a bigger hook will work). Pick up a bead with the tip of your crochet hook, use the crochet hook to remove the next stitch from the left hand needle and then slide the bead down the hook and onto the stitch, return the stitch to the left hand needle and then work the stitch.
Beading Techniques: Pre-Strung Beads
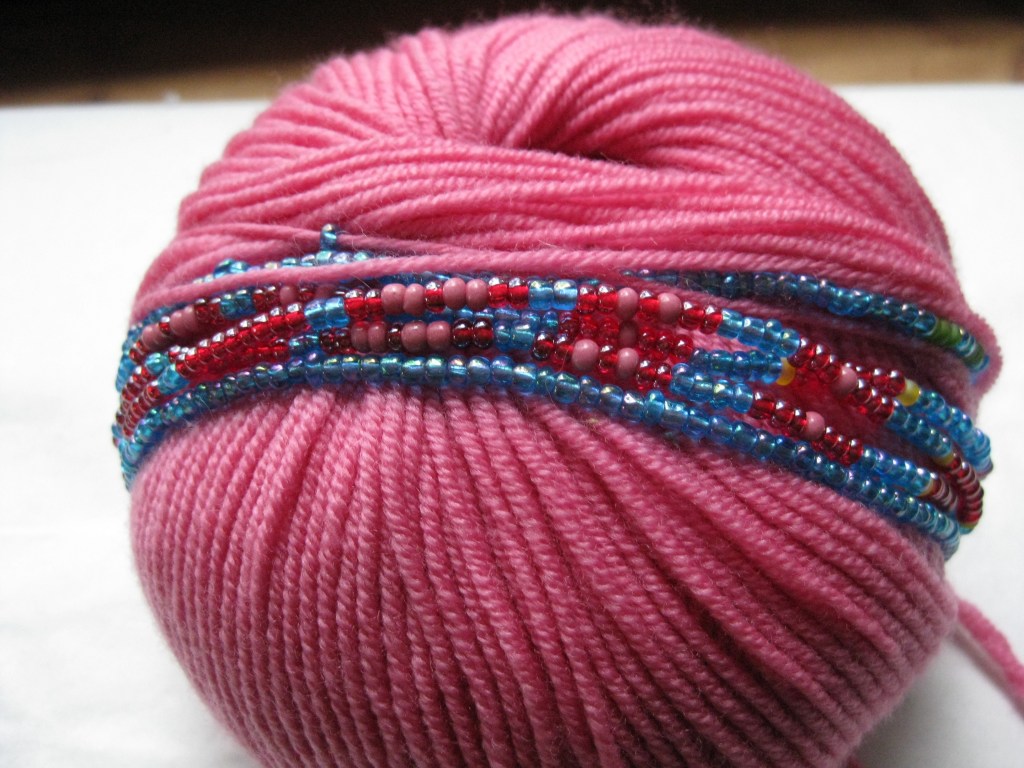
Three beading techniques requiring pre-strung beads that I use; beaded long-tail cast-on, beads between purl stitches and knitted in beads. These are all pre-strung beads, easiest in one colour, more complicated with several colours.
Notes on Pre-stringing beads: All three of these techniques require that the beads be strung onto your yarn before you start knitting. The first time that you try knitting a pattern with beads I recommend that you work a pattern with knitted in beads, keep the pattern simple. A small repeat something that mistakes won’t show as much or will be easily fixed. That way as long as you have enough beads there won’t be any problem with beads not being strung in the right order. This is the simplest way of learning.
After the first time you will be able to decide if you want to knit in a coloured pattern. When working a coloured pattern the beads must be strung in the correct order. In order to do this you string the beads in the reverse order that they are being knit. The first bead knit is the last bead strung. Flip your chart upside down and use the reverse chart for the bead stringing order.
Pre-stringing Fixes: If the beads are out of order you will need to cut your yarn and fix the problem. An extra bead can be crushed with pliers. Work very carefully if crushing a bead the sharp edges can cut the yarn.
Beaded long-tail cast-on – beads are pre-strung and I usually bead every stitch or every other stitch, but for special beads, a different shape or size, the beads might be added less frequently. These beads are on the the tail (the length of yarn over your thumb). Start with your slip knot and immediately pull up 1 bead to rest close to the slip knot. *Cast on 1 (2 ) or desired number of stitches and then pull-up another bead.* Repeat from * to * until you have run out of beads and then finish your cast-on – this should give you the right number of stitches for your cast-on, if you had the right number of beads. Always check your count.
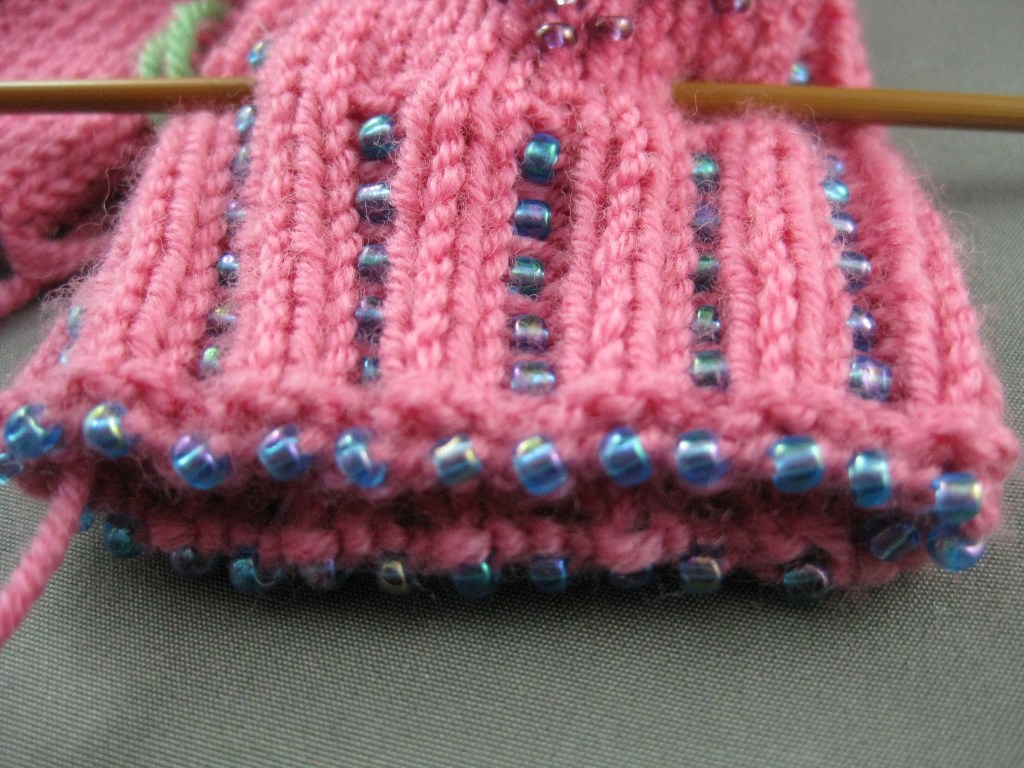
Beads between purl stitches – This is the easiest of the pre-strung beading techniques. The beads are pulled up and placed between your purl stitches The purl stitches hold them in place. This technique does not work well between knit stitches as they will fall to the purl side.
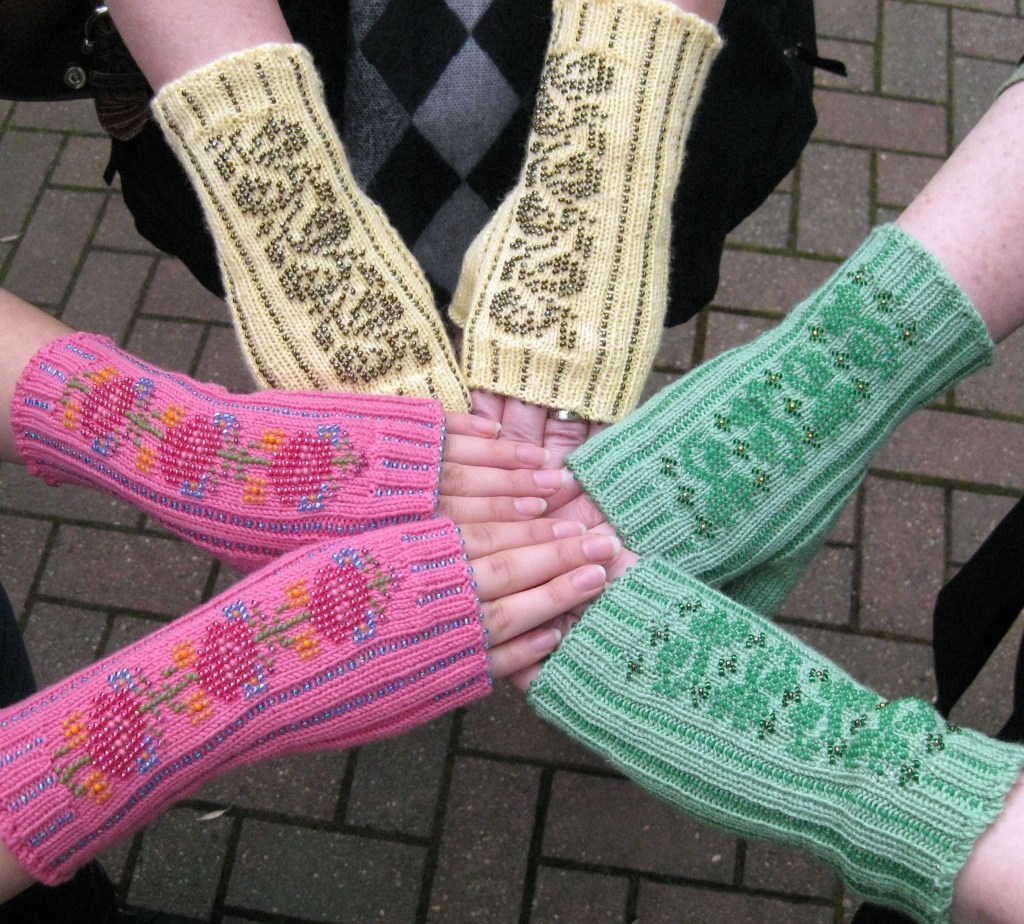
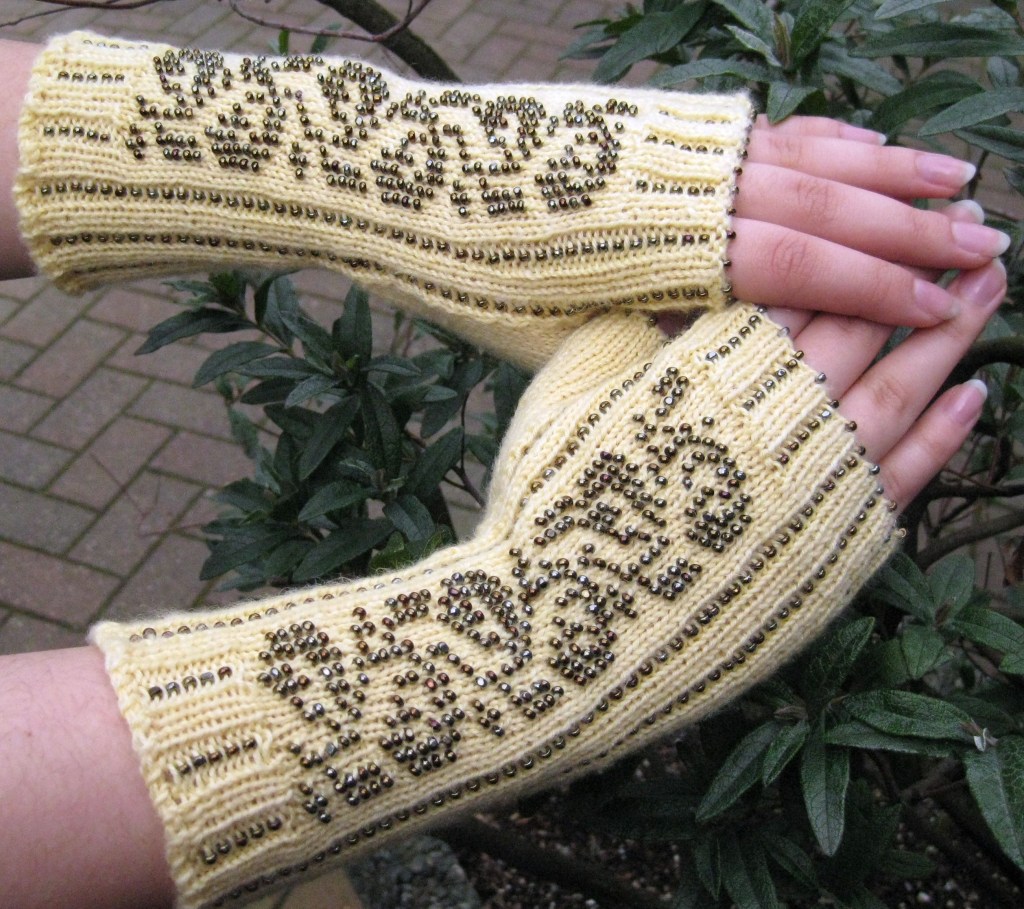
Fretwork mitten cuff – beads on the cast-on and beads between stitches in the ribbing.
Bead Knitting – creates a solid beaded surface
Method and rules: Knitted in Beads –
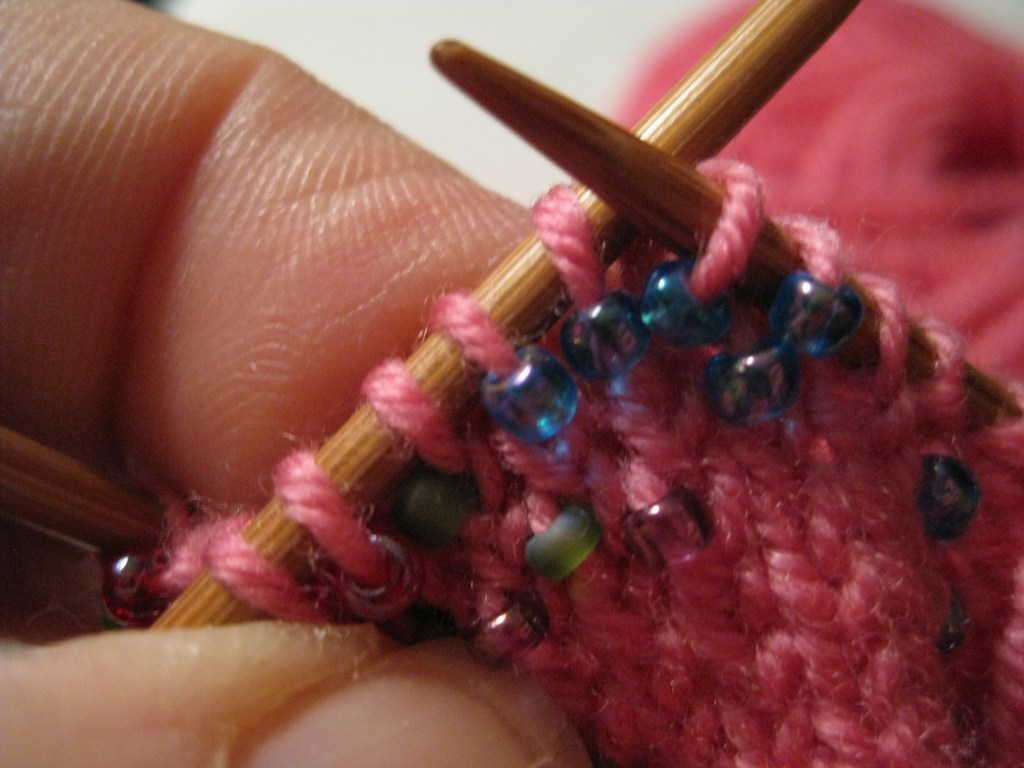
1) When knitting in your bead you will always knit into the back of the stitch on which you wish to place your bead. The twisting of the stitch by knitting through the back of the loop insures that the bead will be locked into place.
2) When the needle is in place in the back of the stitch, pull up the bead up to approx ¼ of an inch away from your knitting. As you knit the stitch, pull the bead through to rest on the front arm of your stitch.
3) The bead will be furthered anchored when the stitch on top of it is also knitted through the back of the loop. This is done when knitting the next row of beads in place. If beading the next row you will automatically twist the stitch with your current bead. If no bead is being knit into place simply knit into the back of the stitch above the bead to finish the anchoring process.
The beads have been knit in and are sitting on twisted stitches. You can see the twist below the beads. The bead have just been pulled through the stitch and the stitch is about to be removed from the LH needle.
If you are looking for more information on Knitting with Beads or Bead Knitting the Mary Thomas Knitting Book is still one of the best. It was originally published in 1936 and most of the modern writing on the topic references back to this book.
A New Project in the Planning Stage
I have collected so many colours of beads over my years of knitting. More than enough to create a completely bead knit bag. I would work it in Handmaiden Lace Silk. I have a good quantity of that to hand. It would certainly be easier to work with than a linen thread – if I could find some of this thread strong and long enough. The yarn for bead work like this has to be strong and long with no knots if I plan on stringing thousands of beads. And I am. Am I crazy?
So am I crazy? Or what? Are you crazy too?
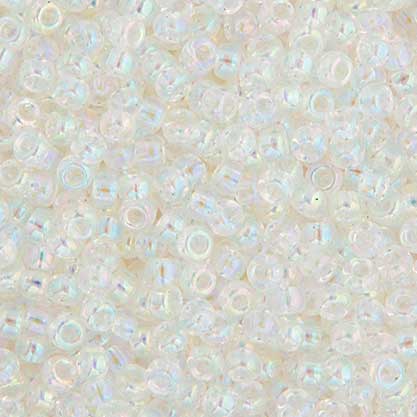
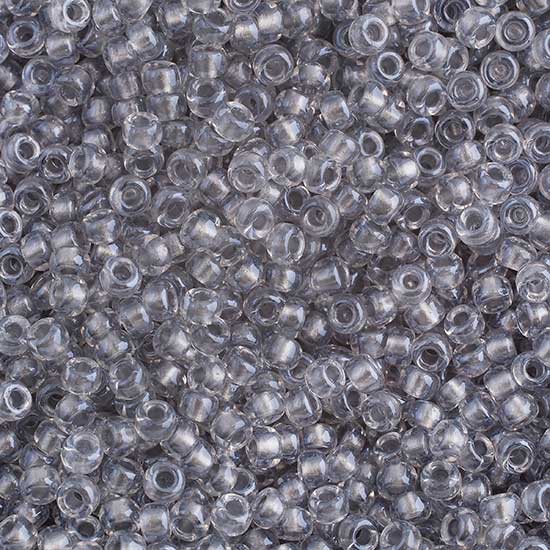
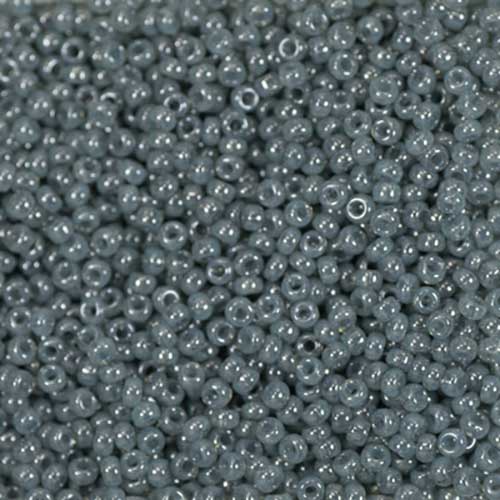
If you are interested in more – I have just been looking at beads for the background. I usually order from Bead F/X in Toronto when I need a larger quantity of beads. They offer design size pkg of beads – approx 9000 beads per 250 grs of 8/0’s. These are the three possible colours that I am considering. Maybe you might want to check our some options for beading your knits.
Crystal AbSparkle PewterLight Steel Blue
I will probably only order two colours, but first I have to decide on my pattern colours and then pick the background! This may require some swatching. I dusted off my swatch instructions for bead knitting. If you are interested in giving it a try, this swatch is a fairly inoffensive way to begin.
Find Rain Shadow on Ravelry or on Etsy, whichever you prefer to shop!
I have been working on a year long Blanket Square project. Threads of Colour – a Year in Squares, each month a different square in a different stitch pattern and each month a “fancy”, a little extra something.
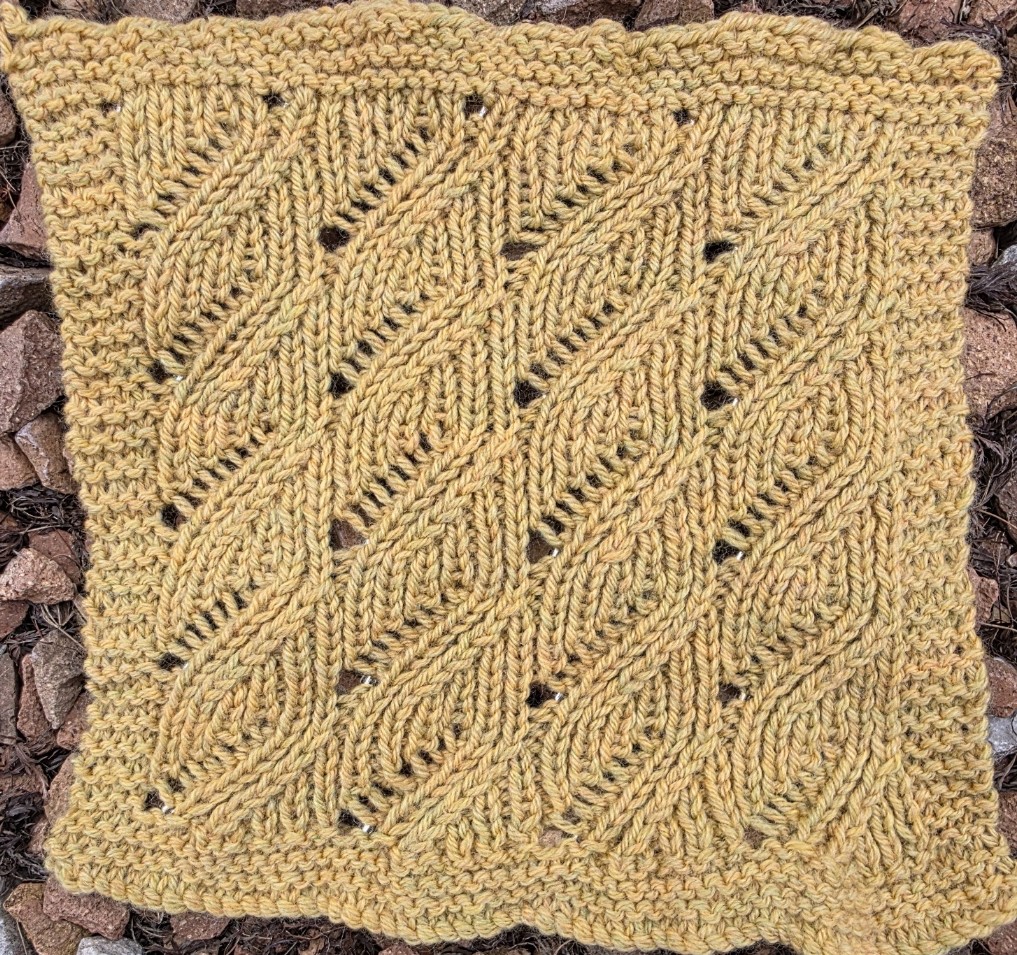
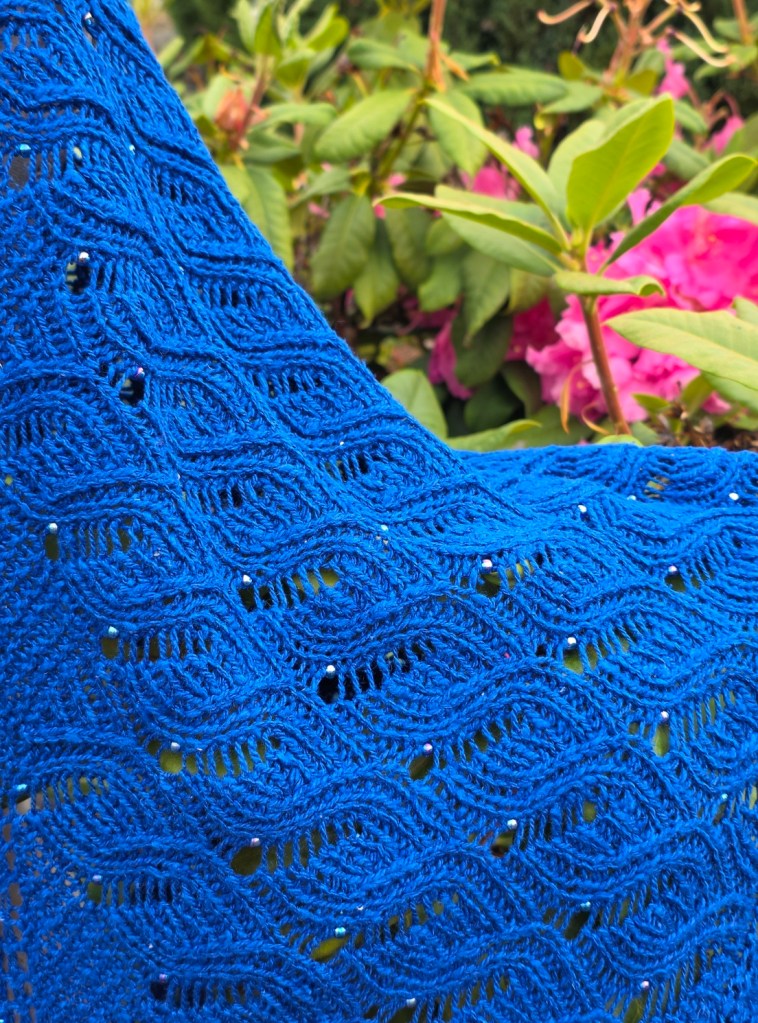
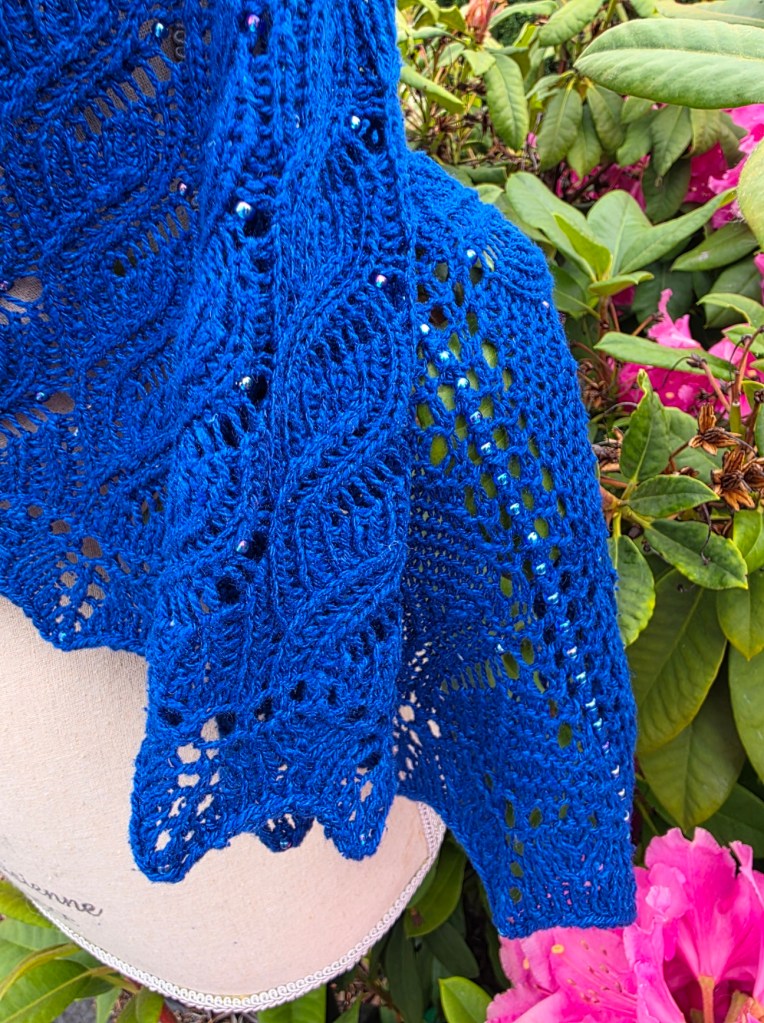
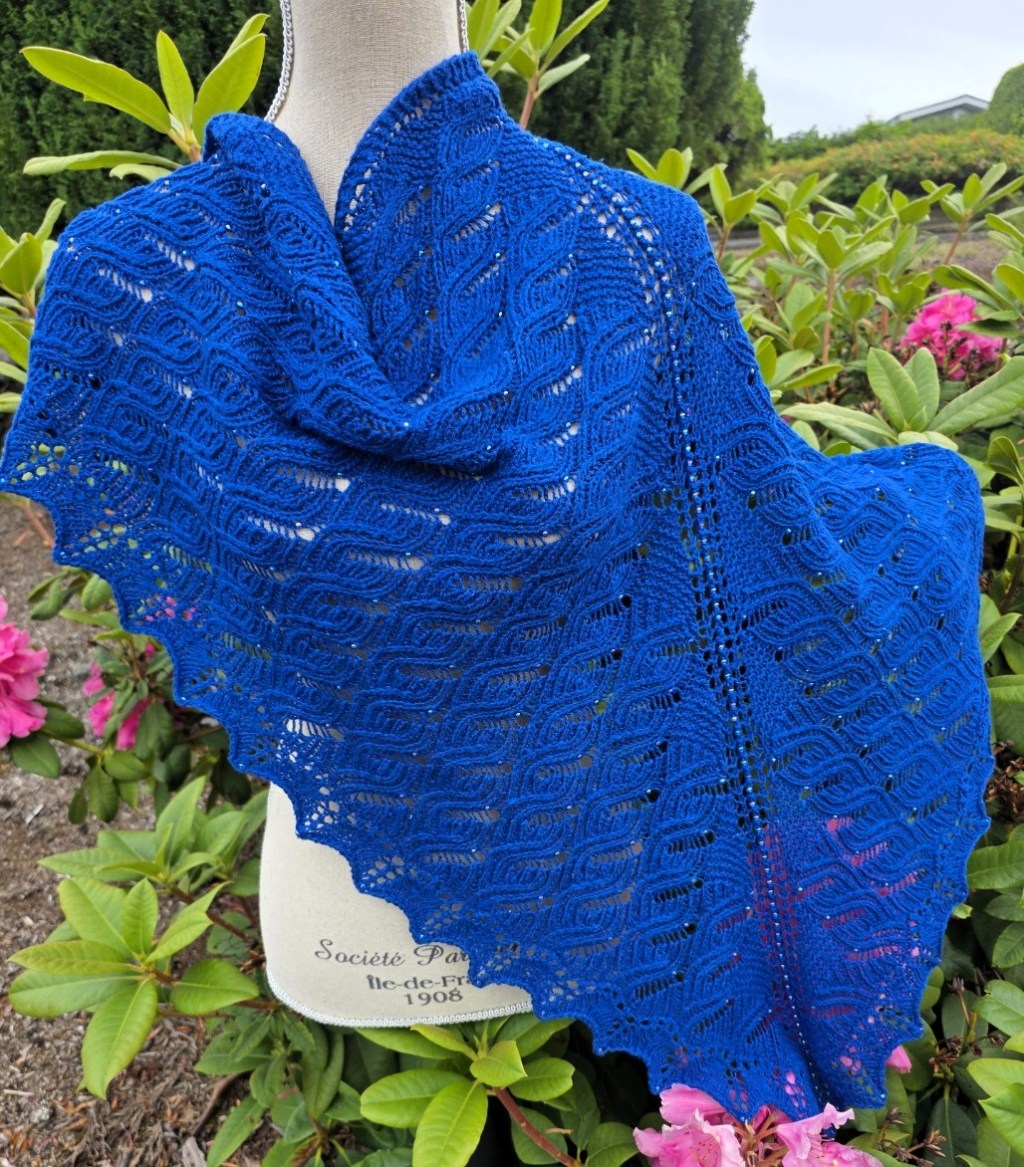
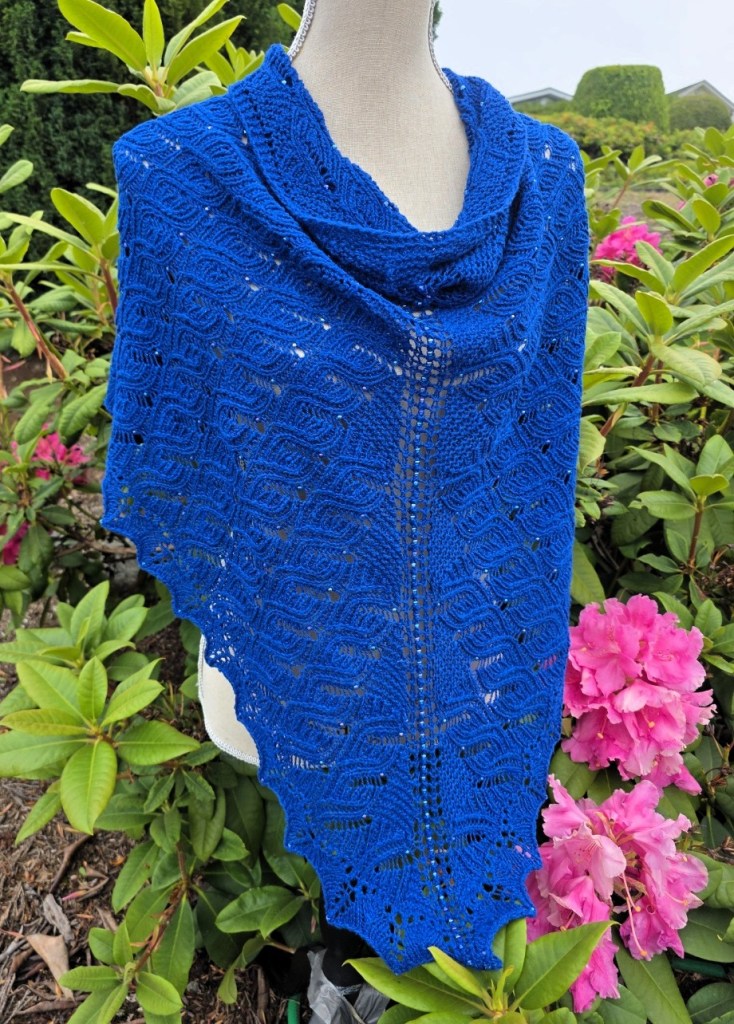
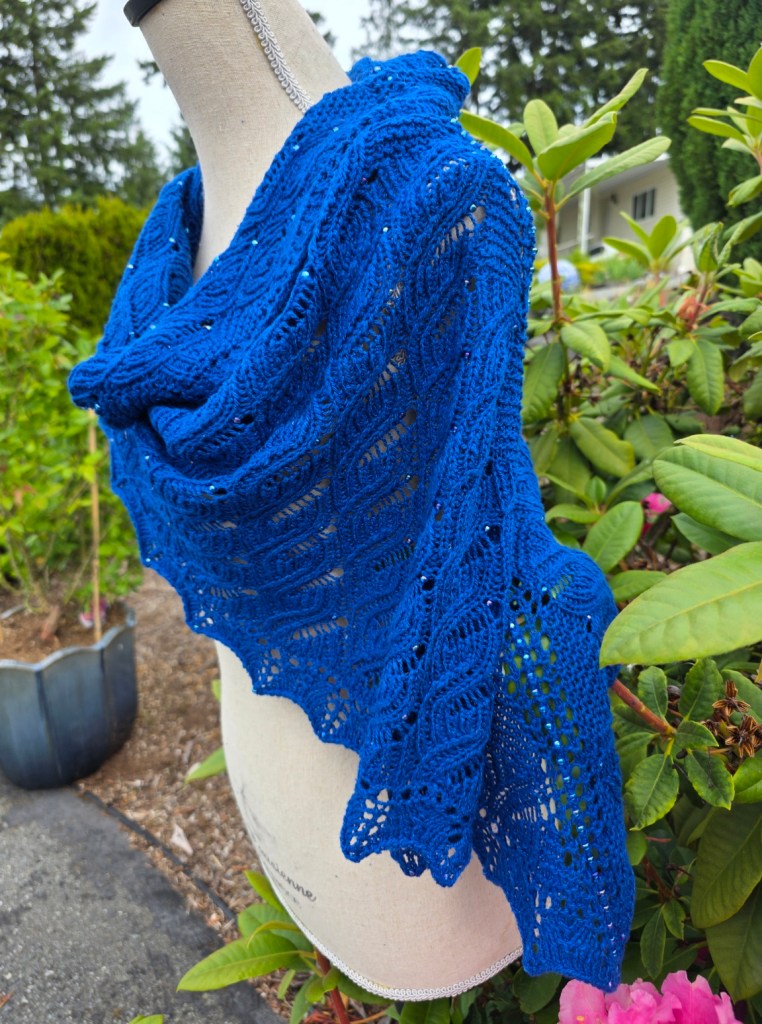
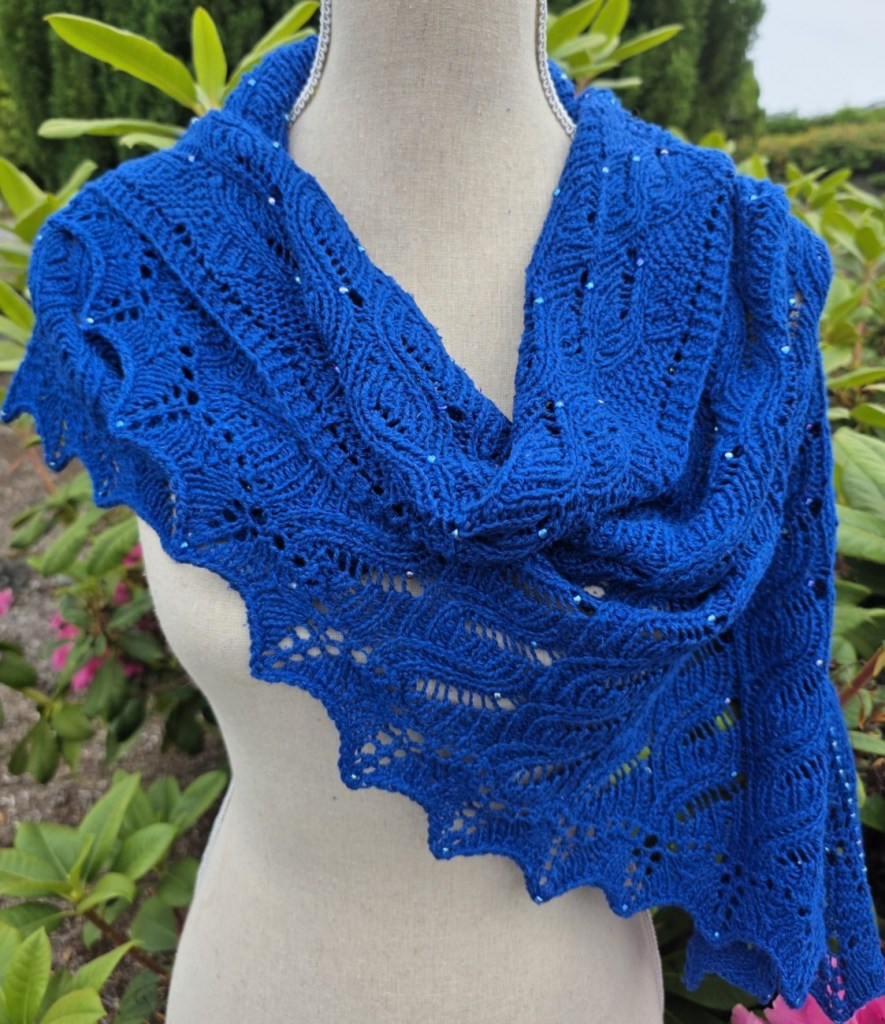
The April Square featured this stitch and once knit, I couldn’t stop thinking about making it up as a shawl. This is the result.
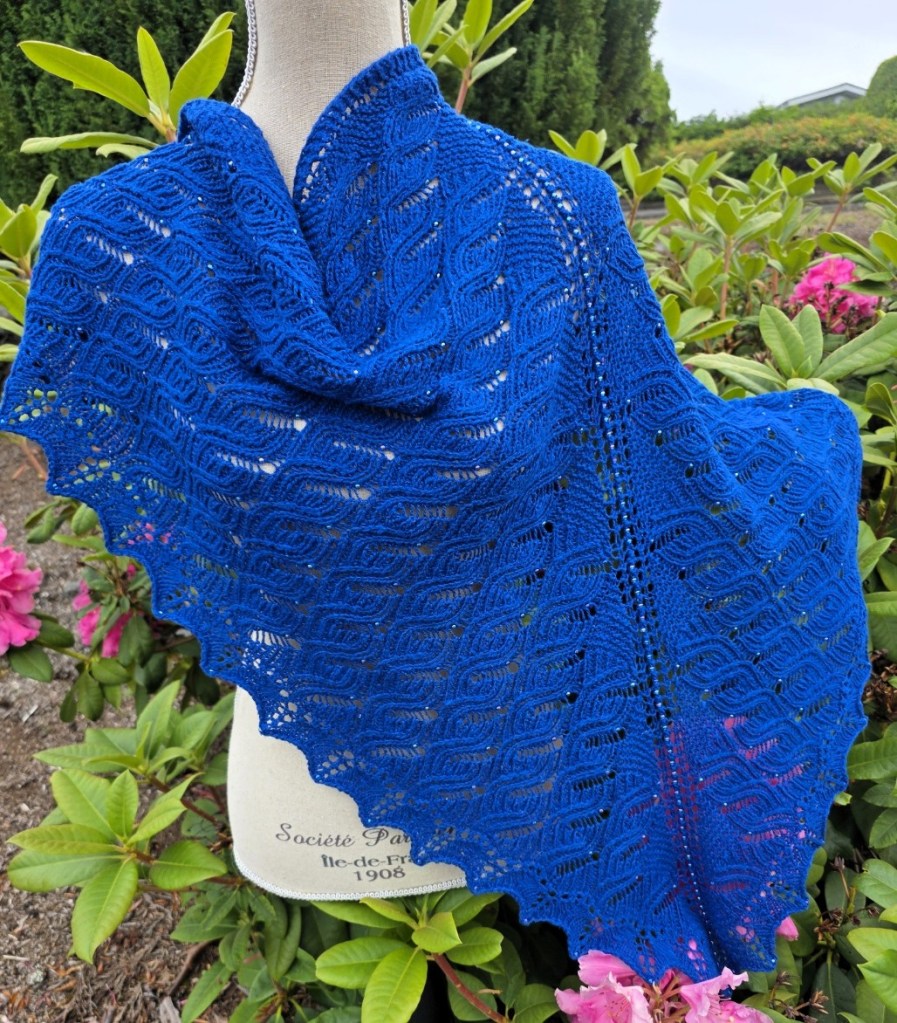
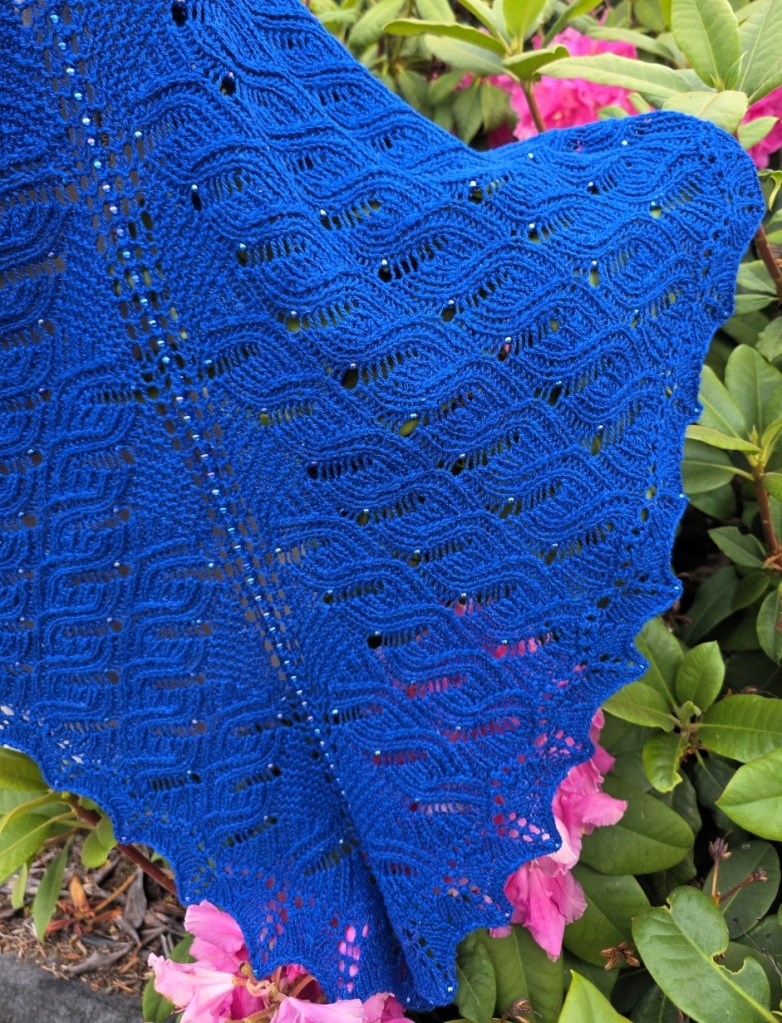
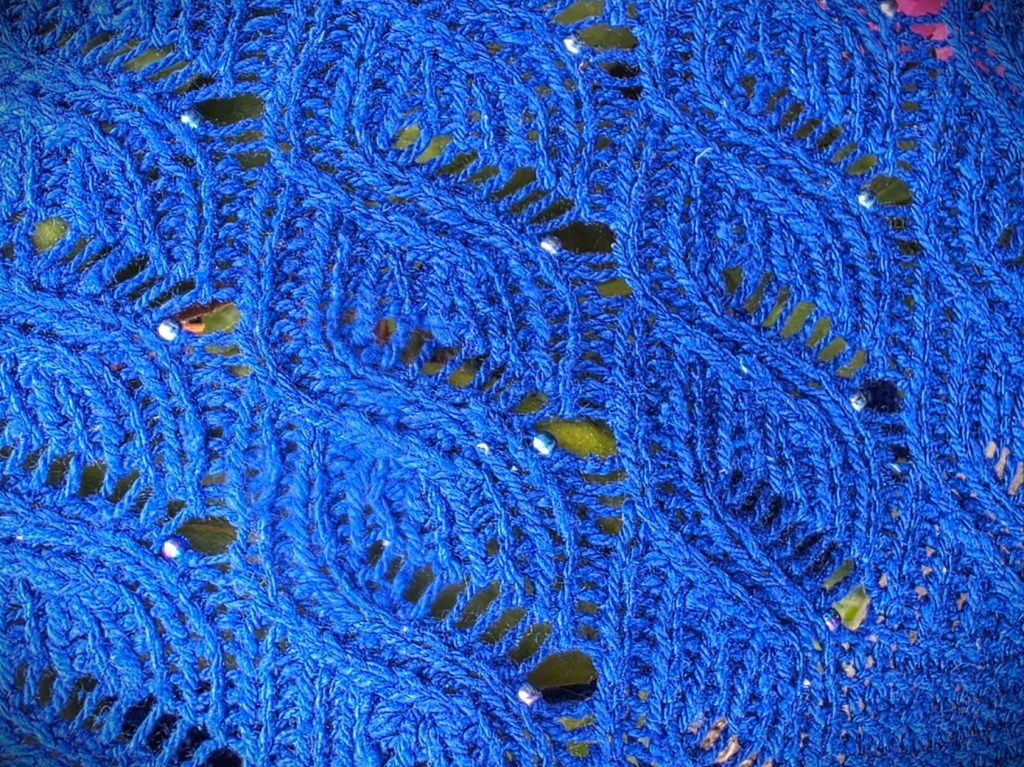
Rain Shadow shawl is a classic top-down triangular shawl with a twist. The Rain Shadow pattern is a ribbing pattern, with YO and bead details. The ribbing pattern and garter st details make the shawl totally reversible. As well, the pattern is mirrored from one side to the other giving extra movement to the lines of the rib. The shawl as shown has been beaded with size 6/0 beads. The beads are optional.
Almost classic – the increases along the sides and center line are a little faster than the average triangle shaping. There are six increases in every 10 rows of pattern.
Rain Shadow is both written and charted.
The yarn is Soft Silk, by BC Garn. A gorgeously blue bourette silk. And the beads are 6/0 beads by Miyuki.
The Wool Room …
… needs organization!
This is where it started, beautiful, clean, and empty!
A lot of organization.
On the up side to all of this – the storage locker is empty!
What kind of organization do you use for your stash – yarn, fabric, any kind of needle craft! Are you a neat and tidy type – or more on the disorganization side of thing. Right now I am strictly disorganized!
I am working on changing that. It is a slow process because knitting is still my priority. I will keep you up to date on my successes and failures!
Like the small stacks of boxes in every room that I am slowly going through! Now that I have time to open and check them. We have taken stacks of boxes to recycle places, the dump and book sales. I have donated some yarn to my daughters stash. So the cull is ongoing and closer to almost complete as opposed to just starting.
We love our new space already. I will show pictures as we clear and tidy each space!
And I am knitting up a storm or two!
Happy Knitting
Lynette
PS – Remember – there is a code included in the June Square download to purchase Rain Shadow from Ravelry at 50% off.
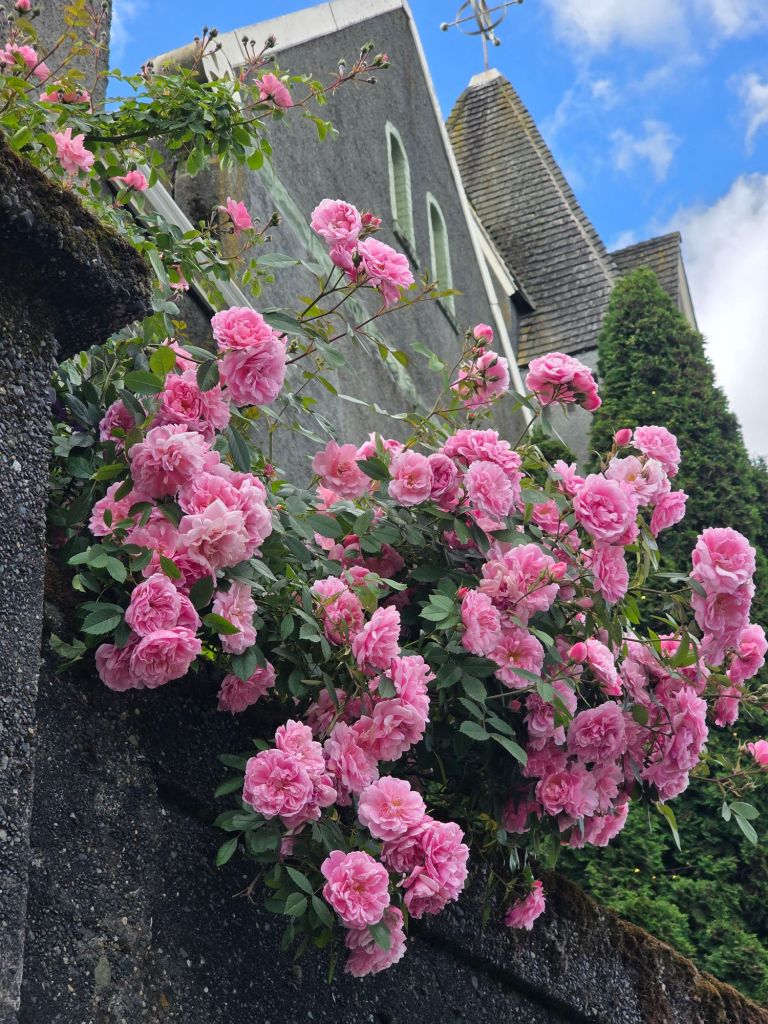
Gorgeous Roses in the Old City Quarter Neighbourhood!
It has been an epic month. The reno is complete, the storage locker is empty and the house is currently a work in progress with stacks of boxes in each room. We are at the stage where every box is an adventure. What does it contain? Do we really need it? etc. More on this later.
I have knit the square and the fancy for this month and I love them both. I hope that you will too.
The Square
Is is lace, need I say more? Take note of the code on the last page of the pattern. It will give you the Rain Shadow Shawl pattern at half price once it is released, most likely Wednesday or Saturday. It will be good for the remainder of this month (June 2026).
I went down a rabbit hole with this one. Did you know how many styles of pincushion are out there? I was vaguely aware. But now – I am in the know. Pincushions go back centuries and across cultures and stitchery techniques. I didn’t go too wild. I kept the shape fairly traditional, just added a little colourwork. I hope that you will enjoy the knitting. And may be check out some pincushion sites. LOL!
We are up to 8 squares now with the six monthly additions and the two bonus squares. So I am starting to think of how we might want to put them together. I mentioned a couple of the standard styles in the opening post, but I have a couple of fresh ideas. I will share them with you later in the month.
Circular Cast-on – German Pinhole
Here is a link to an earlier post on the pinhole cast-on used in the two patterns for this month.
Rain Shadow Shawl
Just a few pictures to whet the whistle once more. The pattern will be released next weekend. I got caught up in boxes.
Apparently “later in the month” is a thing. I hope that I can get it all done “later in the month” LOL!
I just picked up the Rain Shadow Shawl from my test knitter Jana. And I am so thrilled with how it turned out.
Rain Shadow Shawl was entirely inspired by the new to me stitch I chose for the April Square. I loved the way the stitches moved. It immediately inspired this triangular shawl.
Look for the pattern to be released at the same time as the June Square. There may be a discount code attached to the Square pattern… just saying.
I haven’t had much time for writing this month. I have been emptying the storage locker and that job is almost complete. There is maybe 3 or 4 loads left. Some to Restore, some to the dump and some home. My challenge, and the biggest job, has been fitting everything into our new, smaller space..
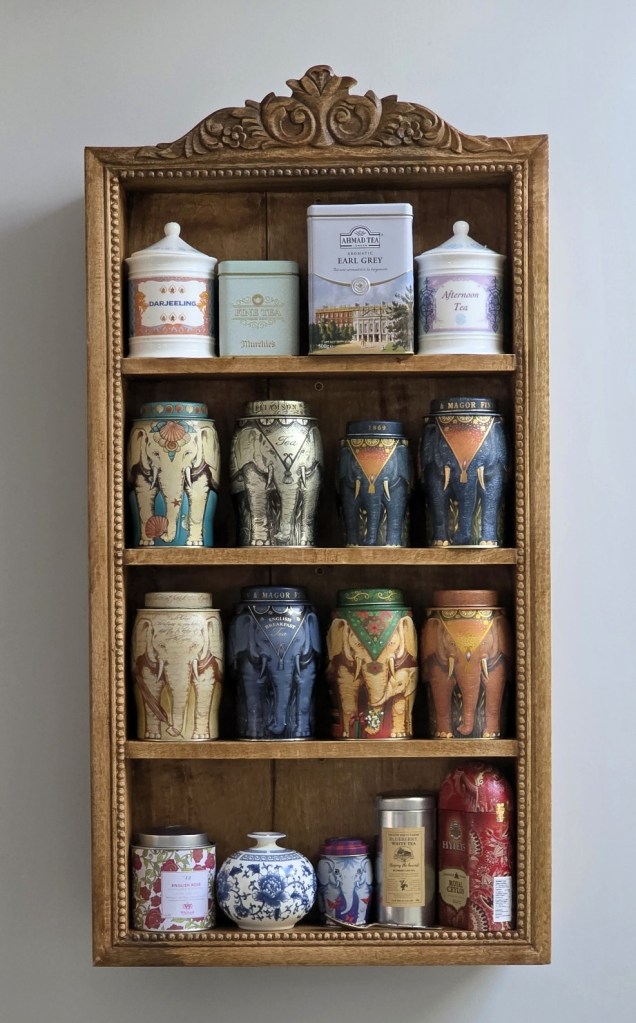
I have a couple of quiet corners in the house, but most still hold boxes of “bits” looking for a home. My tea shelf is organized. But my book shelves are overflowing and the yarn room… the less said the better. I have more yarn than I thought. Maybe I have more yarn than I wanted to think. That might be more accurate. It will take a little while to organize that area.
I am having fun working on the square and fancy for June. How you started a new square recently? I am really looking forward to seeing how everything comes together for us all.
Happy Knitting
Lynette
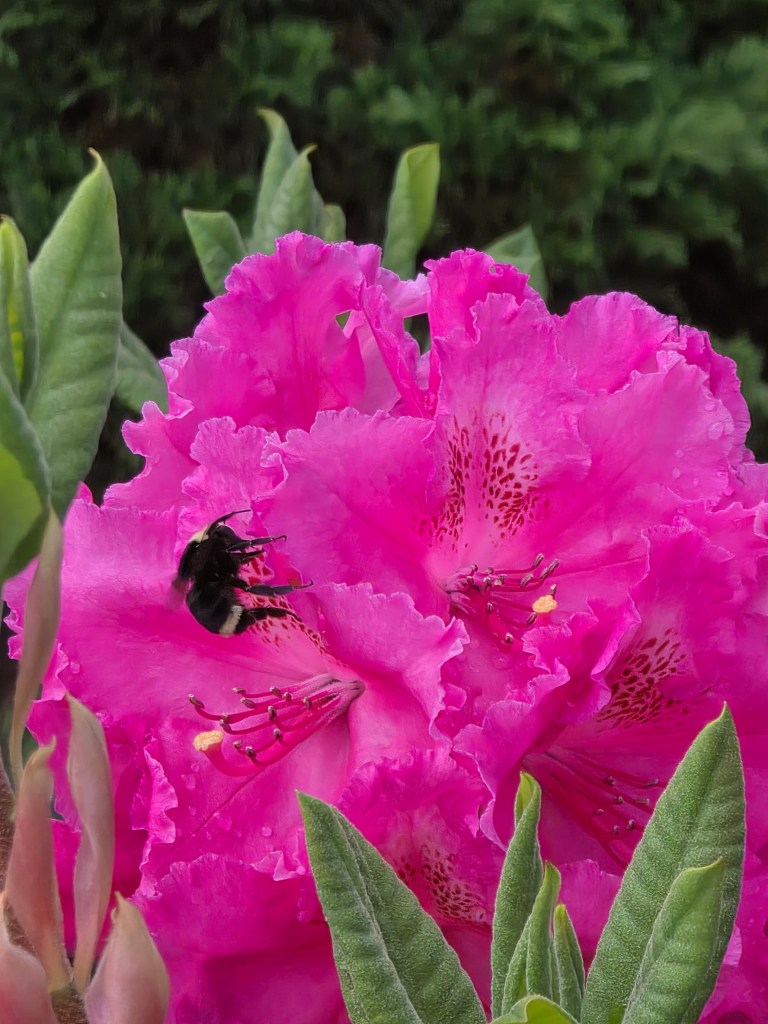
A very busy bee indeed. Look at the colour of that Rhododendron. I love watching my plants bloom. Especially now, in a new garden.
Flowers play a big part in my love of colour. Vivid colour, mixed colour and glorious abandon to colour.
One of the exciting things of a new home is watching the garden come to life. This garden is more minimal than my last. That will change as the season progresses and I get to work on my landscaping plans.
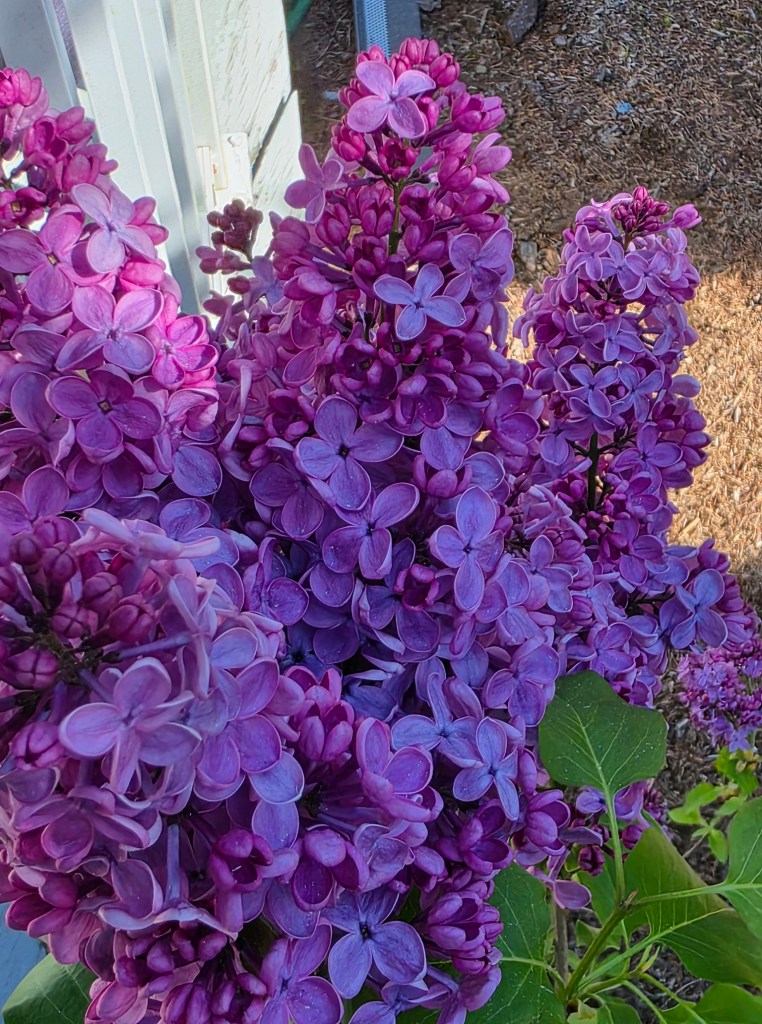
I have discovered that I have a Lilac bush. It is small right now, but the blooms are mighty. These blooms are fragrant and they are purple, lilac purple. They are glorious!
Does anyone know the name of this Lilac? The colour is so beautiful.
How is your garden progressing? What are your favourite Spring Flowers? I am looking for suggestions for my Landscaping projects – any and all ideas are welcome.
May Blanket Squares
Like the blooms this month brought on a lot of inspiration. So there is the May Square, Little Puff Leaves. And the May Bonus Square, Indian Twist Stitch Square. I really played with colour when creating them and you can see that the bonus square pulled the Lilac purple out of my stash!
The wonderful thing about sampler patterns is that you can try out new stitches without a major commitment. The little puff leaves remind me of all the greenery that is showing up on the bushes and trees as we walk through the local parks right now!
Now the Indian Twist Stitch is pretty cool. This stitch pattern has fascinated me for years! I decided that a sampler blanket was the perfect place to try it out!
This pattern looks a little tricky, but is really quite easy. Only two of the rows involve patterning and while slow to work they do pay you back by filling in a great deal of space. This is the simple version in that the twisted sts all line up. I am going to work another version were the rows of twisted sts offset each other. There is a photo tutorial included in the pattern.
This square can be worked in the two colours as shown, but is also effective in a single colour!
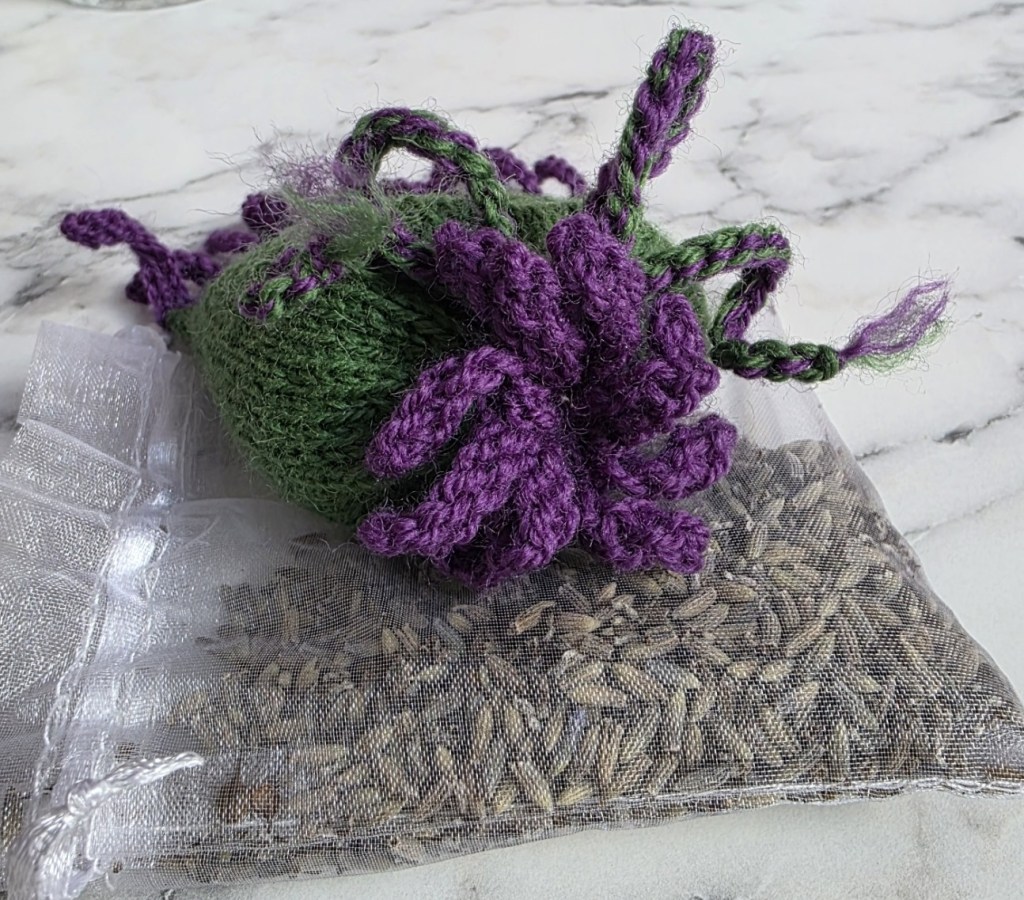
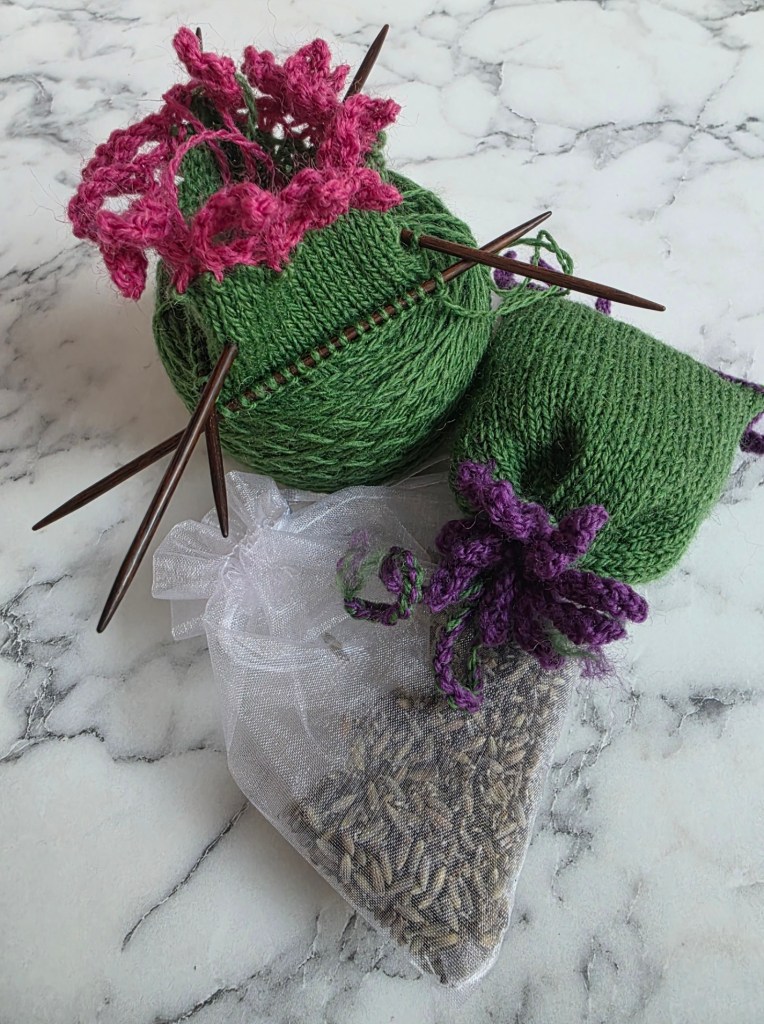
Last fall a friend gave me a couple of Lavender Sachets. The lavender was fresh from her garden and the scent is fabulous. I decided that this month’s Fancy is going to be a Sachet, in my case a Lavender Sachet, but you can fill it it with anything you like.
I did not use the worsted weight yarns for this fancy. I am using a light fingering weight. But you can use any yarn you like, just up the needle size to 1 size smaller than the recommended size for the yarn.
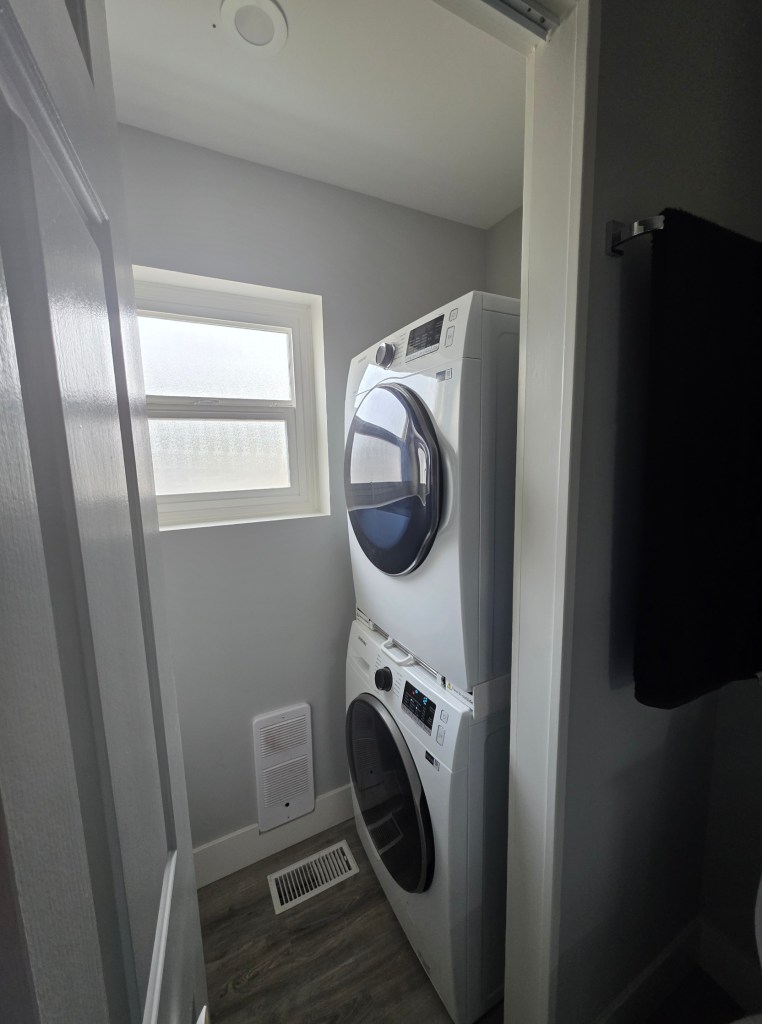
The renos on the Great Room, Main bathroom and Laundry Closet – I can’t really call it a room – are complete.
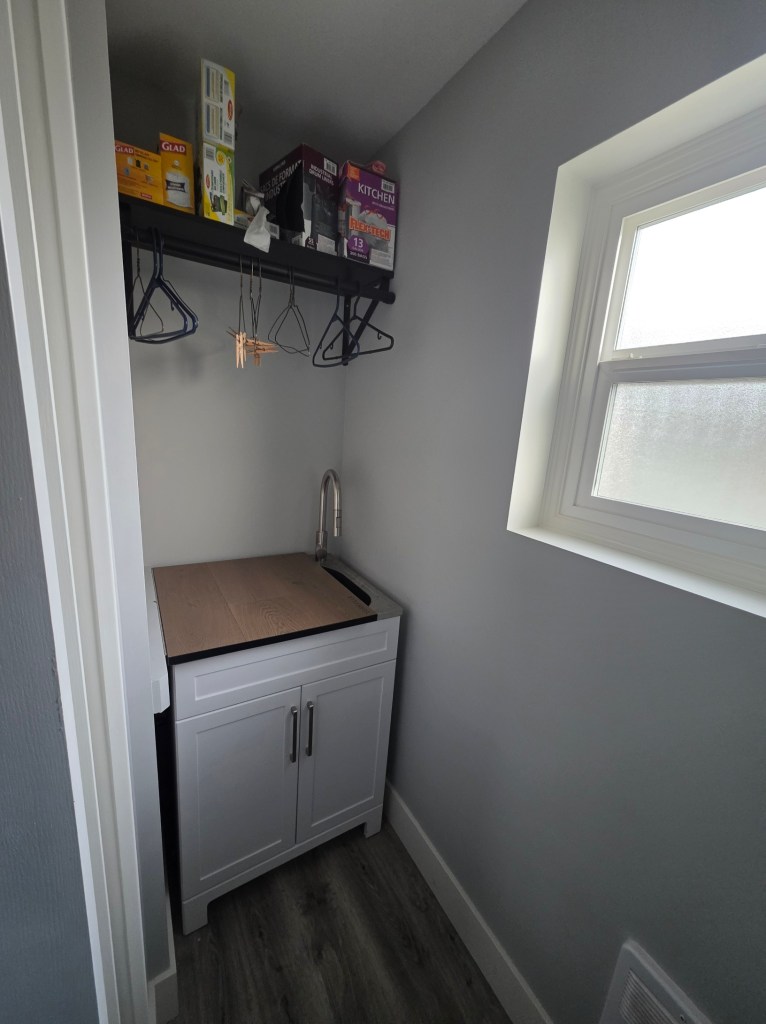
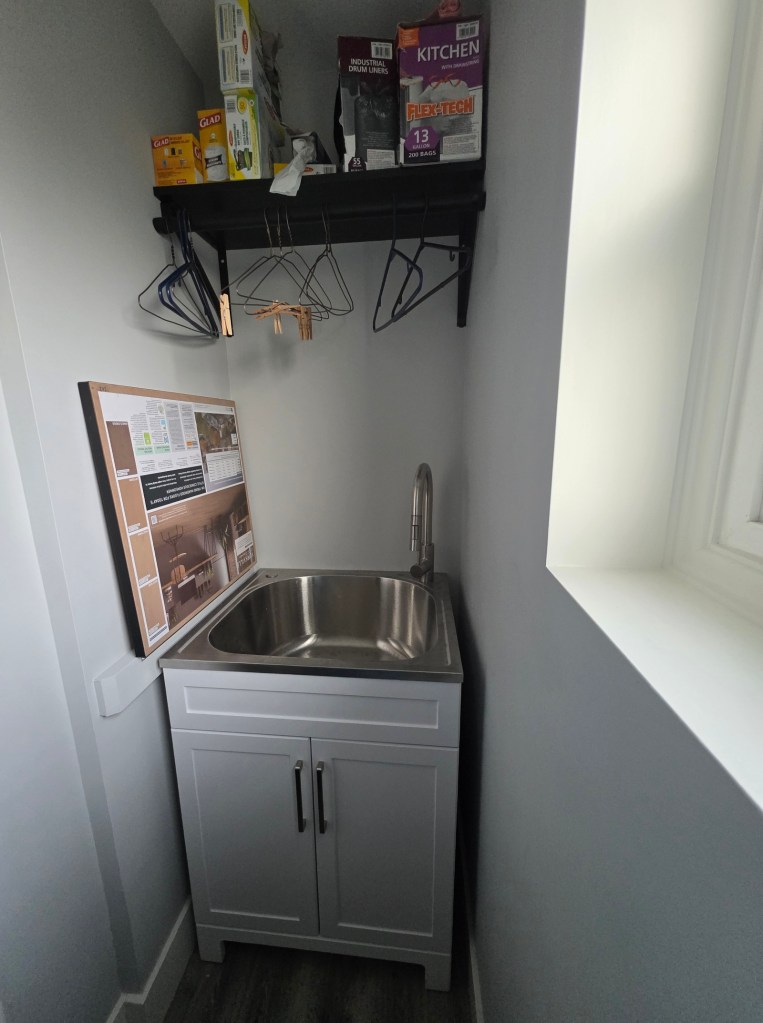
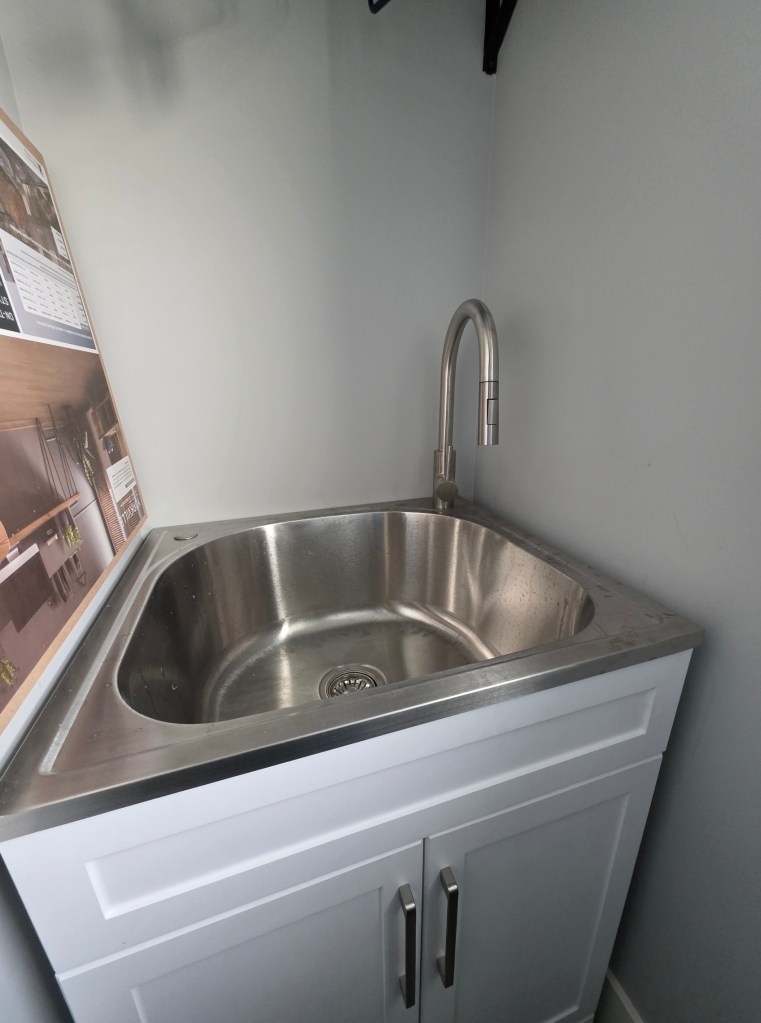
The laundry closet is a perfect gem – stacked washer and dryer on one side and a stainless laundry tub on the other side, complete with a drop down counter and handing space for the delicates to hang dry!
It started out with a washer and dryer on each side of the door with small cupboards above each. It didn’t work hard enough. And as I really believe in a large laundry tub I figured out a way to add one. It so useful to have an oversize sink somewhere in the house.
It is a pretty swank laundry tub. A Costco special.
The counter is a salvaged flooring sample with a piano hinge. It is the perfect size.
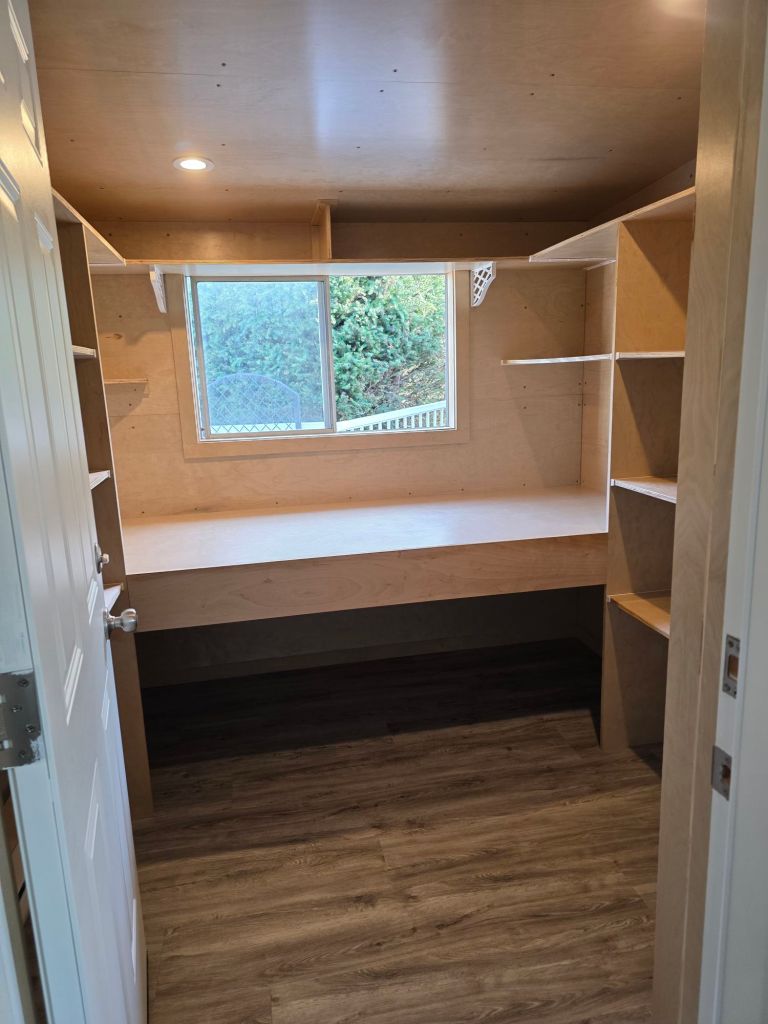
The Wool Room is rumoured to be complete today. Which only leaves the outside jobs, siding on the Wool Room, replacing the rotten boards on the deck (almost done) and then painting the deck and the final cleanup. All to be finished soon!
I will do a photo shoot on the Great Room once it has been tidied up. Which will be after the Wool Room is complete. There is stuff everywhere!
This technique is for experienced or adventurous knitters. You will need to understand the basics of socks and also how socks fit on your feet. But mostly you will need to read carefully and be willing to pull out your knitting if at first you don’t succeed. I love learning something new. I hope that you will too!
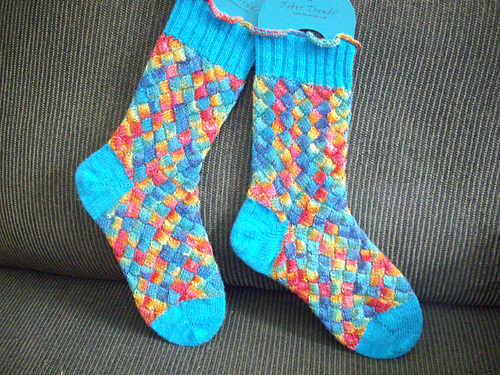
This is an alternative to traditional heels or toe box shaping. It eliminates gusset shaping and can speed up your sock knitting. I don’t really recommend this style of heel if you have a high arch, which I do. I find it a little tight. If I do use it for myself, as I did in the Koigu Entrelac Socks above. I will add short rows to the heel box, in-between the short rows themselves, And/or make the box over more than half of the stitches.
What I do like about these short row boxes is the Japanese style of Short Rows. The extra wraps create a solid seam that is stronger than most short-rows. Also this heel can be added to a highly patterned sock without interrupting the pattern repeats themselves. As in the Entrelac sock above.
I love using the technique to create the toes for Toe-up socks. The look and the strength of the short rows makes for a strong well defined toe.
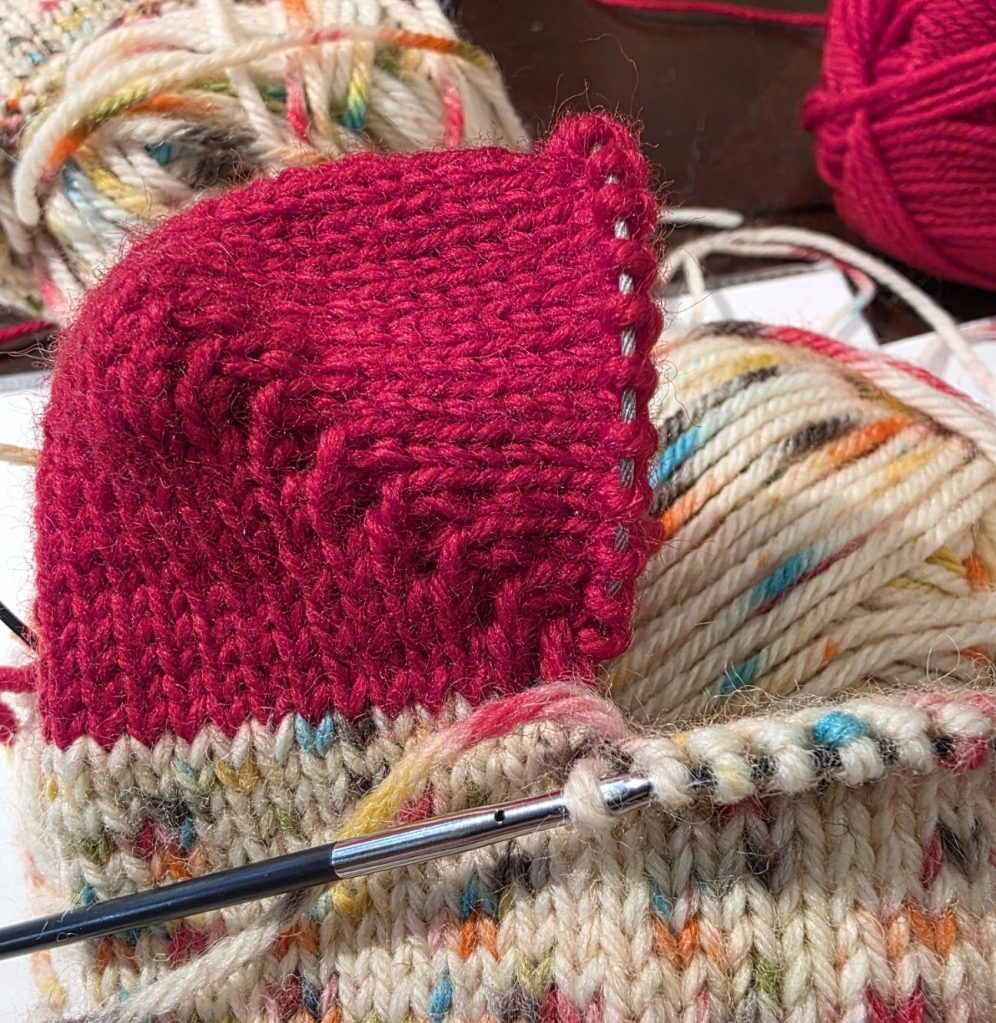
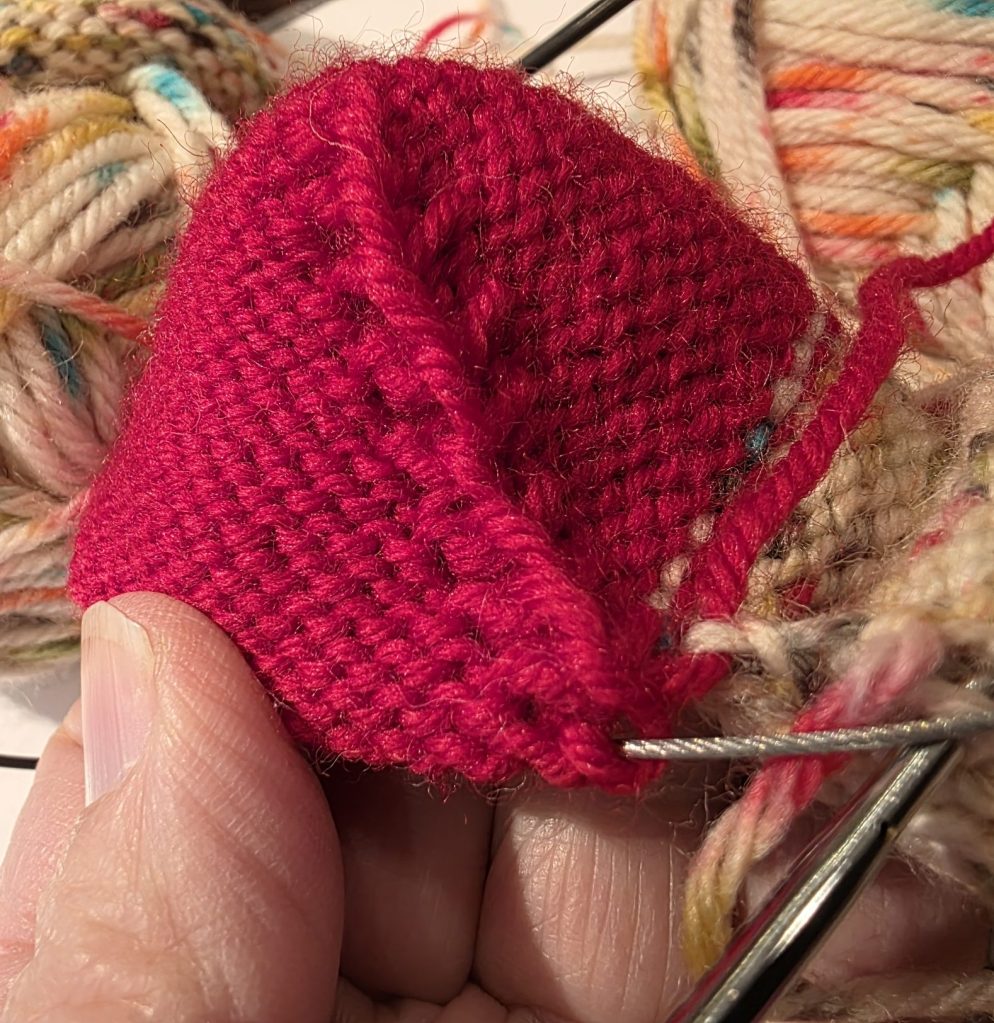
Video of the start of the heel shaping. It shows the making of the double sts with YFs and YBs at each side of the heel box.
Once the heel is shaped to the tip, the heels need to be shaped and joined, working down to the full stitch count. The extra loops are worked in as you go with K3tog’s and P3tog’s tbl.
YB – take the yarn back between the needles
YF – bring the yarn forward between the needles
Stitch mount – the way the stitch sits on the needle
P2tog tbl – purl 3 sts together through the back of the loops
Starting the RS with a close up of the “pairs” created by the YB before working the stitch.ready to knit the other half. RS facing, with the sts and pairs separated off in order to identify everything more easily.ready to knit the other half. WS facing, with sides and top separated.
This technique can be substituted into any sock pattern. I have included a few standard numbers to use for the heels. Remember that there is no gusset shaping. So your sock would go something like this – ribbing, leg, heel, foot, and toe.
If you decide to try out the technique, please let me know what you think! If you have problems please also let me know. What are your favourite styles of sock making? Do you have a heel shaping or toe tip to share? What are your challenges in sock making?
Firstly, I have finally updated the Granny Blanket pattern. So if you have been waiting to start, now is the time. I am starting the blanket itself today! The stitches will need to be doubled from the pillow cast-on and the yardage needed per wedge, tripled. This will be a lot of work. But so worthwhile in the end. It is a good accompaniment to the long term Blanket Squares Project that I have going on as well. It will break up the boring knitting with the blanket squares and fancies!
I am so excited to be starting. I want to get a few wedges knit before it gets too hot! Who is starting with me?!
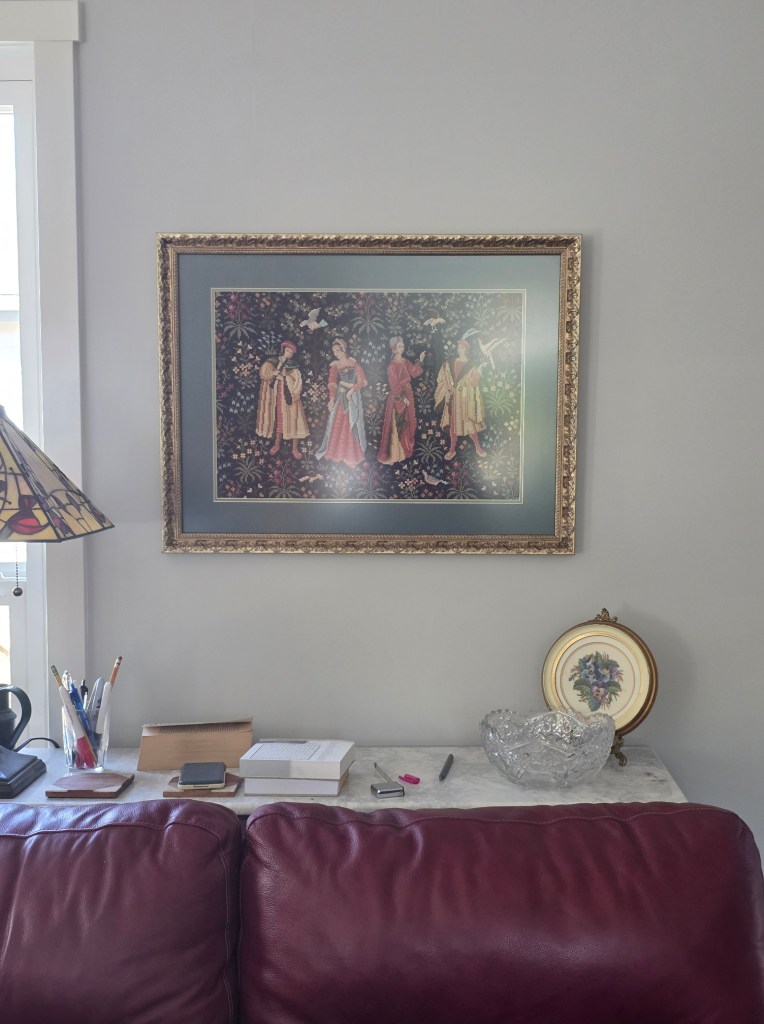
Secondly, the main part of the house is completely done. I still need to do more organizing and it is an ongoing process. I change things around trying to find the best possible spot. The pictures are the hardest. I have so many. My mothers needlework, family pictures, and art I have collected over the years.
I have put up pictures and then moved them. And then moved them again. I can see this may take a while. These few are in their final place. I hope!
Thirdly, the yarn room is about to be started. It got delayed as it needed more work than expected. Which meant the plans had to change etc. But it sounds like it is going ahead, starting midweek.
Getting the yarn room done will help with my organization project as well! More room available, but with more stuff coming out of storage. This will be the start of the final cull. I am sure that this will be both challenging and rewarding. I may be looking or some second opinions.
Walking in the Canyon
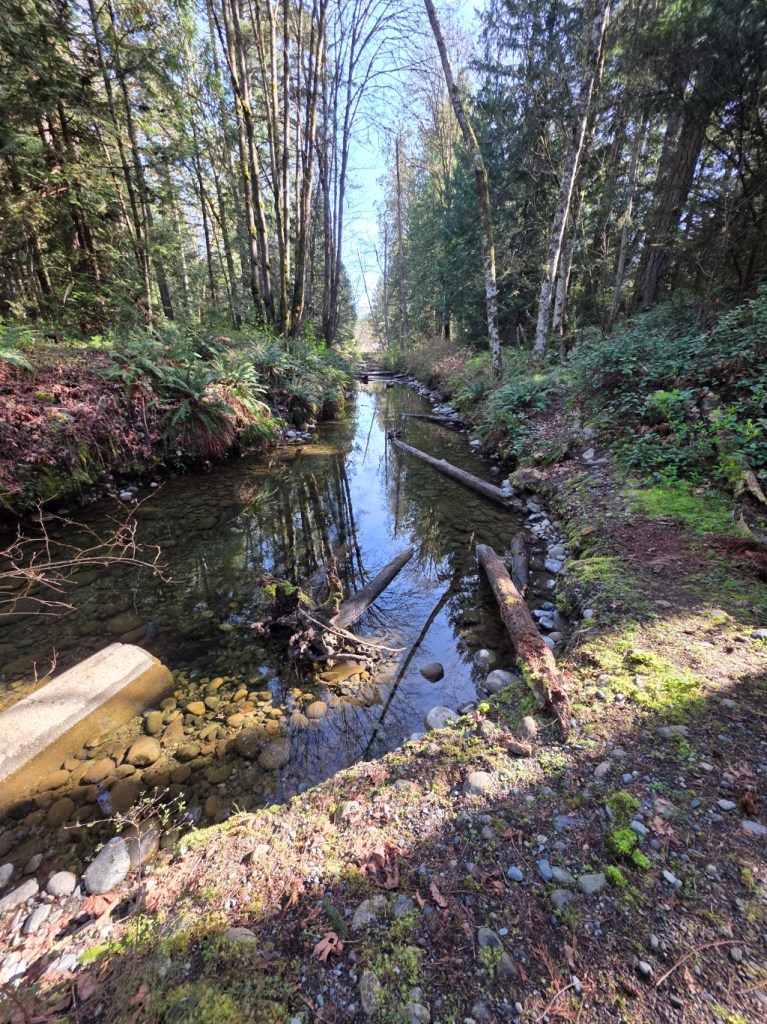
Last weekend we went for a walk on an absolutely glorious Sunday. We went to my favourite place on Nanaimo River. The canyon by Cassidy. It has great swimming in the Summer and great walking all year round. You can see that others enjoy the walk as well.
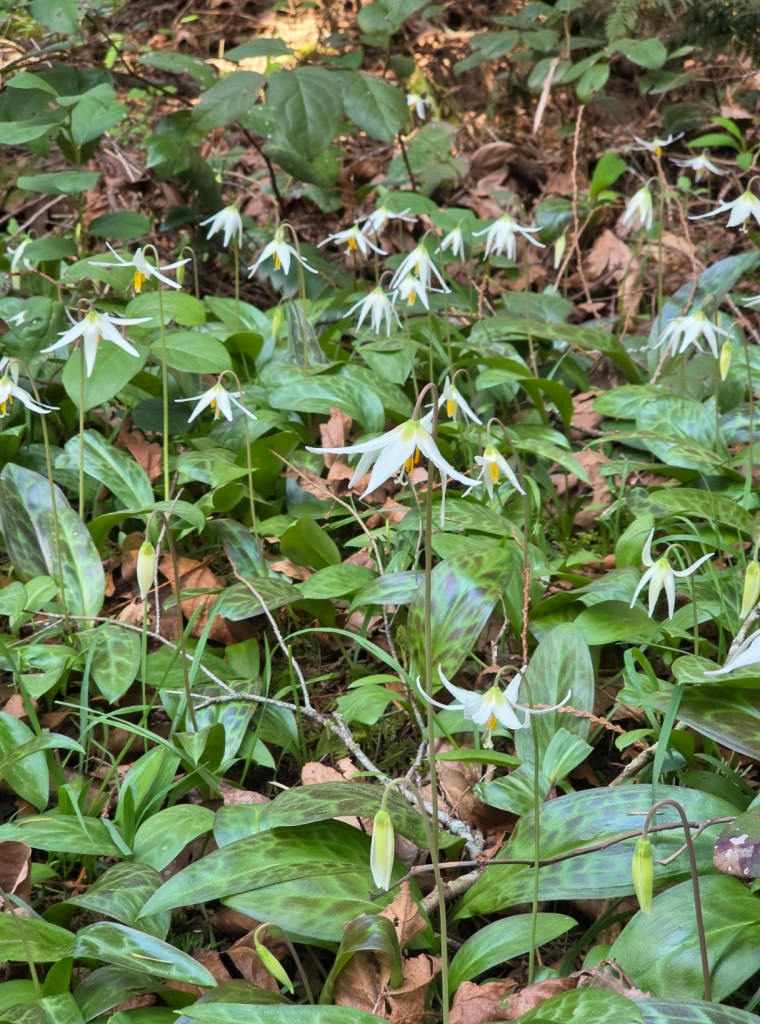
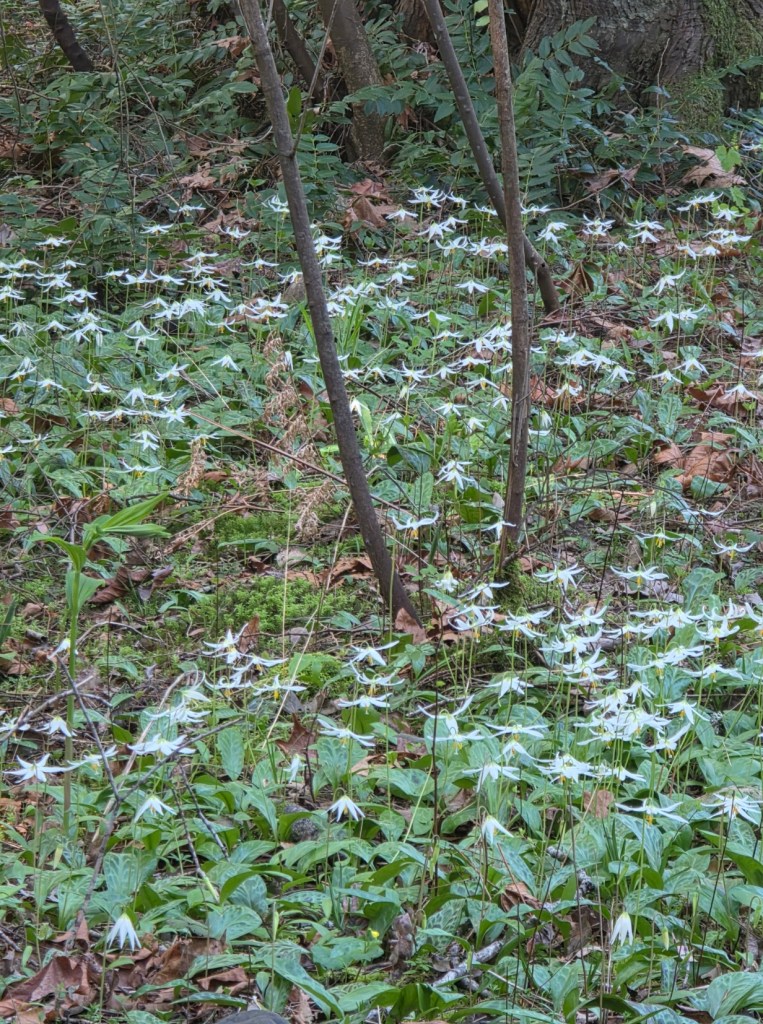
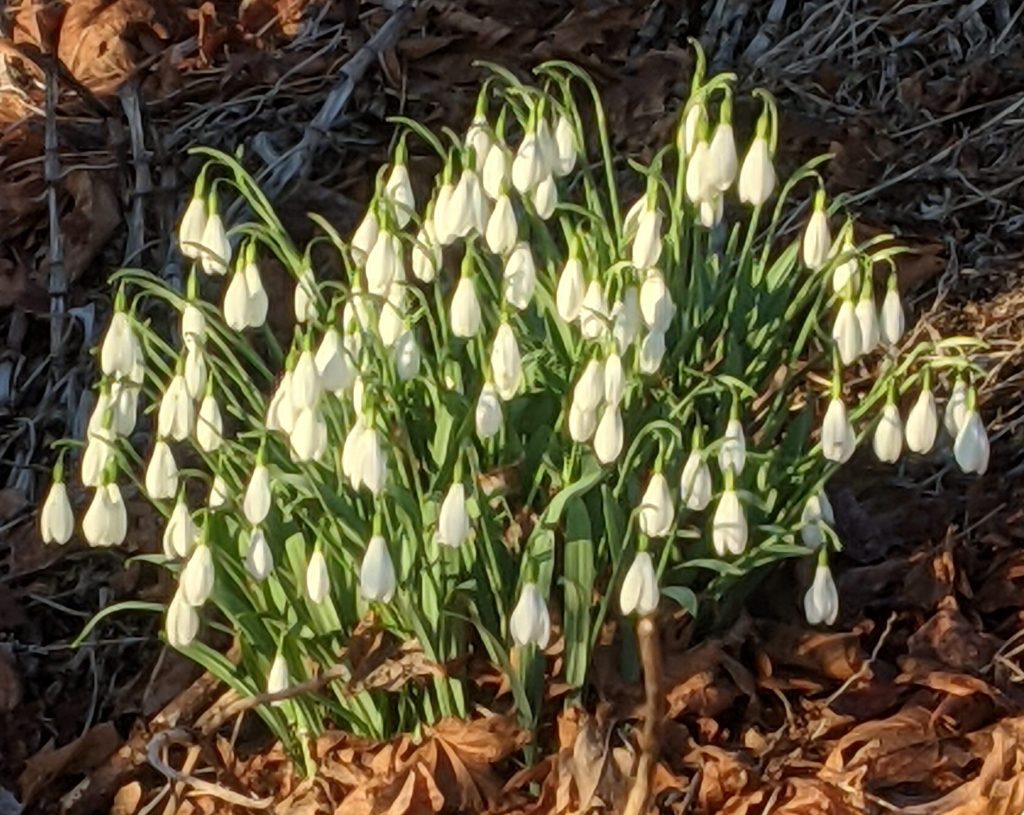
Everything is starting to bud. The fawn (or curly) lilies are in full blown and carpeting the underbrush. Did you know it takes 7 years before even 1 flower comes from the root? Amazing. How long it must have taken to create this display.
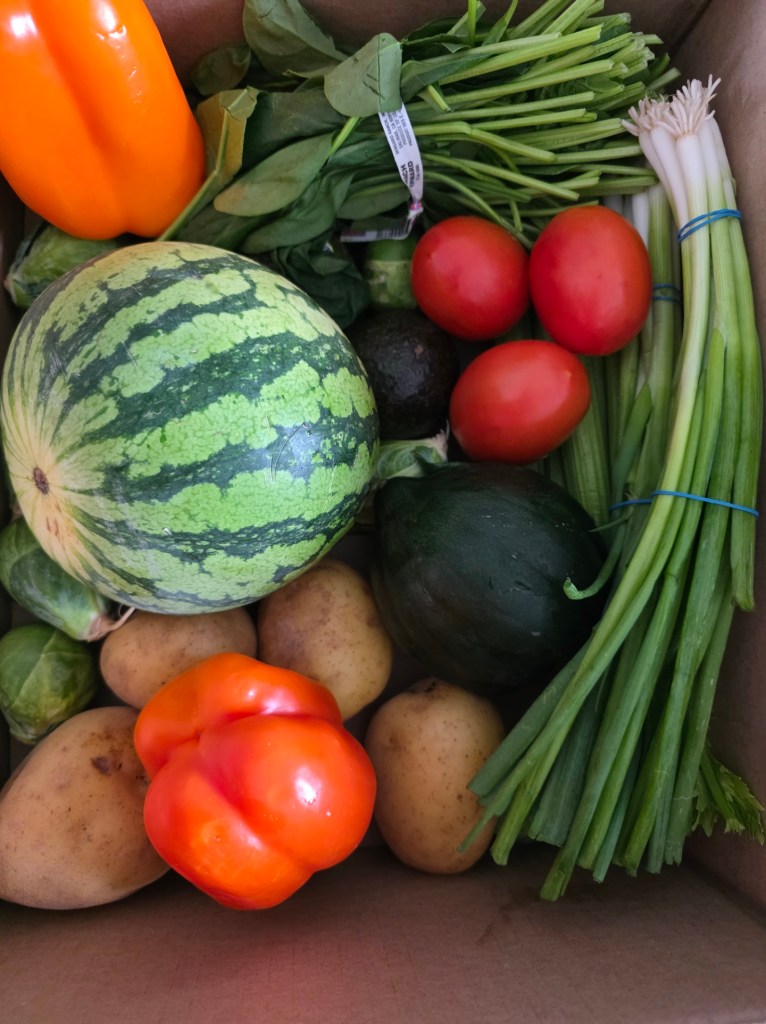
A few weeks ago I started with Odd Bunch vegetable delivery. A box is delivered once a week, or less. You decide how often you want the box. The box varies in price with the size. I get the small plus box. It is $26.00 per week plus delivery and it comes right to the door. Below is last weeks box.
It has been very interesting and I think it has proven to be a good value. It has been challenging to cook some of things I wasn’t totally familiar with. I gave the butternut squash to my daughter. Maybe I need a new cookbook! LOL! The quality has been good. Only 1 item in one box was disappointing. Strawberries – just a little to close to the edge. I should have noticed and used them sooner.
It is April first and I was scrambling last night to finish the Fancy for this month! Where ever did March go? Though I am rather pleased with both the fancy and the square for this month.
The Square
The stitch pattern for the square was new to me. I found a picture on Pinterest and turned it into a pattern! As a bonus the stitch pattern is reversible. So I designed a shawl to be knit with the same pattern. Yarn and pattern went off to Jana (my test knitter) on Monday! I am very excited to see if my idea works out.
The shawl will be a traditional top down triangle. It will be reversible and have a pointy edging. Stay tuned for updates. I haven’t had any feedback from Jana yet. So everything must be working out. Right!?
I must admit that I had way too much fun designing and then knitting the fancy.
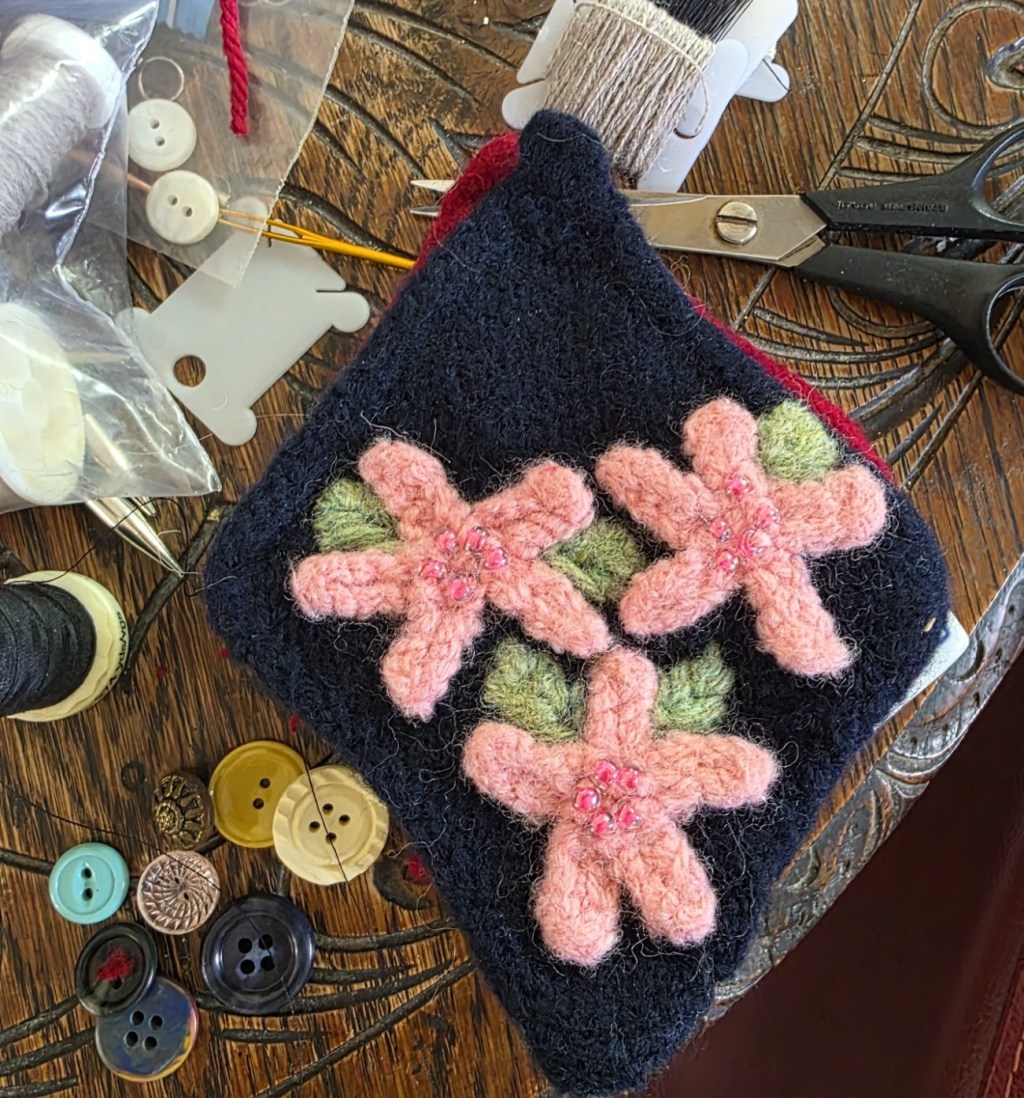
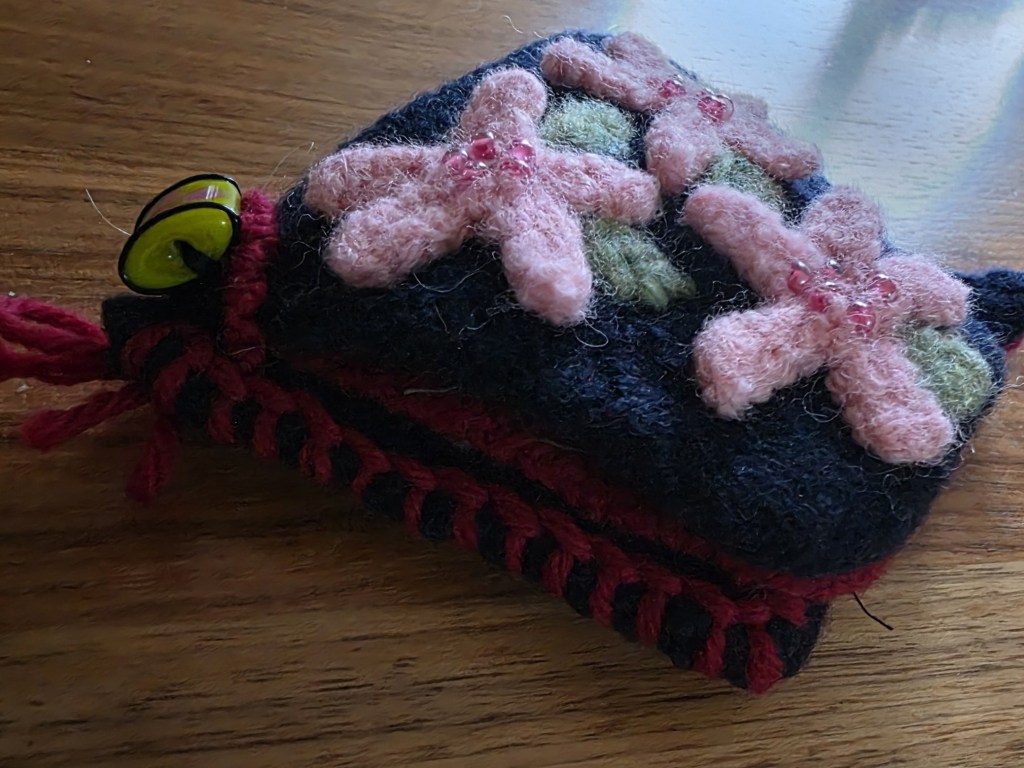
This months Fancy is a mending kit, something that can travel with you. It holds all the necessary tools. It includes a pocket for scissors and mending threads. There is also a little yarn for darning. A sheet for various styles of needles is provided. On the back, a few buttons are sewn, ready for a “button” emergency.
The fancy with knit with non-superwash wool. I embellished a couple of the pieces with small beaded and knit flowers. I also added just a little bit of embroidery for the leaves. Then I fulled the pieces for extra strenght and durability. It was fun because I used my hands to rough up the pieces in the hot water. It was also very therapeutic.
This month will most likely be just as busy. I am working on designs for the next series of classes. And I have this idea of how I want to put my blocks together… More on that later this month.
Kitchen Reno
The kitchen is done. The wool room has been delayed a couple of weeks. I will share before and after pictures this weekend. I will have three days and time to share all the kitchen wonders with you!
I know that a PS is supposed to come at the end. But life interrupted the blog post and so it is at the beginning this time. There has been a real flurry of activity around here.
The inside of the house is complete. There is still the wool room, but it is on hold for a couple of weeks. The next couple of weeks are for finding places for the stuff still in the storage locker. We will also let go of some of the stuff from the storage locker. Before we moved I got rid of some things but kept others “just in case”! So now comes the final cull!
Hank
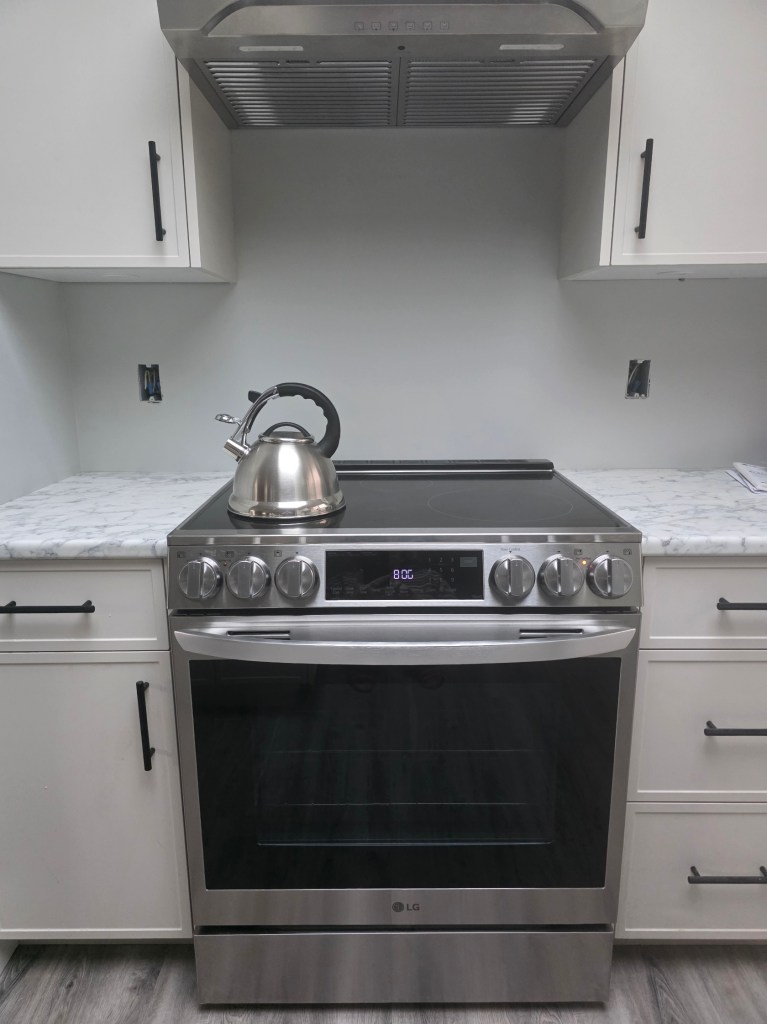
Meet Hank, my new induction stove. He is not really dressed fully yet – his backsplash is being installed tomorrow. But he is still looking pretty jaunty.
Hank is a thrifty guy. Uses less power, almost 50% less than a regular stove and cooks faster. Simply because the heat transfer is instant. The old stove that came with the house was on its last legs. It had an old glass top, which I hate. The heat cycling always made it hard to control the cooking process. Induction stoves give you much more control, almost as good as gas. Some chefs think that they are better. They certainly are safer for people and the environment.
Now Hank is also a pretty fancy fella. Turns out that he requires his partner to invest heavily into all the modern doo-dads! Like pots, magnetic pots, induction requires pots that will conduct electricity. Now, in my working theory, stainless steel pots are magnetic and nearly every one of my pots was stainless steel. Hank and I would get along just great. Or so I thought. That was right up until the moment I started cooking!
My base supposition was incorrect. Turns out old stainless steel pots were not magnetic! They need a carbon core to become magnetic!
So, Saturday evening I am planning to cook a meal on my new stove! I didn’t check the pots. I just filled and placed on the stove and waited for the magic to happen! There was no magic! There was no heat! This new relationship was going nowhere!
So I found a magnet and proceeded to test every one of my pots and my favourite roaster. Nothing, nada, they were all duds. Thirty years of collecting pots down the drain.
And I mean collecting. Do you remember when Paderno pots first came on the market. They ran sales with “try me” pots. I couldn’t afford the sets, or the regularly priced pots. I was a single mum on a very limited income, but I watched for those sales. I collected every “try me” pot there was and occasionally even bought a full priced pot!
So back to Hank and the Saturday night supper. So here it was. Six pm and nothing was happening in the kitchen. Talk about a fraught moment!
I was thinking I needed to start a new collection. Buy pots one at a time, just like the early days. My real beau, my husband was having none of that! He said lets go and get a new set of pots, a whole set, all at once. Live a little, he said. So off we went and bought a full set of induction ready pots!
Once we got home we washed what we needed and proceeded to start again!
Hank came through. There was magic! The water boiled within minutes, the fry pan heated almost as fast and everything proceeded as it was supposed.
Sunday I went and bought a new roaster. It was actually a large au gratin pan, made by Hestan. However, it looked like my old open roaster. And it could go from oven to stove top, which was necessary if I wanted to make gravy. Which I almost always do.
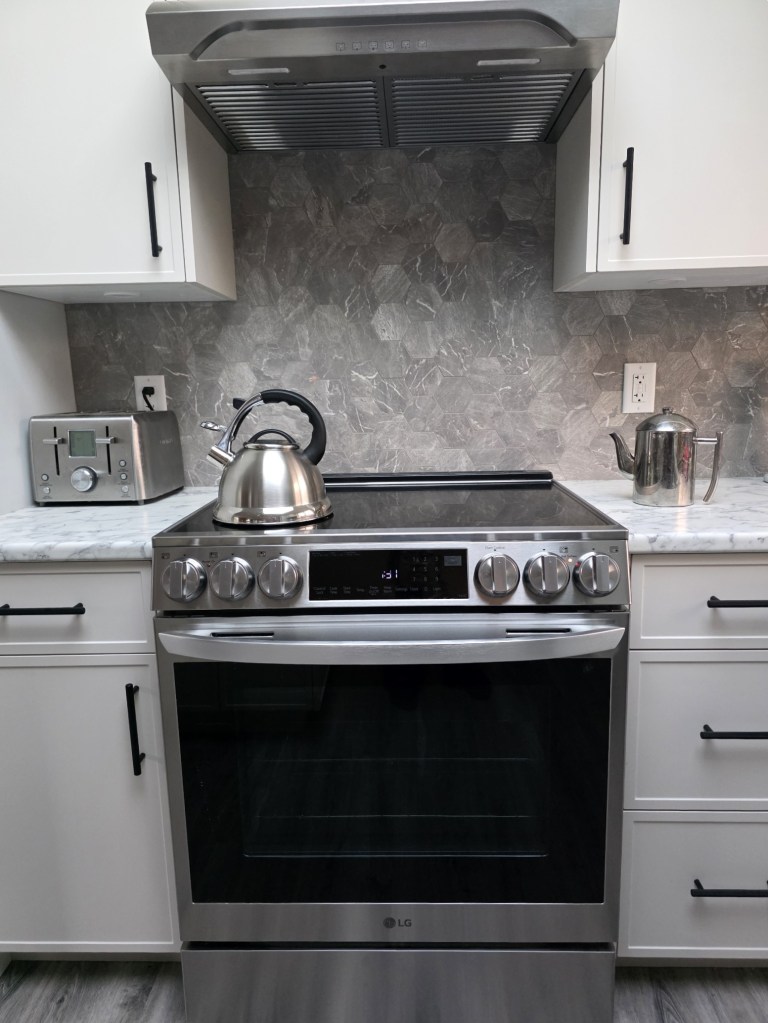
Hank, is all dressed up with the new backsplash. It is Danish porcelain that was on sale at City Tile. Beautiful patterns and sheen.
My old pots owed me nothing. We have already taken them off to find a new home. They held a lot of memories. We cooked big family meals with them. We shared food with friends around the table for high days and holidays and everything came from those pots.
I really do have a thing about pots. A while ago I wrote about my grandmothers pots. These pots will not work with this stove because they are made from cast aluminum. However, the turkey roaster will still roast in the oven. The birds are the best when roasted in that roaster! And memories will still be made.
I did keep my turkey roaster. Nothing could replace that.
Hank, the new pots, and I are going to team up. We will create more memorial moments using the new pots and old recipes!
Happy Cooking
Lynette
PS. for real! Next month’s square is almost done. If you want to add the beads you will need a few extra supplies. A 1.0mm crochet hook and 24 size 6/0 beads. Mine are clear mirrored glass. They sort of look like raindrops!