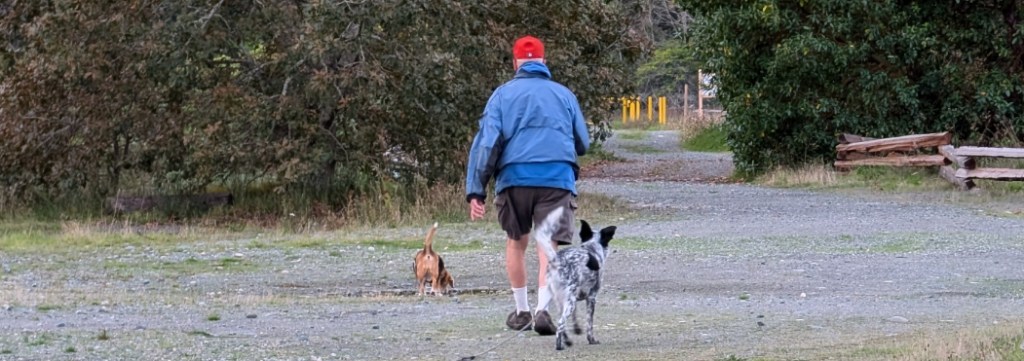
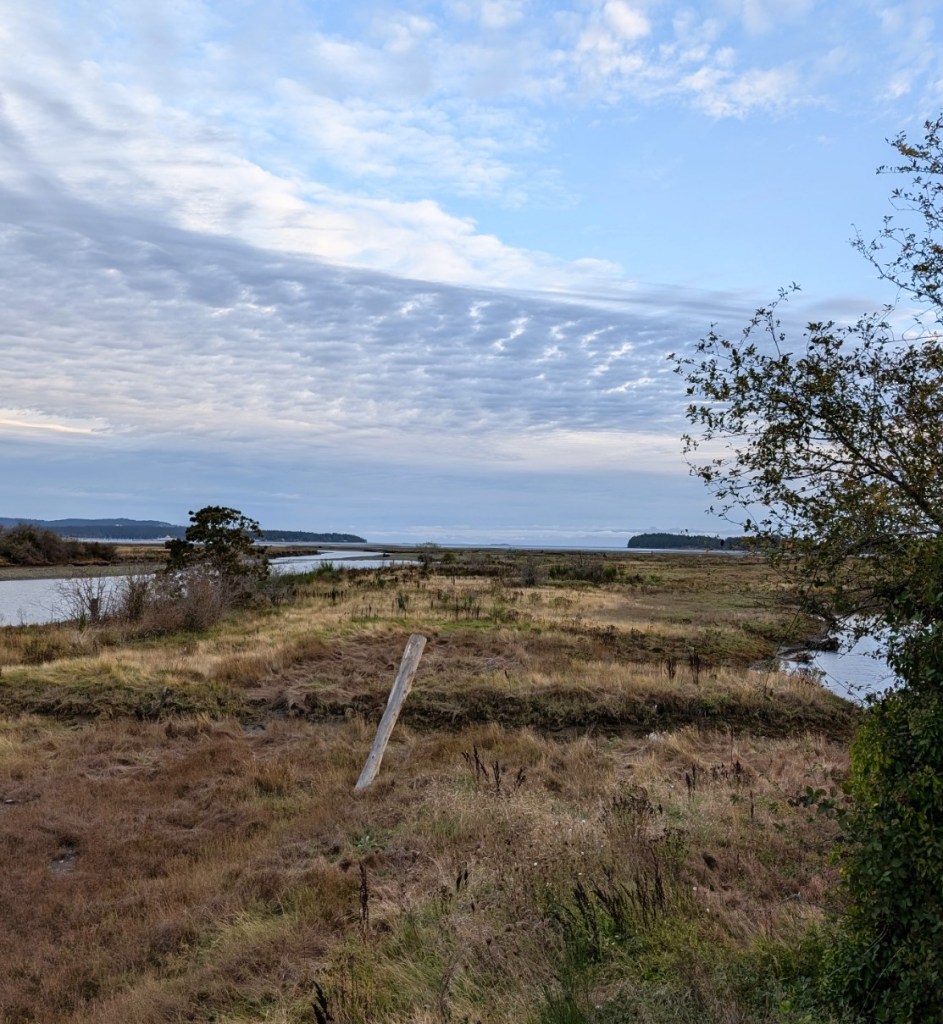
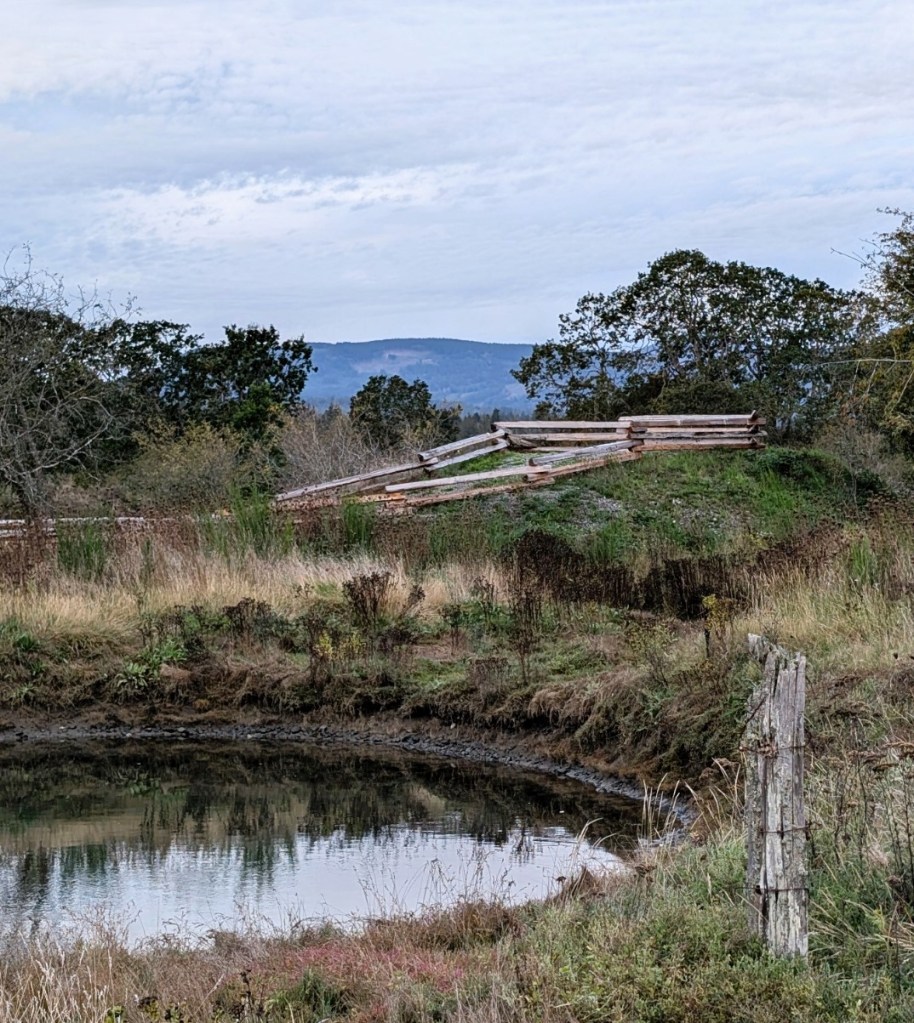
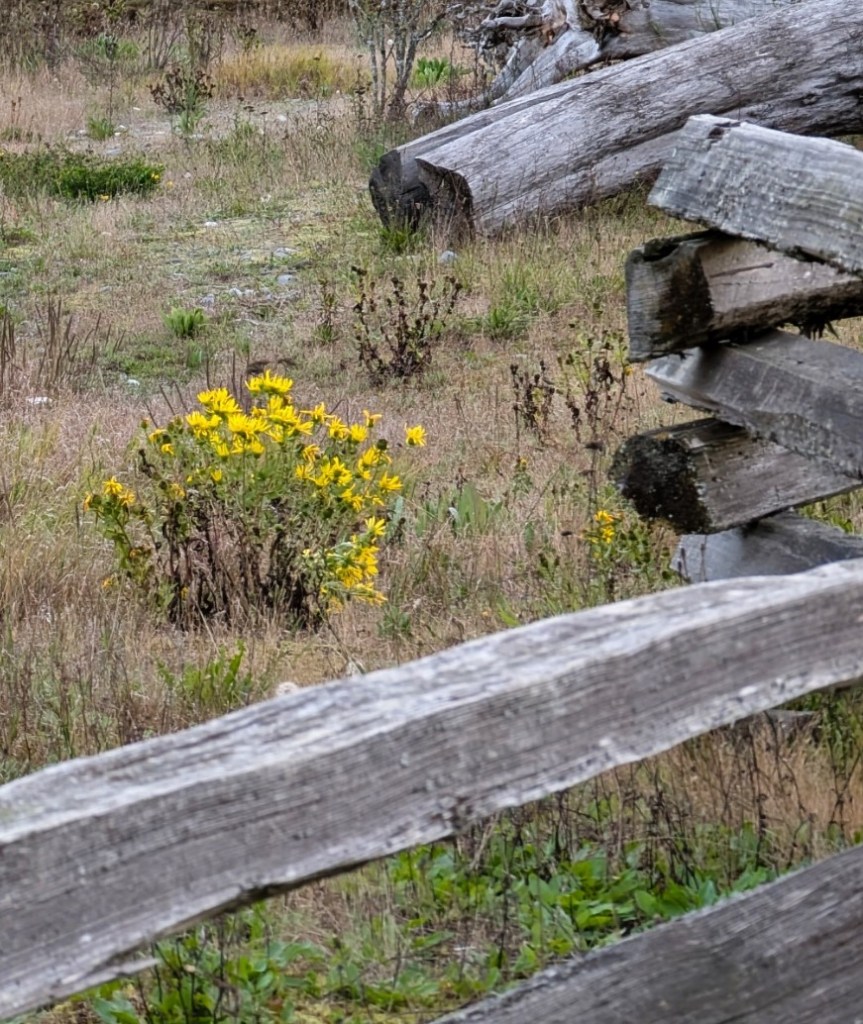
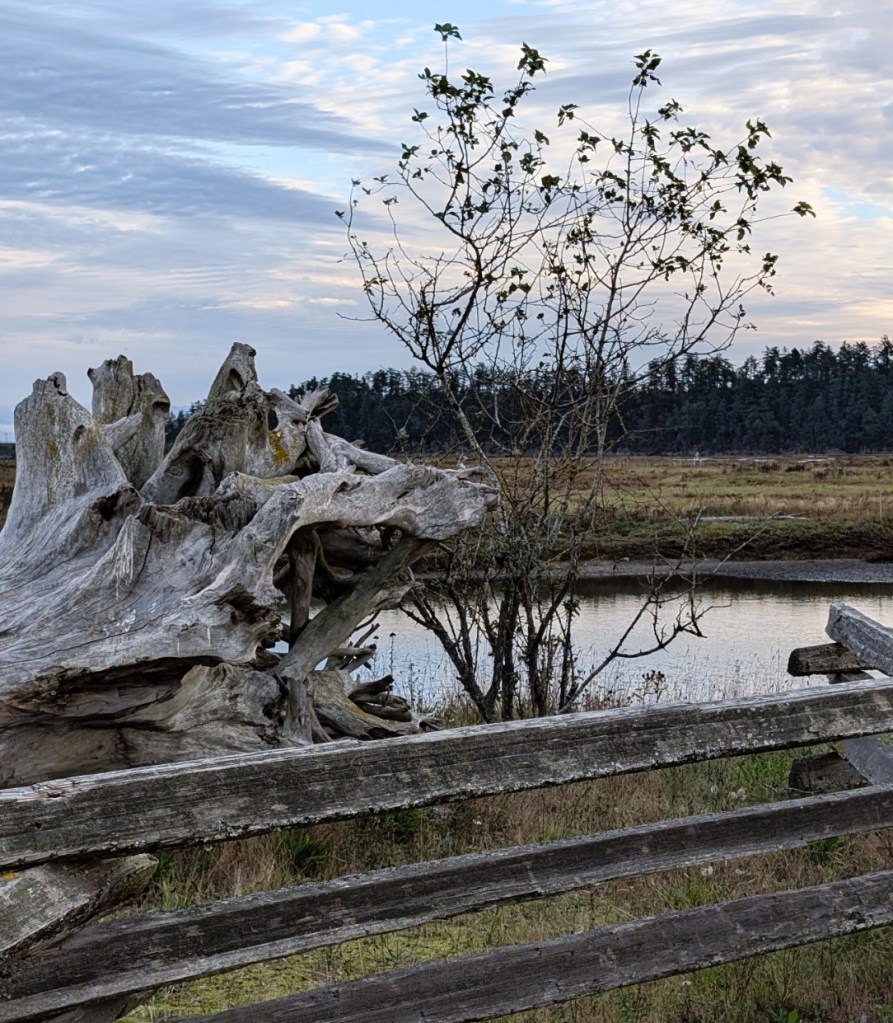
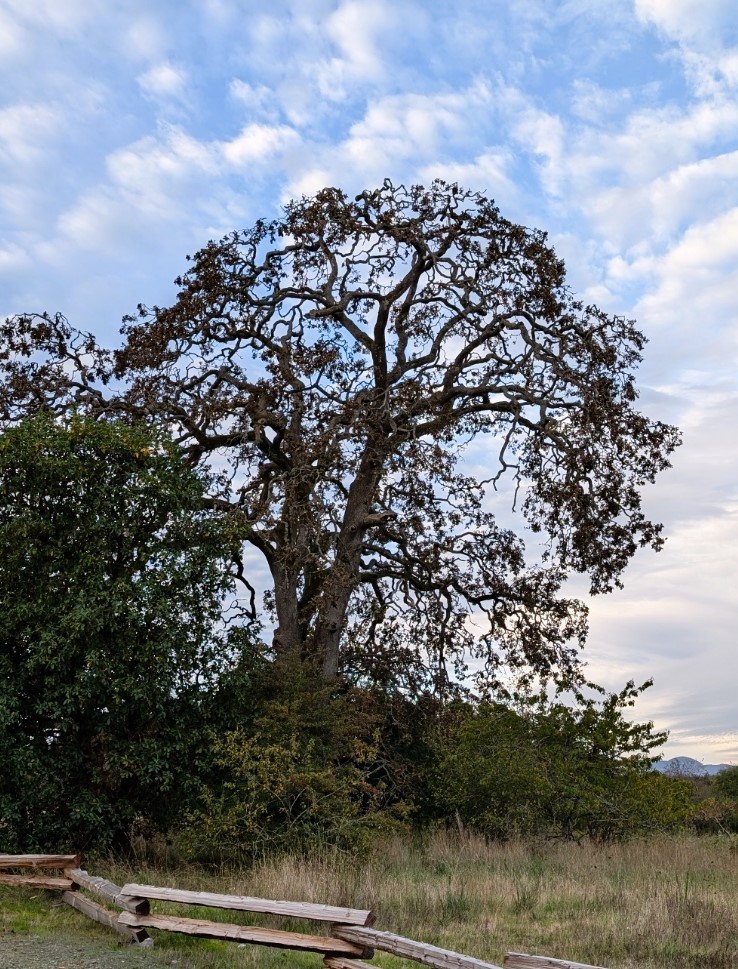
The link above will take you to Walk B.C. review of the estuary, which includes a map. Their information is a little outdated, as a great deal of work has been done to restore the area back to the natural state of the estuary. There are new, informative signs and a couple of lookout areas. The blackberry bushes and man made berms are gone.
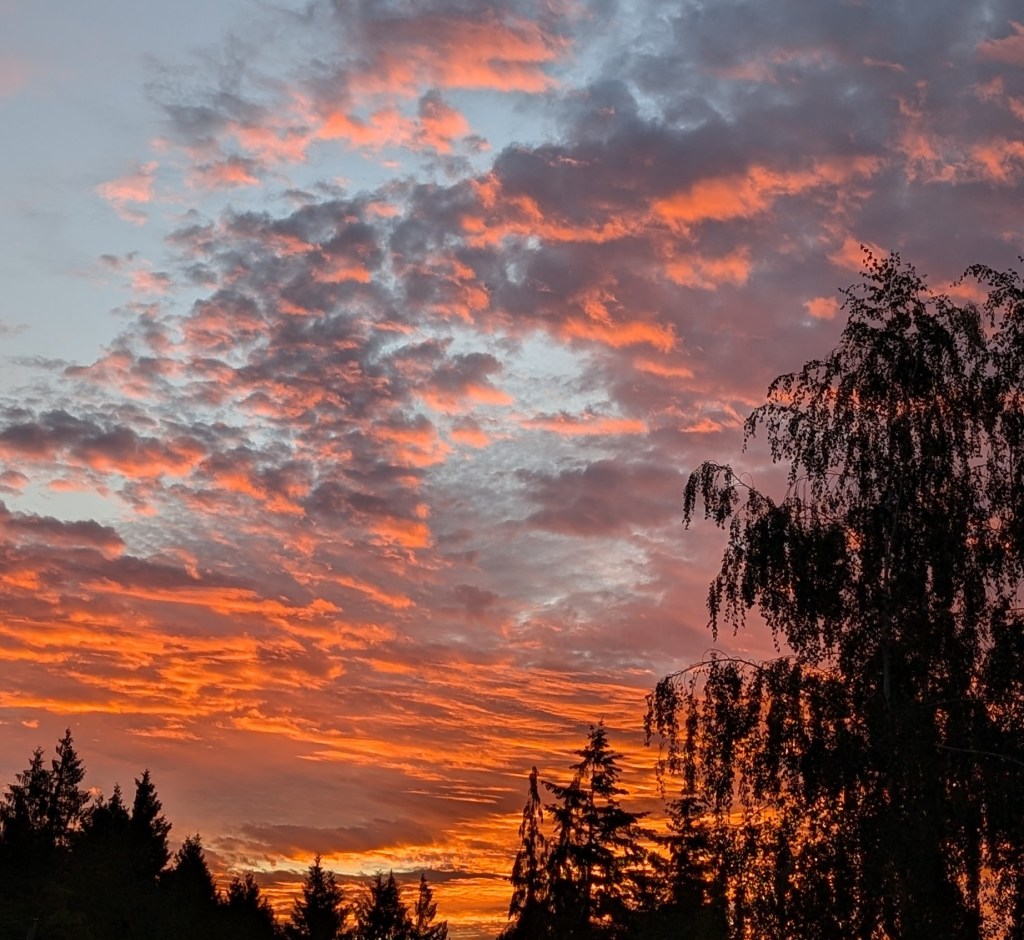
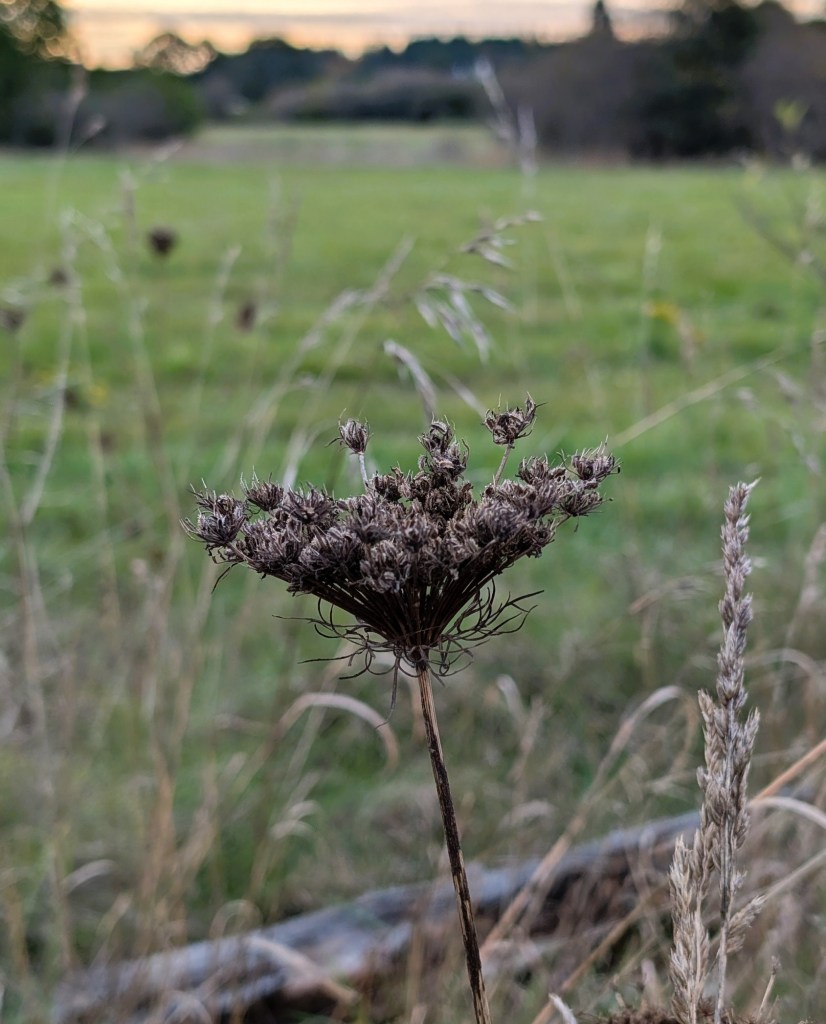
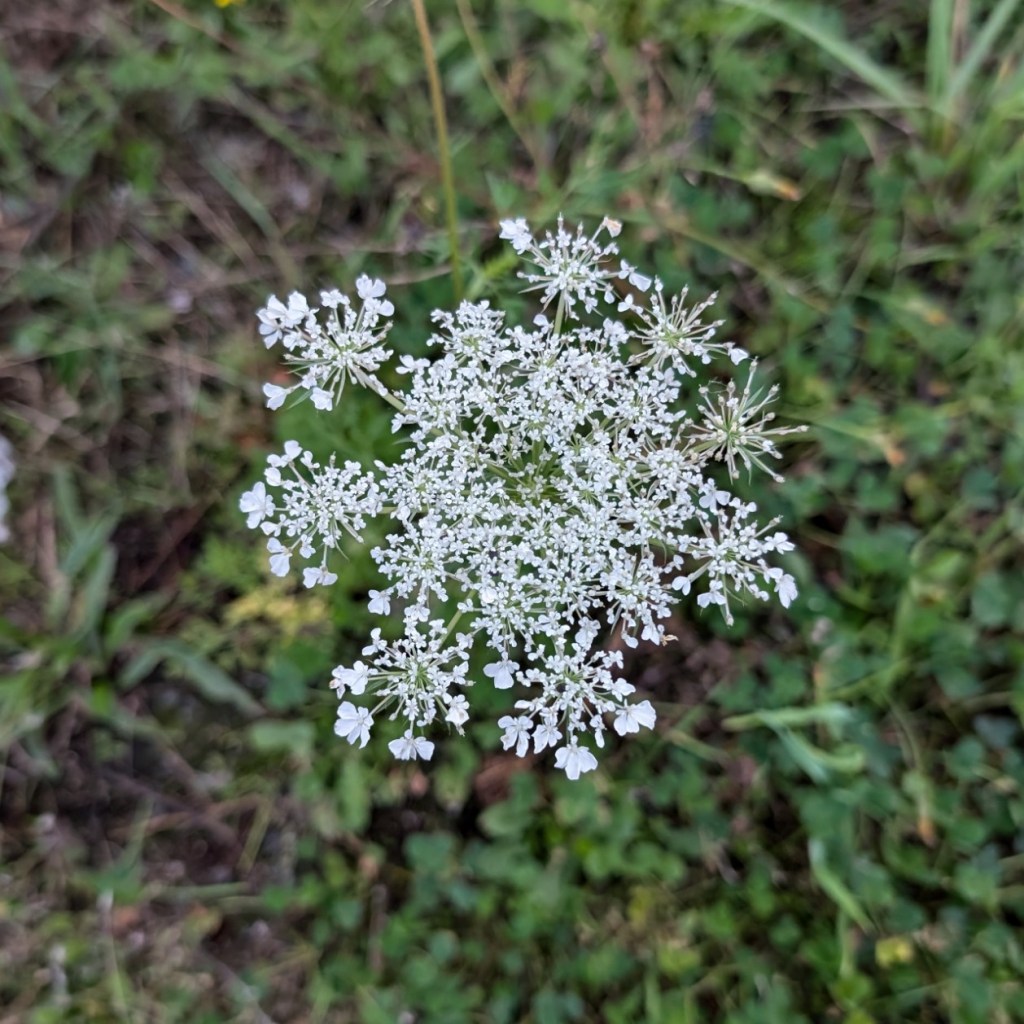
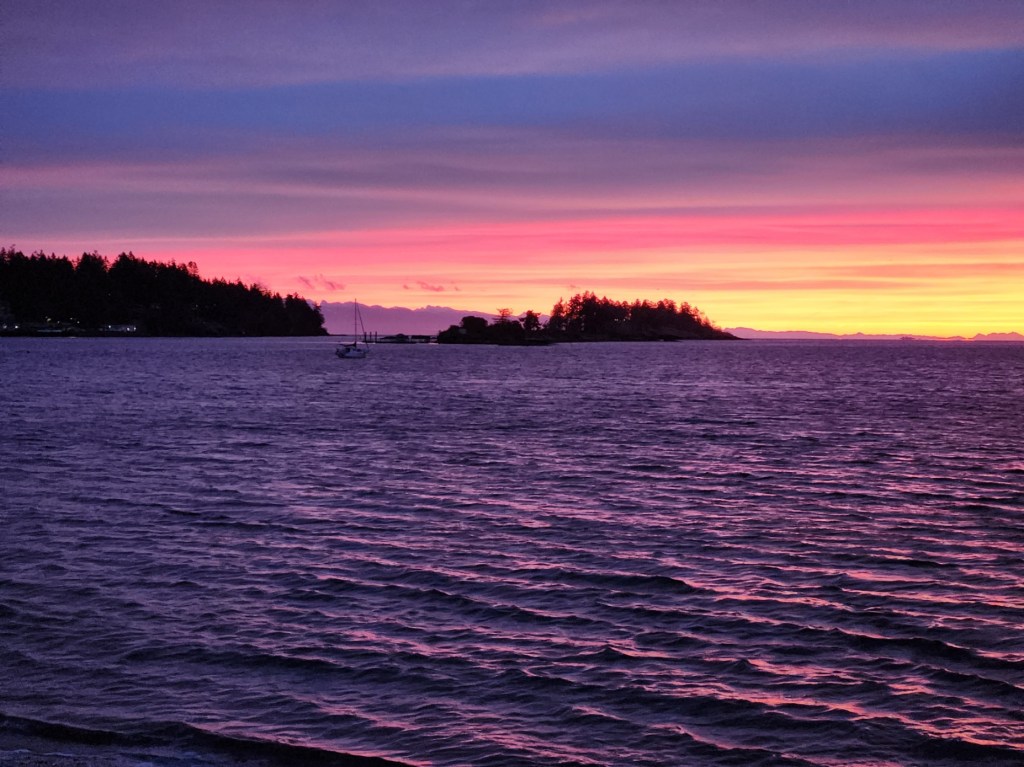
This how we started our morning. From the glorious sunrise outside our door to the perfect last bit of blooming Queen Anne’s Lace. I hope that you enjoy the walk…
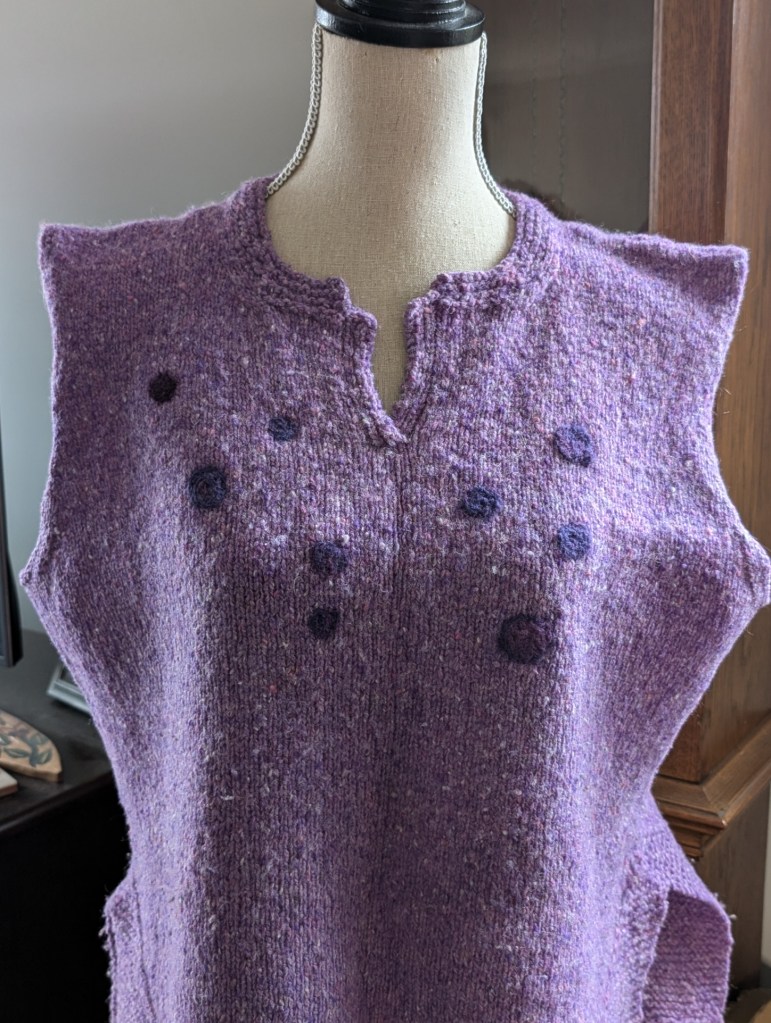
This Fall and Winter and I am undertaking a self taught mending course. I started it yesterday by mending a few moth holes in my favourite vest and what I call my weekend sweater!
I had hoped to work on these things in the summer for a Winter Class but the best laid plans….. So better now than not at all! See On the Mend.
Needle Felting
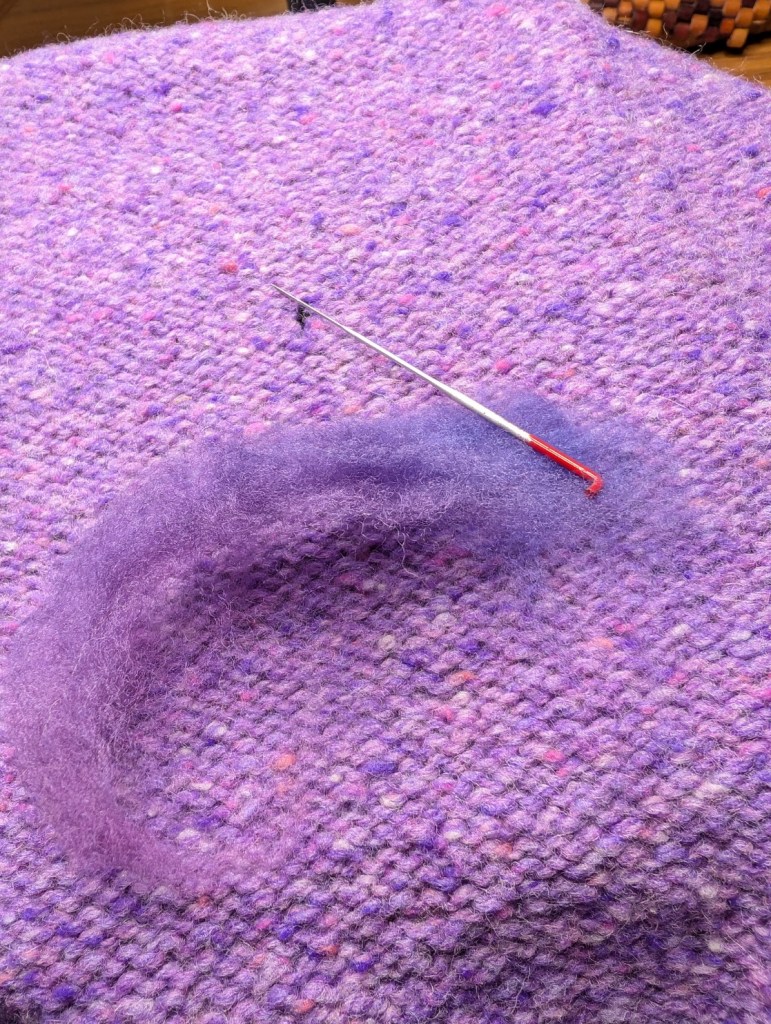
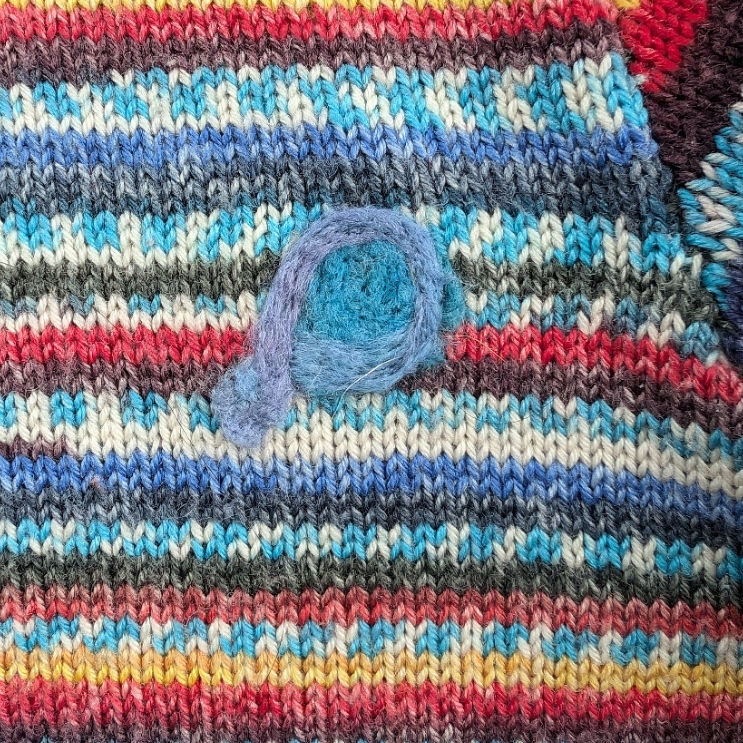
Small holes in our knits can be repaired with a few basic needle felting tools and some fibre. I did not realize how easy this would be or I would have tried it years ago! There are some other methods of dealing with small holes, embroidery stitches offer many options! But this is easy and fast!
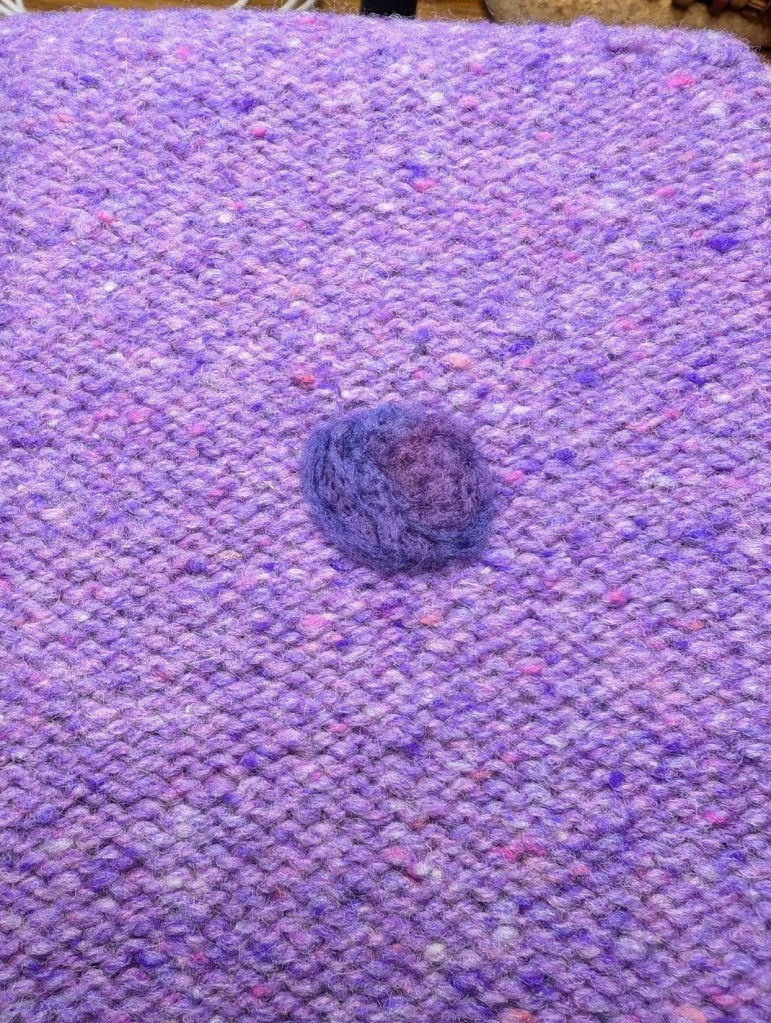
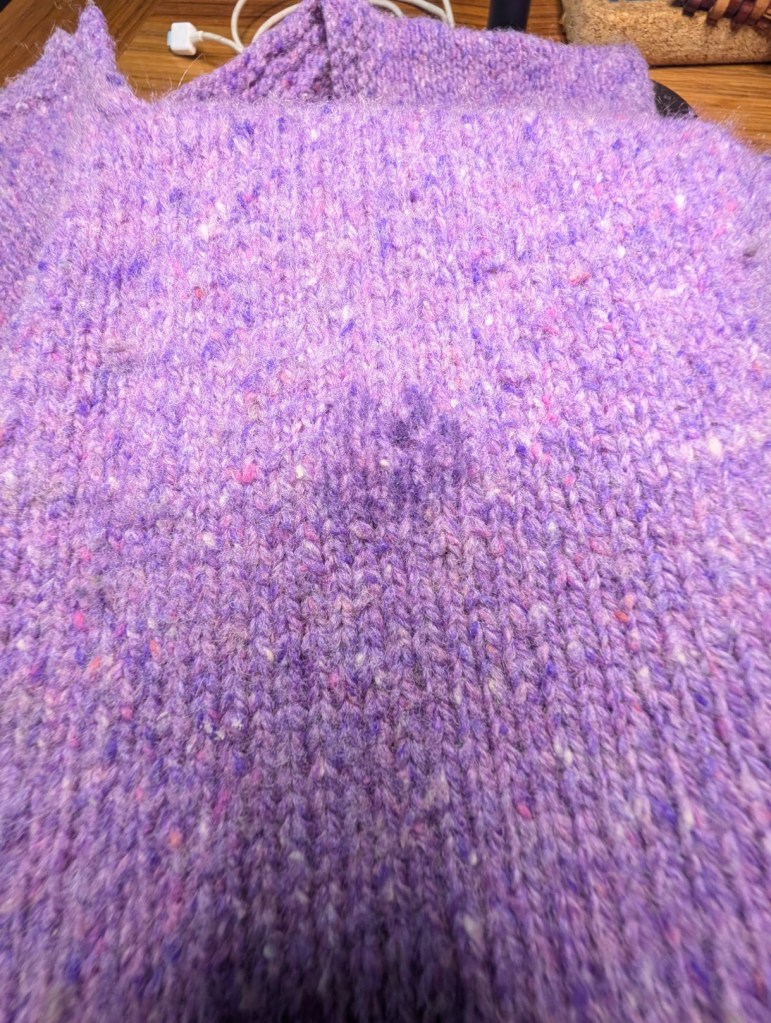
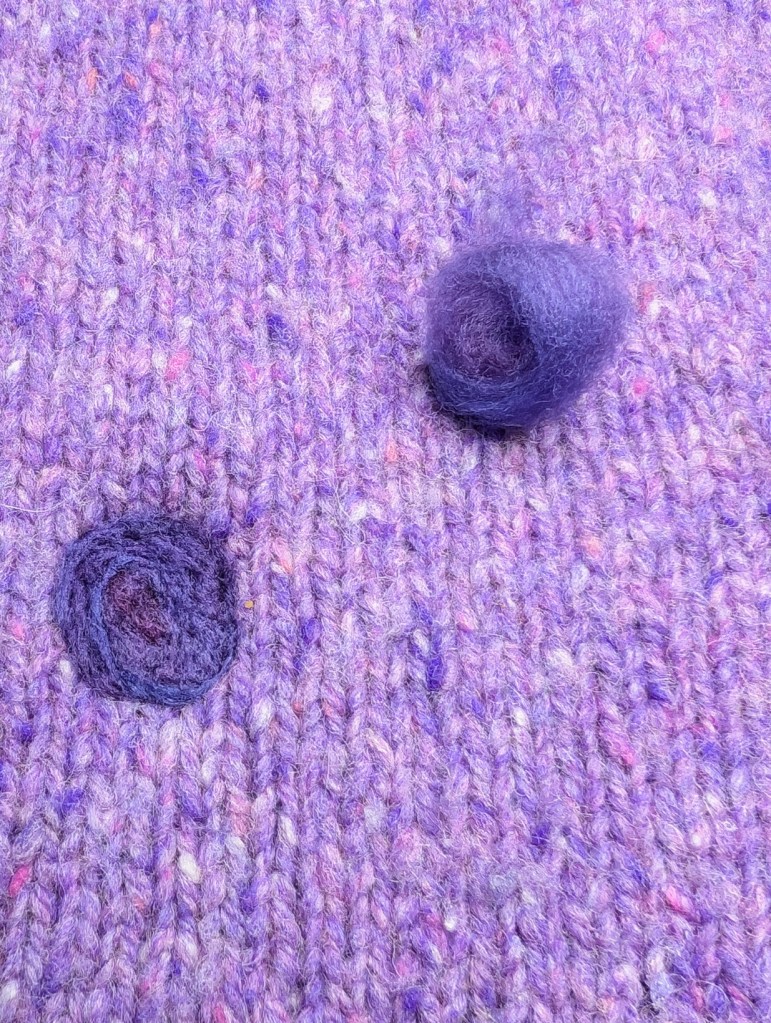
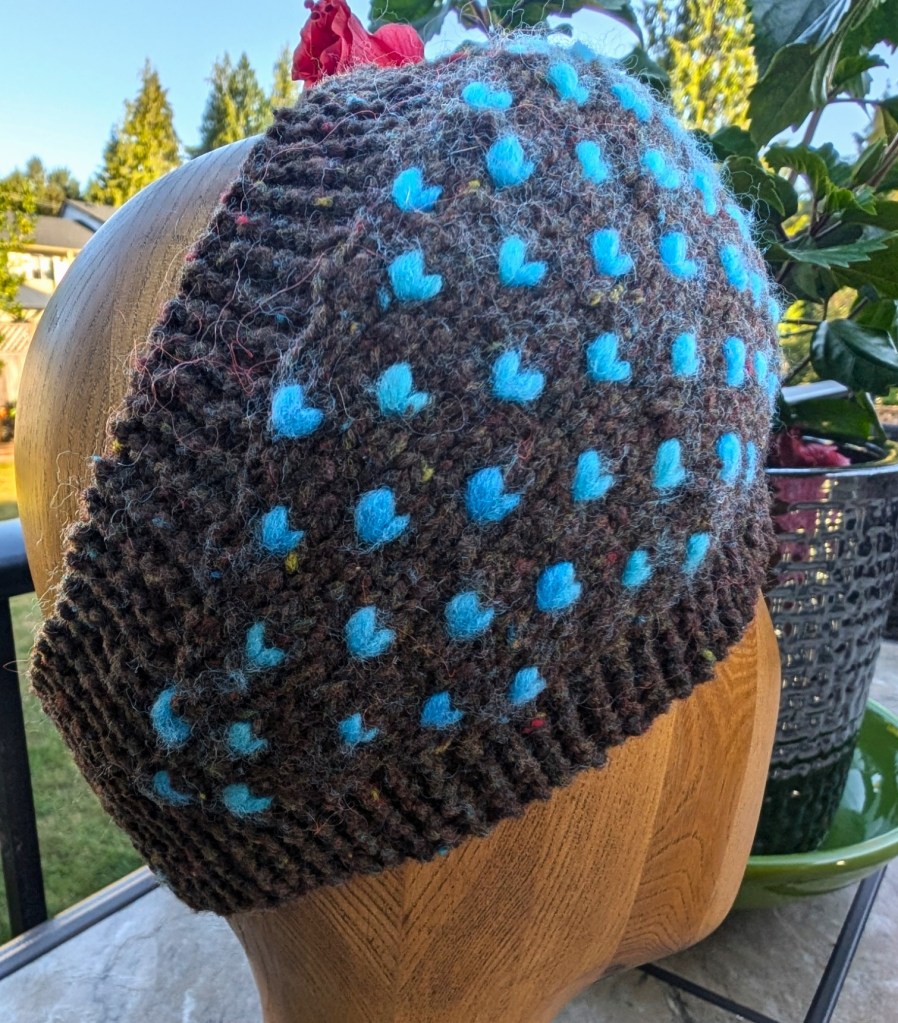
All you need is holes, a needle felting needle, fibre and a sponge (which is underneath the hole). I started in the back to give the hole backing. I did not need to do this. Just felting from the front works fine.Back is finished.Front after the back was done, You can see the shading of the fibre after has been needle felted through the knit. So I felted again on top of this fibre. My hole is a little on the stiff side with two sides needle felted.One dot looked foolish, so I added a few more spots.You can see that this has been folded for quite a while! Needs a wash and then it will be ready to be worn again!
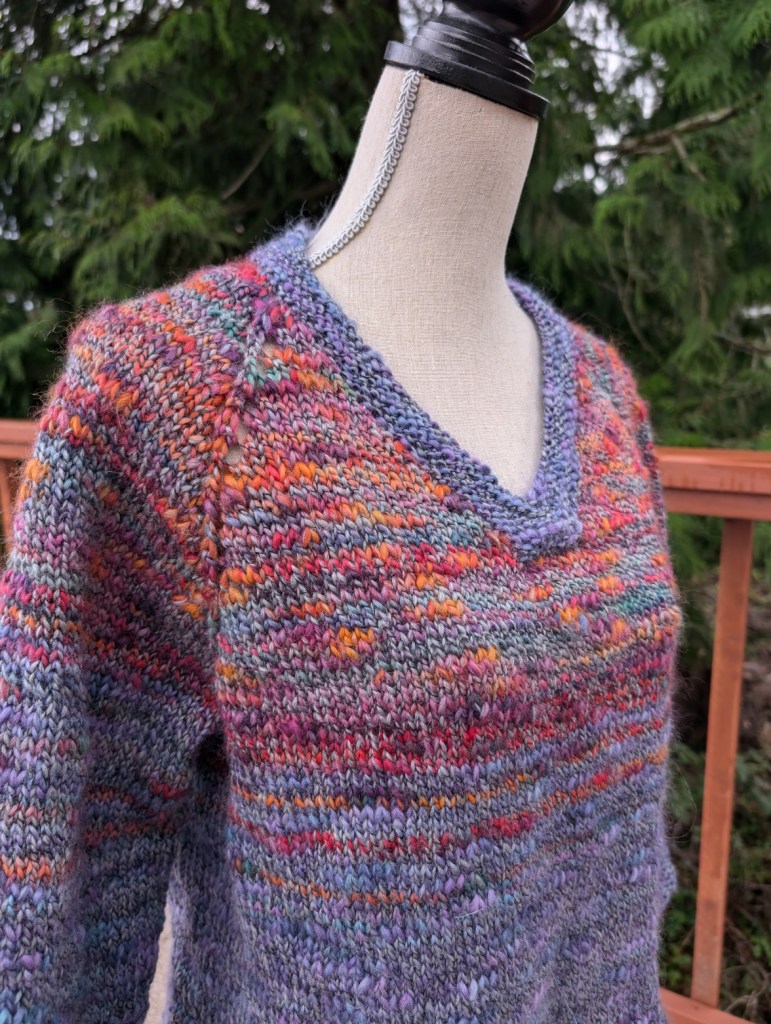
The second sweater with a hole was a much simpler project. This sweater is what I call my weekend sweater. I throw it on over when I just need a little more warmth. It was knit with sock yarn when the patterning sock first came out, so about 24 years ago. There was only 1 hole in the back, So I filled it up with fibre and called it done!. I did play around with it a little, added a little bit of an edge and curlicue!
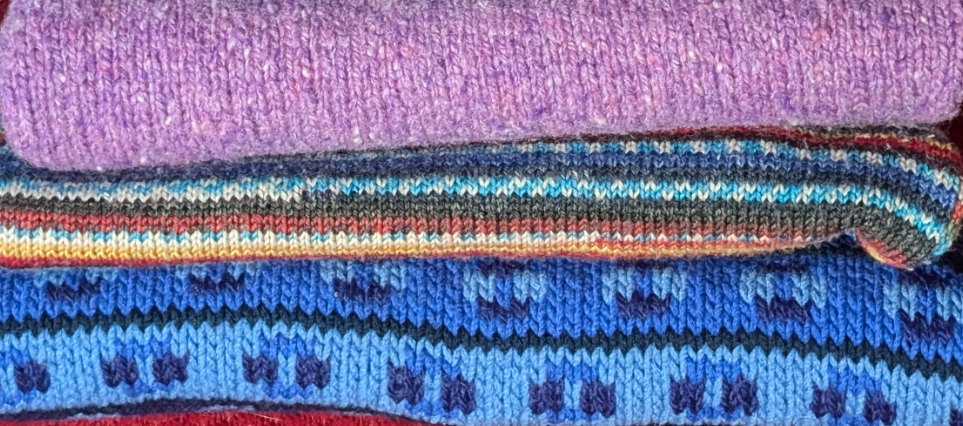
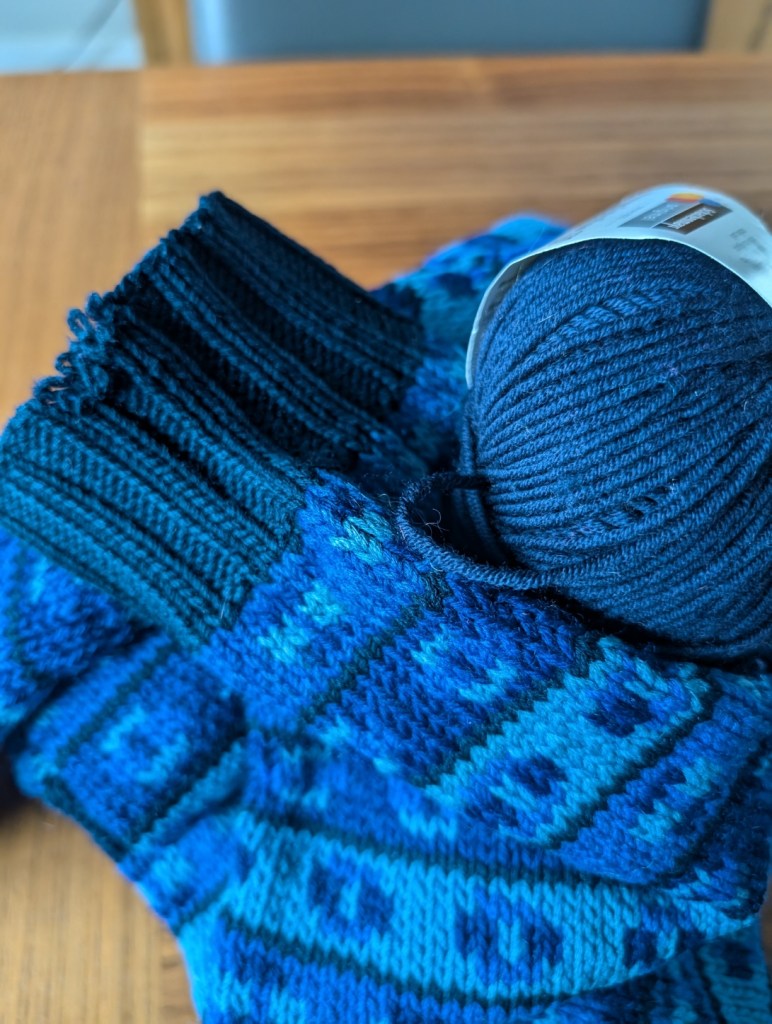
I had hoped to get another sweater mend underway, this one needs a new ribbing at the wrist. The sweater is over 30 years old but still looks great, no pilling and the colours are still vibrant! Well worth repairing, especially as it’s big, boxy style is coming back.
Several years ago I had to replace the ribbing on the other wrist, I had caught it on something sharp and that had broken the bind-off (the sleeves had been knit from the top down – best way when yardage was short). I had used up all of my remaining yarn with that repair. So finding a close colour took a while, then the yarn I found got put away in my stash, so this sweater has been waiting for about three years. You can see in the photo the colour is not perfect, but it will make the sweater wearable again, not bad for a 30+ year old sweater!
Yesterday I put the work in and found the yarn! That took a little time, you know, the needle in the haystack approach! So after looking for the yarn, I did not have time to do the work – but this weekend it will happen!
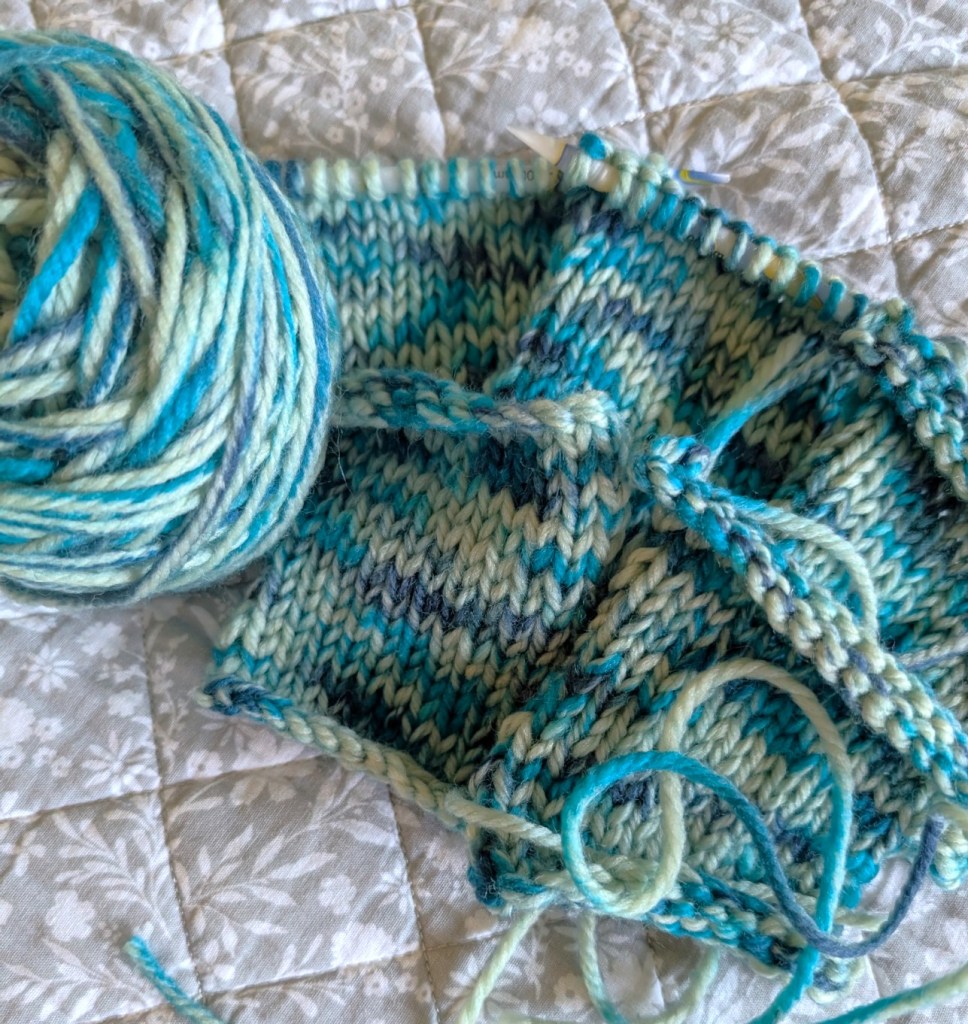
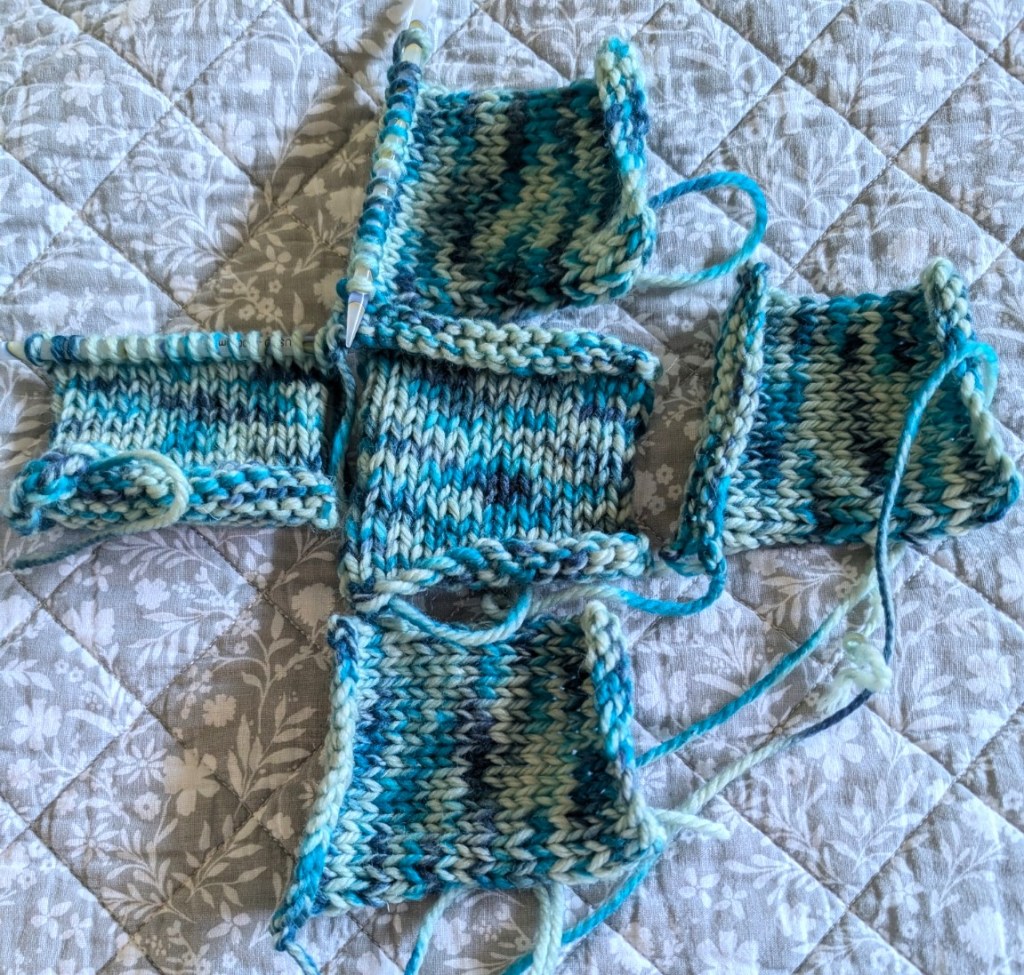
The original yarn was a wool from New Zealand, gorgeous blues in 4 tones. The pattern was an early Kaffe Fassett pattern in about 36 colours, so I simplified it a little!
I have quite a few other pieces to mend and I want to try many different techniques! So my Fall knitting projects are booking up fast!
I woke up to the most glorious sunrise. The living room was glowing orange as the light poured in the windows. When I went out onto the deck – the run was rising in front of me and there was a rainbow forming behind me. So awe inspiring.
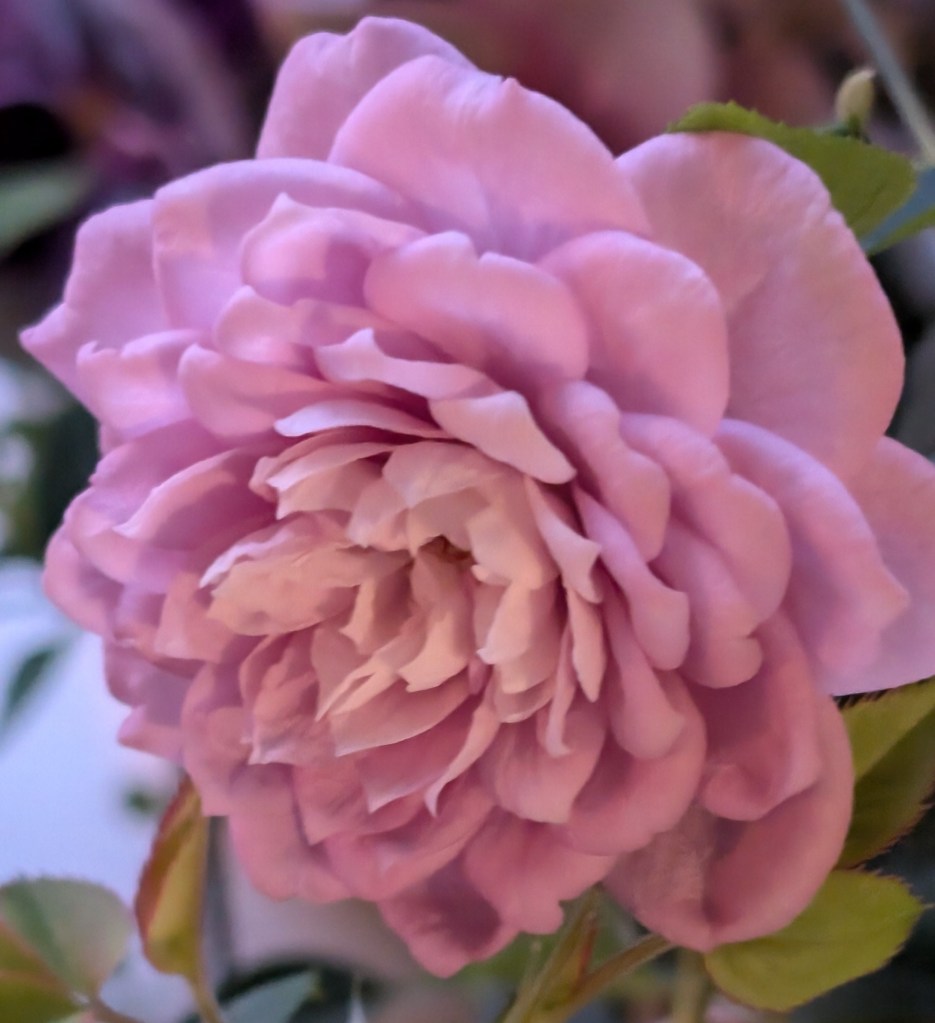
The Mini Rose also produced a new bloom this morning that is absolutely perfect. The Hibiscus plant has several new buds, so many beautiful flowers. Just an amazing start to the day.
Knitting et al.
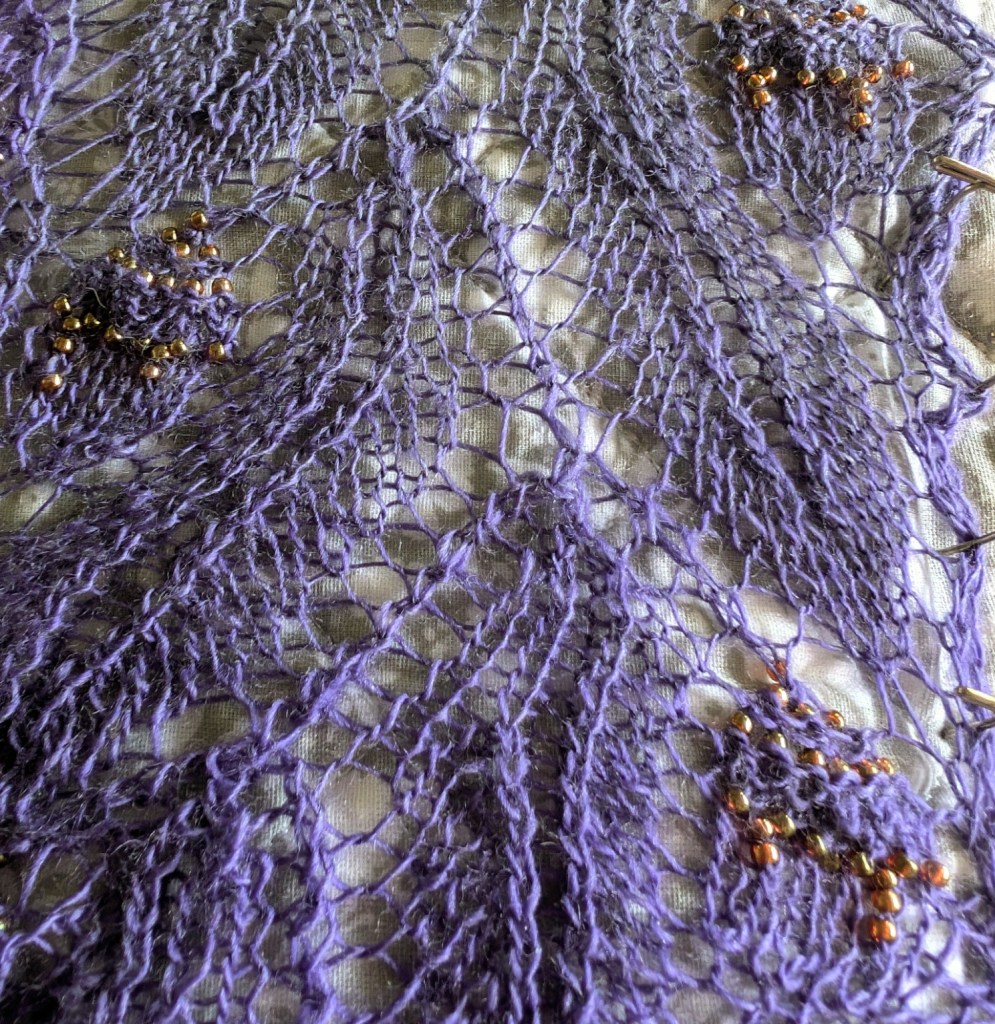
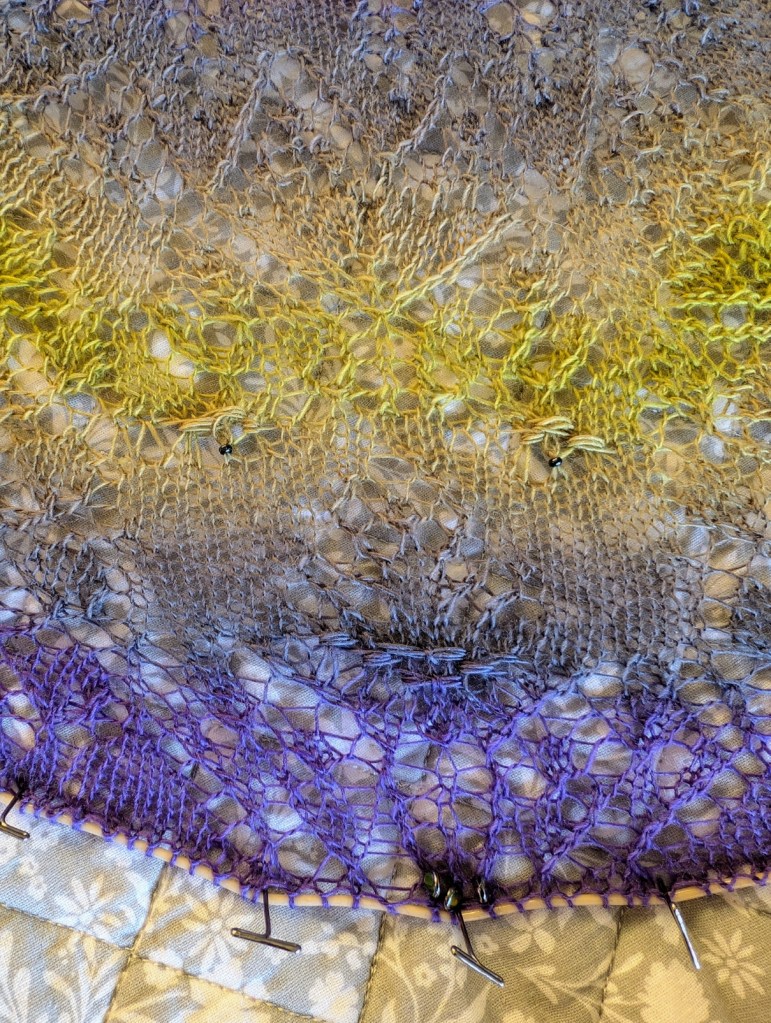
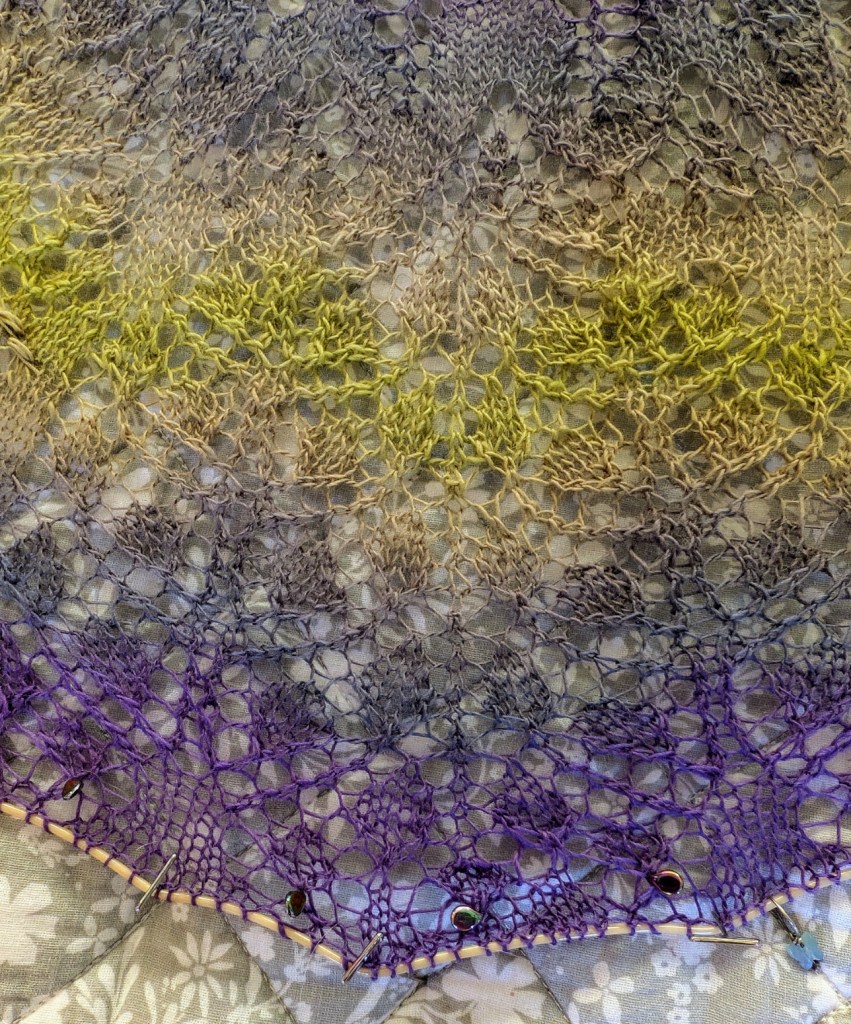
The GreenMan Shawl is progressing nicely. I am about 20% into the Oakleaf and Acorn insert and I am very pleased with the effect of the beads on the knitting.
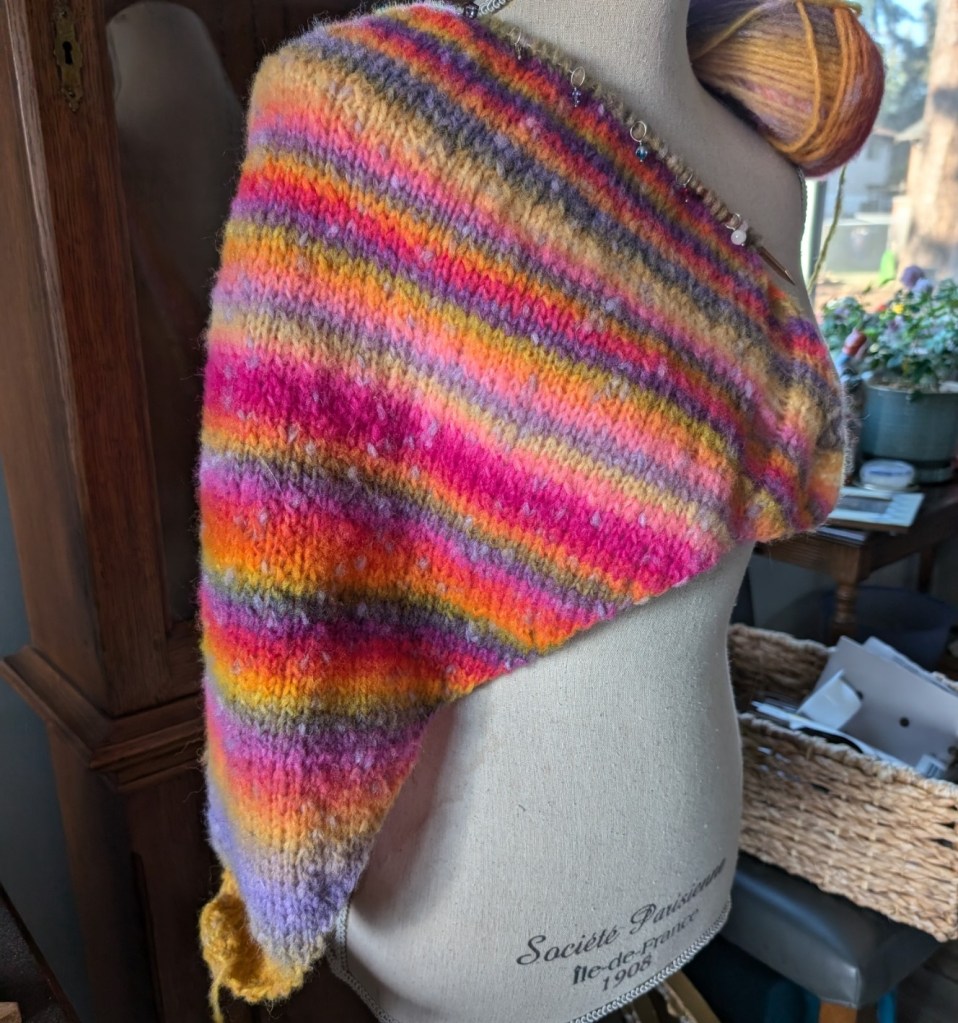
I have started another shawl for myself. I didn’t really intend on this one. I am not even designing it. If you are old enough you will remember or will have knit a Clapotis shawl. I am more than old enough.
Clapotis can be considered one of the first viral patterns on Ravelry and has over 24000 projects listed. It was designed to be knit with some of the glorious hand dyed yarns that were appearing at that time. It has just been re-released on Ravelry as Clapotis 24. There is an accompanying KAL that features lots of yarny prizes.
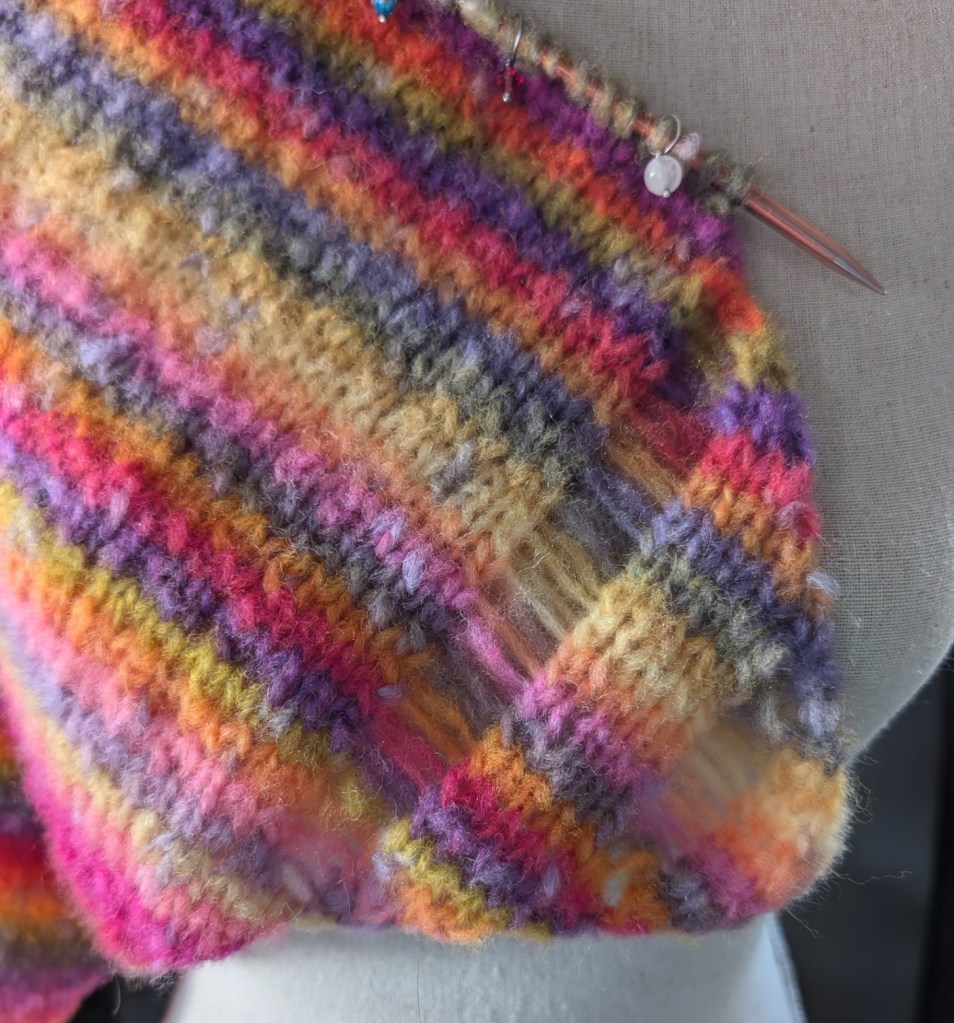
I didn’t knit it the first time around, so I am giving it a go with some yarn from my stash. Not hand dyed, but striping and lively, and I was not having any luck designing a sweater for myself with it. I had already ripped back a couple of attempts. The yarn is Lang Cloud Tweed.
Clapotis is designed for a worsted/aran weight yarn (I keep seeing it in some Rios), but is very easy to adjust for almost any weight! The knitting is basic, stockinette on a diagonal, but the addition of the dropped line of stitches keeps it interesting.
Have you knit a Clapotis?
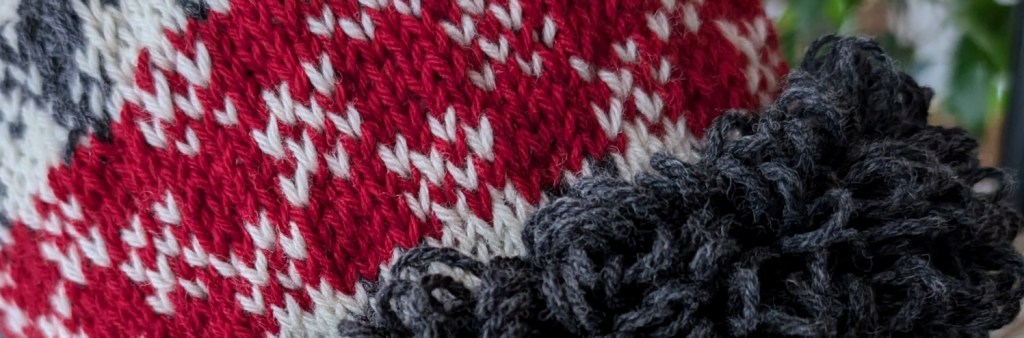
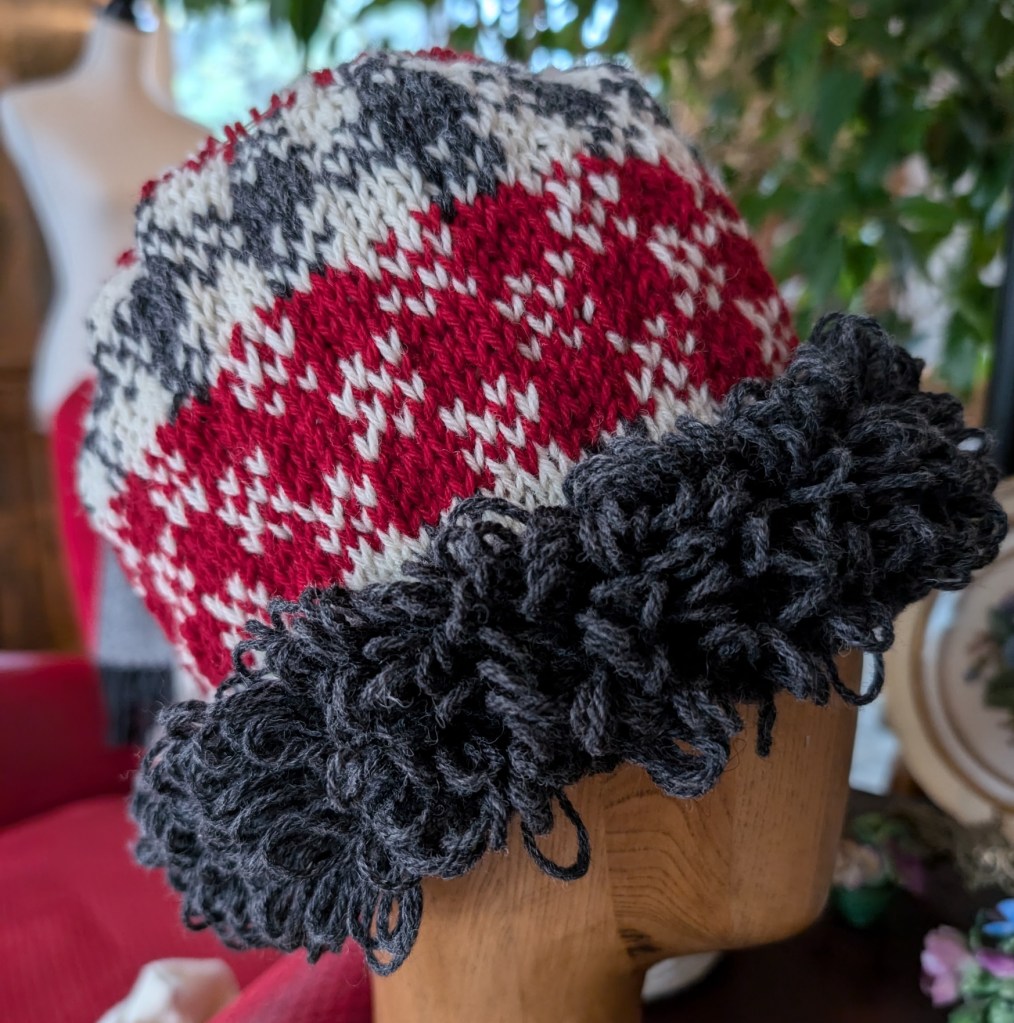
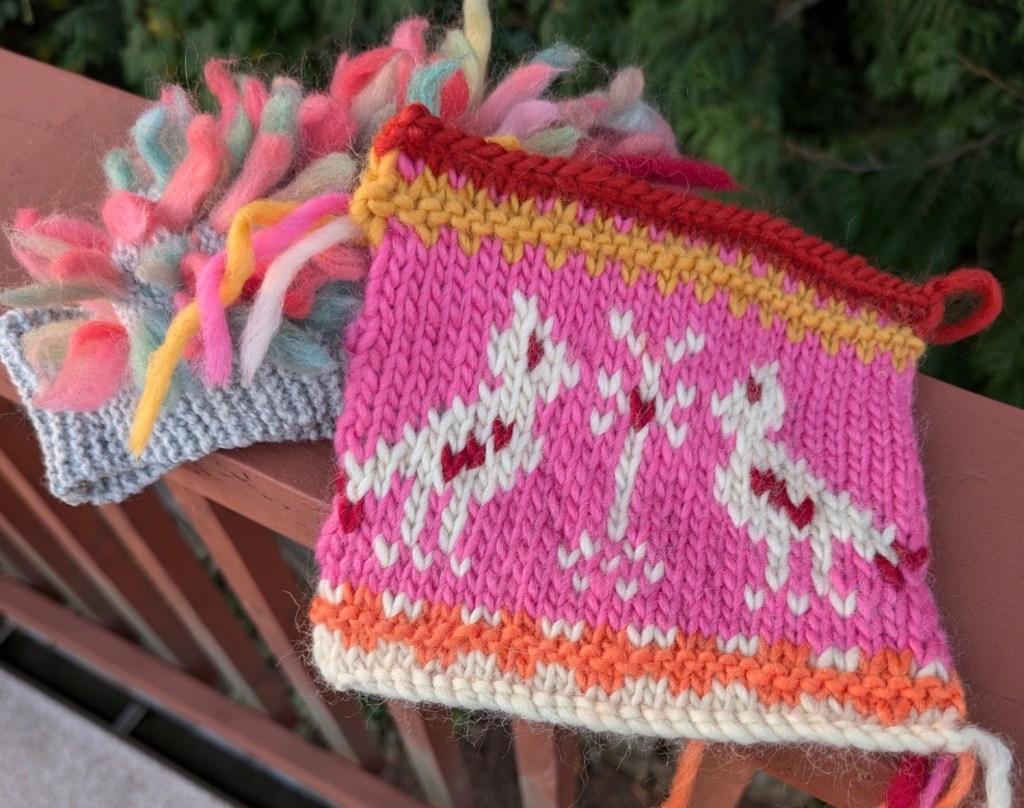
I am also working on another class project. Remember the loopy st? Meet the Jingle Gnome Chapeau. Still under construction, but already looking like a little bit of rustic “happy”! The class will feature the loop stitch, basic stranded knitting and how to make the perfect pompom! I am working with the Eco Shetland Worsted by Estelle. It is yarn that I really like to work with and gives me great results.
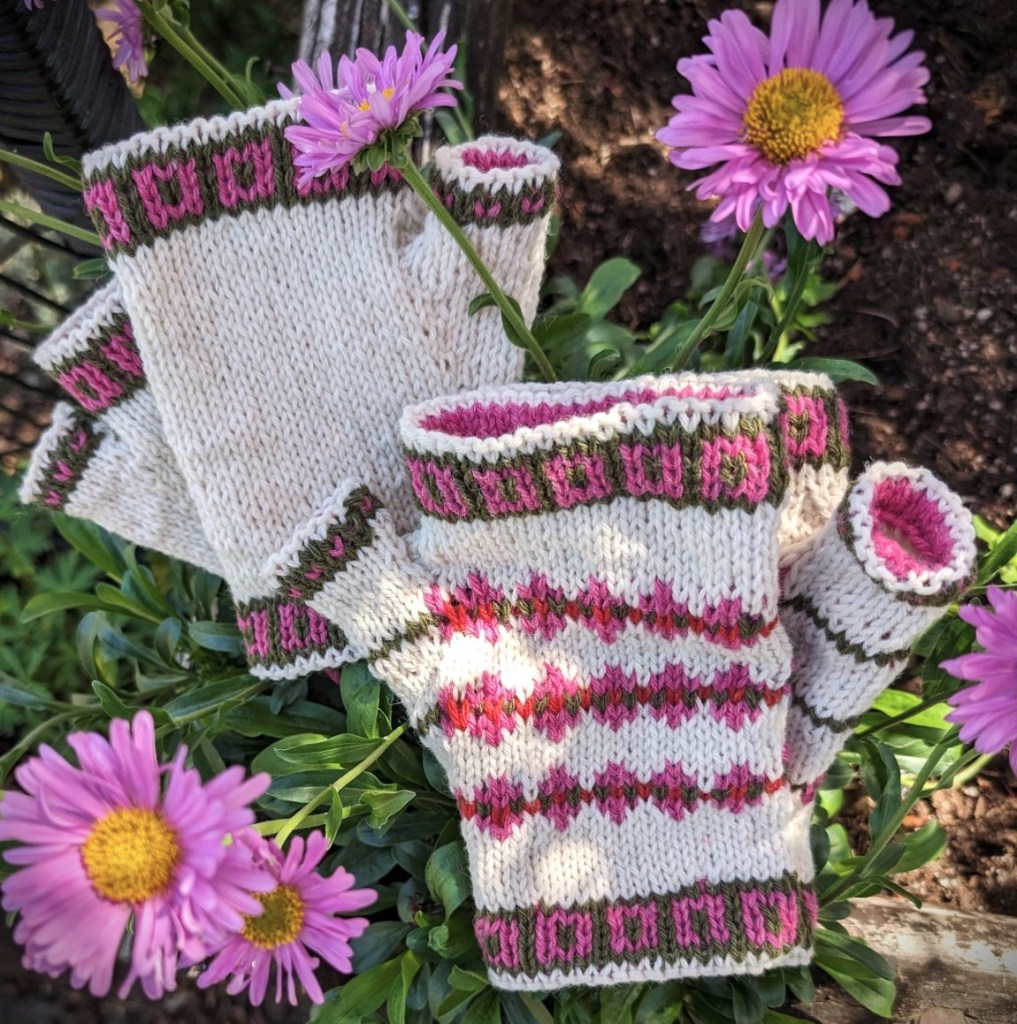
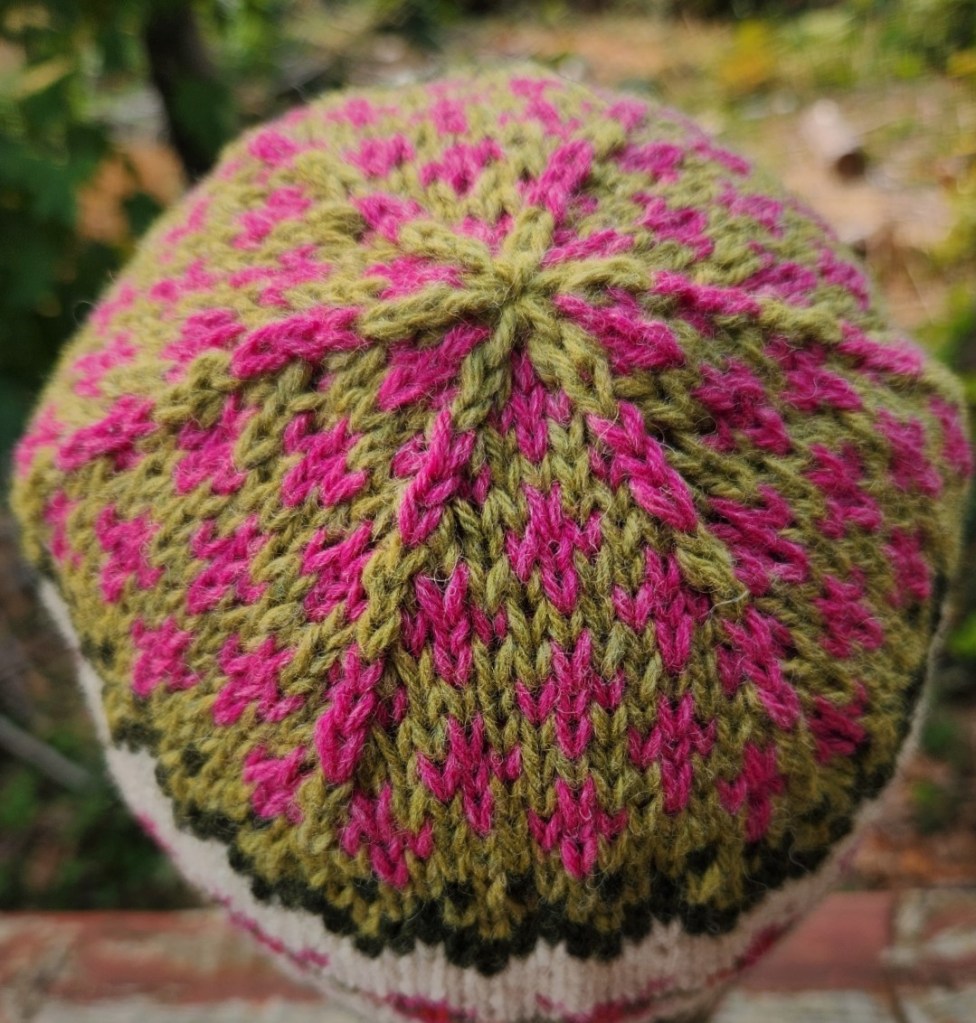
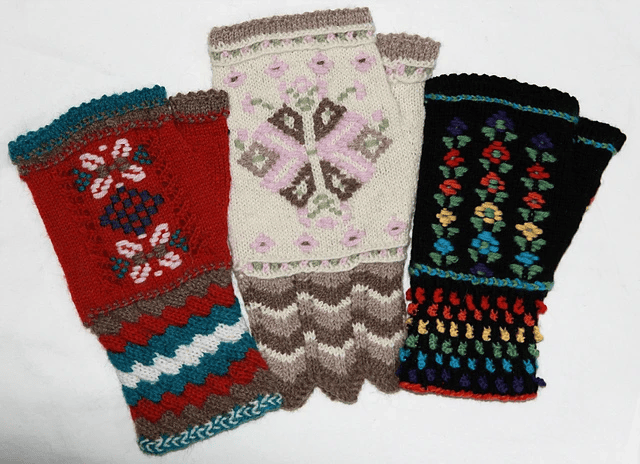
Boho CozyBoho MittsBoho Crown
I hope that you have a wonderful day. Mine is off to a great start!
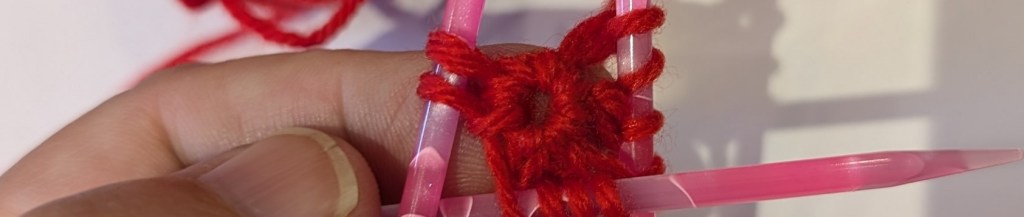
My favourite cast-on is the Emily Ocker Cast-on, also called the German Pinhole Cast-on.
Do to technical difficulties I am going submit a short video and then a series of photo’s on how to start the GreenMan Shawl.
Tools that will make the cast-on easier; a straight crochet hook or a hook/point tool, it simplifies the moving of the sts from the hook to the needles. Wooden or other lightweight dpn’s, they are a little sticky and very light, metal needles are usually quite heavy and slide out far too quickly.
If you have never held a crochet hook I can recommend a simple cast-on;
Cast-on 6 sts to a single dpn, transfer the sts as the photo tutorial below, join into a round and start to work the shawl. The center of the shawl will not be as neat to begin with but when finishing your shawl the tail can be used to gather up and gently close the hole in the center.
In the video you will see the yarn, tail to the right and underneath the working end of the yarn. There is no sound, but the written description is below the video.
Please note: I am not a confident crocheter and you will see that in the video. But that does not mean I can’t fumble my way through a single crochet.
Emily Ocker Cast-on also called German Pinhole Cast-on
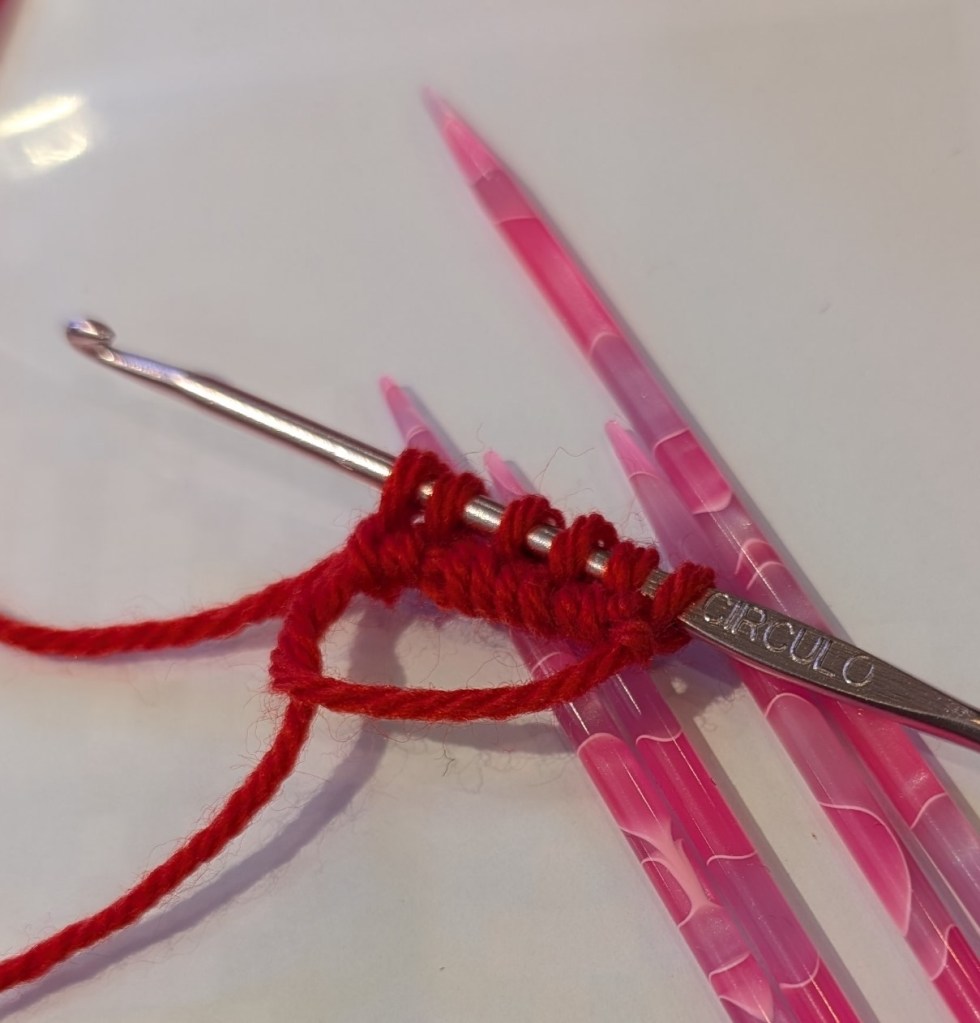
Grasp the ring where the yarn crosses
with your hook go through the ring and hook a loop of the working yarn
pull through the ring
hook the working yarn again and pull through the loop already on hook.
I single crochet is on the loop
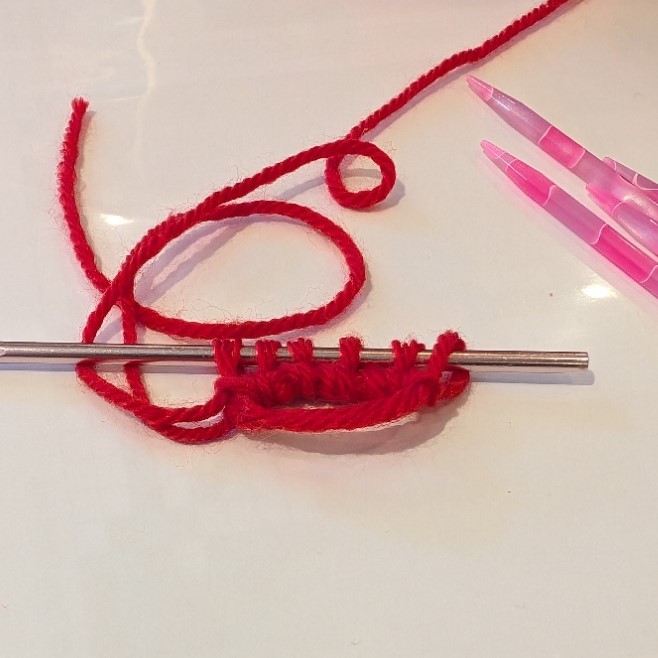
Repeat from the top five more times until there are 6 loops on the hook.
Below is the step by step set-up and first rounds of the shawl.
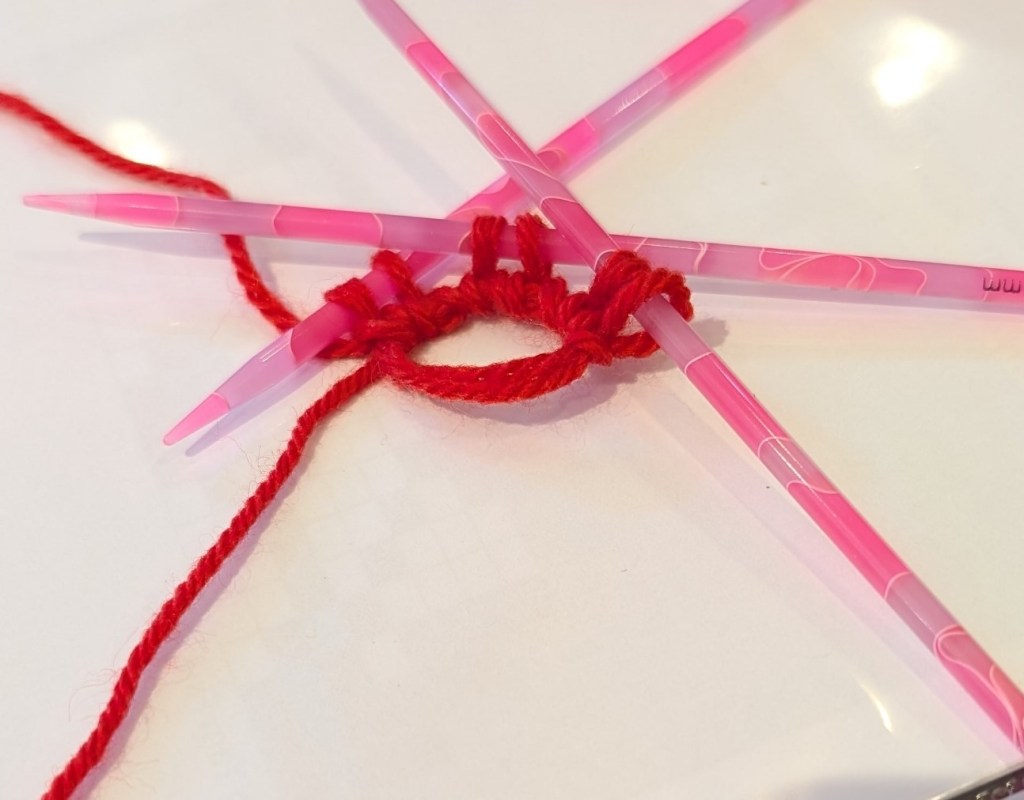
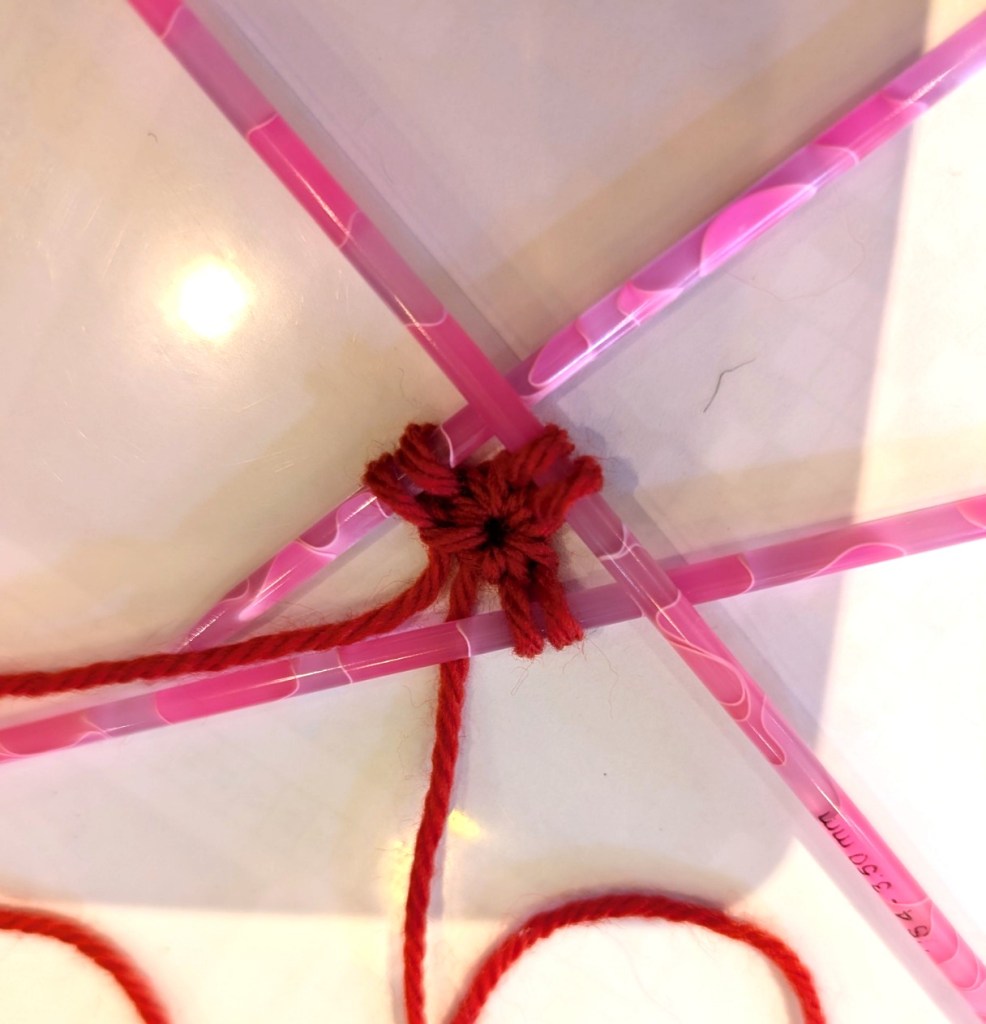
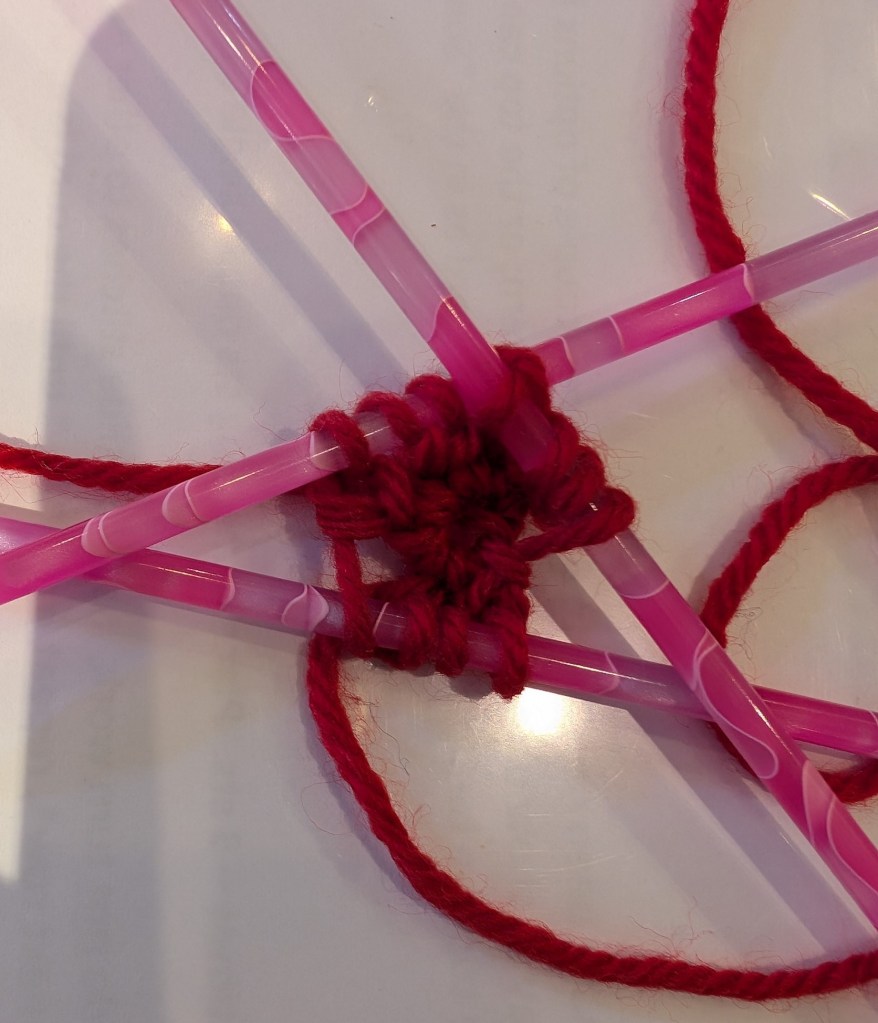
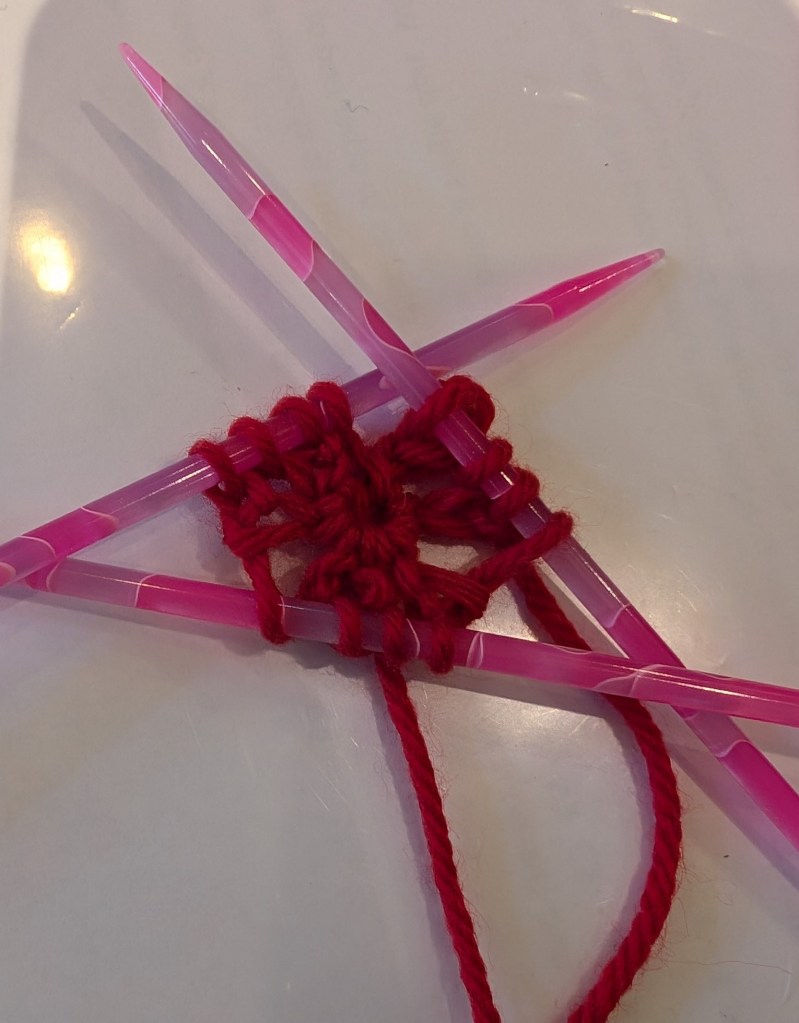
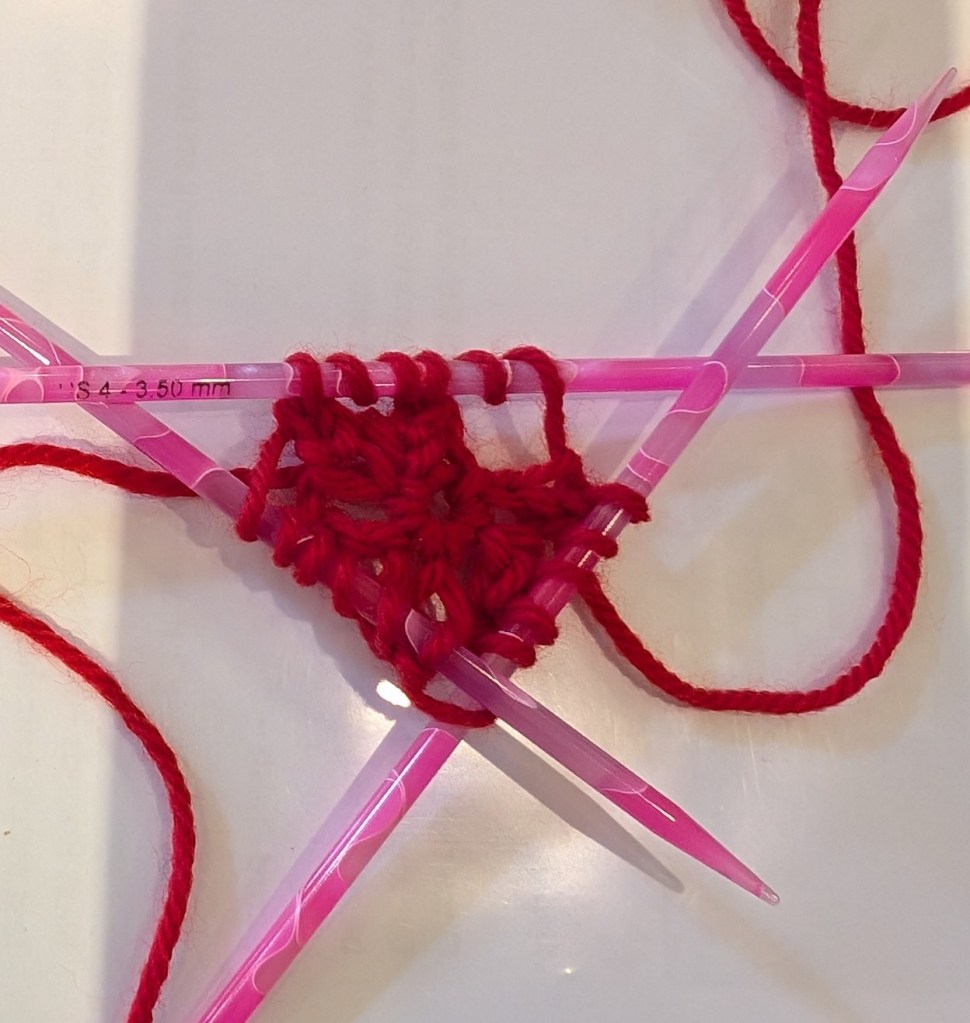
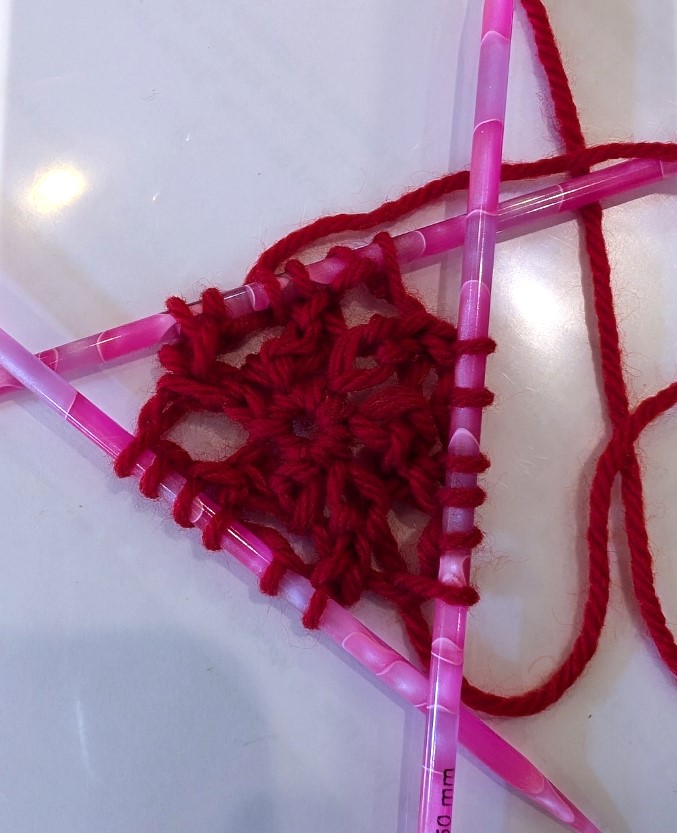
6 single crochets on the hookSlide the stiches to the end of the hookDivide the stitches onto 3 dpn’s, 2 sts per needlePull the tail to tighten the loopWork the 1st set-up round, *YO, K1; repeat from * 6 times – 12 sts.Work 2nd set-up round – K12.Work 1st round from charted or written instructions ; Double YO, K2tog, 6 times – 18 sts.Work 2nd round of charted or written instructions – K1, P1, (K2, P1) 5 times, K1 – 18 sts.
Once you reach this point the needles will start to co-operate and the knitting will go more smoothly.
I hope that this helps you start your shawl.
I am hoping to make the video as promised with sound and moving pictures – perhaps tomorrow. Getting my tools to co-operate has been a challenge.
Have you noticed that we knitters, and almost all crafters, start thinking of Christmas a lot earlier Than other people? I think that we need to as most of our gifts take time, sometimes a lot of time to create.
So today I am sharing a fun technique – Loop Knitting – a little playful technique to add to your skills for the upcoming knitting blitz!
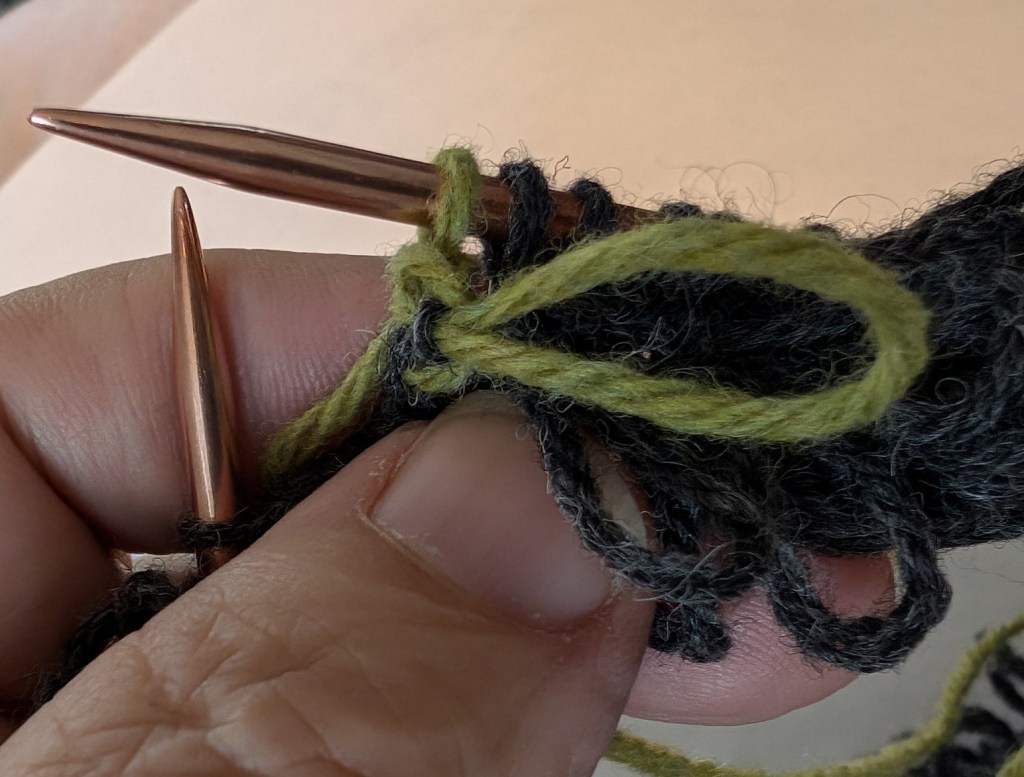
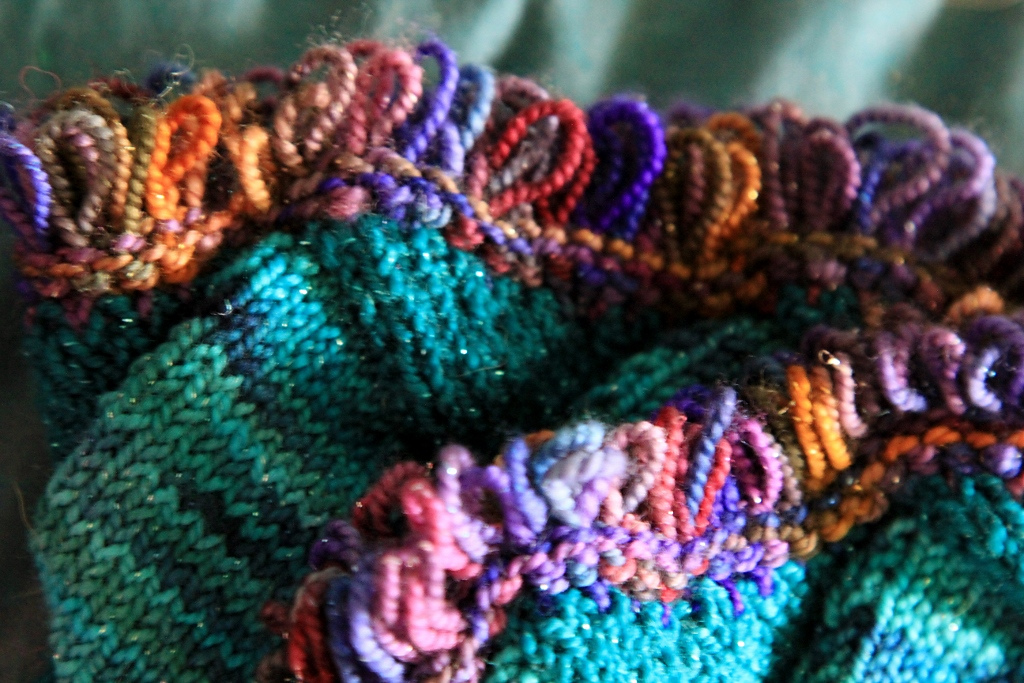
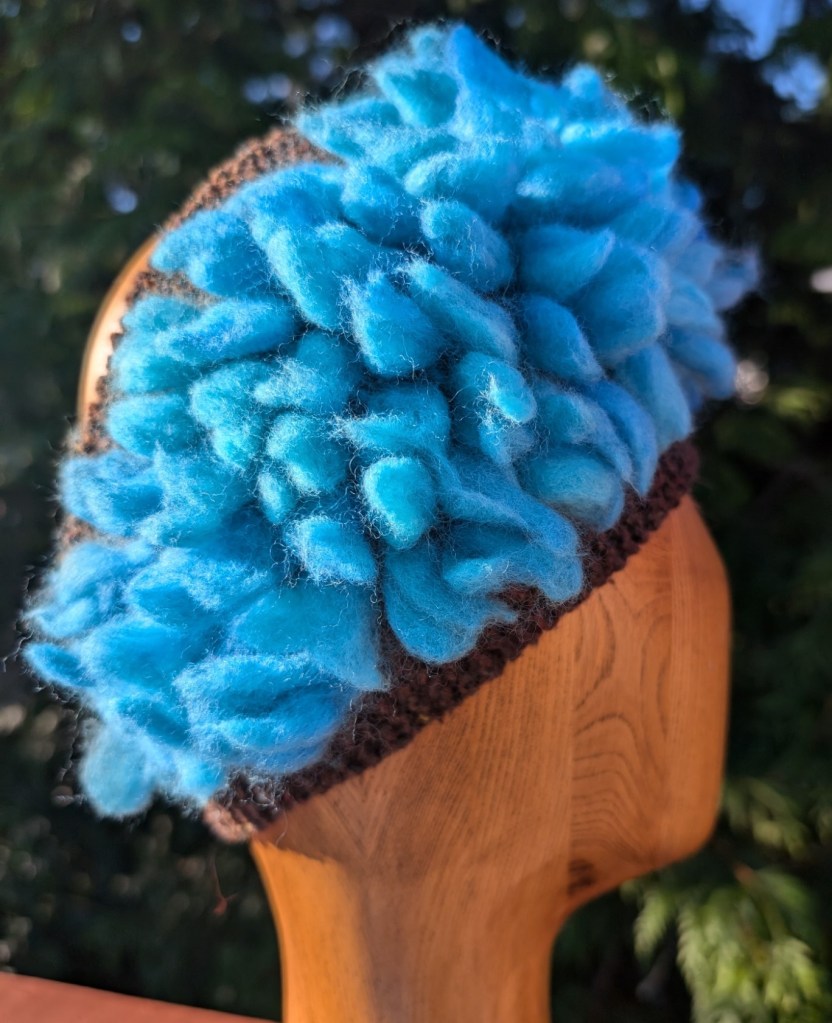
Loop knitting is basically making a series of knotted loops on the right side of the knitting. These loops can be made and left as loops, my current thought, or they can be made, cut open and brushed up to look like fur, a thought under consideration! Loops are not a quick technique, but the results are worth the effort.
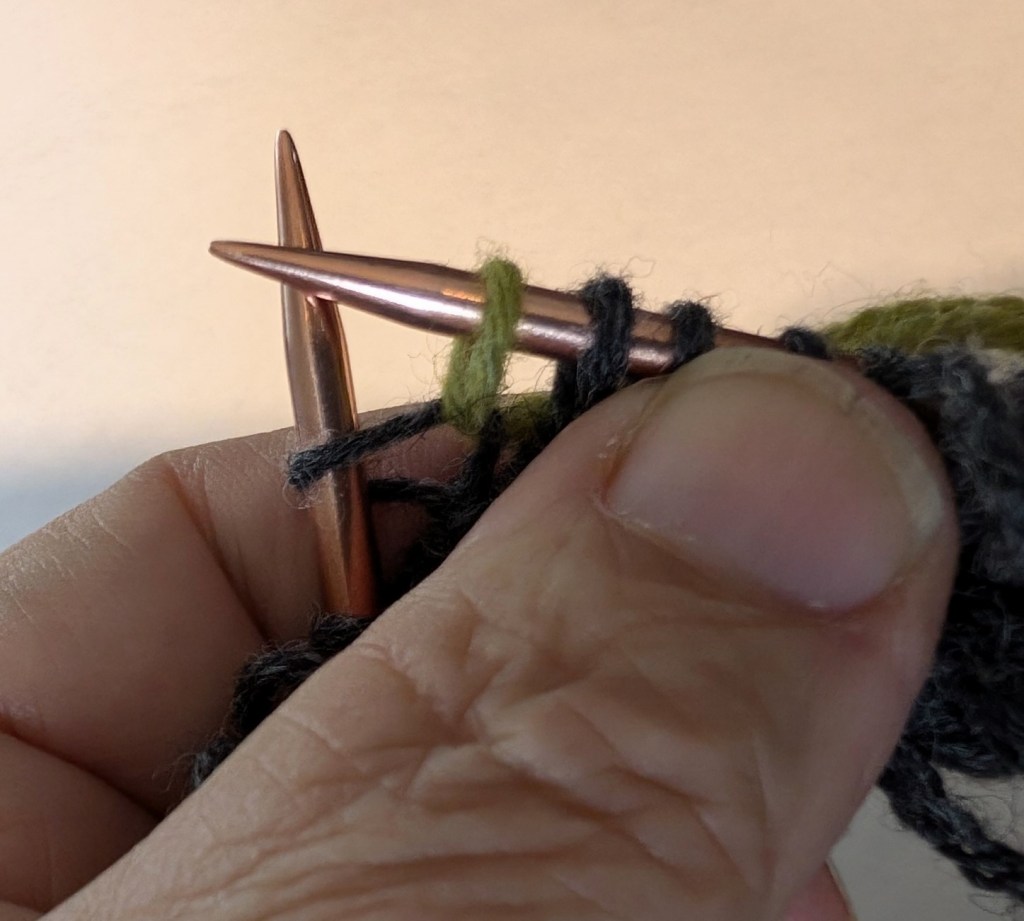
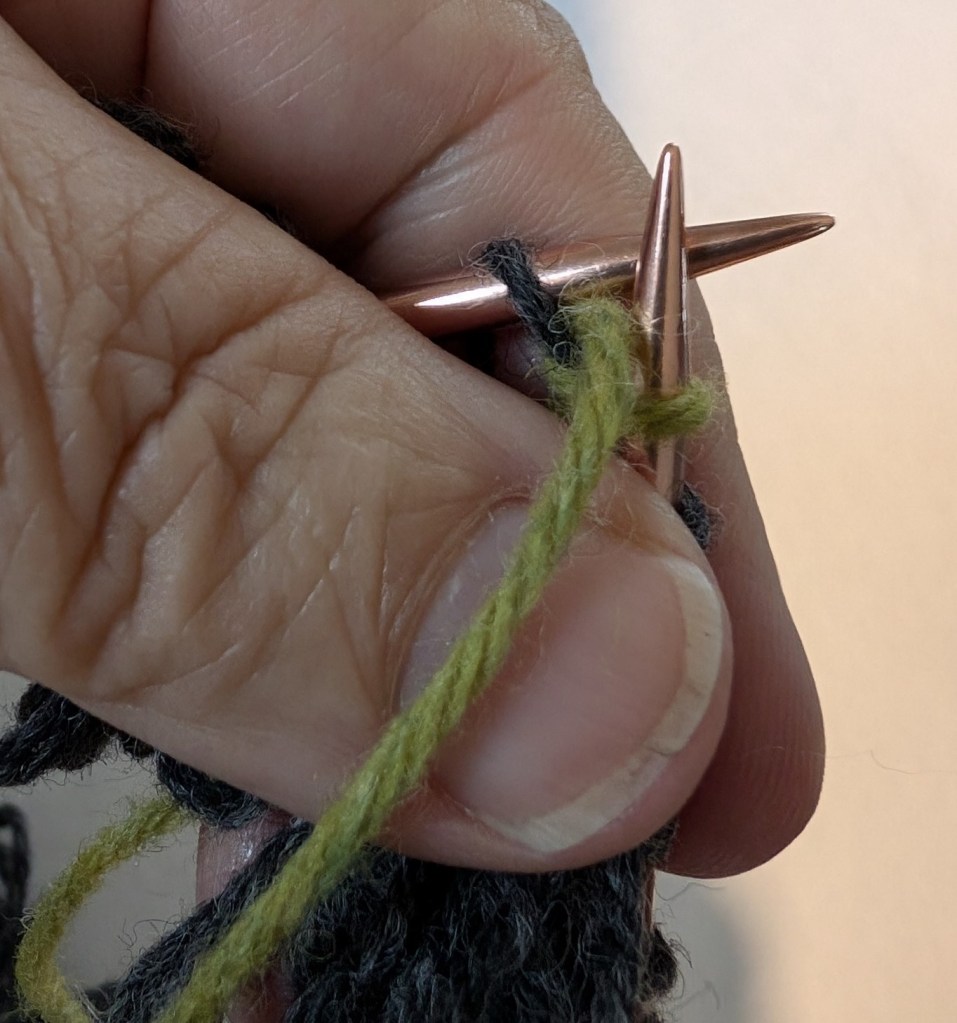
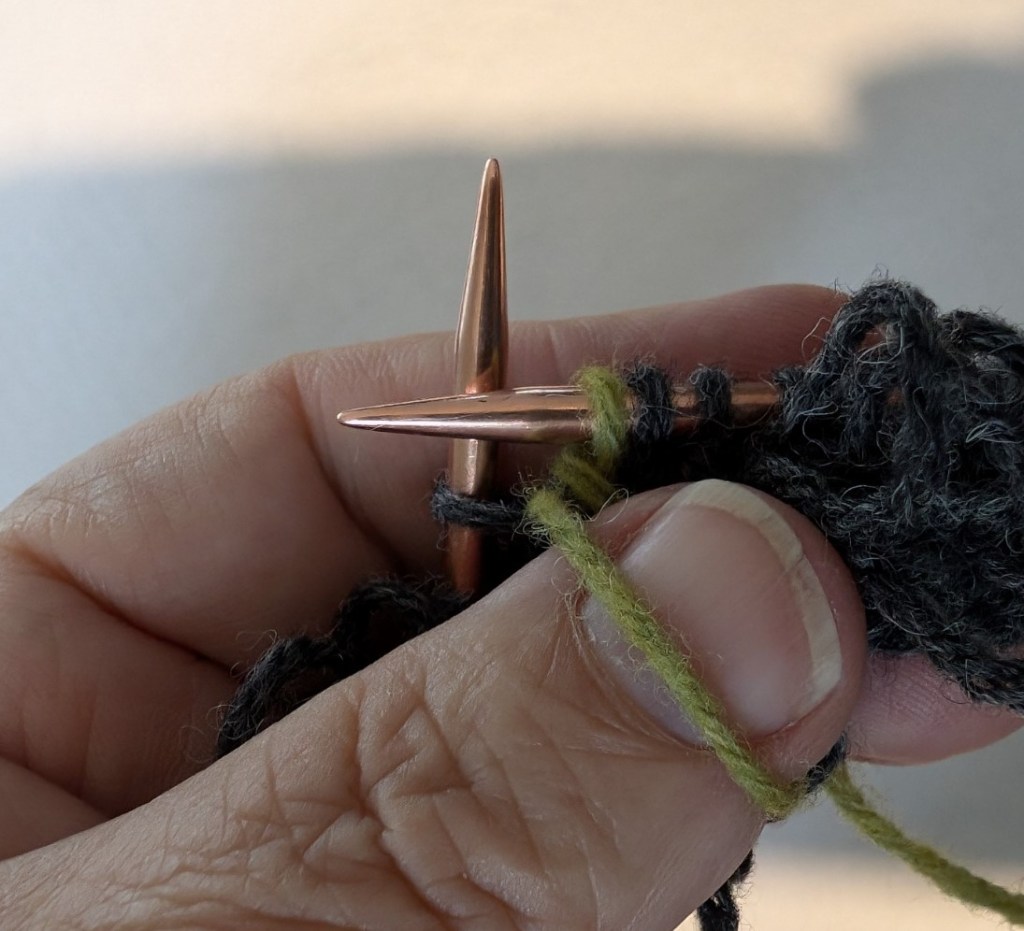
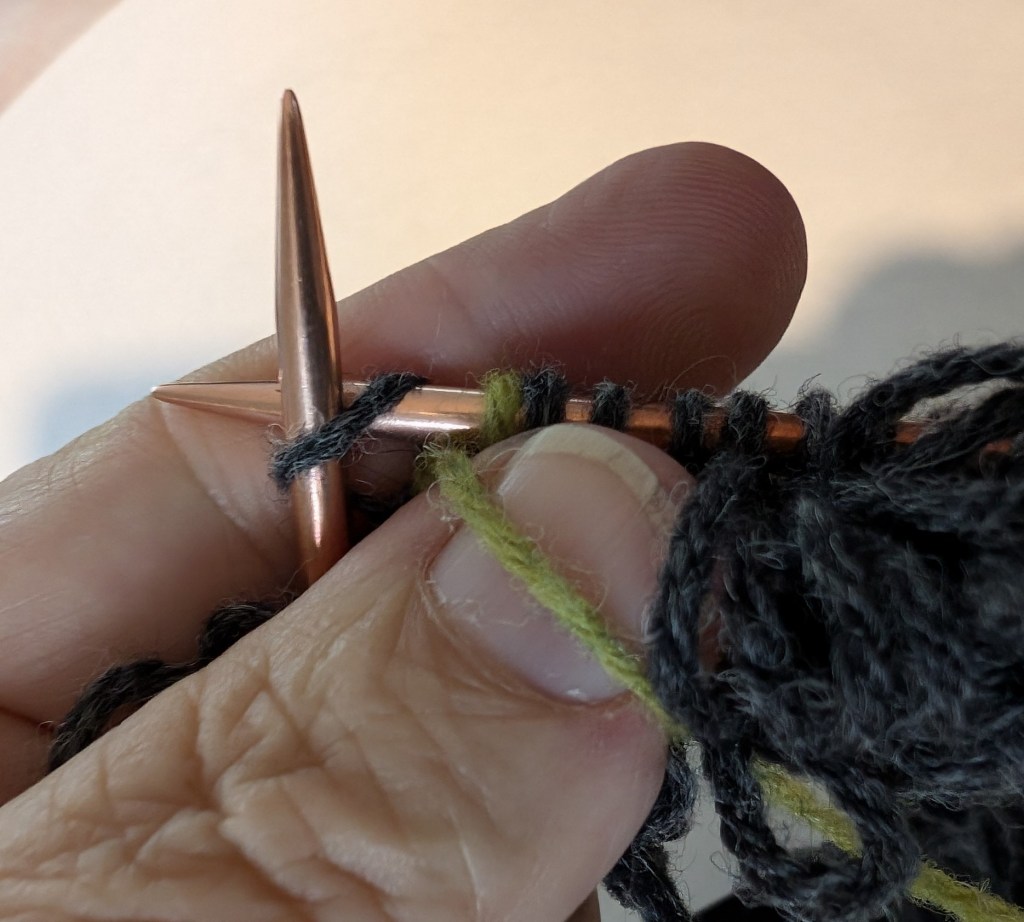
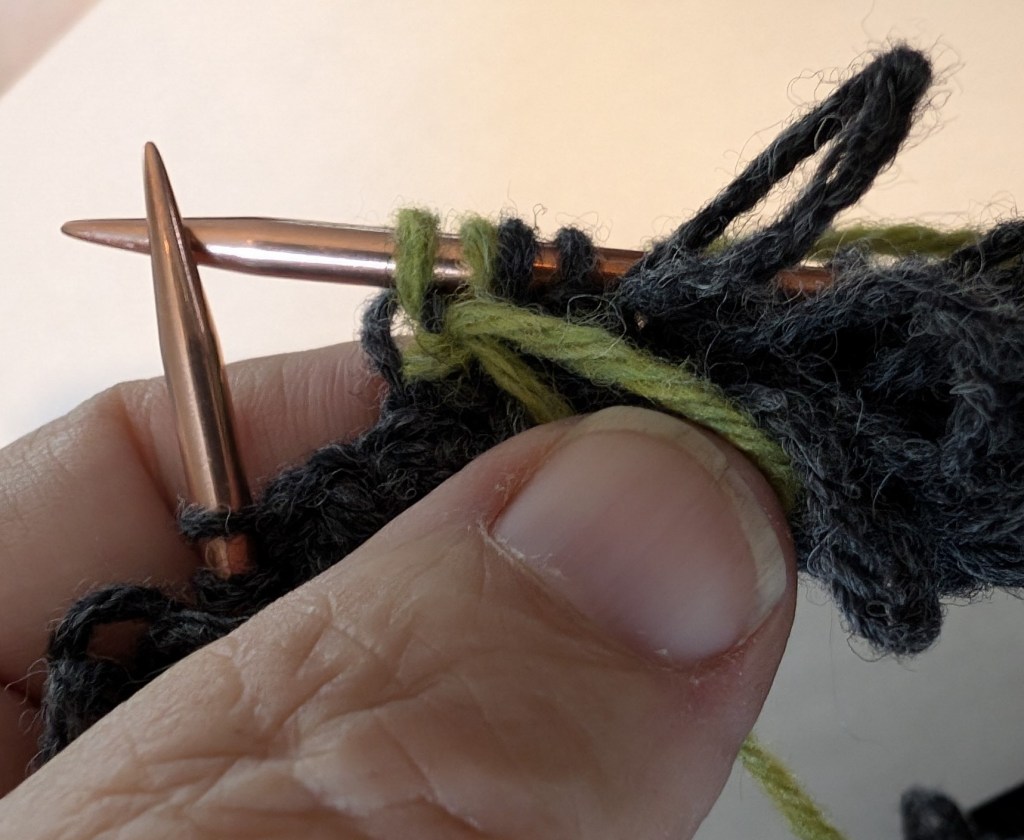
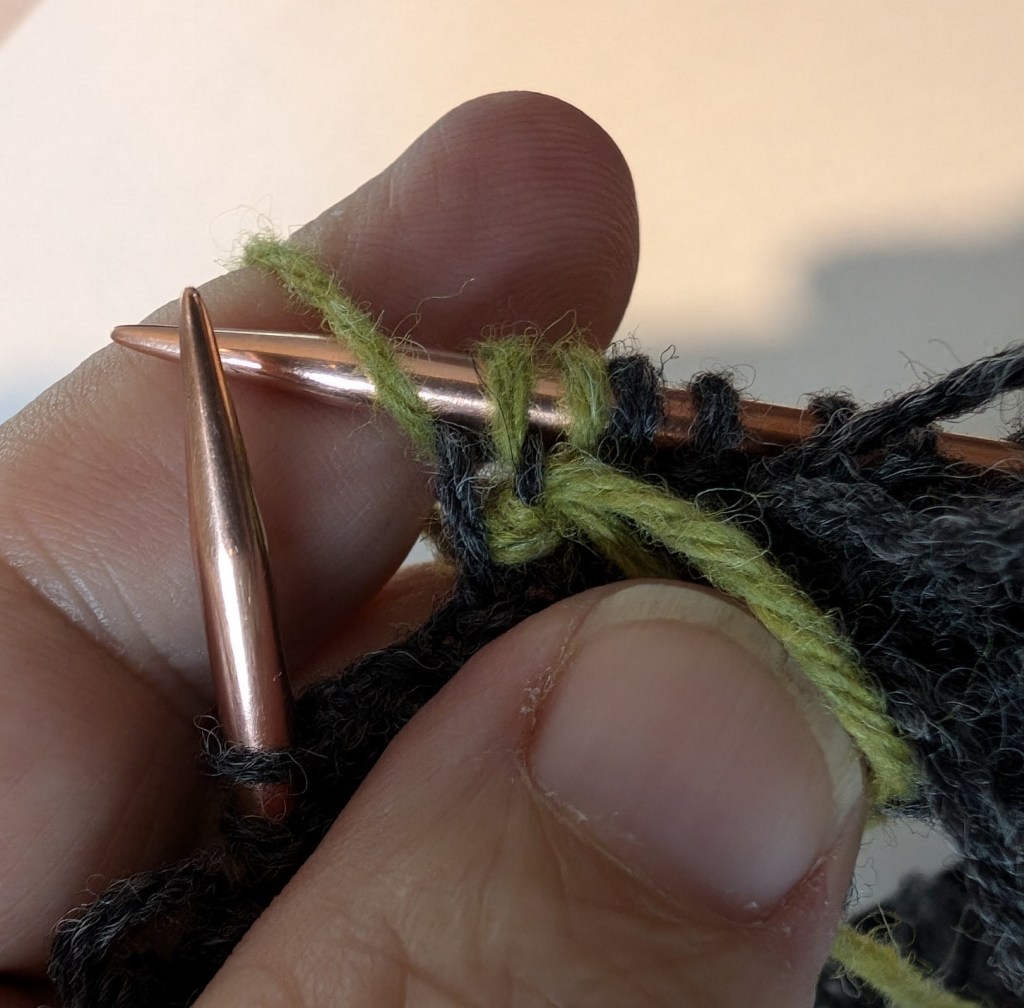
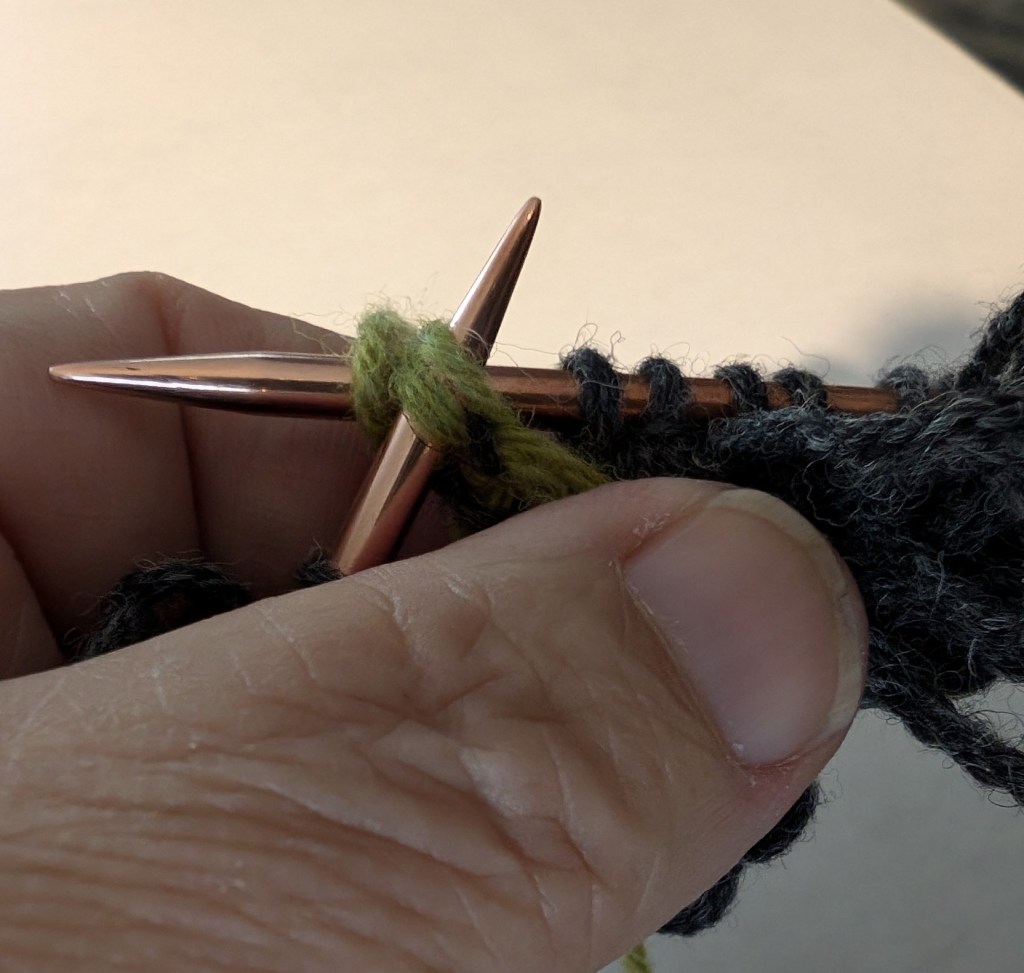
Bring your yarn through the stitch on the needle as if to knit, but do not drop the stitch from the LH needleBring your yarn forward and over your left thumbWrap the yarn tightly around your thumb and take it back between the needlesInsert the RH needle tip into the loop on the LH needle as if to knit the stitchKnit the stitch and remove from LH needle, remove thumb from the loopPull the loop to set in place (don’t pull too tightly), bring working yarn forward and over the needleWith the LH needle tip, pick up the two “stitches” from making the loop and lift them over the yarn sitting on the needleThe knot is closed and a new stitch is created from the three loops on the needle
Loops need to made on the RS of the knitting surface. If you are knitting back and forth the loops can be make every other row. When working in the round as I am, the loops can be worked on every round. I want a fairly thick, loopy surface.
The loops can be made in every stitch for a very full look. I am making my loops every other stitch and off setting them on every other row, for a medium thick appearance.
Loop knitting is playful and offers some interesting options for hatbands and mitten cuffs. Right now I am working on a hatband. I am planning to knit a swatch and cut and brush out the loops – I am really intrigued by the concept of being able to create the look of “faux fur”!
When starting loop knitting the going will be slow at first. It may take a round or two to develop a rhythm, but each successive round gets quicker than the one before!
I know that this technique would work well for toy knitting. Remember Lamb Chop? I have made a few things over the years with loops on the edges. I think I will try a few more.
Koigu Entrelac gloves from 2016
I hope that you feel inspired to give loop knitting a try!
I don’t like to wear hats. It takes a really cold day before I plop a hat on my head. I don’t like the look of myself in a hat. Very few have suited me.
But I like cold ears even less.
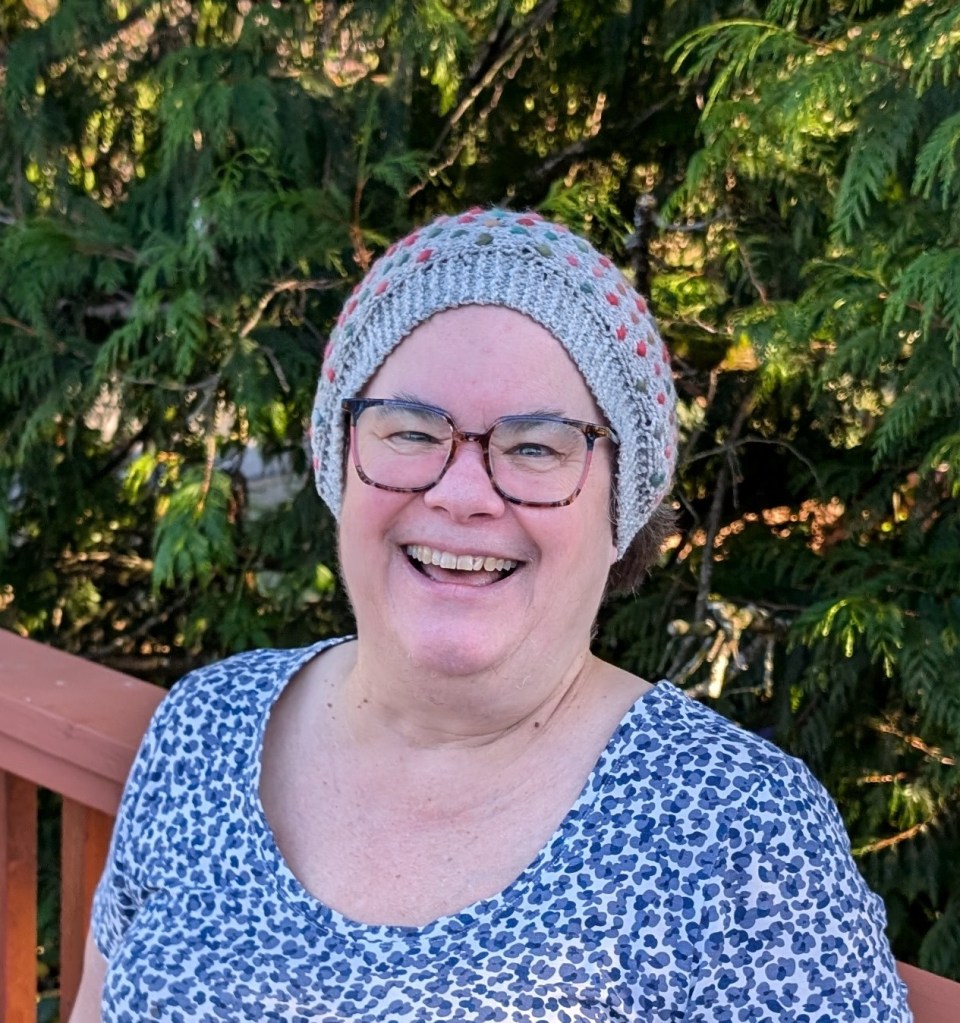
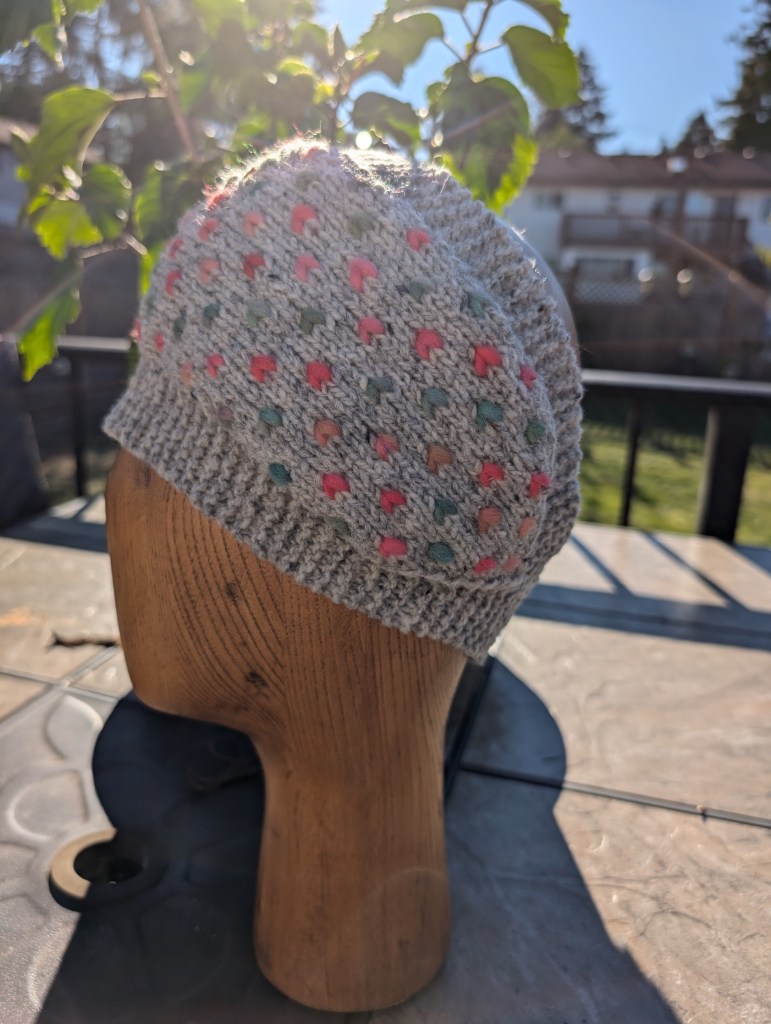
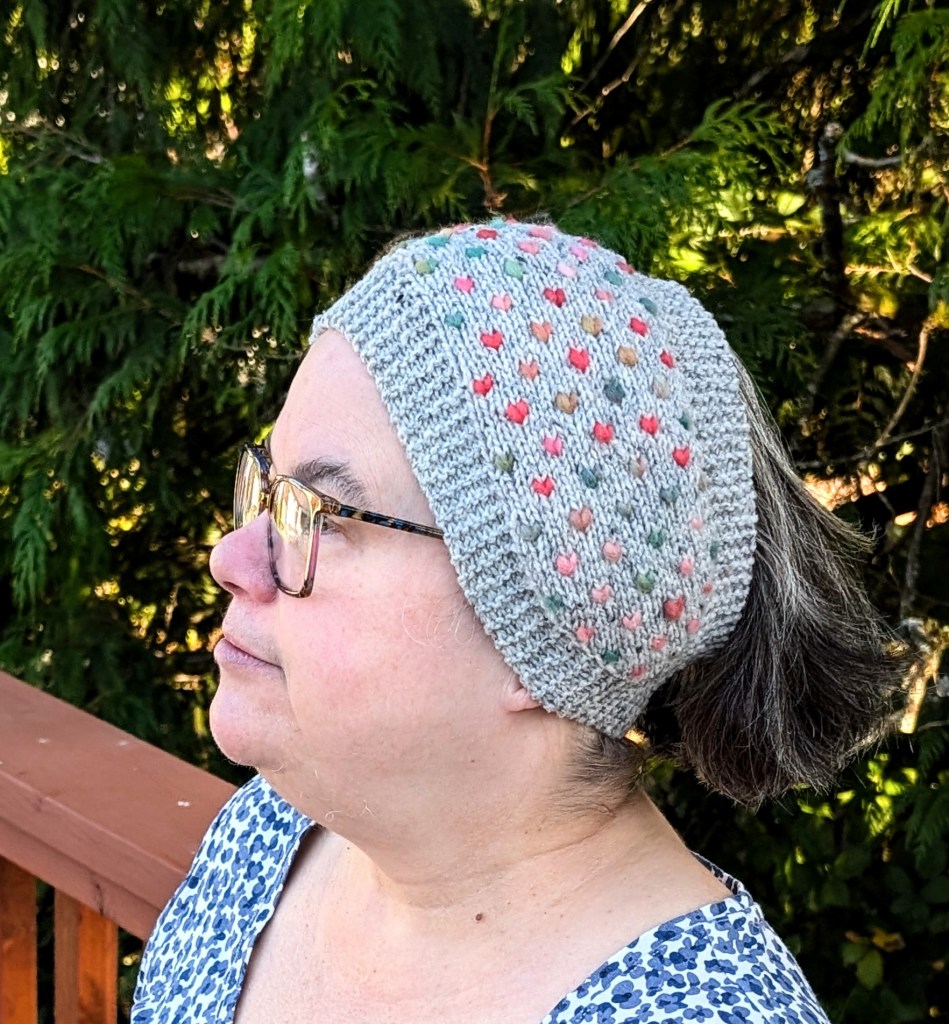
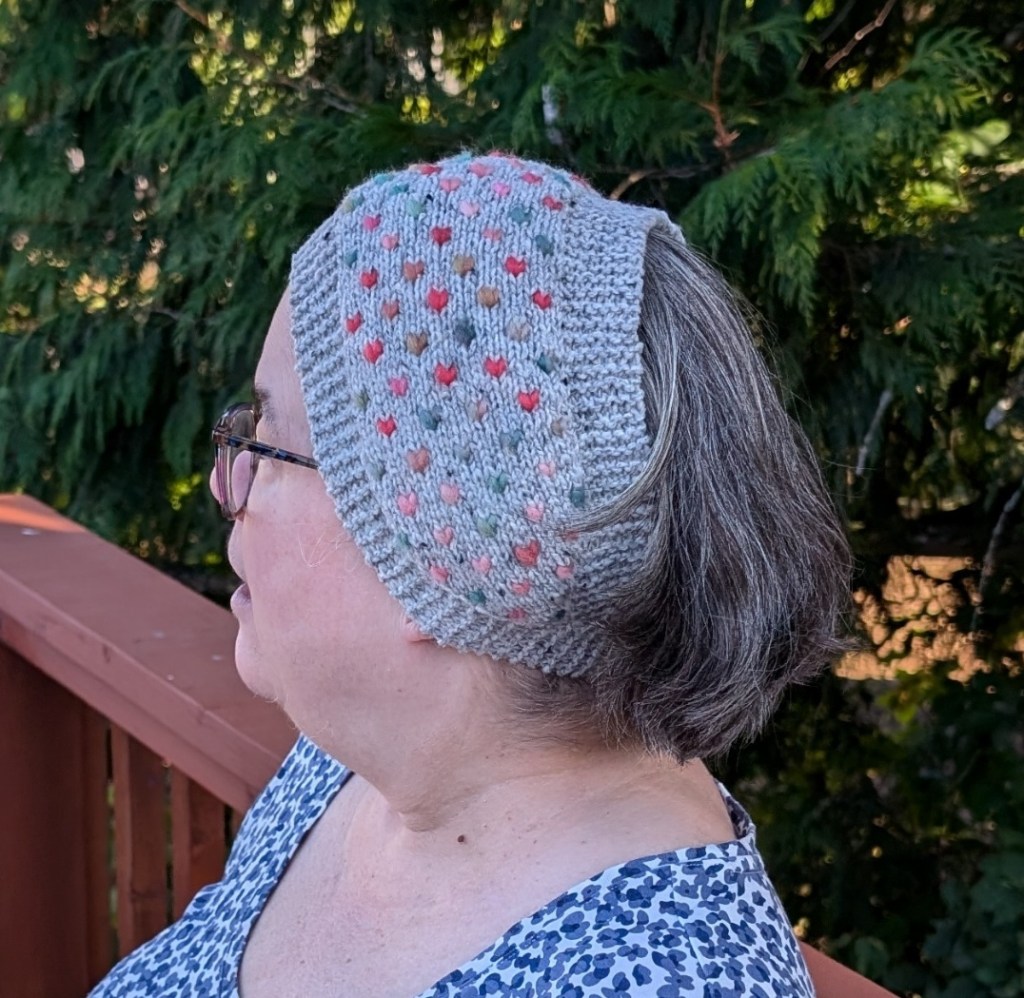
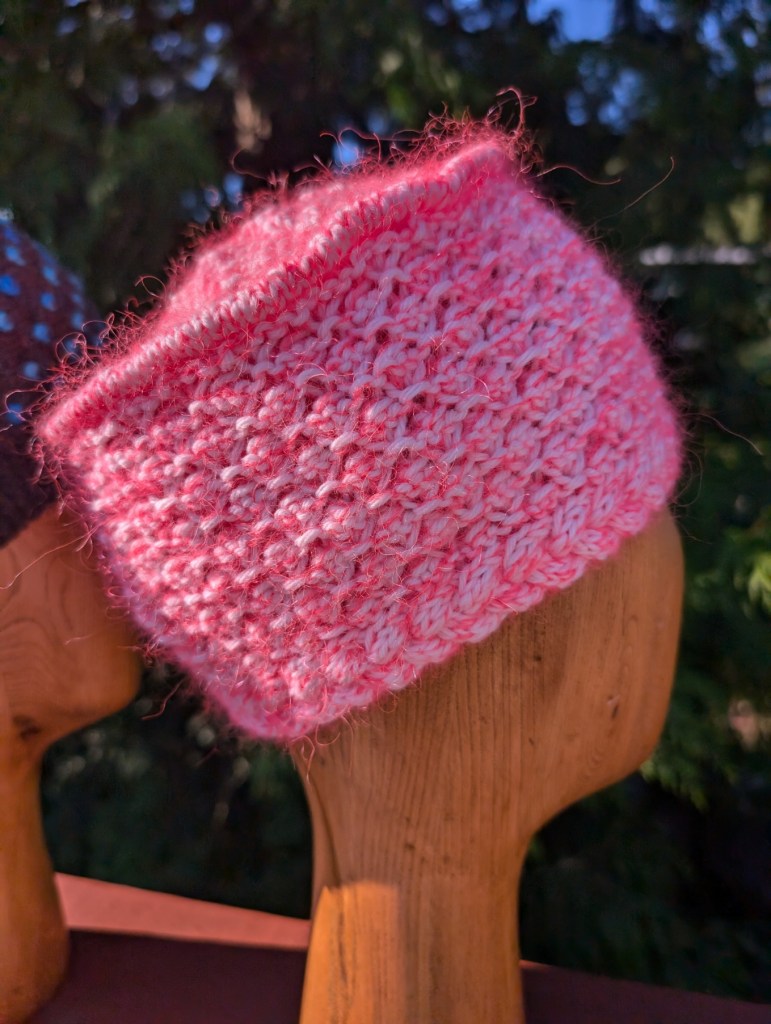
So, I finished up the Thrummed Headband for myself. I now consider myself officially ready for Fall and Winter. I have a new sweater… and a hat. Maybe I should make some fingerless mittens in the same colours as the headband? A light grey pair, with multicoloured dots. Ok, almost ready for Winter!
If you want to knit a Thrummed Headband for yourself click here.
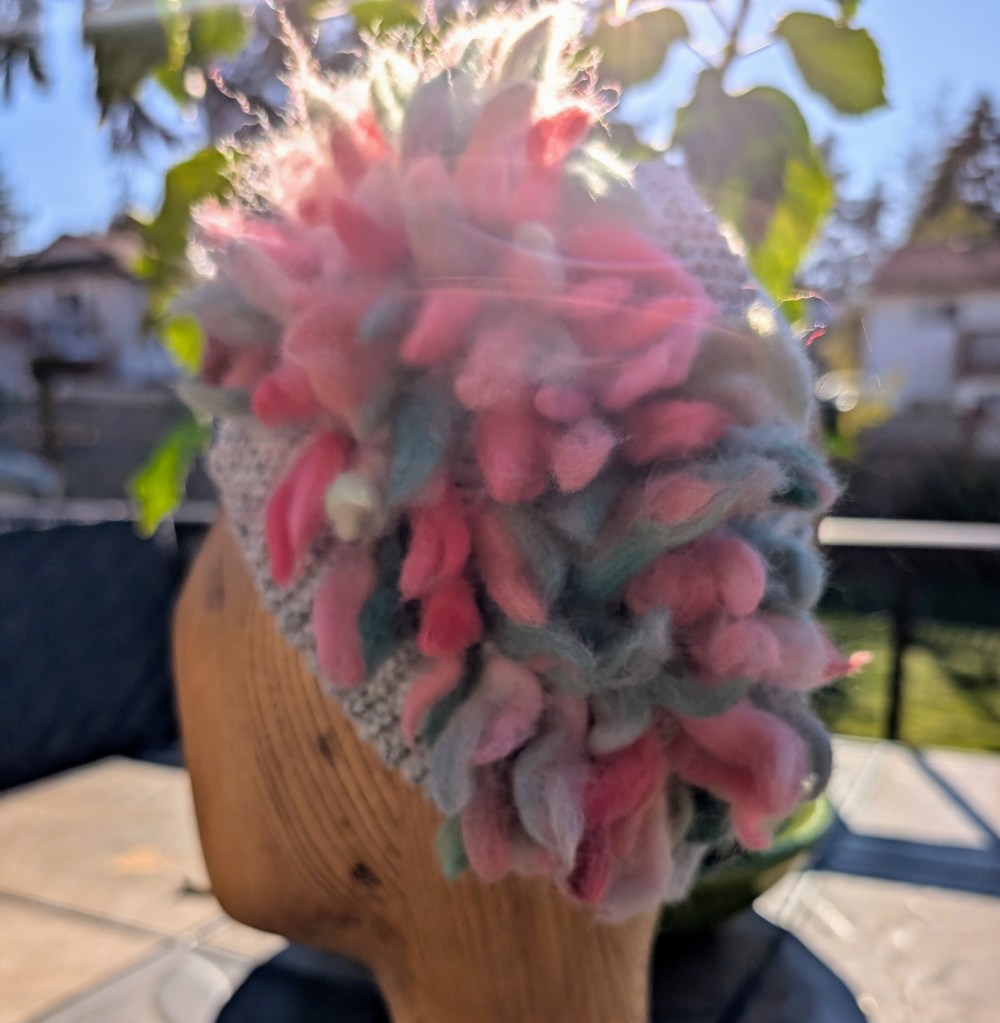
The thrumming really intrigues me. It is easy to do and adds an extra layer of warmth. I am thinking that I may need to make myself a puffy vest, double layered with thrums in between. Would you wear something like that?
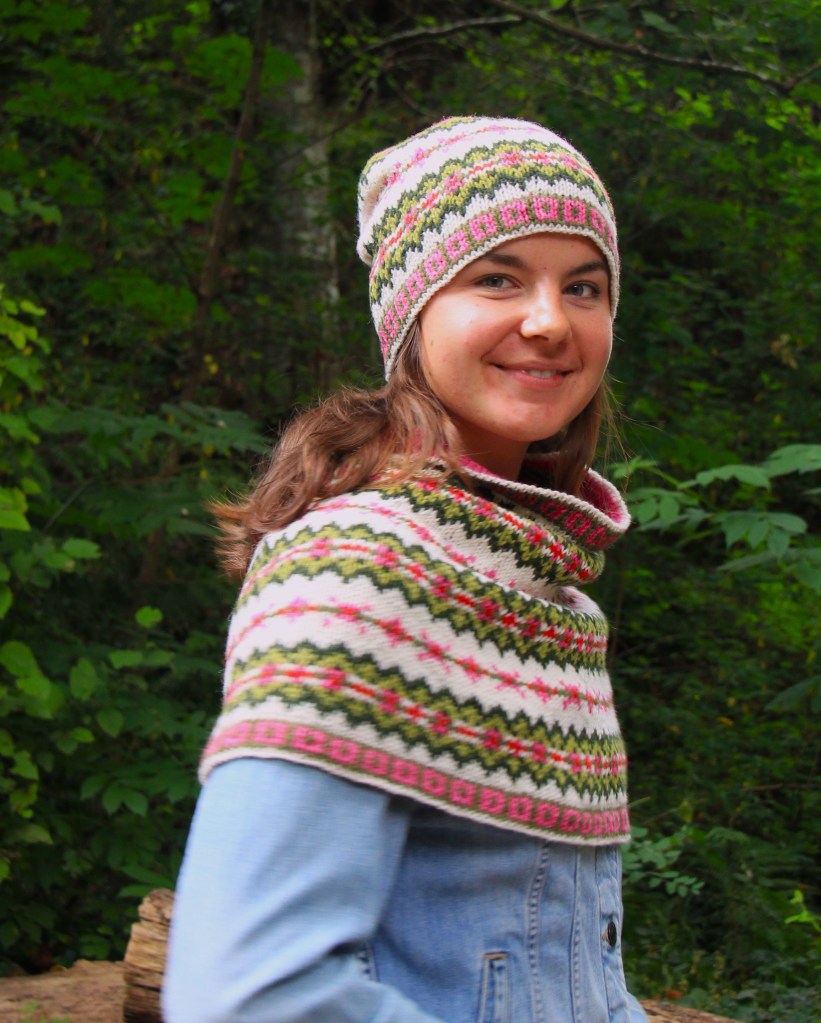
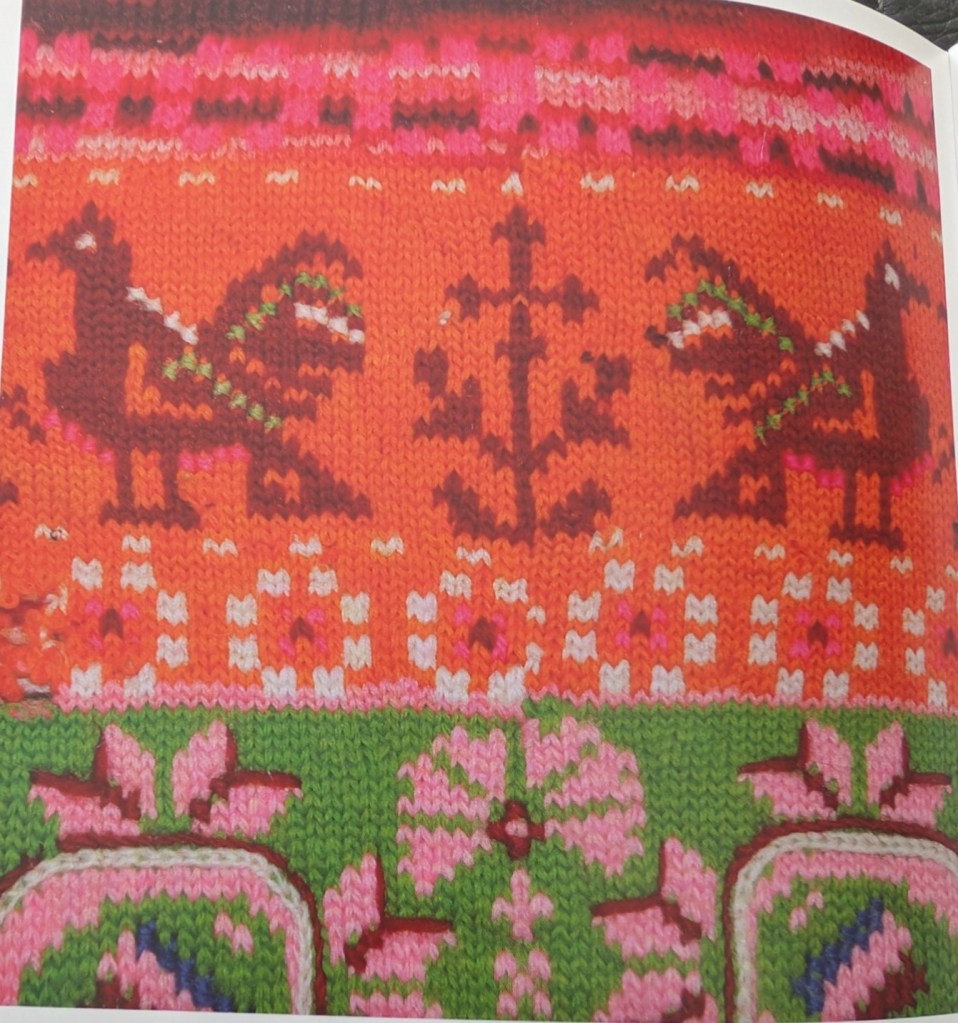
Yesterday I also knit up a swatch from the Eco Scandinavian Chunky I bought myself last week (for another sweater). I want this sweater to be very colourful and in the Muhu style. This style is from Estonia and features a lot of natural patterns, birds, bees and animals in very bright, not so natural colours. The patterns will be much larger and definitely very visible.
I love my swatch, but I think I need to add some green and maybe some black to make the other brights pop!
Happy Knitting!
Lynette
PS – I am getting so excited! The GreenMan KAL starts next week! In between my other knitting I have been slowly working away at each section of the shawl. It is looking just as I imagined!
Really it is still Summer, but the evenings have a little chill and it gets dark just that much earlier, letting us know that Summer is on the way out! So I am working on stuff for the Fall, both personally and professionally!
Part of my job description is teaching. I teach people how to knit, how to knit better, how to execute specific skills that you, the student, may want to add to your repertoire. It is one of the more challenging aspects of my job. Just figuring out what to teach and how to present the goals.
Professional Projects
This fall has started with a successful Thrumming class and a not successful cables class. Perhaps the project wasn’t interesting enough or perhaps those who wanted to learn were looking for something more traditionally shaped. I will still write up the pattern later in the fall as I really do like it a lot! The thrumming headband will be out later this week.
This one didn’t work.
Right now I am working on a 3 part series on finishing for knits. This is loosely based on a Fear of Finishing Workshop that we at Mad About Ewe Fine Yarns ran for years. It was our most popular workshop – Tons of information presented in a six hour workshop. Everyone went home dazed and confused. So this time, it is three, four hour workshops, with time in between so there is time for everything to sink in!
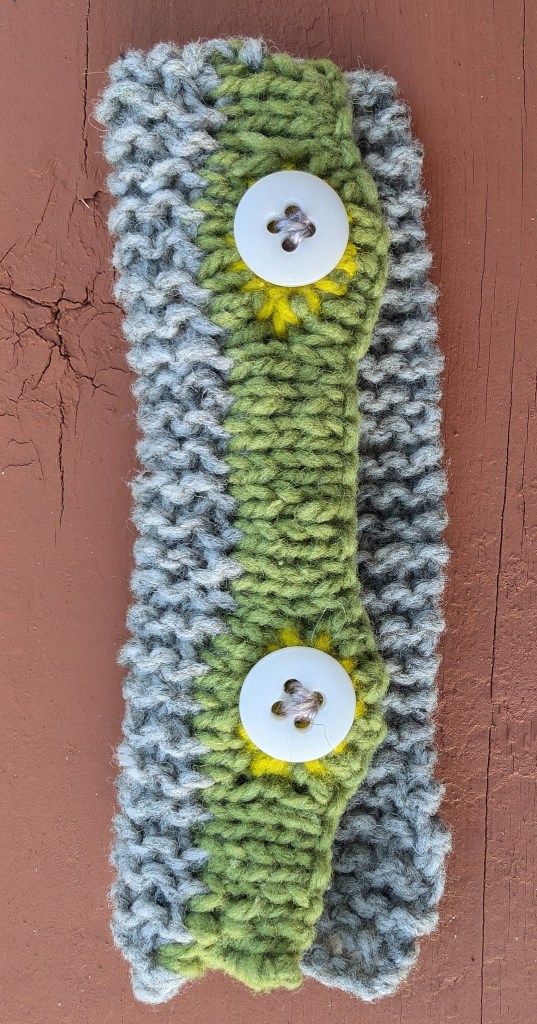
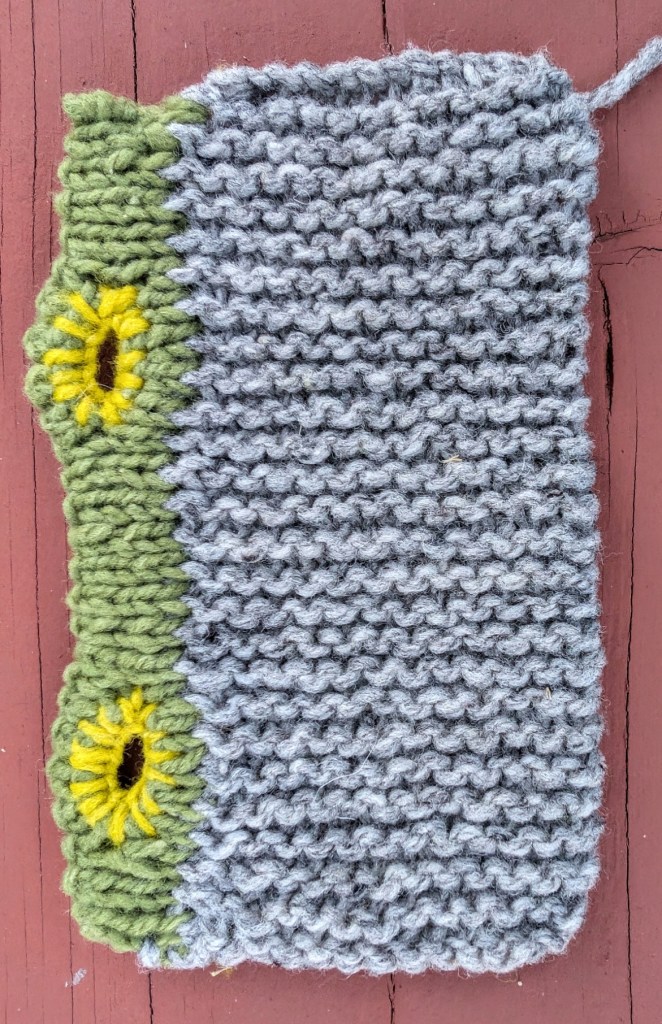
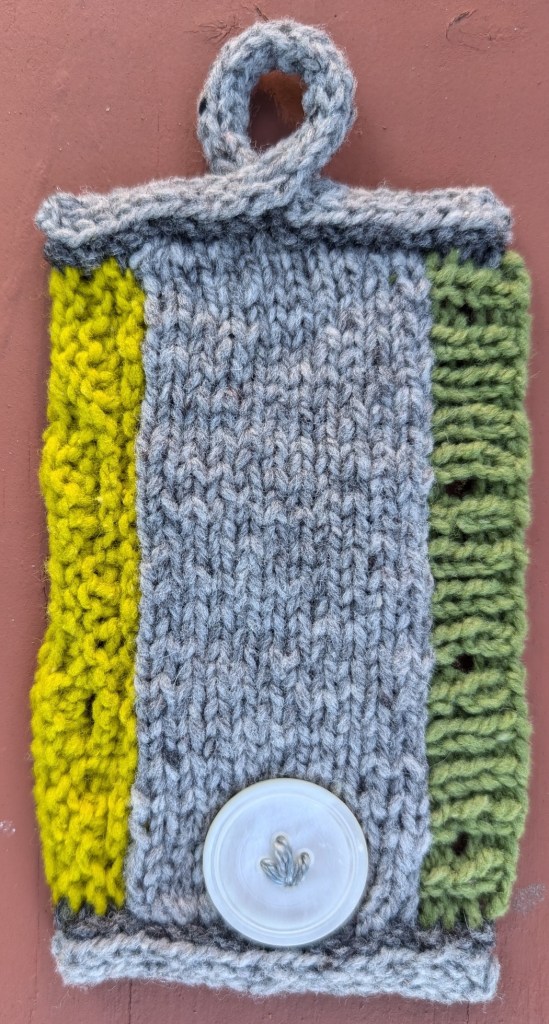
Part 1 – Button Holes and Button Bands. This will be an in depth look at how to pick-up stitches to create button bands. We will look at ratios and gauge, at button holes large and small, how to sew on buttons, and we will start to look at I-cord. This class is already more than half full and I think that the new format is going to work really well.
Part 2 – Seams – I think that says it all. We will look at ratios – ratios are very important to all aspects of finishing. There will be 8 seams built off of the swatches. Seams will include; grafting, 3 styles of mattress stitch, 2 styles of 3-needle bind-off. One unique seam and I am still looking for the last option. There may be some finishing techniques as well.
Part 3 – Everything Else! You know, how to lengthen or shorten our knits. How to add anything after your knitting is finished. Ie Heels to tubes, afterthought pockets. Maybe some dimensional embellishments. Things to consider before we start knitting as well. Swatches, how to make and use them before we start knitting. The best place to work shaping. How to work a short-rows. All of those extra things. Which really aren’t that extra.
Every workshop will include homework beforehand of some kind. Mostly some swatches, something to practice all of the new techniques on!
Personal Projects
Yesterday I cut out a blouse and a pair of pants for myself. Though apparently I made the blouse for my daughter. I missed a couple of key measures. I am really thrilled with the finishing. French seams and fine finishing on a napped wool flannel fabric. My daughter is thrilled.
I hope that the pants turn out a little better as I know I am the only one who will want to wear them!
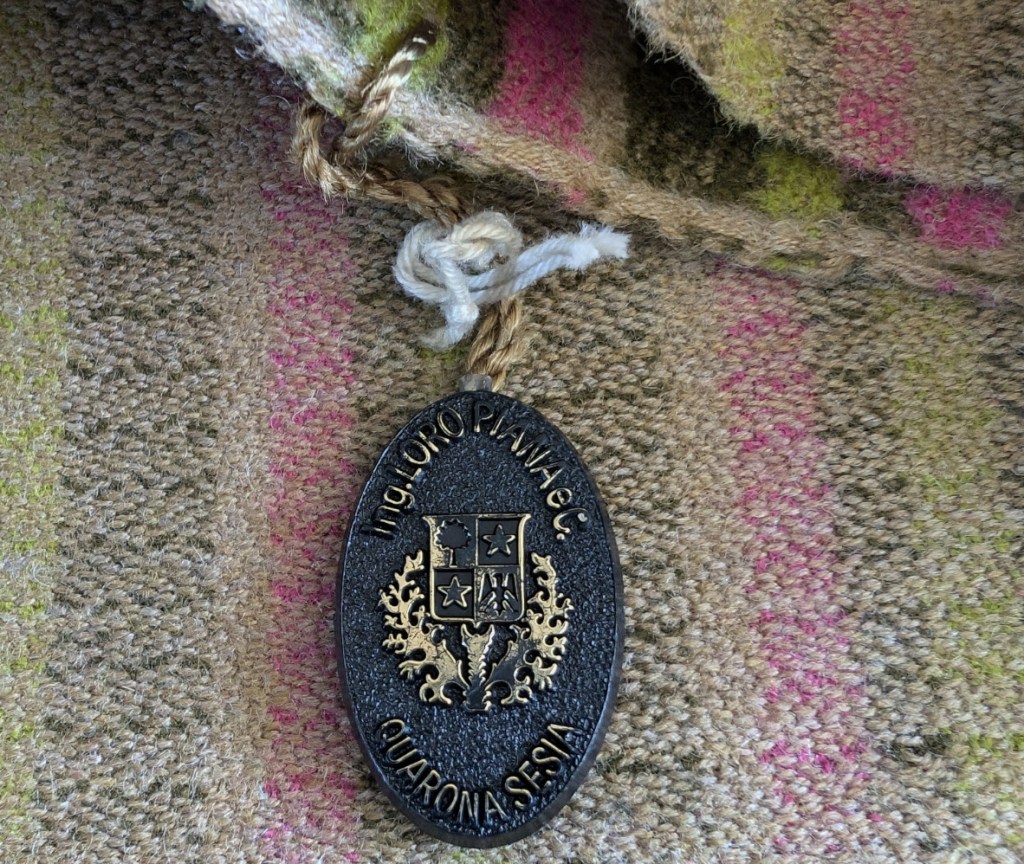
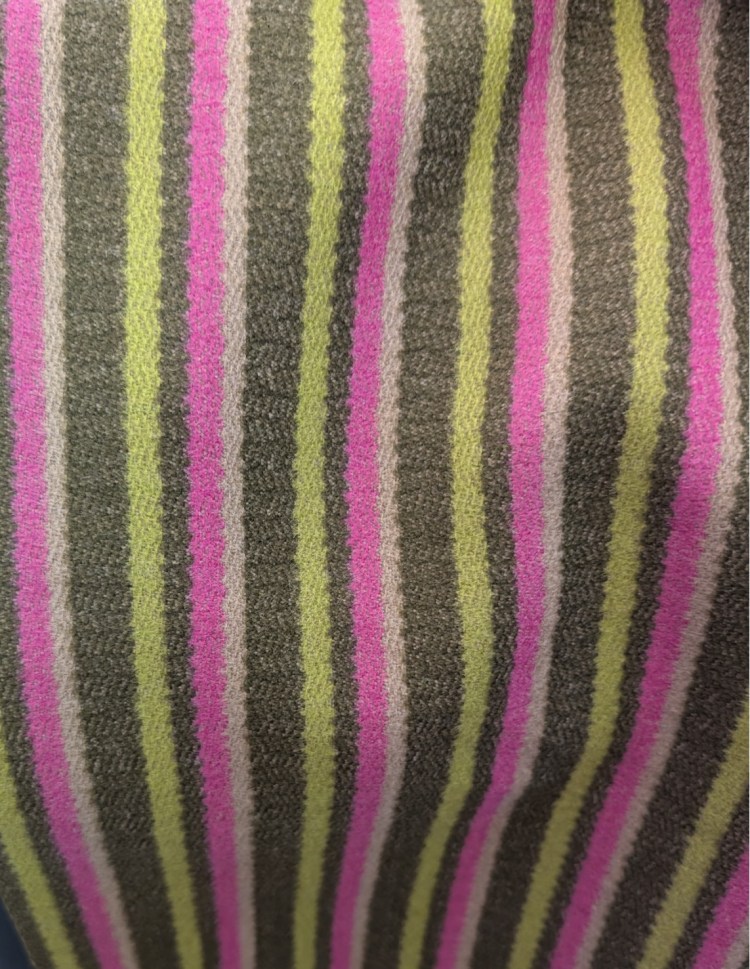
Italian wool woven fabric. I am planning pleats in the front and maybe a button fly instead of a zipper. Those colours!
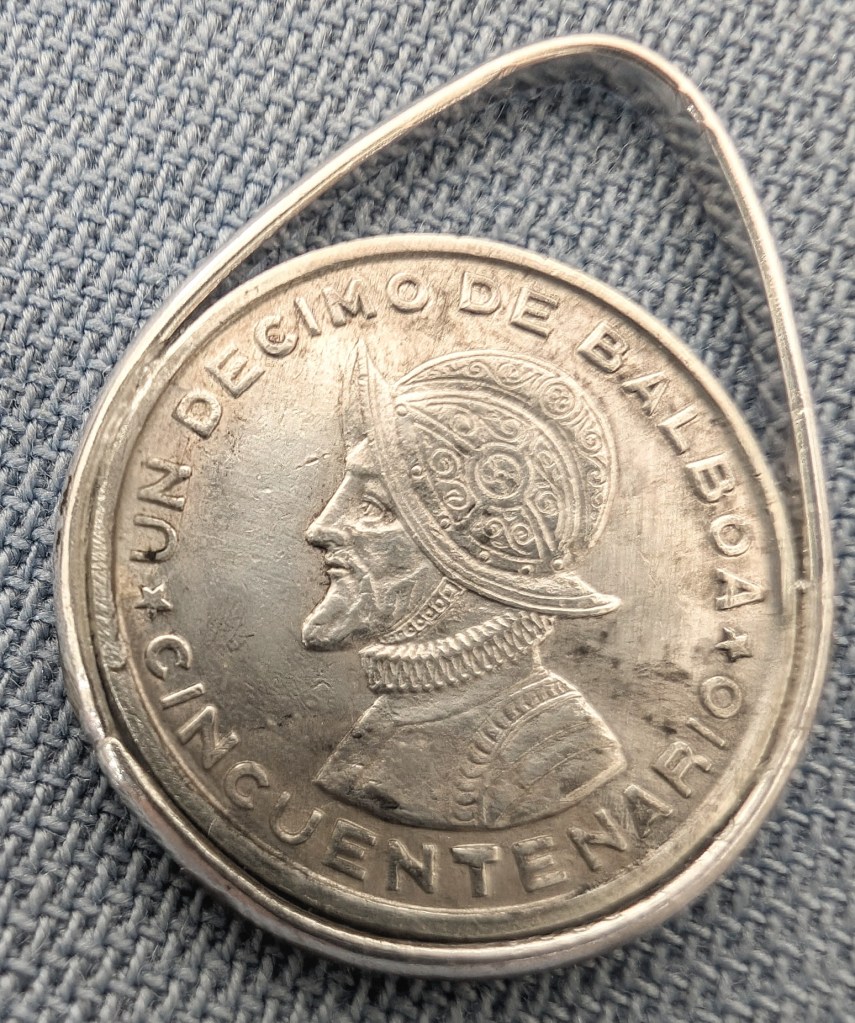
When I was much younger I collected coins. Old Canadian and English pennies and coins from when we went to Malaysia. When I was a teenager my father gave me his coin collection. I
As a collection it was very informal. It consisted of an old plastic tub of coins most of them from Panama and Peru. Most from the late 1950’s, from when he was in the Navy and his ship cruised those waters. I had put away my coin collection by then and wasn’t actively collecting, so I put the tub with my collection and proceeded to spend the next 50 years carrying the collection around with me.
A few months after my father passed away I hauled out that old tub and looked again at those coins. In the collection were about 30 old silver coins, all the same size and all from the Republic De Panama. I started to think of what those coins could become. I wanted to use them as embellishments on a shawl, So, I took the coins to my Silversmith friend Joan and left it with her.
I think that this will be an interesting way of creating a unique piece of knitting while honouring my memories of my father.
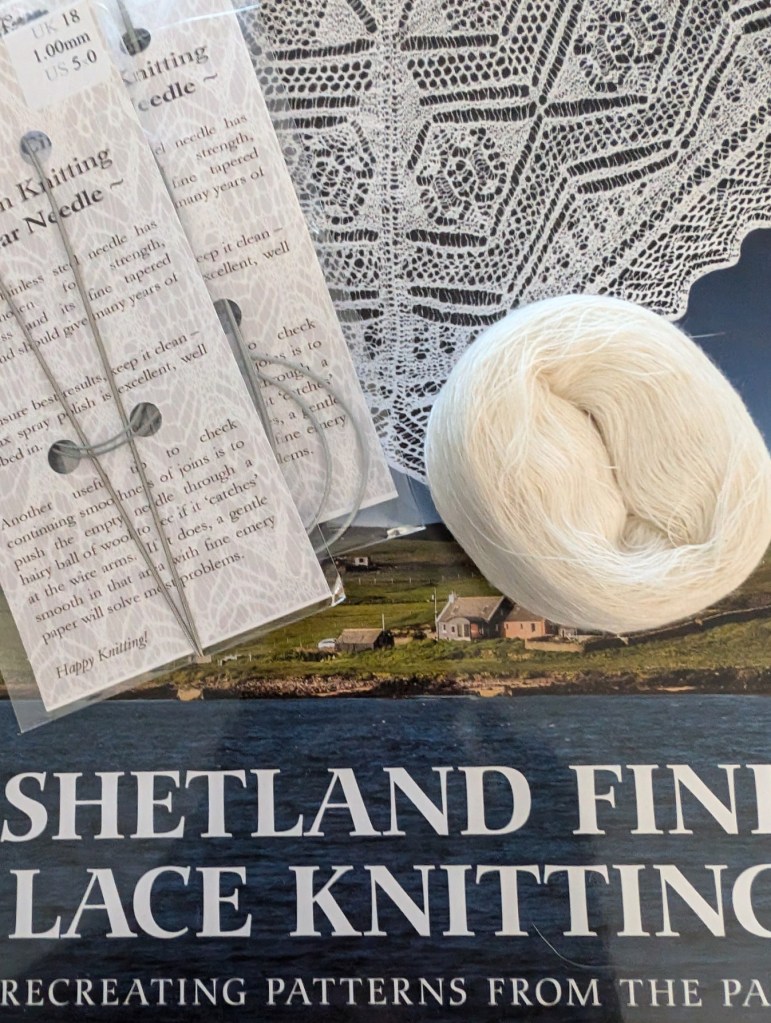
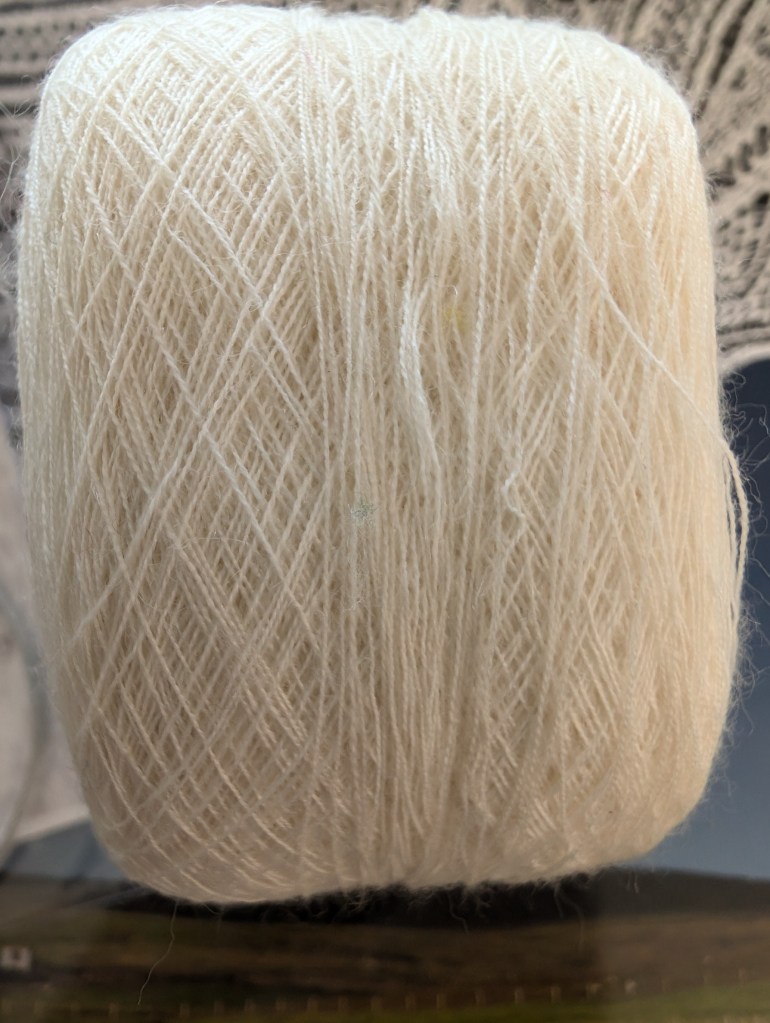
Remember this one? Well it was put on hold while I waited for the book and then it arrived and needed to be examined for new ideas. Which I really couldn’t find. I was in an odd headspace I think. I was looking at my knitting, on the 1.75mm US #00 needles, and thinking it was too loose. I had to get my head around that. So, yesterday I also ripped out my little bit of knitting and put away the the 1.75mm needles and pulled out the 1.0mm US #00000 needles and cringed. I have never, ever, knit with anything that small. So sometime in the next week I will be casting on a new project.
Still trying to get my head around that as well. Do I order more yarn, or do I design a smaller project. Still thinking on it!
This one has been on hiatus for a while, but I am planning on picking it up at the end of the month. I am not far off the waist and I am hoping to reach the shoulders around Christmas.
There are other projects in the background and more classes to share, but that can be for another day!
Part of the answer is self evident, at least I think it is. I have something to say. It may not be relevant to any one but me, but it satisfies something in me to put words onto the page.
I started blogging about 14 years ago, July 2011, about the same time I started to publish hand knitting patterns. I started the blog to promote my designs and hoped to become a new and important knitting designer. That did not go quite as planned… LOL!
What did happen is that I discovered that I liked to write/blog about what I was doing. I loved to take photographs of my knitting, take photographs of where I lived, take photographs of anything that caught my eye and share those with anyone willing to listen!
I am not a particularly good writer, or so I am told. Too many words, too many styles, too much or too little punctuation, just too many. But I don’t really care…
I blog for me, and anyone else who cares to listen. Thank-you!
Happy Reading
Lynette
My most favourite place in the World. A salmon bypass by the Canyon just outside of Nanaimo. It is calm and quiet and always cool and beautiful. Populated by deer, eagles and of course salmon. Calm, clear and so relaxing.
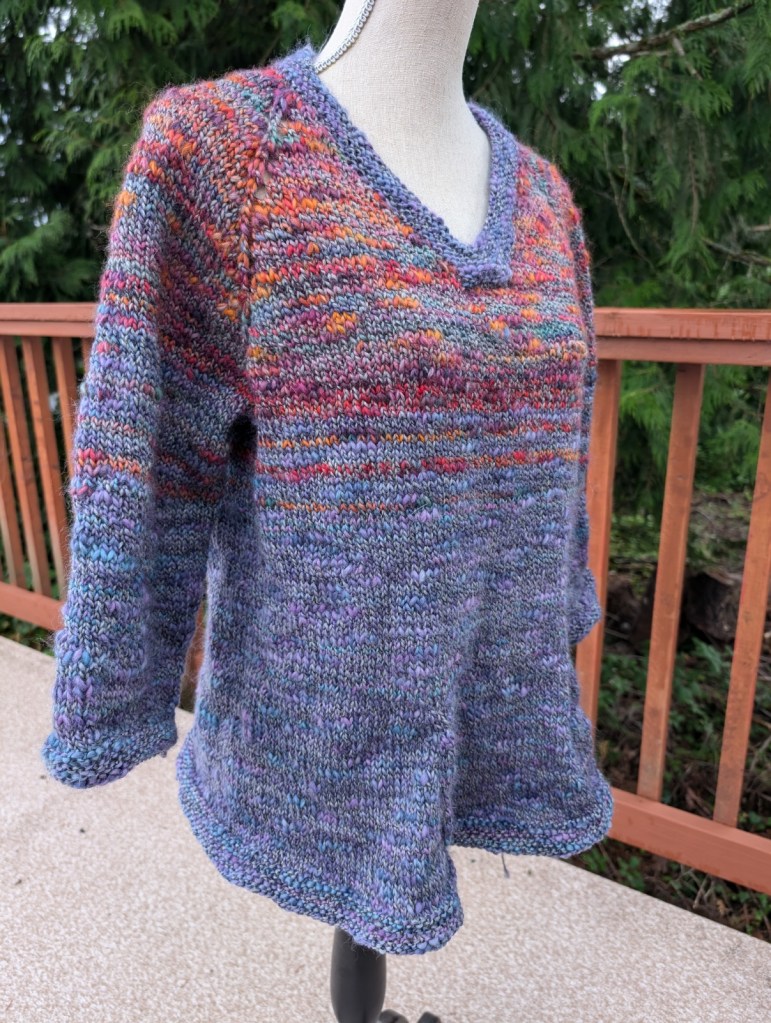
My Sunrise sweater is finished! I am quite pleased with it! And it fits perfectly!
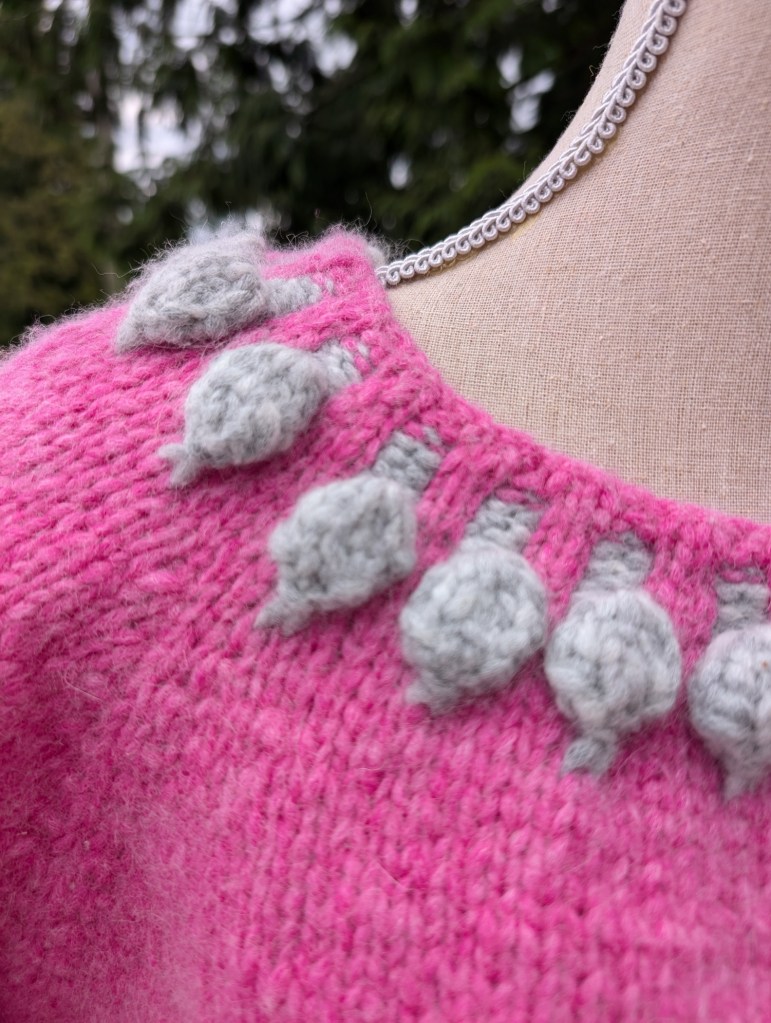
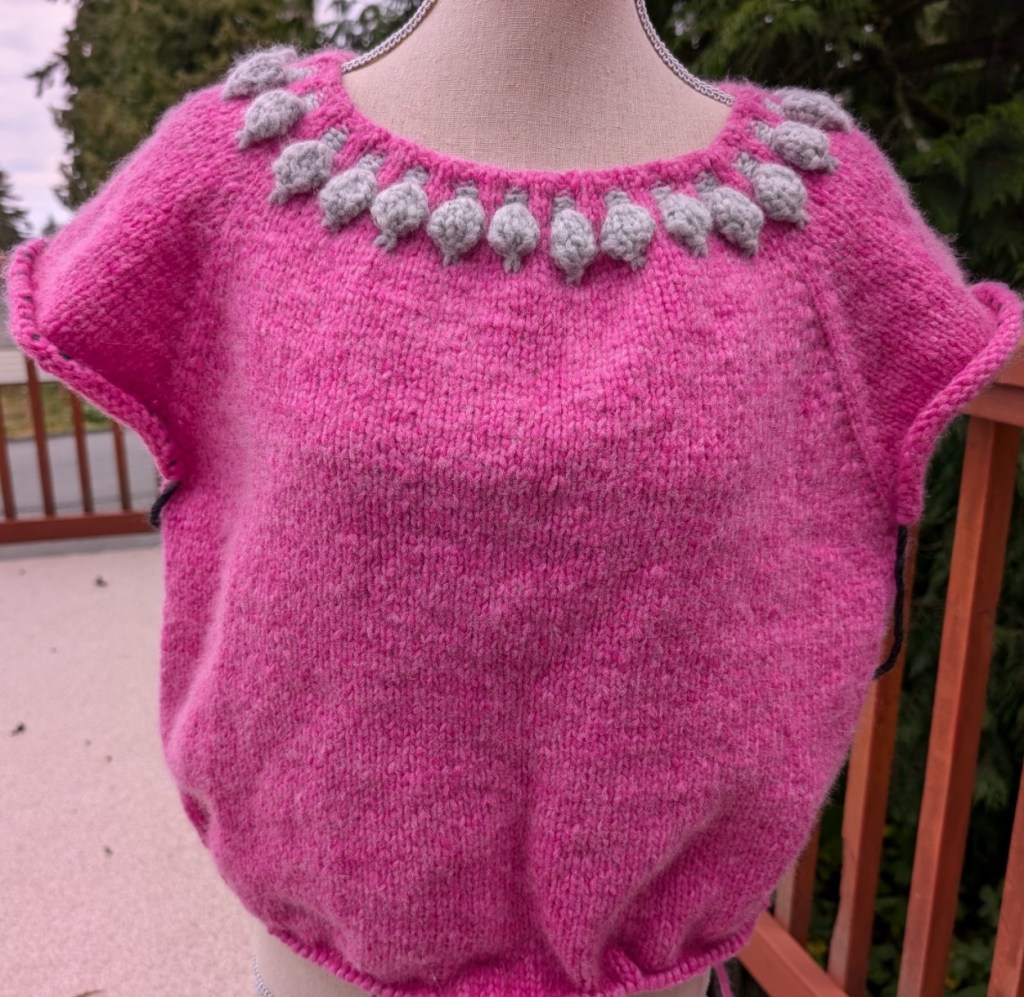
In tidying up my workroom I have stumbled across a couple of other sweaters for myself. The Pink Juniper Moon Beatrix is the next one on my list to finish. I love the softness of this yarn. It is sooo light and sooo soft! And it knits up so quickly! The other sweater did not pass muster and was quickly ripped back and rolled into a ball, waiting for a different style to work into. 🙂
You may note a bit of a trend here… most of the sweaters I knit for myself are tunic length. I hate to be cold and a longer sweater keeps my back nice and toasty! I do have a plan for another piece, most likely a vest, longer, with split sides, a knit belt, and colourwork, colourwork in the Muhu style. Which is bright! Oh so bright! Just my style.
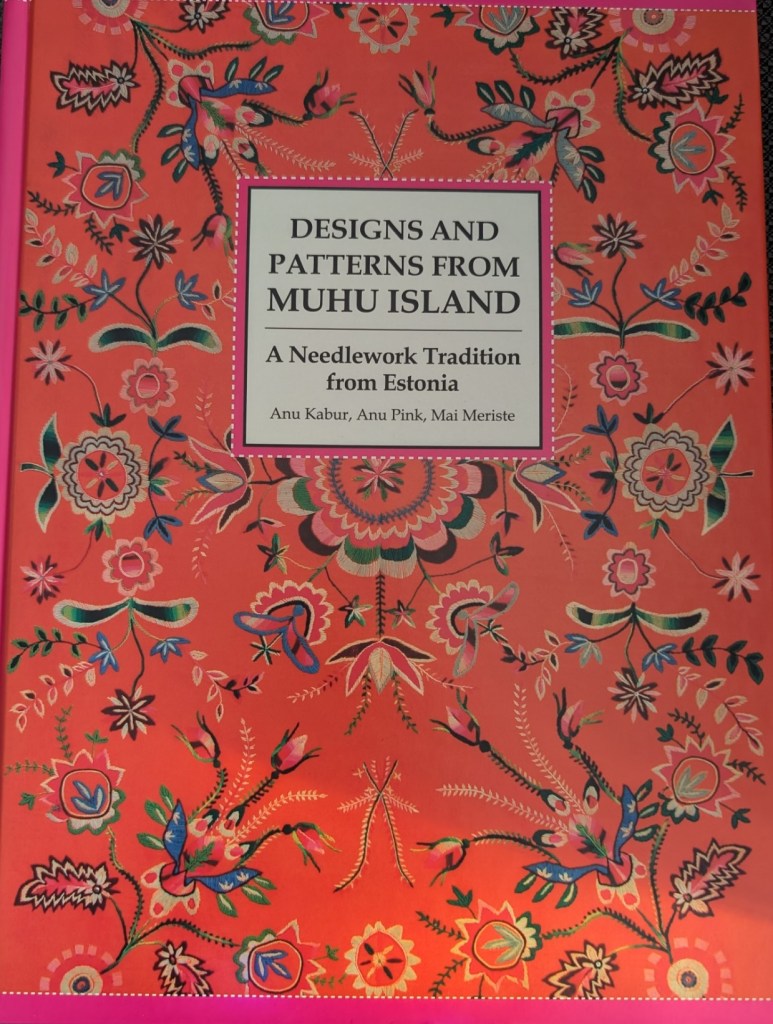
Roosimine and Knitting an Estonian Garden
Embroidery on Knitting
So much inspiration!
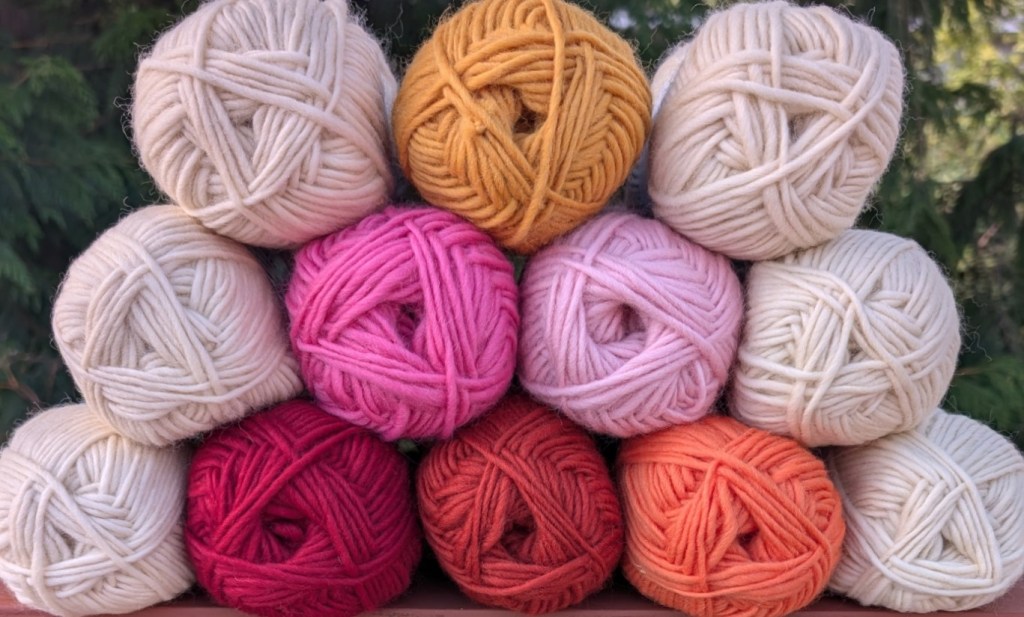
Eco Scandinavian Chunky
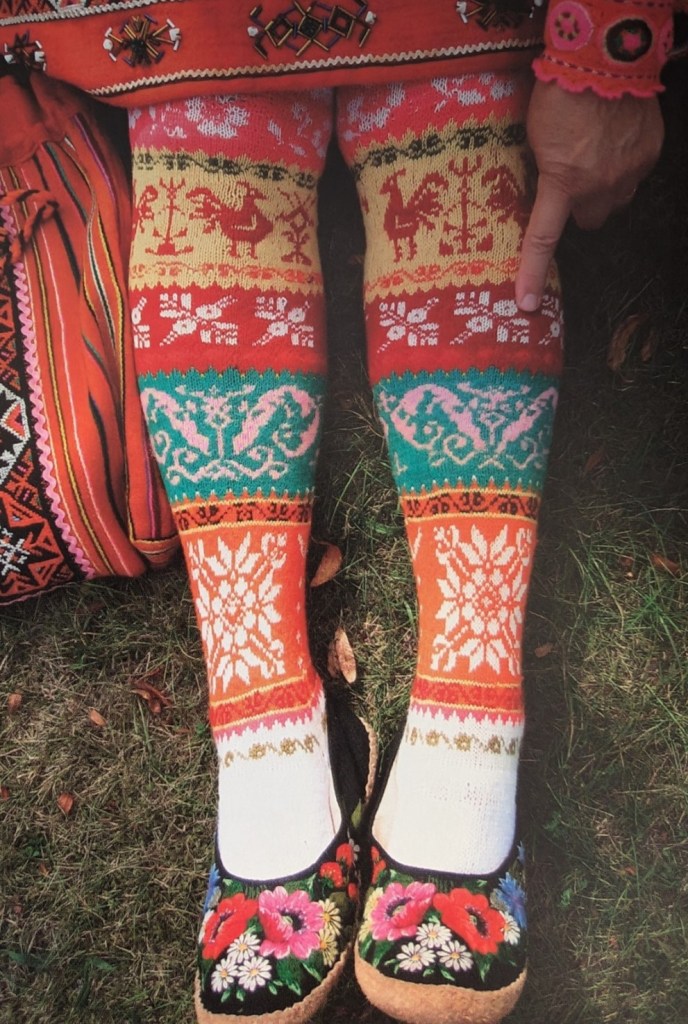
Oh these socks just make my toes curl! are they not amazing?
I will have to revisit my pattern Knitting and Estonian Garden, for some Roosimine patterns to add to the vest. Roosimine is an embroidery style technique from Estonia that is worked on your knits as you knit. It is quite common for knits to have surface embroidery to add details.
I will not be using a fine yarn. I am going to work with a new Chunky, Eco Scandinavian Chunky. It is new this year from Estelle and it is a lopi style yarn. You can see the colours I picked. I may need to add a green or blue. Still thinking on it! Swatching should commence this week.
And Finally! I have written up a little pattern that hightlights my current mindless, evening or travelling project. i hope that you will like it.
Crystalline Lattice
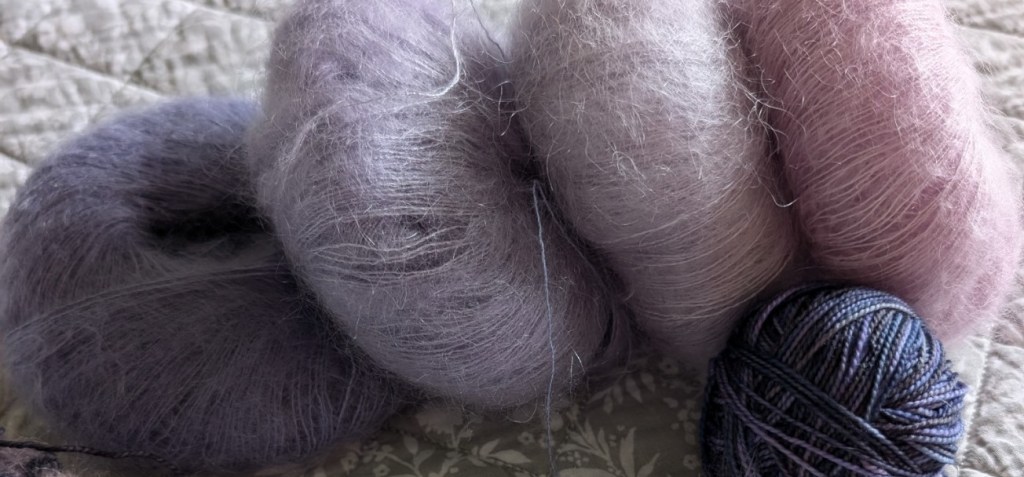
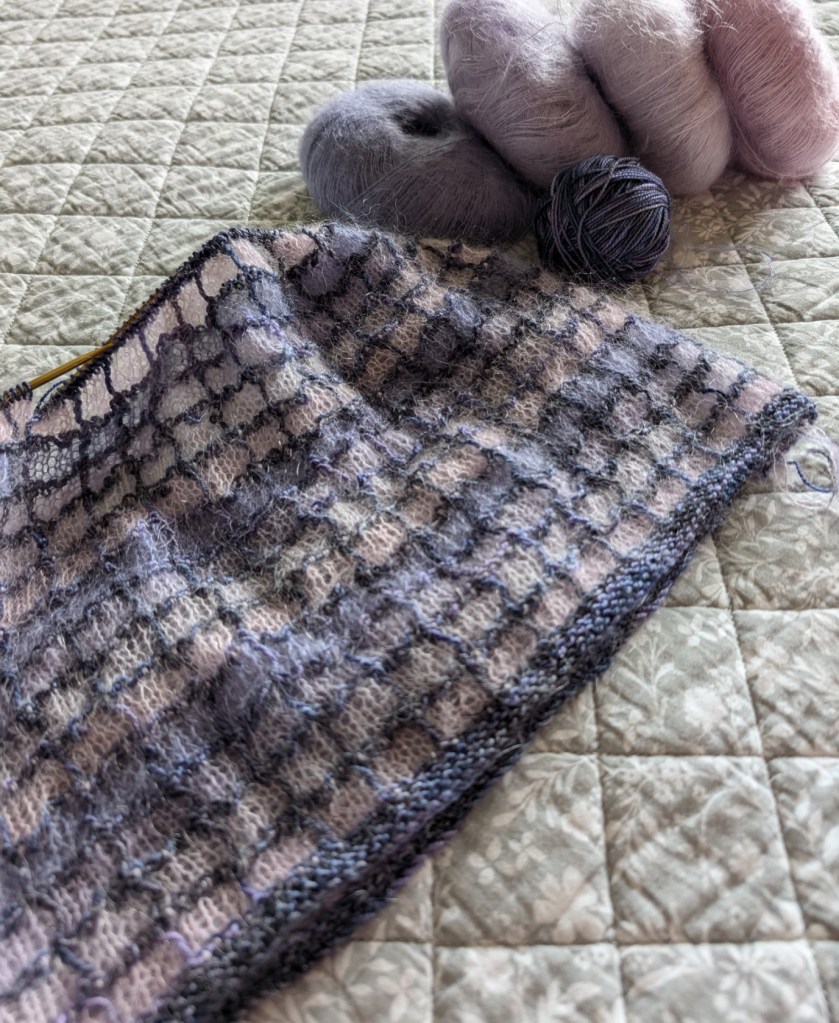
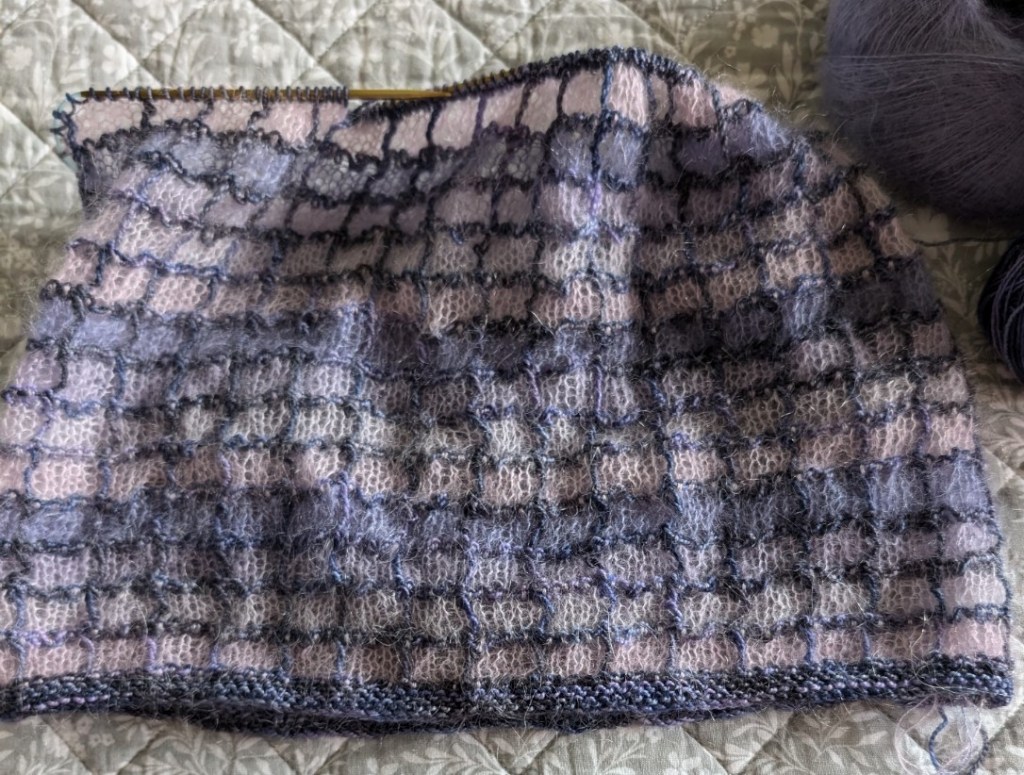
This Cowl, Wimple or Scarf pattern is the perfect project to mop-up of all of the left-over bits of laceweight silk mohair that we all seem to be collecting. This is a tube scarf, that can be something different at different lengths. Right now it is only Cowl size, but as it becomes longer it will grown to be a Wimple (a tube that covers both neck and head) and then a scarf. I am aiming for a scarf myself. So, until it is a scarf the pattern will be free.
The very basic atomic shape of a natural crystal as it grows is a lattice. So here we are growing our own crystal. Mine shows as shades of purple. What will your Crystalline Lattice show?
It is a super simple pattern, 7 rows, slipped stitches, stockinette and little garter stitch. The slipped stitches are twisted as we slip them, it gives them a very linear, ropey appearance.
As you work through the repeating pattern you can change up the colours of the mohair/silks. I am working with 4 close shades, and rotating them from lightest to darkest. But I am thinking of making a second scarf, and picking up all sorts of bits to make a really wild colourway with no stripe the same and/or no pattern to the colour stripe sequence. Or maybe I should get some earthy tones and make something a little more organic. This pattern could go so many places.