A few months ago I was interviewed by Stitchmastery. Stitchmastery makes the knitting program that I use to create my charts! I was really stoked when this came out!
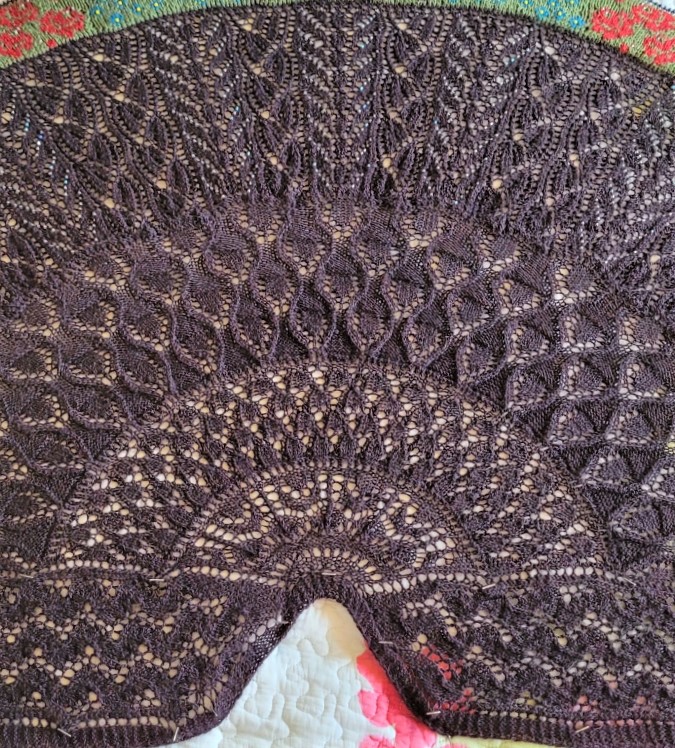
Look at all those pretty lace patterns, all charts created by Stitchmastery.
Interview series 51 – Lynette Meek – Stitchmastery
Pattern is on Ravelry, High Summer KAL.
I love working with striping yarns. Moving the stripes around in different ways is aways challenging. This technique is a little challenging, but great for the adventurous knitter.
This striping yarn is Poema Stripes by Laine du Nord
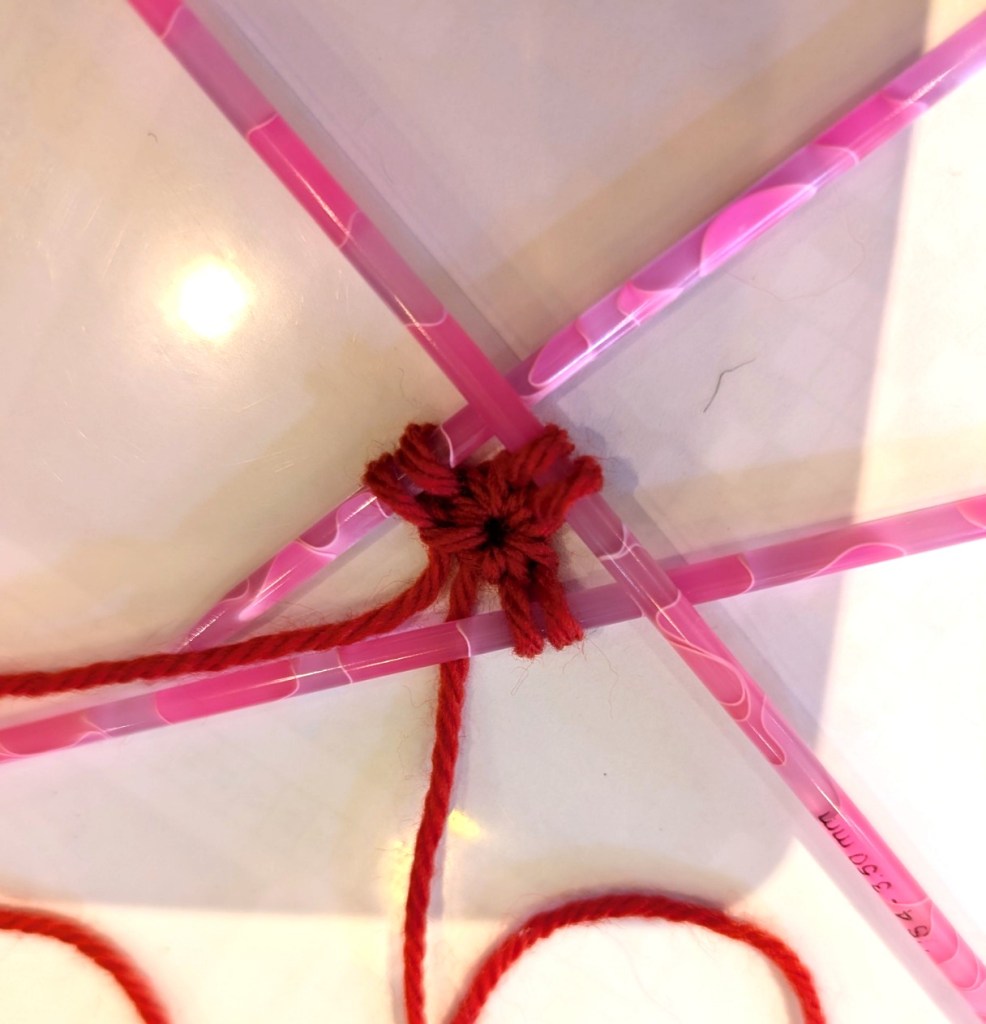
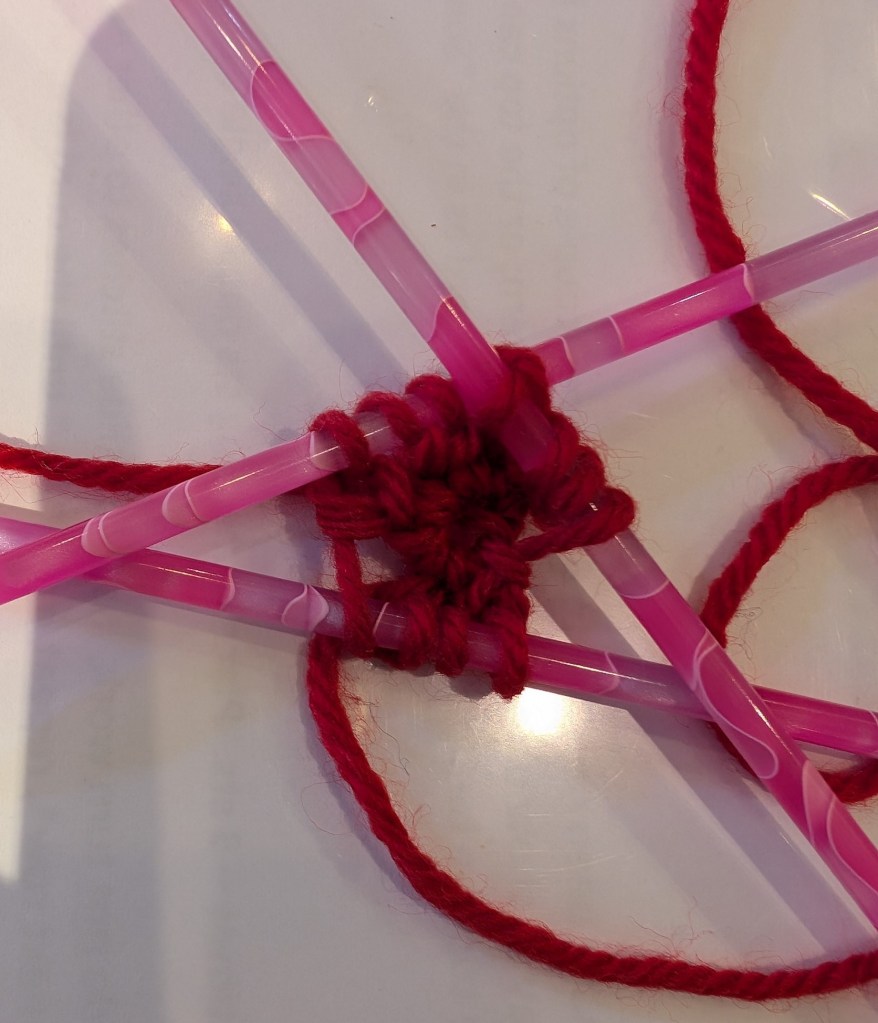
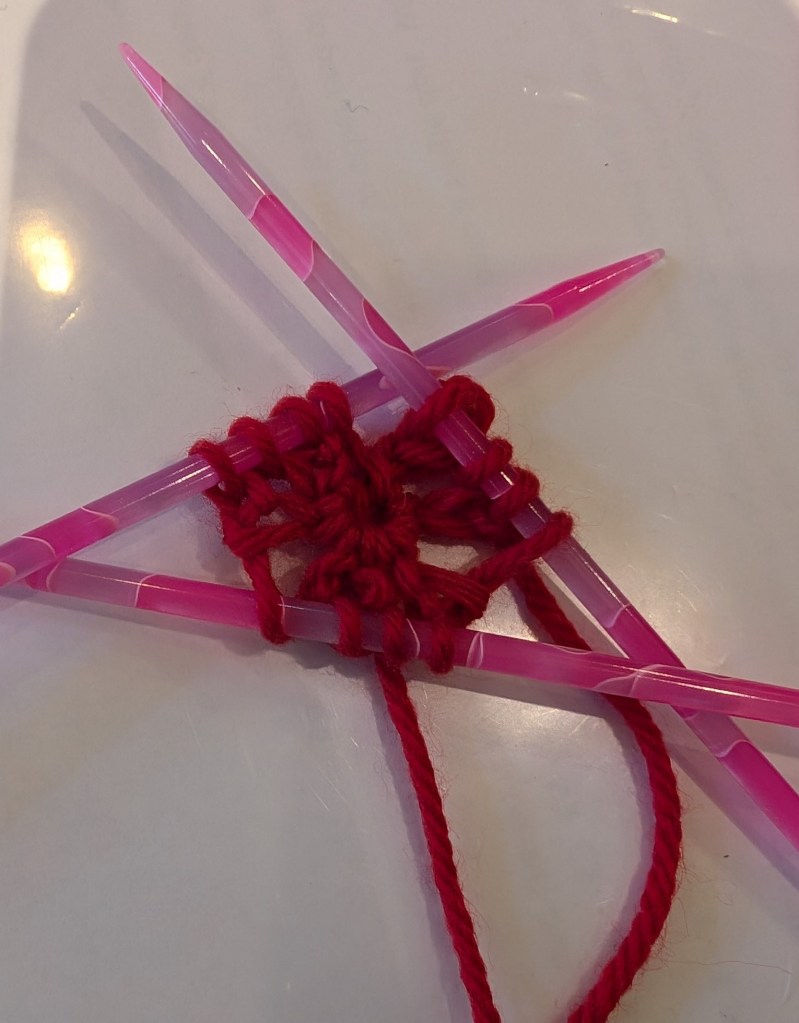
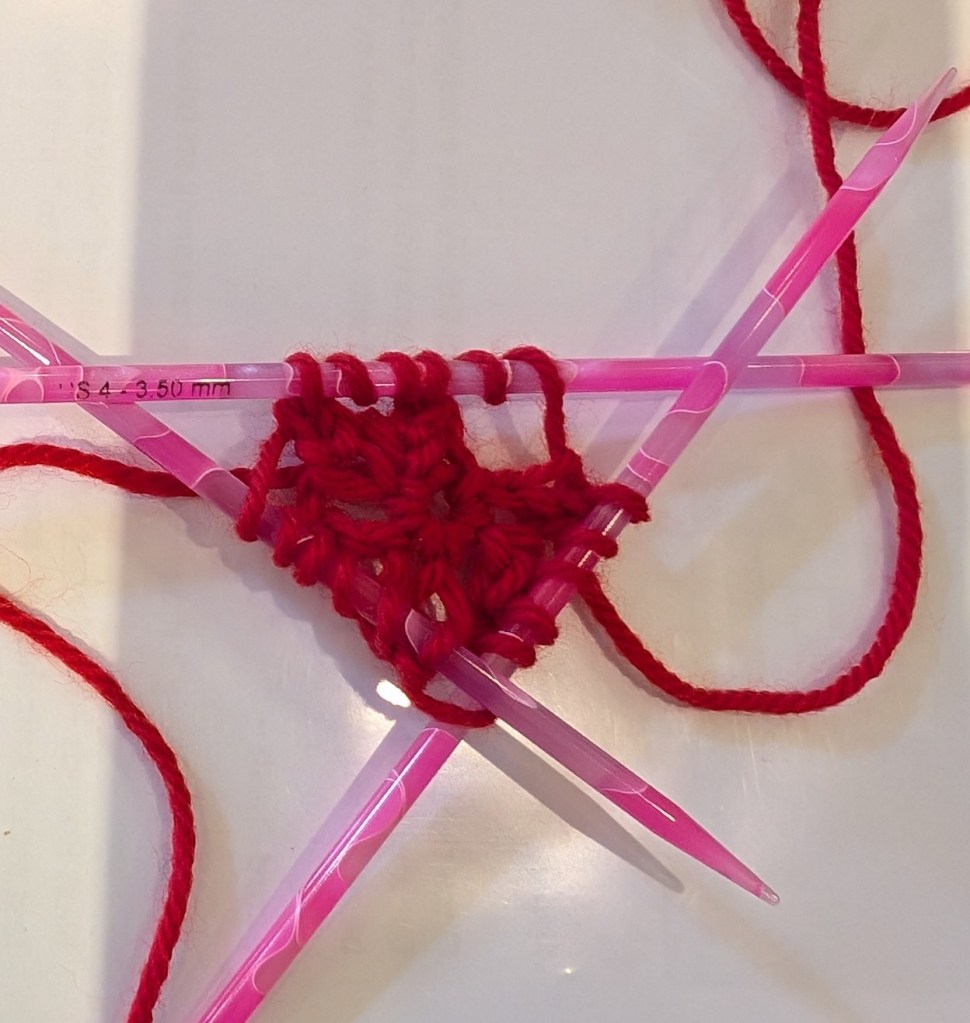
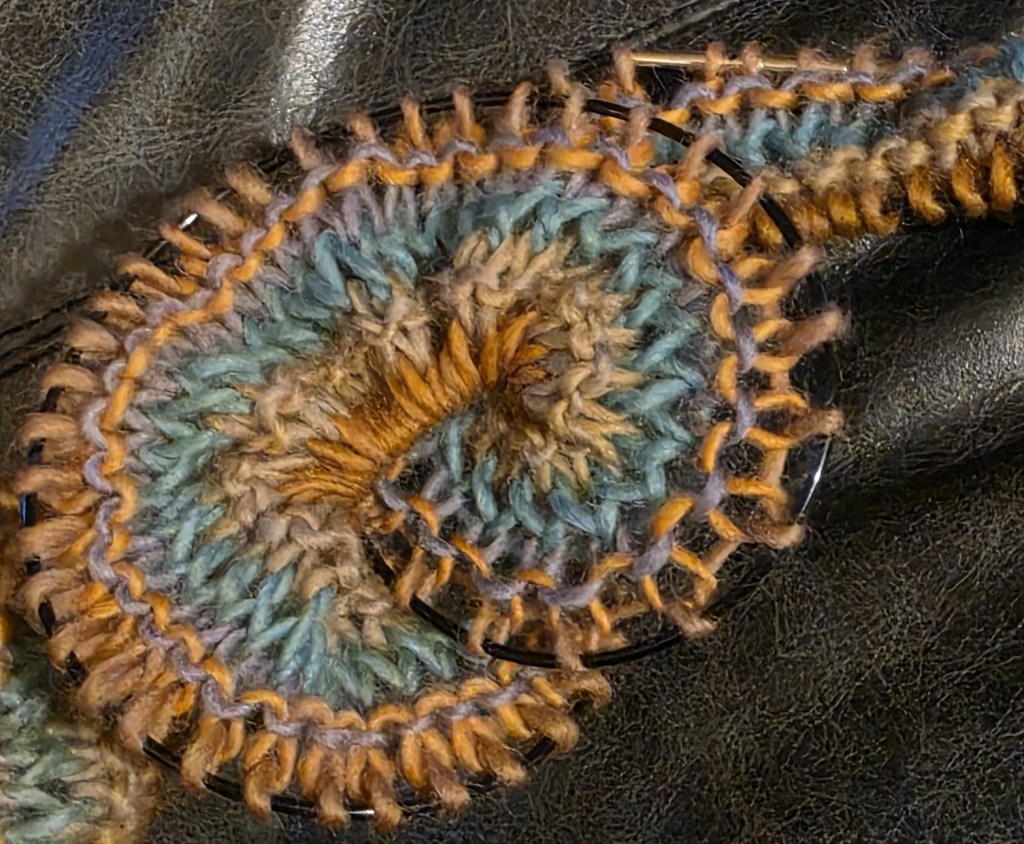
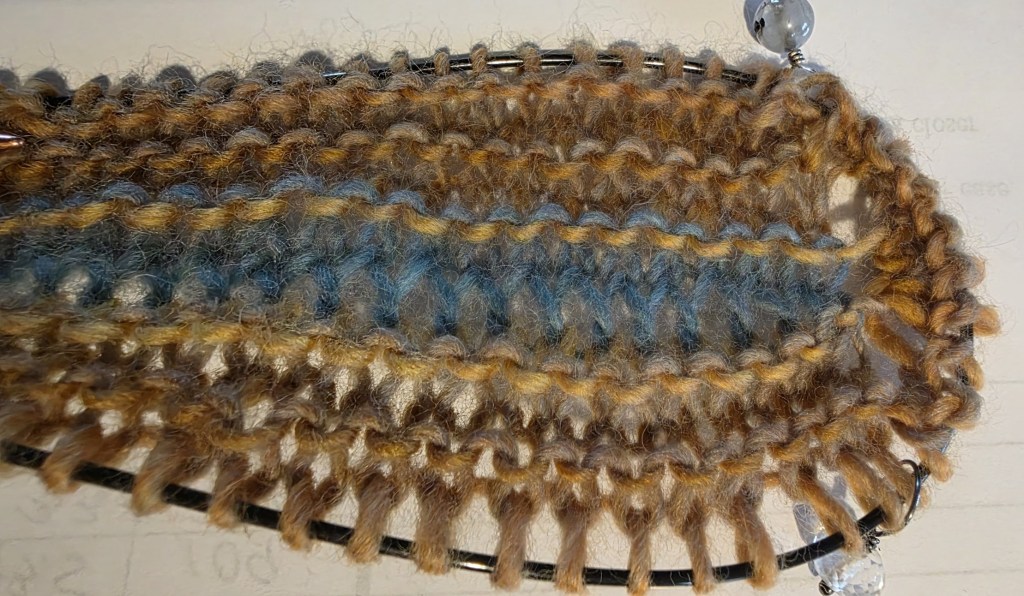
I have started a new scarf, one with a different style of cast-on. For the knitting nerds outs there – have you every knit a rectangular scarf or shawl in the round? Do you know the magic loop method? Why not give this a try?
Basic instructions for a worsted start:
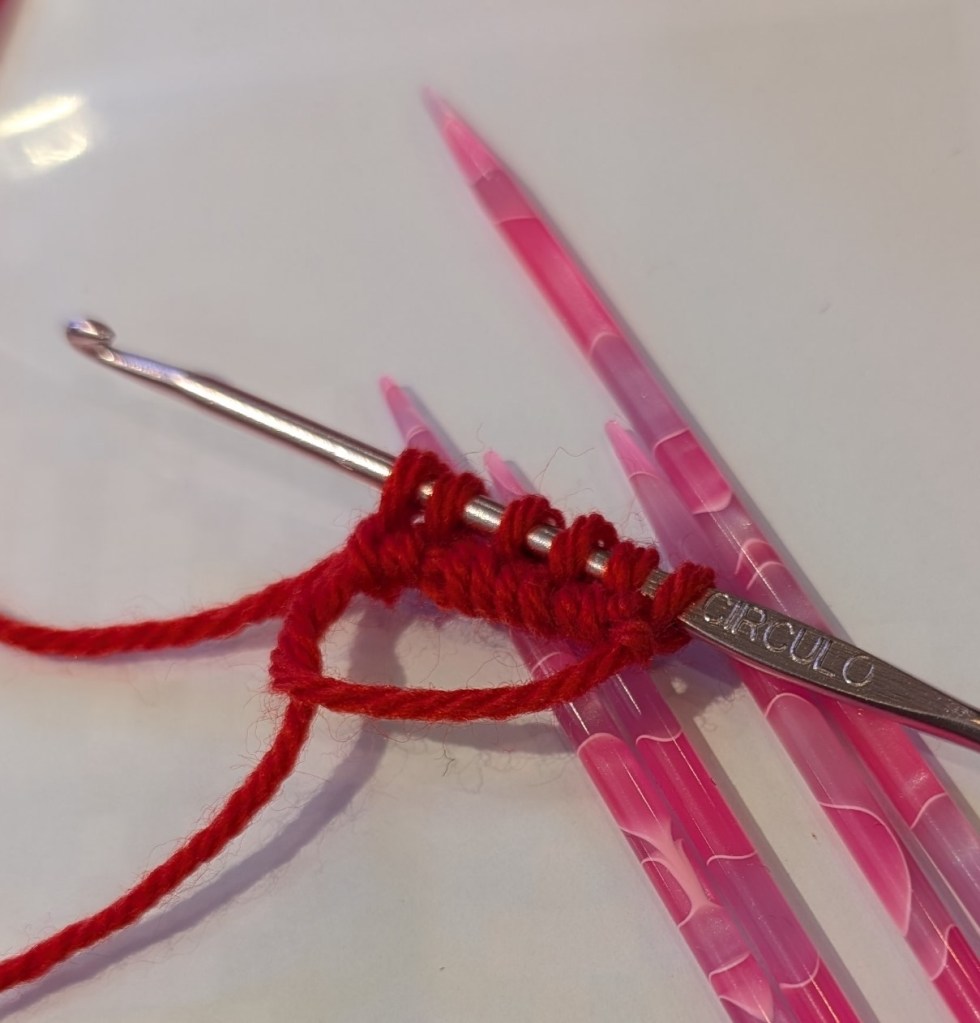
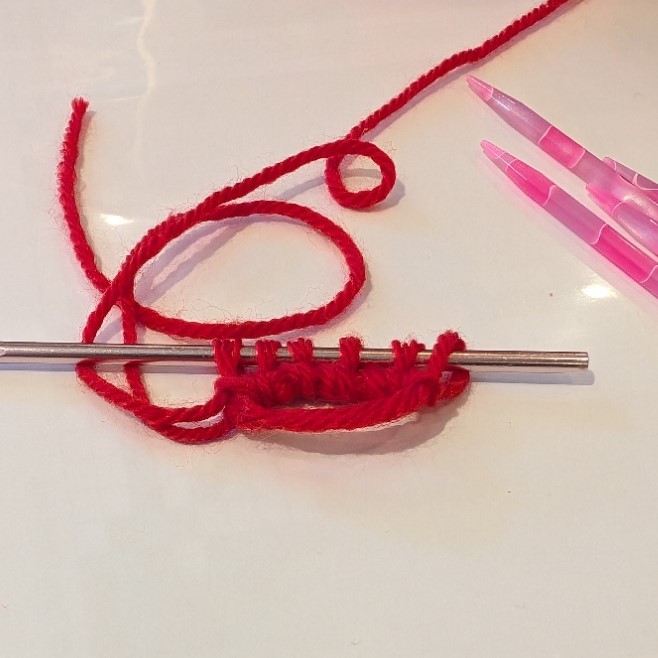
Using a 5.0mm US#8 80cm 32in circ, and using a knitted cast-on (you know, the one with the loopy edge) 170 st. Knit 1 row. With a 150cm 60in needle of the same size, turn work so that the RS is facing with the cast-on edge on the top.
Pro Tip – one that I forgot until I didn’t need to remember – DUH! – if you have them use a 60 in cord with the short tips – you will be knitting in the round without the rabbit ears a lot sooner (magic loop).
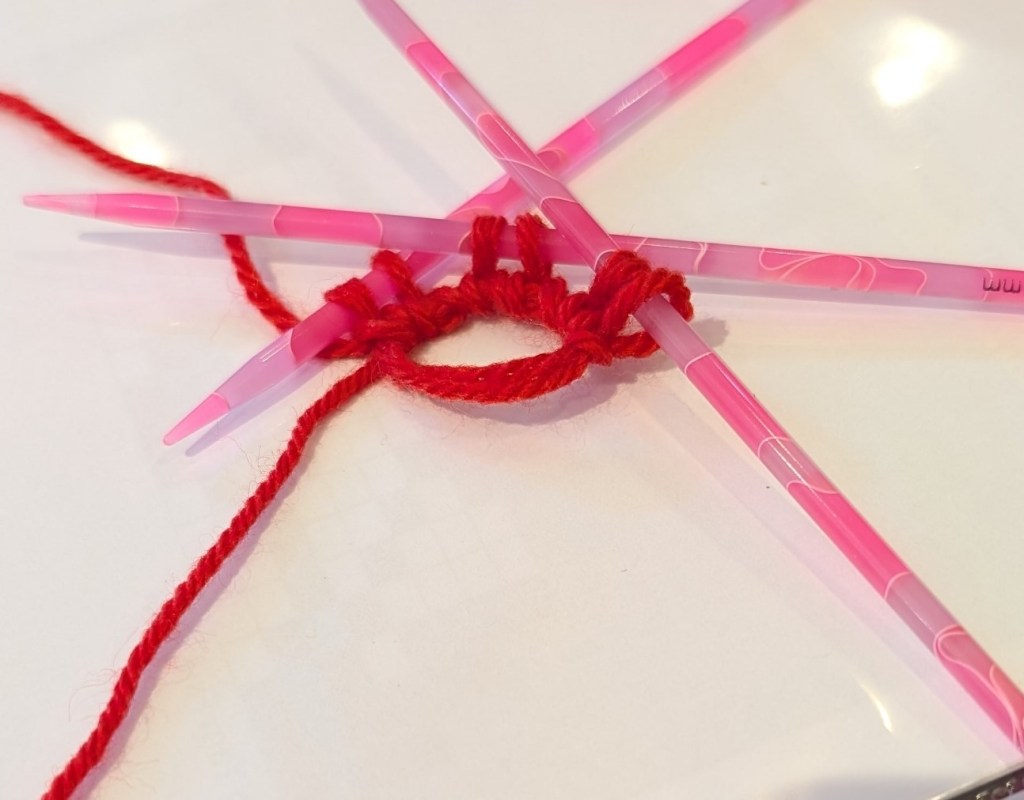
Pull working yarn up and using the new, longer needle, pick-up and knit 170 sts from the cast-on edge. Pull up enough loop so that the needle can turn the corner, YO, knit 170 sts, YO, place BORM marker – 342 sts.
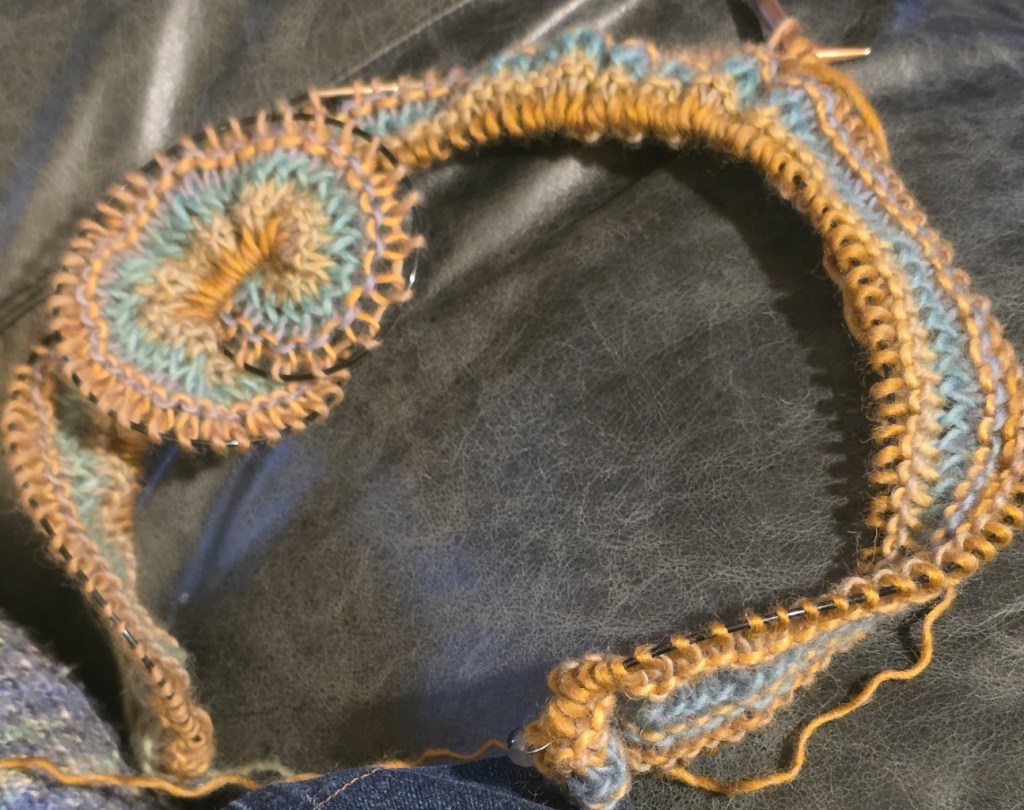
I love the way the stitches make “turkey tails” as you move them along the cord.
You will need to pull out the extra cord at each end to turn the corner for the first 10 rounds or so.
- Round 1 – purl 170 sts, pm, yo, k1, yo, pm, purl 170 sts, pm, yo, k1, yo, slm – 346 sts.
- Round 2 – knit 170 sts, slm, yo, k1, yo, k1, yo, k1, yo, slm knit 170 st, slm, yo, k1, yo, k1, yo, k1, yo, slm – 354 sts.
- Round 3 – purl 170 st, slm, k1, yo, k1, yo, k3, yo, k1, yo, k1, slm, purl 170 sts, slm, k1, yo, k1, yo, k3, yo, k1, yo, k1 – 362 sts.
- Round 4 – knit 170 sts, slm, k2, yo k1, yo, k5, yo, k1, yo, k2, slm, knit 170 sts, slm, k2, yo, k1, yo k5, yo, k1, yo, k2 – 370 sts.
- Round 5 – purl all around – no increases.
From this point increases will be every other round.
This is as far as I have gotten. I will post more as I go.
I will post more of the pattern tomorrow, always supposing I get more done today!
I hope that your knitting is going well! Happy Knitting!
Lynette