In September 2027, I’ll be heading to Alaska aboard the Discovery Princess for a very special knitting cruise – Dancing Lights: Alaska 2027.
I’ll be teaching knitting workshops, sharing two specially designed projects, and, of course, there will be plenty of knitting, laughter and time spent enjoying Alaska through a designer’s eyes.
The cruise information is now live, and I’m delighted that I can finally share it!
There is so much more to come. Over the next year I’ll be sharing peeks at the projects, yarn, inspiration and some of the preparations happening behind the scenes.
Do you label yourself? What is your view of yourself? Is it defined by your work, your hobby, your family? How do you view the way you interact with the world?
I know that I define myself by what I do now – what I did in the past helped form what I do now but does not define how I see myself now. For example, when my children were younger I defined myself as a mother. That definition is part of me but is not how I define myself now.
I am a Maker first and foremost. I make things.
Mostly, I knit. And when I knit, I design.
Then there is everything else. I love to cook. And bake. And make jam. I particularly love to make jam. I find it very meditative and soothing. I grow herbs in my garden to add to my cooking. Does that qualify as making? It does in my world.
And I sew clothing for myself when I am in the mood.
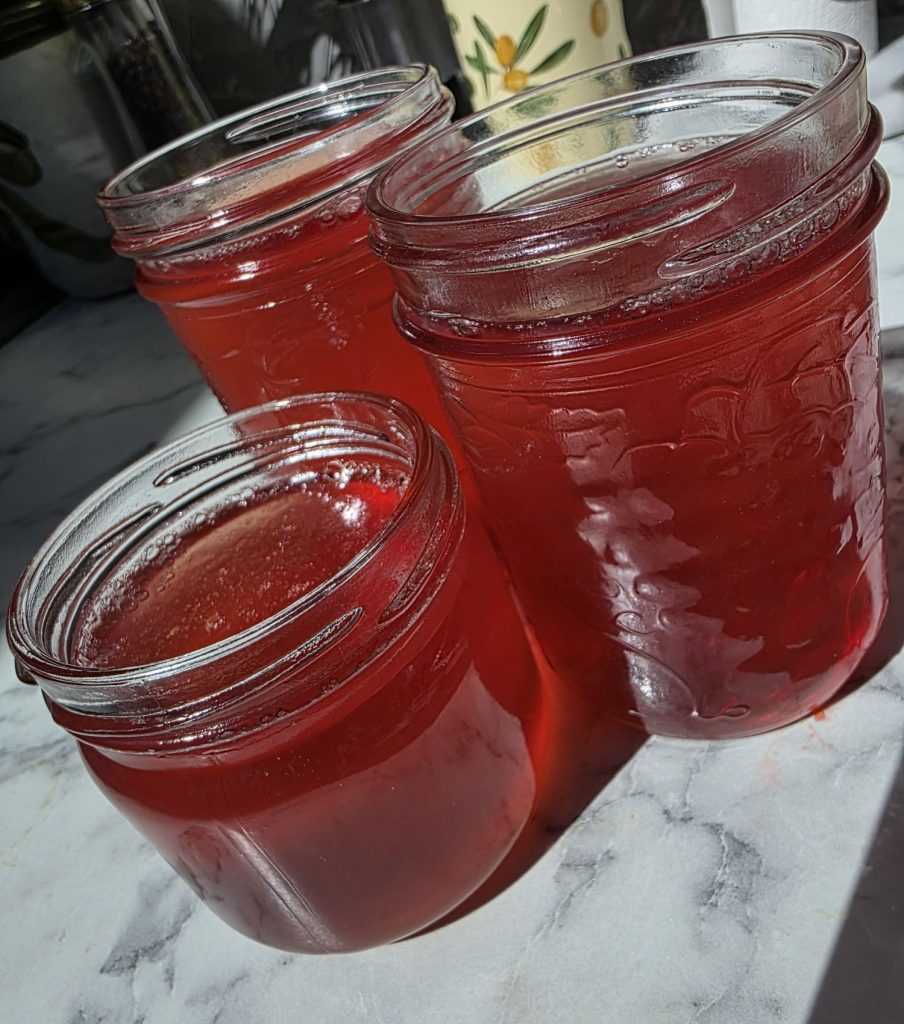
Crabapple Jelly in the Sunlight.
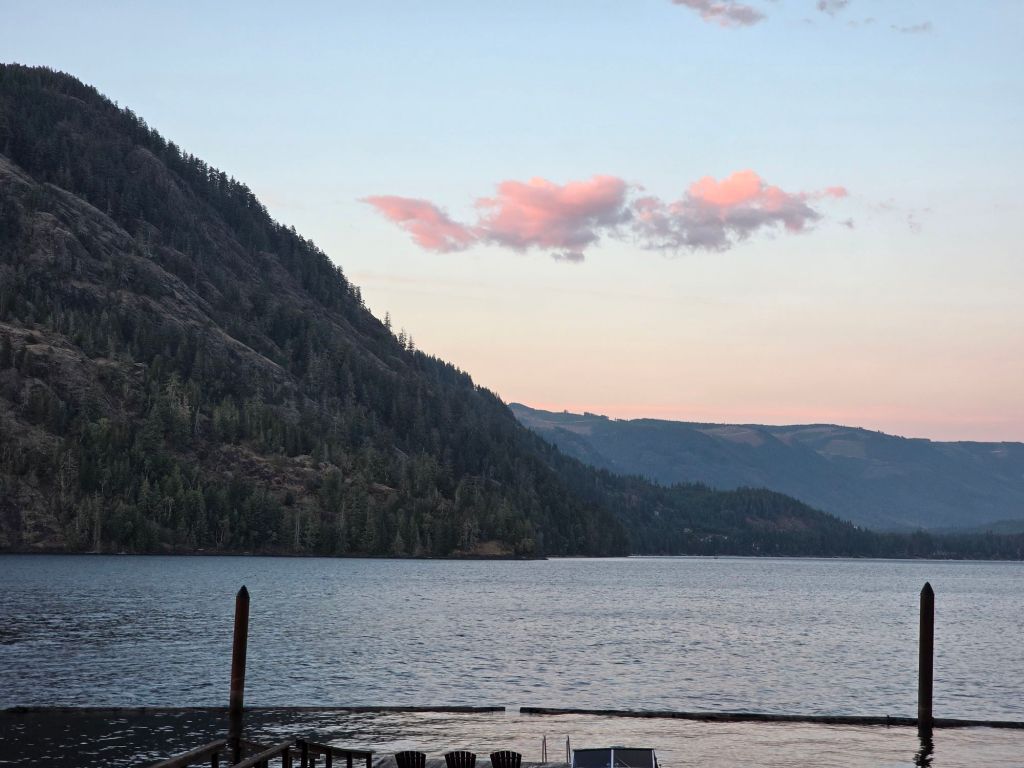
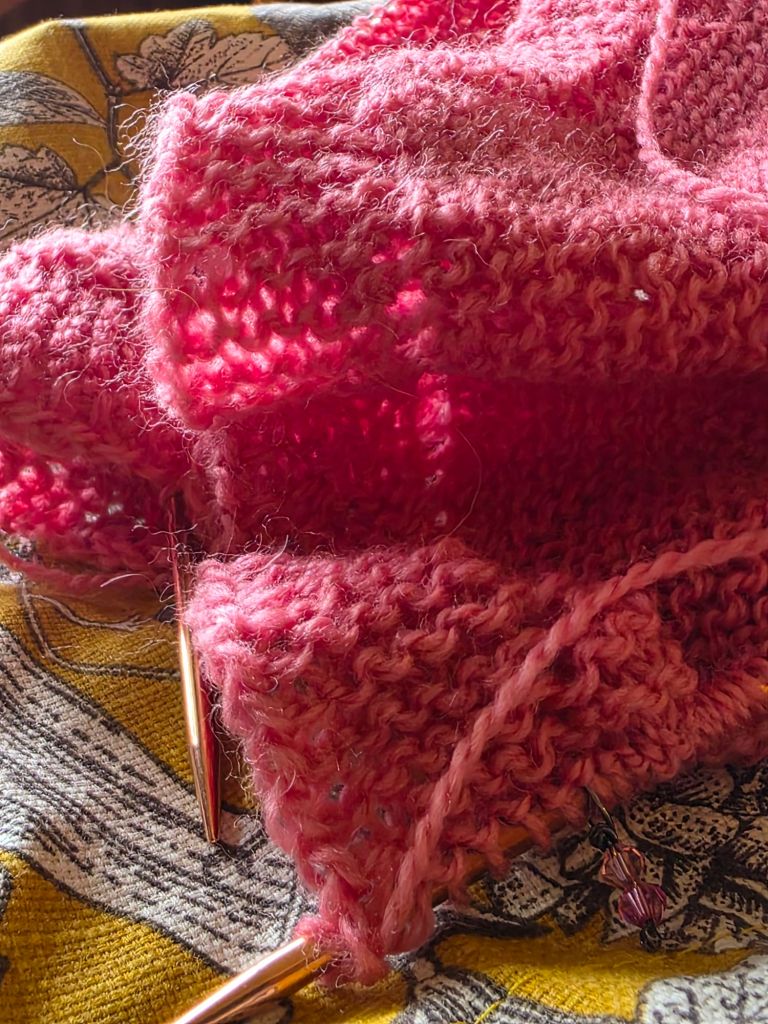
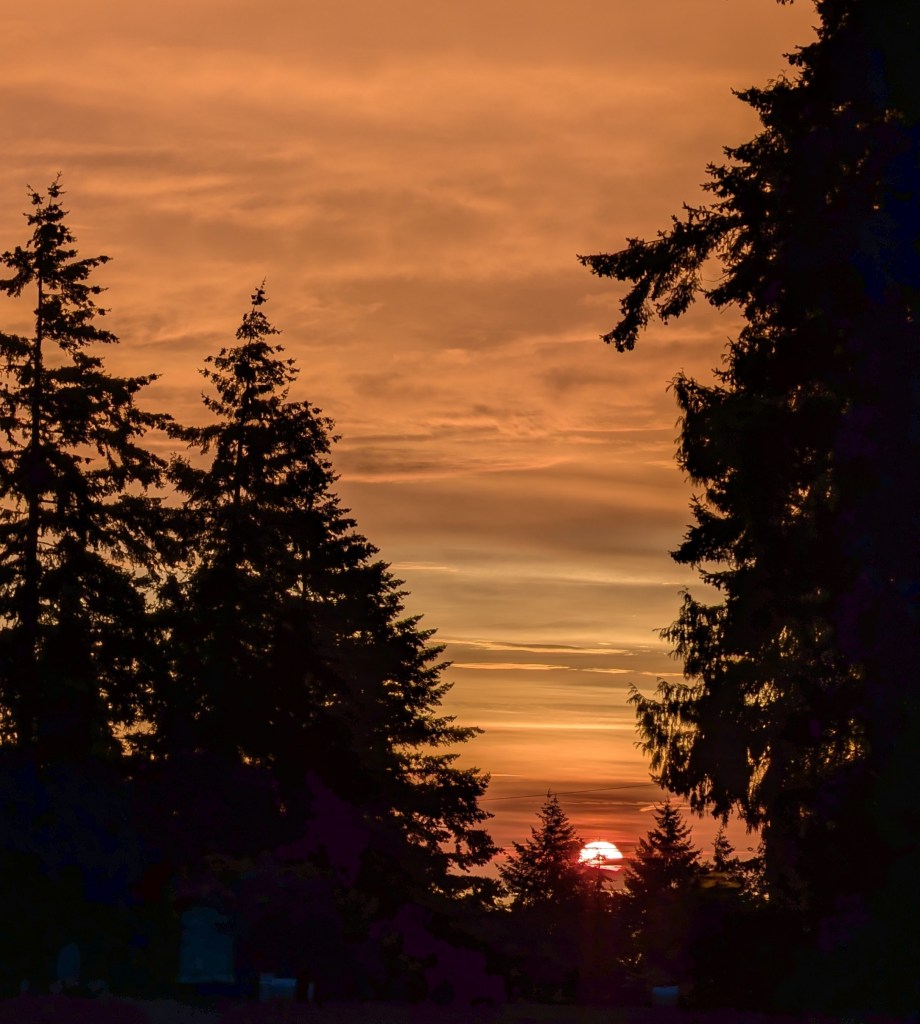
Everything I do leads to everything else I do. The colour of the jelly leads to me looking for the colour in my stash – couldn’t find it – so I settle for a bright pink. The colour of the gorgeous sunset last night.
In your knitting are you influenced by your environment? Does a walk in the woods or along a lake make you look at the shadows created by sun and leaves and see a lace pattern or watch the waves along the shore and see the classic old shale pattern?
Or are you more influenced by a direct need or want?
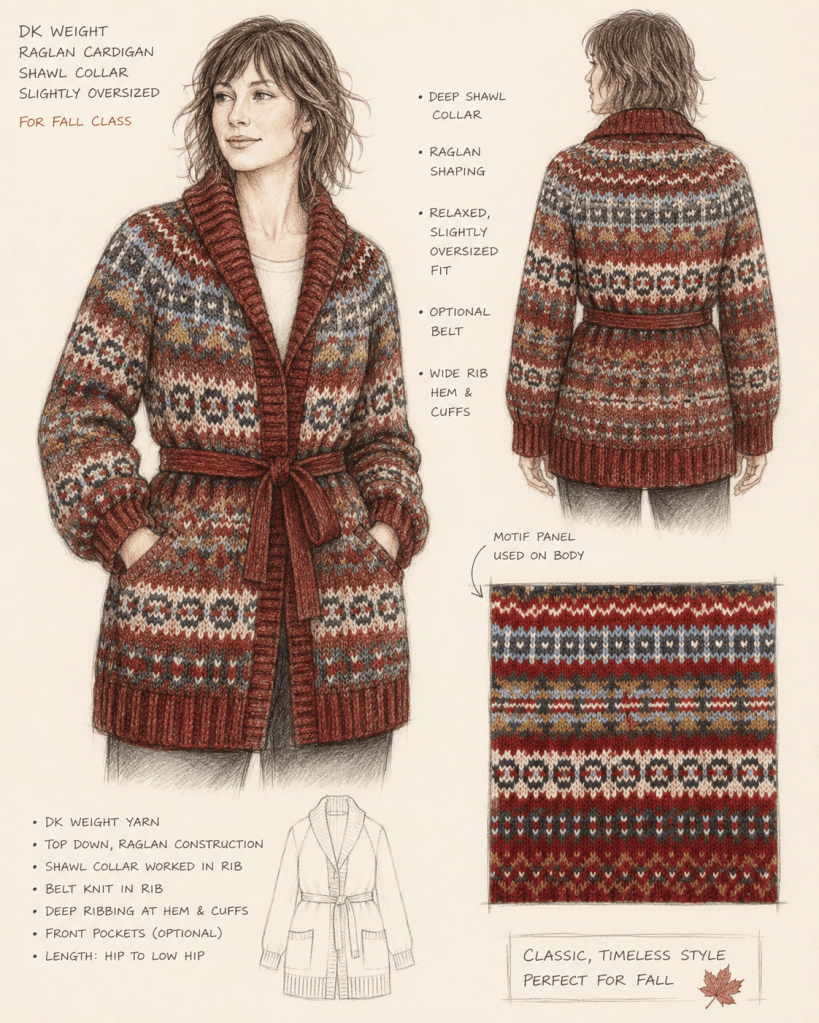
For example my latest Fall Intensive Class started with my students. There was a request for a cardigan type of sweater as a major class. Then other requests – I really want to try a shawl collar – could it be fair-isle – I have never tried raglan sleeve shaping – what about a simpler version of the sweater. As I mulled those requests, I was heavily influenced by my interest in a new sweater for myself. In red.
So the base colour for the sweater is red. And a few of my favourite colours for the patterning. Plus I need to make sure that there are a few other skills involved in making the sweater. So let’s do a traditional Fair Isle sweater, that will also include a steek, afterthought pockets, a belt, plus the requests.
AI generated sketch of the pattern based on my notes and actual sweater to date.
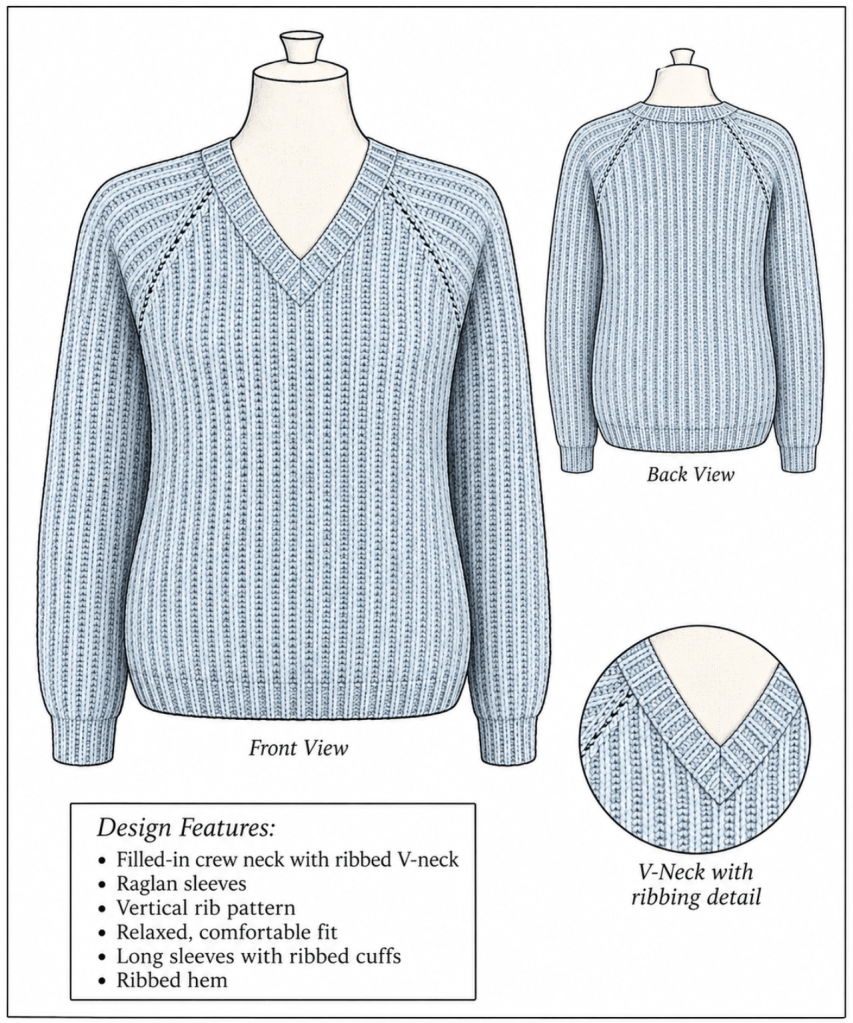
So I designed a long Fair Isle cardigan, with a raglan sleeve shaping and a big shawl collar and the fine tuning details I thought needed to be added. Including a simpler style sweater. One that picks up some of the details of the original cardigan, ribbing, v-neck and raglan sleeve shaping.
AI generated sketch of the simpler sweater based on the sweater knitting to date – complete except for the raglan shaping.
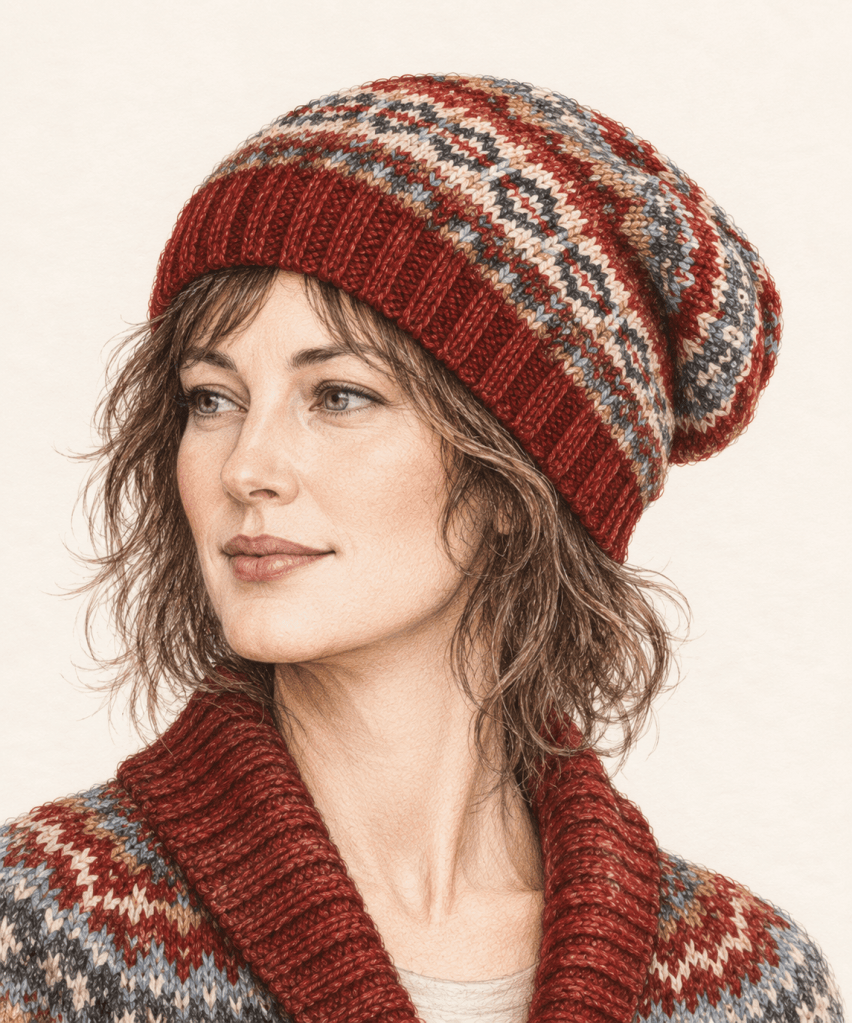
Once I started knitting my red sweater I realized I hated my original colour choices. So I ripped out the 4 inches of knitting beyond the ribbing, picked new colours and started the sweater patterning again. Much better colour choices. Umm, my students might have the same problems, so I designed and knit up a gauge swatch hat. Now I have a means for my students to check out their original selections and save them ripping out the sweater itself.
AI generated sketch of gauge swatch hat.
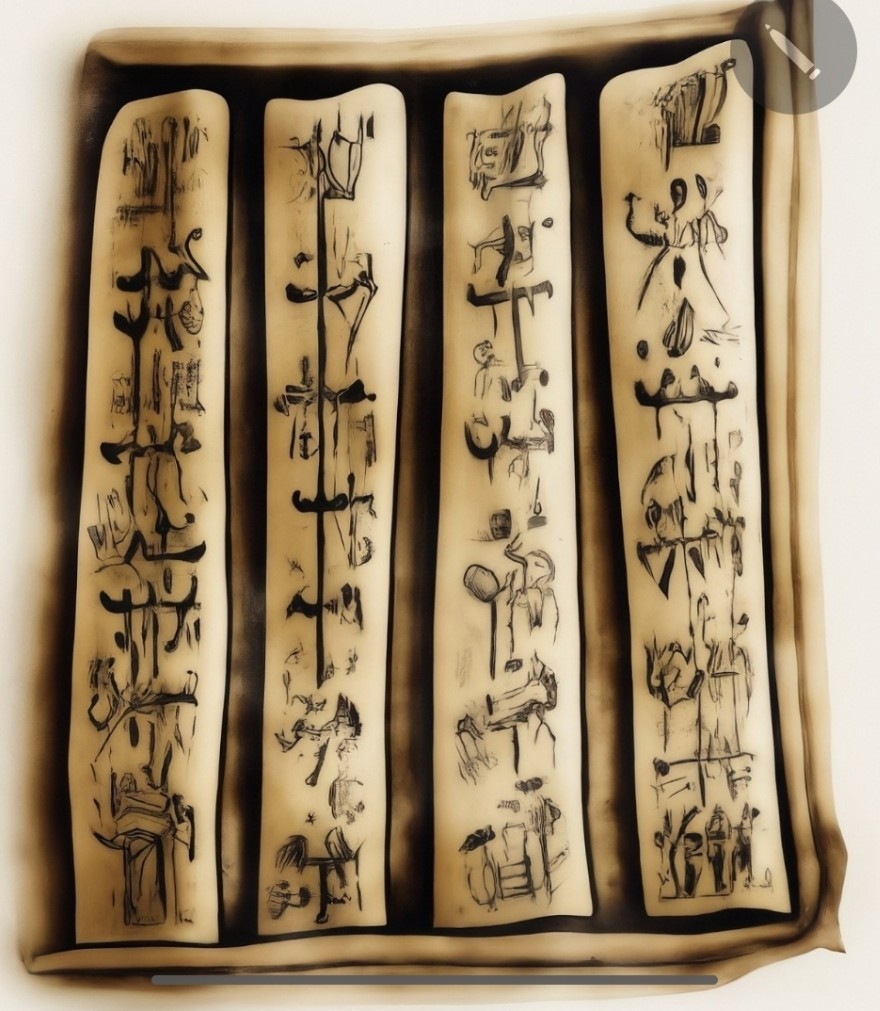
If I could create a flow chart from what I am, a Maker, to how I break down what I do, I wonder what it would look like.
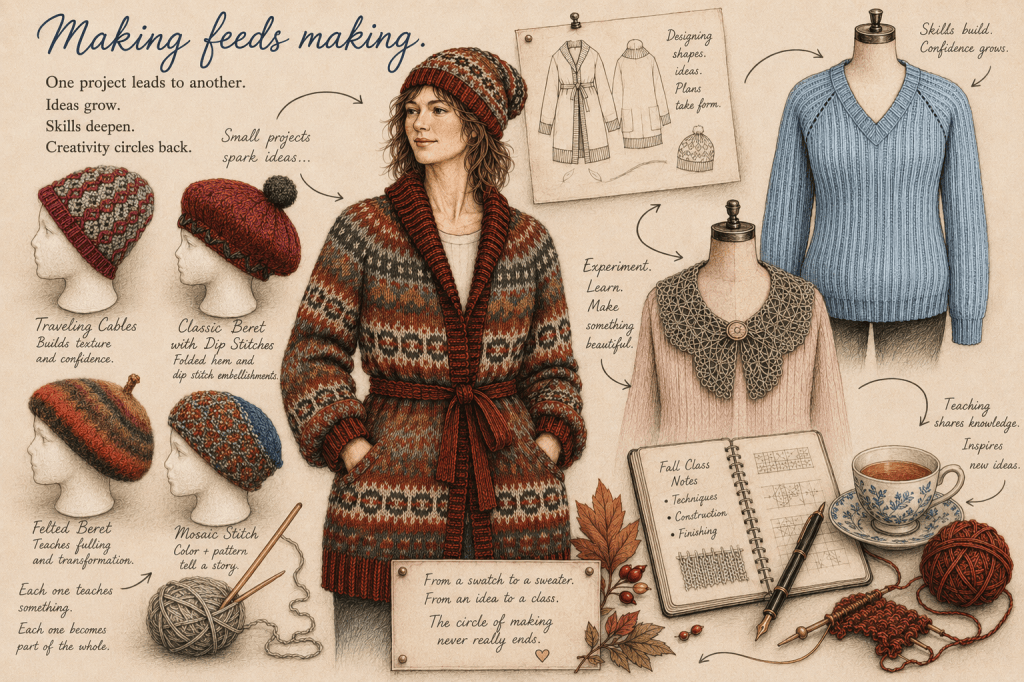
Again, an AI generated sketch of my fall plans and projects.
Projects for Fall Classes
These smaller projects are part of the same circle of making. Each one explores a particular technique or idea that can turn up later in a completely different project.
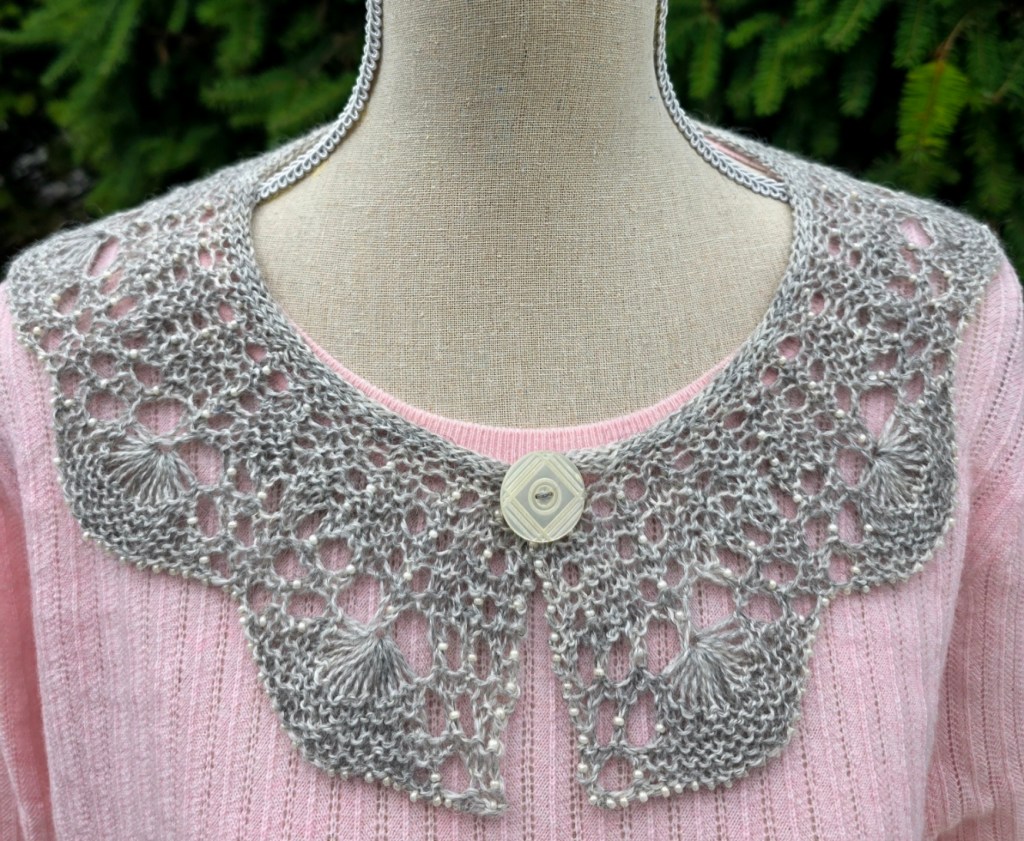
1.) The Grand Shell Collar – due to the popular response to the pattern I have added it to the Fall schedule of classes.
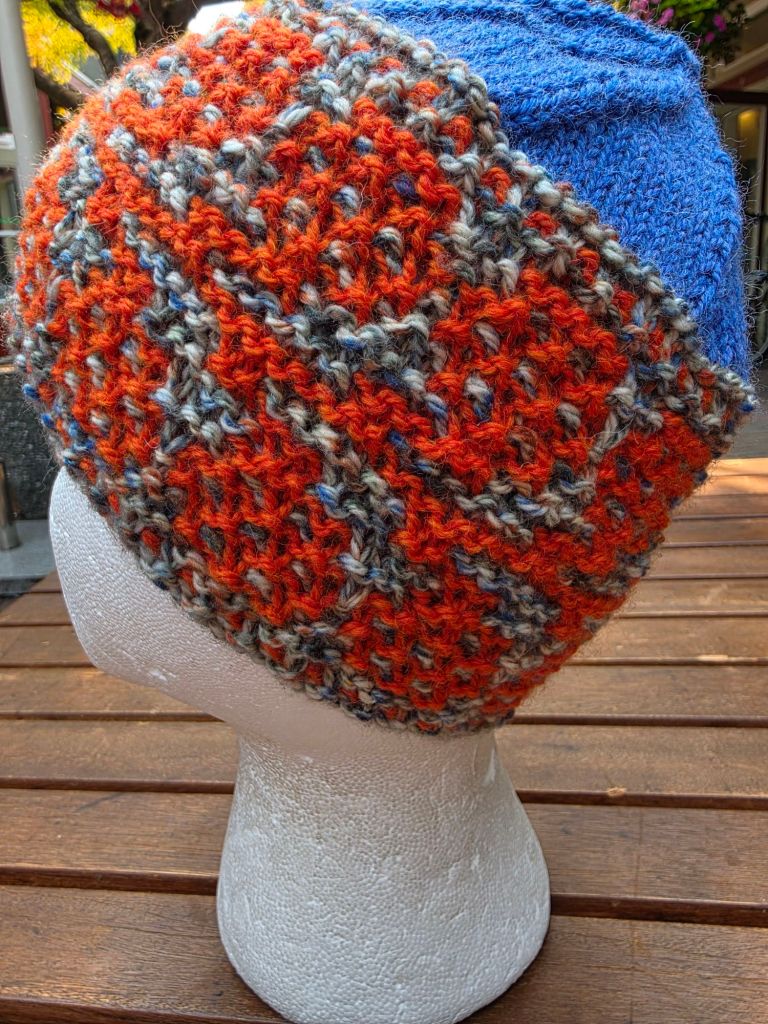
2.) Mosaic Hat – Mosaic colourwork is a fun alternative to traditional Fair Isle – and “look Mum – no stranding”.
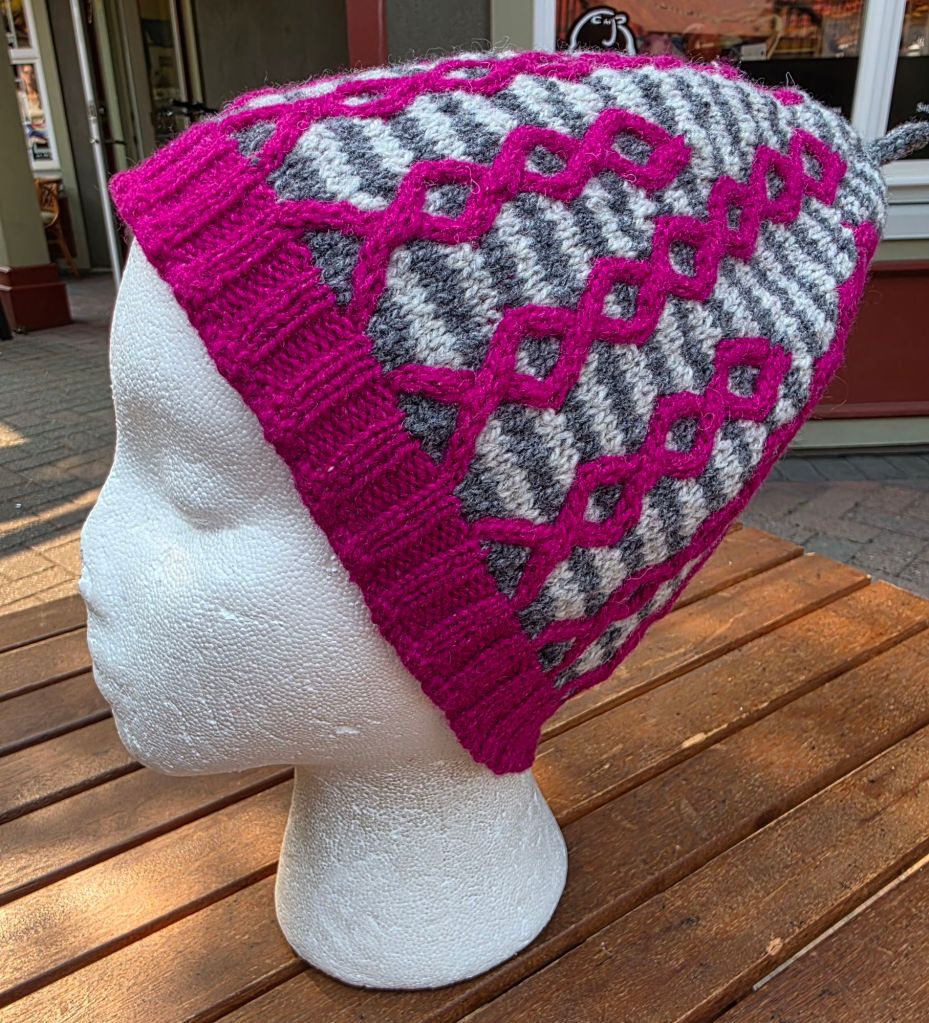
3,) Colouring with Cables – I decided to explore the Beret style hat and this hat was an outgrowth of playing around with top-down beret shaping. Which was a total bust – but it became the happy outcome of a really cute hat with fun cables!
The Beret is such a classic shape I decided to give it a really good look this Fall, which resulted in the last two classes of the Season.
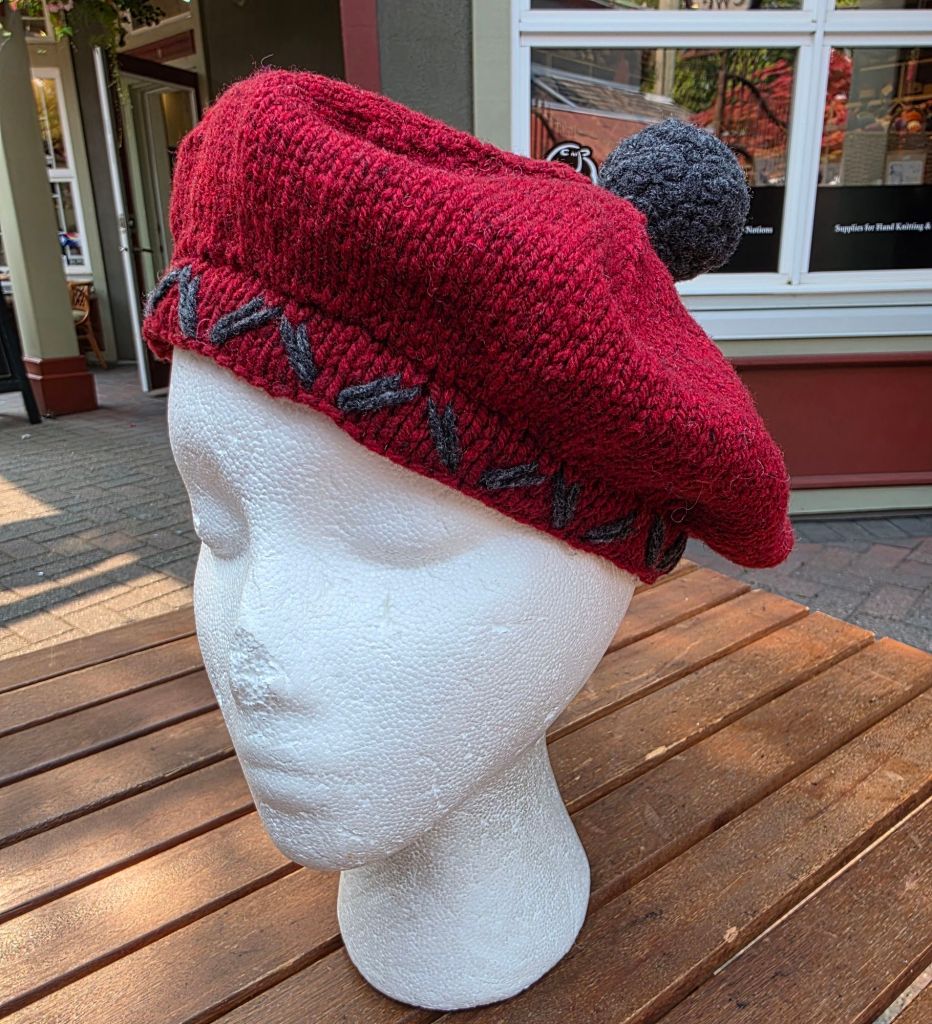
4.) Classic Beret – nothing new here just a clear, classic beret with a few fine details, folded hem, dip stitch detailing and felted pompom to jazz it up.
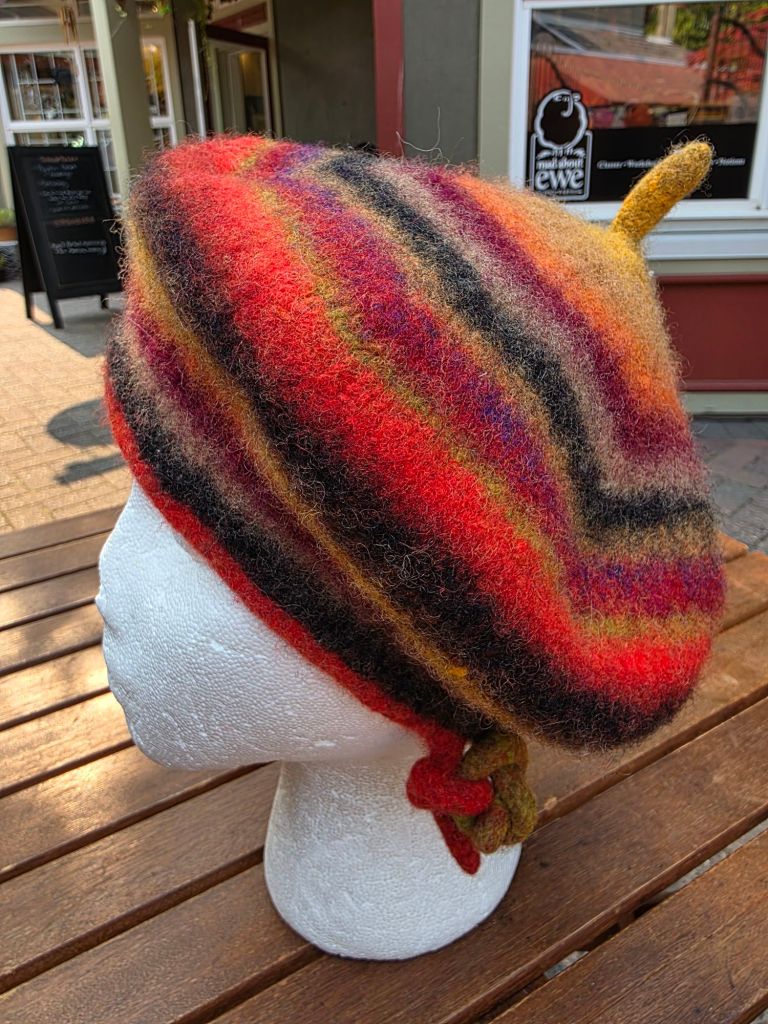
5.) Fulled (felted) Beret – classic beret shaping knit oversize to felt to size. Beret starts from I-cord to create a more interesting edge detail.
This month is set-up for the Blanket. Pick your colours, decide on the style and knit your first square. The instructions for each square will be both charted and written.
I am working with Cascade 220 wool. So my basic gauge is 20 sts in 4inches worked with a 4.5mm US #7 needle. After knitting my first square I think that these (my) squares will be about 10 inches wide, approx. 22.5 cm. My current plan is to make 20 squares and lay them out in blanket form and attach them together (no plan for this yet).
There are two styles of blanket options that I have considered. I will lay them both out for you so that you can think about it as you knit your first square. Within these two styles there are other considerations. Do you want your blanket to be a solid colour? Or do you want lots of colour? Do you want your squares to be random or laid out in a quilt style of pattern. I bet you can guess which way I am going! Yup, lots of colour and random squares!
Blanket 1 – knit in strips, biggest advantage, less seams and less to connect. This blanket could be knit in 1 colour, or in strips of colours with a different colour connecting them. The strips could still consist of squares that change colour with each pattern, or each strip could be knit in one pattern that repeats up each strip. How you put your Blanket Squares together is all up to you.
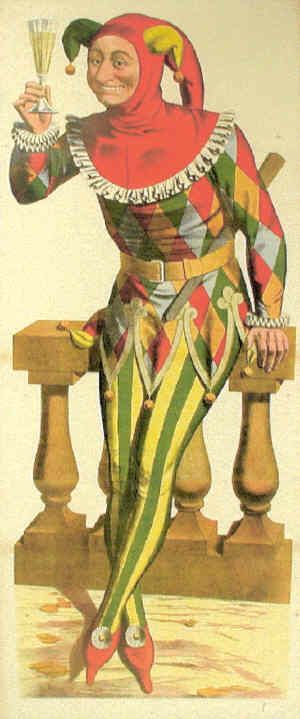
I do like the stripes and diamonds on this Jester! His motley costume hits all the fun notes.
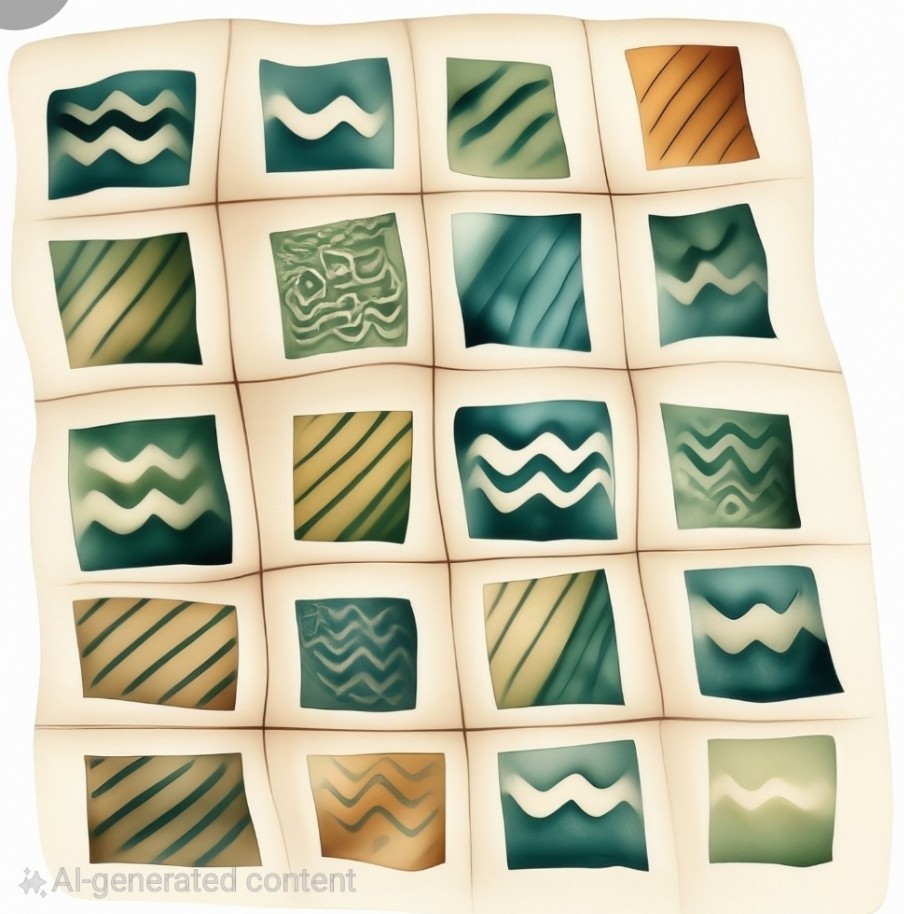
Blanket 2 – knit in squares, no advantage, more seams, more connections! But I like the look better. This blanket was my original idea, Lots of patterns and many differing colours; it has been pointed out to me that I am sometimes alone in my love of the motley. But how could that be – there are so many examples of it all around us!
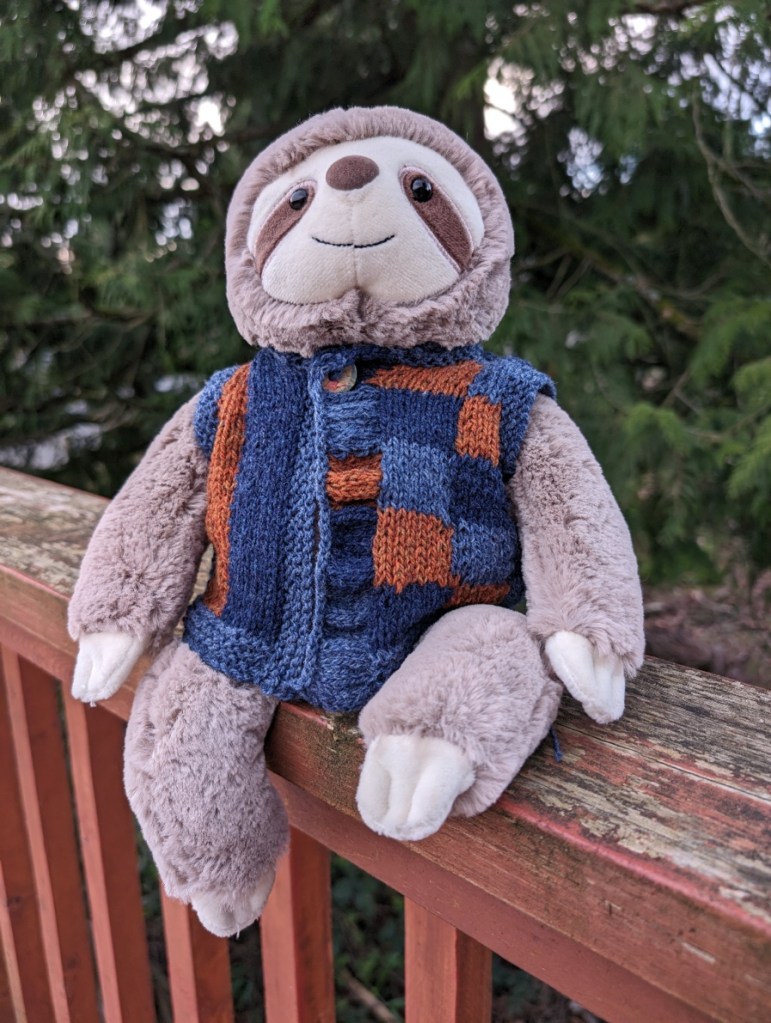
My sloth’s intarsia coat was a fun example of a motley coat.
I did a little sketching with Samsung Note and AI. These are the possibilities my sketches suggested.
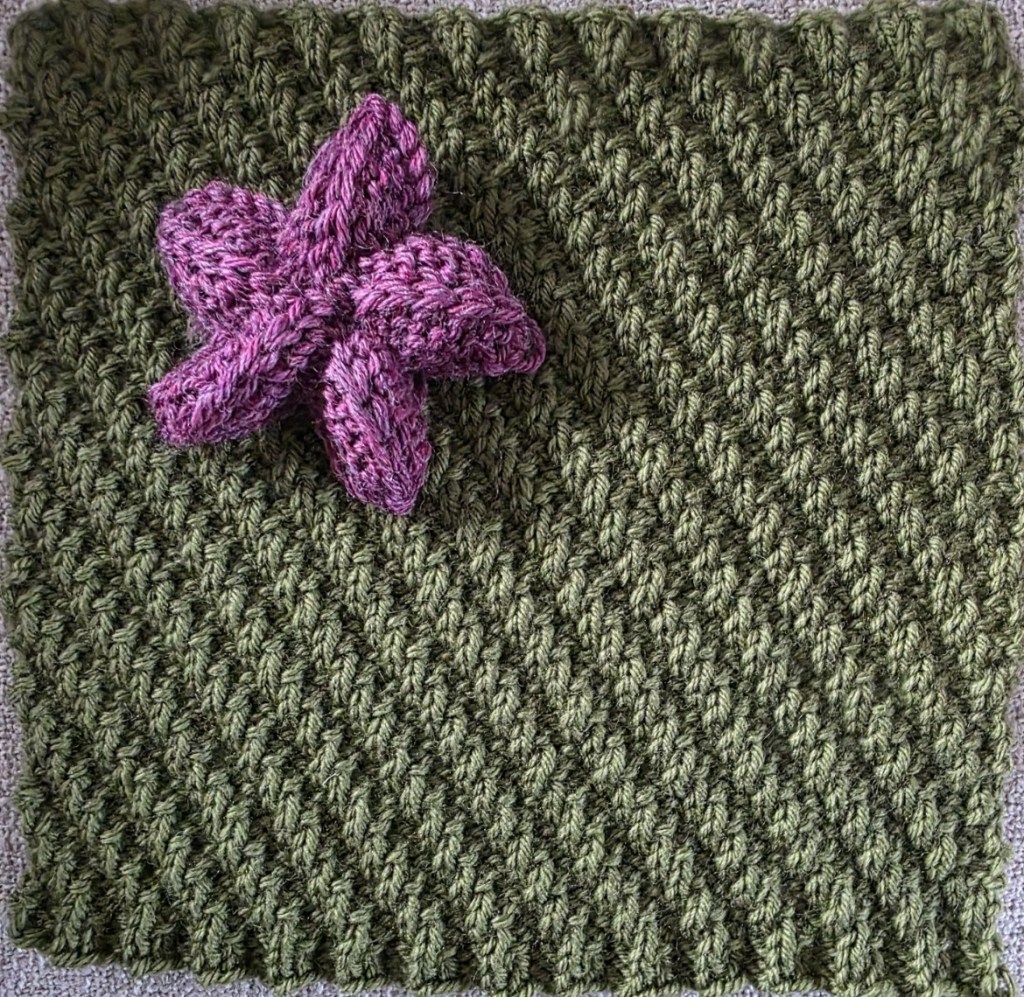
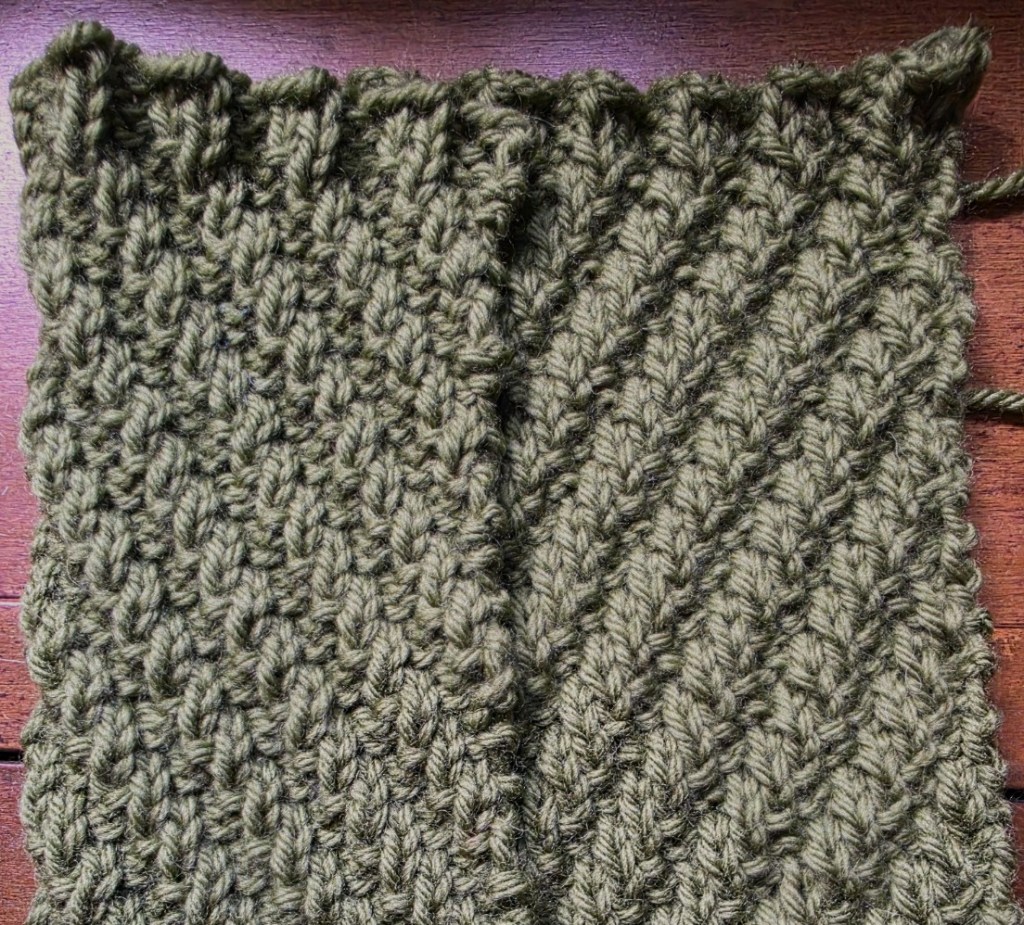
This month the Square is a Diagonal Rib pattern. It is totally reversable. And I am really liking that feature. This may be the square that I knit the most. It could act almost like a back drop for the other squares. We will see what tickles my fancy as the year progresses. This square took me approx. 36 grs yarn to knit. With that information I am figuring that I will need at least 7 skeins of the Cascade plus more for the finishing.
Notes on working with the Squares. I will try to provide both written and charted patterns for each square. When working with charts every square represents 1 st or if the square is grey the absence of a stitch. That square can be regarded as a space to be ignored on that row.
Read all flat chart odd rows – 1, 3, 5 etc from right to left and all flat chart even rows – 2, 4, 6 etc from left to right.
Read every round from a circular chart from right to left.
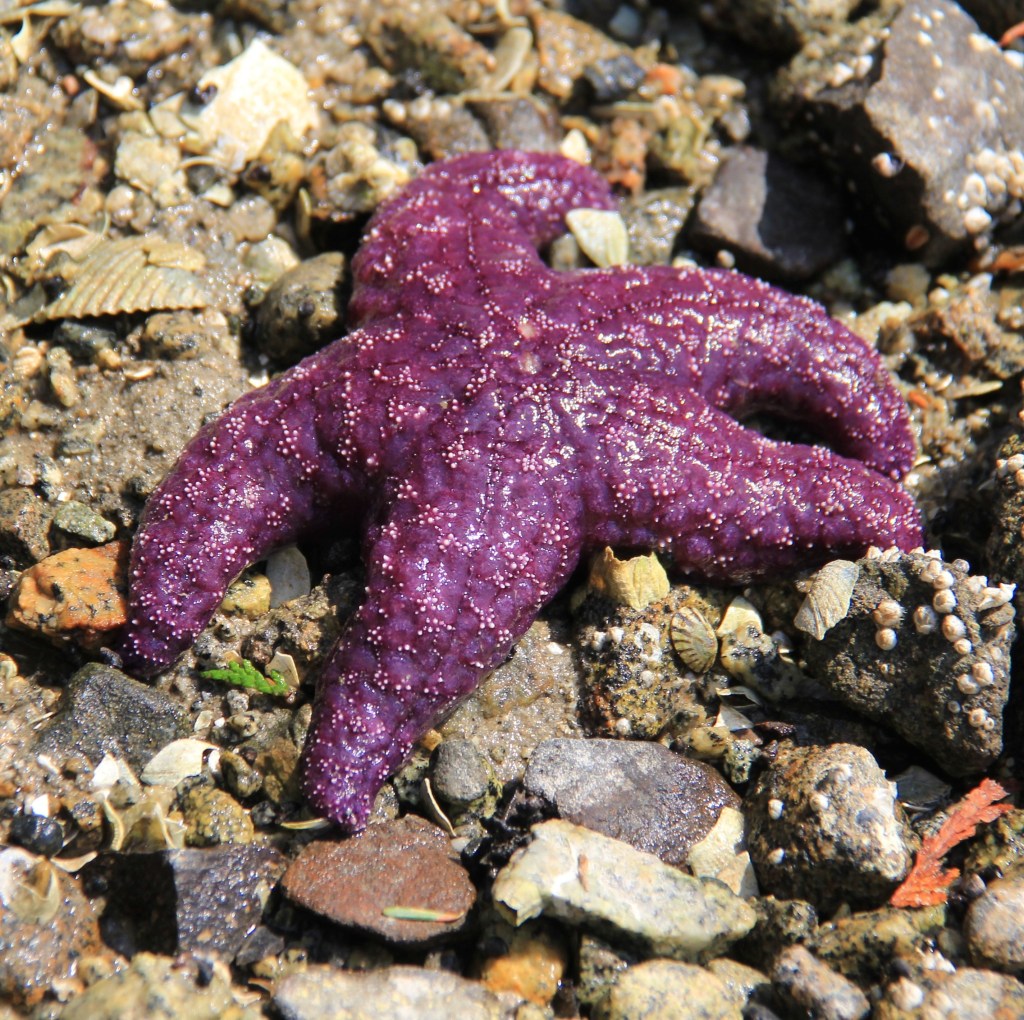
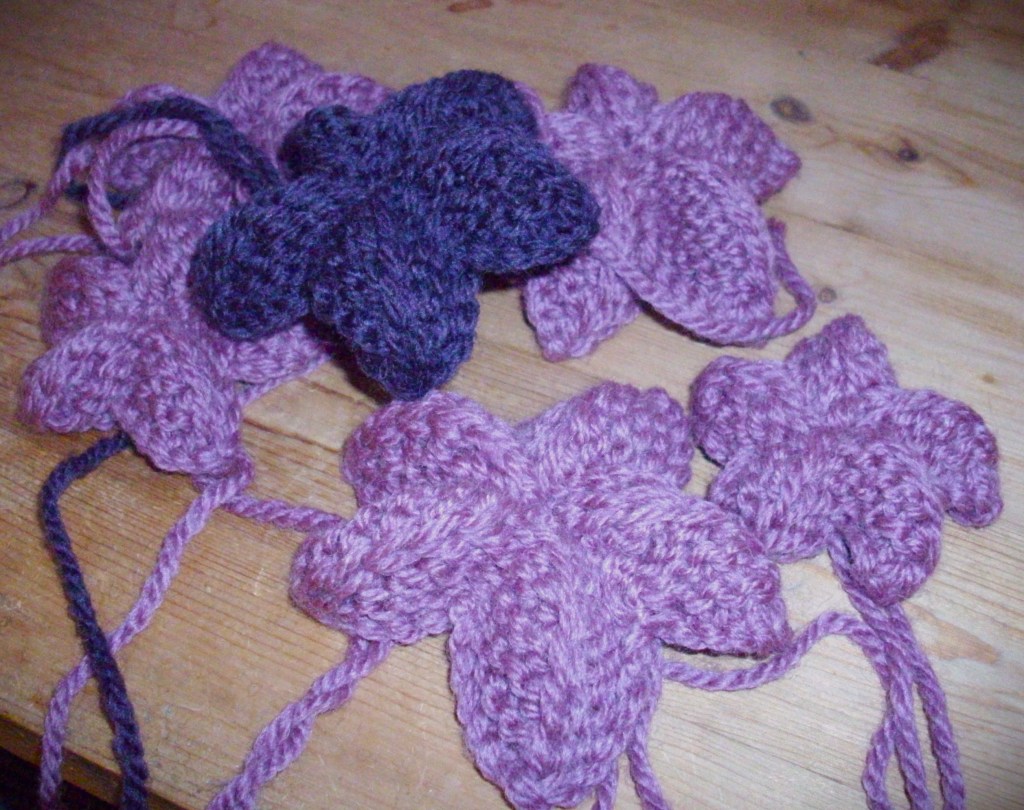
Also included in this months download is the Starfish pattern. I am going to knit a few of these to sprinkle randomly over my blanket. These Starfish will each take about 6 grs of yarn. I can see quite a few colourful starfish on my blanket.
I hope that you will share your pictures and progress with me! I am trying to decide the best way. A group on Facebook and/or a thread on Ravelry. Have you got any other suggestions?
I am having a lot of fun knitting up Sea Stars, this month’s add on! But I think that next month’s add on will be just as much fun! Now what could they be?
Hint – what is the famous day in February that is celebrated with “?”‘s and flowers!
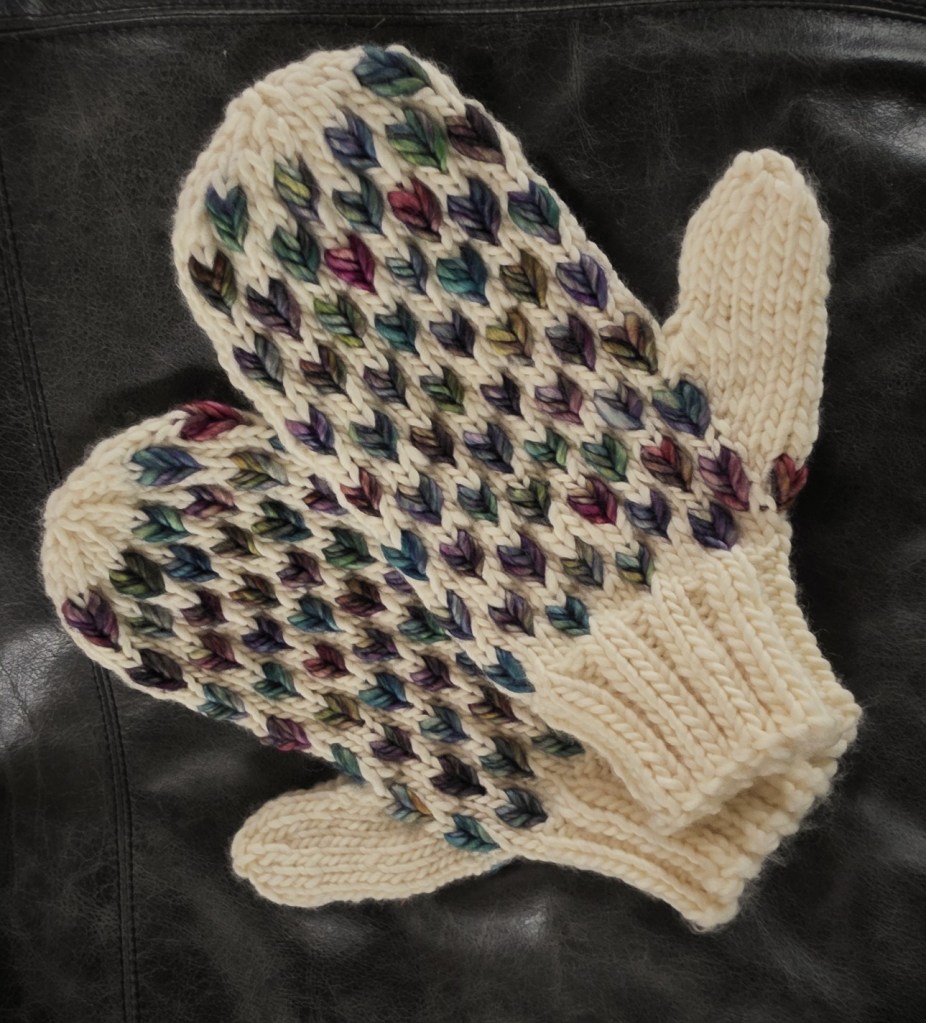
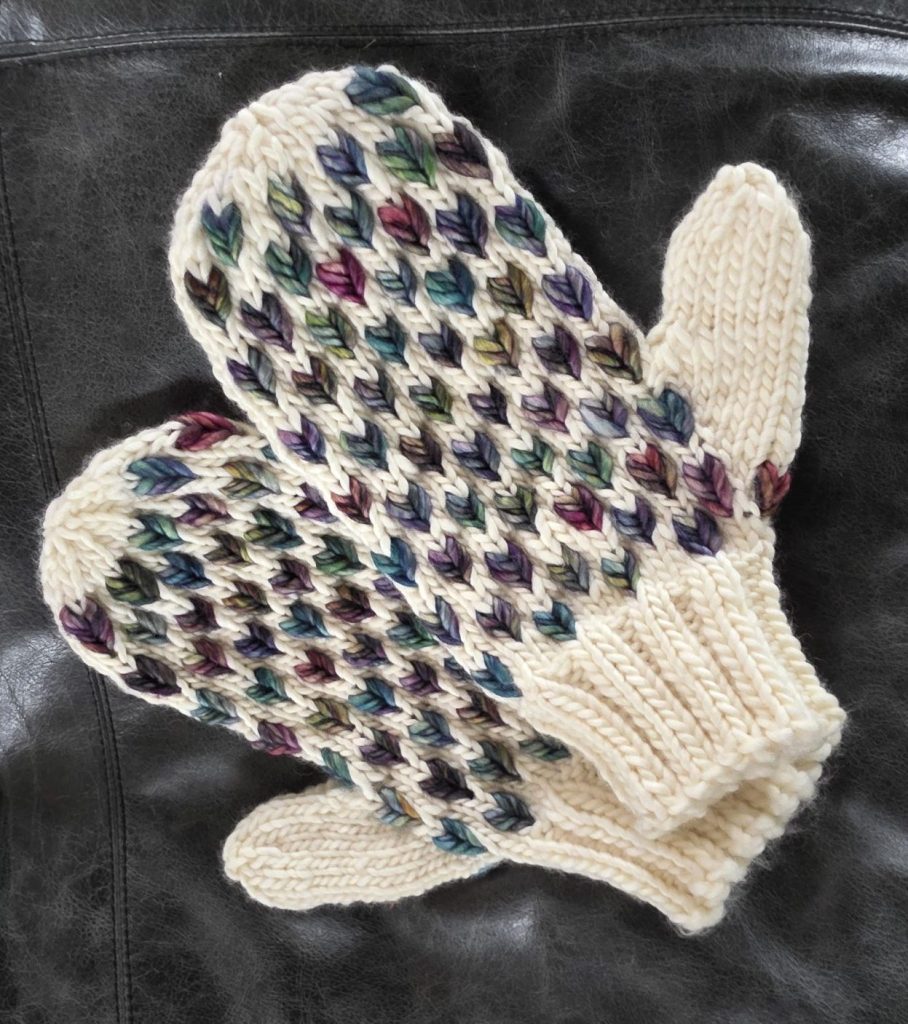
My Feather Mittens Class went well yesterday. Well enough that I released the pattern on Etsy and Ravelry this morning! You may have noticed the Video blog I released earlier today!
And I have already started on some new things! Right now I seem to be attracted to all shades of Green. It is Winter here so the predominant colours are shades of Green and Grey. We (I) am always influenced by the colours around me.
Tomorrow I will be releasing by Christmas Pattern so look for the blog post and links in the morning. It will be free for the month of December until Midnight January 1st. It is green too!
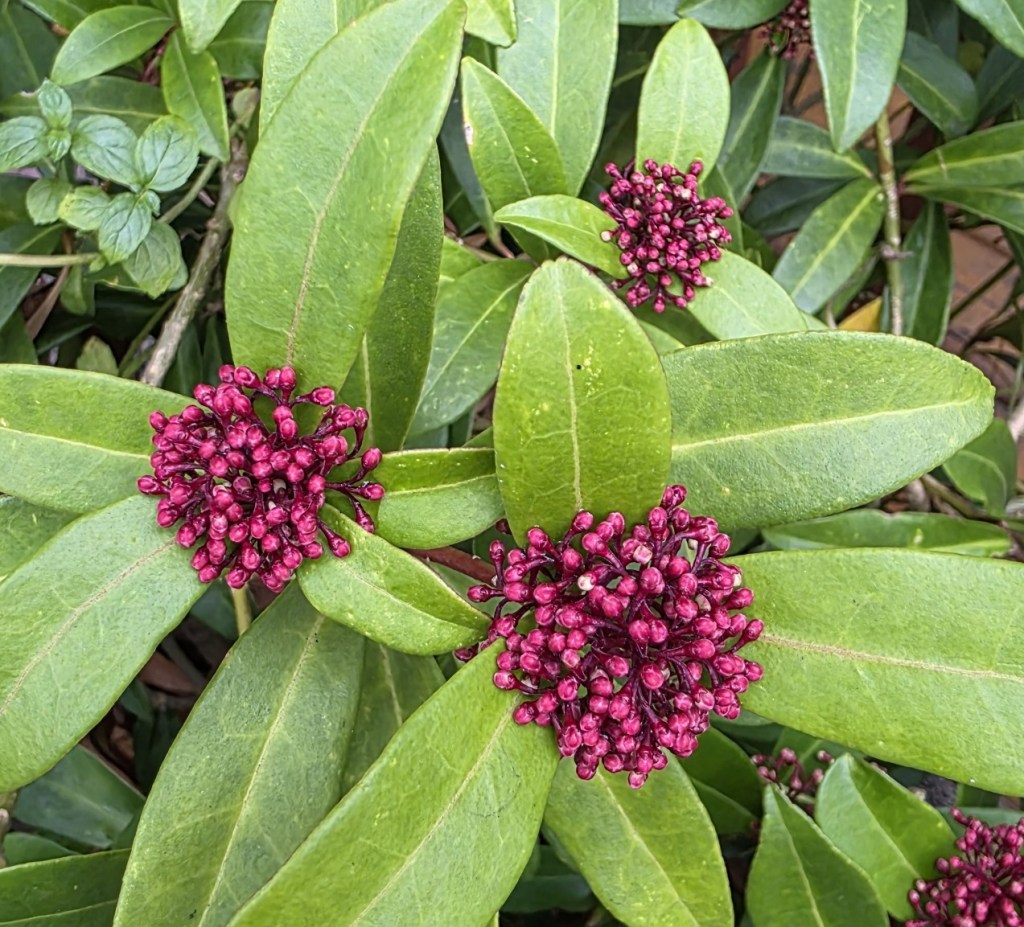
I am thinking of working with these two colours. I took this photo yesterday, in a planter in the courtyard outside of the store. Now that is a vivid contrast! Maybe Gloves? On a side note, does anyone know the name of this beauty?
I hope that your day is going well! With lots of knitting and tea!
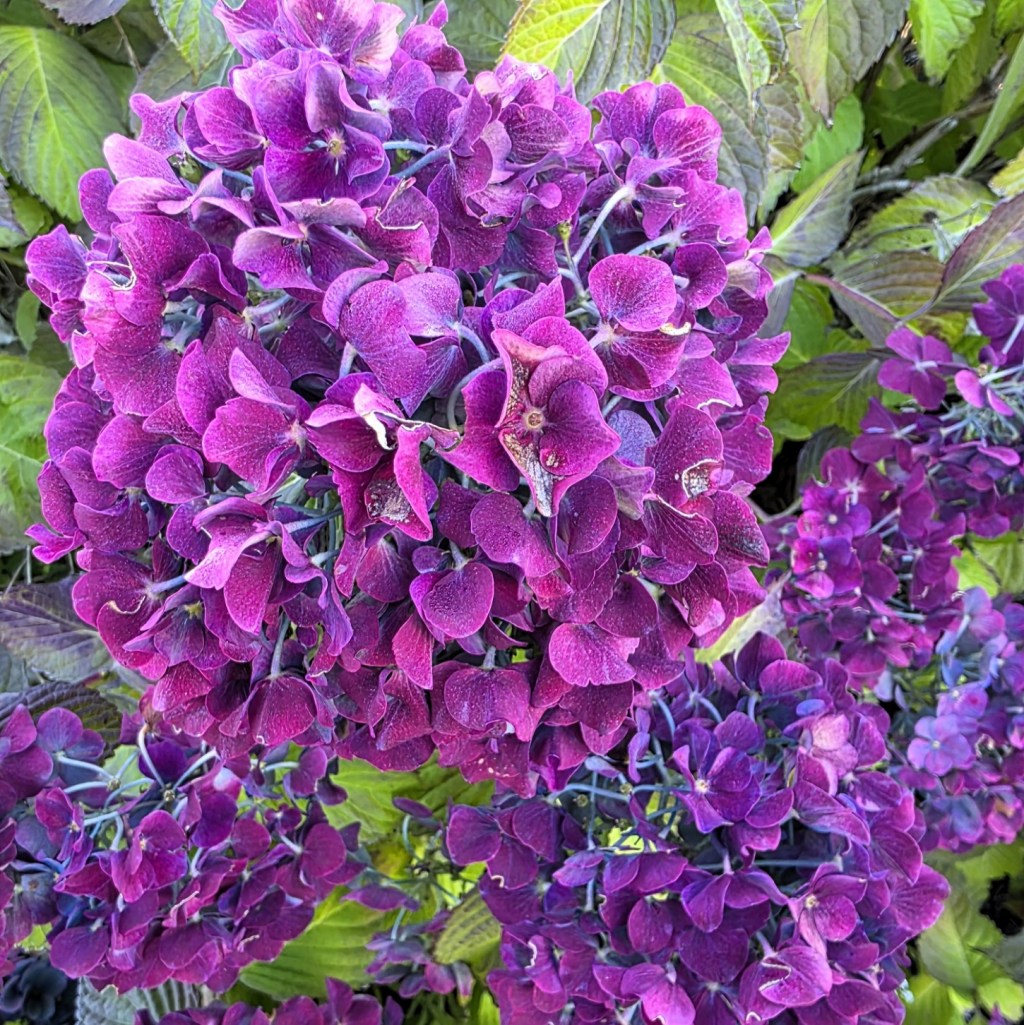
The Hydrangeas are from my new garden – they are aging spectacularly!
Note – I made a couple of changes the original blog post – stitch count is 370 at the end of the last row. I also suggested a different style of needle to make the first rounds work a little more easily.
Here are the next two rounds. The body pattern should be ready by Wednesday.
Transition Rounds
Round 1 – * K3, YO, K1, YO, K1, (YO, K2tog) 3 times, YO, K1, YO, K3, slm, K2tog (YO, Ktog) 84 times, slm, repeat from * once more – 380 st. stitch count moves like this 19, 169, 19, 169. The long sides each lost a stitch.
From this point he stitch count will increase by 4 sts on each end, every other round, 8 sts total and the side stitch count will remain the same.
Round 2 – purl.
My pattern Metro was knit using the same techniques as we are working with the Quickie pattern.
I’ve been busy. Selling my home of 30 years, downsizing, and downsizing some more. There is still a storage locker so there will be more downsizing to come. But I am still knitting.
Borealis Mitts for a November Class.
It has been a tumultuous couple of years, both personally and in the world at large. Not sure where it is all going. How about you? How has your life been progressing? Life never stops. But I am still knitting.
Did you know that I am officially retired. Not from working – though I do work less – I am retired by the definition that being retired means I get to do what I love! As I am doing what I love I am retired and still getting paid – how great is that. So I am still knitting, creating, teaching and hopefully bringing other knitters along with me.
Ocean Legend – a fall class and a new sweater for me. I am still knitting. I hope that you are too!
Sometimes when you spend a lot of time designing “serious” knits, you know, practical but attractive, maybe someone will think that they could knit and wear it items, sometimes you just need to break out of the mold and play!
I love Christmas – I love Gnomes – so here is a little nod to both!
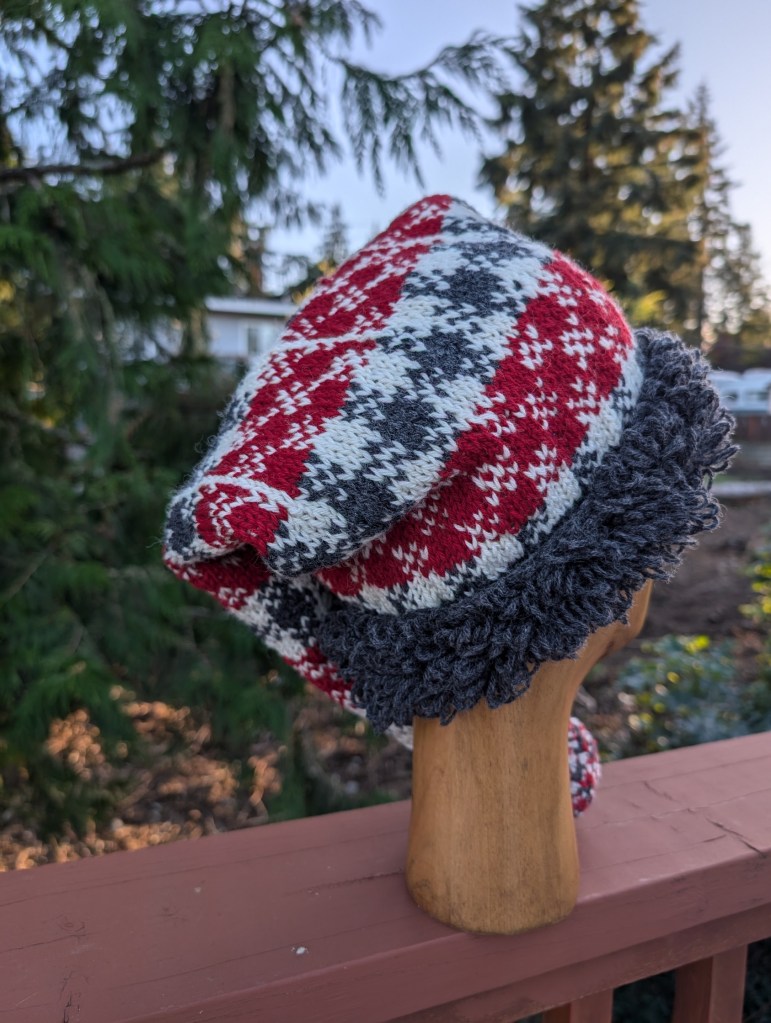
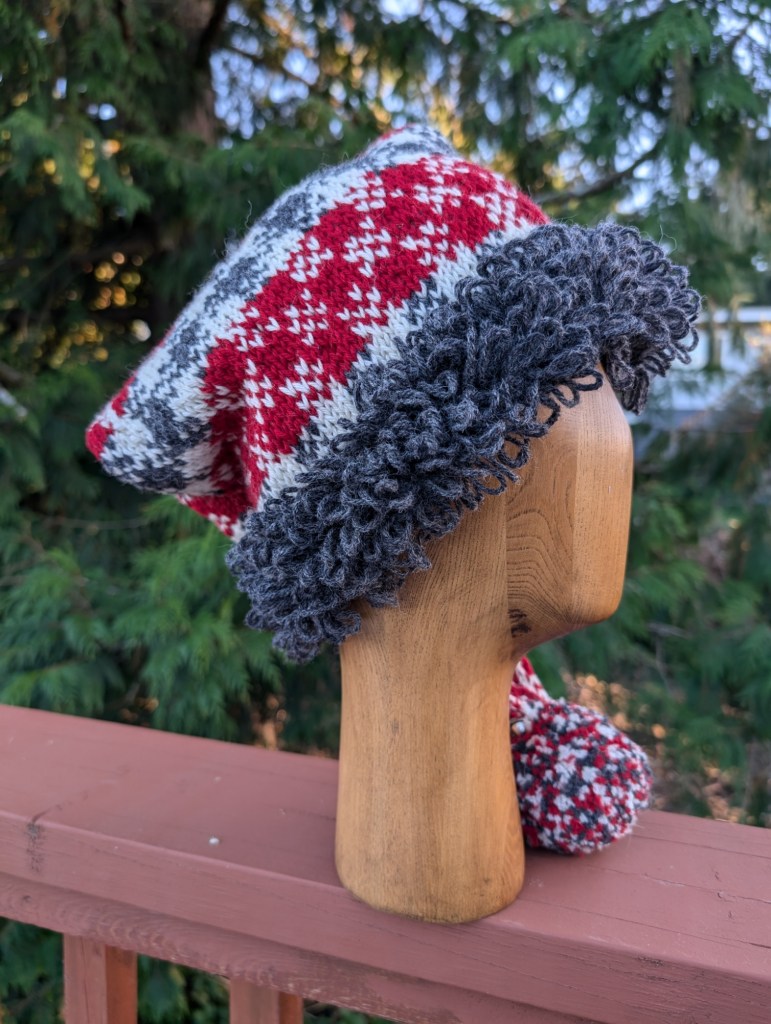
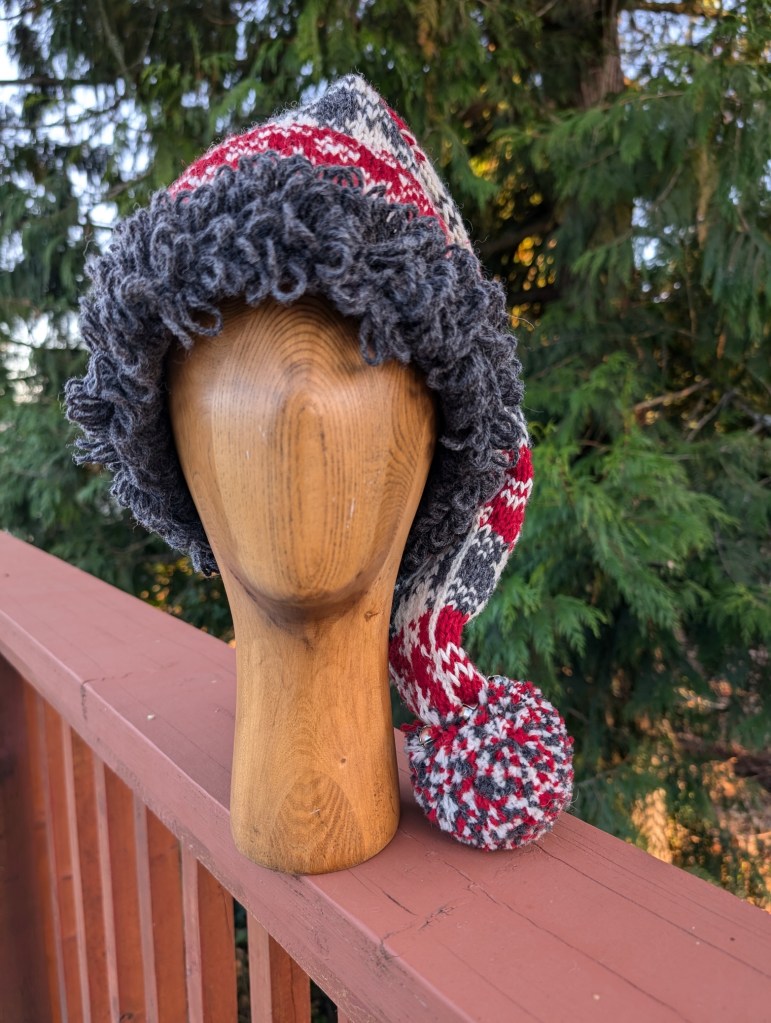
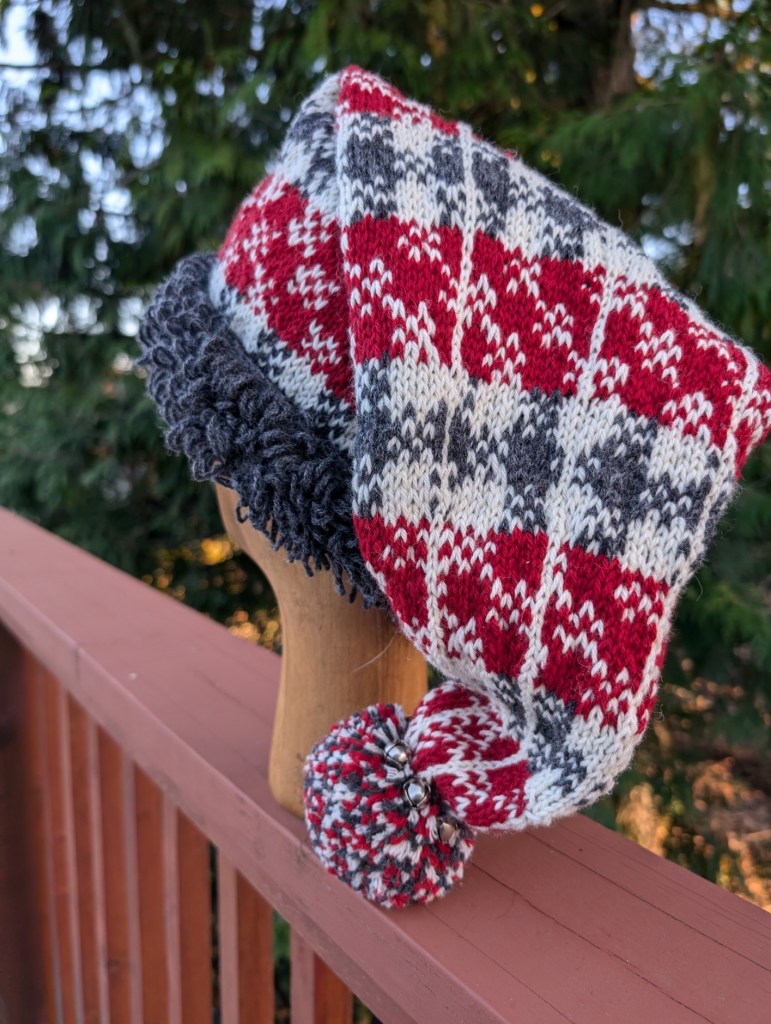
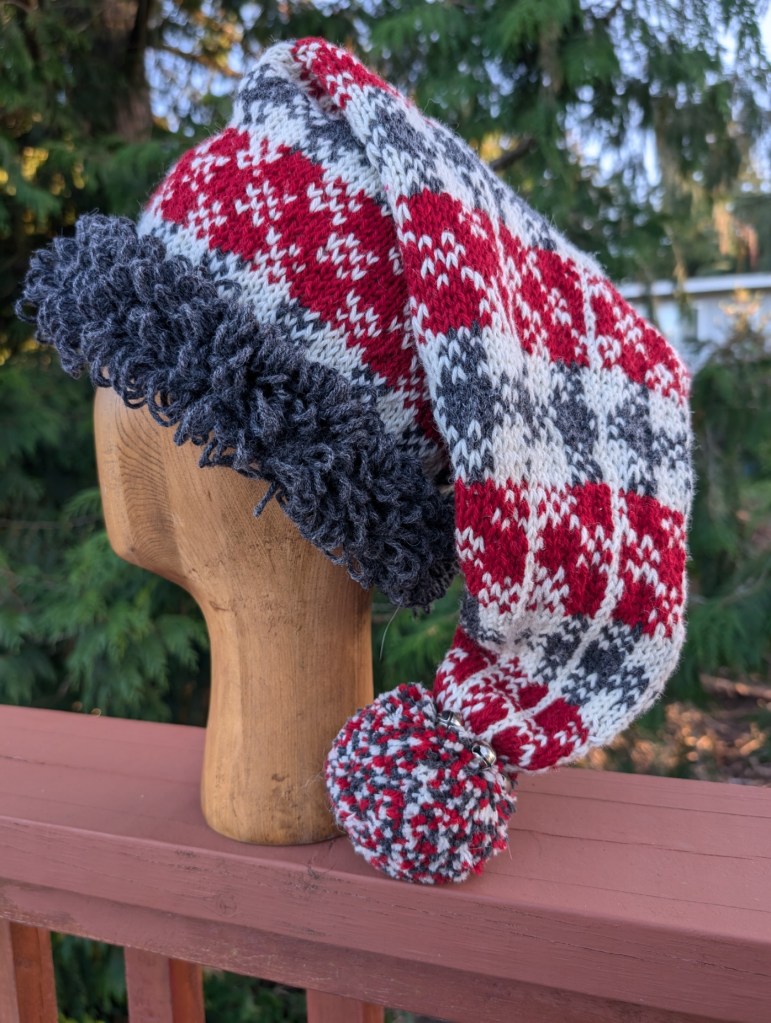
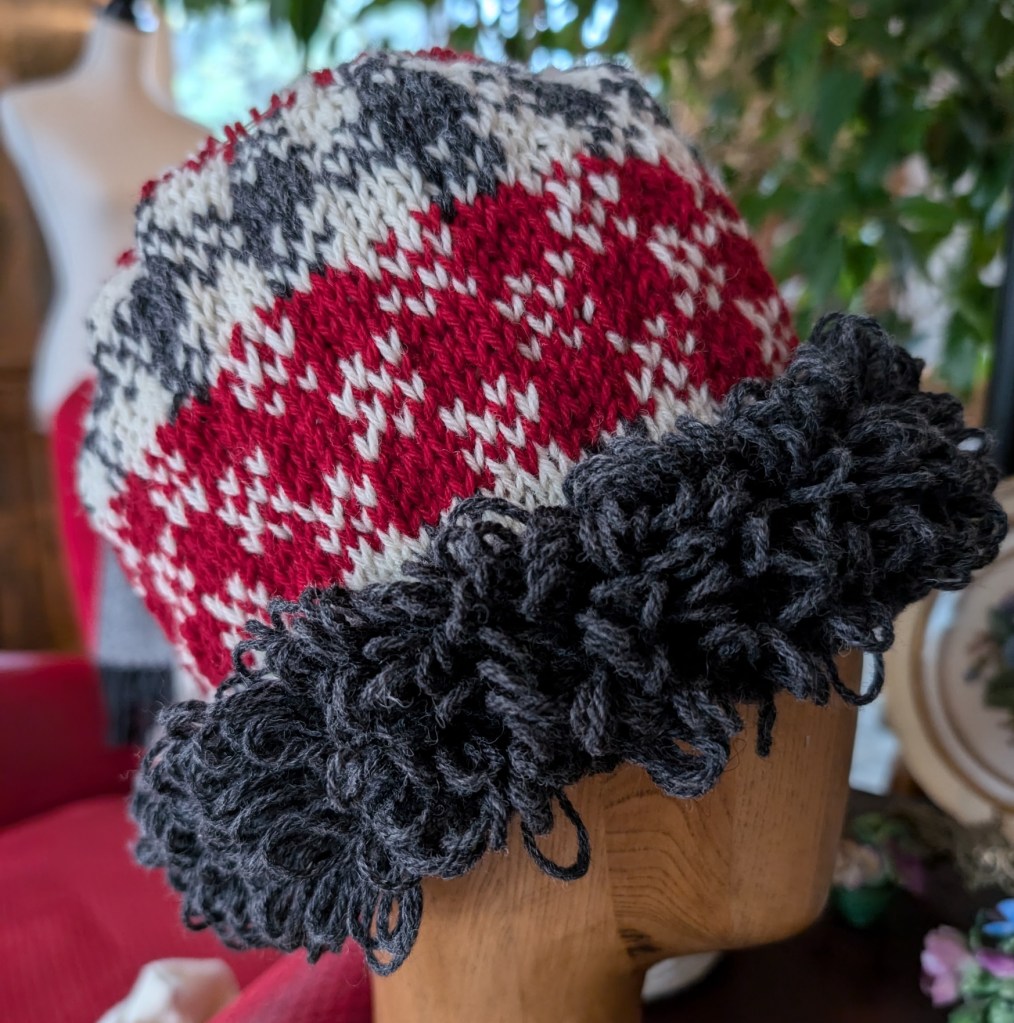
Meet the Jingle Gnome Chapeau, designed for warmth, but with a little “fun” added! This is a sample for a class happening at Mad About Ewe Fine Yarns. It starts next week, Tues Oct 8 and runs over the next couple of weeks. Three classes in total.
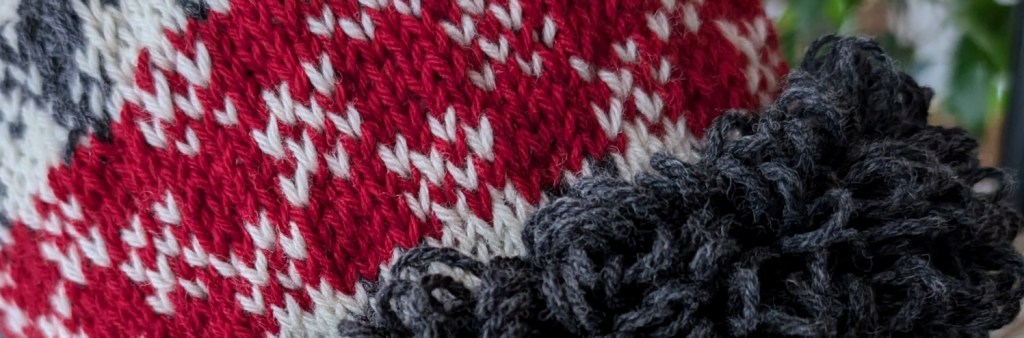
Class # 1 – How to knit loops – link to video – did you know that the loops can be cut and brushed to make a really soft “fur”?
Class # 2 – Basic Stranding – simpler than fair-isle, much more repetitive, but great practice.
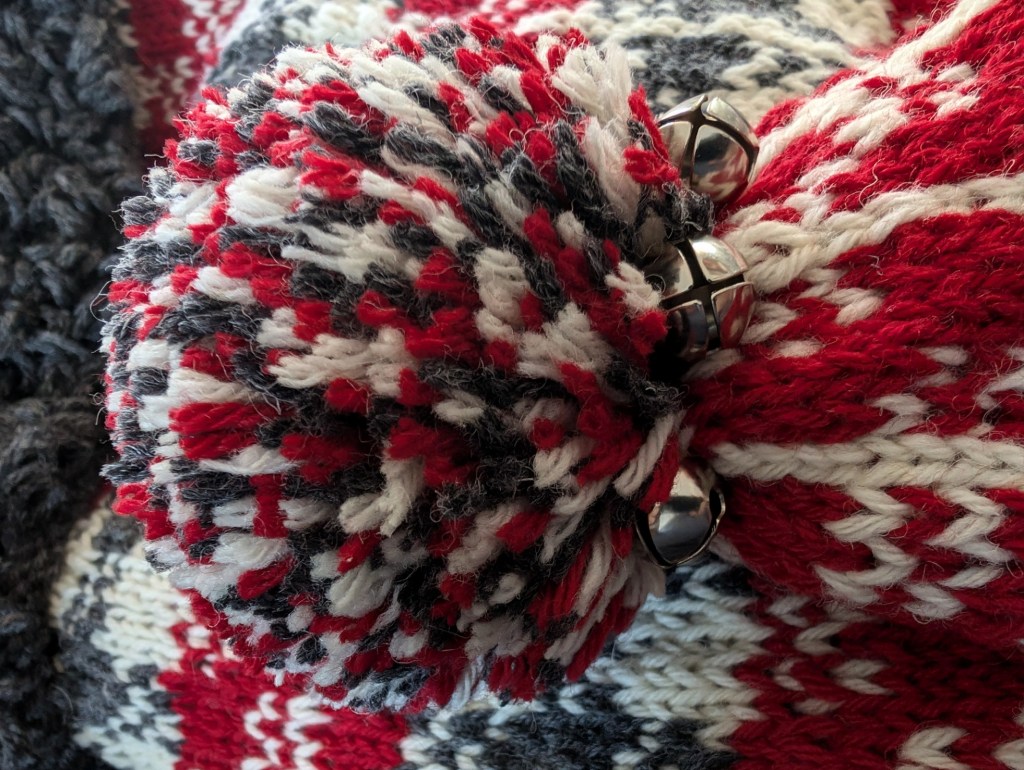
Class #3 – How to make the perfect pompom, and some basic finishing – how to deal with ends.
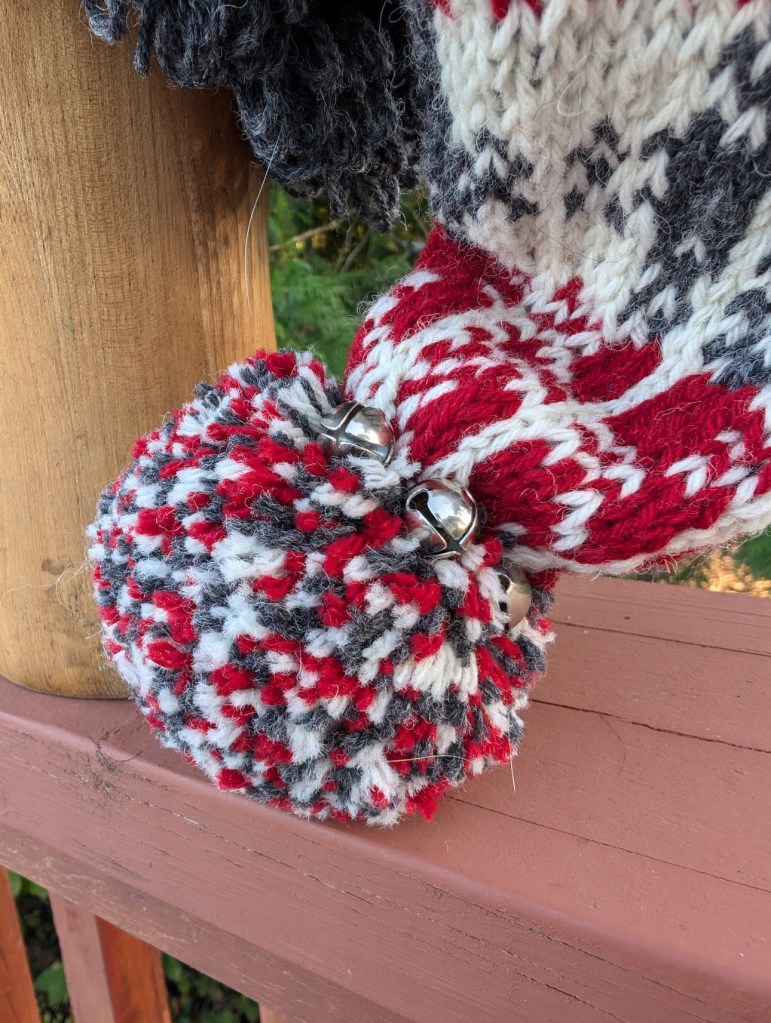
Jingle is knit with Eco Shetland Worsted, which is a light worsted, almost a dk, but I have knit it a few time at the worsted gauge and been very happy with the results. It has great yardage, 1 skein of each colour is all that is necessary. Plus a few jingle bells and the regular notions!
How about that pompom, surrounded by bells? Isn’t just a dream of a finish?
I know you want one!
Happy Gnome “ing”
Lynette
PS. The pattern will be available in about 3 weeks and will include a mitten pattern to go with the Chapeau!
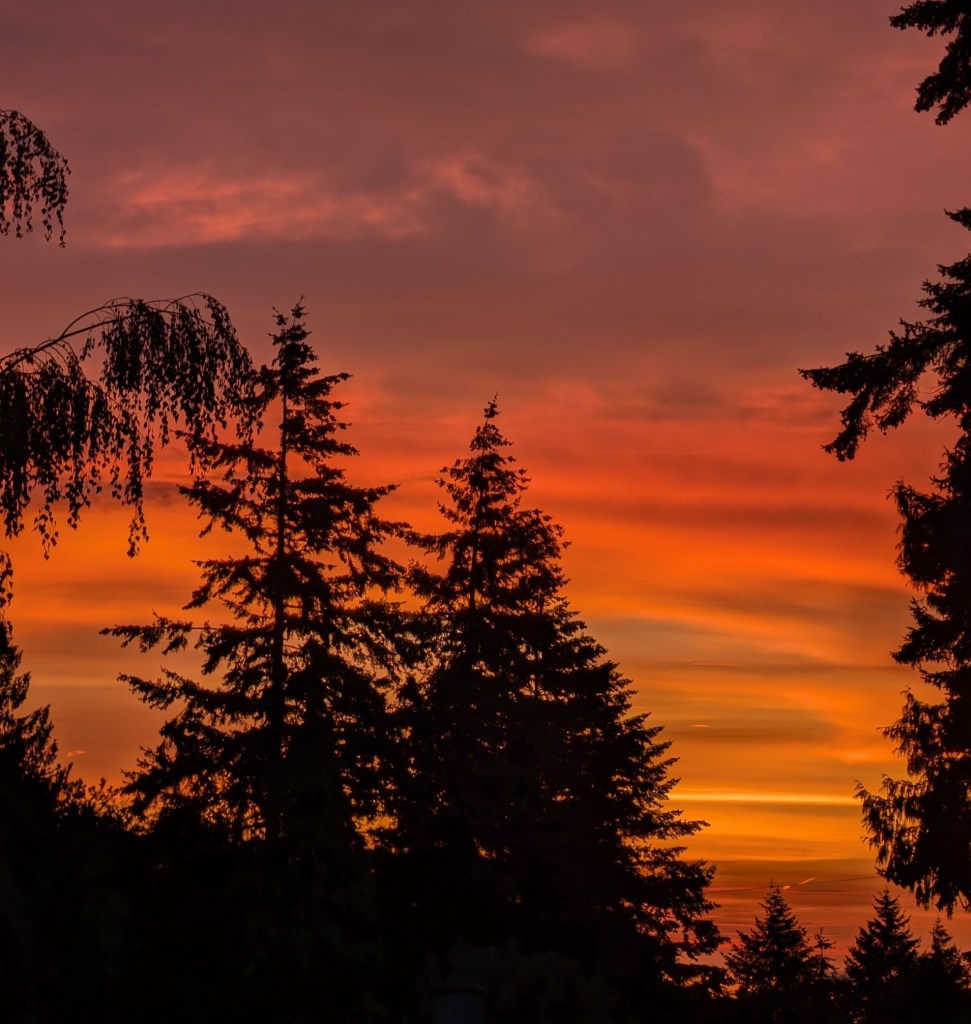
I woke up to the most glorious sunrise. The living room was glowing orange as the light poured in the windows. When I went out onto the deck – the run was rising in front of me and there was a rainbow forming behind me. So awe inspiring.
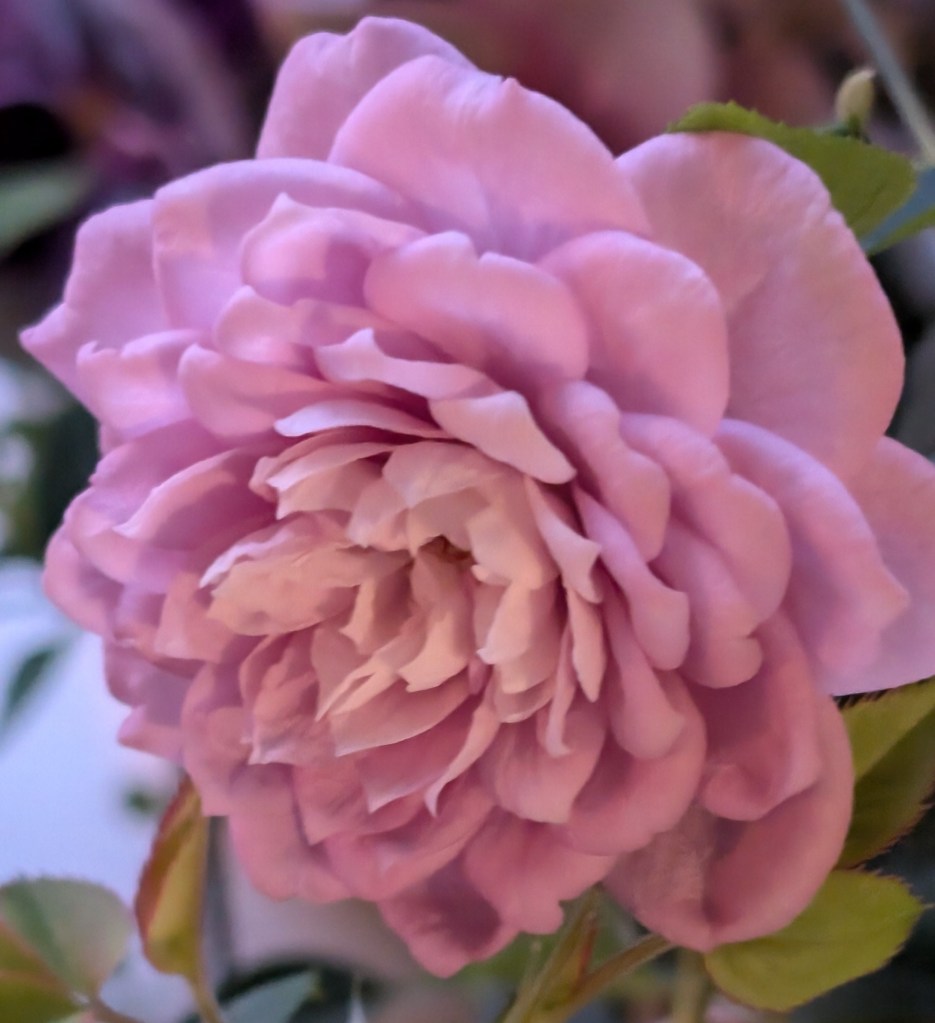
The Mini Rose also produced a new bloom this morning that is absolutely perfect. The Hibiscus plant has several new buds, so many beautiful flowers. Just an amazing start to the day.
Knitting et al.
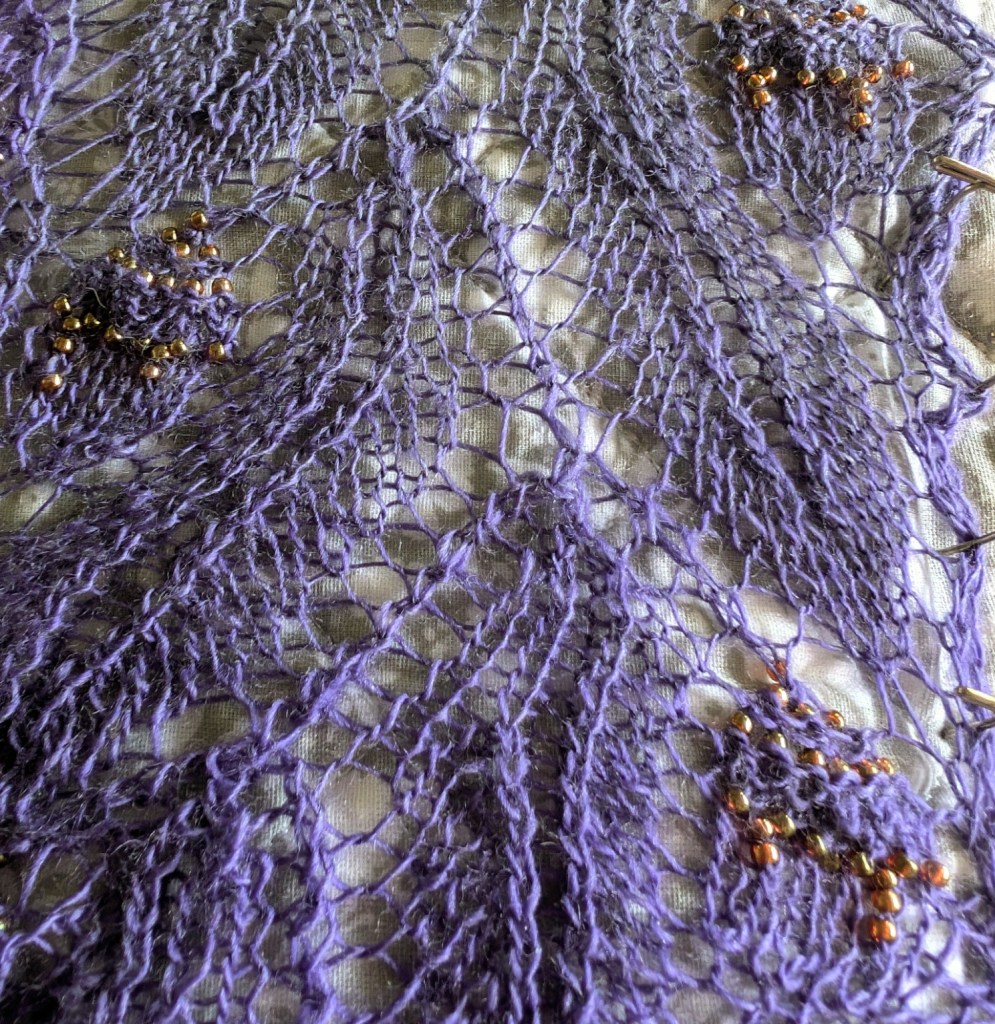
The GreenMan Shawl is progressing nicely. I am about 20% into the Oakleaf and Acorn insert and I am very pleased with the effect of the beads on the knitting.
I have started another shawl for myself. I didn’t really intend on this one. I am not even designing it. If you are old enough you will remember or will have knit a Clapotis shawl. I am more than old enough.
Clapotis can be considered one of the first viral patterns on Ravelry and has over 24000 projects listed. It was designed to be knit with some of the glorious hand dyed yarns that were appearing at that time. It has just been re-released on Ravelry as Clapotis 24. There is an accompanying KAL that features lots of yarny prizes.
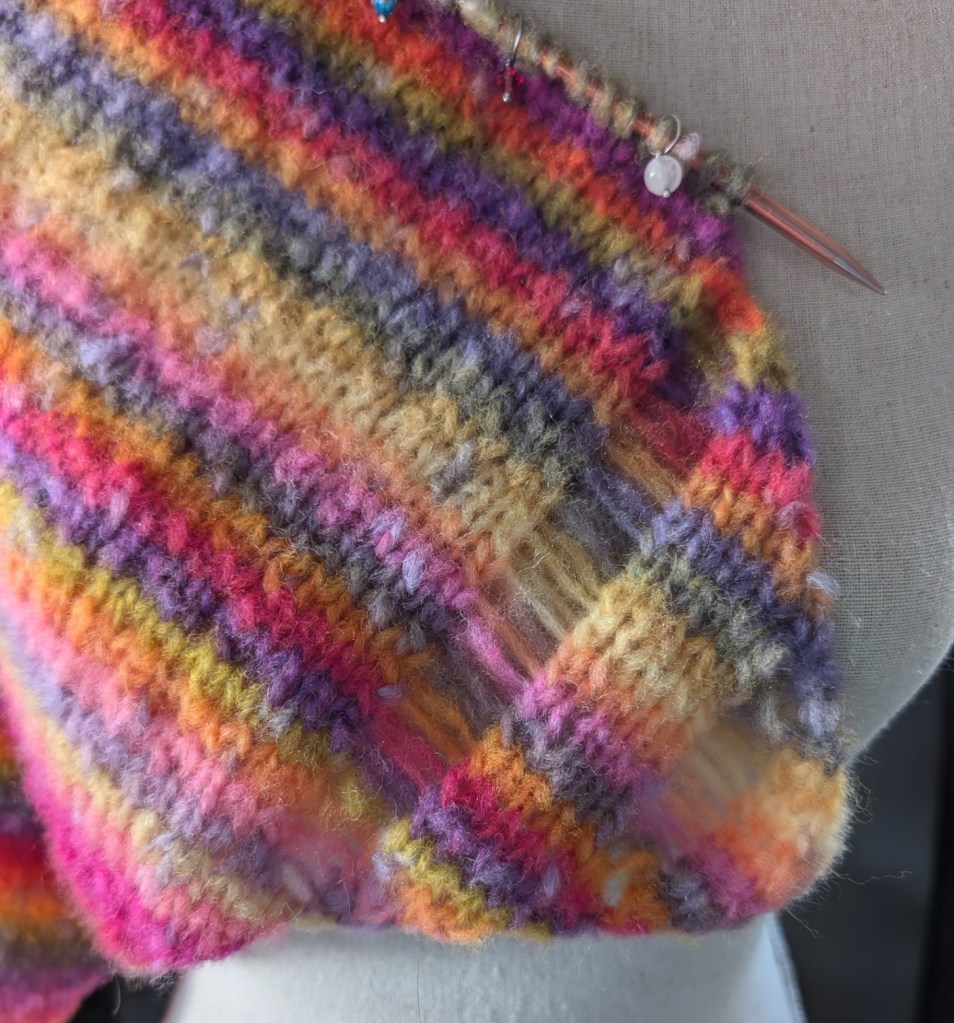
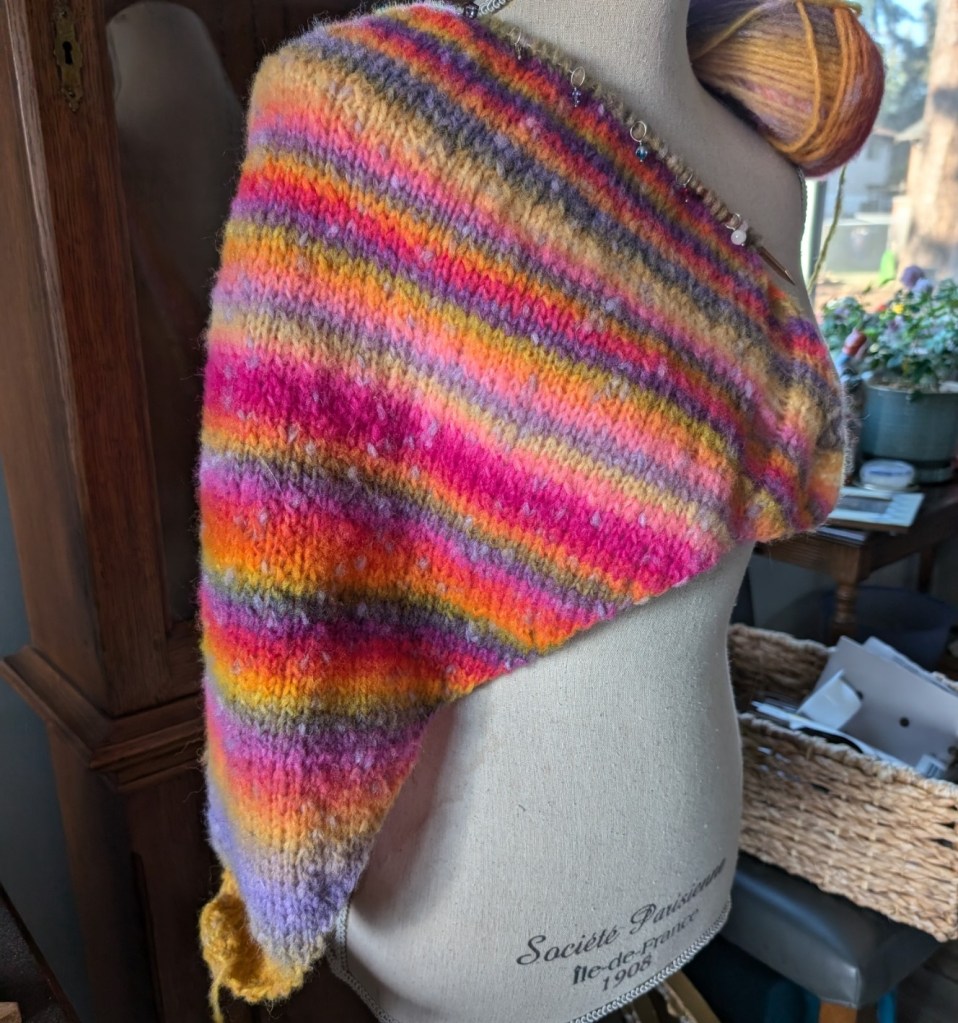
I didn’t knit it the first time around, so I am giving it a go with some yarn from my stash. Not hand dyed, but striping and lively, and I was not having any luck designing a sweater for myself with it. I had already ripped back a couple of attempts. The yarn is Lang Cloud Tweed.
Clapotis is designed for a worsted/aran weight yarn (I keep seeing it in some Rios), but is very easy to adjust for almost any weight! The knitting is basic, stockinette on a diagonal, but the addition of the dropped line of stitches keeps it interesting.
Have you knit a Clapotis?
I am also working on another class project. Remember the loopy st? Meet the Jingle Gnome Chapeau. Still under construction, but already looking like a little bit of rustic “happy”! The class will feature the loop stitch, basic stranded knitting and how to make the perfect pompom! I am working with the Eco Shetland Worsted by Estelle. It is yarn that I really like to work with and gives me great results.
Boho CozyBoho MittsBoho Crown
I hope that you have a wonderful day. Mine is off to a great start!
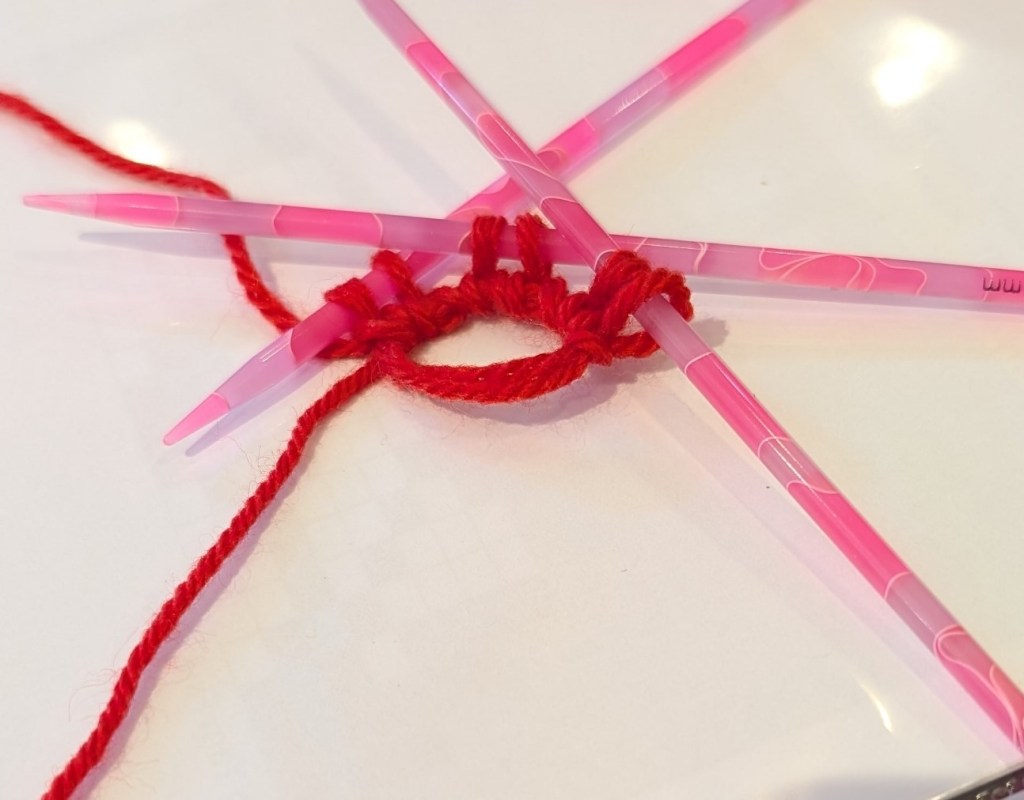
My favourite cast-on is the Emily Ocker Cast-on, also called the German Pinhole Cast-on.
Do to technical difficulties I am going submit a short video and then a series of photo’s on how to start the GreenMan Shawl.
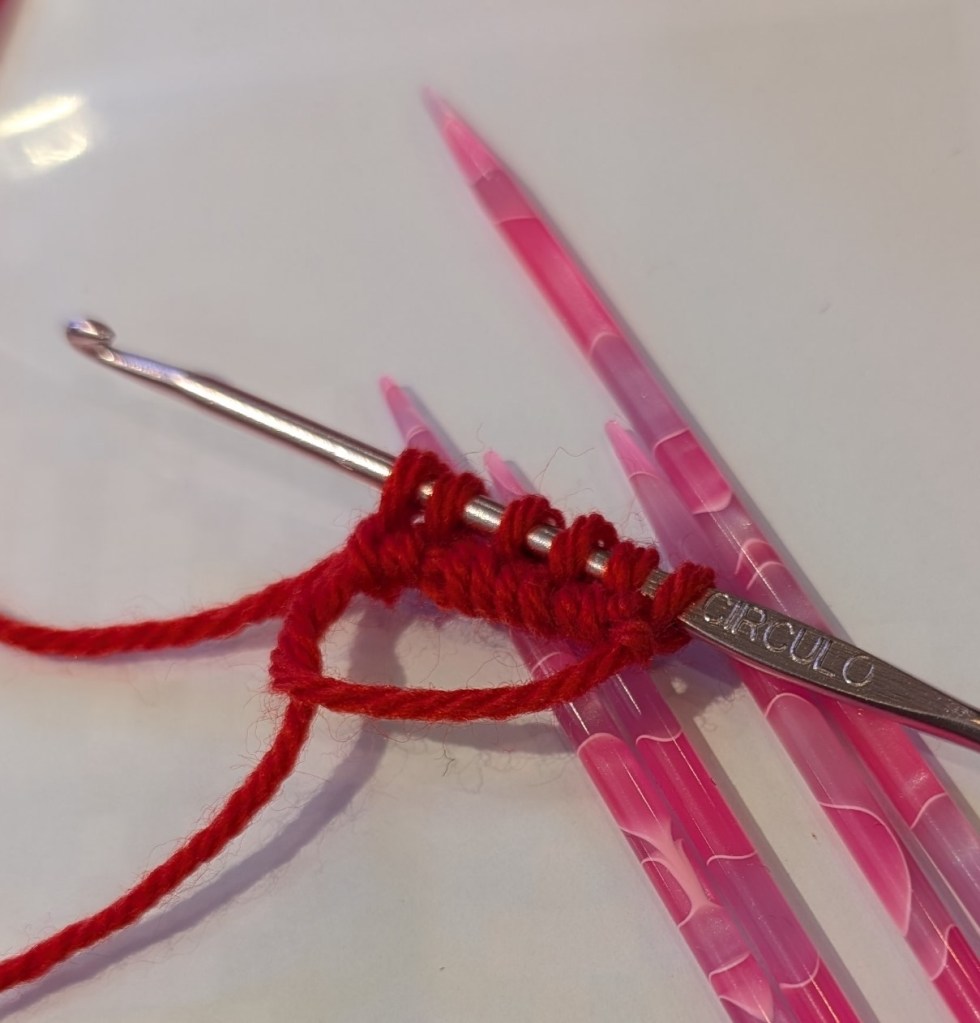
Tools that will make the cast-on easier; a straight crochet hook or a hook/point tool, it simplifies the moving of the sts from the hook to the needles. Wooden or other lightweight dpn’s, they are a little sticky and very light, metal needles are usually quite heavy and slide out far too quickly.
If you have never held a crochet hook I can recommend a simple cast-on;
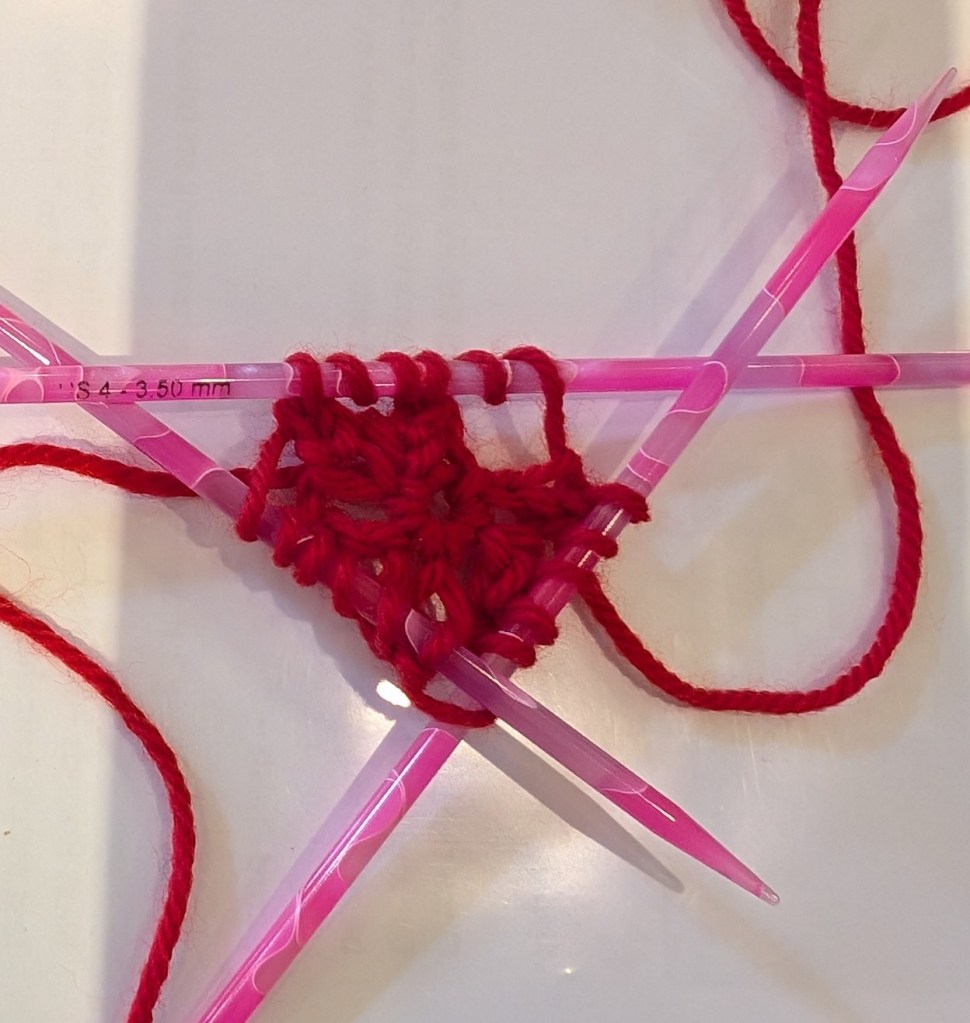
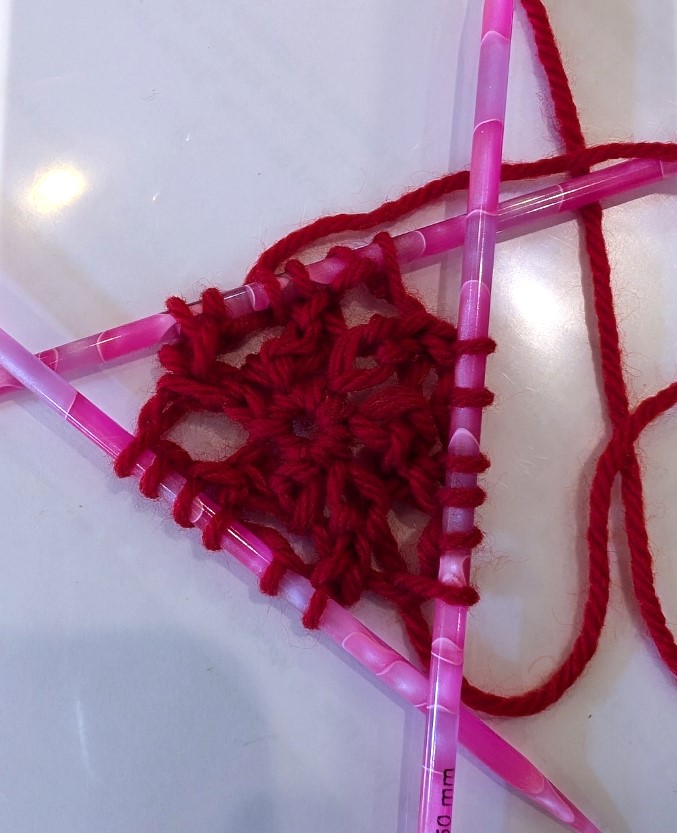
Cast-on 6 sts to a single dpn, transfer the sts as the photo tutorial below, join into a round and start to work the shawl. The center of the shawl will not be as neat to begin with but when finishing your shawl the tail can be used to gather up and gently close the hole in the center.
In the video you will see the yarn, tail to the right and underneath the working end of the yarn. There is no sound, but the written description is below the video.
Please note: I am not a confident crocheter and you will see that in the video. But that does not mean I can’t fumble my way through a single crochet.
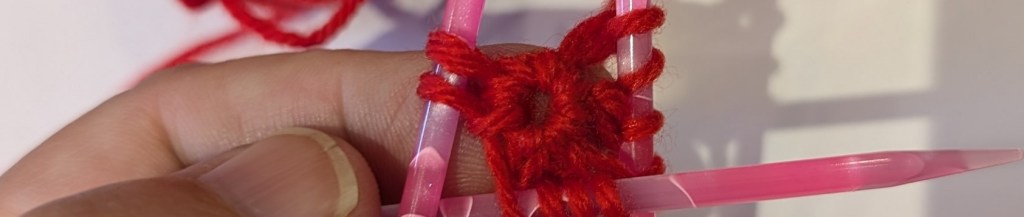
Emily Ocker Cast-on also called German Pinhole Cast-on
Grasp the ring where the yarn crosses
with your hook go through the ring and hook a loop of the working yarn
pull through the ring
hook the working yarn again and pull through the loop already on hook.
I single crochet is on the loop
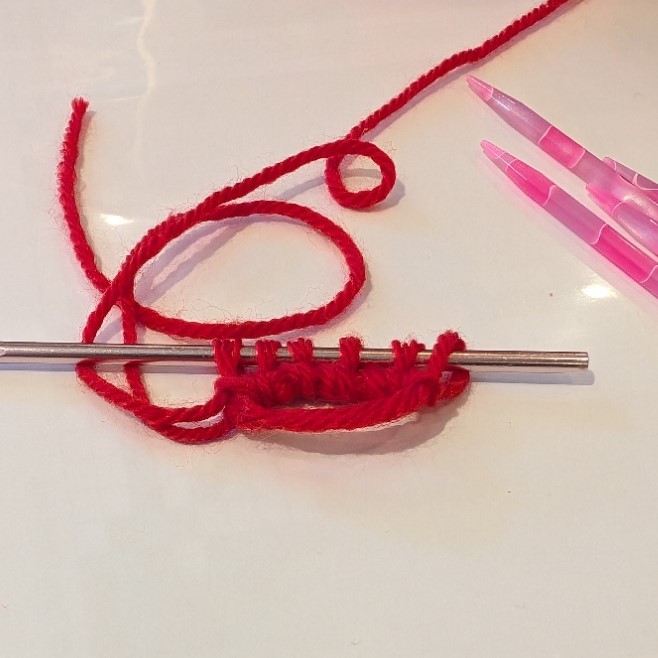
Repeat from the top five more times until there are 6 loops on the hook.
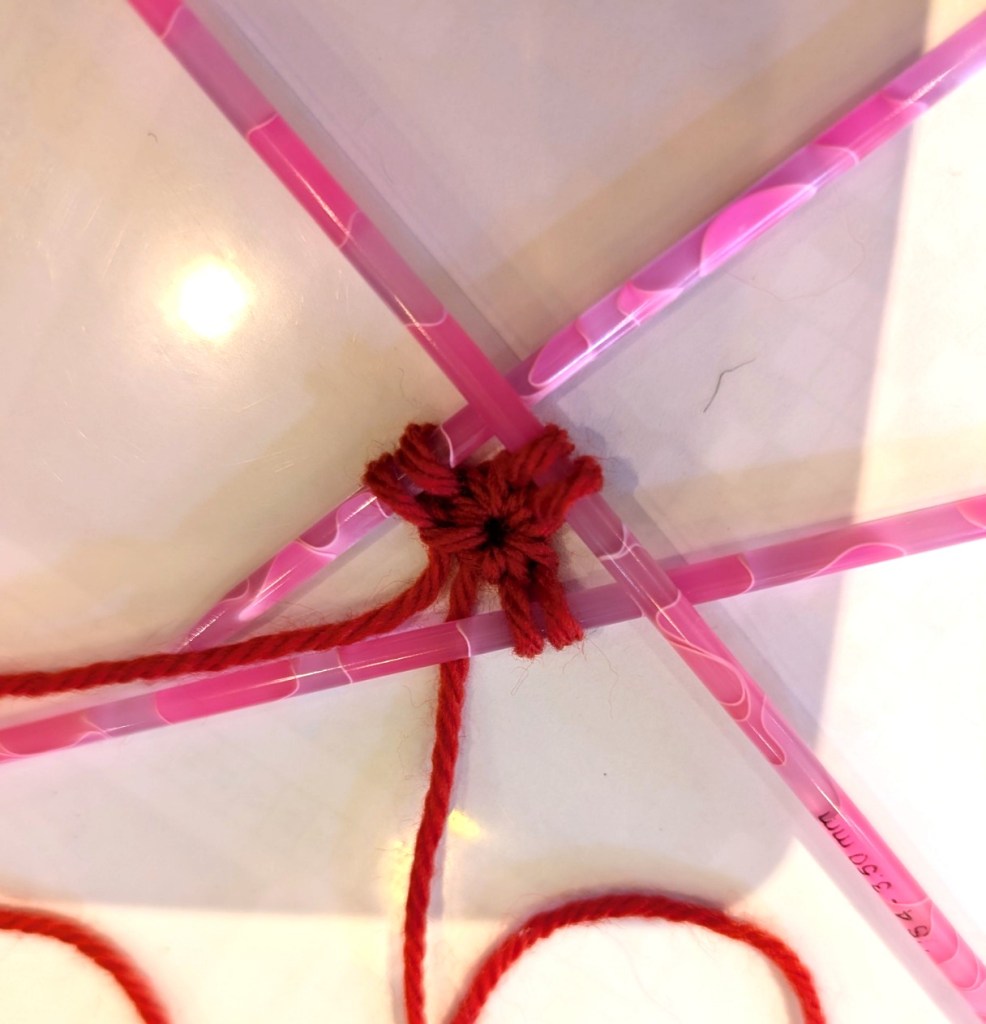
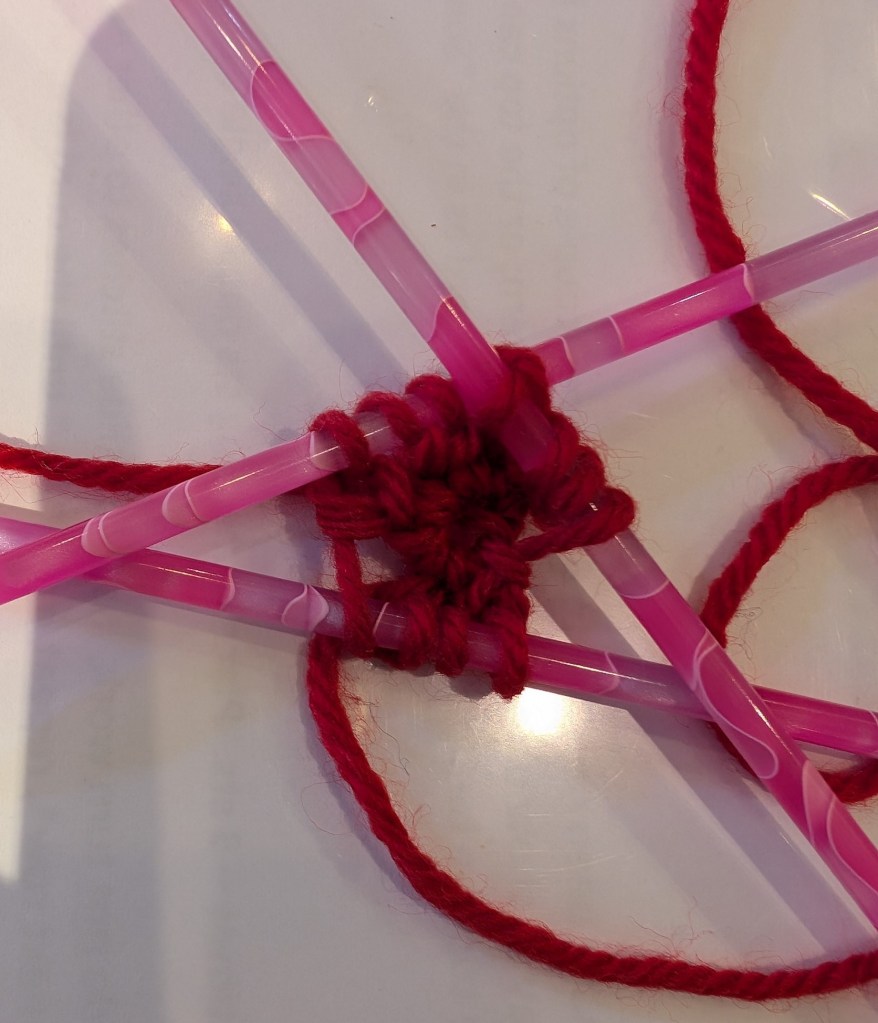
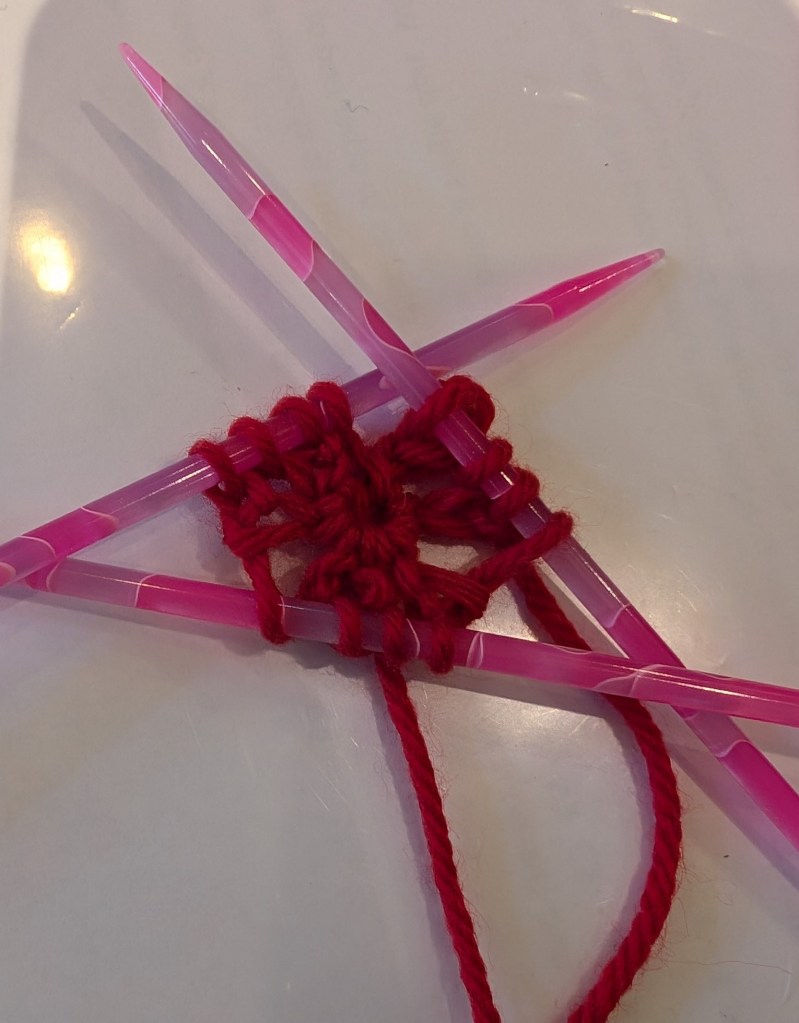
Below is the step by step set-up and first rounds of the shawl.
6 single crochets on the hookSlide the stiches to the end of the hookDivide the stitches onto 3 dpn’s, 2 sts per needlePull the tail to tighten the loopWork the 1st set-up round, *YO, K1; repeat from * 6 times – 12 sts.Work 2nd set-up round – K12.Work 1st round from charted or written instructions ; Double YO, K2tog, 6 times – 18 sts.Work 2nd round of charted or written instructions – K1, P1, (K2, P1) 5 times, K1 – 18 sts.
Once you reach this point the needles will start to co-operate and the knitting will go more smoothly.
I hope that this helps you start your shawl.
I am hoping to make the video as promised with sound and moving pictures – perhaps tomorrow. Getting my tools to co-operate has been a challenge.
Have you noticed that we knitters, and almost all crafters, start thinking of Christmas a lot earlier Than other people? I think that we need to as most of our gifts take time, sometimes a lot of time to create.
So today I am sharing a fun technique – Loop Knitting – a little playful technique to add to your skills for the upcoming knitting blitz!
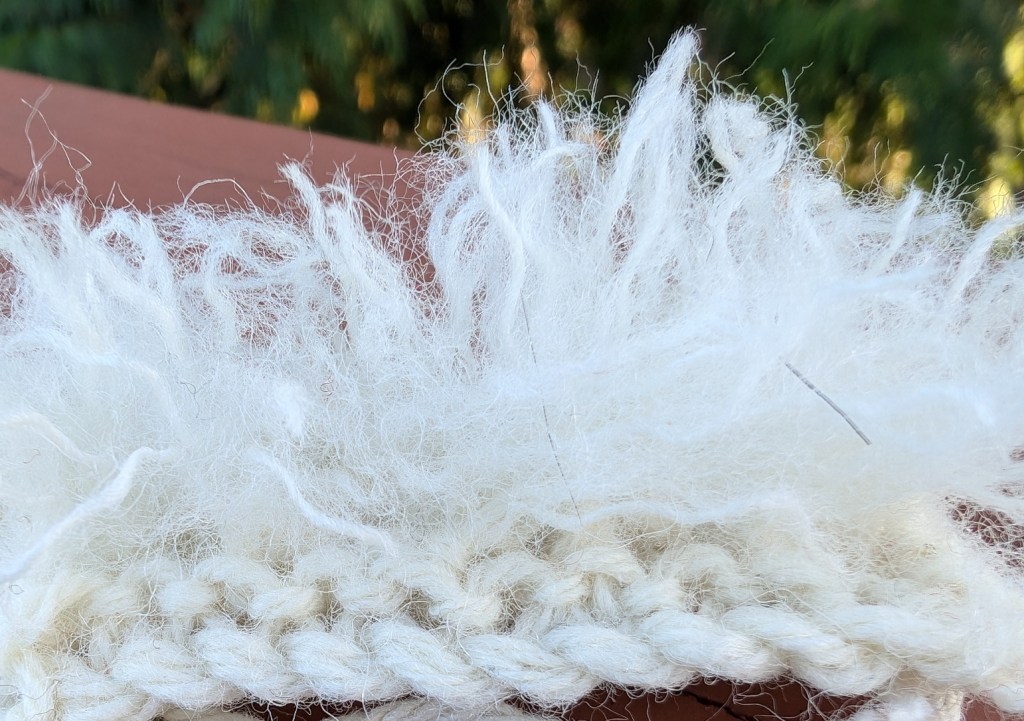
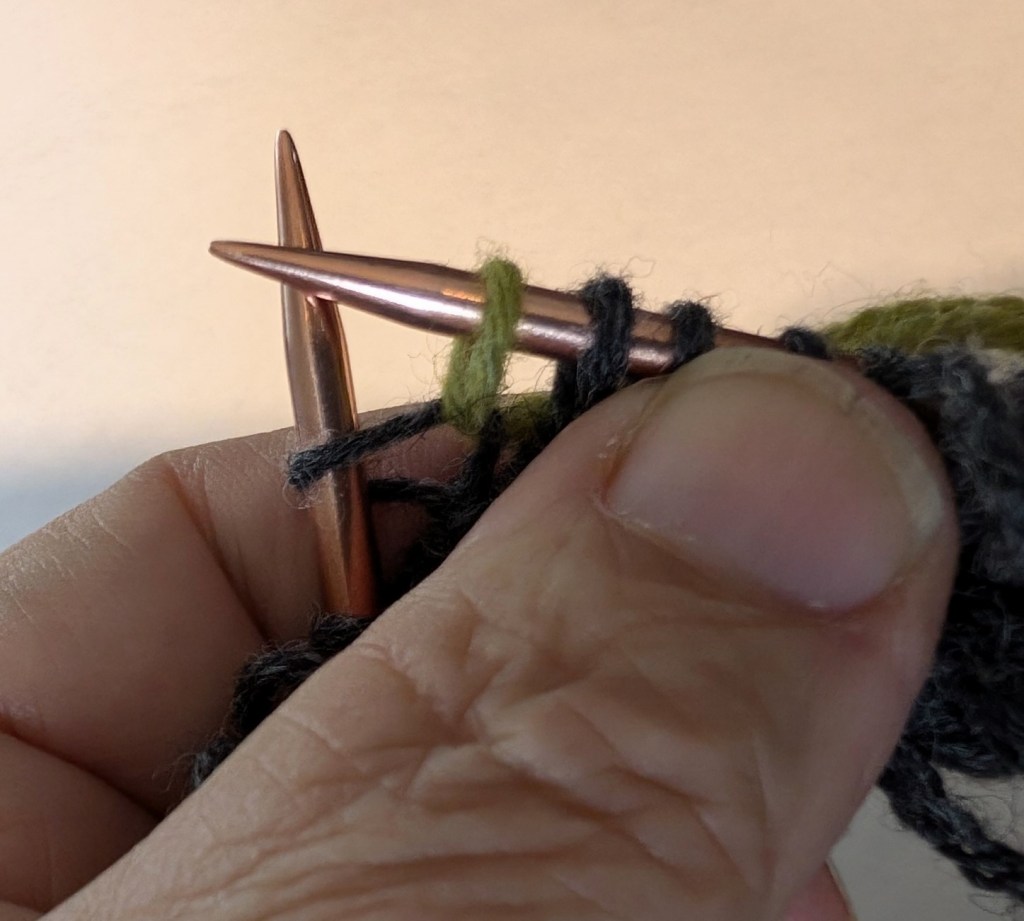
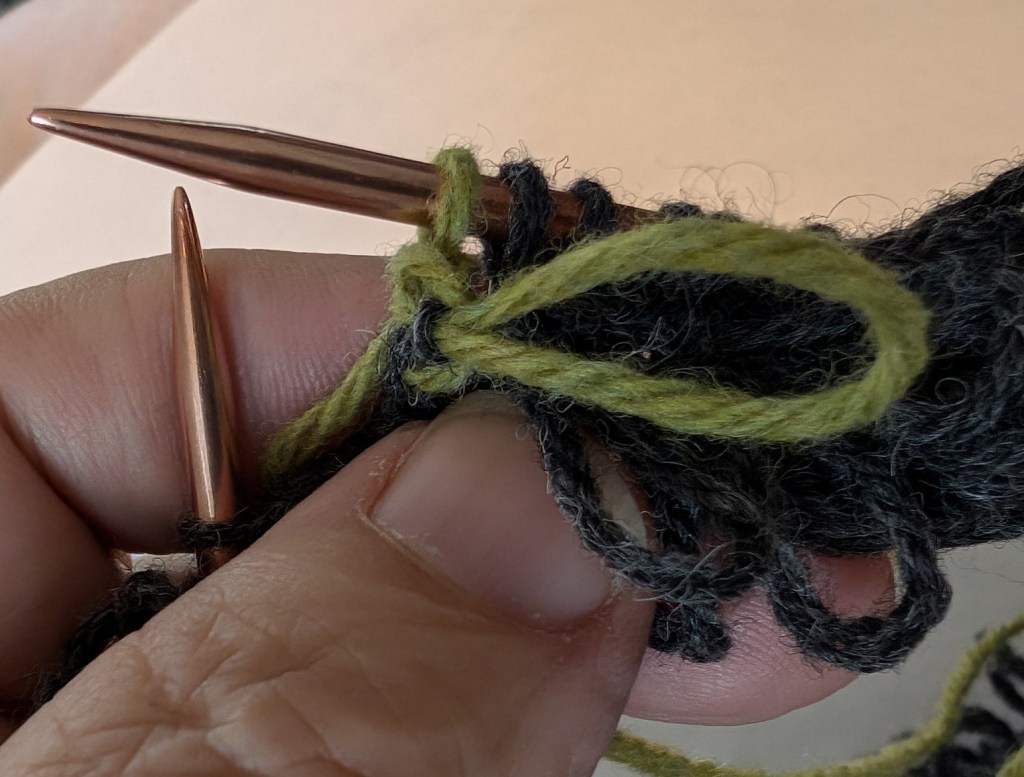
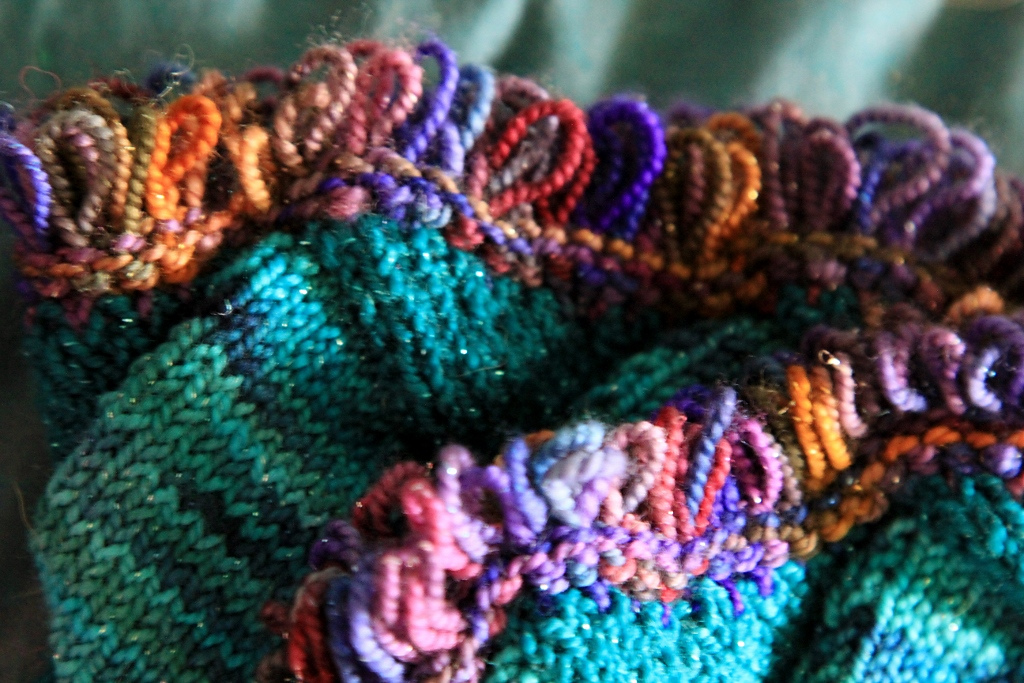
Loop knitting is basically making a series of knotted loops on the right side of the knitting. These loops can be made and left as loops, my current thought, or they can be made, cut open and brushed up to look like fur, a thought under consideration! Loops are not a quick technique, but the results are worth the effort.
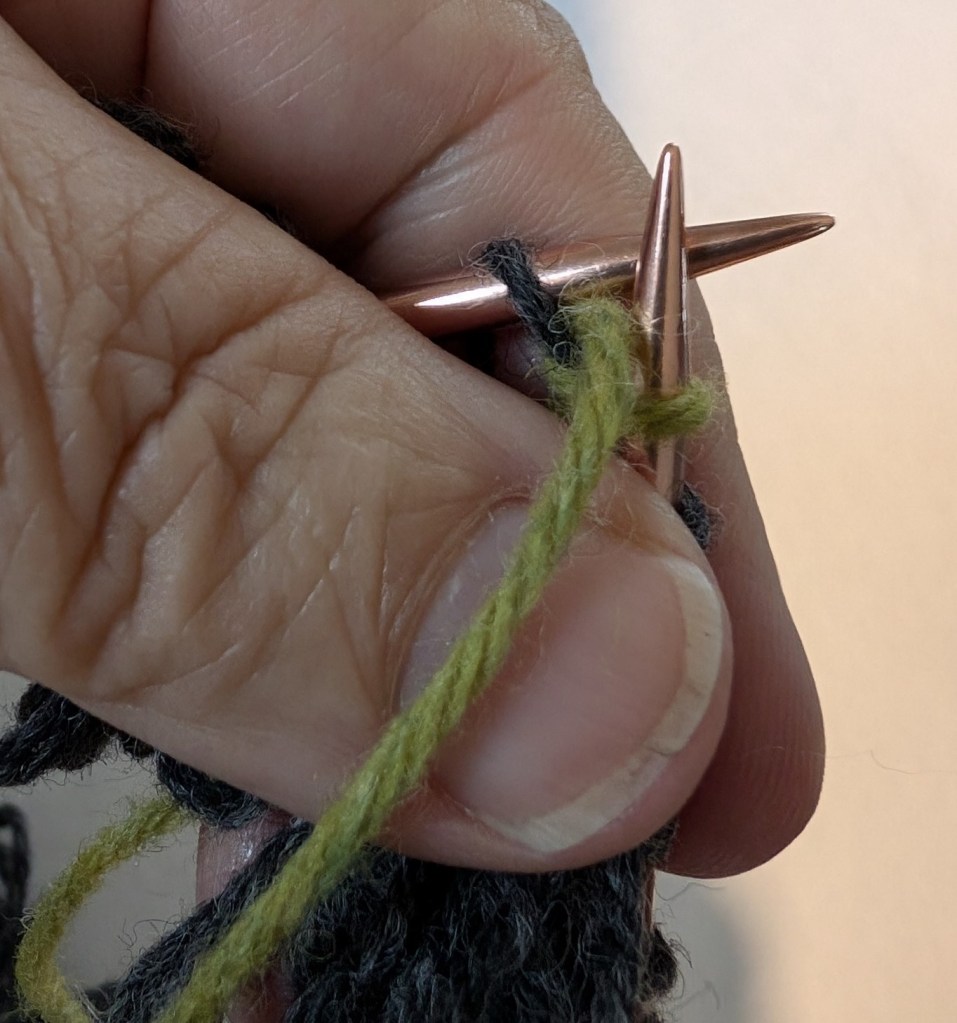
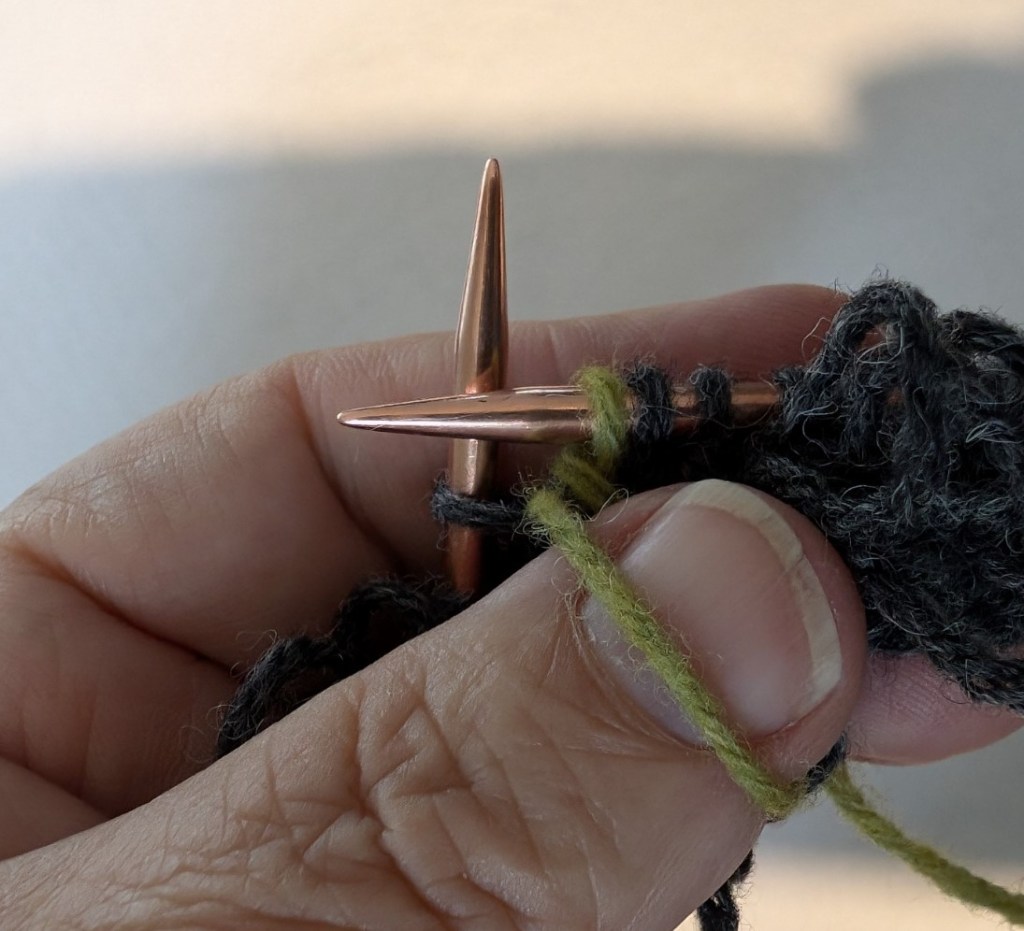
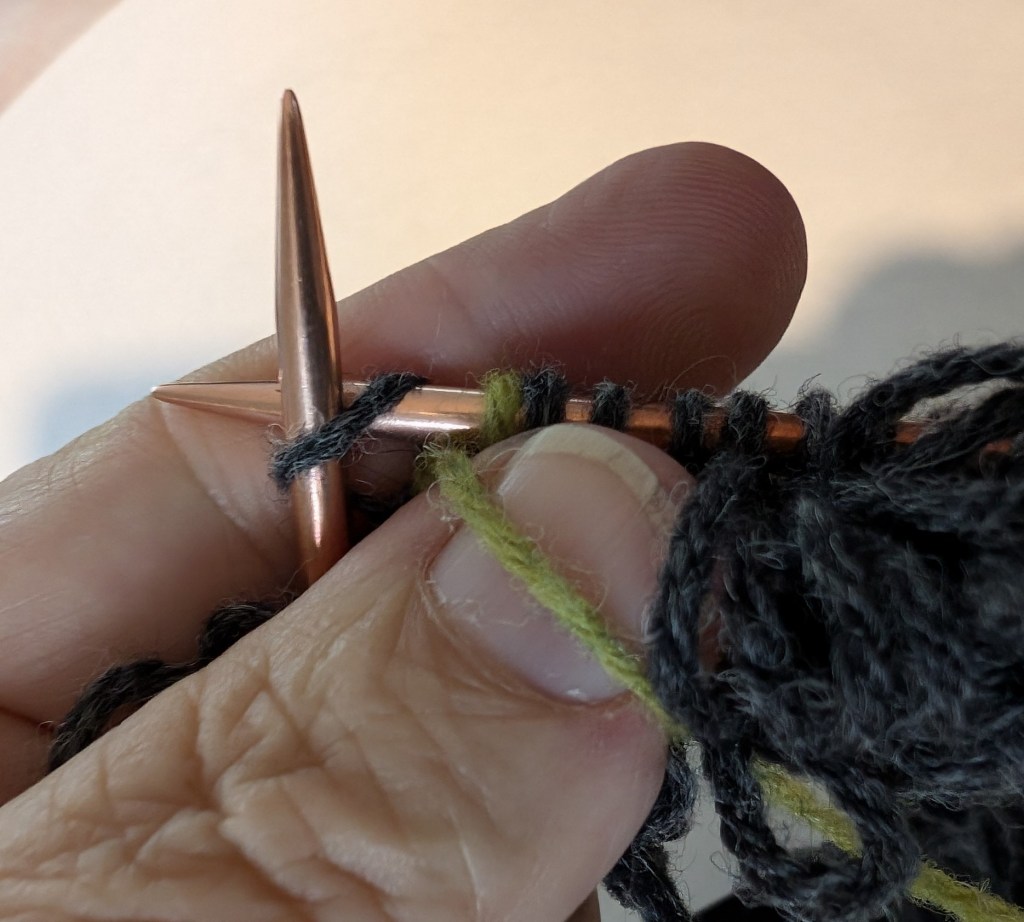
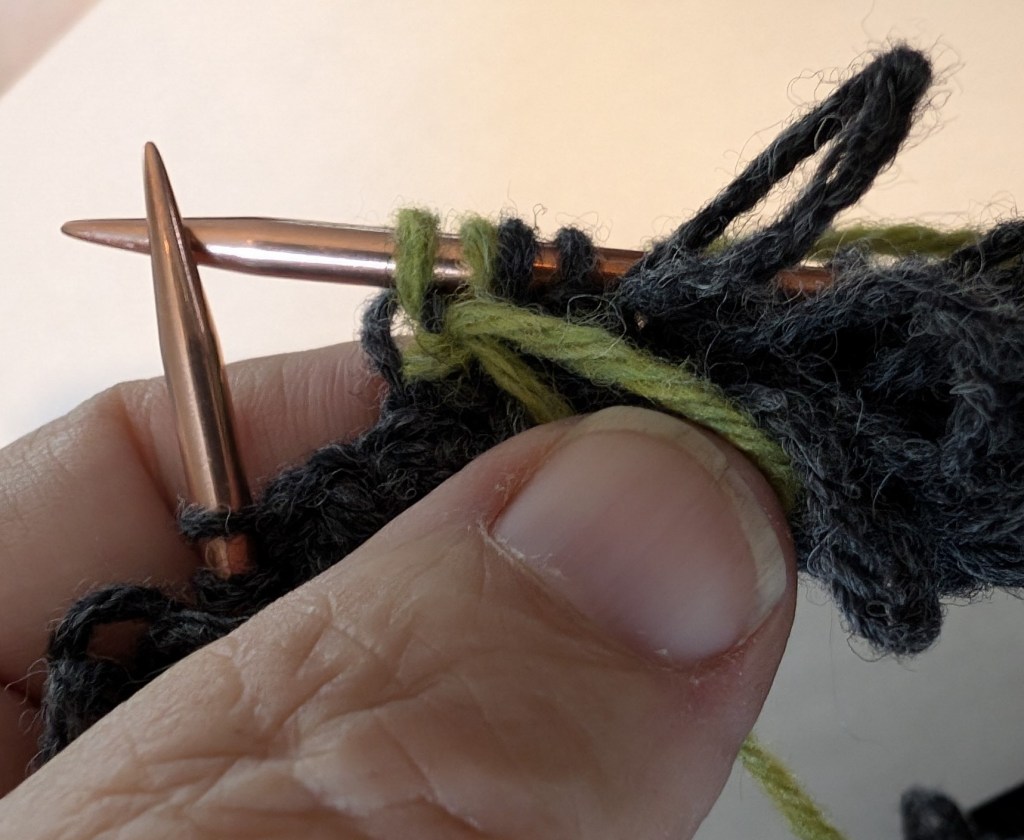
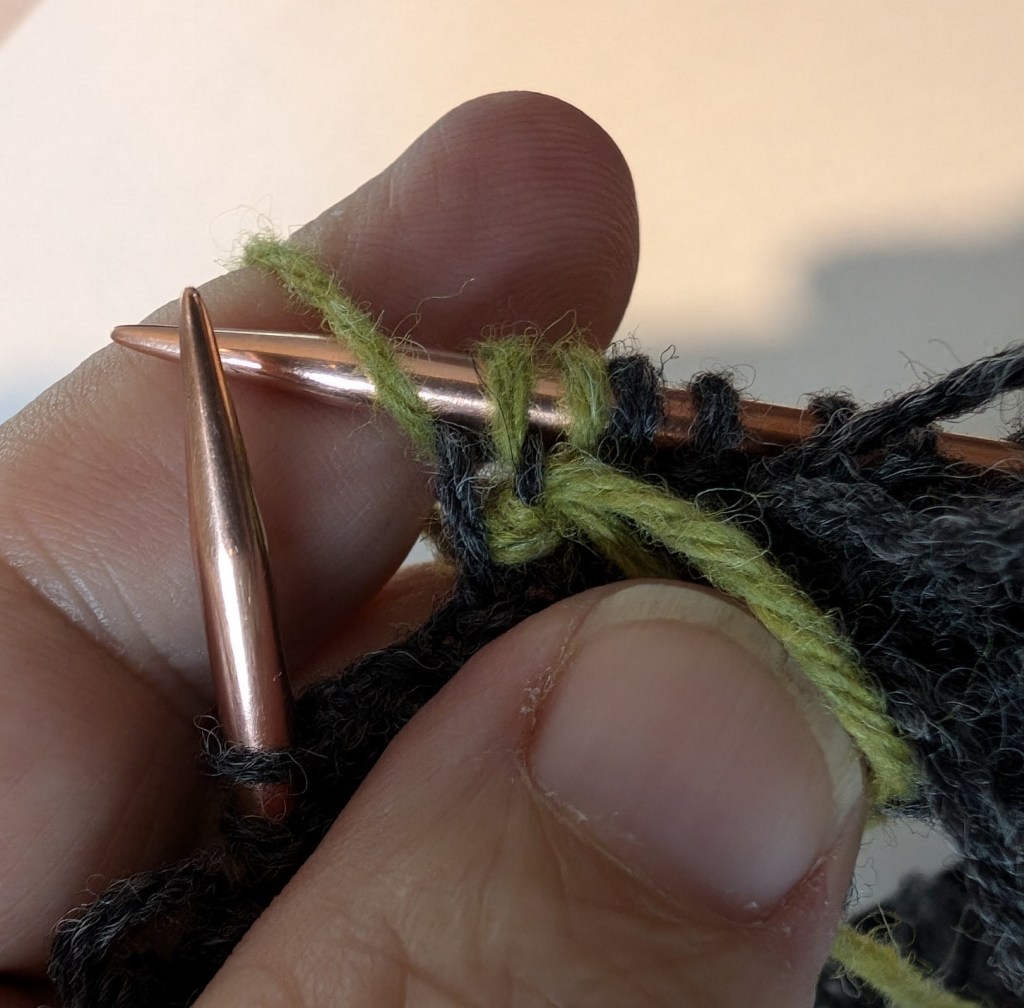
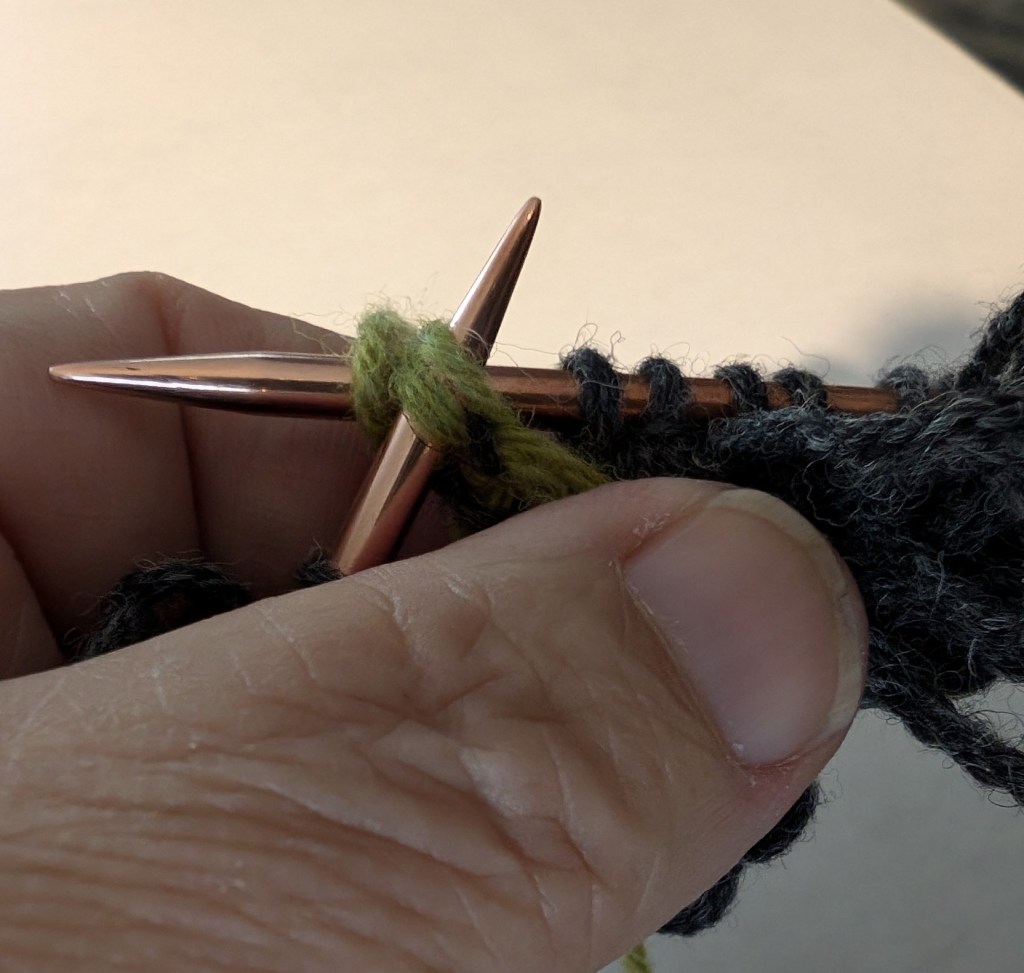
Bring your yarn through the stitch on the needle as if to knit, but do not drop the stitch from the LH needleBring your yarn forward and over your left thumbWrap the yarn tightly around your thumb and take it back between the needlesInsert the RH needle tip into the loop on the LH needle as if to knit the stitchKnit the stitch and remove from LH needle, remove thumb from the loopPull the loop to set in place (don’t pull too tightly), bring working yarn forward and over the needleWith the LH needle tip, pick up the two “stitches” from making the loop and lift them over the yarn sitting on the needleThe knot is closed and a new stitch is created from the three loops on the needle
Loops need to made on the RS of the knitting surface. If you are knitting back and forth the loops can be make every other row. When working in the round as I am, the loops can be worked on every round. I want a fairly thick, loopy surface.
The loops can be made in every stitch for a very full look. I am making my loops every other stitch and off setting them on every other row, for a medium thick appearance.
Loop knitting is playful and offers some interesting options for hatbands and mitten cuffs. Right now I am working on a hatband. I am planning to knit a swatch and cut and brush out the loops – I am really intrigued by the concept of being able to create the look of “faux fur”!
When starting loop knitting the going will be slow at first. It may take a round or two to develop a rhythm, but each successive round gets quicker than the one before!
I know that this technique would work well for toy knitting. Remember Lamb Chop? I have made a few things over the years with loops on the edges. I think I will try a few more.
Koigu Entrelac gloves from 2016
I hope that you feel inspired to give loop knitting a try!