Le Tissier Designs

Of Larks and Linnets and Flying Fingers

Category: Video Demonstrations

  • Mastering Short Row Heels for Sock Knitting

    Mastering Short Row Heels for Sock Knitting

    This technique is for experienced or adventurous knitters. You will need to understand the basics of socks and also how socks fit on your feet. But mostly you will need to read carefully and be willing to pull out your knitting if at first you don’t succeed. I love learning something new. I hope that you will too!

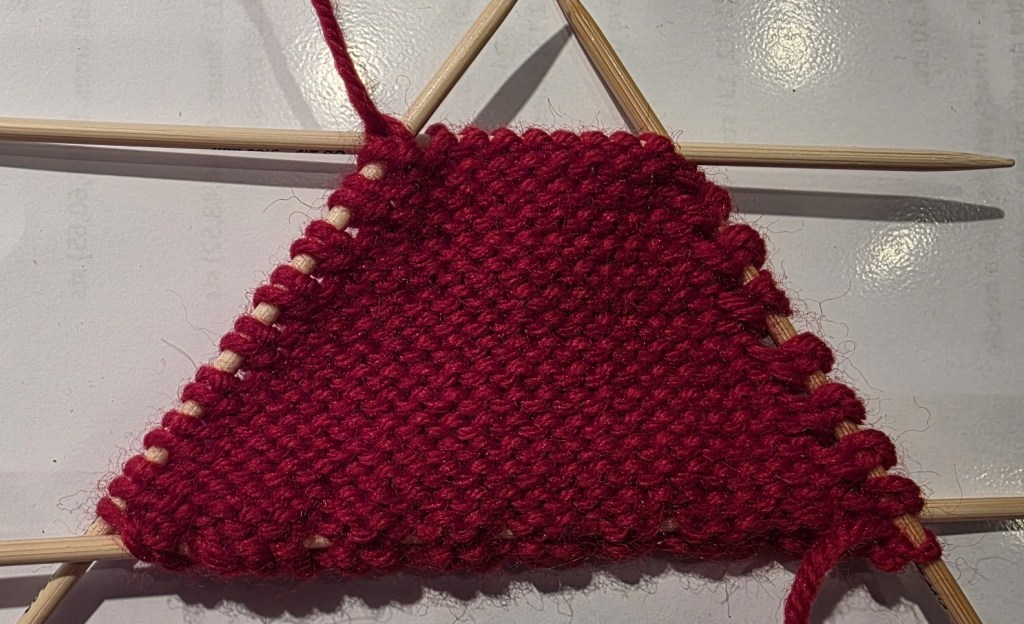
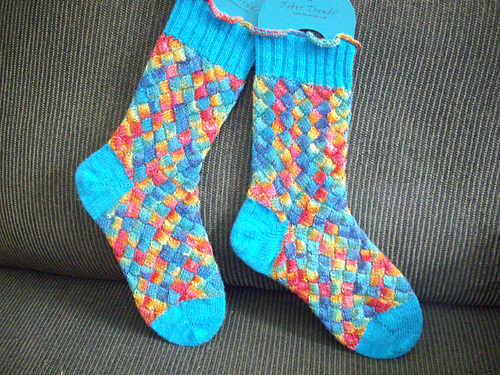
    This is an alternative to traditional heels or toe box shaping. It eliminates gusset shaping and can speed up your sock knitting. I don’t really recommend this style of heel if you have a high arch, which I do. I find it a little tight. If I do use it for myself, as I did in the Koigu Entrelac Socks above. I will add short rows to the heel box, in-between the short rows themselves, And/or make the box over more than half of the stitches.

    What I do like about these short row boxes is the Japanese style of Short Rows. The extra wraps create a solid seam that is stronger than most short-rows. Also this heel can be added to a highly patterned sock without interrupting the pattern repeats themselves. As in the Entrelac sock above.

    I love using the technique to create the toes for Toe-up socks. The look and the strength of the short rows makes for a strong well defined toe.
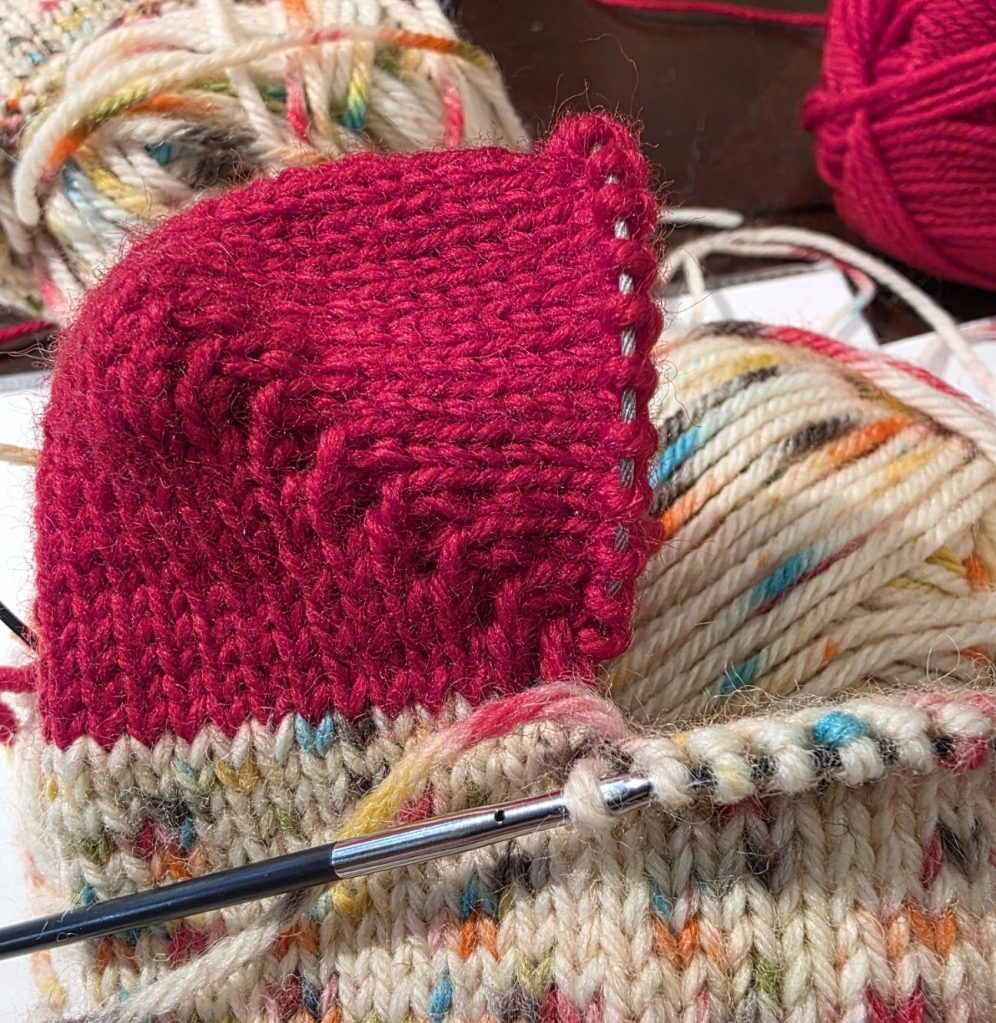
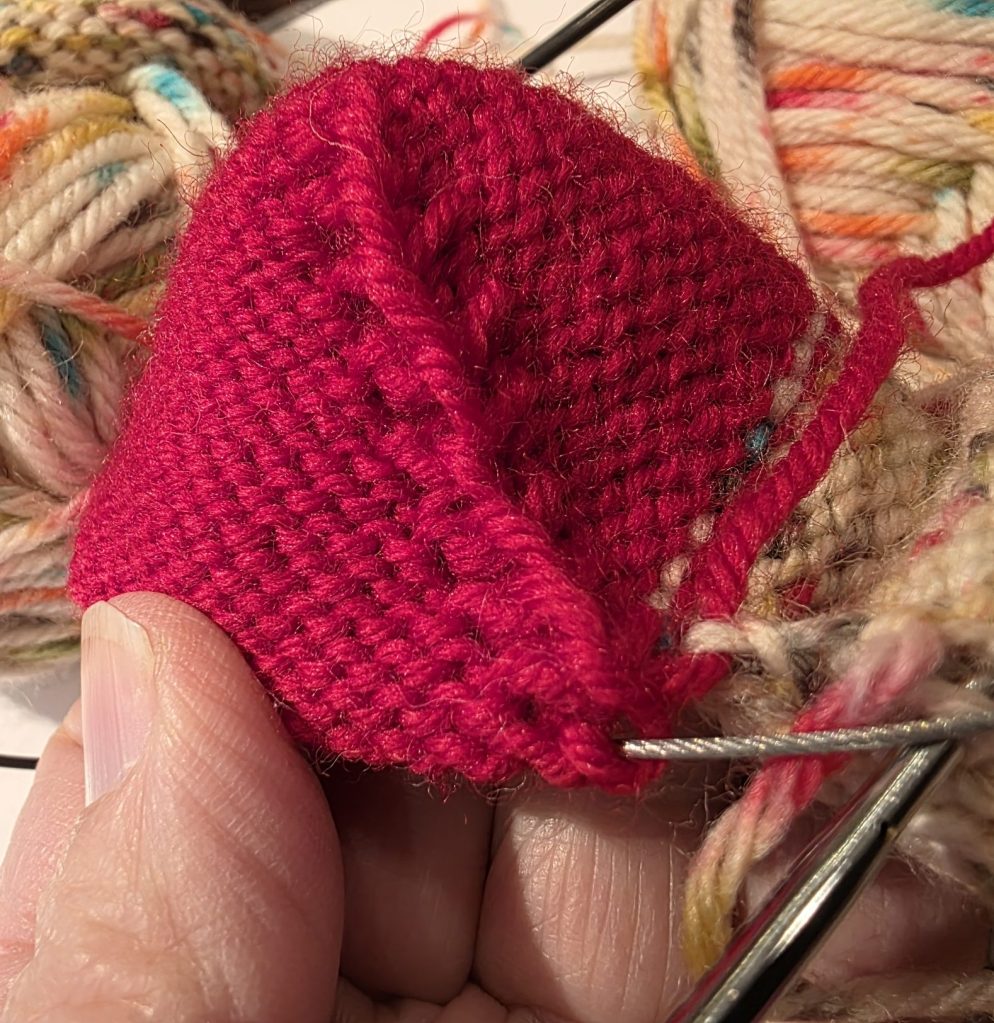
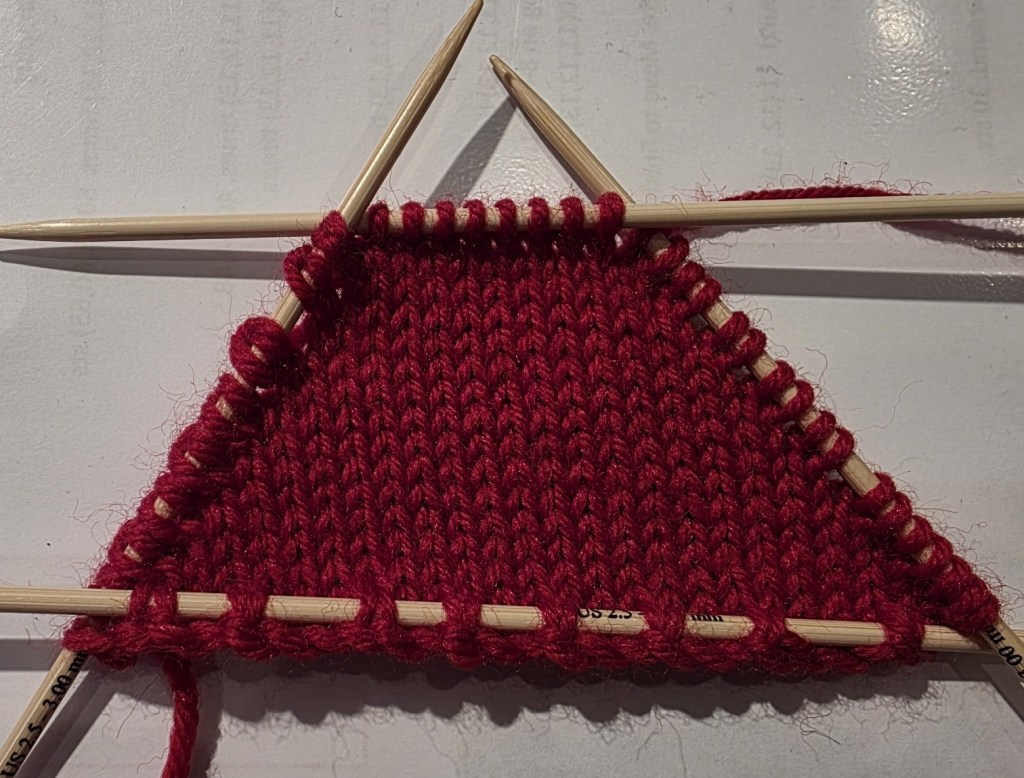
    Video of the start of the heel shaping. It shows the making of the double sts with YFs and YBs at each side of the heel box.

    Once the heel is shaped to the tip, the heels need to be shaped and joined, working down to the full stitch count. The extra loops are worked in as you go with K3tog’s and P3tog’s tbl.

    • YB – take the yarn back between the needles
    • YF – bring the yarn forward between the needles
    • Stitch mount – the way the stitch sits on the needle
    • P2tog tbl – purl 3 sts together through the back of the loops
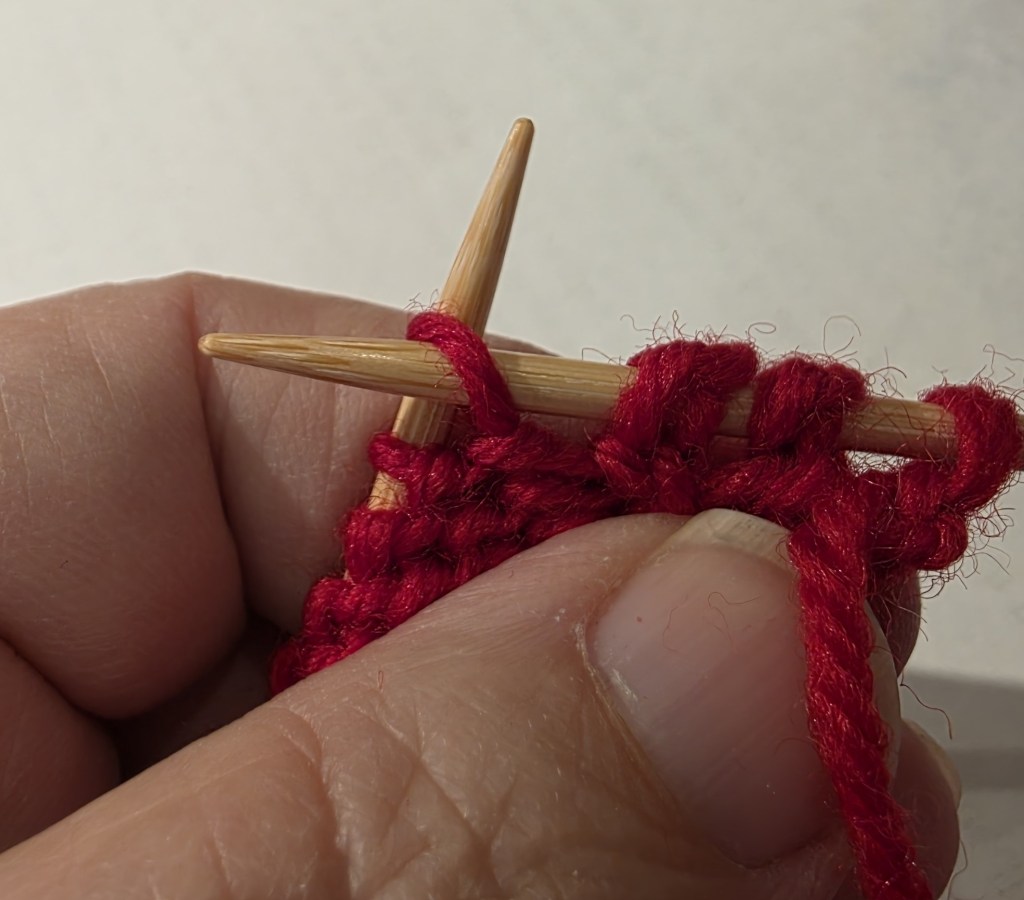
    This technique can be substituted into any sock pattern. I have included a few standard numbers to use for the heels. Remember that there is no gusset shaping. So your sock would go something like this – ribbing, leg, heel, foot, and toe.

    If you decide to try out the technique, please let me know what you think! If you have problems please also let me know. What are your favourite styles of sock making? Do you have a heel shaping or toe tip to share? What are your challenges in sock making?

    Happy Knitting

    Lynette
  • Feather Stitch Video

    Feather Stitch Video

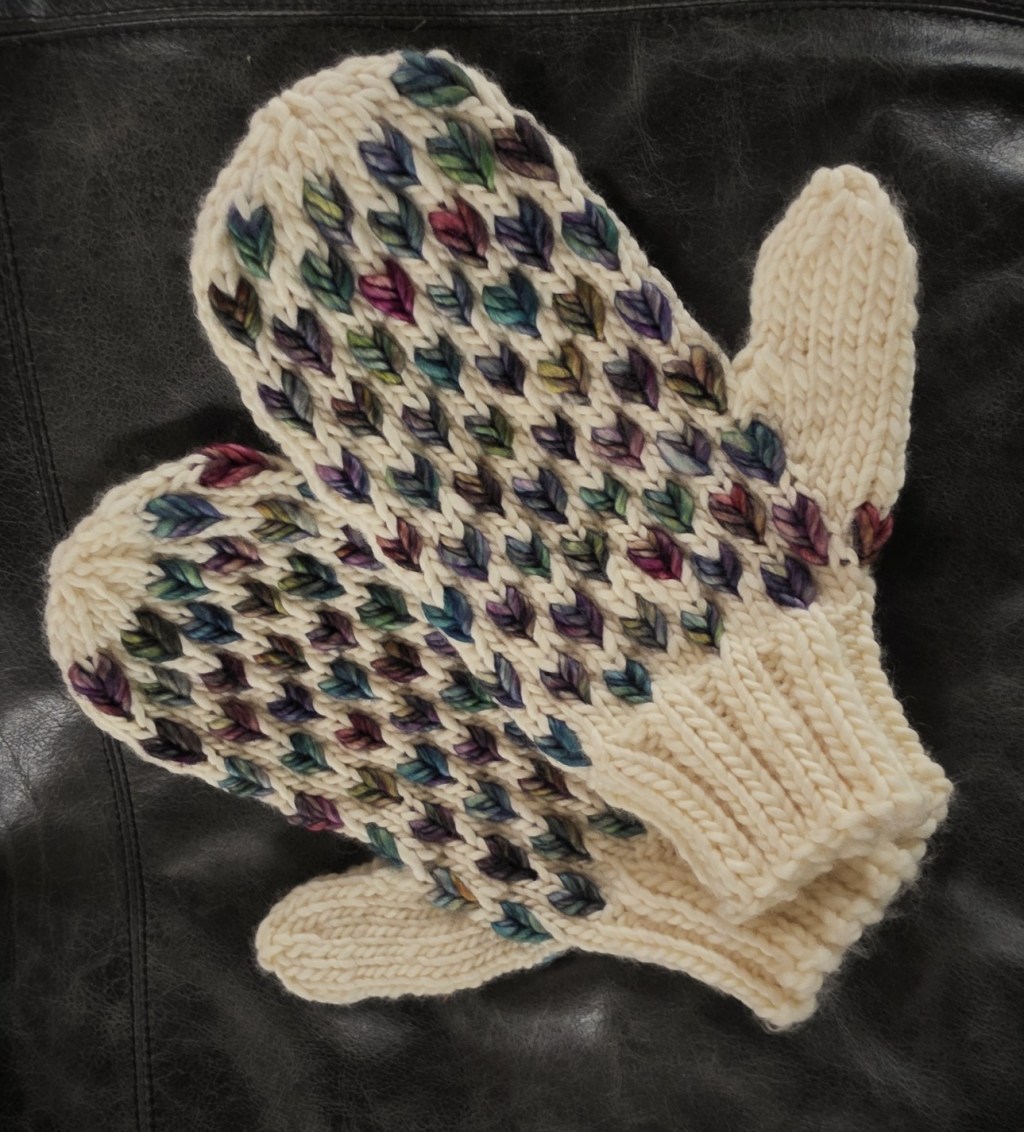
    Jen and I talking about how to do the feather stitch on her mitts.
  • Circular Cast-ons

    Circular Cast-ons

    My favourite cast-on is the Emily Ocker Cast-on, also called the German Pinhole Cast-on.

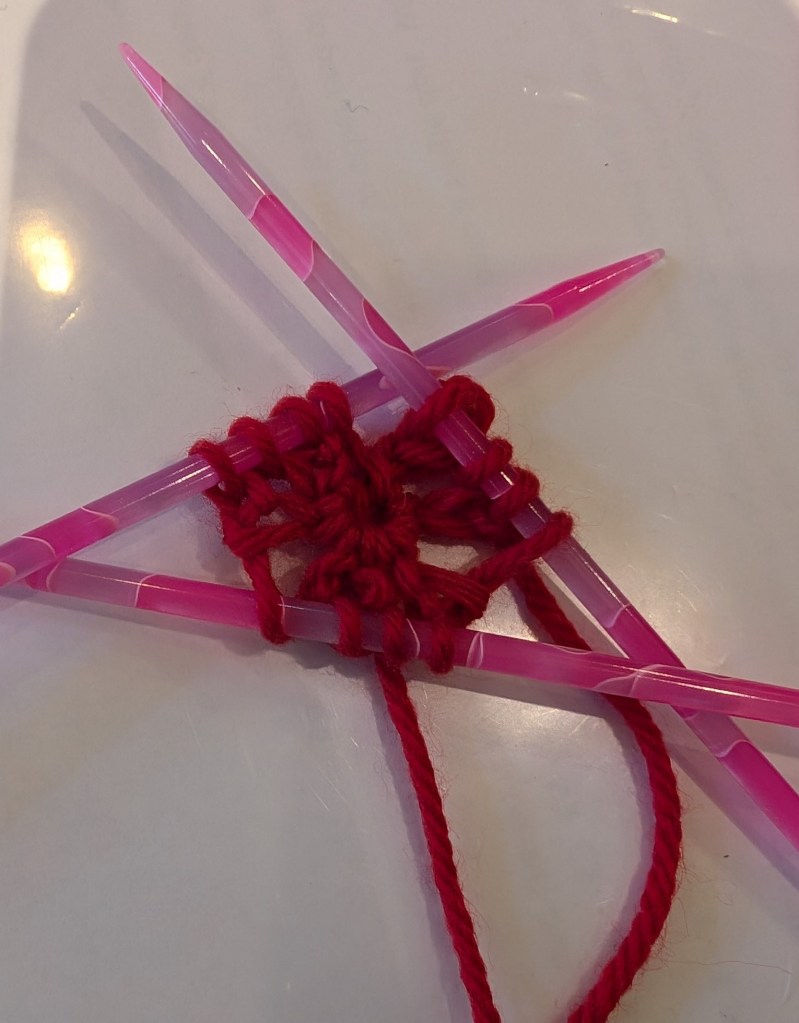
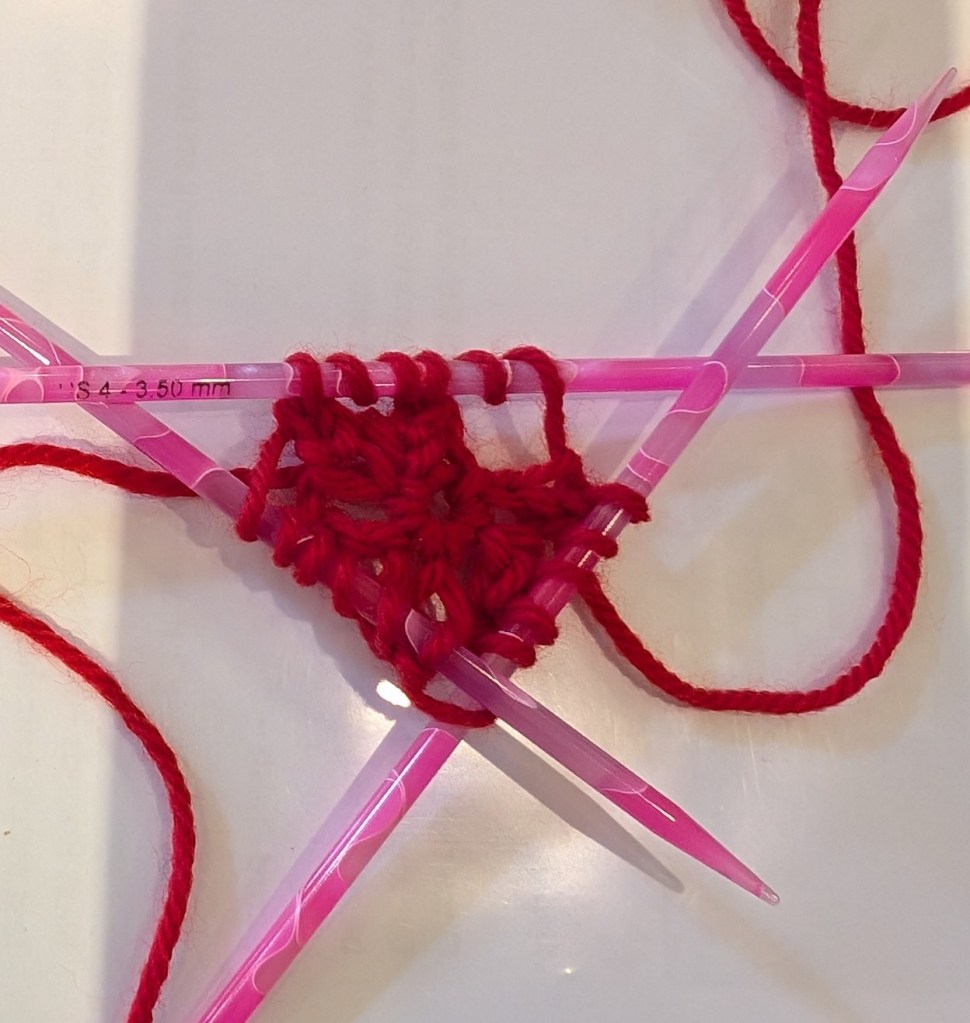
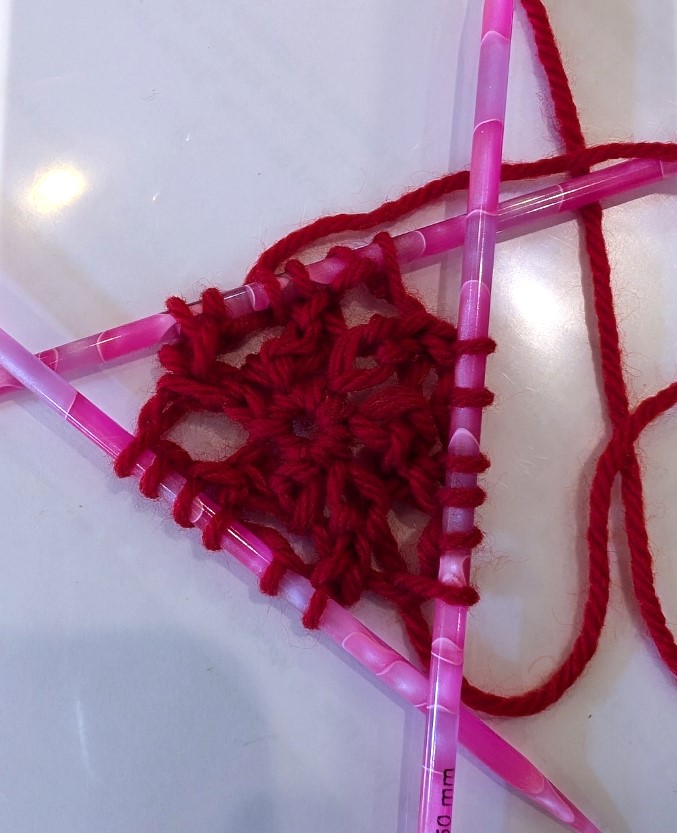
    Do to technical difficulties I am going submit a short video and then a series of photo’s on how to start the GreenMan Shawl.

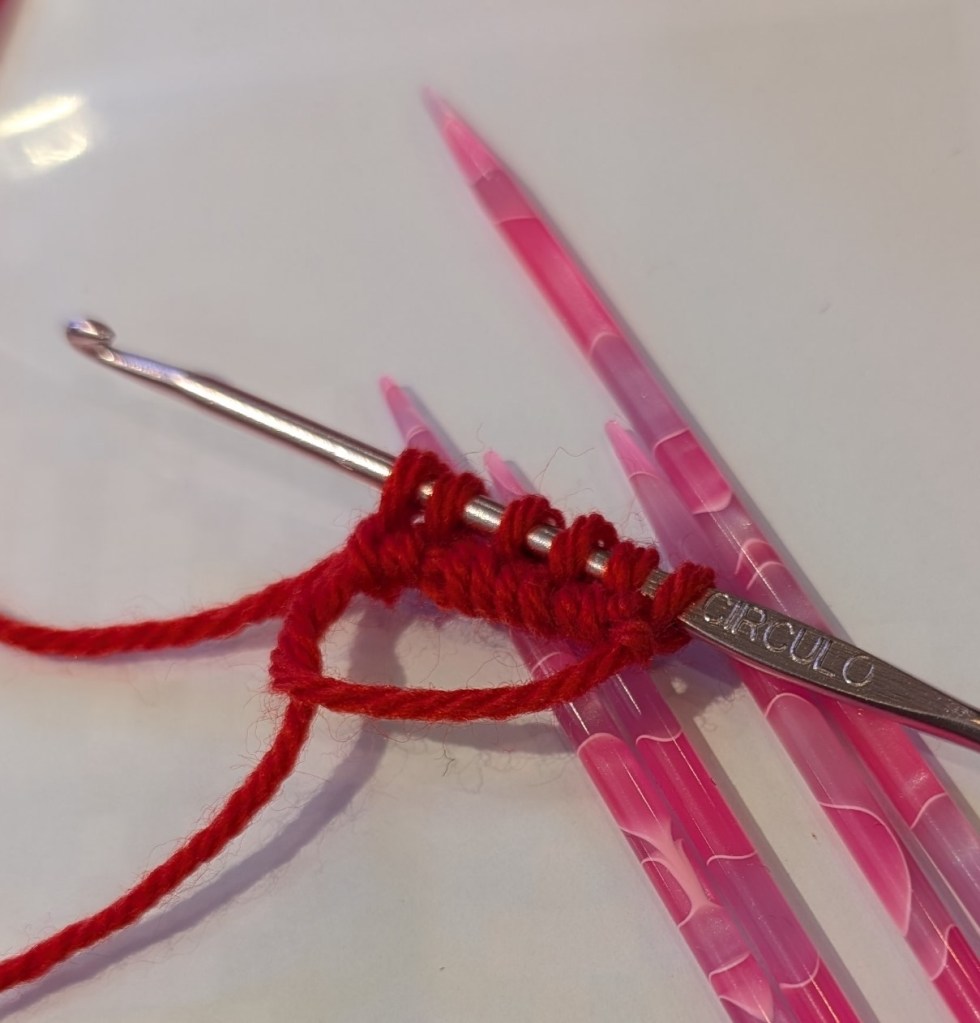
    Tools that will make the cast-on easier; a straight crochet hook or a hook/point tool, it simplifies the moving of the sts from the hook to the needles. Wooden or other lightweight dpn’s, they are a little sticky and very light, metal needles are usually quite heavy and slide out far too quickly.

    If you have never held a crochet hook I can recommend a simple cast-on;

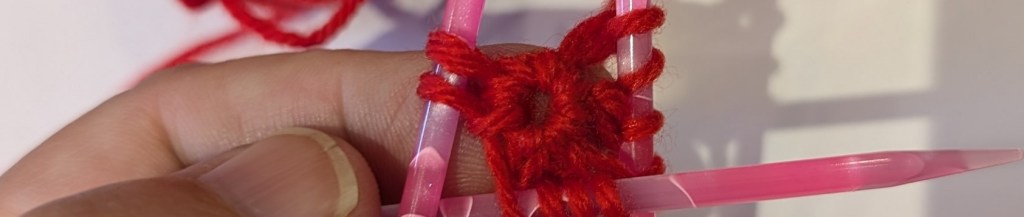
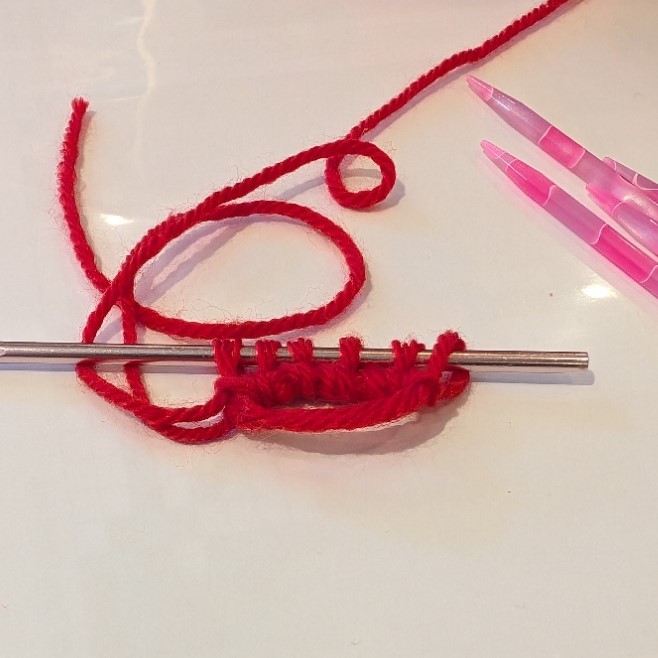
    Cast-on 6 sts to a single dpn, transfer the sts as the photo tutorial below, join into a round and start to work the shawl. The center of the shawl will not be as neat to begin with but when finishing your shawl the tail can be used to gather up and gently close the hole in the center.

    In the video you will see the yarn, tail to the right and underneath the working end of the yarn. There is no sound, but the written description is below the video.

    Please note: I am not a confident crocheter and you will see that in the video. But that does not mean I can’t fumble my way through a single crochet.

    Emily Ocker Cast-on also called German Pinhole Cast-on

    Grasp the ring where the yarn crosses

    • with your hook go through the ring and hook a loop of the working yarn
    • pull through the ring
    • hook the working yarn again and pull through the loop already on hook.
    • I single crochet is on the loop

    Repeat from the top five more times until there are 6 loops on the hook.

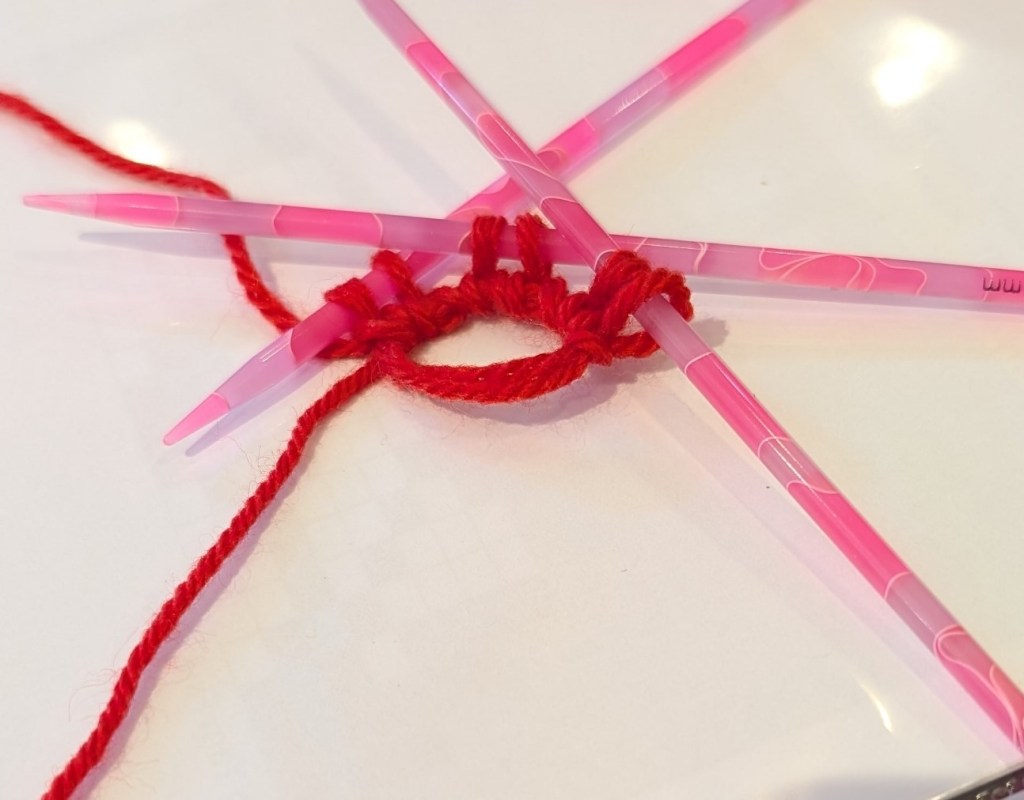
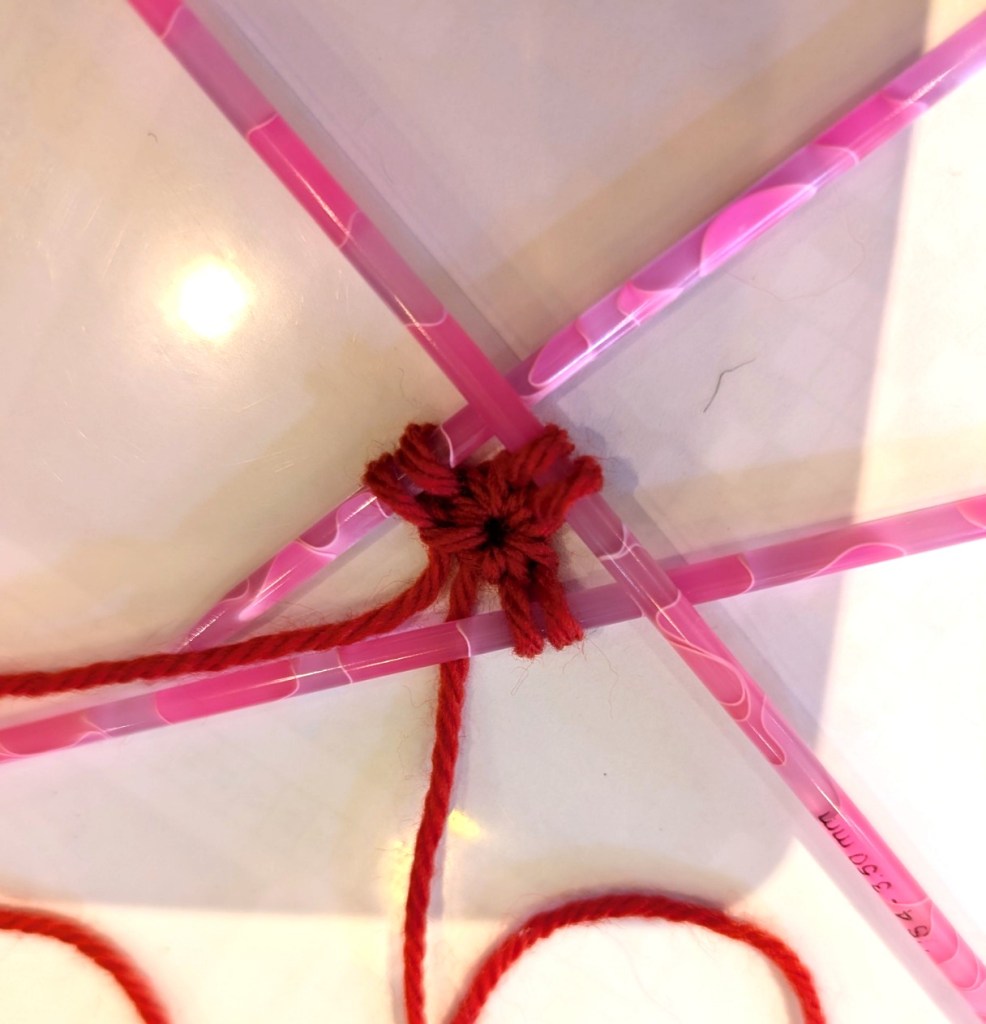
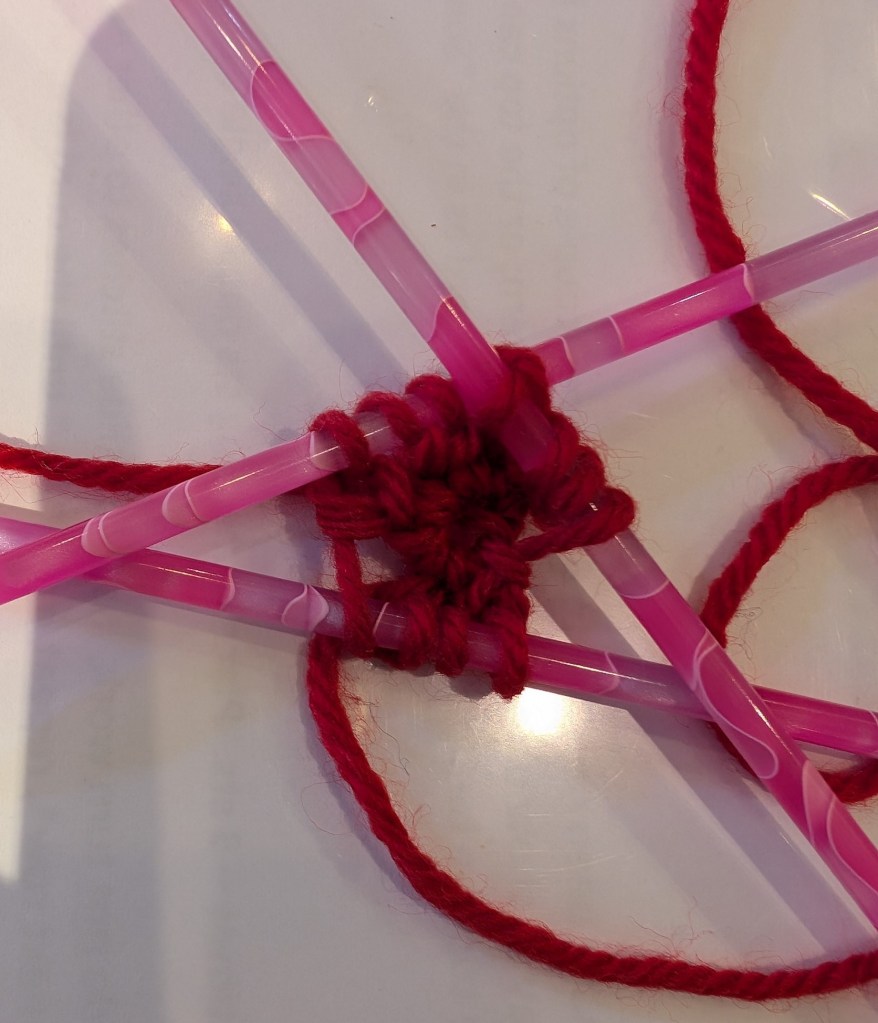
    Below is the step by step set-up and first rounds of the shawl.

    Once you reach this point the needles will start to co-operate and the knitting will go more smoothly.

    I hope that this helps you start your shawl.

    I am hoping to make the video as promised with sound and moving pictures – perhaps tomorrow. Getting my tools to co-operate has been a challenge.

    Happy Knitting

    Lynette
  • East Coast Thrumming

    East Coast Thrumming


    What is Thrumming?

    Thrumming was born in Newfoundland, off the east coast of Canada.  It is a technique for adding a layer of wool
    roving to create a very warm and almost totally wind and waterproof mitten.  Pieces of roving are knit in to
    individual stitches with the extra length of the roving remaining inside.  With wear, these rovings’ felt, creating the
    barrier needed to protect hands from the icy winds.

    It is really important to note that thrumming works best when knit with non-superwash wool and non-superwash sliver. The scale on the surface of both fibers work together to bond and keep the fibres from separating.

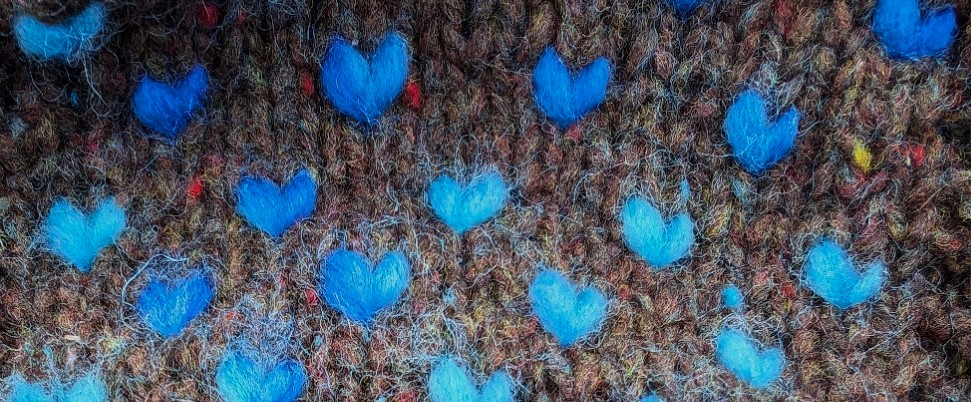
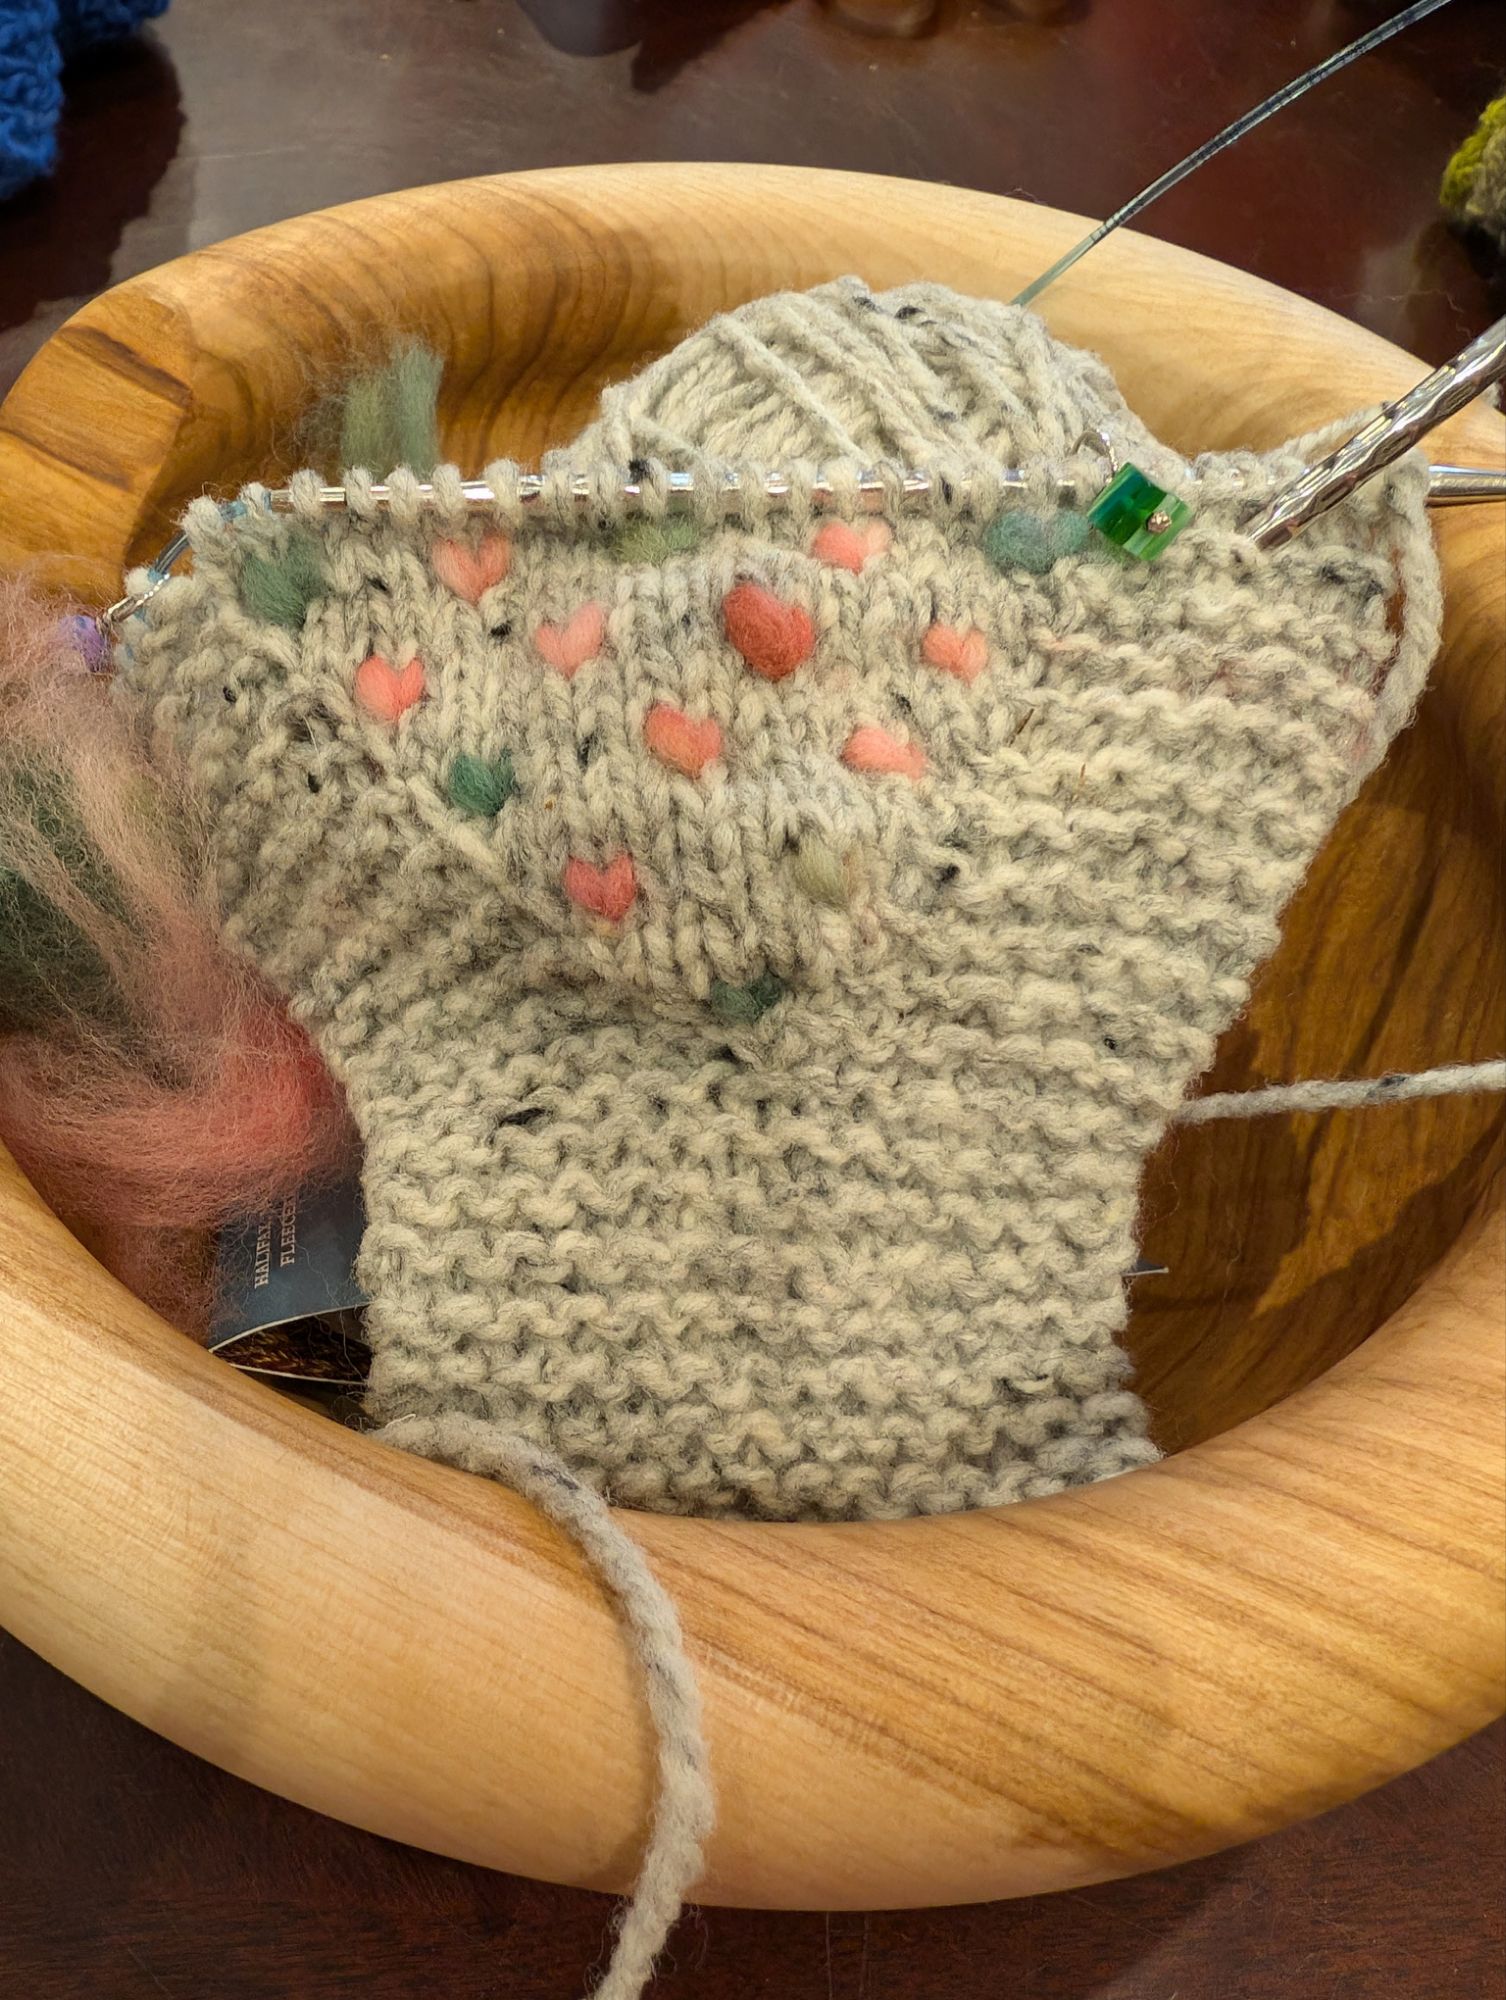
    Thrumming in action

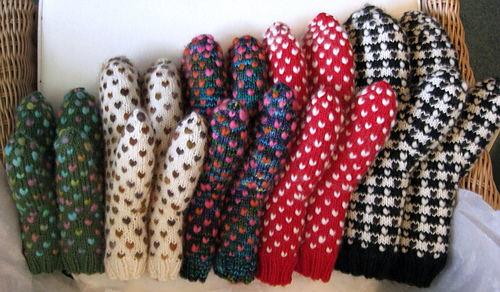
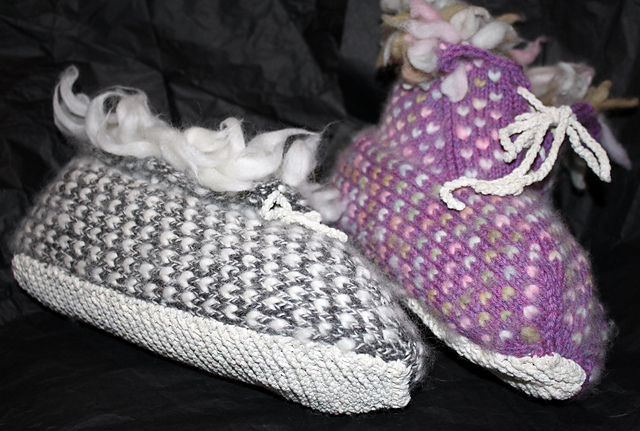
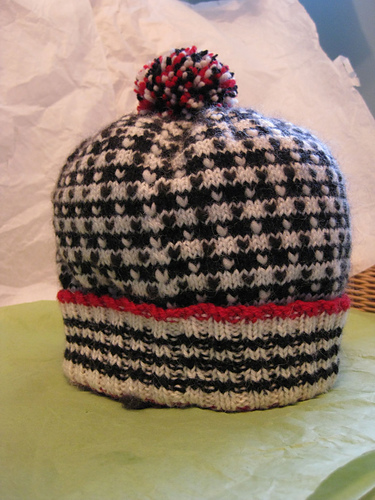
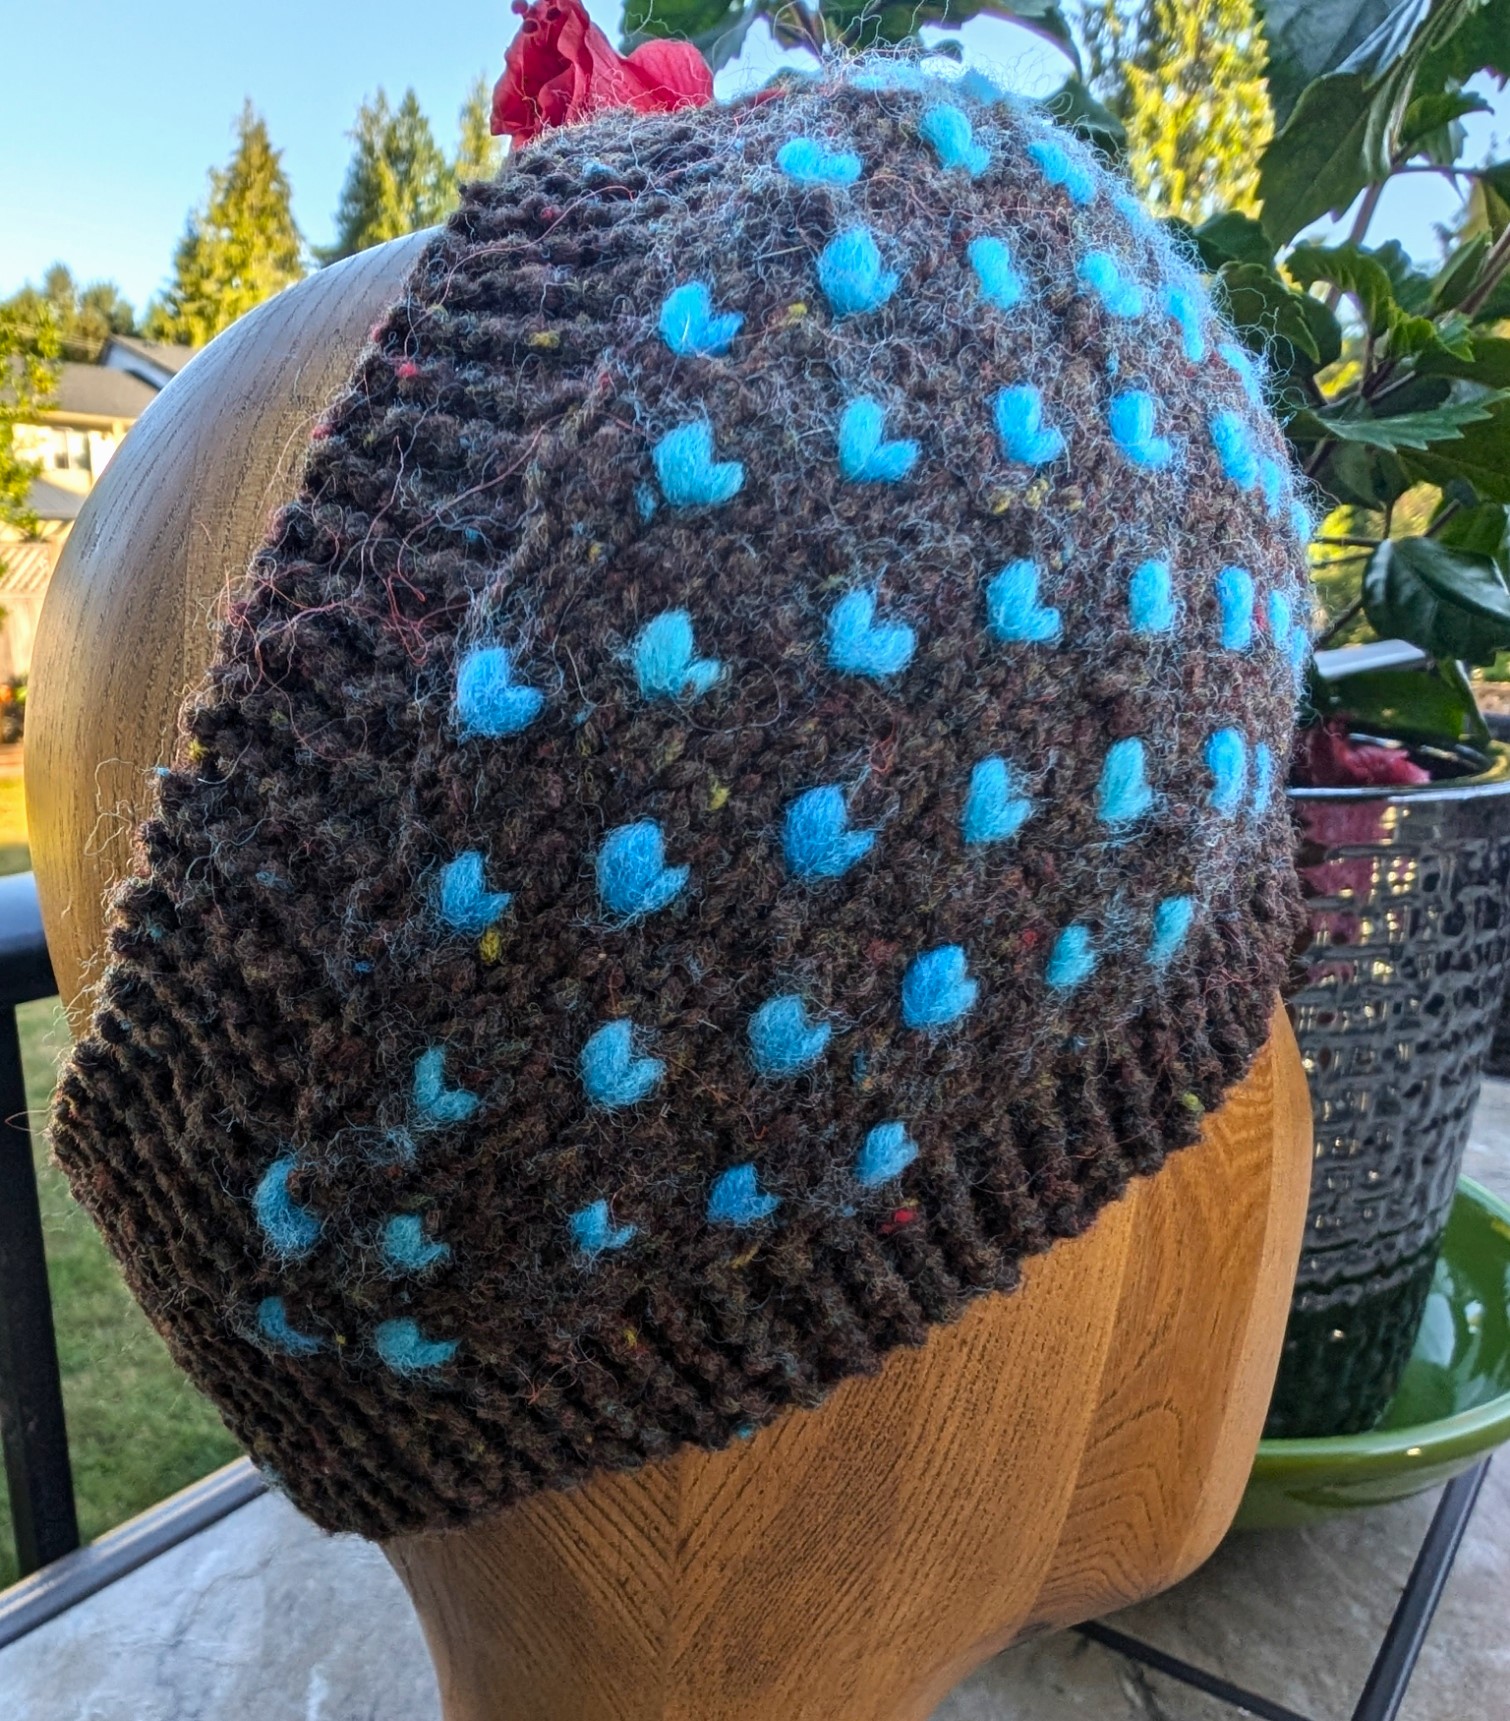
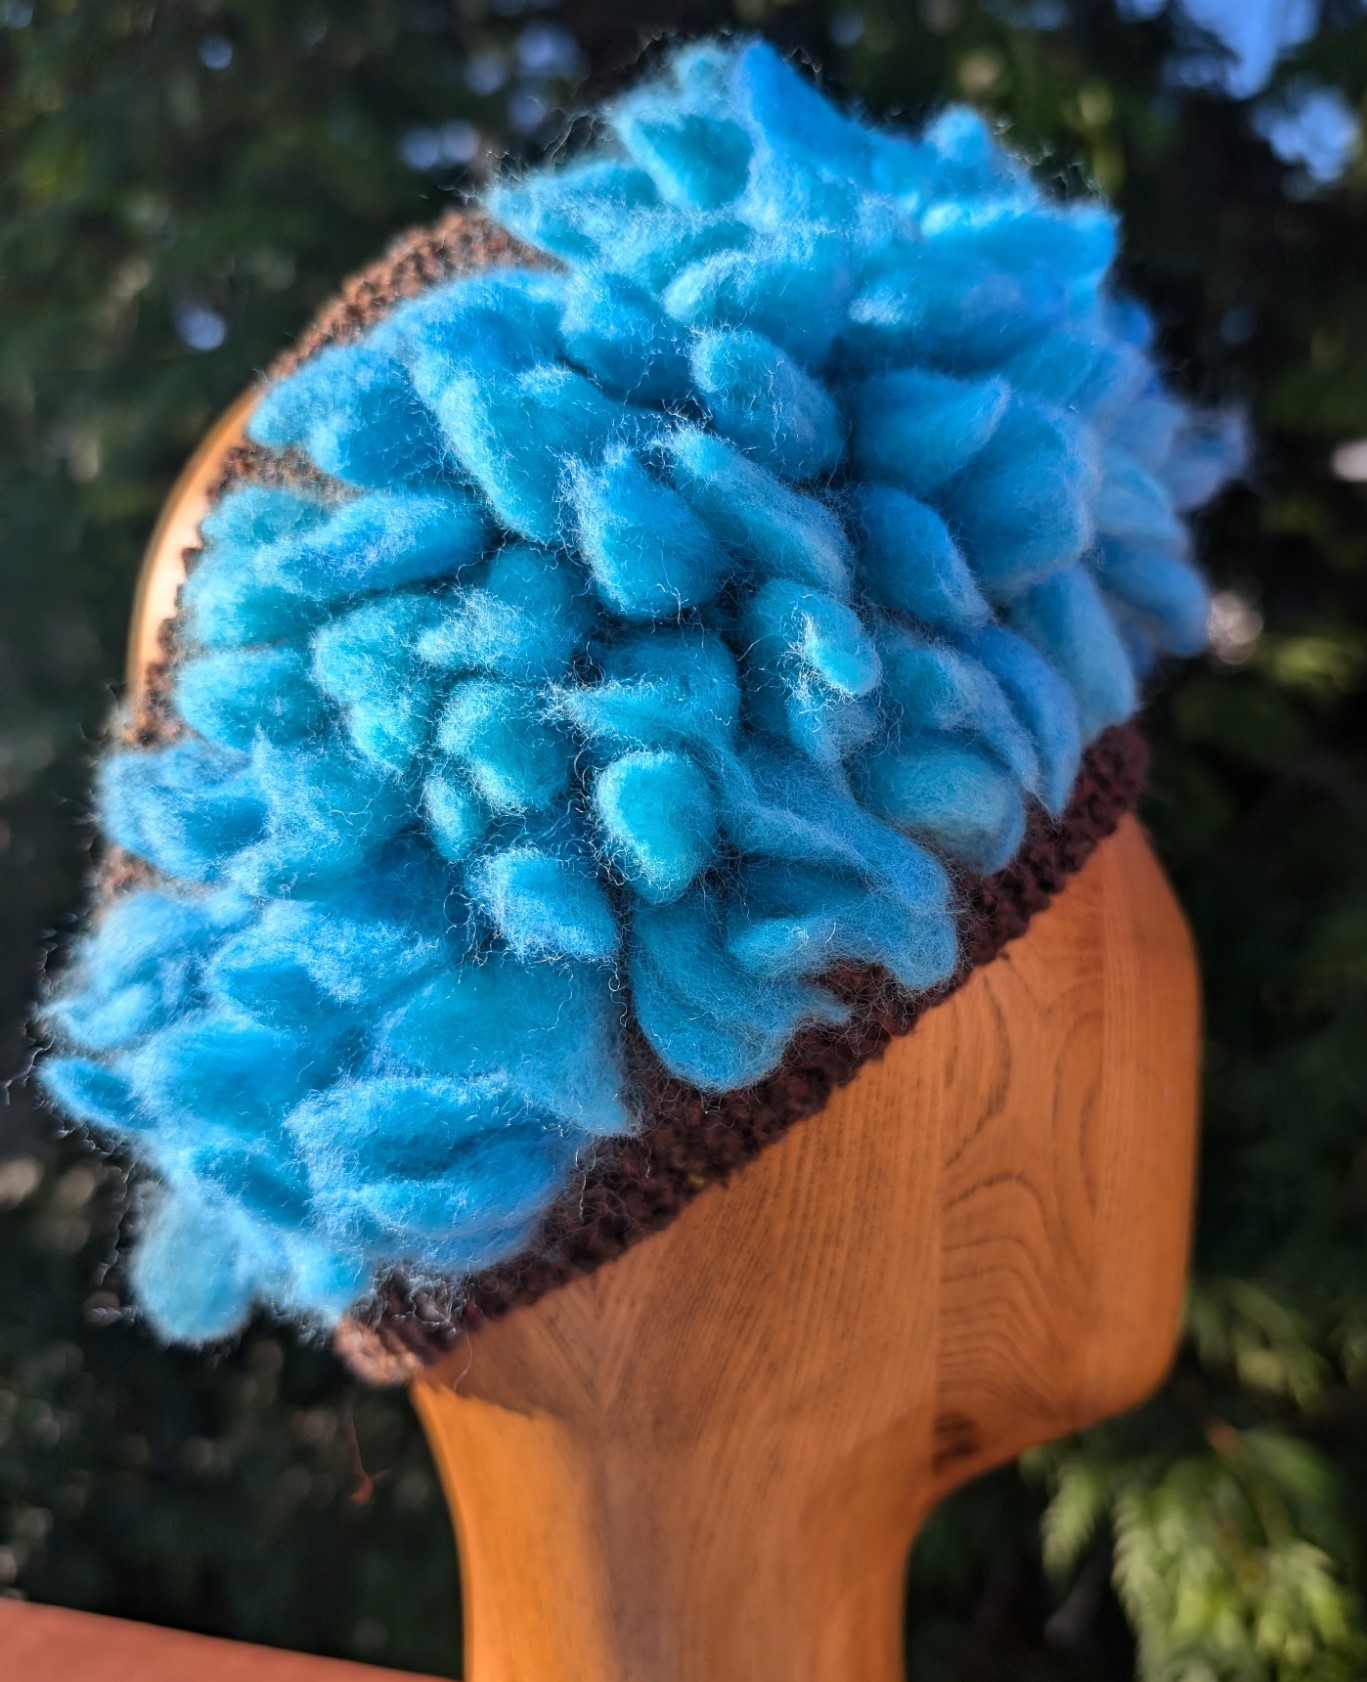
    Thrumming can be used for items other than mittens as well. Hat, slippers or a headband (which I am currently designing). And I am thinking of designing a vest. A double sided, thrummed vest would be perfect for our climate.

    Happy Thrumming

    Lynette
  • Sad Songs say so Much

    Sad Songs say so Much

    I am singing the blues right now. My first attempt at the crown for my new project was a bust. I have gone back to the computer and designed a new crown. I hope it works better than the first!

    sometimes you win, sometimes you lose, sometimes the blues get a hold of you…. Carol King, Sweet Seasons

    Turn up the sound for the full story!

    I hope you have a wonderful evening! I know I will! I will be knitting! LOL!

    Lynette
  • I-cord Bind-off

    I-cord Bind-off

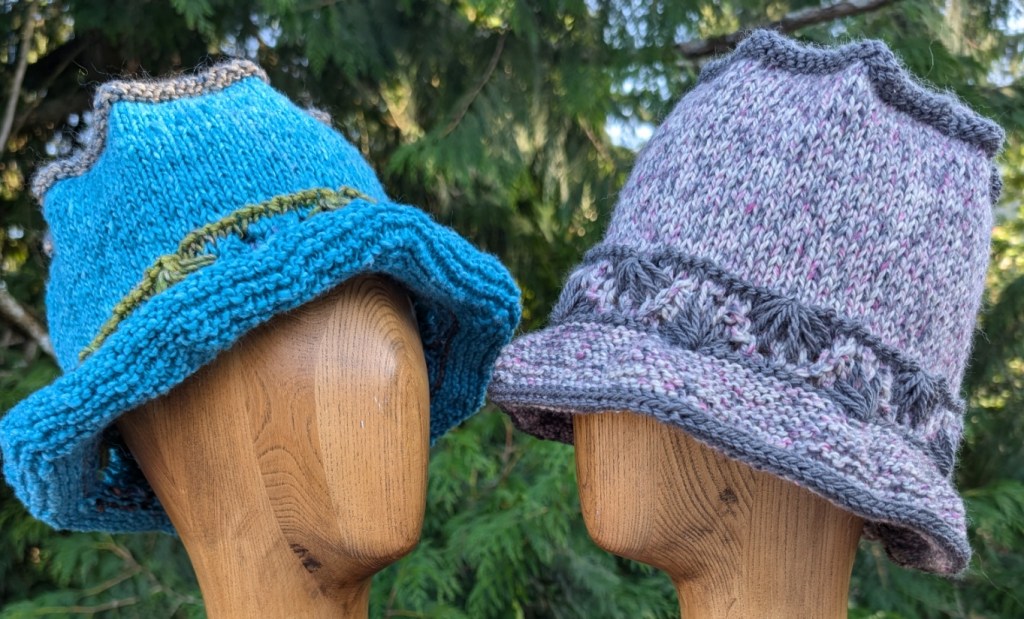
    Companion video for the Beach Bucket hat pattern.

    An i-cord bind-off creates a very defined edge with almost no give. It is perfect for adding stability any edge that needs a little extra something to keep everything together. It is also a very strong edge and was often used in traditional sweaters, such as Fishermen Ganseys, at shoulder joins to help those seams keep their shape.

    In the Beach Bucket pattern I am using the I-cord bind-off in a contrasting colour to both highlight the edge and define its shape.

    The video will give you an understanding of how to create the I-cord to start the bind-off and the basic steps of the bind-off.

    Happy learning, happy knitting!

    Lynette
  • Lizzies’ Hap and Other Fine Things

    Lizzies’ Hap and Other Fine Things

    Happy New Year! It is so hard to believe that it is February already!

    Life has been busy, chaotic, and generally a little off kilter of late. So what is new you might ask? That is sort of how life has been generally for most of us right now. That is the feedback I get from many!

    So I have been creating, working on patterns and waiting for the last bits of the kitchen to be finished. One cupboard is holding us up!

    The kitchen redo is done – except for the one cupboard and the tiling. Tiling won’t be done until the cupboard is in. The missing cupboard is my fault – I decided I needed it after the other other cupboards went in. So the one cupboard went into the queue and we wait. I will share before and after pictures when the kitchen is complete.

    I finally finished writing the pattern for Lizzies’ Hap or the Roamin’ Hap. It is now up on Ravelry. And I hope that you love it!

    This shawl was a long time coming.

    Lizzies’ Hap was an idea that I had been toying with ever since I knit the Roamin’ Hat for Kate Davies in 2018. It came into being in 2019/2020 as a result of Kate Davies’ design competition on “Place” and what it means to you. And then Covid hit and it languished as I struggled with the changes that Covid imposed and the emotions brought about by the concept of place and what it meant to me.

    Place for me meant family. My Grandmother Elizabeth, Lizzie to her friends, was part of my place.

    When I first started knitting, I would ask Granny what she would like me to knit for her. She asked me for a shawl, a shawl like the ones from home, Scotland. She loosely described it as a big square with a striped edge that was knitted. At this point I had no idea of where to begin. Instead, I knit her a sweater with thistles in pink and grey, her favorite flower and in her favourite colours.

    I wasn’t a skilled enough knitter at that time and didn’t know quite what she meant. She passed away before I had learned. Since then, I have learned both about the type of shawl she had wanted and how to make one.

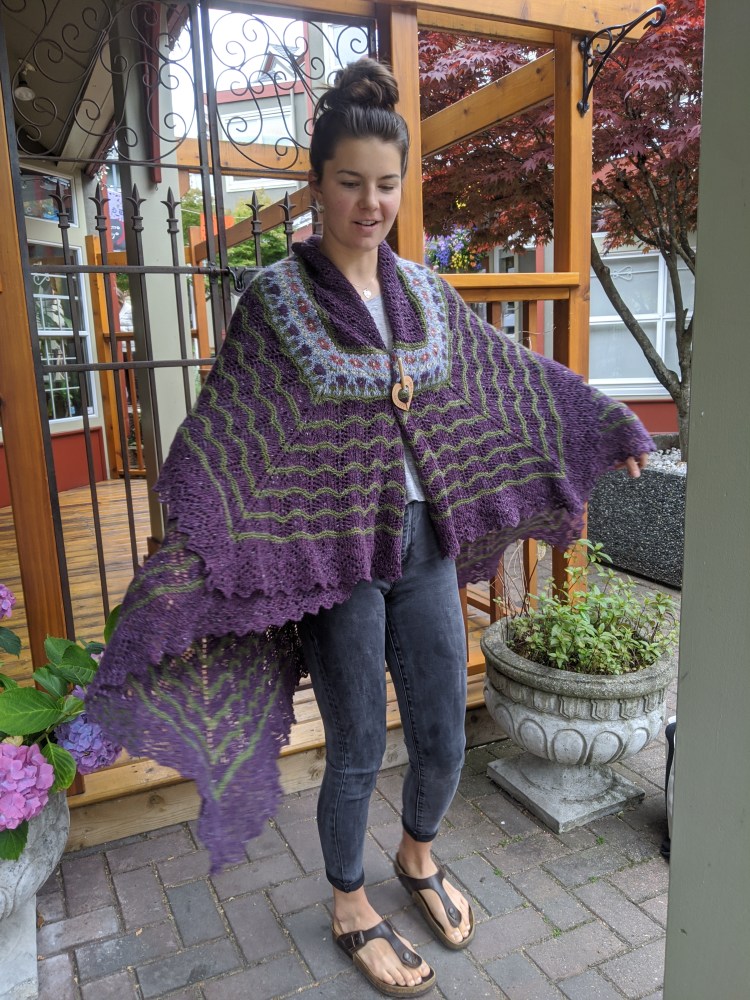
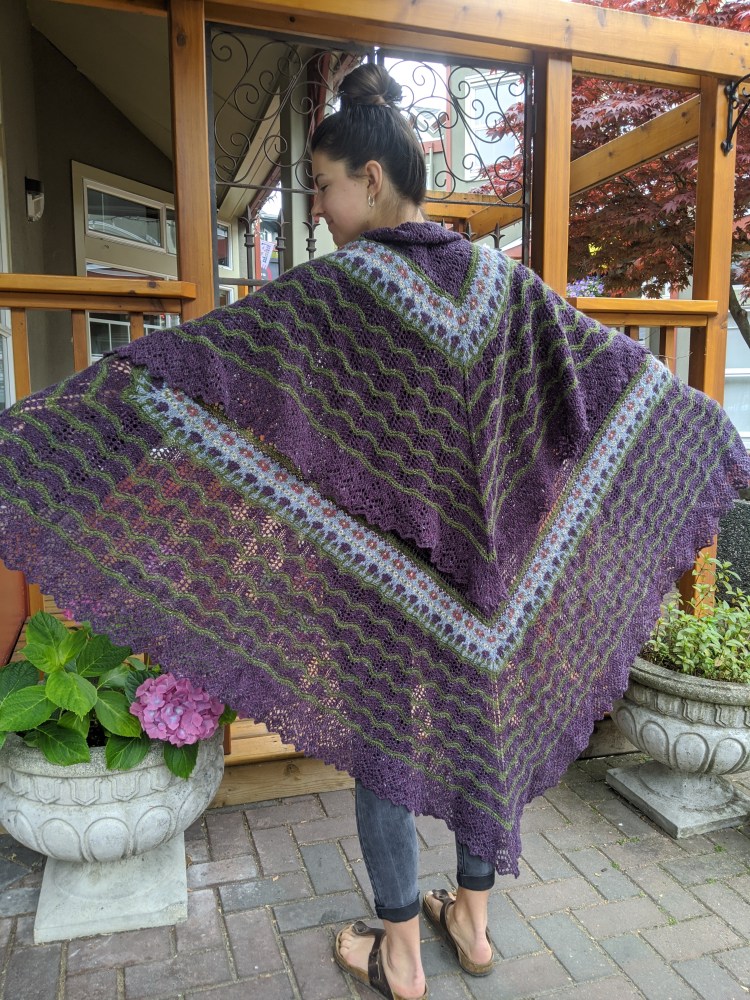
    This is my second shawl for her, the first one was a very basic hap that I knit in 2010. Only the center square with the simple lace pattern was kept from that hap. This shawl has a “thistles and heather” fair-isle insert, a striped border and a fancy edging – just for her – because she was just that important.

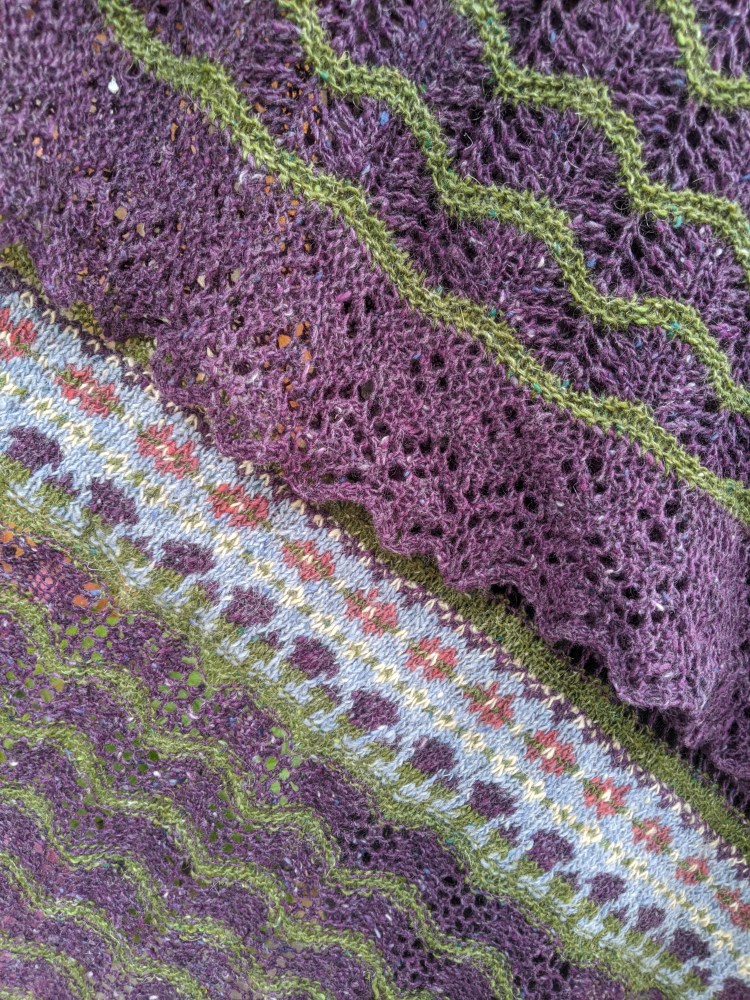
    This shawl features a totally reversible fair-isle insert that acts as almost a collar detail when wearing the shawl.

    In most ways this is simply a traditional hap shawl, in the stitches chosen and the construction techniques used. How this is not a traditional hap shawl is in the insertion of an additional border between the center square and the lace border. This fair-isle border is what sets this shawl apart from a more traditional shawl. The fair-isle border basically gets knit twice to keep the backside neat and the shawl reversible.

    Lizzies’ Hap is the second pattern in the ebook Shetland Fusion. The third pattern, Shetland Fascinator should be out by the end of the month. Lots of knitting has been finished and coming together in the last couple of months.

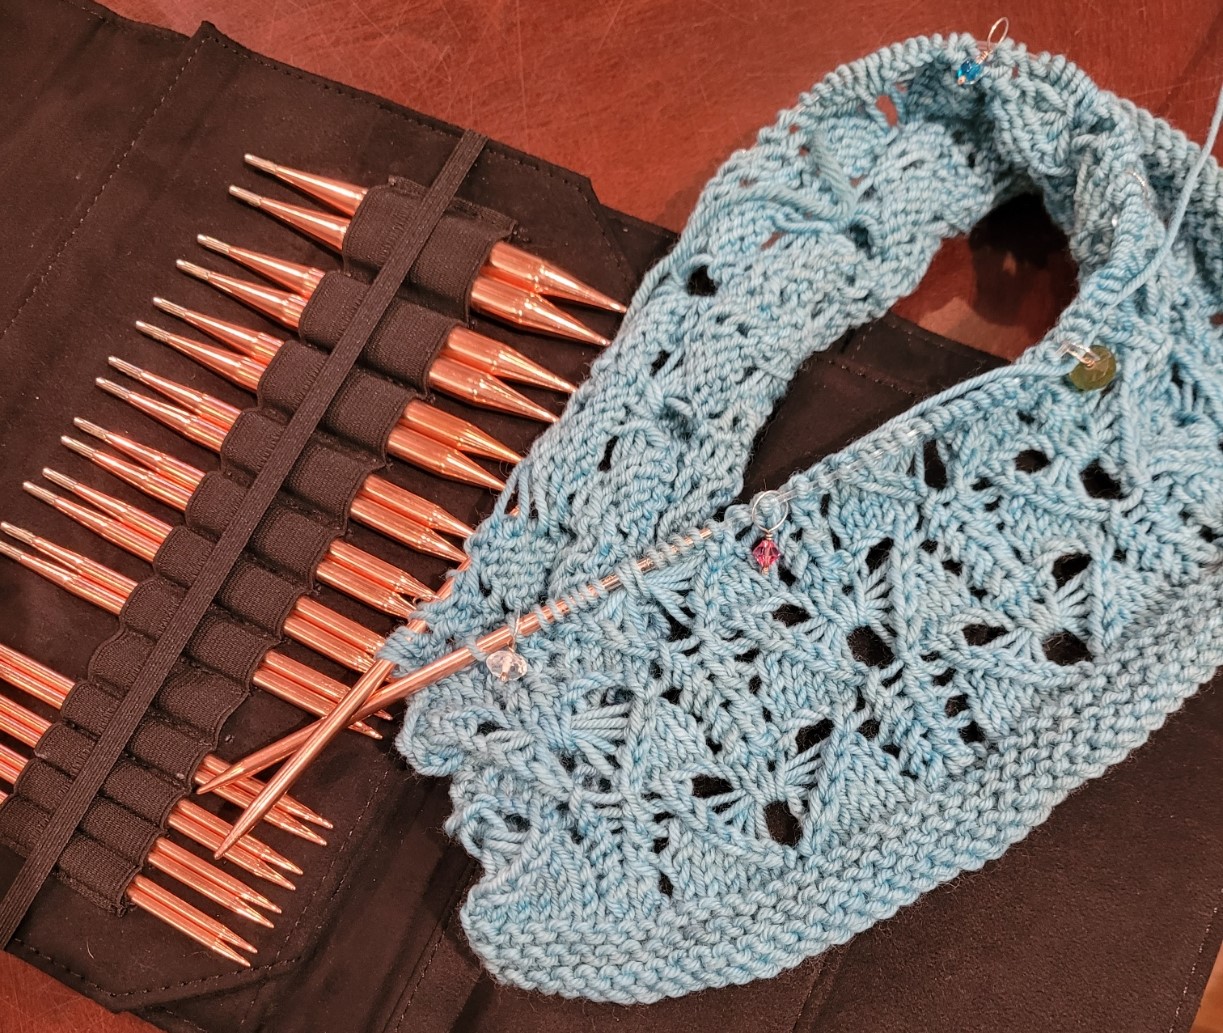
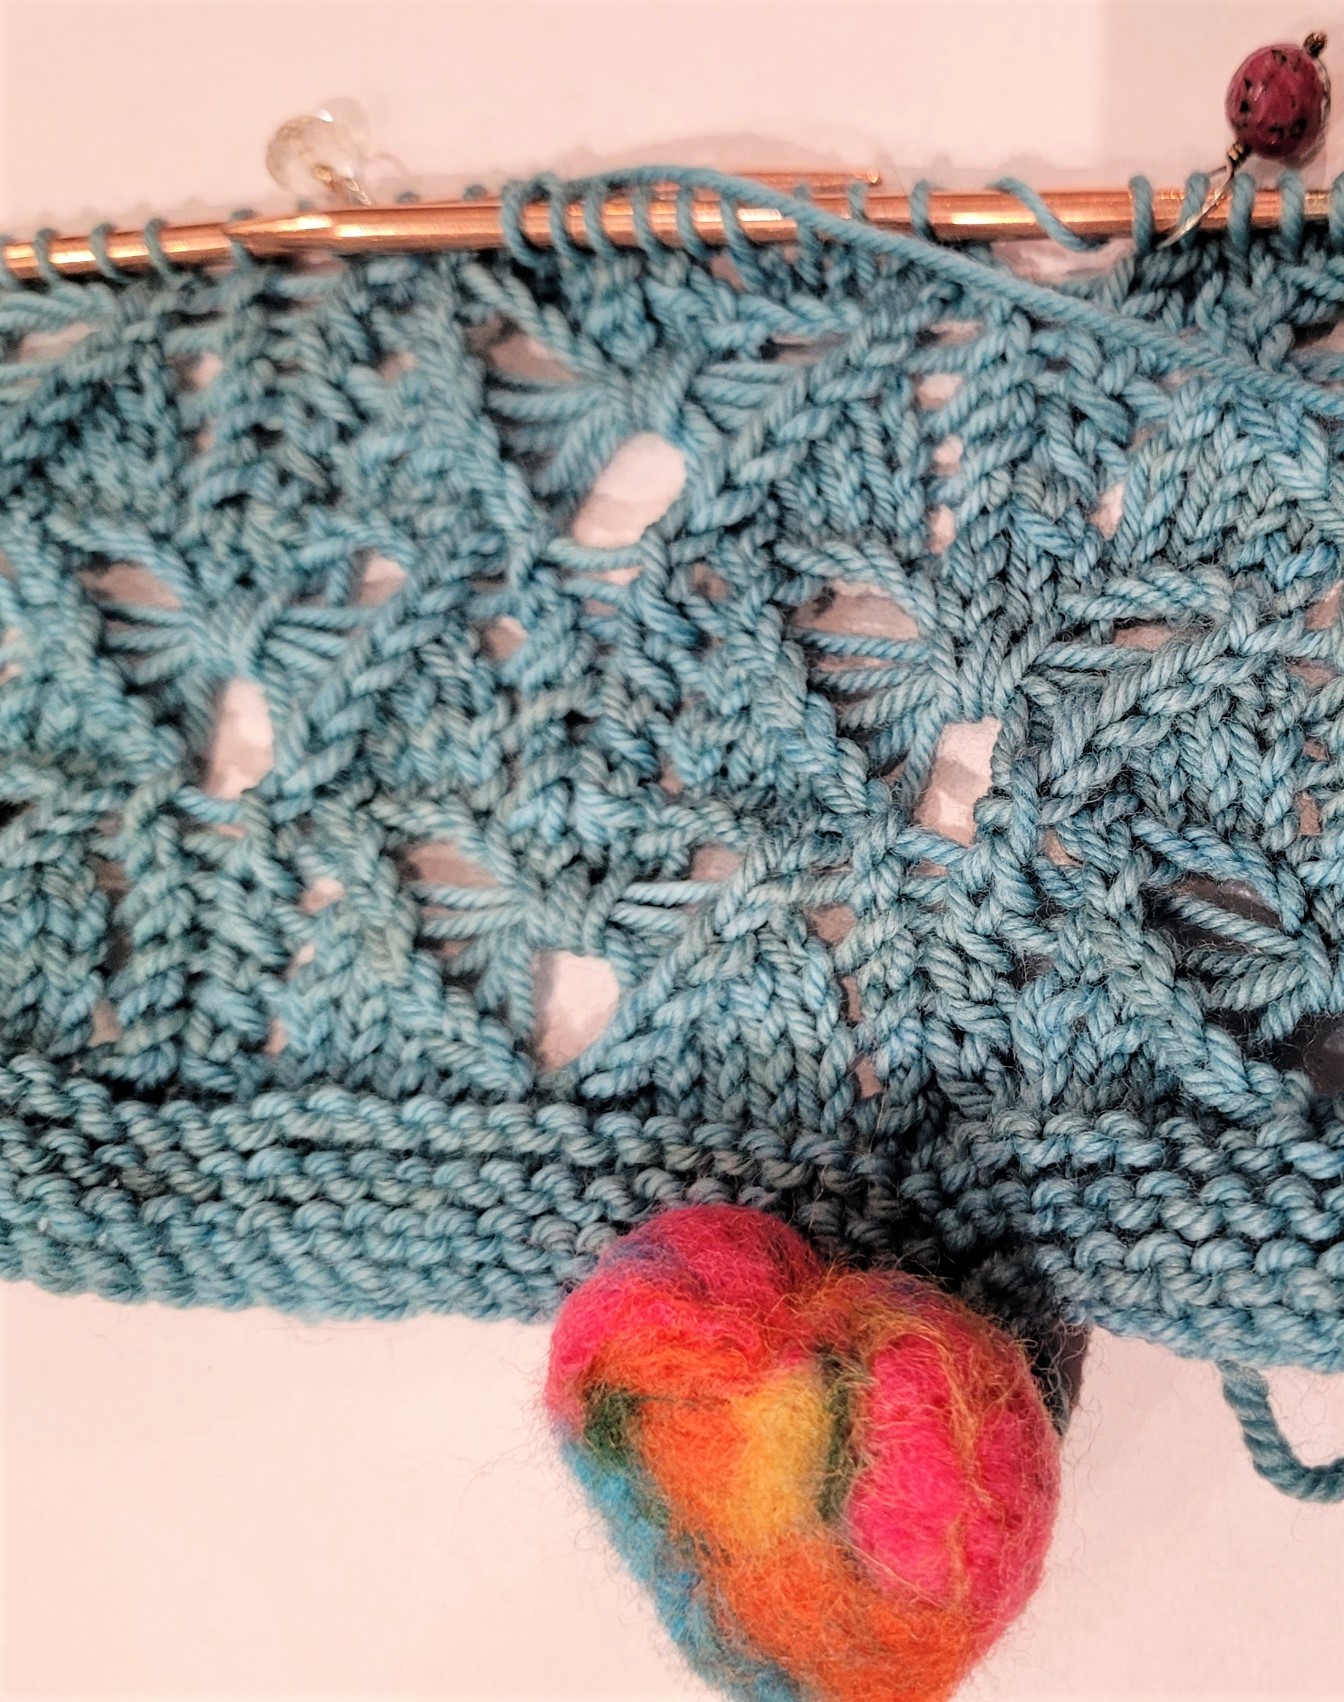
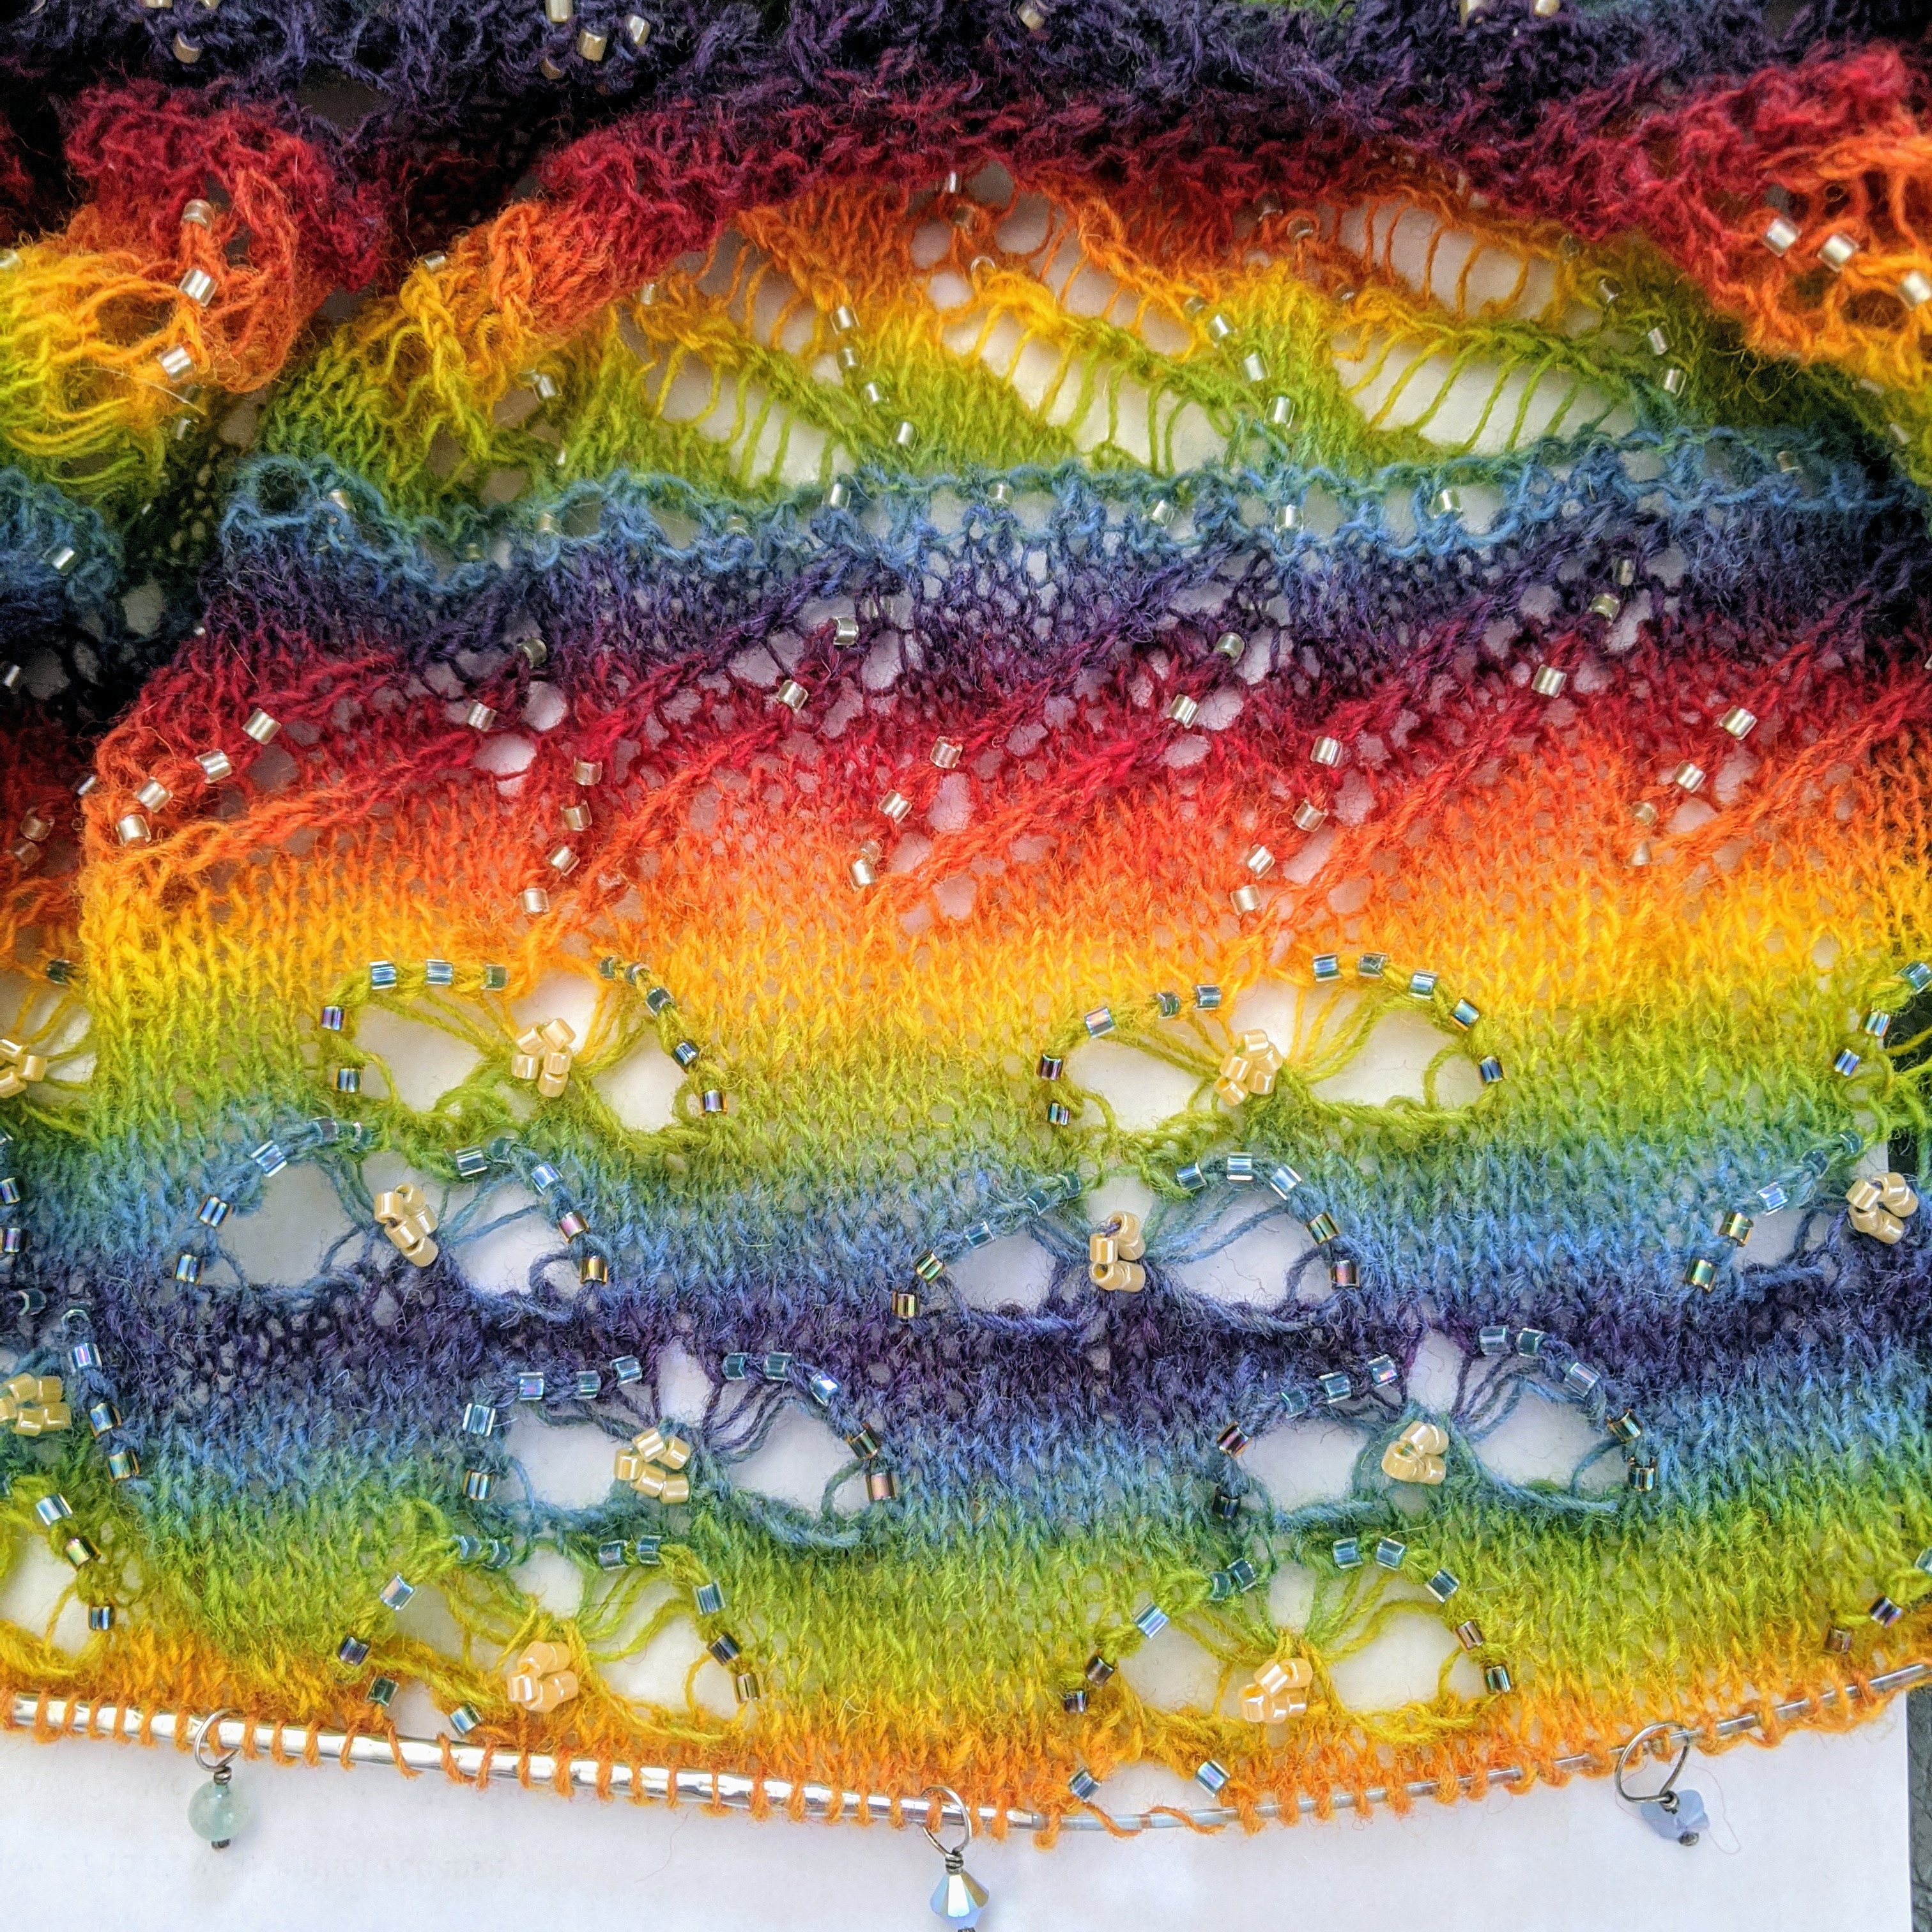
    And I am working on new things – like this cool stitch pattern that I found in a Japanese Stitch library! I am knitting a cowl first – an easy way to learn and practice a new stitch and then I will make a hat to co-ordinate with it! It is a variation on the bee or butterfly pattern, which I have used in a couple of other pieces – I really love the look. But I have never seen it quite like this, as part of an all over pattern.

    Below is a video how-to bridge the gap that is created while knitting. The rows before are a set-up for this row.

    Of bees and butterflies 🦋

    And I just had to buy this new set of interchangeable needles from Lykke – the Cypra copper needles. They are beautiful! I love copper things. I have several of my grandmother’s pieces. And when these needles became available I, ahem, felt the need to own them. I was not disappointed.

    So life keeps on giving gifts, always new ideas and new opportunities, I am so lucky to be able to work with what I love and be able to create with my hands!

    I hope that you have a wonderful day! Be well and knit happy!

    Lynette

  • Drawing the Big Leaf

    Drawing the Big Leaf

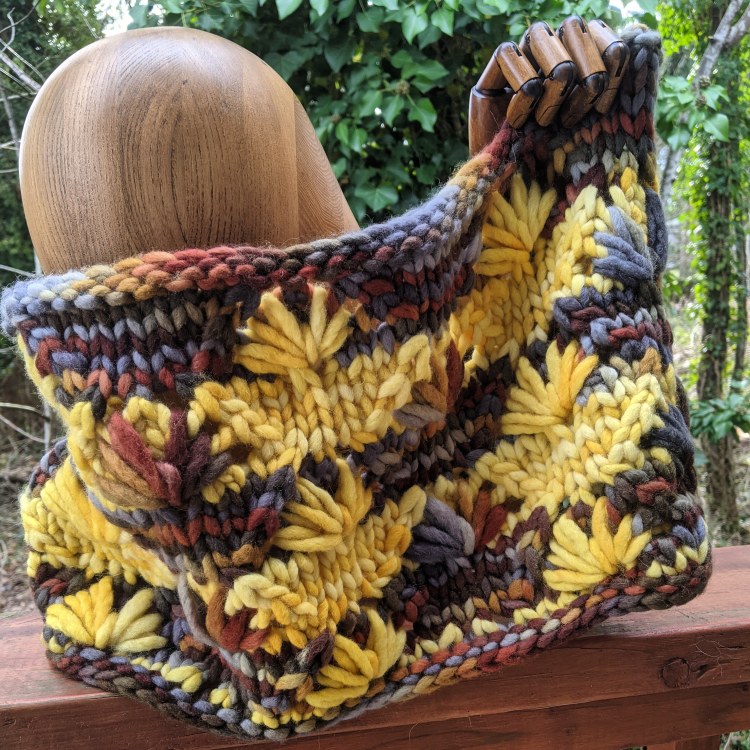
    Video is approximately 3 min long. Watch and learn how to “draw” the motif for the Big Leaf Maple Cowl and Hat.

    Big Maple Cowl and Hat is worked in a “drawn” stitch in that the contrast yarns are drawn through an eyelet pattern created in the rows or rounds before the contrast colour is introduced. I was really taken with this technique as it creates another layer of colour over our base.

    This technique is some times called knitting into stitches below, though I think that drawn stitches better describes the technique as we are not really creating stitches, just loops. The yarn used is not really knit to begin with, just pulled through holes in our knitting and then knit together to gather and close the stitch.

    There will be a few more patterns in the Just Playing Around Ebook that will feature this stitch.

    Heading into Fall

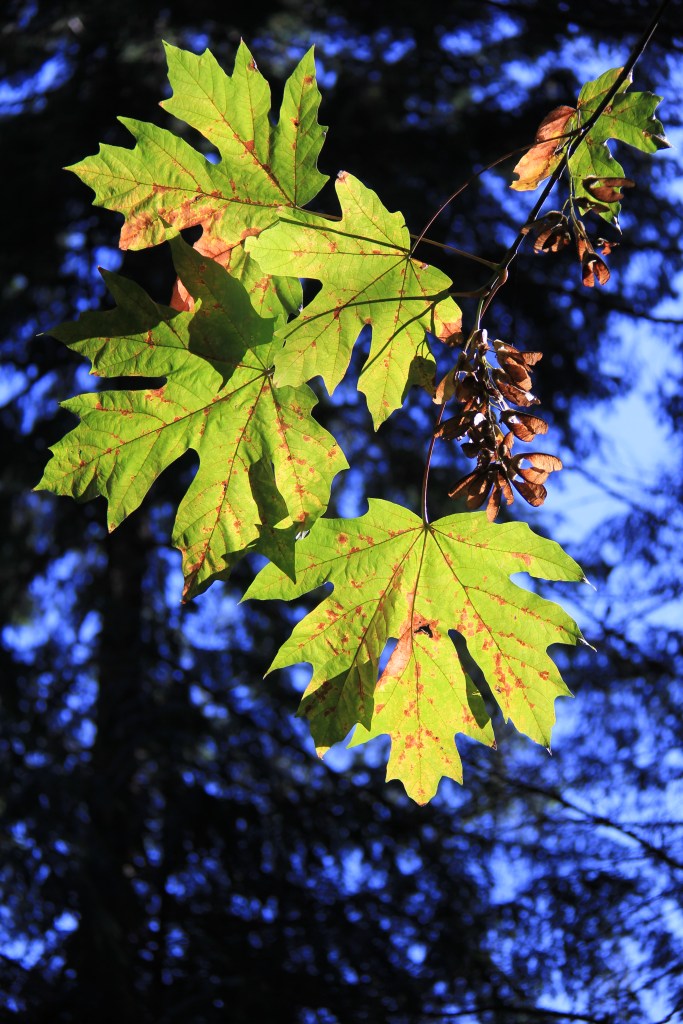
    It always amazes me how much certain knit stitches can look like like flowers, or leaves or other natural shapes. Norah Gaughan really explored that concept in her book Knitting Nature.

    The Big Leaf Maple is a species of Maple that we see on Vancouver Island. I see it on all of my favourite walks and at all times of the year. It is truly a beautiful tree at all times but its leaves are immense – more than 12 inches across and perfectly formed, just as nature intended.

    This stitch was just a stitch until one day I saw it as a maple leaf now that is all I can see. I hope that you see it too!

    Turn on your speaker as you watch the video and you can hear my explanation as I knit and a little cursing as I correct myself!

    Be well and Knit Happy!

    Lynette