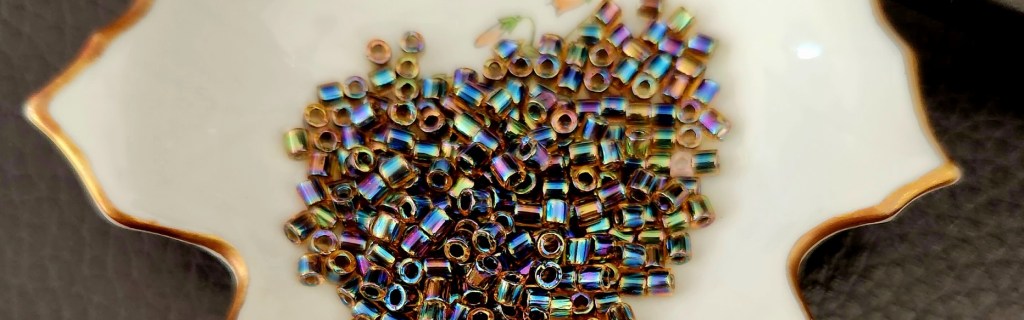
On the subject of beads….
It can be said with some authority that I am more than a little obsessed with beads and the many possibilities they offer for embellishment on our knits. It is more than a pity that our society really isn’t so much into the glittering styles of the past! I would so rock those days!
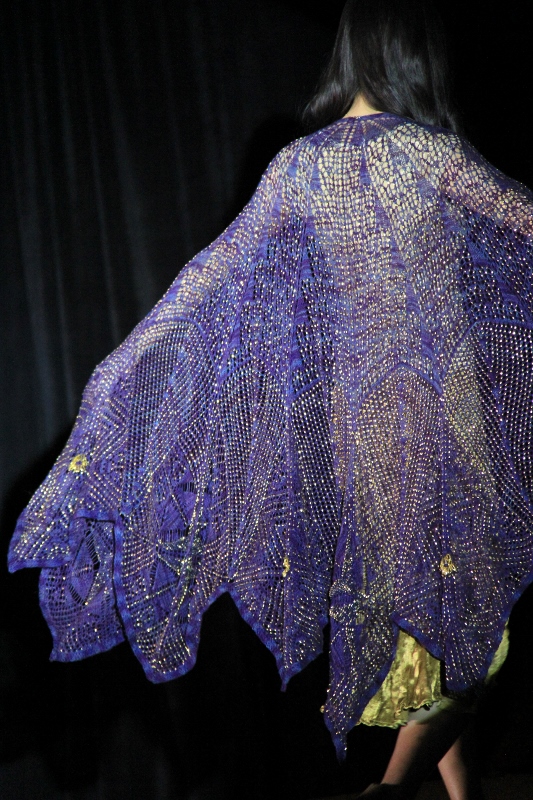
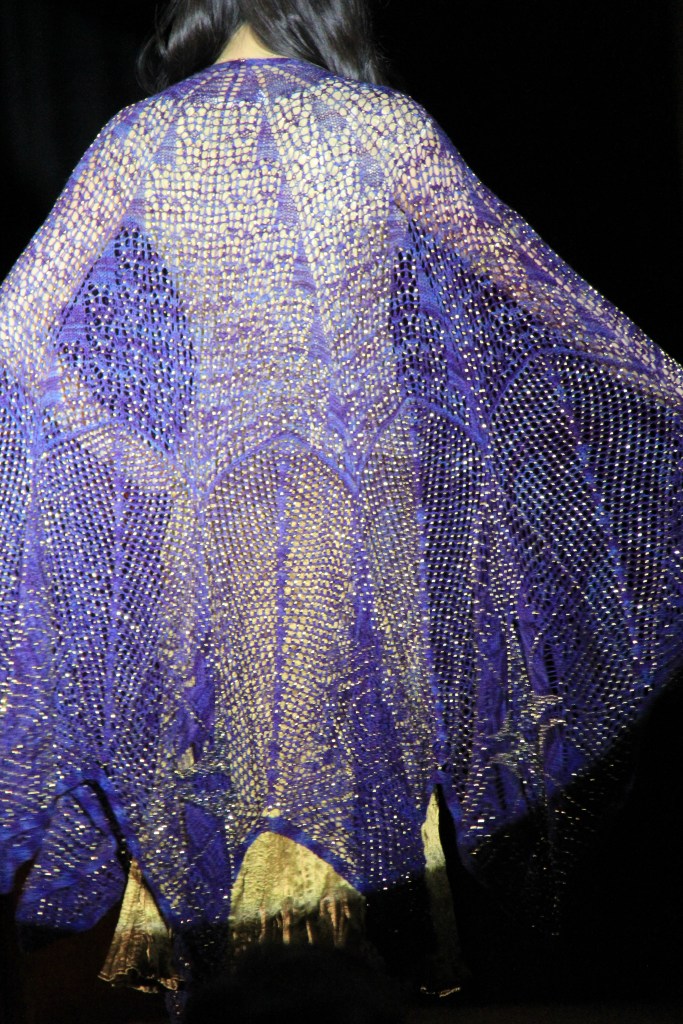
Knitting with beads – There are several methods for placing a bead onto knitted fabric: between the stitches, on one arm of the stitch or on both arms of the stitch. Some methods require that the beads be strung on the knitting yarn before knitting. Some are placed on the stitch as it is knit and others are added after the work is finished. The size of bead will determine whether it can be placed on the stitch or whether it needs a separate strand. If you are planning to use thousands of beads on a project, do work a sampler first to determine the most efficient method of working the beads. When stringing beads make sure that there are no knots in the yarn.
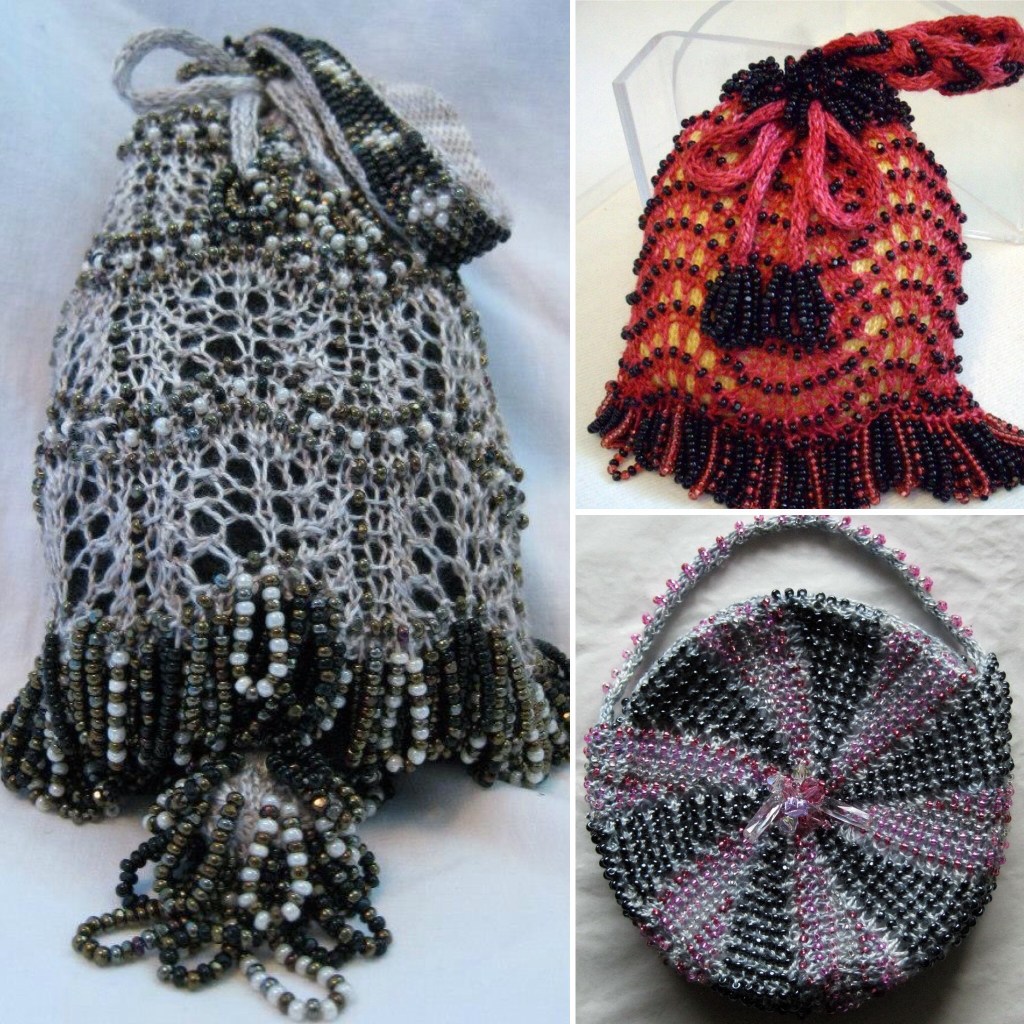
Traditional bead knitting -The bead is placed on one arm of the stitch. All beads need to be pre-strung and if using multiple colours they need to be pre-strung in reverse order.
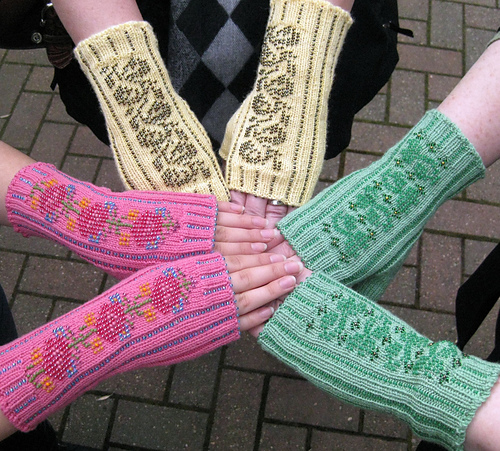
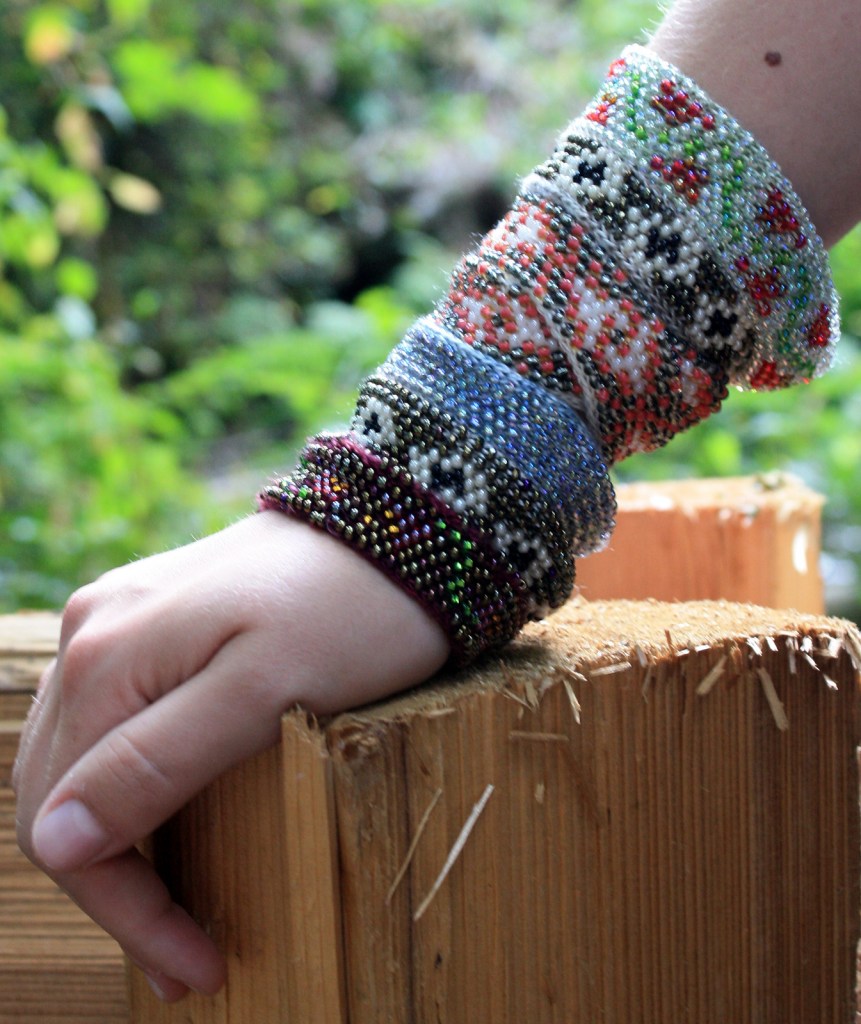
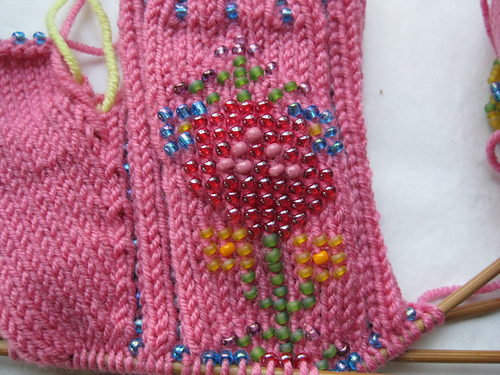
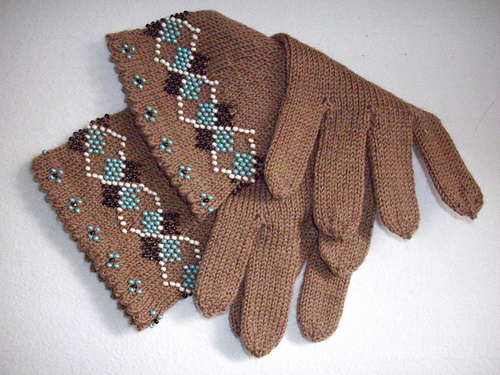
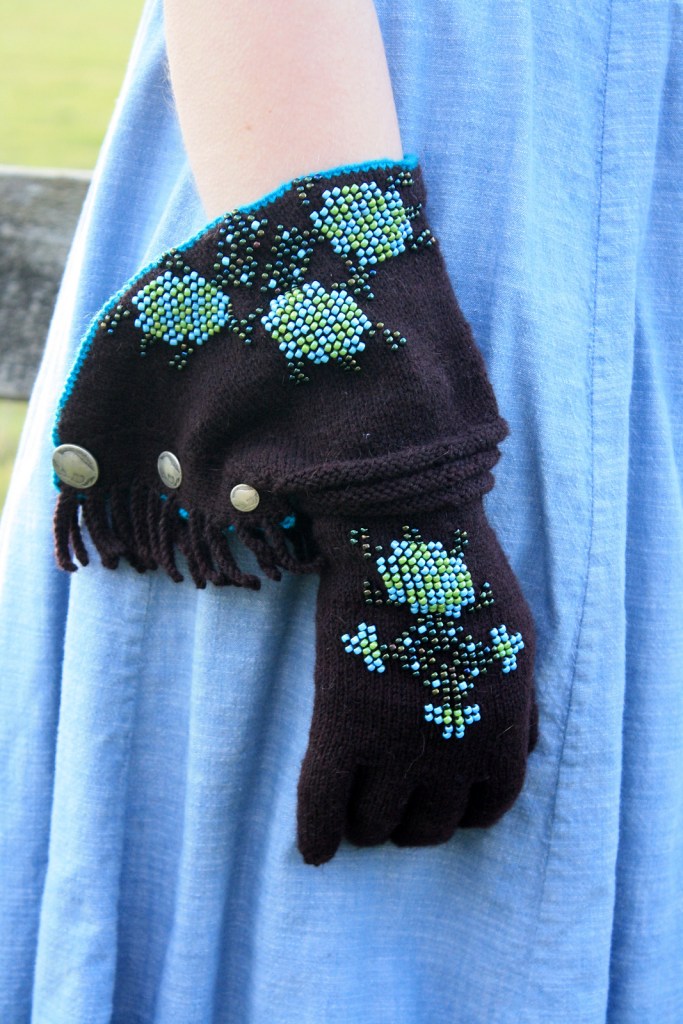
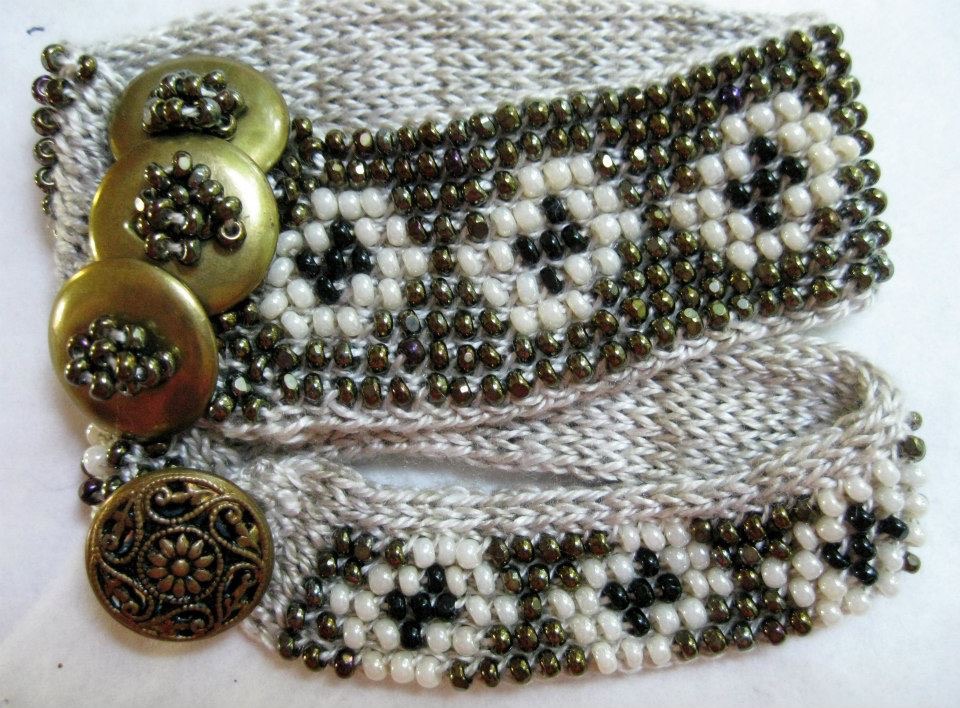
A bead is placed on an arm of each stitch, as you are knitting through the back of the loop. This style of knitting will have a tendency to bias. This is not a problem if the fabric is knit circularly. (Which is the only way I will tackle it!) Most Victorian purses were worked circularly and the biasing was not readily noticeable. The other advantage of working circularly is that you do not need to work a purl stitch through the back (try purling through the back of a loop and placing a bead at the same time!) Bead knitting used to be worked with small (think micro) seed beads and silk or cotton thread and very fine steel needles. There are still knitters who work in this way.
I work bead knitting with small beads (not micro) and fine yarns – lace or fingering weight yarns (not threads) and small needles, anything from 2.0mm US#0 to 2.75mm US 2. I haven’t done any bead knitting for quite a while. I have taught both styles of bead knitting but always had a hard time convincing others that working traditional bead knitting was worth the effort!
I still use a lot of beads in my knitting but they are mostly placed with a small crochet hook, and not always pre-strung as in traditional bead knitting.
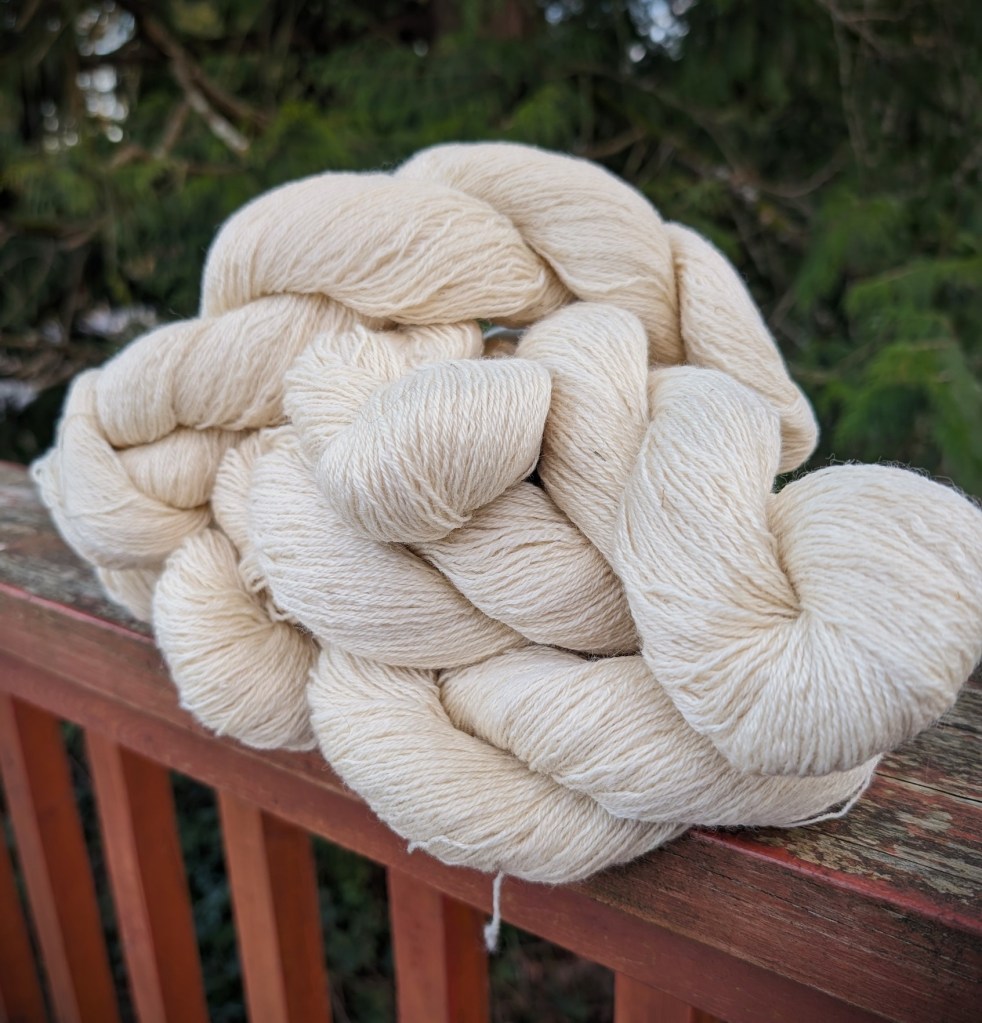
So, when I decided to knit a pair of gloves with some beautiful new yarn I also decided to knit myself a beautiful bead knit edge for those new gloves.
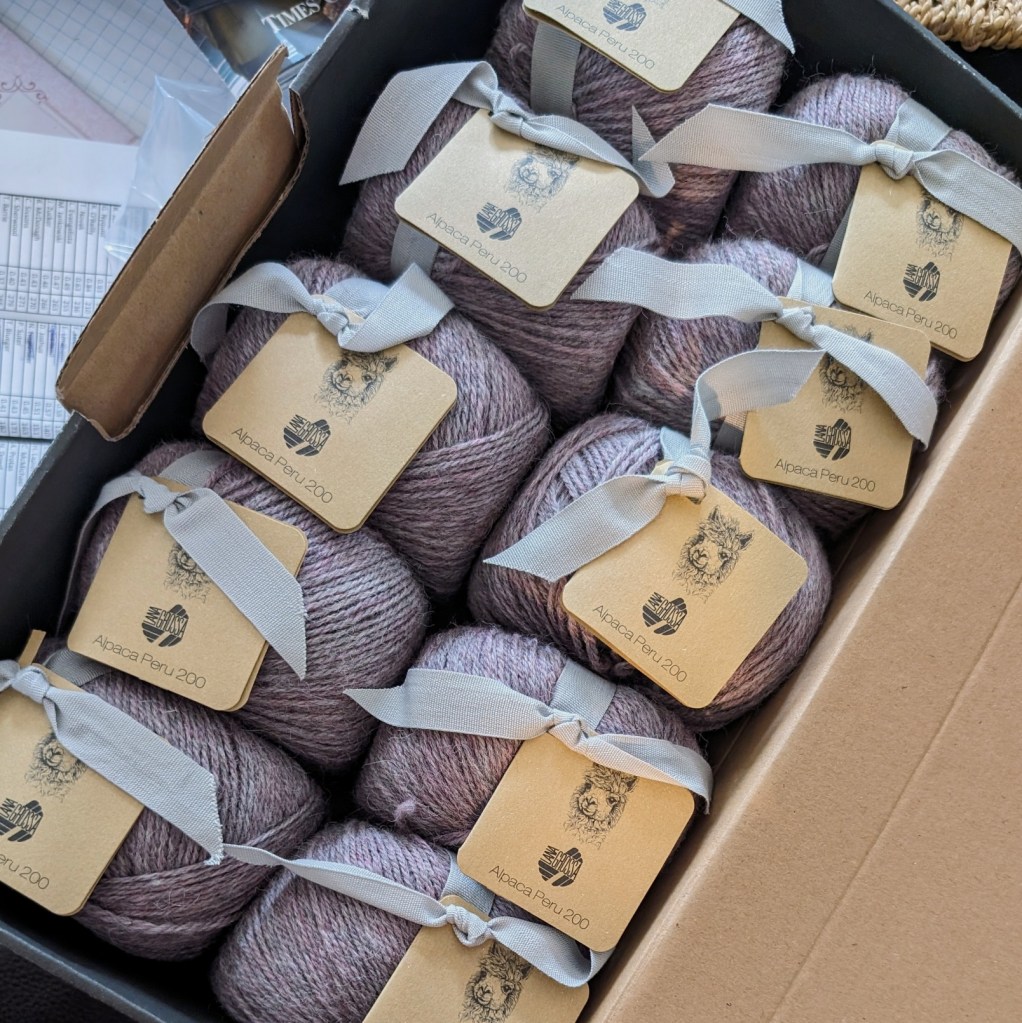
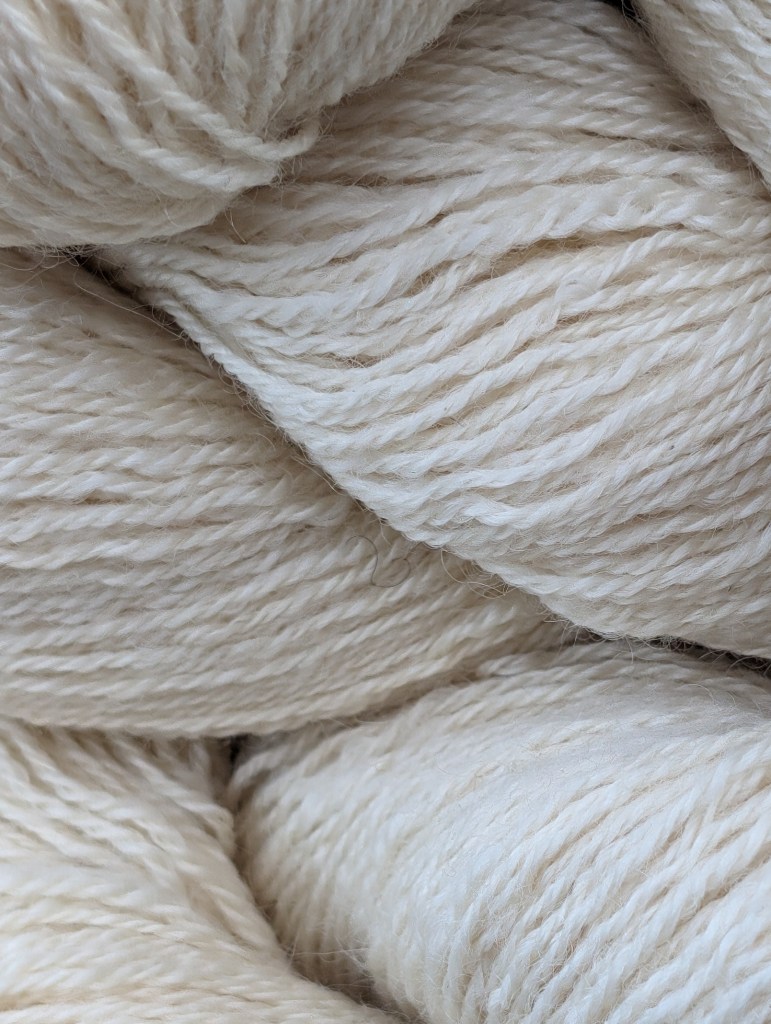
I am seeing a short beaded gauntlet with either short finger gloves or mitts! But maybe I won’t be able to resist the lure of a proper pair of gloves! These gloves are my “swatch” for the yarn. From this I can learn about the yarns strength, how or if it has a “halo”. How much will it stretch (alpaca has no memory – so if it stretches it won’t go back). And I have something useful at the end of the knit. Many of my hats are gauge swatches. A trick that Elizabeth Zimmermann suggests as a means to learn your yarn and create something useful at the same time!
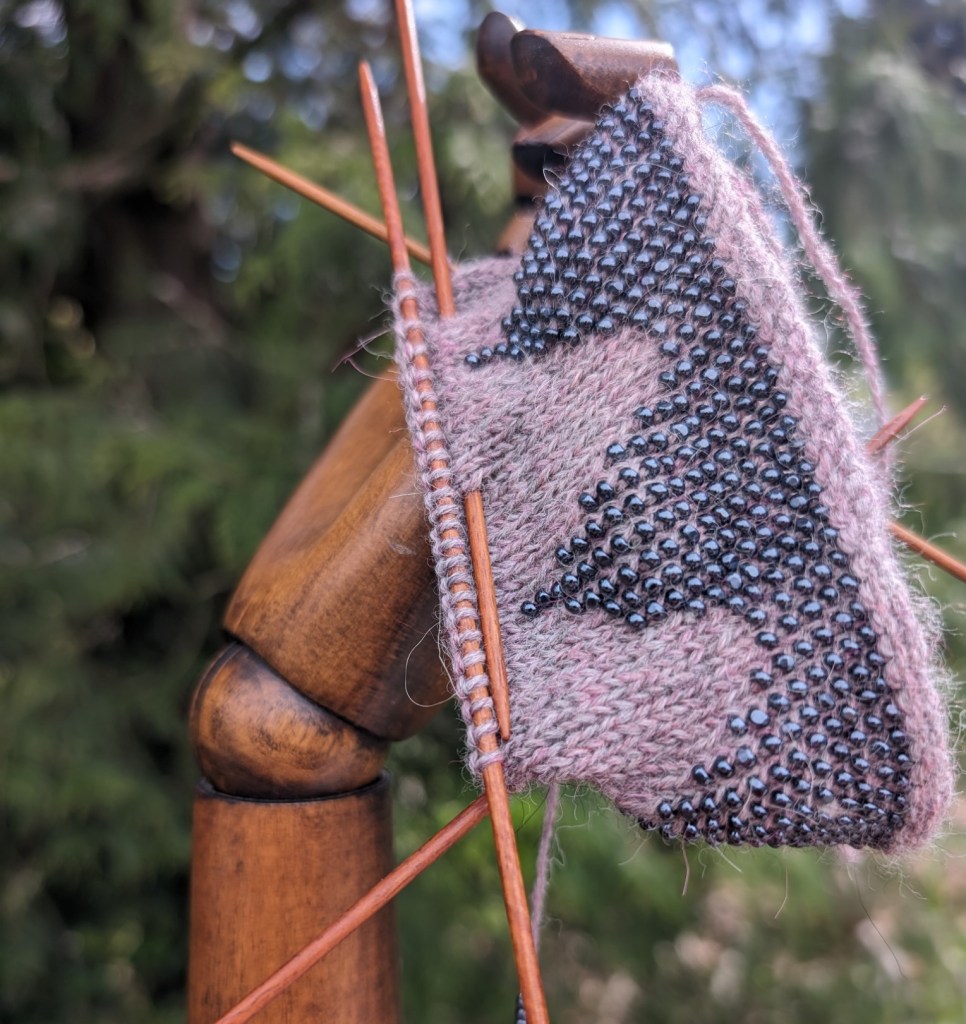
The yarn is a breeze to knit with. And yes, there is a lovely halo. The yarn is also handling the weight of the beads without too much obvious stretch. So I will continue on, and isn’t it a beautiful colour?
I was wondering if anyone would be interested in a workshop this summer to learn how to bead knit…. I would love to lead you down the garden path and introduce you to another side of working with beads and knitting!?
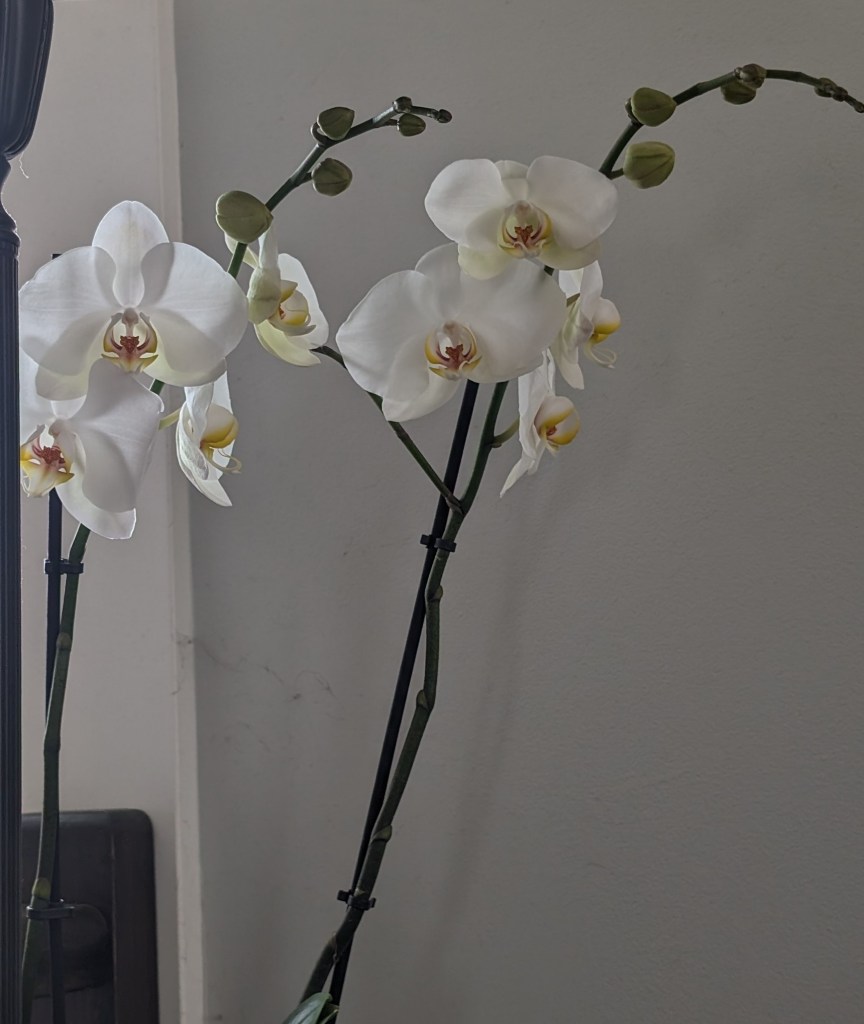
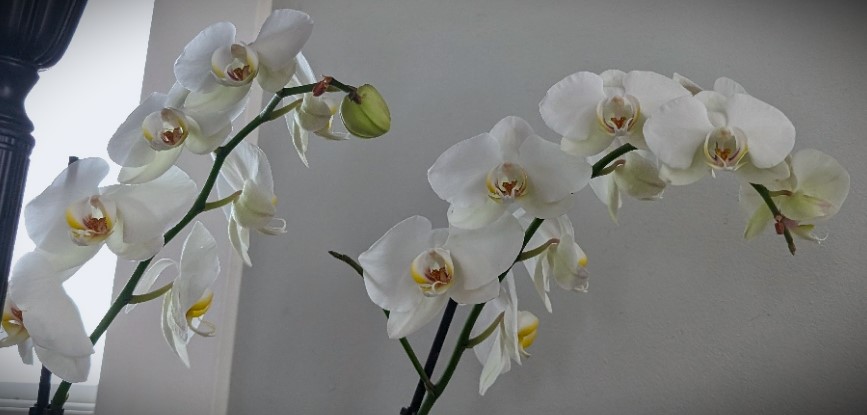
Check out the Orchid! It is still kicking and has opened some new blossoms!
Happy Knitting!
Lynette