Painting Yarn with Wilton Cake Dye
Why Wilton Cake Dye?
Wilton Cake Dyes are food safe dyes and completely safe to use. Perfect for the first time dyer or maybe some summer fun for kids.
The only drawback the Wilton dyes have is that they do not stay as vibrant as other dyes, but that is a minor drawback. I have a shawl – the one in the pattern – that is several years old now and still looks great! The socks – not quite as good! But they are washed more often.
What do you Need?
This handout contains the basic supply list, and step by step instructions to create fun hand-dyed yarn from safe source dyes.
The yarns used need to be wool, silk, alpaca or other protein fiber. The skeins could also contain some nylon, as in basic sock yarn. Cotton or fibre based yarns will not work with these dyes.
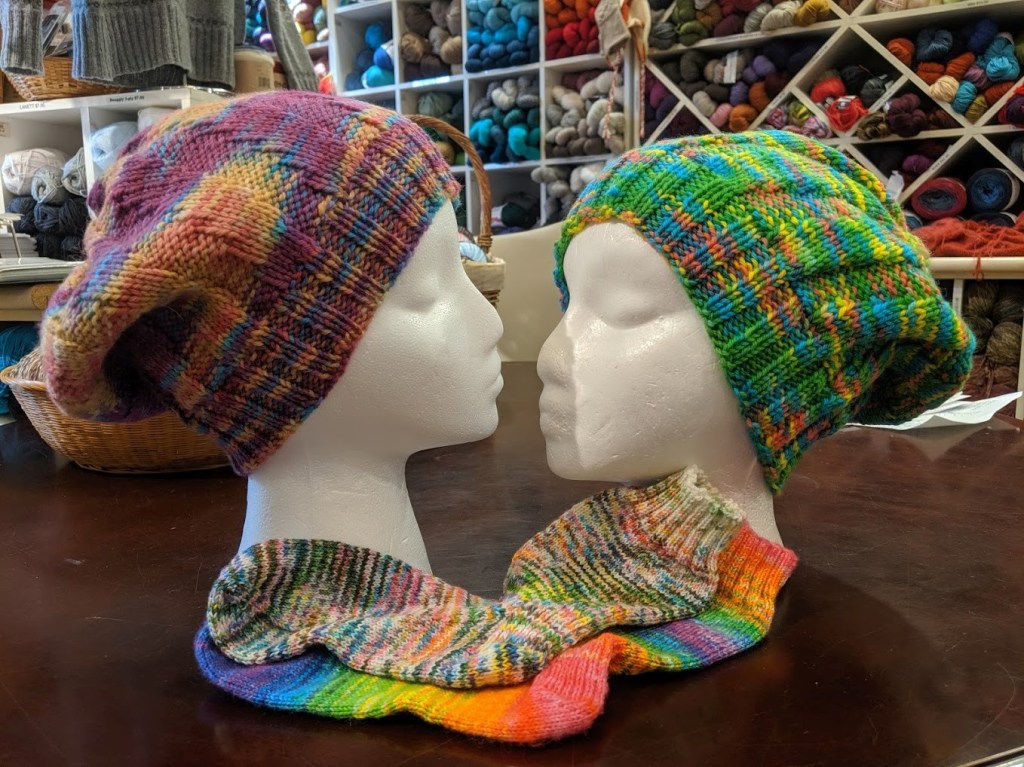
There are 3 patterns included. A basic worsted hat, adult 4-ply sock pattern and a small lace shawl. All shown knit with yarns dyed with Wilton Cake Dyes.
Supply list
- Wilton Gel Icing Dyes
- Sponge brushes
- White vinegar
- Large bowl
- Undyed 4-ply or Worsted Yarns in the skein or sock blanks to paint
- 1 cup measure
- Small sharp knife
- Warm/hot water
- Old towels
- Rubber gloves to keep your hands from becoming dyed – not necessary – but recommended
- Steel measuring spoons
- Glass jars or plastic cups
- Saran wrap
- Glass dish (for microwave setting)
- Microwave or steamer pot (stainless steel is best)
- Tongs
- Eucalan or gentle wool wash (mild dish soap will work as well)
Basic Method
Step 1 – fill large bowl with tepid water and 2 or 3 tablespoons of vinegar and start your yarn or sock blank soaking. Project must be wet all the way through the fibre before dying. Yarn will want to float so push it down into the water.
While your yarns or blanks are soaking prepare the dyes.
Step 2 – mix dyes in individual containers – glass jars or plastic cups.
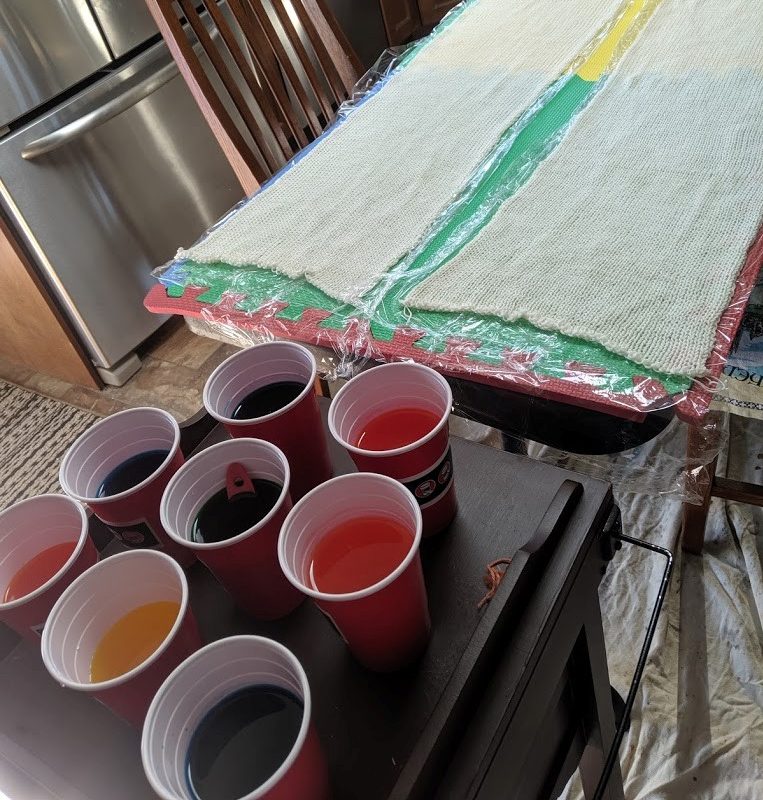
The suggested proportions used can be halved or doubled depending upon how much dye you think you need for your project (open gel containers first – the seal will need to be removed with a sharp knife)
- Pour 1 cup hot water into jar
- Add 2 tbsps of vinegar
- Mix in ½ tsp of gel
- Stir to dissolve
- Repeat as necessary
Step 3 – prepare work area by laying down a layer of saran large enough to hold your yarn – one spot for every skein or blank
Step 4 – remove project from water and gently squeeze out excess water and then roll in a towel to remove more water. Lay project on saran and start to paint.
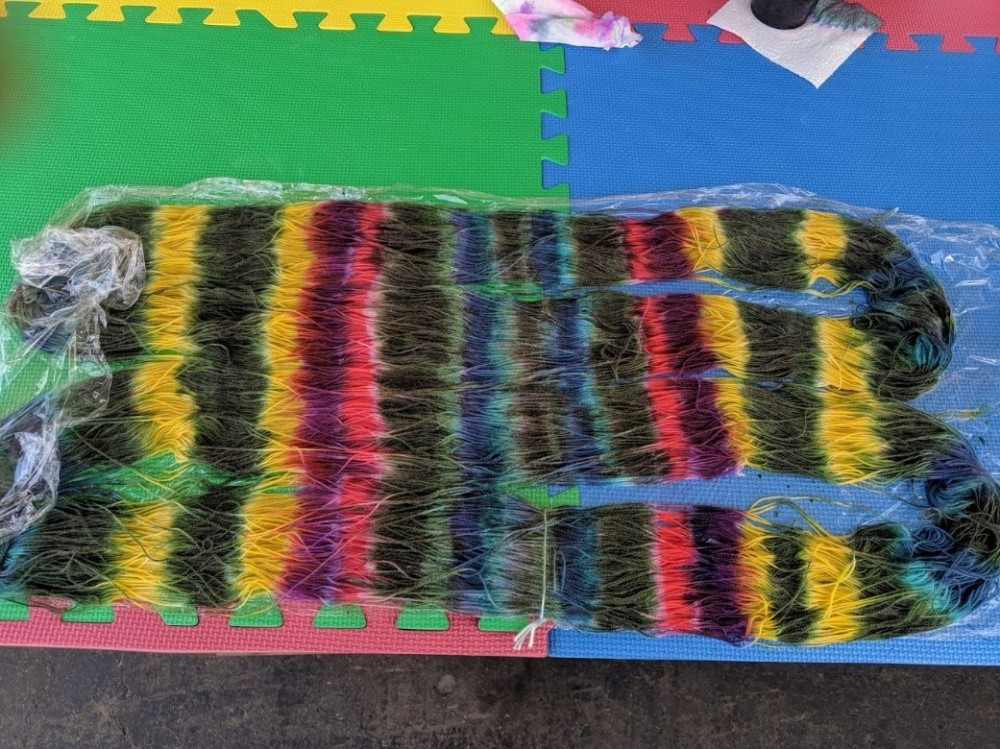
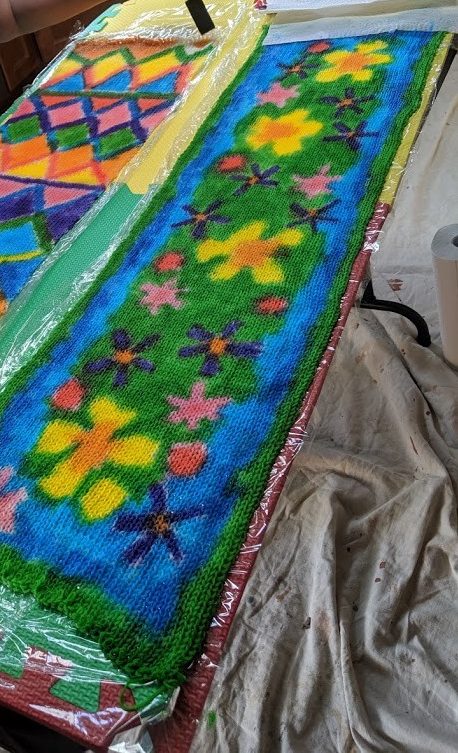
Paint in stripes, paint in shapes, play with the colours.
Step 5a – If steaming project – add water to steamer and start heating
Step 5b – after painting, lay another layer of saran over the project and fold over and seal the edges. Roll the wrapped project into a compact shape and place in steamer insert of a pot or in a glass container for the microwave.
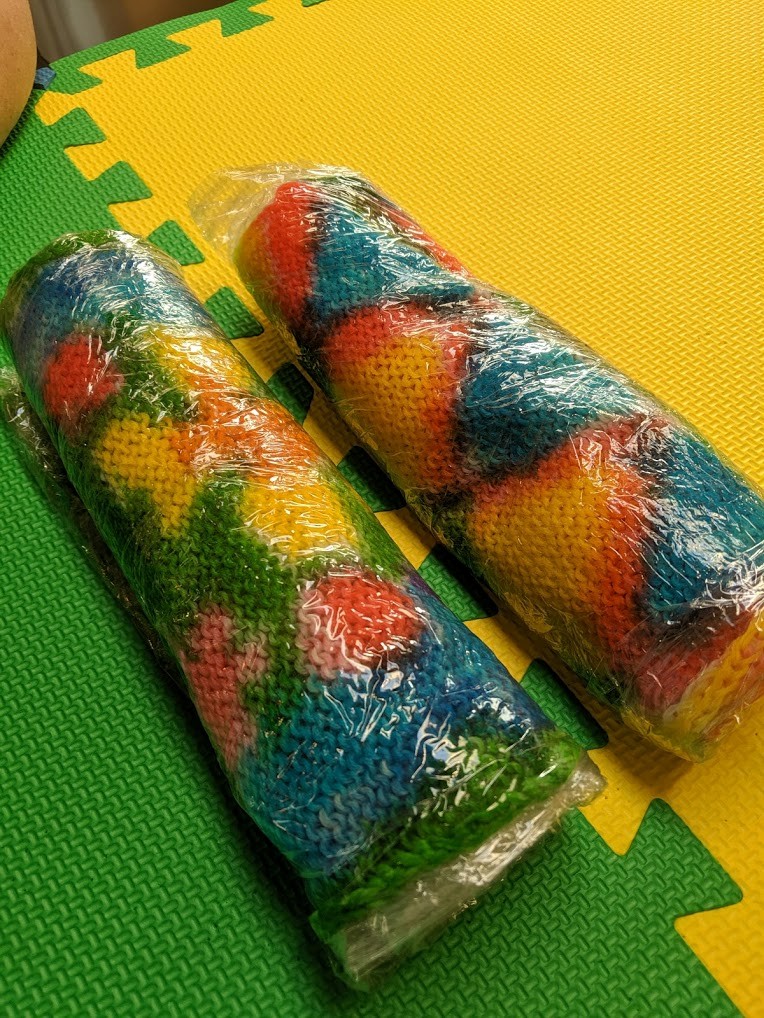
Note – we are working with exhaust dyes – this means that, that once the dye has set, all or most of the colour will be gone from the moisture around the yarn. This is how we know when the dyes are set. The water will be clear inside the saran wrappers.
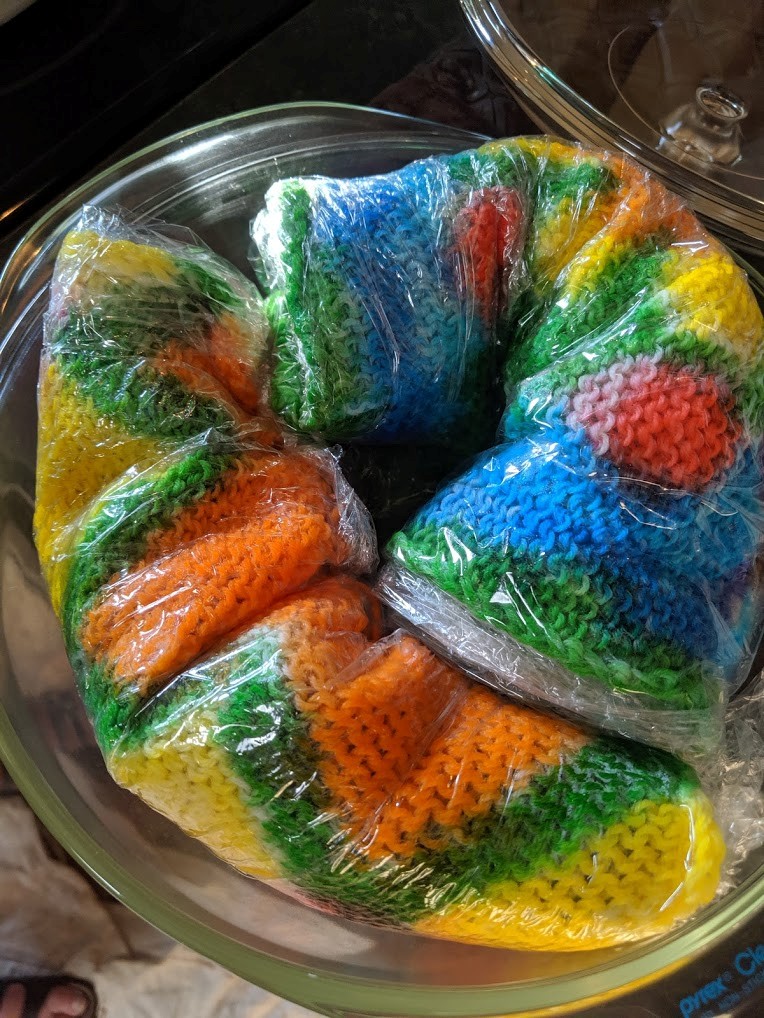
Step 6a – steam in steamer insert for about ½ hour or until the moisture inside the saran is clear. Rotate with tongs every 10 mins or so.
Step 6b – *Microwave on high for 2 min – sit for about 1 minute – rotate with tongs; repeat from star 4 or 5 times or until the moisture inside the saran is clear.
Let the bundle cool!
The water and yarn inside the bundle is very hot and will burn you if you don’t let it cool! (waiting to see was the hardest part!)
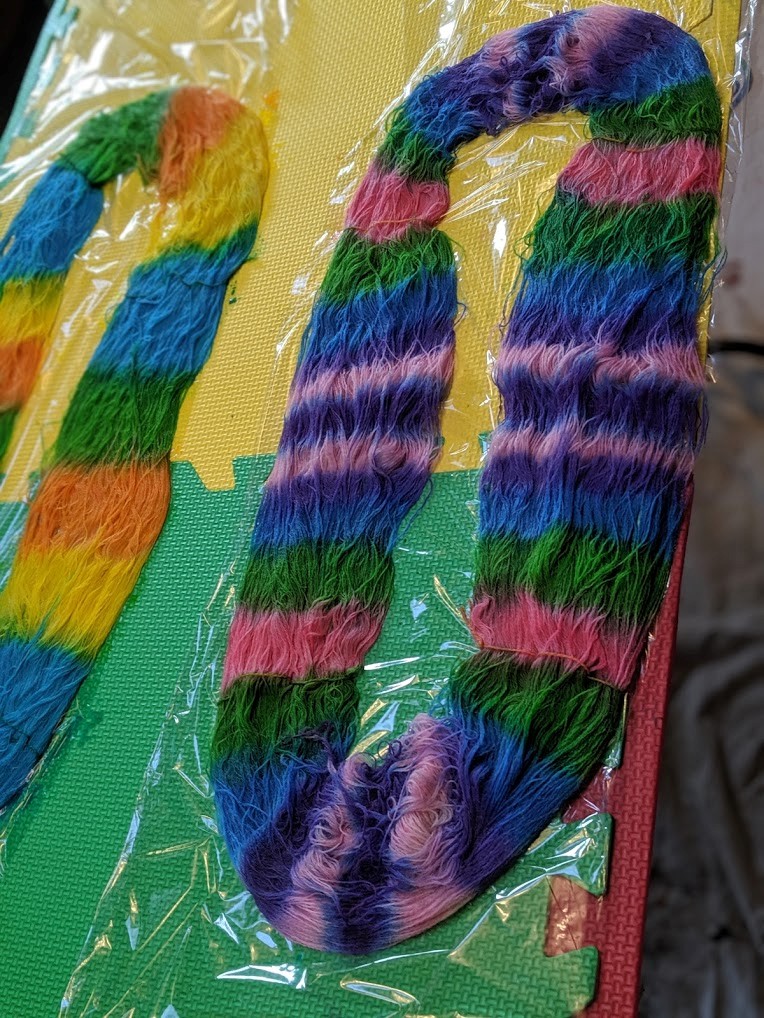
After cooling, soak/rinse the yarn in some tepid water and eucalan and then gently squeeze out excess water, roll in a towel to remove more water and then hang to dry.
Wait impatiently and then start knitting.

