I love working with beads in my knitting. I try to add them to lace knitting at every opportunity. These are a few of my favourite pieces. They each have a story.
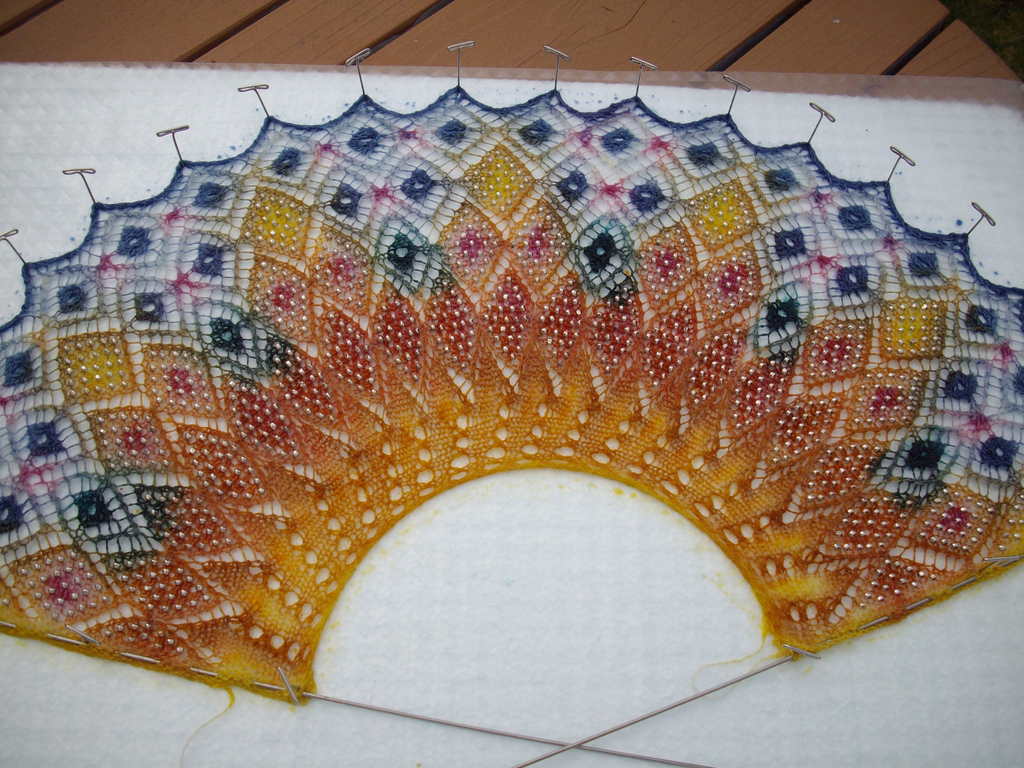
Some, like the beaded lace hat, Galadriel’s Gift, I have knit multiple times. The painted circular shawl is the Garden Gate Shawl, showing my favourite pictures of one of my painted pieces. The Shetland Fascinator, the little lace shawl, has the prettiest little beaded tassels.
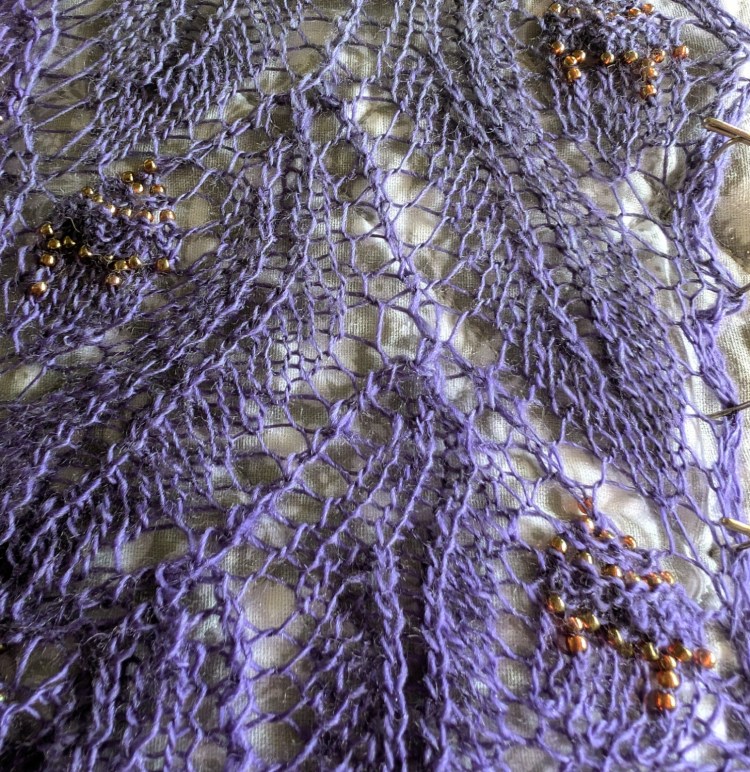
Rhiannon’s Wrap, the purple shawl, is the most beautiful thing that I ever knit, that never won a prize. A story for another day. I never wrote a pattern for this large version. But there is a pattern for a smaller version, the link is attached to the beaded tassel photo in another gallery in this post.
And Covid Be Damned – The Impulsive Shawl – rainbow, bees, butterfly’s and beads – there are so many ways to add beads.
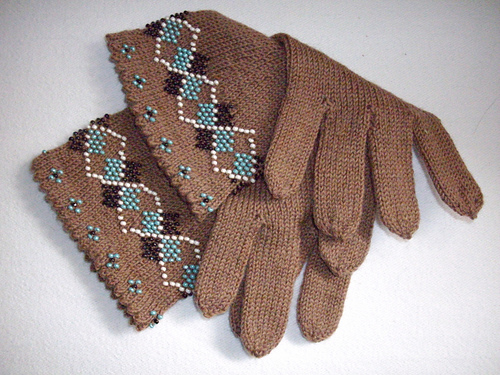
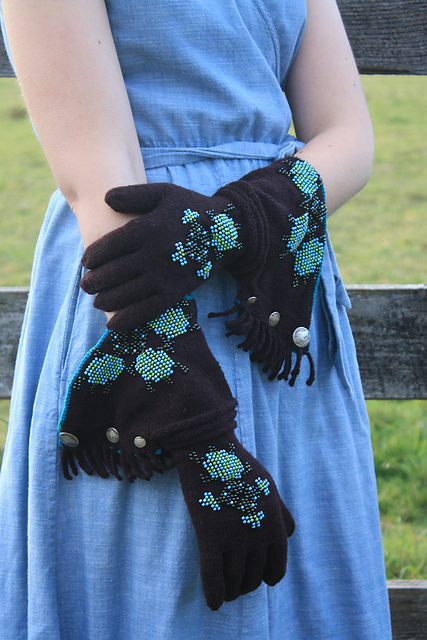
If you want to know more about the pictures below click on the picture. Some of them are linked to patterns.
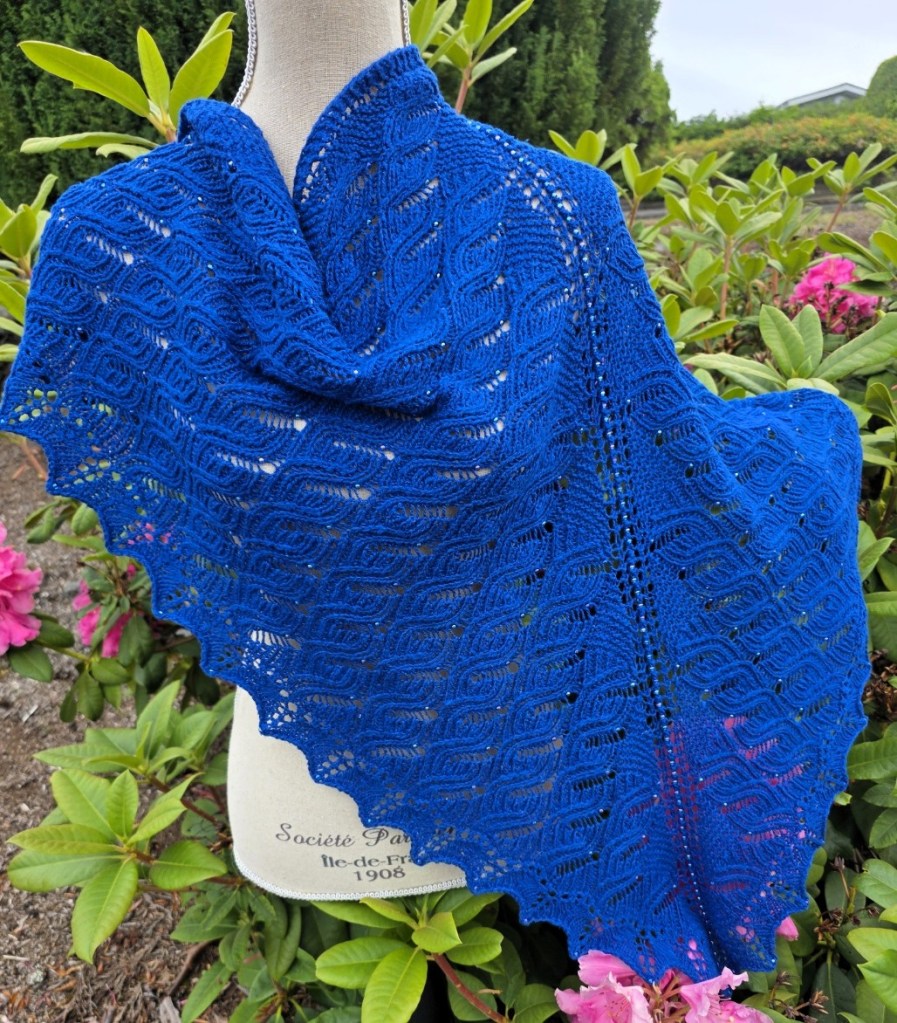
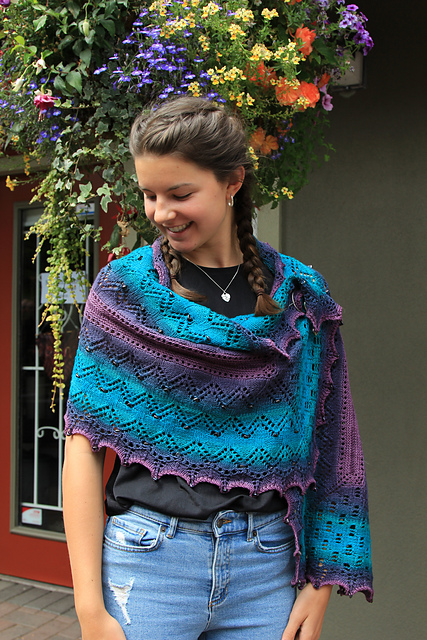
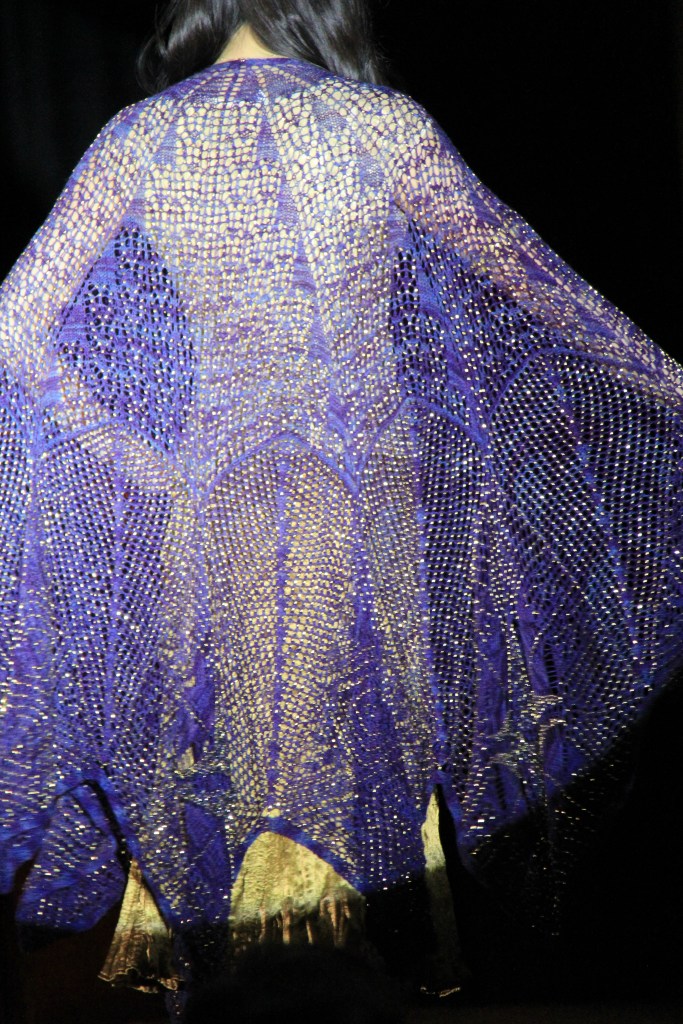
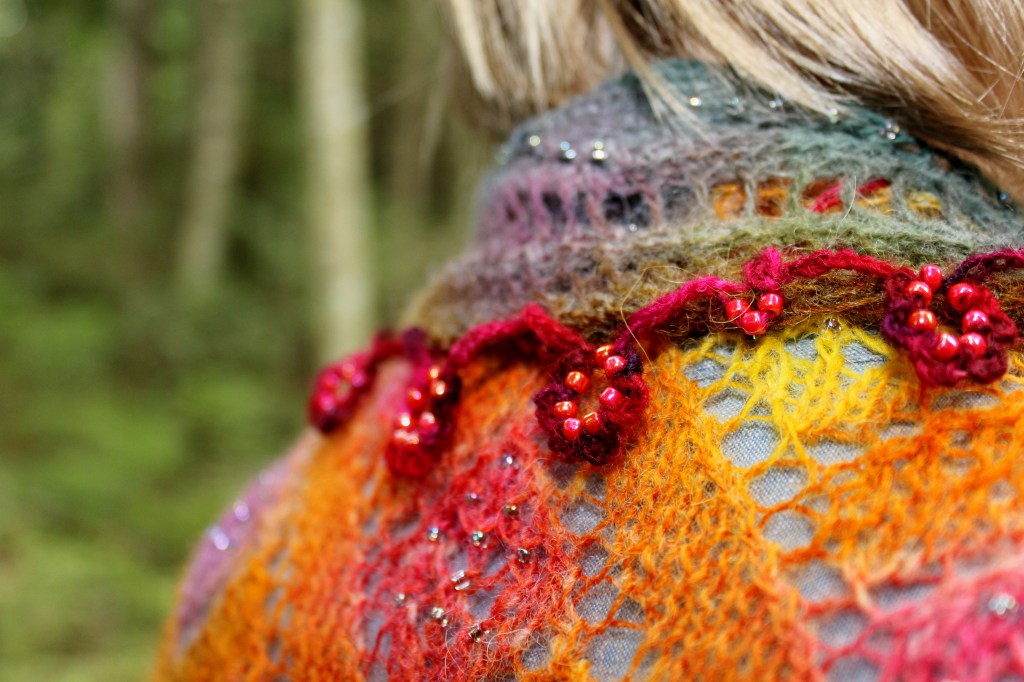
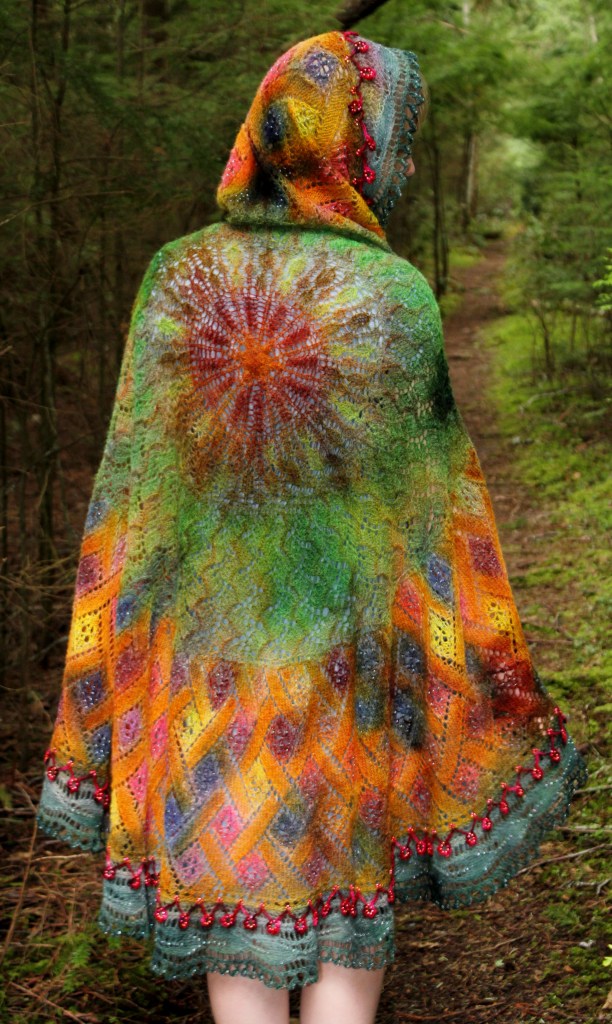
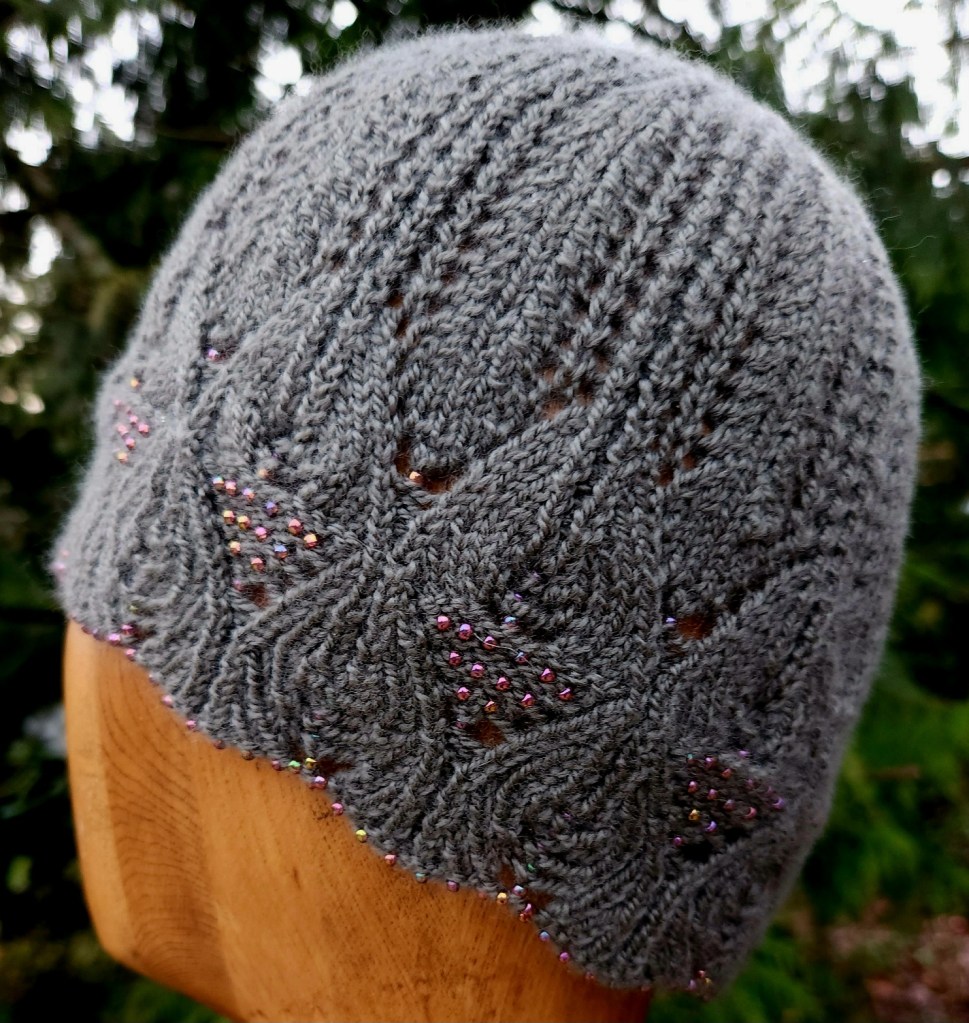
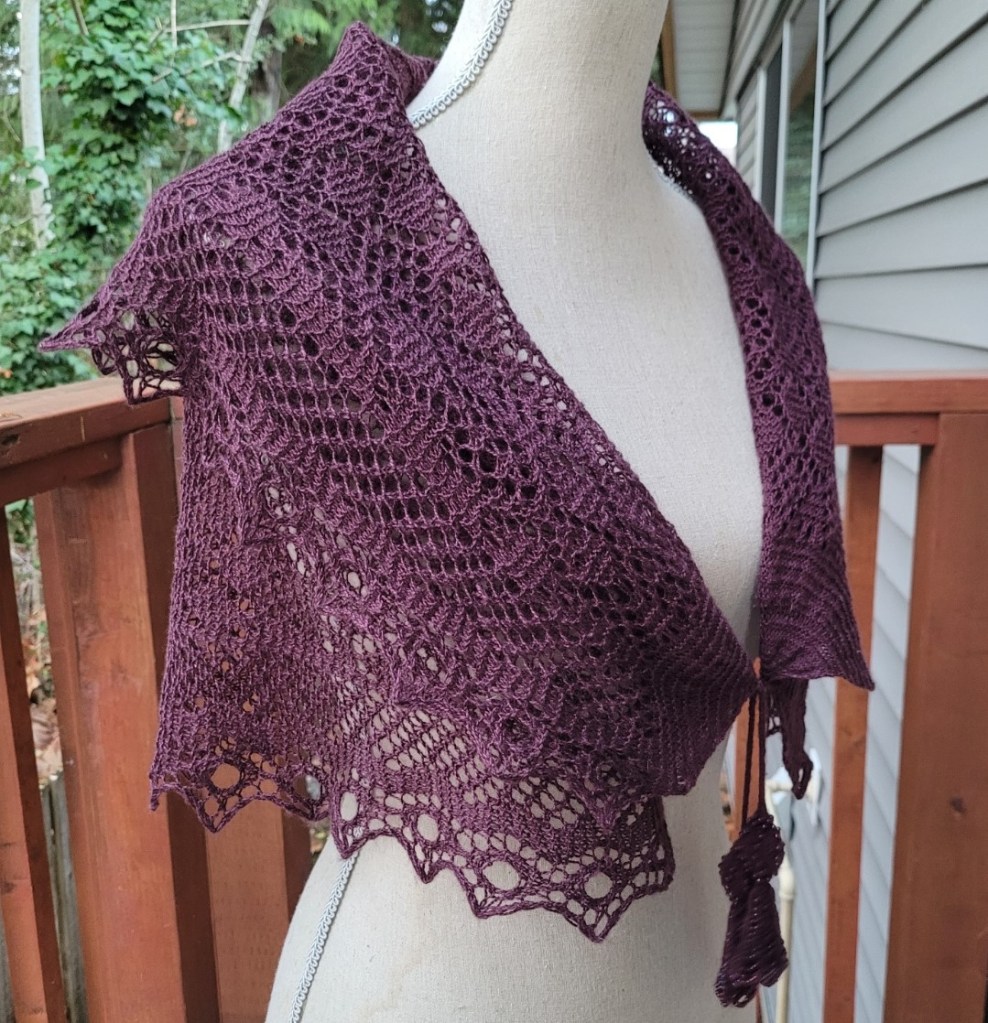
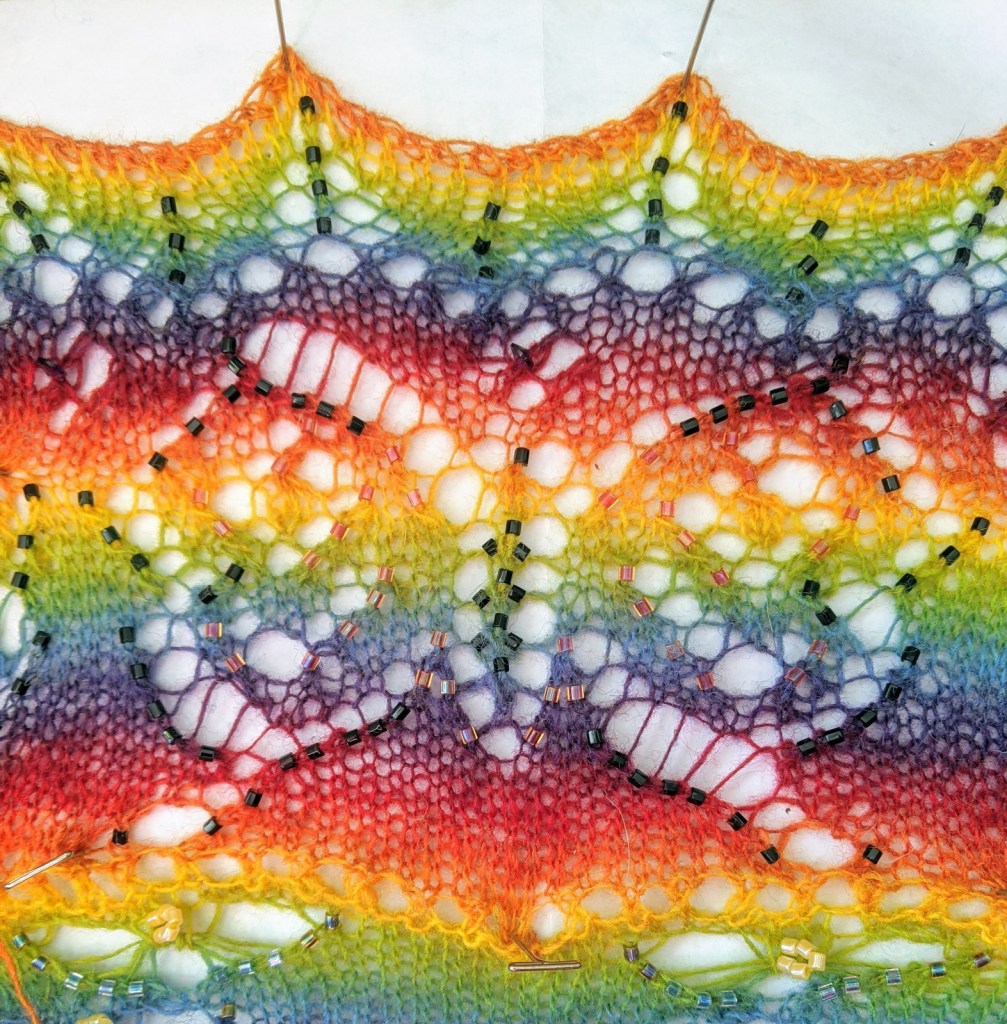
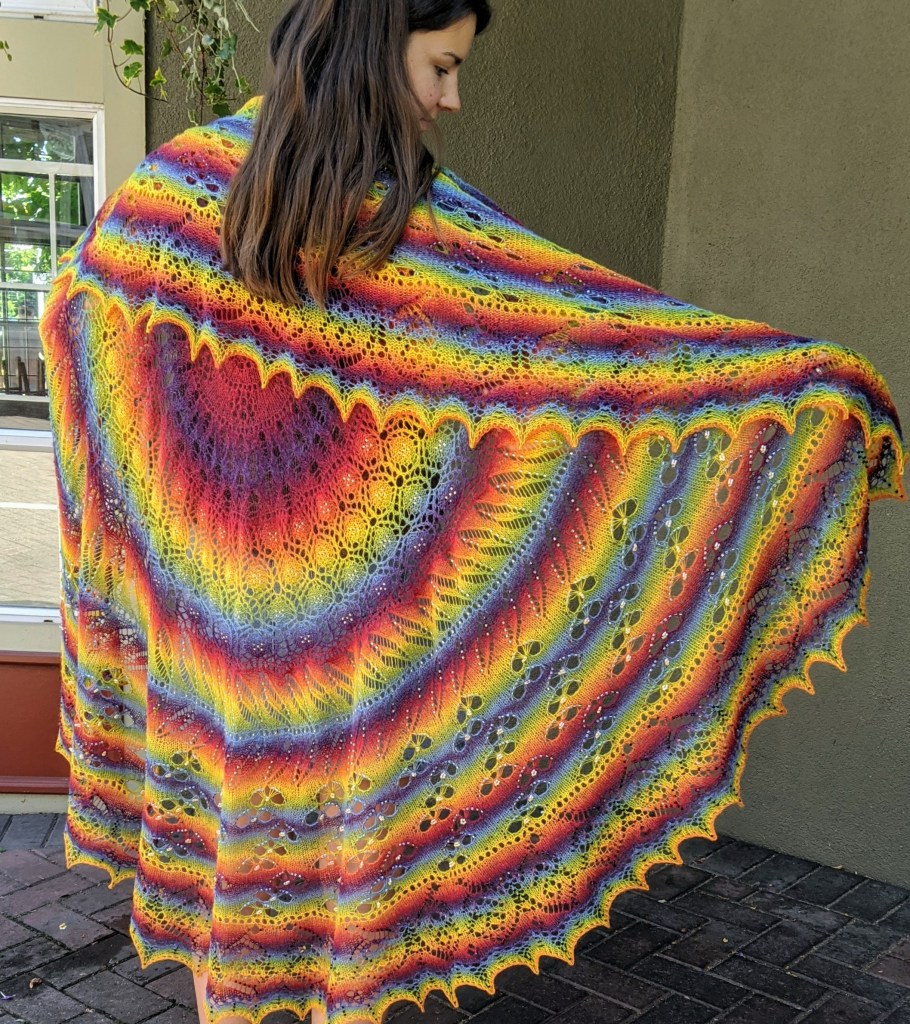
But when I discovered bead knitting (beads knit into every stitch) I thought that here was a pinnacle of achievement. I have been working towards that pinnacle every since. My inspiration and resolution just got a big boost.
Treasure
I was in Victoria not too long ago, spending some quality granny time looking after my Grandson. As he is in school I had some time to wander around during the day. I visited family, met up with a friend and got myself into trouble of the best kind.
My daughter lives close to a wonderful little second hand store. I have been there a few times but this last time I found something I had never seen in real life, not outside of a museum. I have seen pictures in books or magazine articles – I found a small, exquisite, circular knit, beaded bag!
I did not buy it immediately. I went back to my daughter’s and slept on it, as it was not cheap. It was not useful and I wanted it. So I didn’t do much sleeping! I kept thinking and thinking and in the morning rushed back to the store and looked at it again. Who was I kidding – it was mine!
It is tiny, only 3 inches across and about 2 and 1/2 inches high, maybe three inches high if you include the closure. But it is perfect. A perfect little coin purse.
Kid Leather lined, designed to sit upright on a table, lavender cotton lace top and a beautiful, twisted silk cord… And the BEAD work!
Micro Bead Knit bag with Pink and Yellow and roses, deep green leaves and the bottom is a beautiful spiraling bottom, in a leaf and bud pattern. There is just 1 loose bead, you can see it resting in the center of the bottom of the bag. For its age it is in great shape!
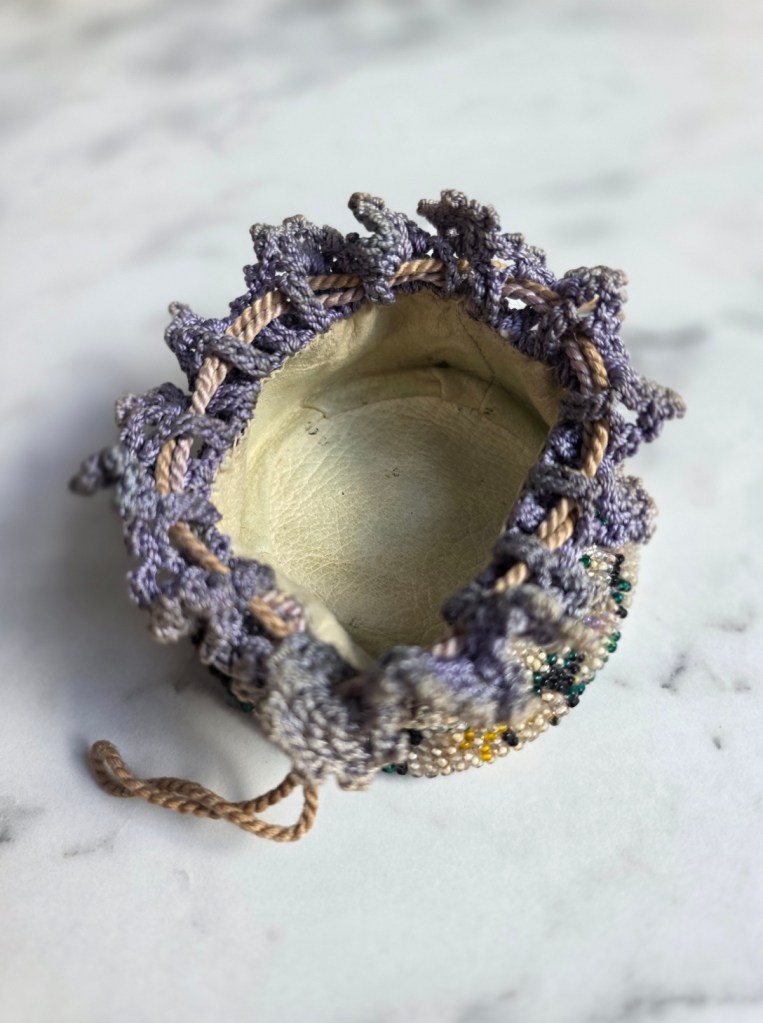
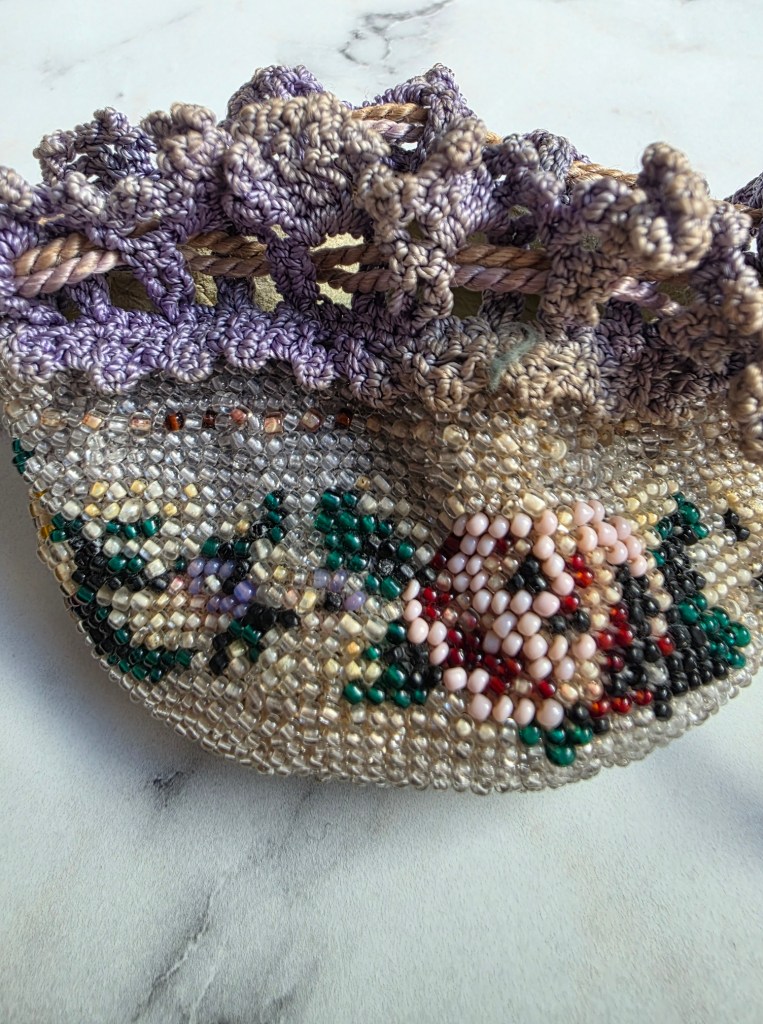
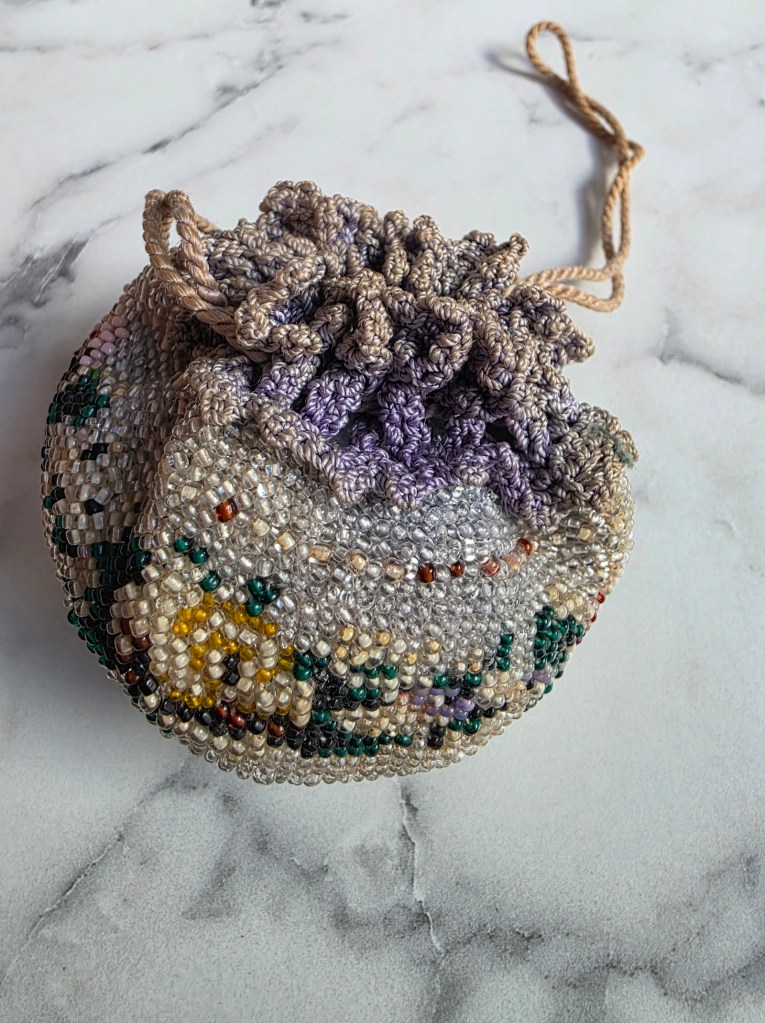
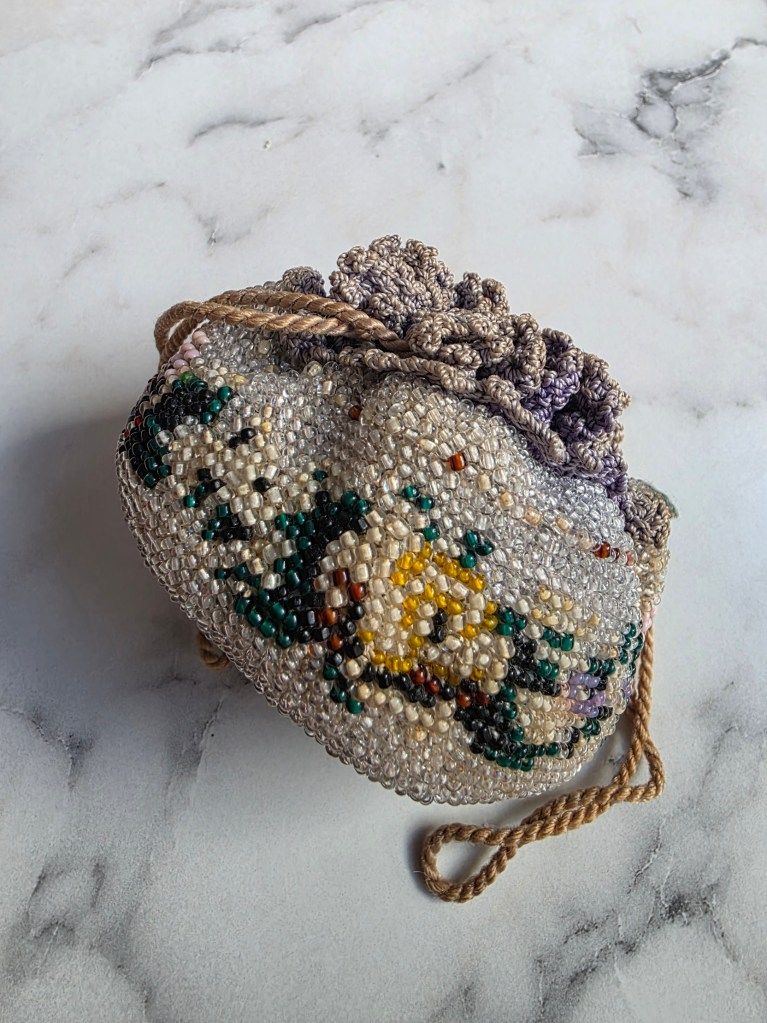
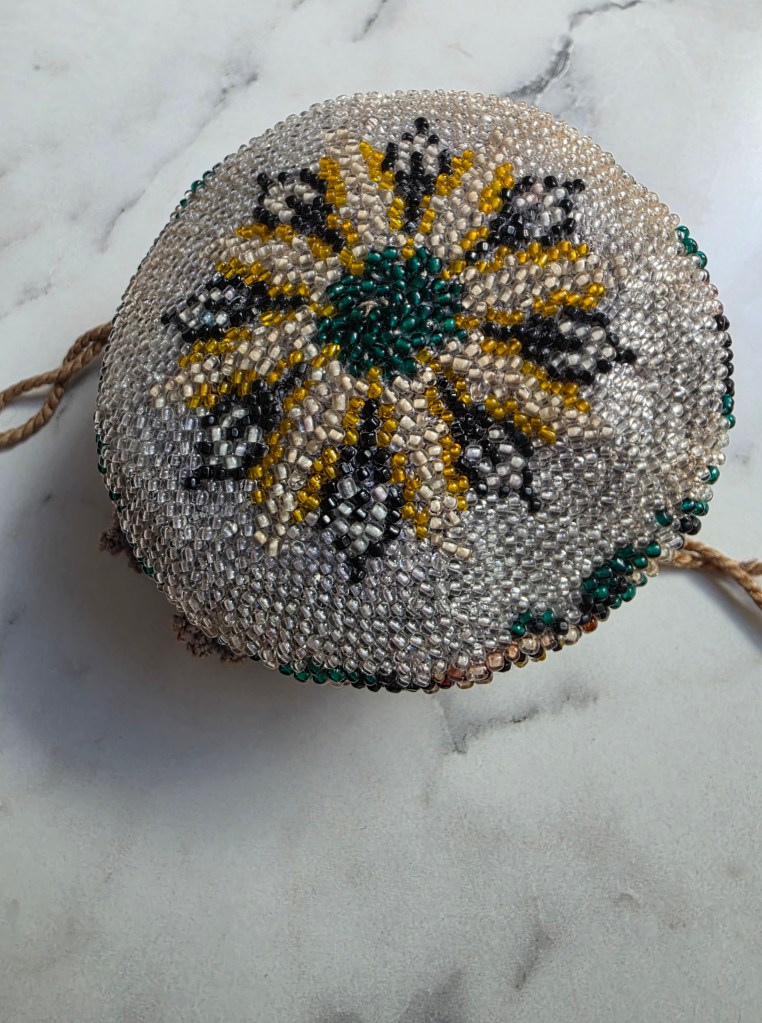
This bag is roughly dated to the 1920’s and 30’s and unlike most beaded bags, which were designed only to hang this bag was designed to sit on the table and hold a few essentials, a bit of “mad” money, a compact perhaps, just the necessities necessary for a evening on the town.
These bags were mostly knit in Europe at this time. I can see a woman in a garret apartment in Paris madly knitting away and creating a bag for her month’s wages. I have knit with beads, a lot. But knitting circularly with such fine thread and micro beads… it boggles the mind.
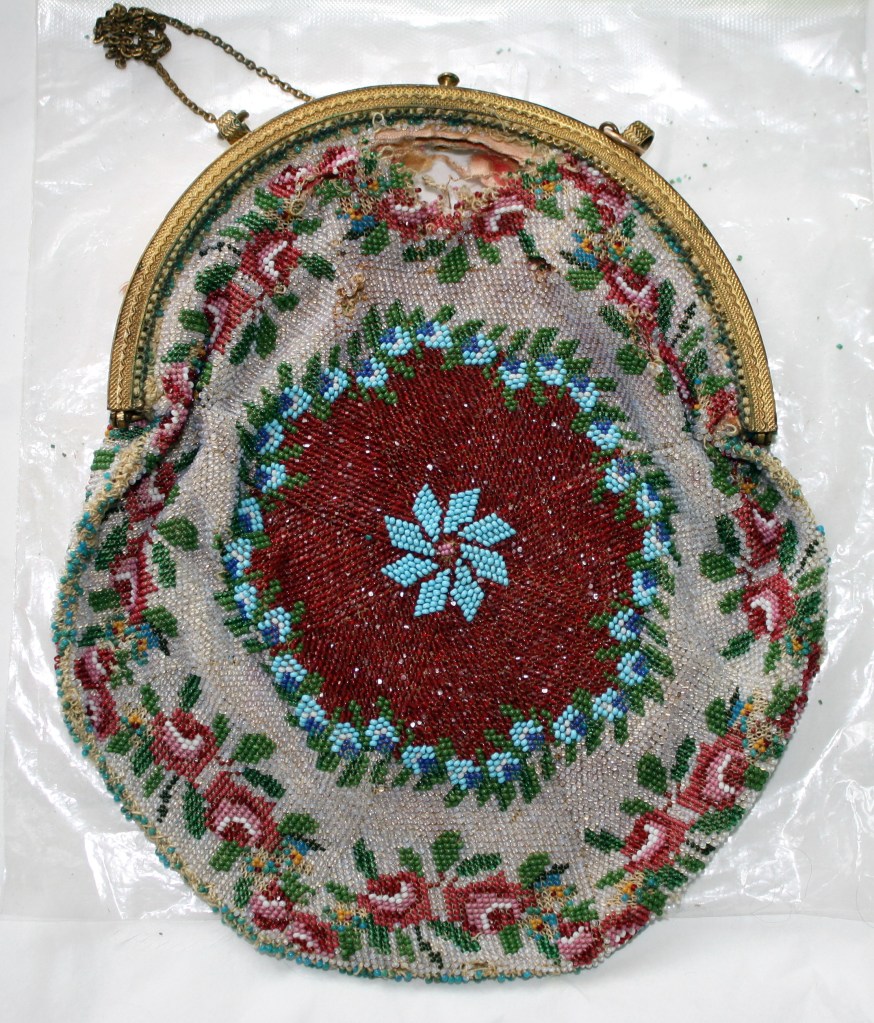
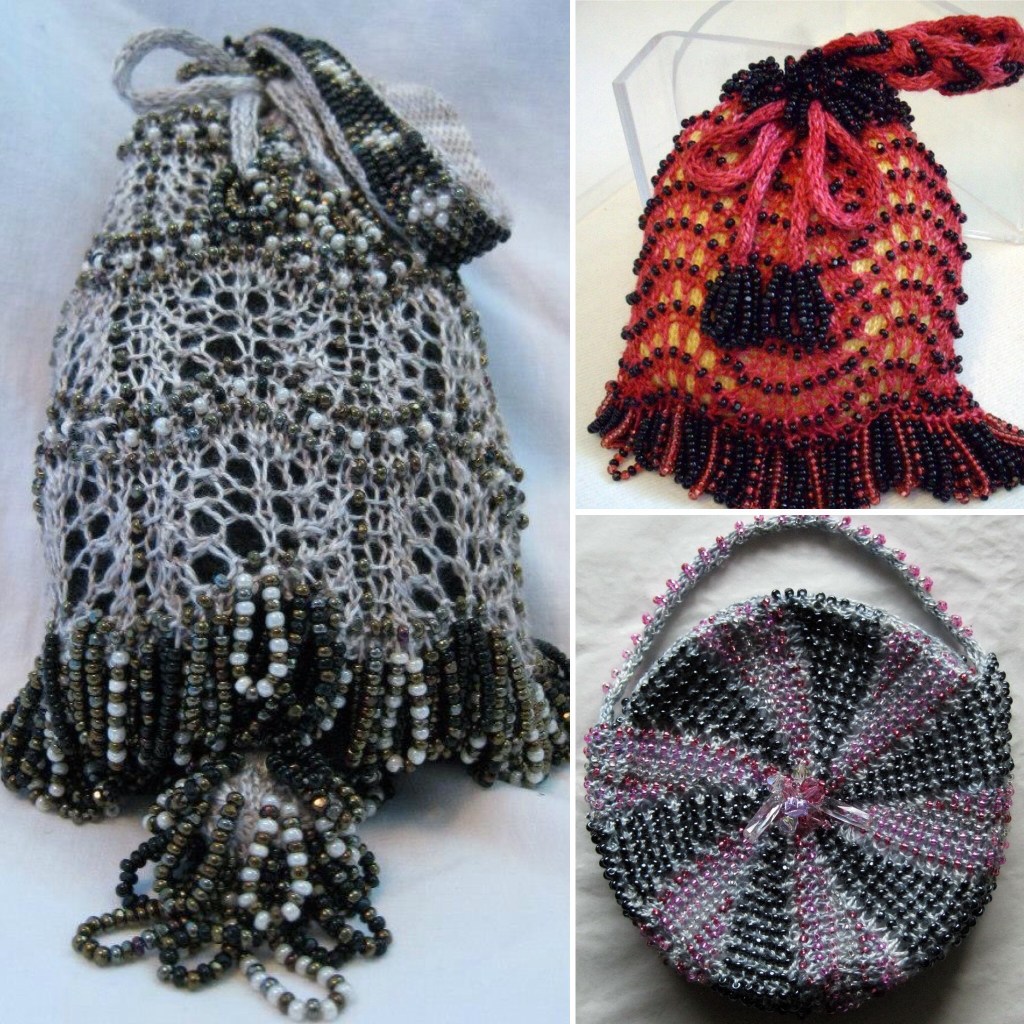
My other beaded treasure was a gift from a customer, someone who wanted the bag saved and appreciated. I call it the Napier-Hemy bag to reflect the name of the original owners. This bag came to me in pretty rough shape. It is losing beads and had started to fall apart. But it is still beautiful. The work that went into such creations. The beads are smaller in this bag than in my new treasure. That allows for greater detail in the design. The colours are stronger too – less light exposure perhaps.
You might have noticed that I have been creating a few things with a tiny circular cast-on. lately I am playing with a crazy idea – I think I want to try knitting a small bag like this one.
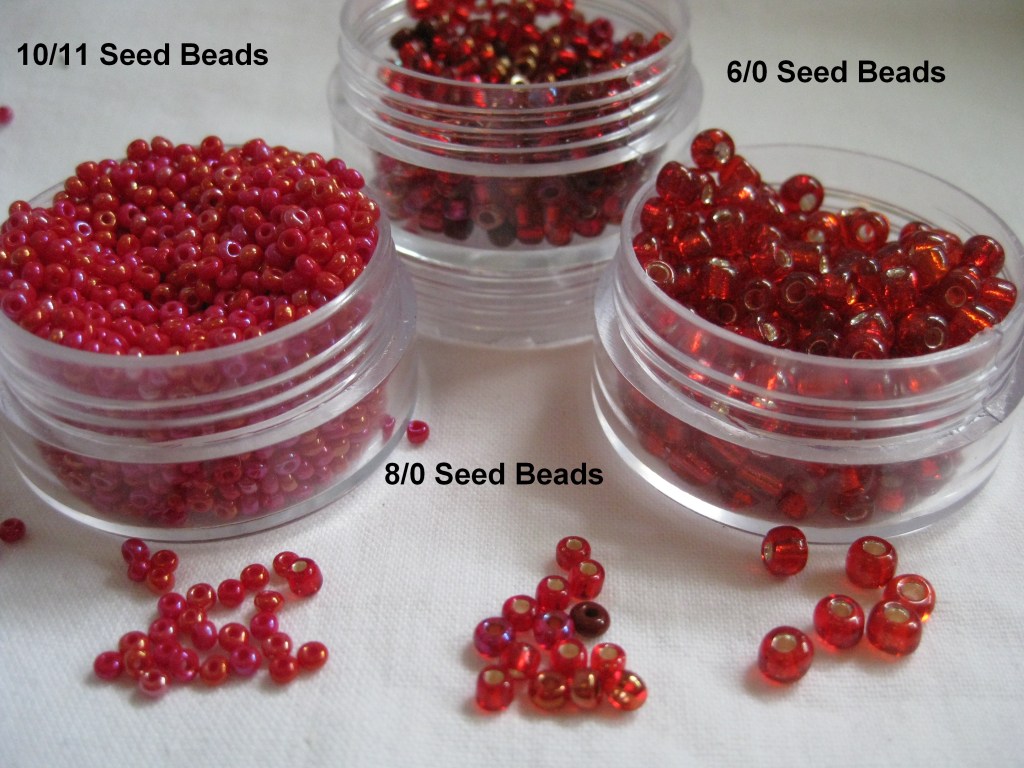
I won’t knit my bag with such tiny beads, I am thinking of size 8/0’s and then of course what kind of pattern do I want to tackle with my beads? It can’t be too complex – I am not totally insane.
So Many Styles of Working with Beads
I am not without some experience in working with beads. I have tried a great many different beading techniques over the years. I have knit quite a few other beaded bags. Or shawls and tassels with beaded details. Beaded bracelets as well. I could incorporate aspects of these into a circular bead knit bag.
Beaded Mesh – Knitting with Beads
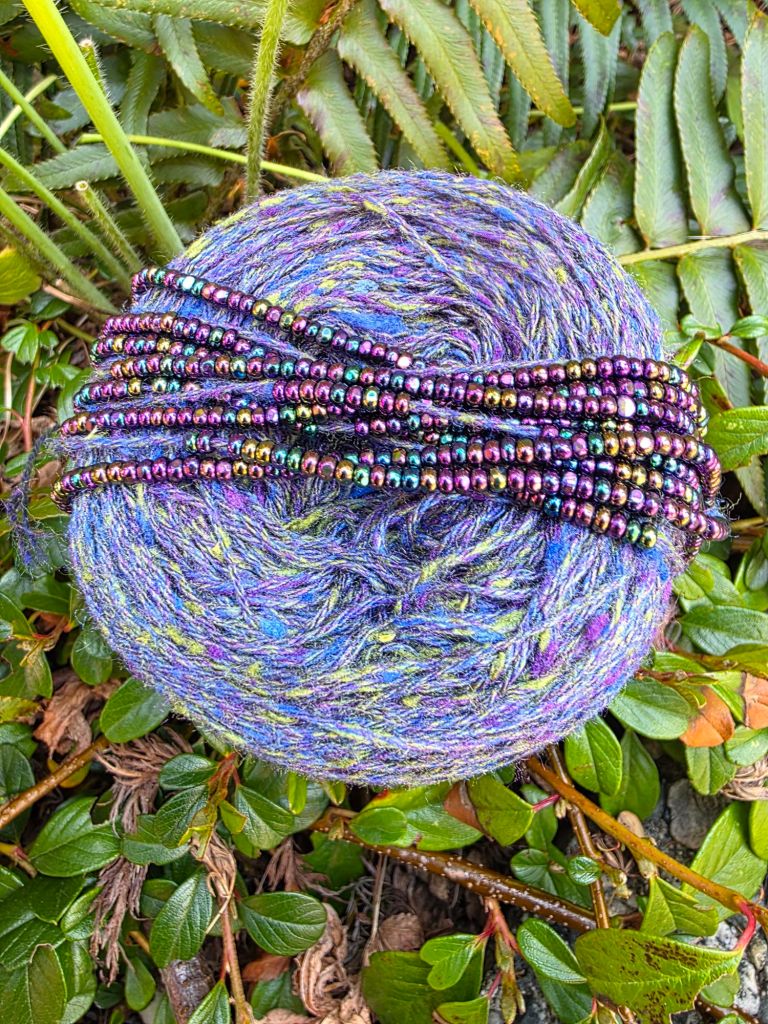
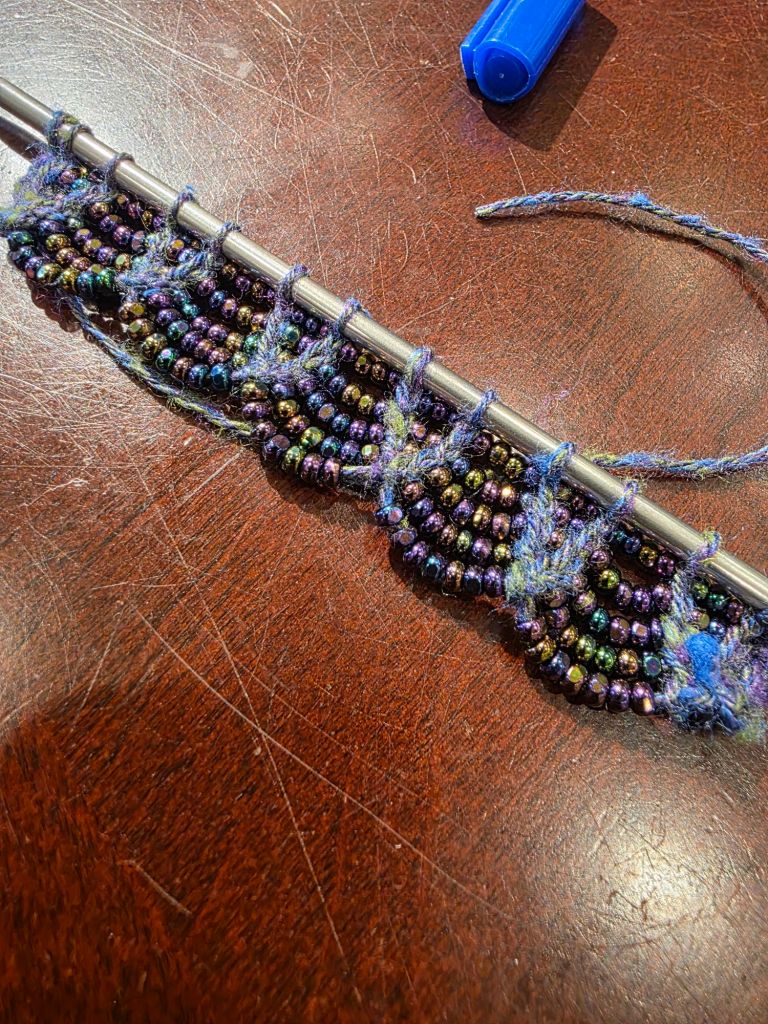
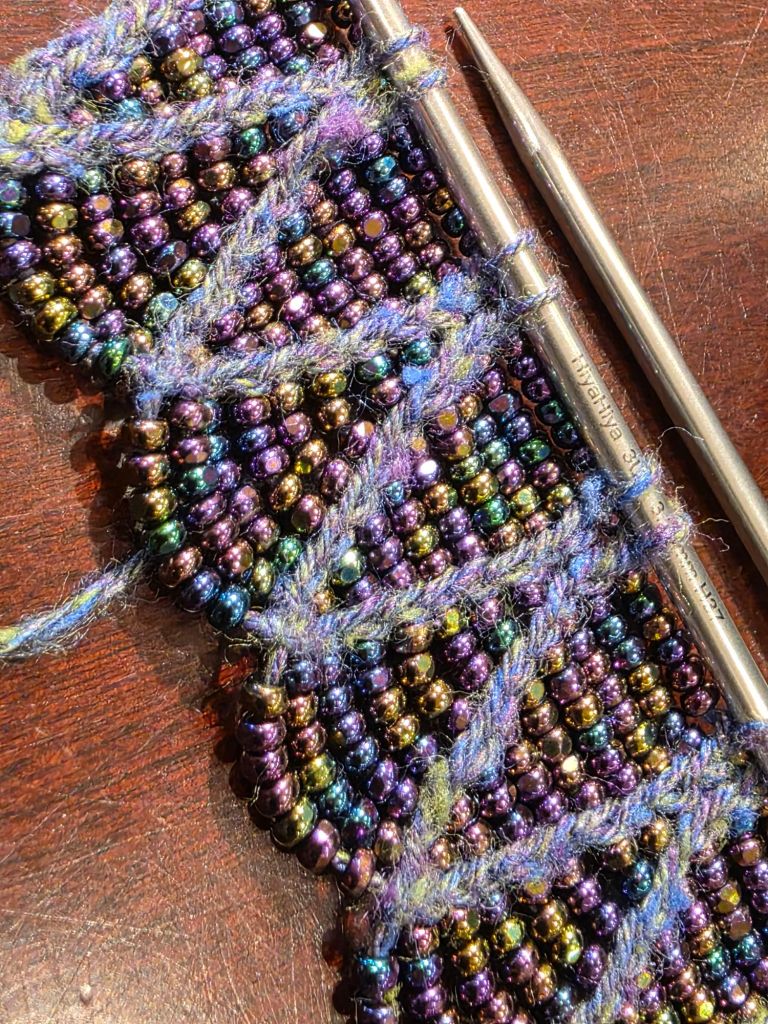
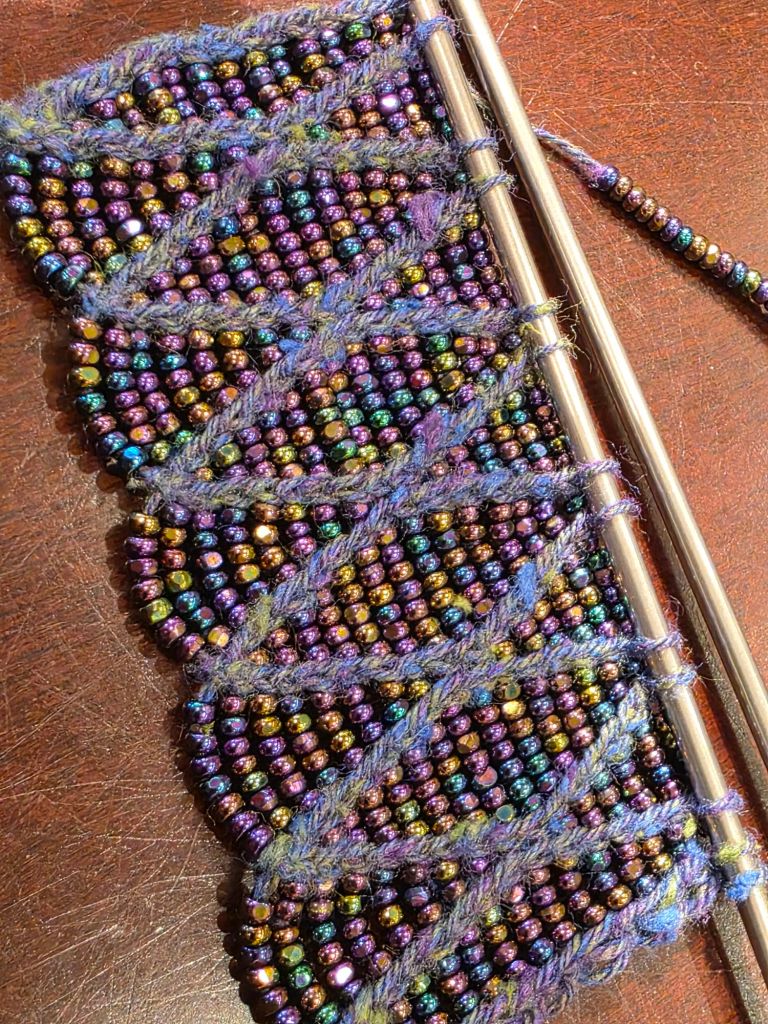
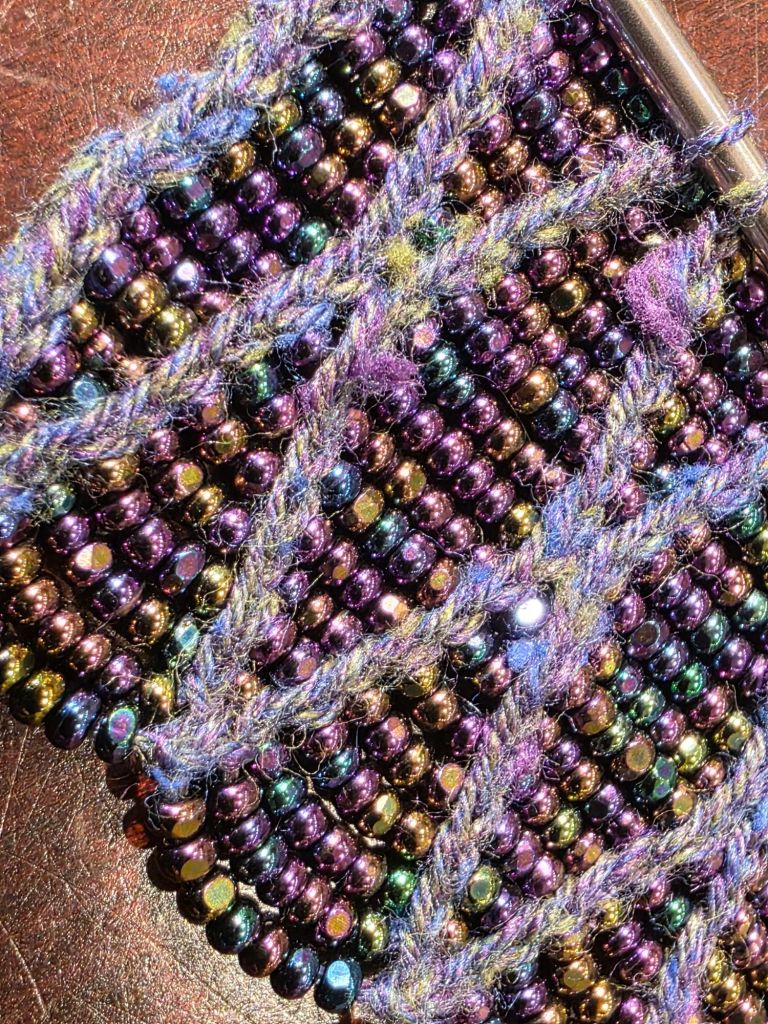
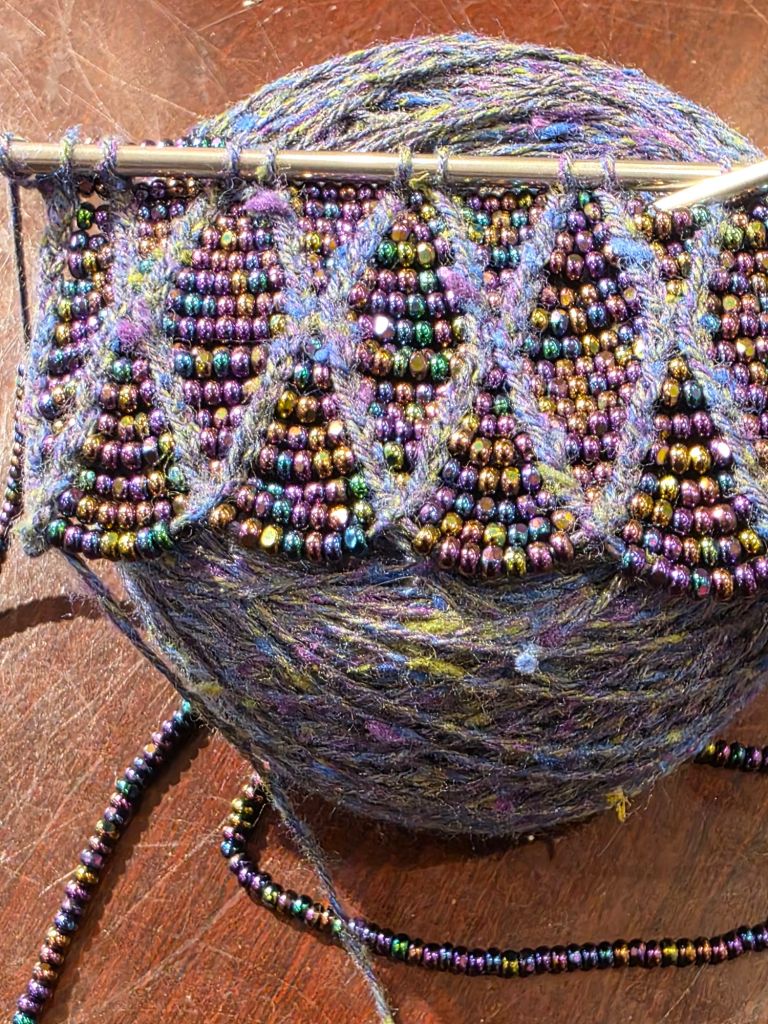
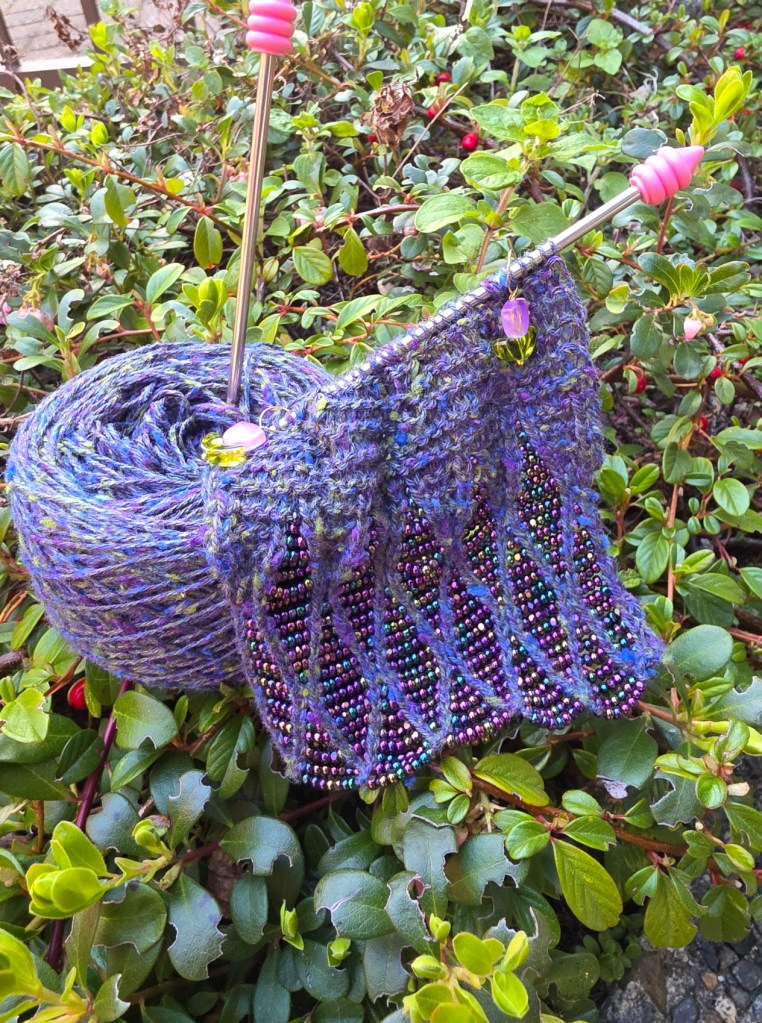
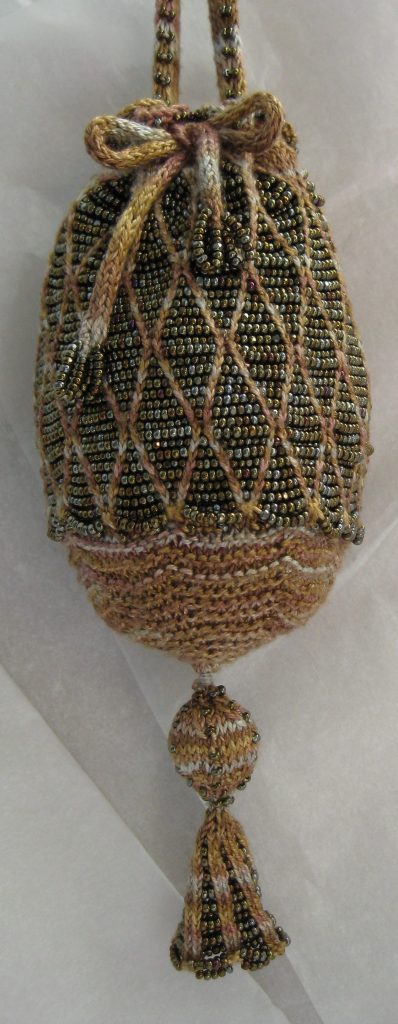
This is the Victorian Beaded Mesh Bag. It is a lot of beads and not quite so much knitting. But is was the start of my fascination with beads and beaded bags in particular.
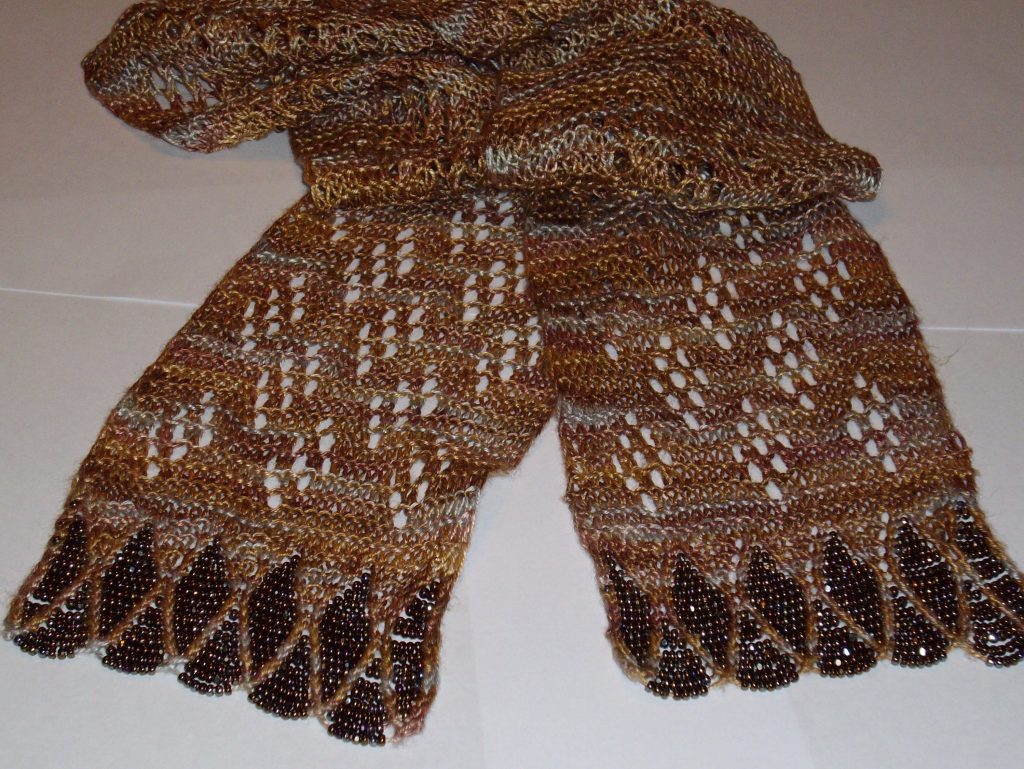
I also designed a scarf, Victorian Beaded Mesh Scarf to co-ordinate with the bag. It is a little short scarf with beads at both ends. I have just started knitting myself a new version.
Being a small piece, knit in two pieces and grafted – it knits up relatively quickly and gives a great finish! It is also fun to wear!
I am making myself a new version just long enough to tie around my neck. You can see it’s progress in the pictures above.
You can use beads in so many ways in your knits! Below are just a few. Some of these are just pretty pictures of my work (well, I think they are pretty). If you want to know more about the pictures below click on the picture. Some of them are linked to patterns.
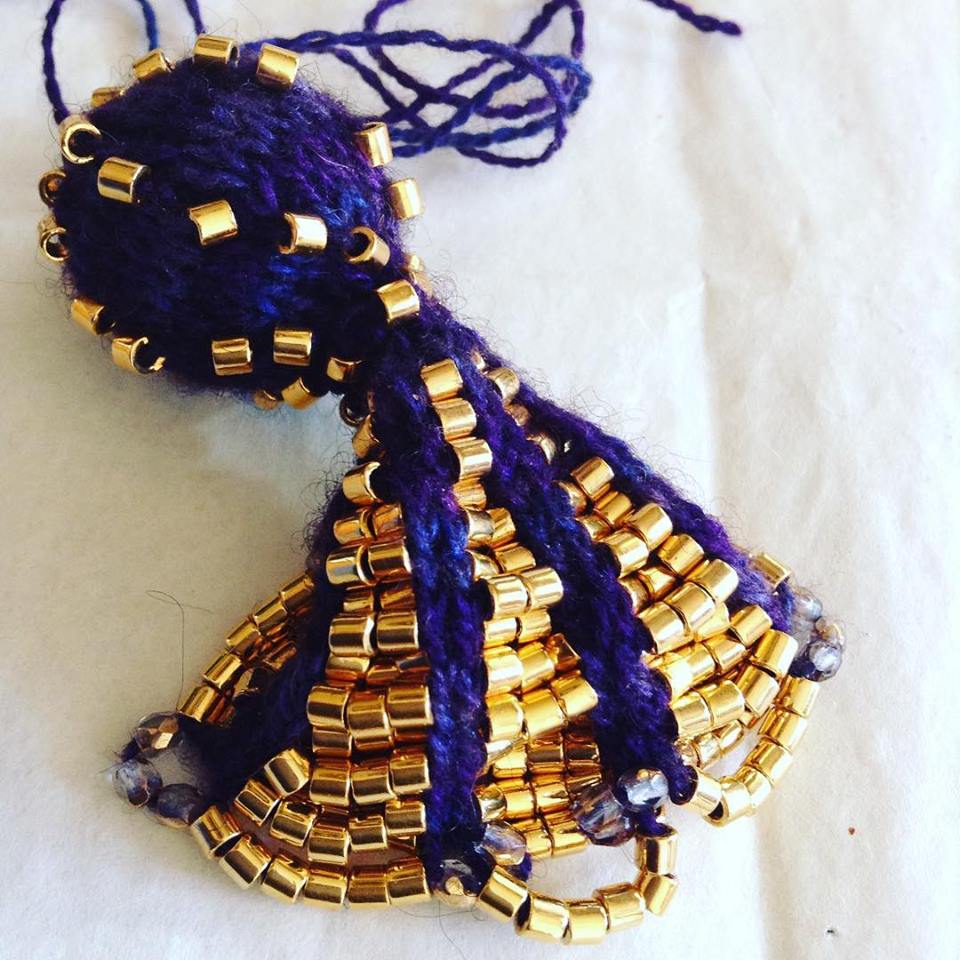
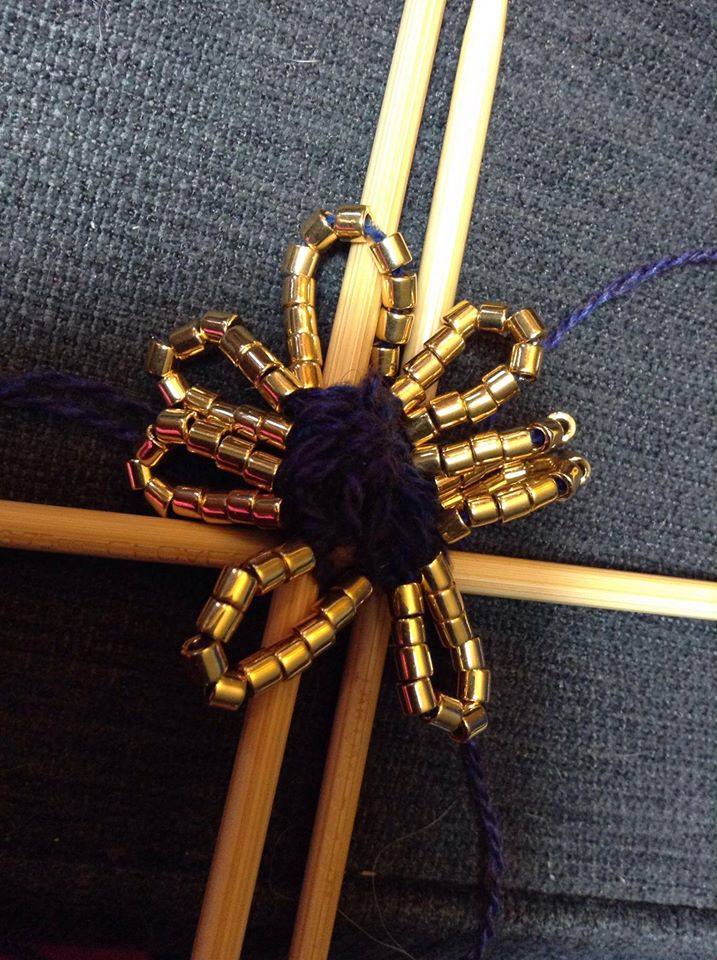
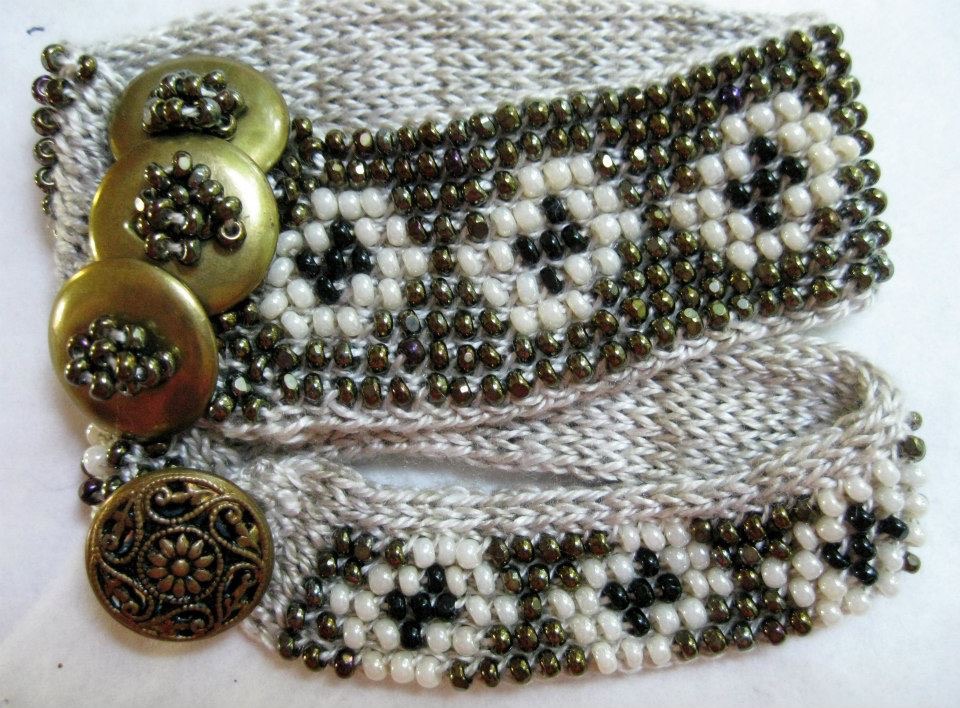
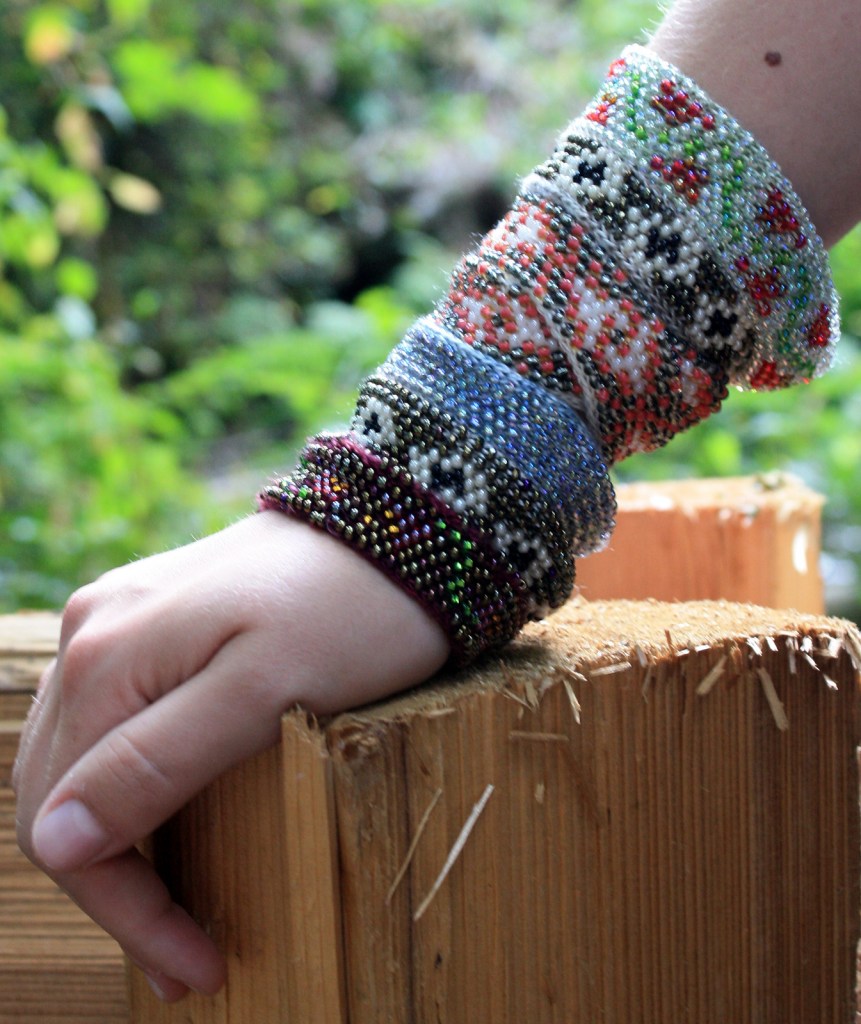
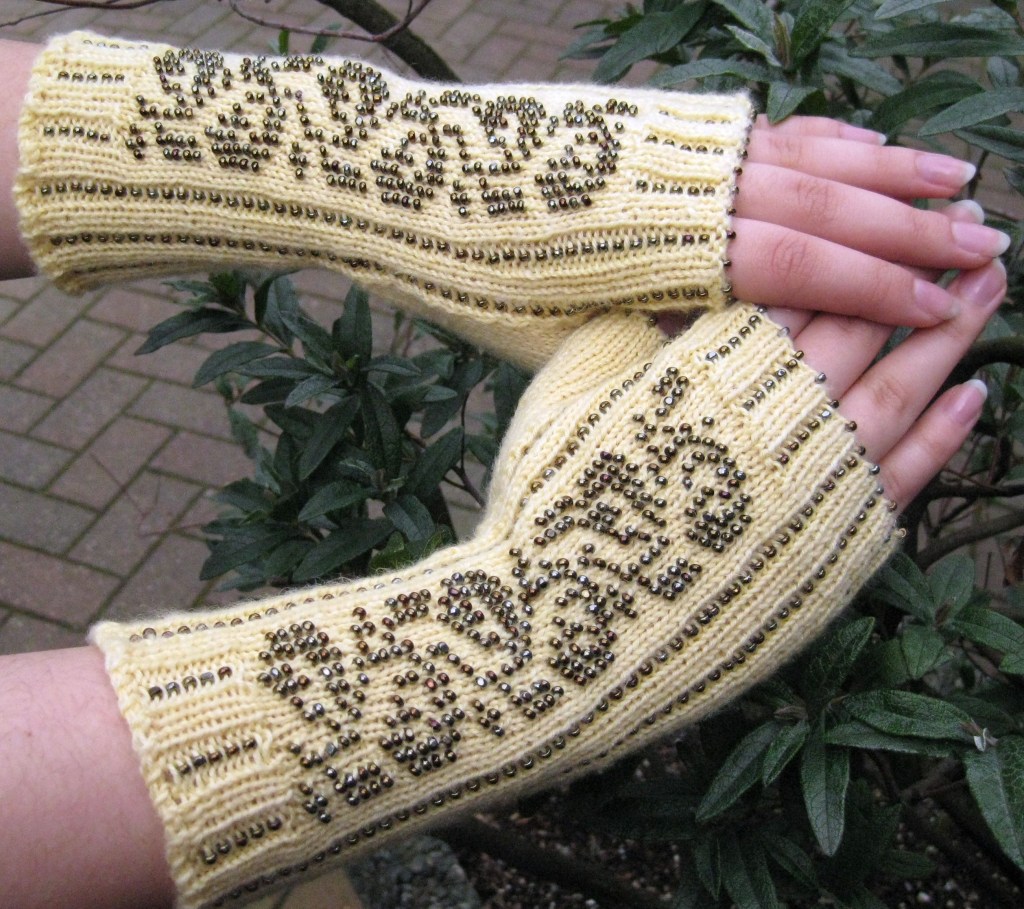
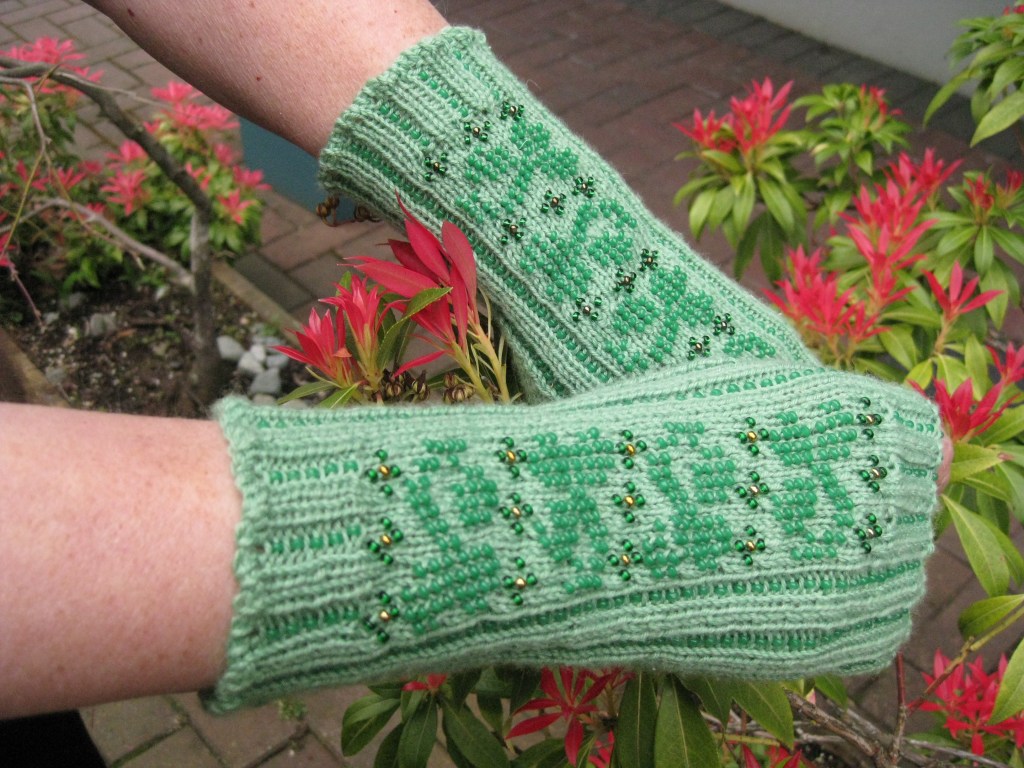
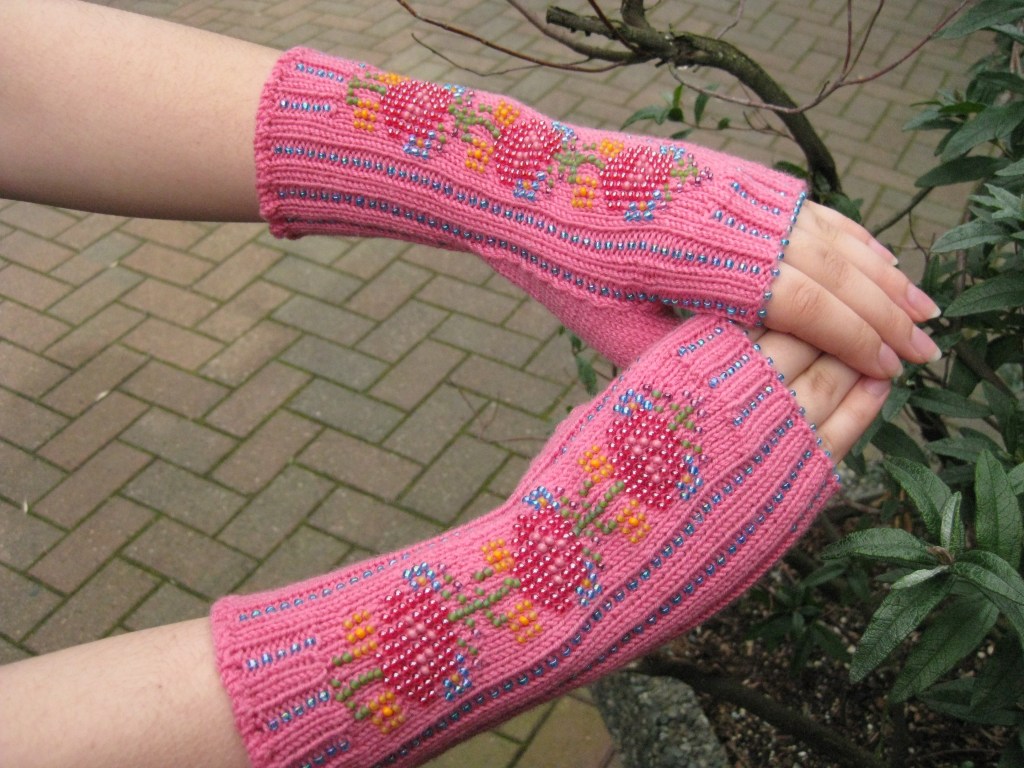
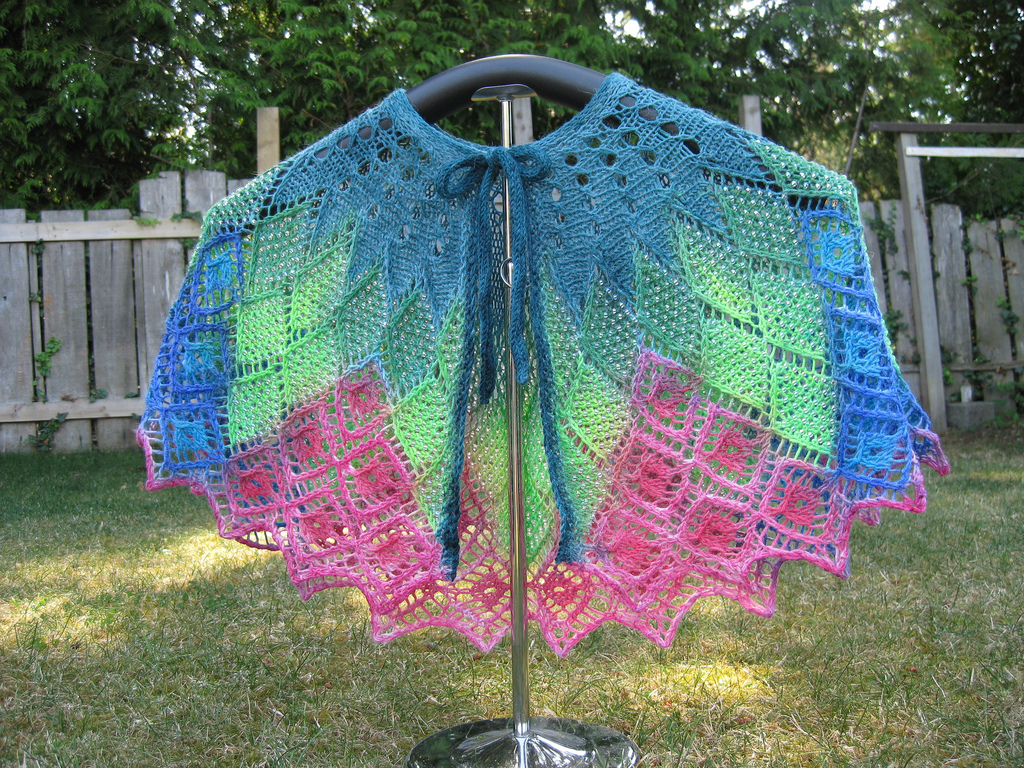
Just in case you want to be crazy too! Here is some information on different styles of working with beads in your knitting.
Beading Techniques:
Placed while Knitting – knitting with beads – beads are placed in pattern, but not creating a solid beaded surface
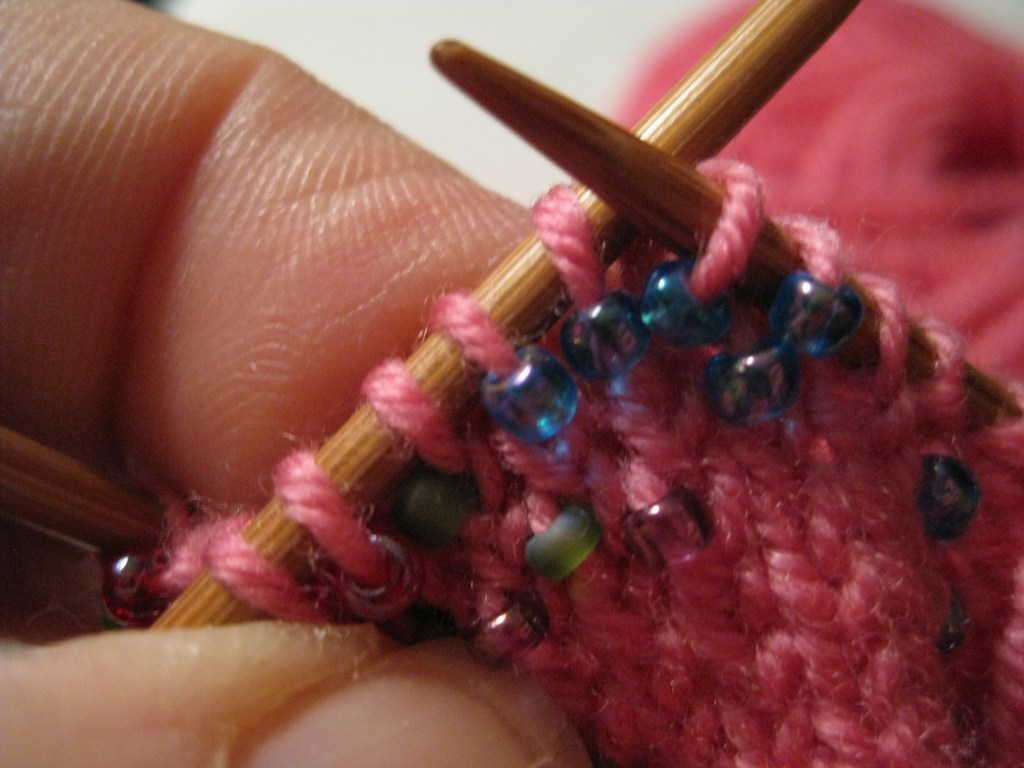
This technique is the most commonly used technique in modern knitting. A bead is carefully placed on a stitch as your knit. It can be placed before or after the stitch has been worked. When you place the bead determines which row it sits on.
The bead is placed with a small crochet hook or beading tool. The size of the hook is determined by the weight of the yarn and the size of the hole in the bead. I have a small collection of hooks from a .60mm to a 1.25mm. I always try to use the biggest hook possible, but some beads, especially the ones with the beautiful finishes have smaller holes.
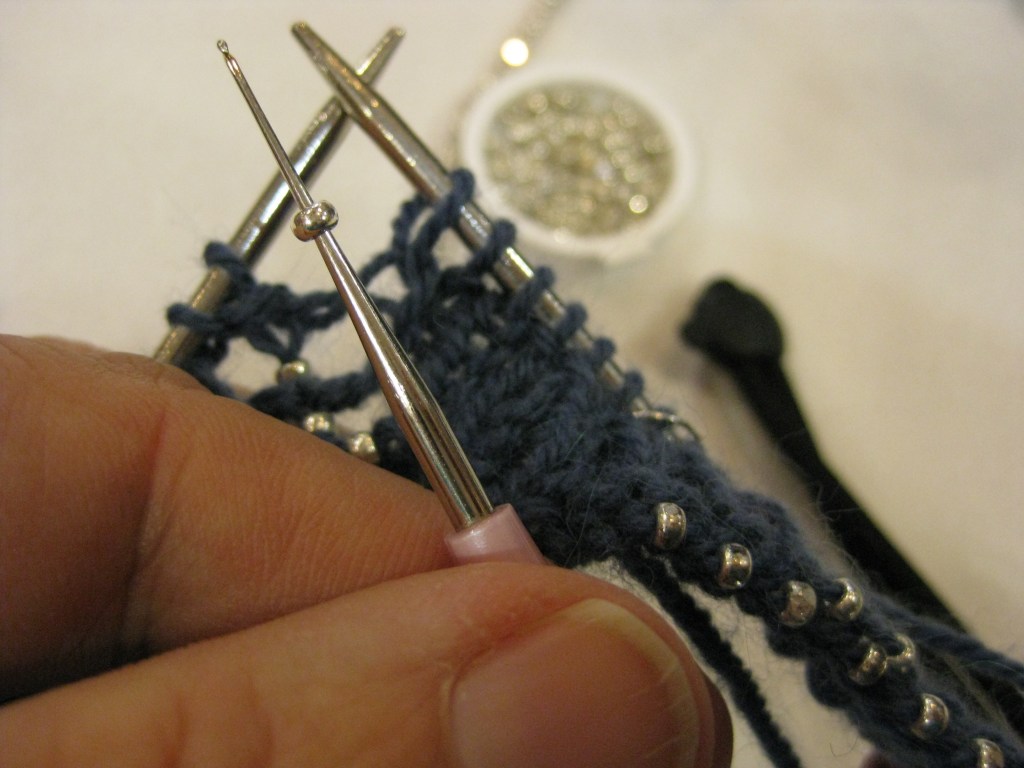
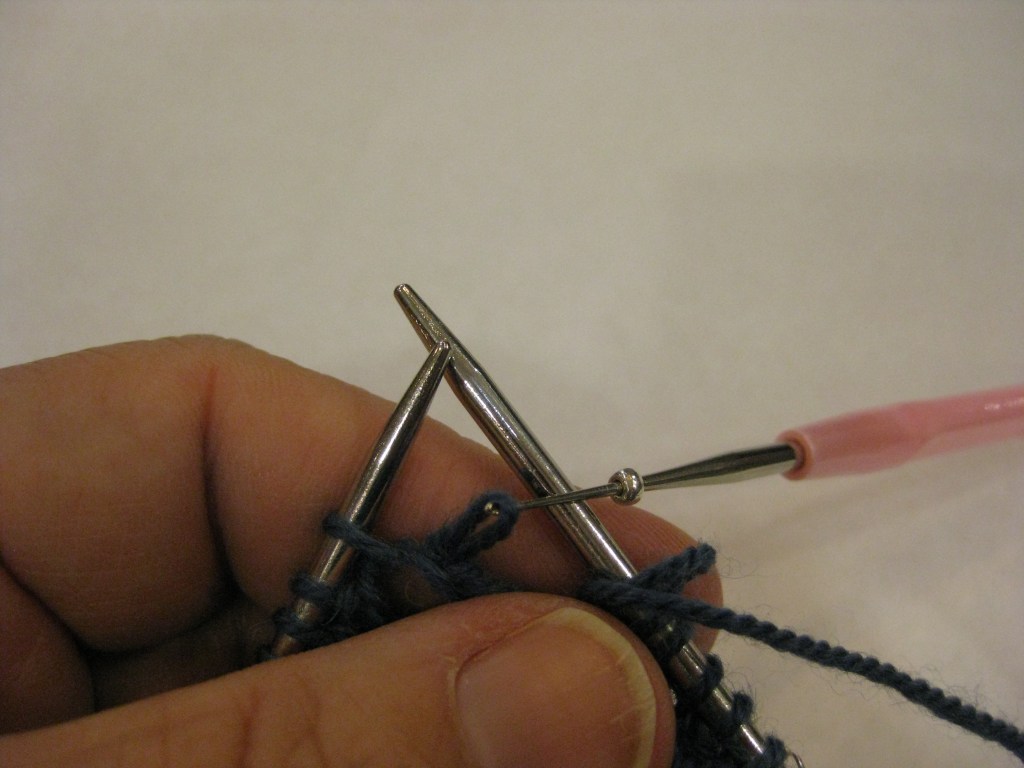
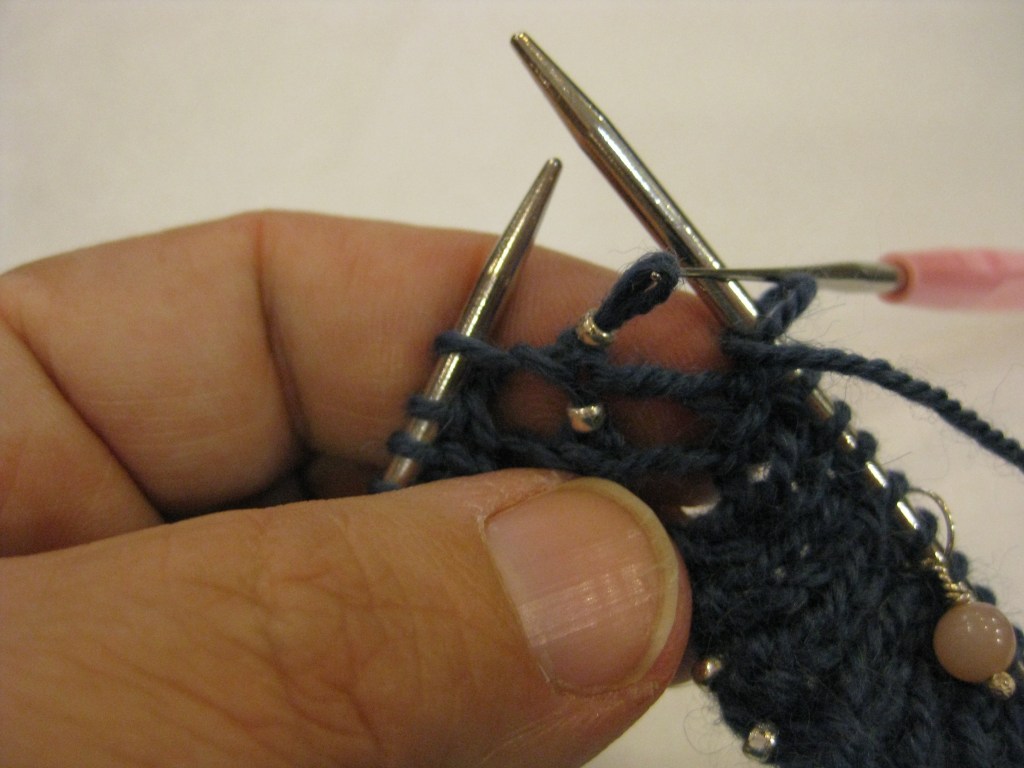
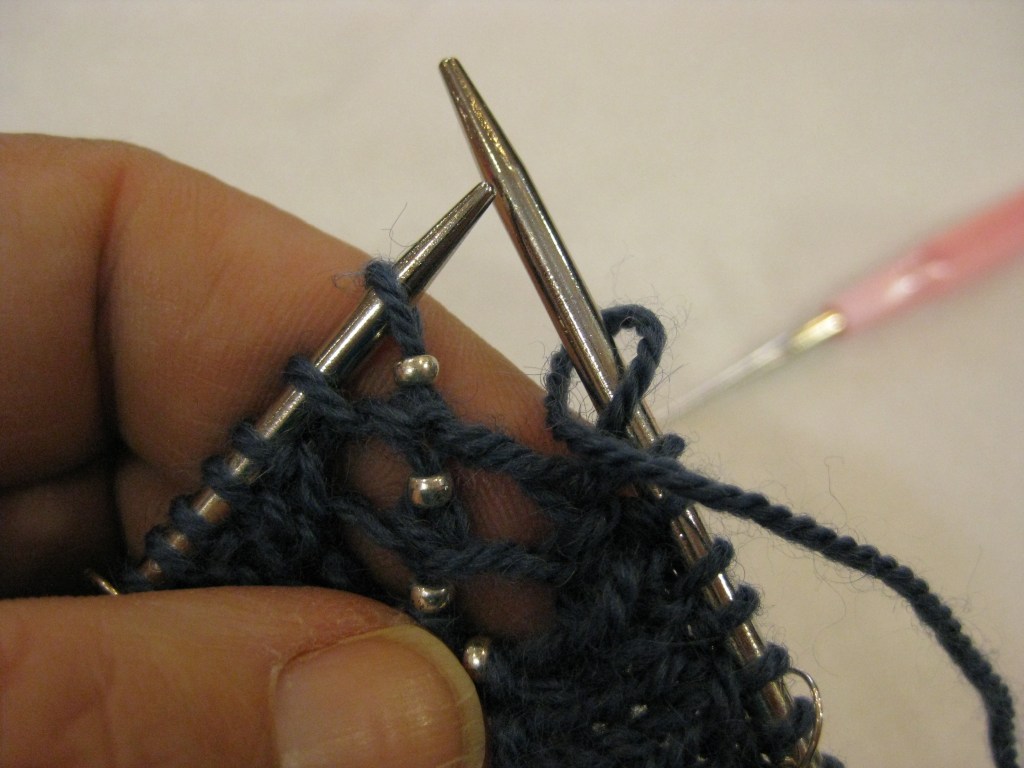
This technique allows you to place beads exactly where you want them as you knit. It requires a very small crochet hook – 0.6mm – 0.75mm most commonly (bead holes can vary, sometimes a bigger hook will work). Pick up a bead with the tip of your crochet hook, use the crochet hook to remove the next stitch from the left hand needle and then slide the bead down the hook and onto the stitch, return the stitch to the left hand needle and then work the stitch.
Beading Techniques: Pre-Strung Beads
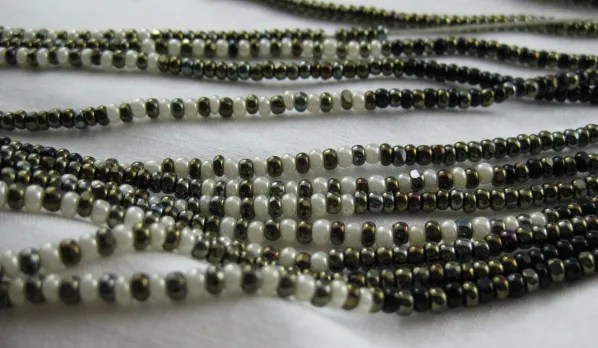
Three beading techniques requiring pre-strung beads that I use; beaded long-tail cast-on, beads between purl stitches and knitted in beads. These are all pre-strung beads, easiest in one colour, more complicated with several colours.
Notes on Pre-stringing beads: All three of these techniques require that the beads be strung onto your yarn before you start knitting. The first time that you try knitting a pattern with beads I recommend that you work a pattern with knitted in beads, keep the pattern simple. A small repeat something that mistakes won’t show as much or will be easily fixed. That way as long as you have enough beads there won’t be any problem with beads not being strung in the right order. This is the simplest way of learning.
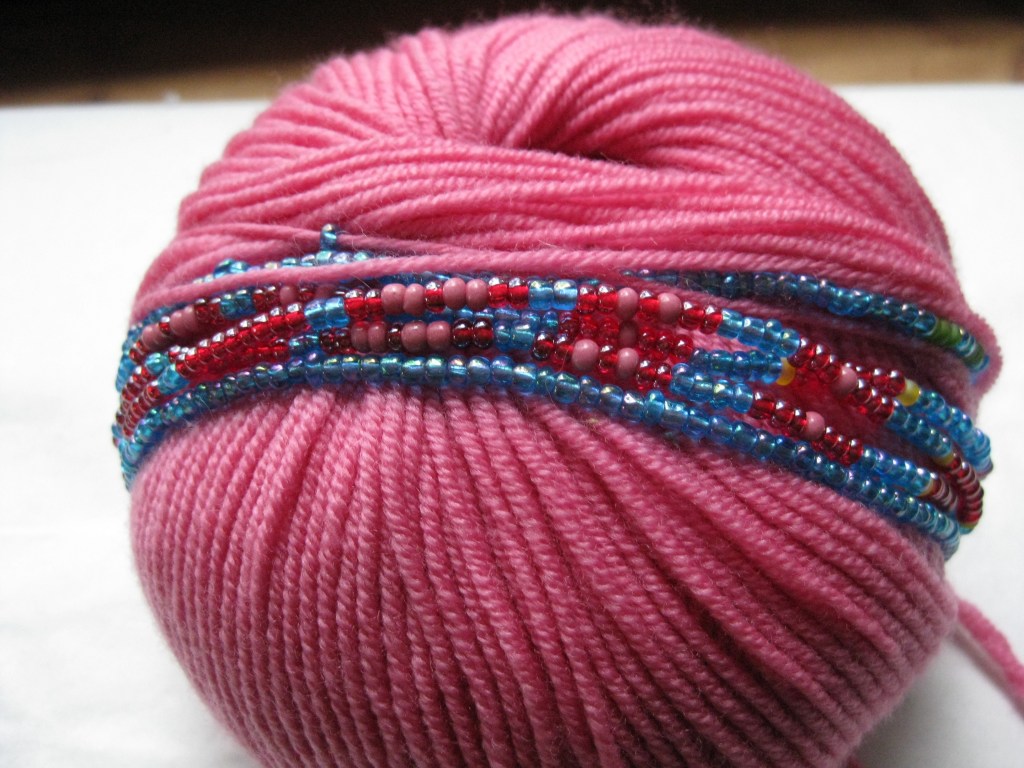
After the first time you will be able to decide if you want to knit in a coloured pattern. When working a coloured pattern the beads must be strung in the correct order. In order to do this you string the beads in the reverse order that they are being knit. The first bead knit is the last bead strung. Flip your chart upside down and use the reverse chart for the bead stringing order.
Pre-stringing Fixes: If the beads are out of order you will need to cut your yarn and fix the problem. An extra bead can be crushed with pliers. Work very carefully if crushing a bead the sharp edges can cut the yarn.
Beaded long-tail cast-on – beads are pre-strung and I usually bead every stitch or every other stitch, but for special beads, a different shape or size, the beads might be added less frequently. These beads are on the the tail (the length of yarn over your thumb). Start with your slip knot and immediately pull up 1 bead to rest close to the slip knot. *Cast on 1 (2 ) or desired number of stitches and then pull-up another bead.* Repeat from * to * until you have run out of beads and then finish your cast-on – this should give you the right number of stitches for your cast-on, if you had the right number of beads. Always check your count.
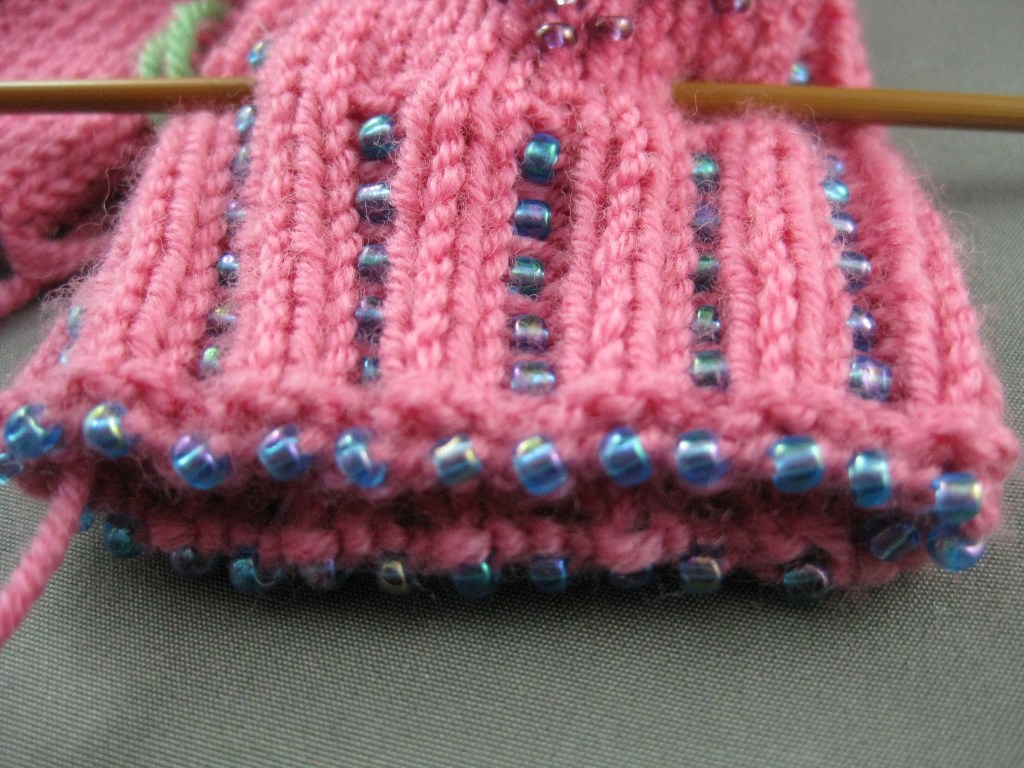
Beads between purl stitches – This is the easiest of the pre-strung beading techniques. The beads are pulled up and placed between your purl stitches The purl stitches hold them in place. This technique does not work well between knit stitches as they will fall to the purl side.
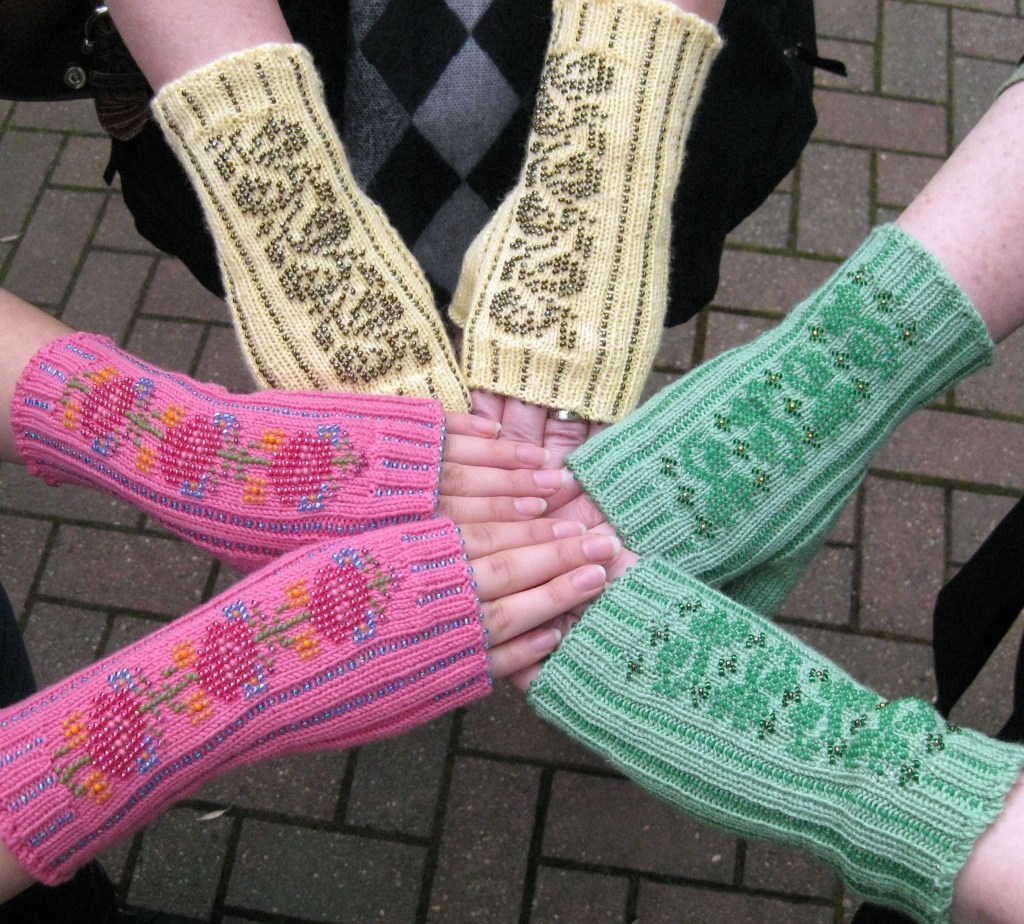
Bead Knitting – creates a solid beaded surface
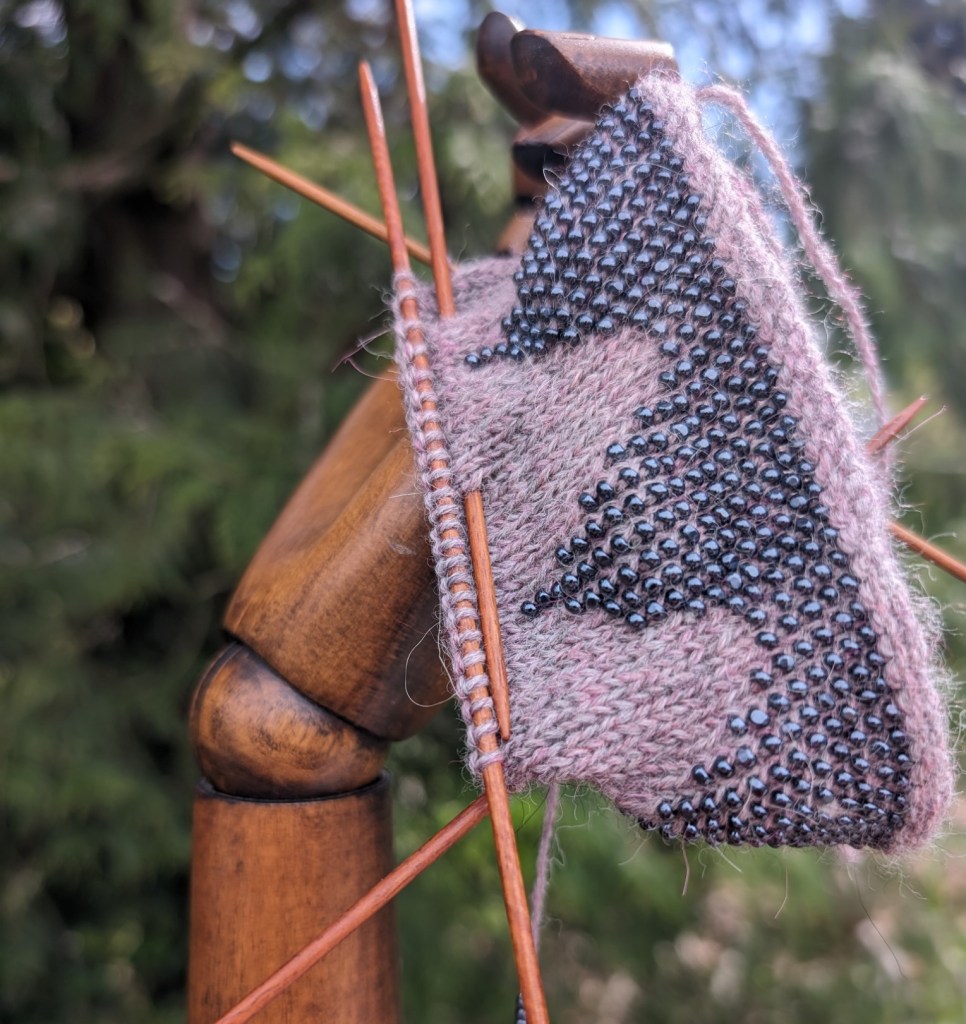
Method and rules: Knitted in Beads –
1) When knitting in your bead you will always knit into the back of the stitch on which you wish to place your bead. The twisting of the stitch by knitting through the back of the loop insures that the bead will be locked into place.
2) When the needle is in place in the back of the stitch, pull up the bead up to approx ¼ of an inch away from your knitting. As you knit the stitch, pull the bead through to rest on the front arm of your stitch.
3) The bead will be furthered anchored when the stitch on top of it is also knitted through the back of the loop. This is done when knitting the next row of beads in place. If beading the next row you will automatically twist the stitch with your current bead. If no bead is being knit into place simply knit into the back of the stitch above the bead to finish the anchoring process.
If you are looking for more information on Knitting with Beads or Bead Knitting the Mary Thomas Knitting Book is still one of the best. It was originally published in 1936 and most of the modern writing on the topic references back to this book.
A New Project in the Planning Stage
I have collected so many colours of beads over my years of knitting. More than enough to create a completely bead knit bag. I would work it in Handmaiden Lace Silk. I have a good quantity of that to hand. It would certainly be easier to work with than a linen thread – if I could find some of this thread strong and long enough. The yarn for bead work like this has to be strong and long with no knots if I plan on stringing thousands of beads. And I am. Am I crazy?
So am I crazy? Or what? Are you crazy too?
If you are interested in more – I have just been looking at beads for the background. I usually order from Bead F/X in Toronto when I need a larger quantity of beads. They offer design size pkg of beads – approx 9000 beads per 250 grs of 8/0’s. These are the three possible colours that I am considering. Maybe you might want to check our some options for beading your knits.
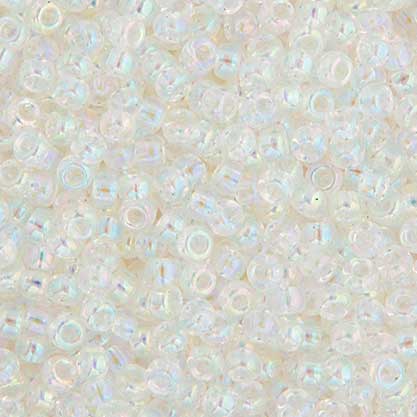
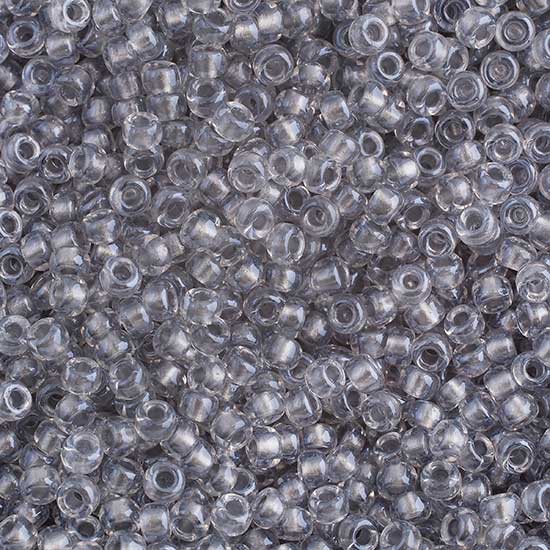
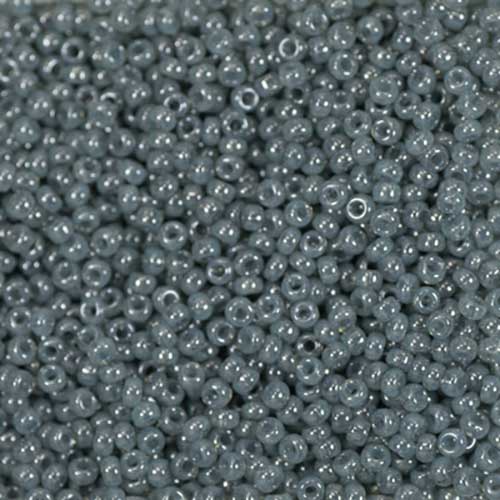
I will probably only order two colours, but first I have to decide on my pattern colours and then pick the background! This may require some swatching. I dusted off my swatch instructions for bead knitting. If you are interested in giving it a try, this swatch is a fairly inoffensive way to begin.
I am going to start playing with some swatching – I will keep you updated.
Happy Knitting and Planning
Lynette