
Mending a Ribbed Cuff – replacing the rib
Yesterday I mended the blue sweater cuff. It took about two and a half hours, including the knitting time. Why did I wait so long? I’ve had the yarn for close to three years! Other things kept getting in the way. And I would rather knit than mend! Wouldn’t you?
I am working on changing that attitude within myself.
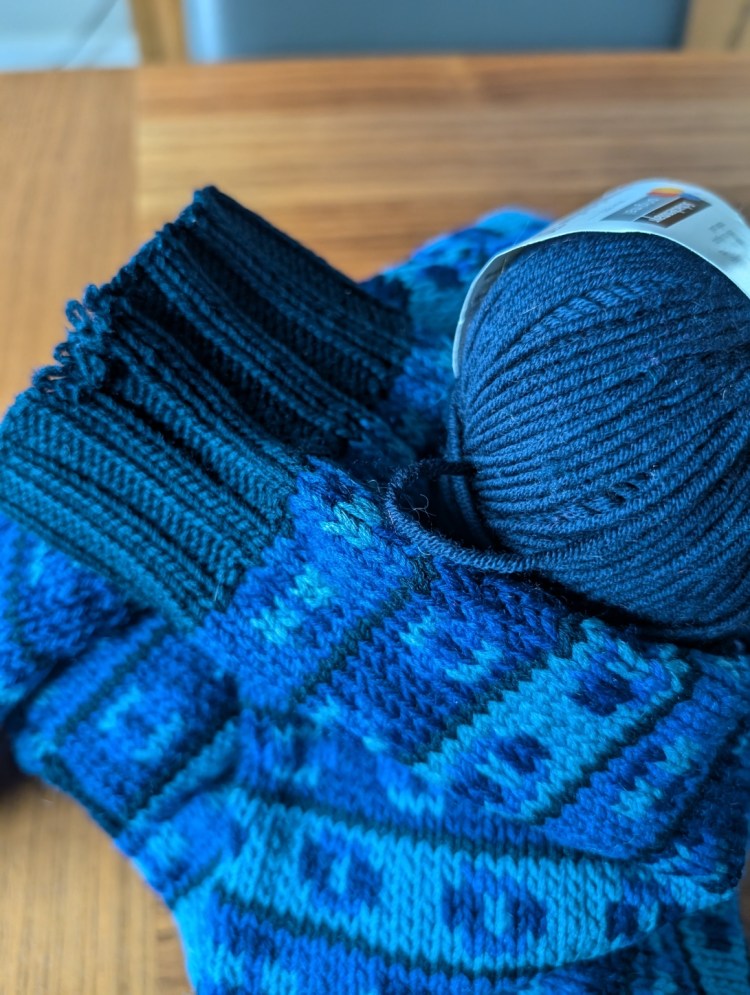
This sweater was knit in the round. Bottom up for the body, but top down for the sleeves.
At the time, I knew my yardage was limited and I wanted to make sure that each sleeve was the same and that the yardage went as far as possible. Top-down knitting is the best way to make that happen. It worked well for this project. I finished the sweater with only a little of the main shade of blue to spare.
The original yarn was a dk, so I decided to work the cuff with a set of 3.5mm US #4 dpn’s.
Top-down knitting also makes it easier to mend/replace the bits that wear out, like the sleeve cuffs. Had I knit the sleeves from the cuff up I would have had to cut the knitting at the join of the cuff and very carefully retrieve my live stitches above the cuff. That will be a demonstration for another day and a different sweater!
When working with an older sweater, the stitches will not usually run down the knitting in the same way as a garment that you are working. After a certain amount of time the yarn itself has been almost pressed into shape with folds and bends. You can see in the unraveled yarn and stitches at the end of the cuff (4th picture in the sequence) that the shape is set and unwilling to move. A bonus, one that makes the work you are trying to achieve a little easier.
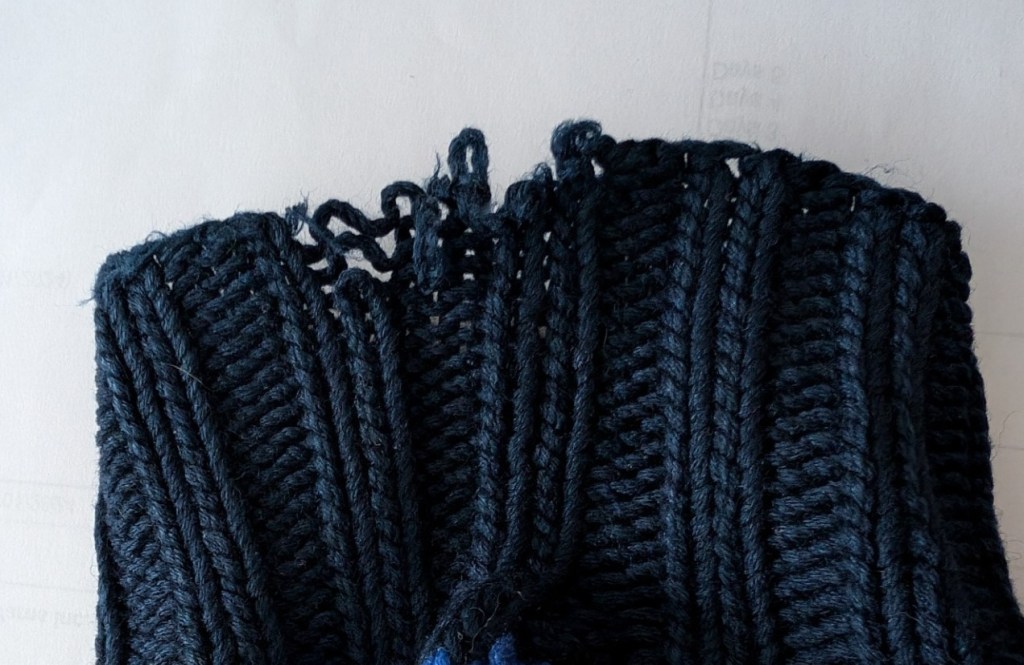
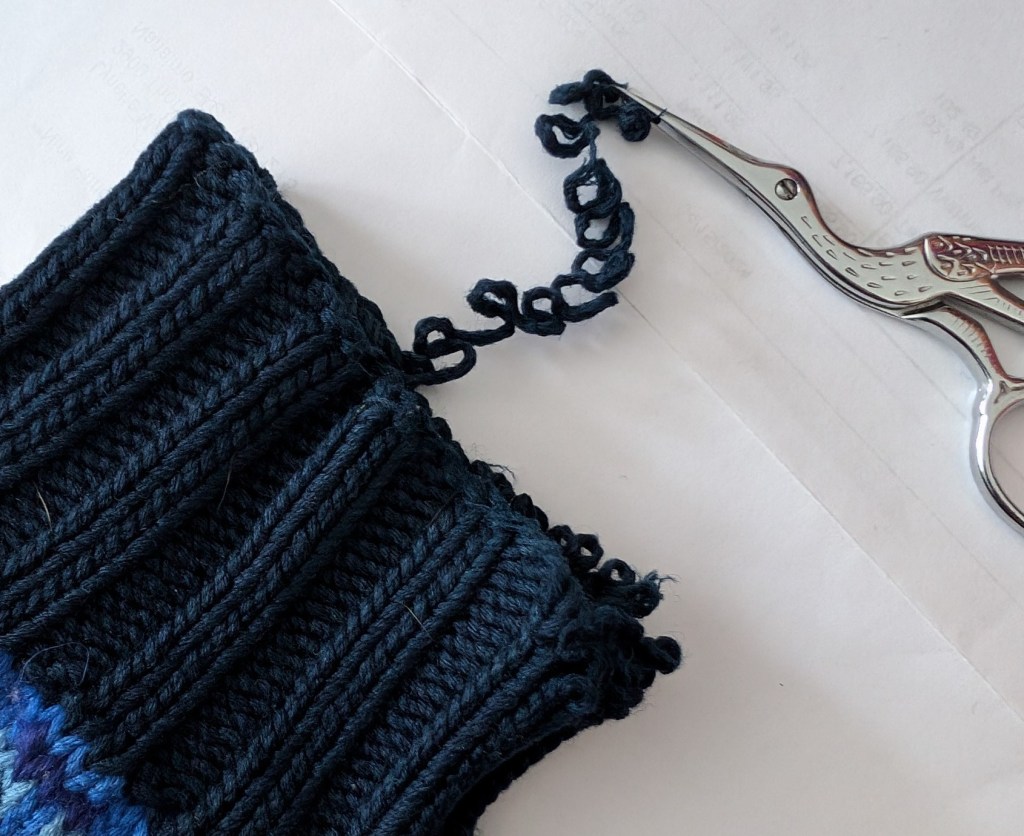
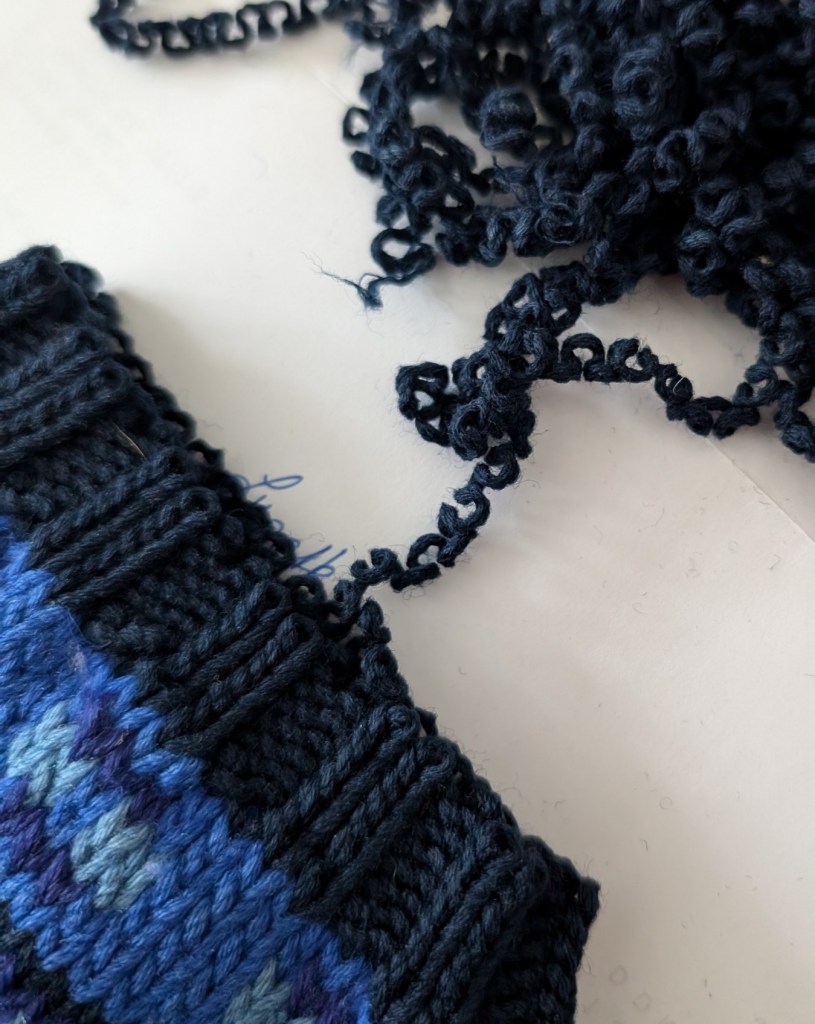
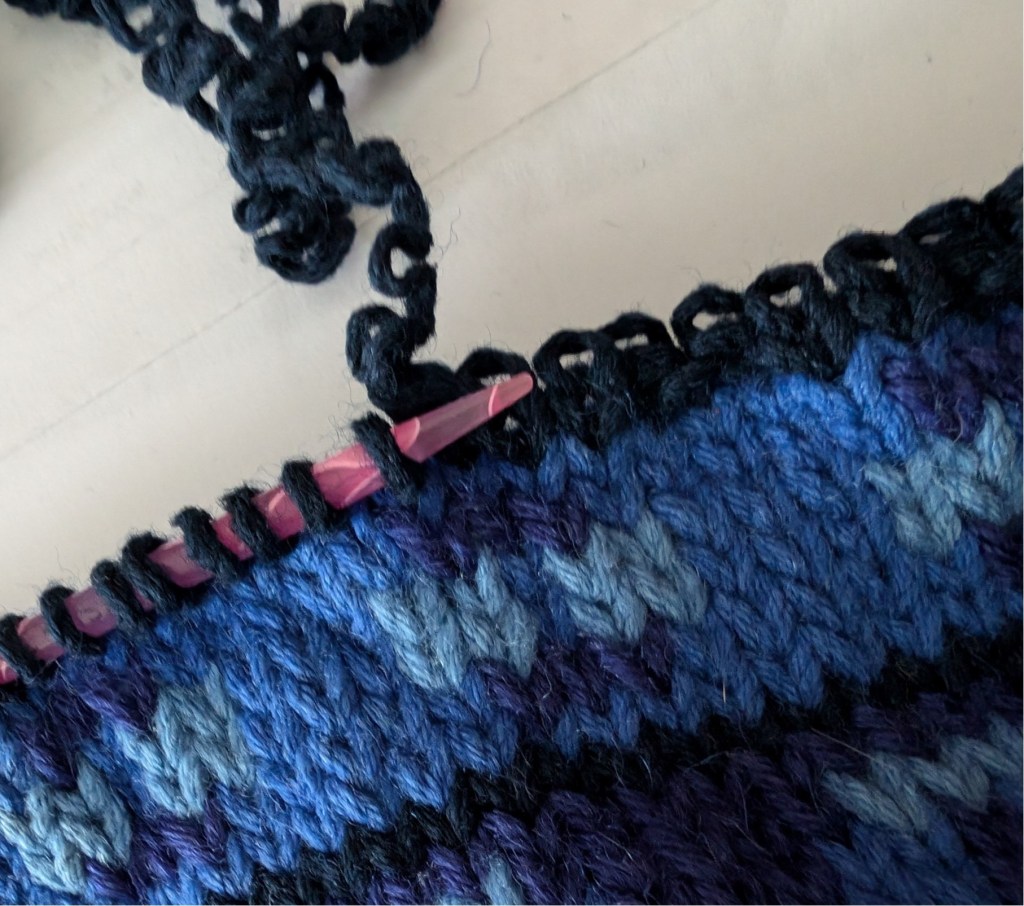
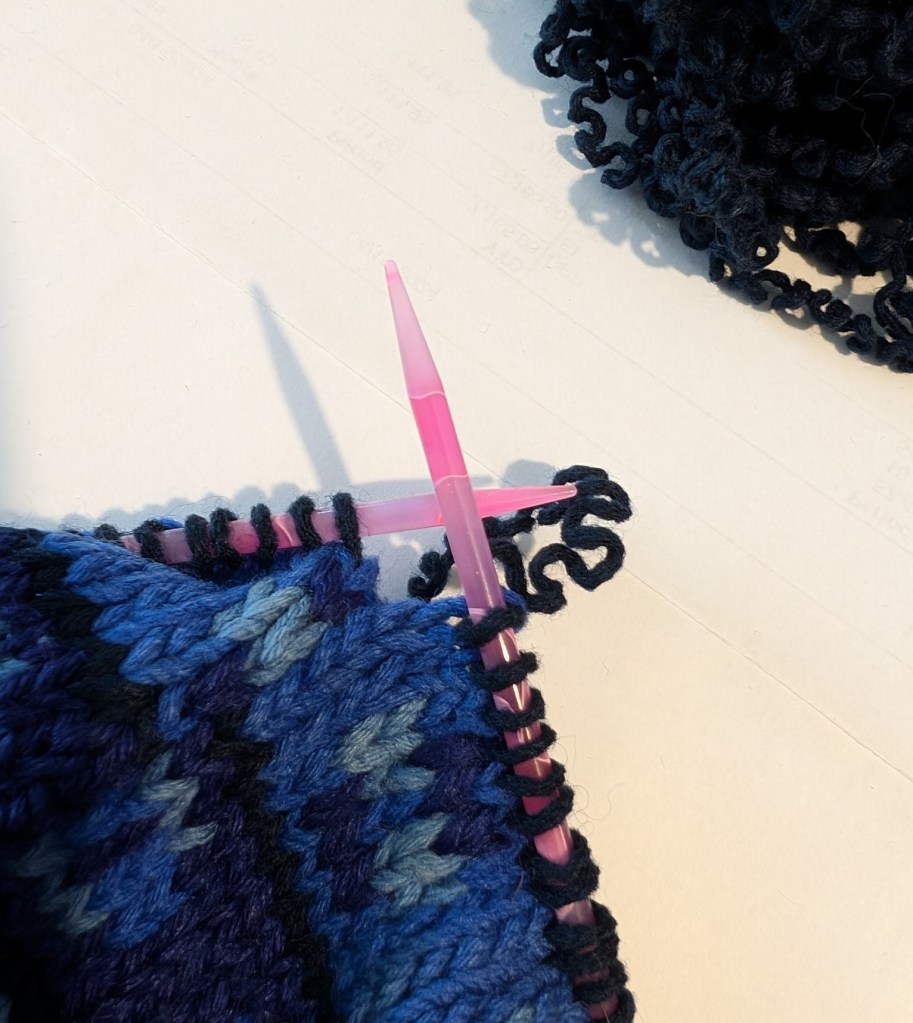
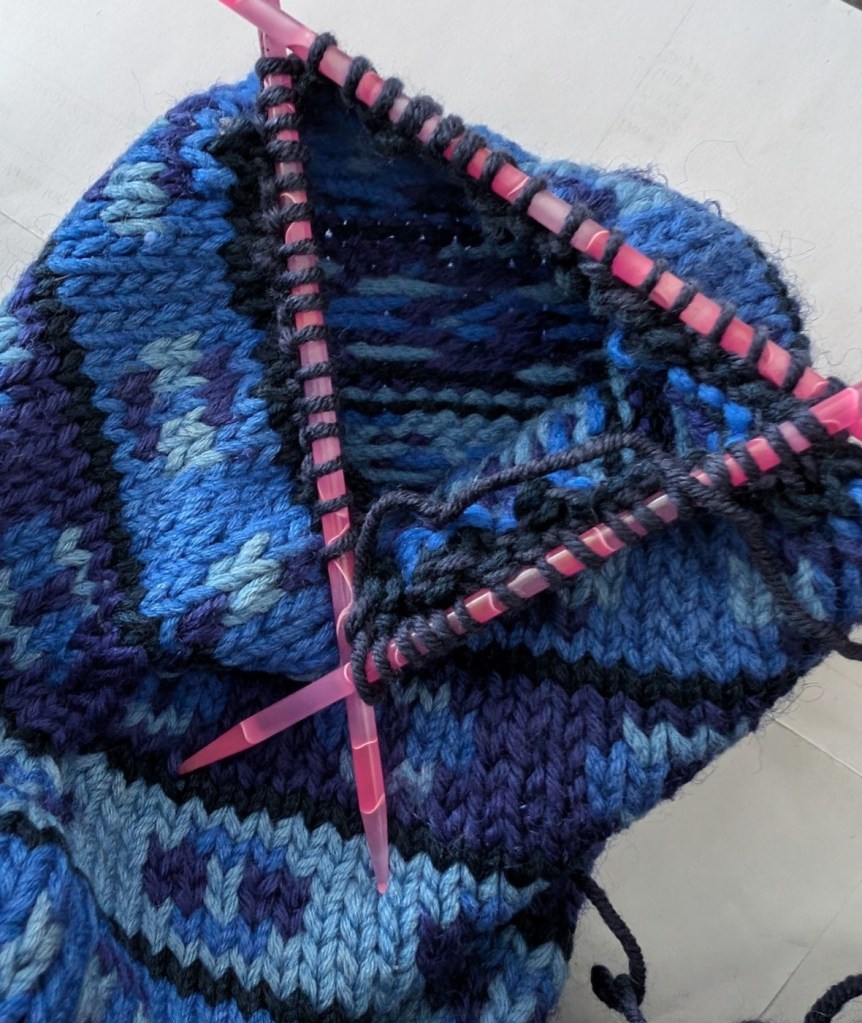
I am very happy with the results. The new blue cuff is not perfect, but perfect enough for a sweater that was knit in 1990, 34 years ago. The neck may be the next piece that needs replacing, I noticed some wear along the back, but that is a problem for another day!
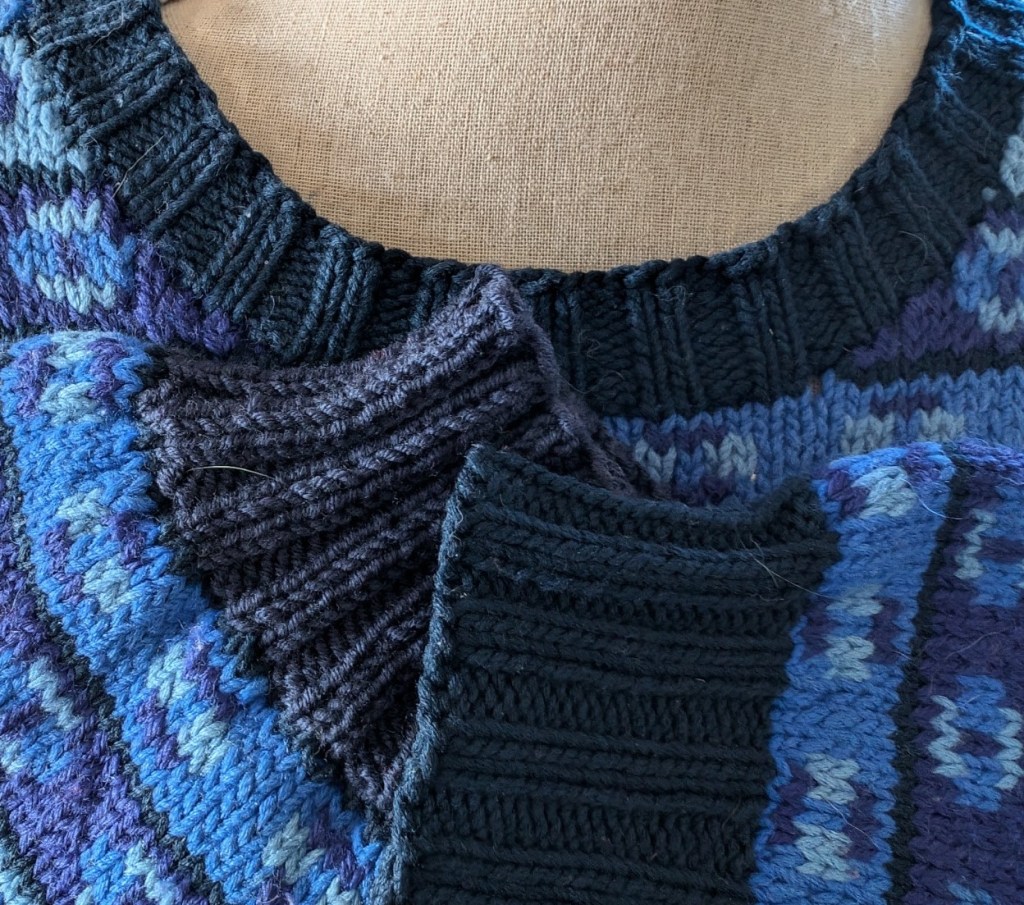
Happy Mending
Lynette

