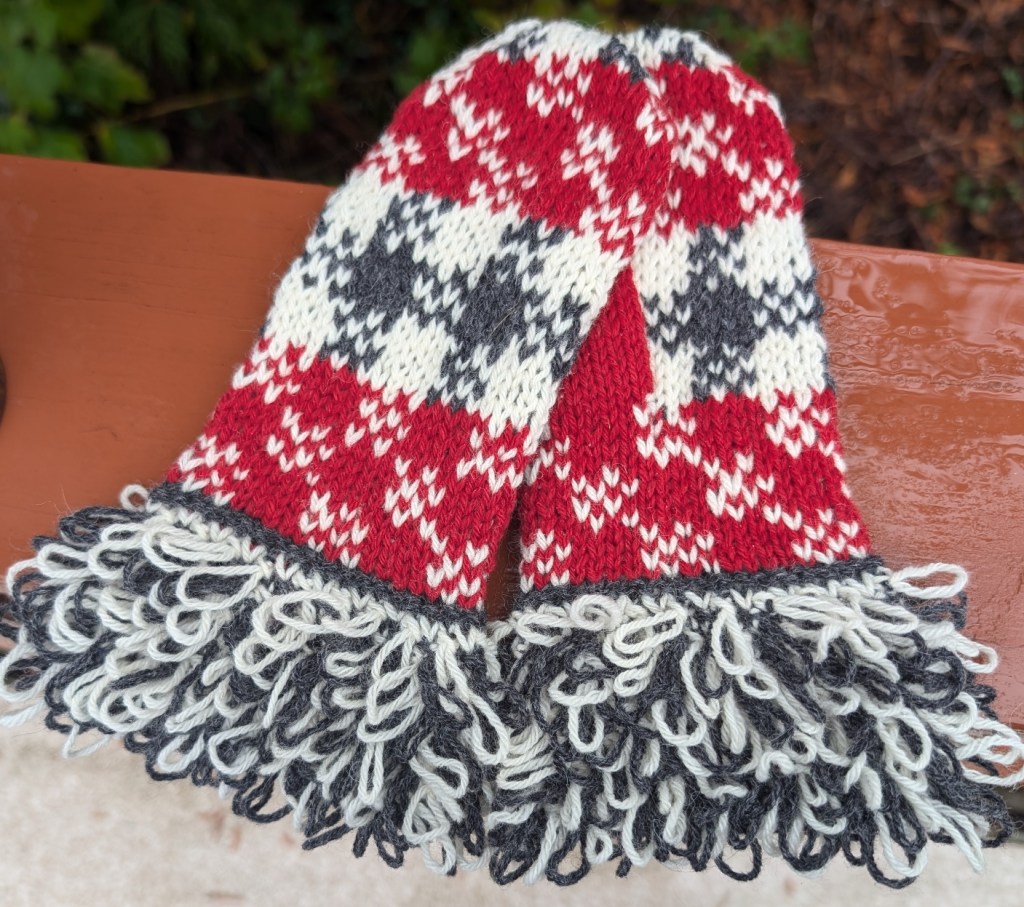
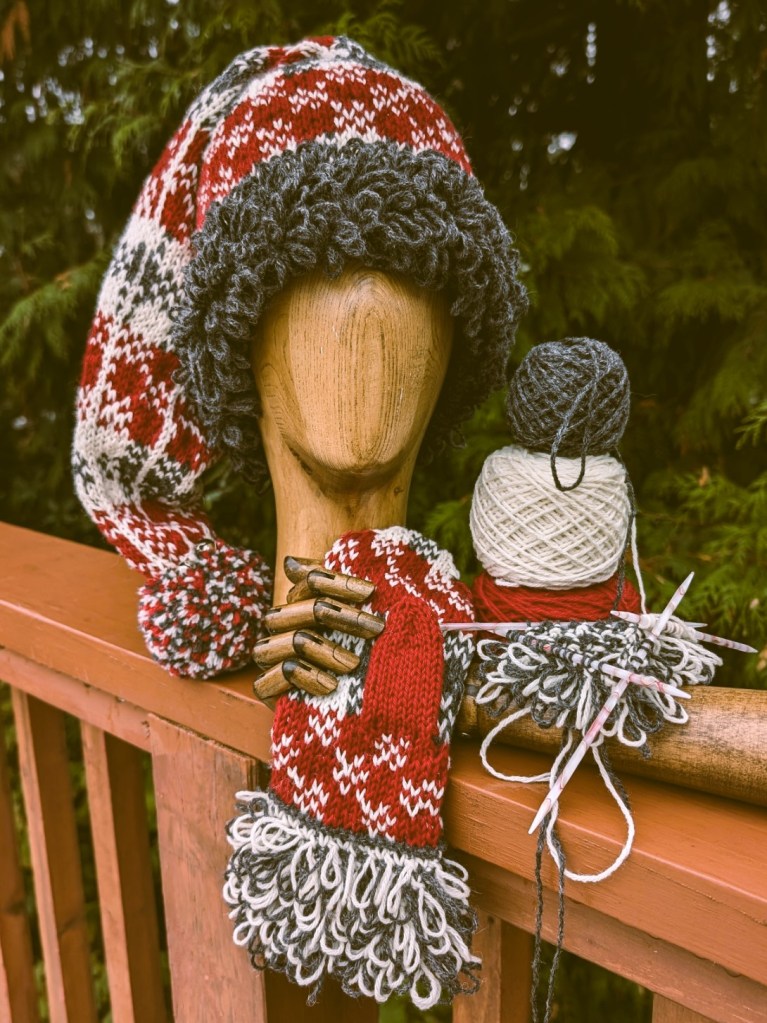
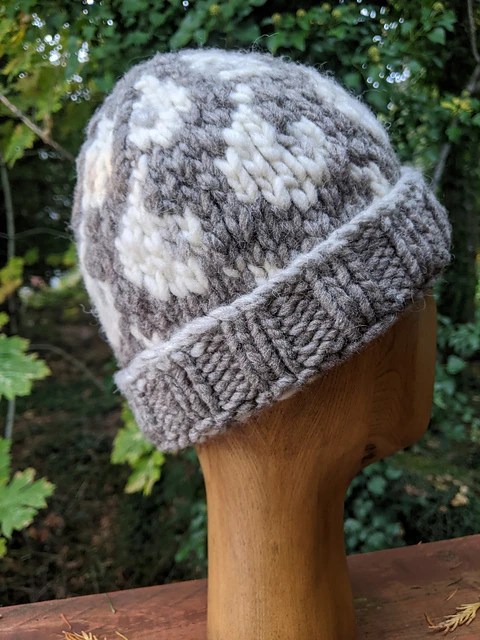
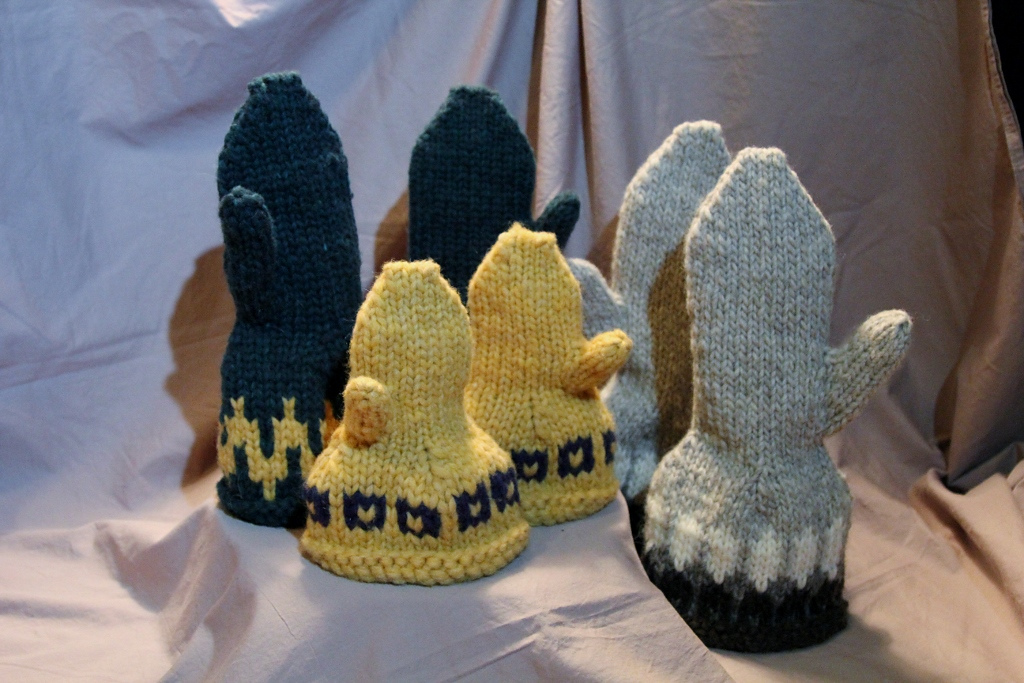
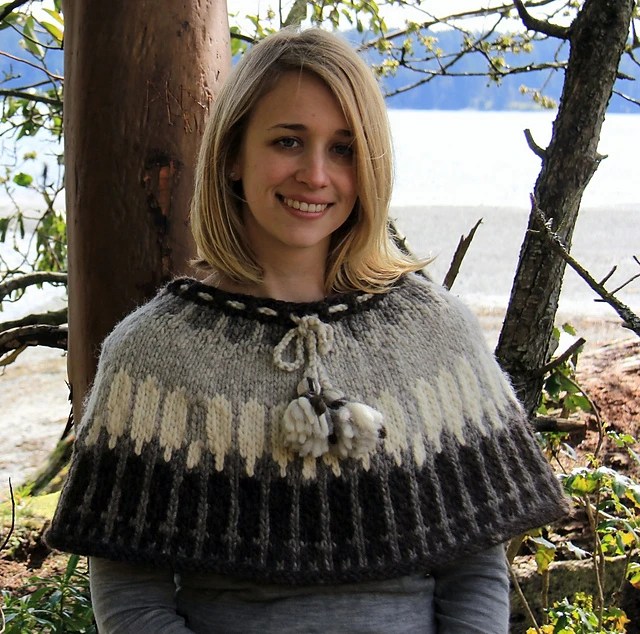
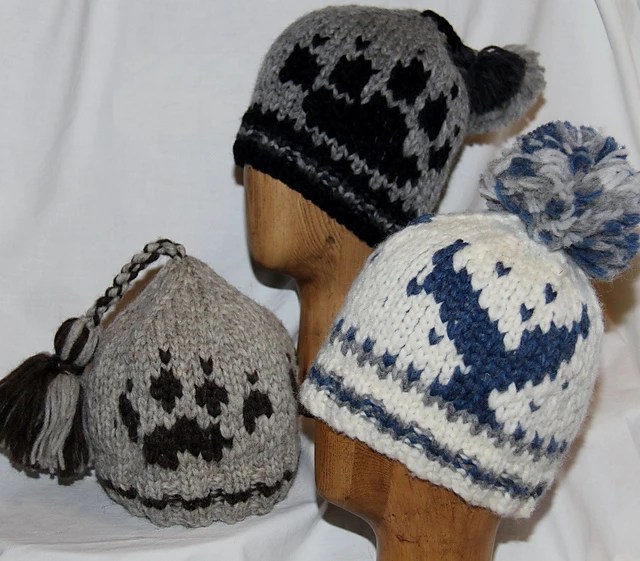
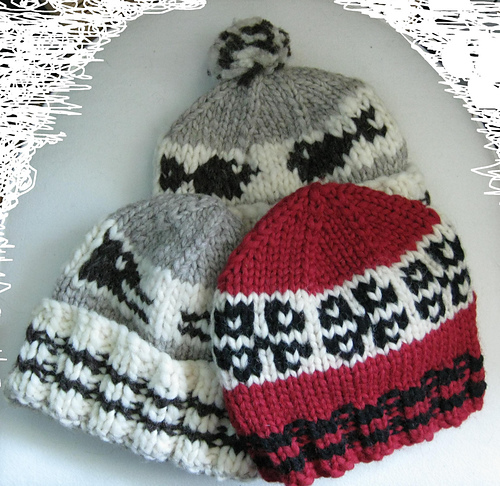
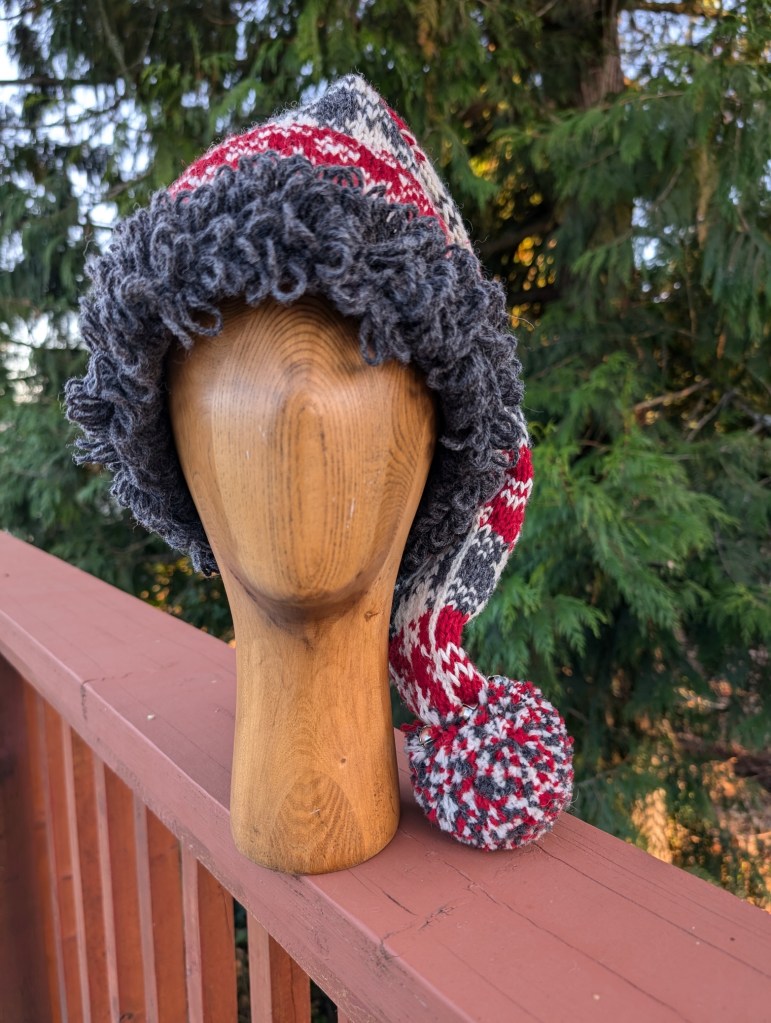
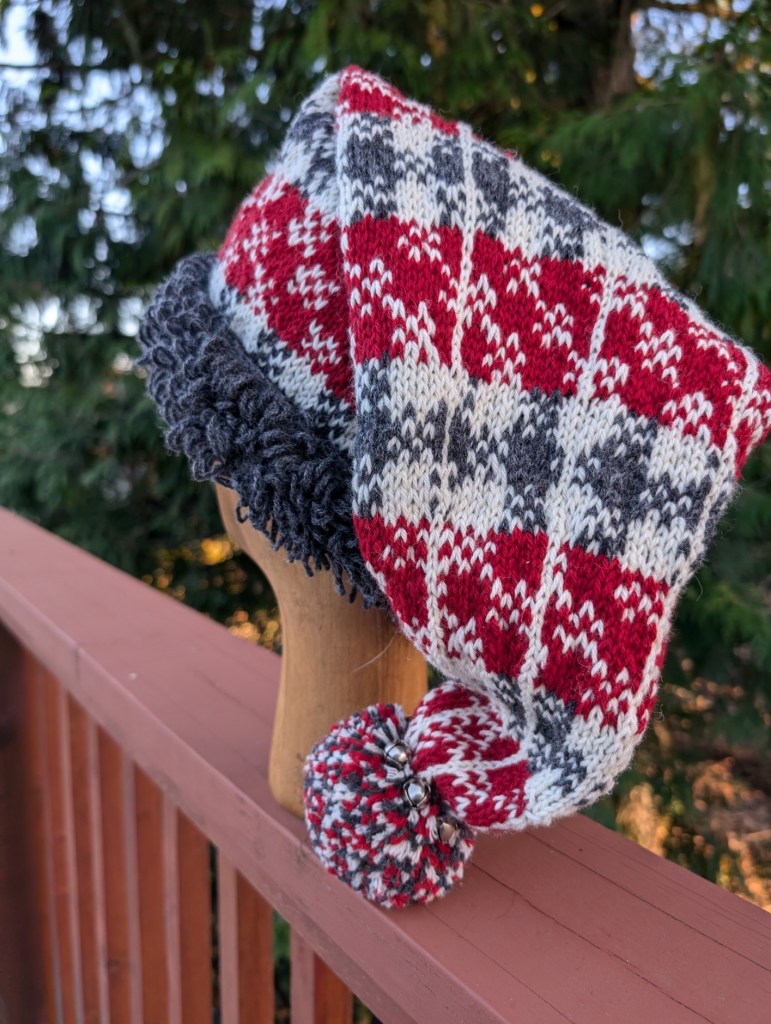
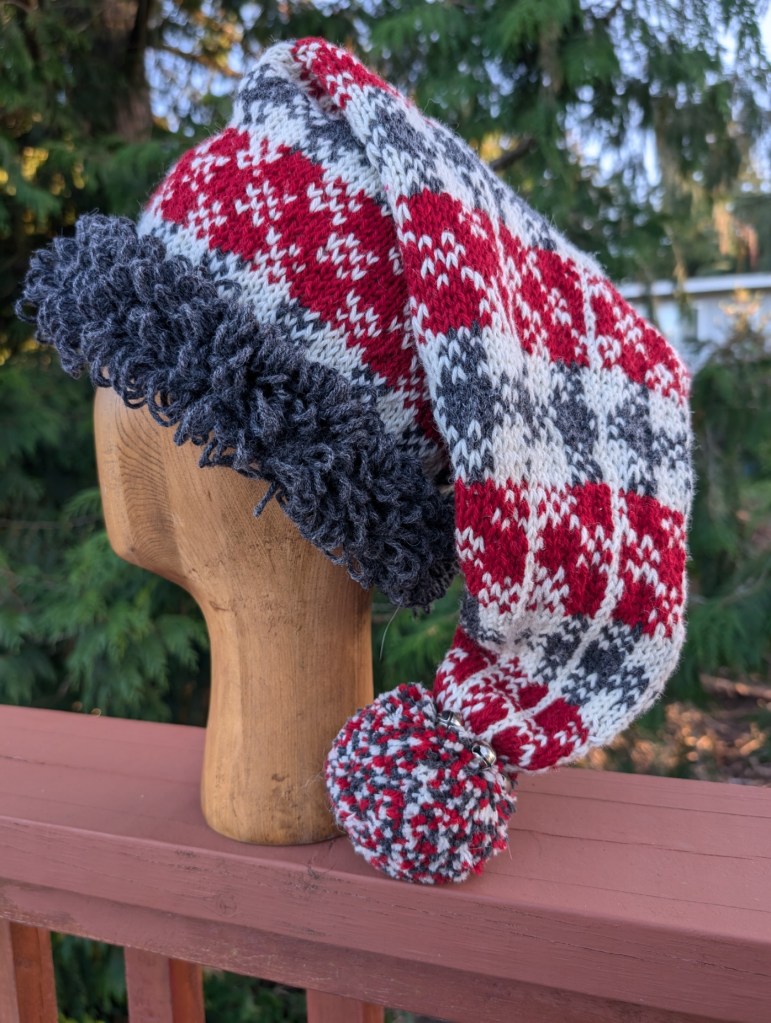
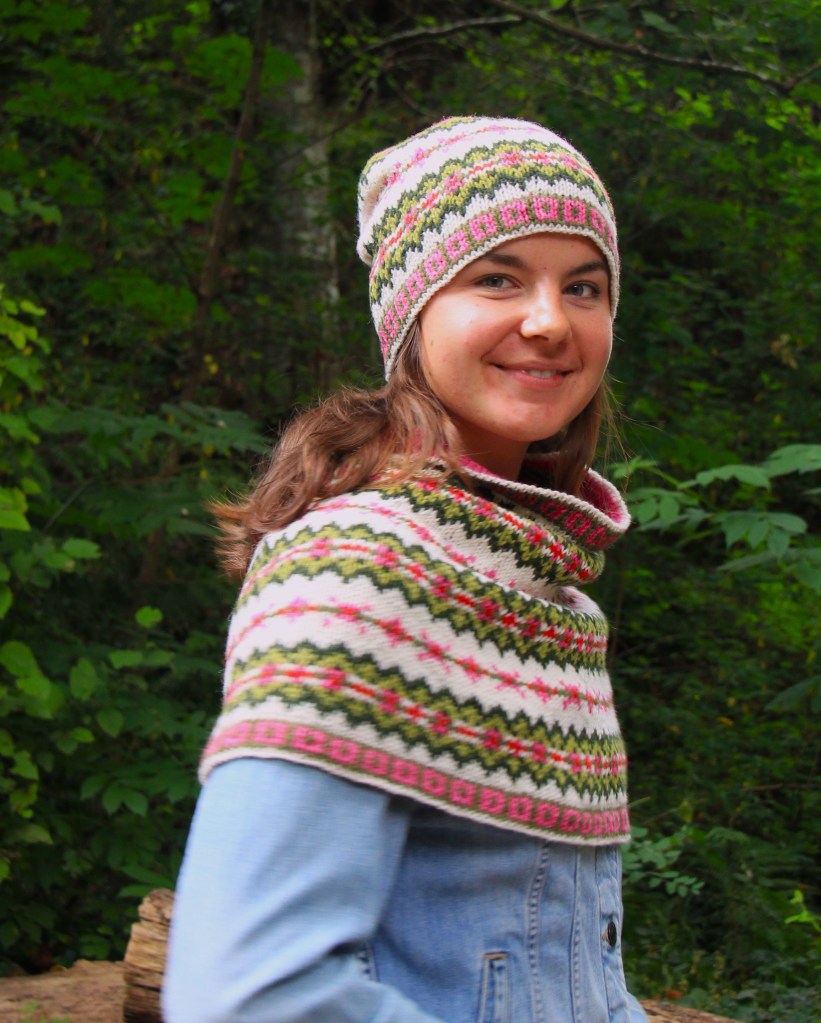
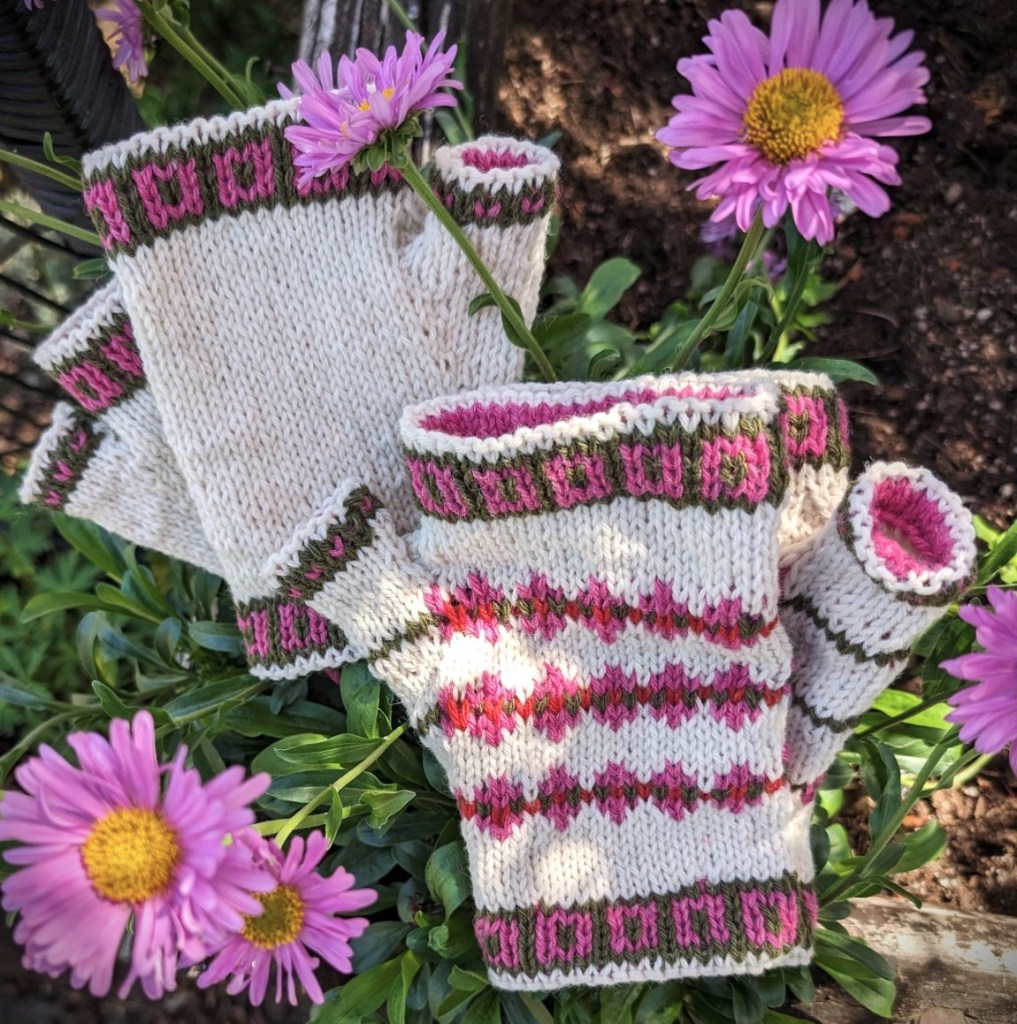
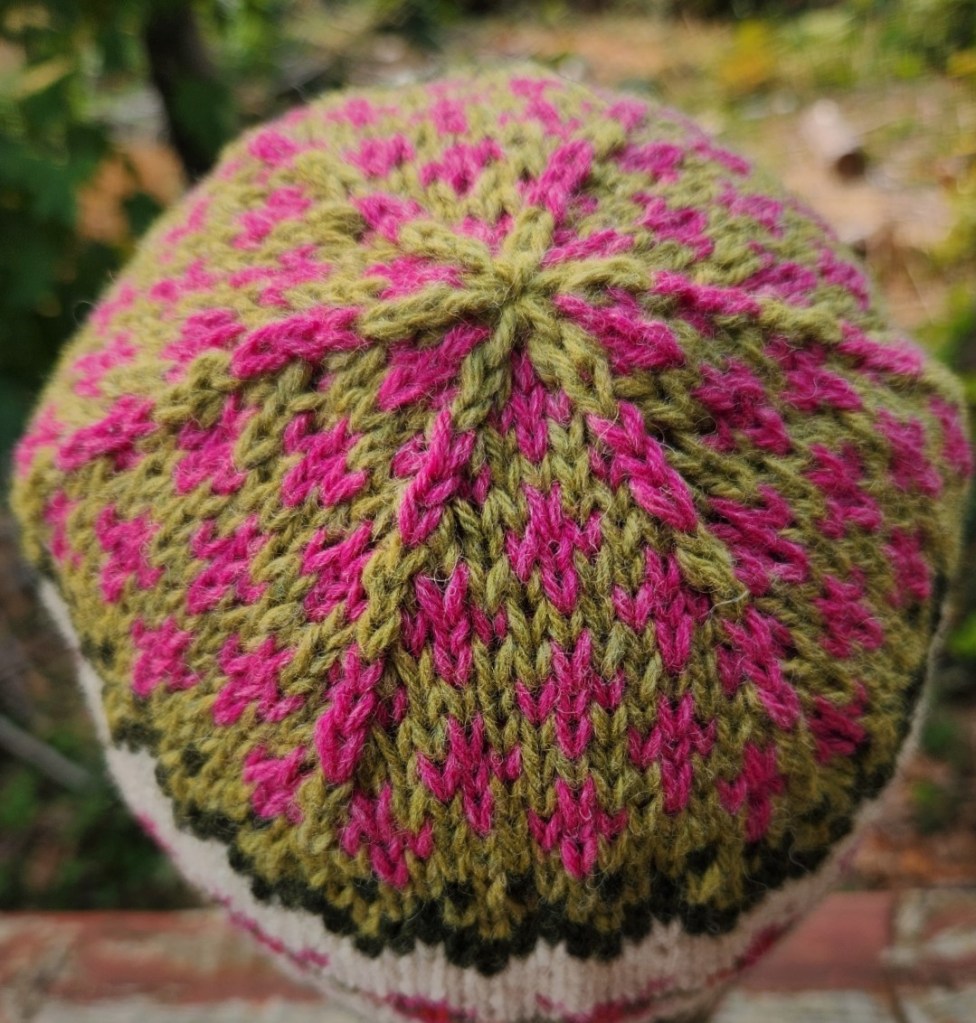
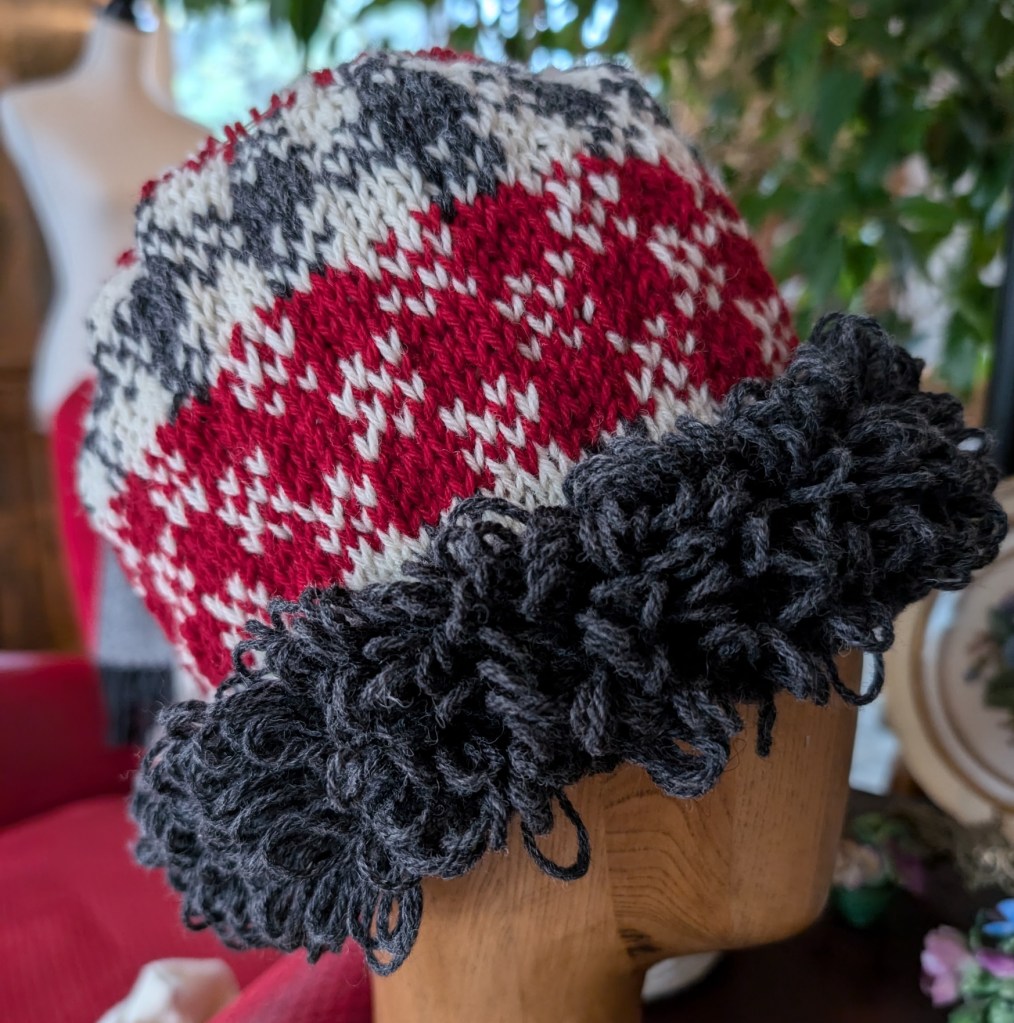
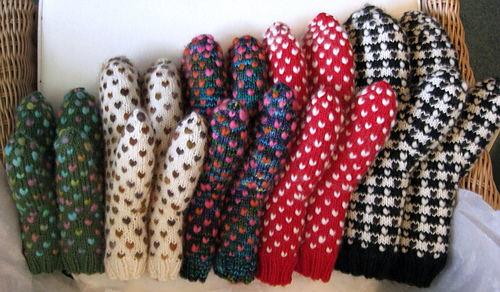
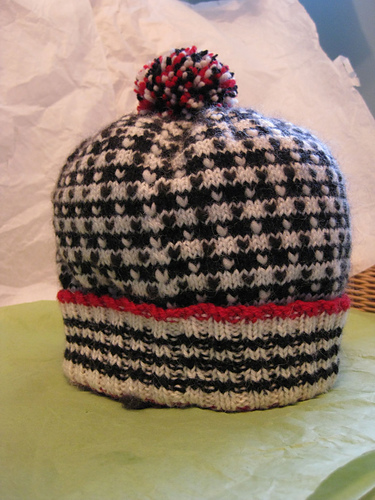
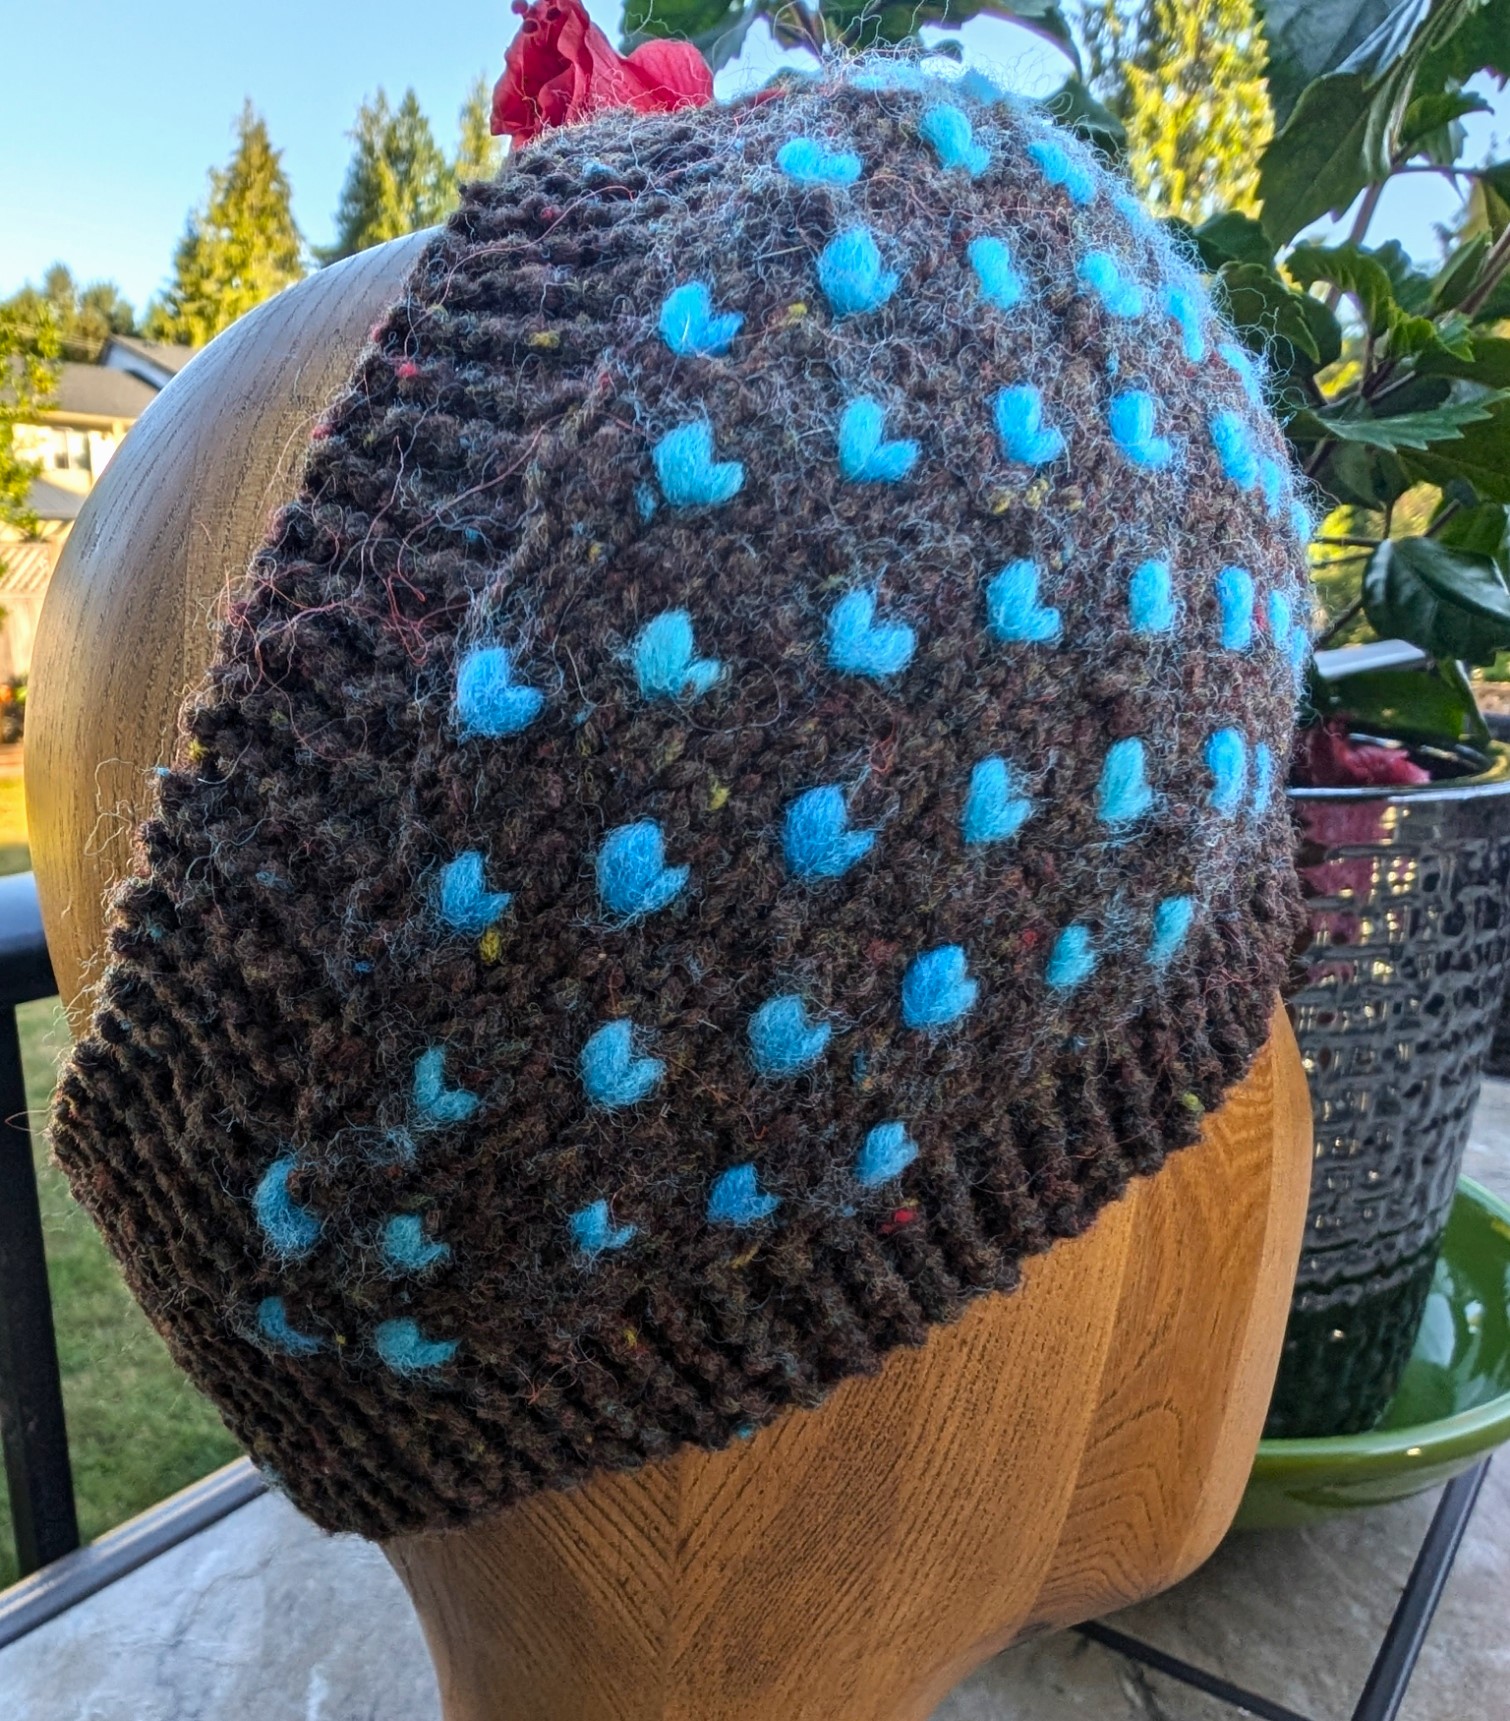
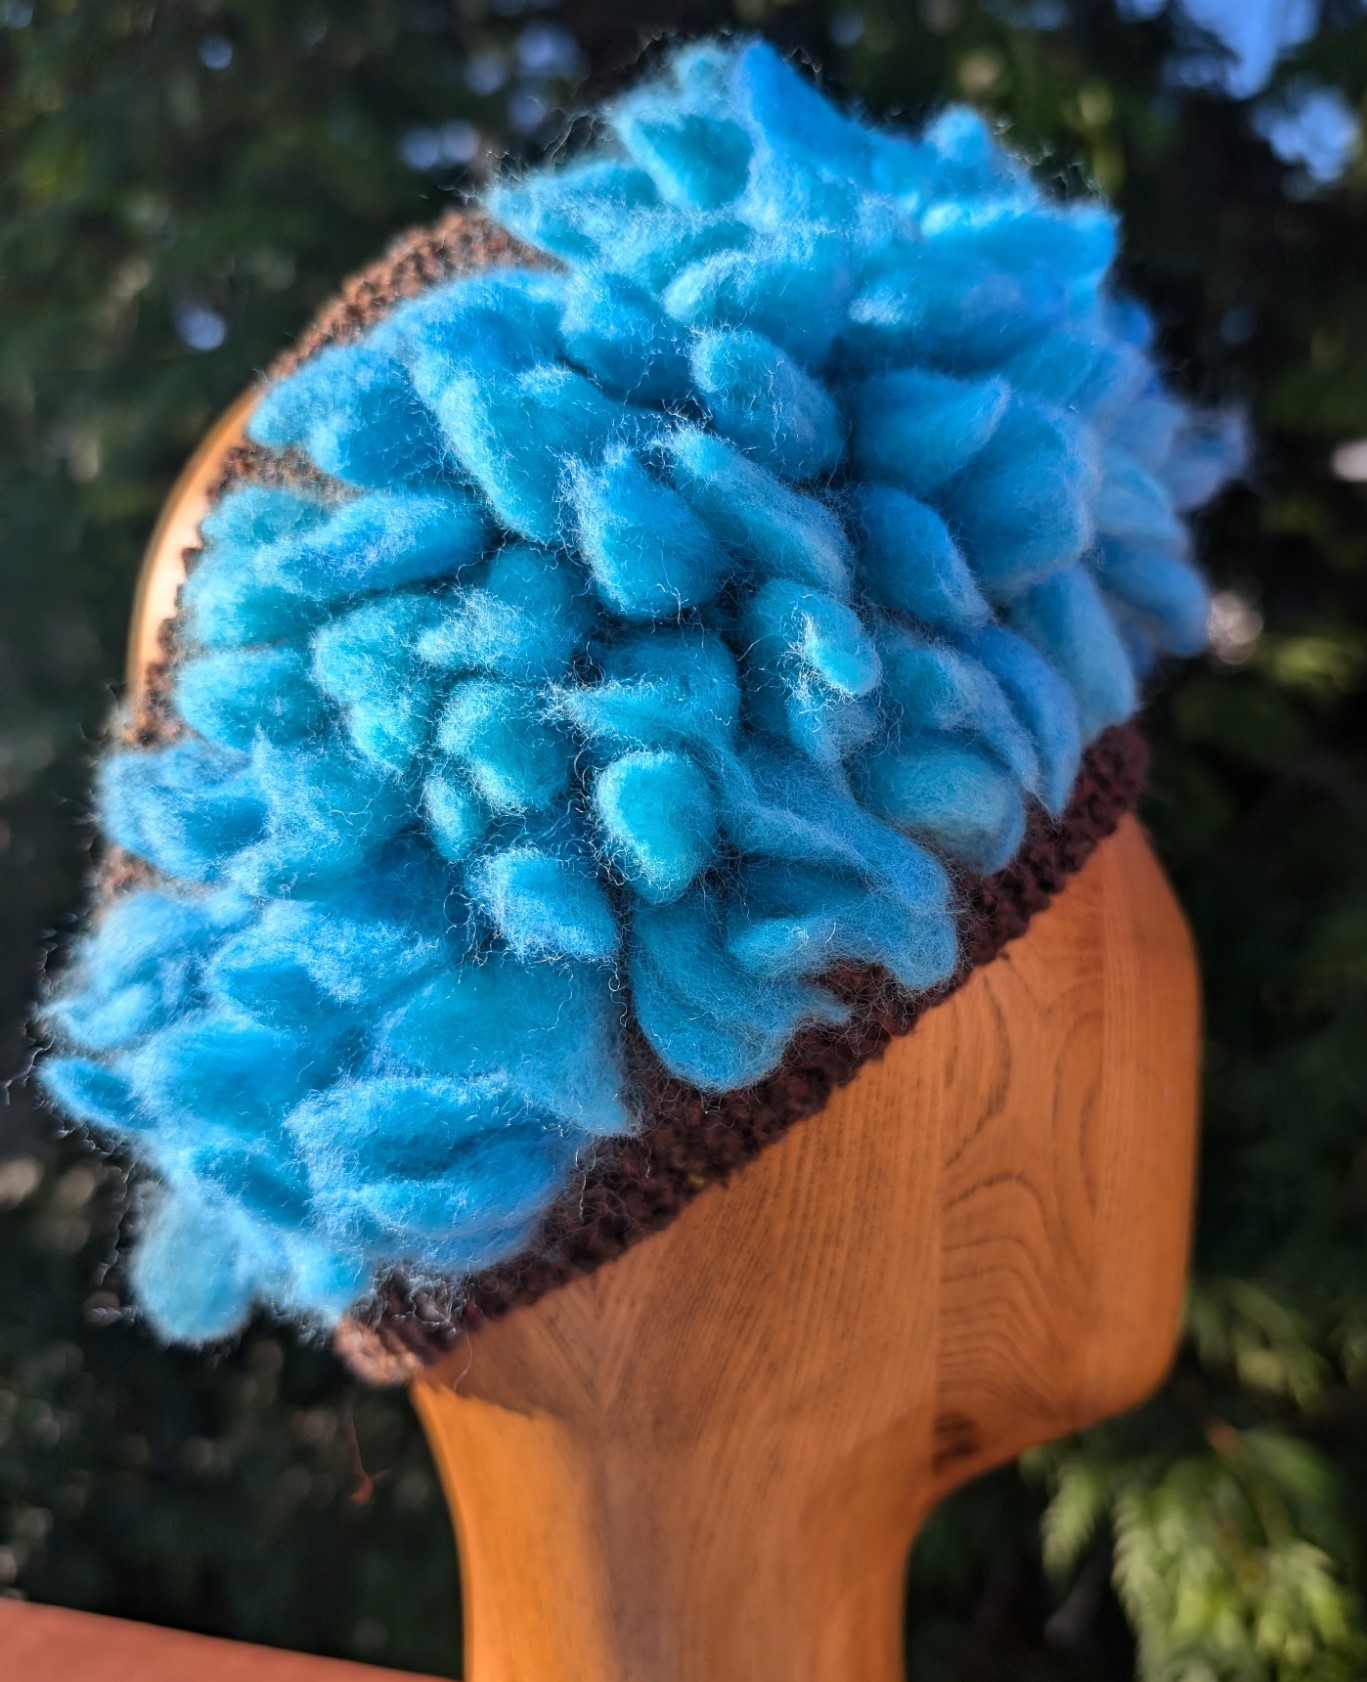
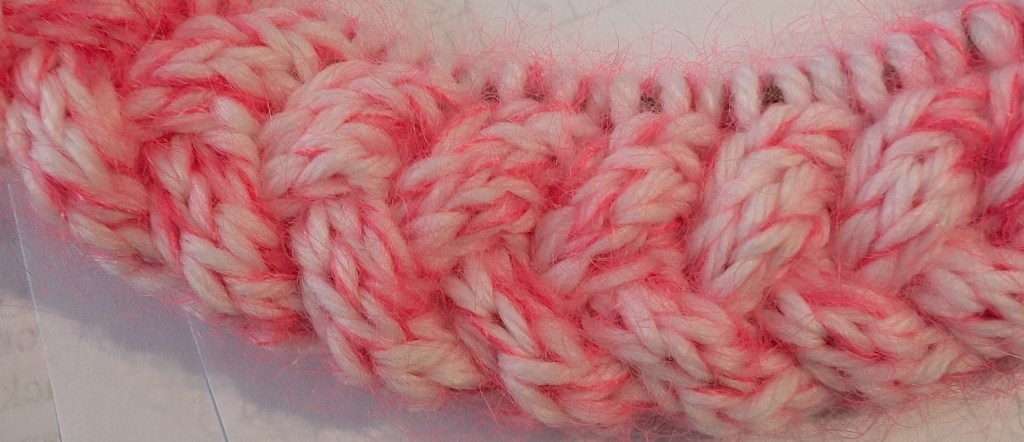
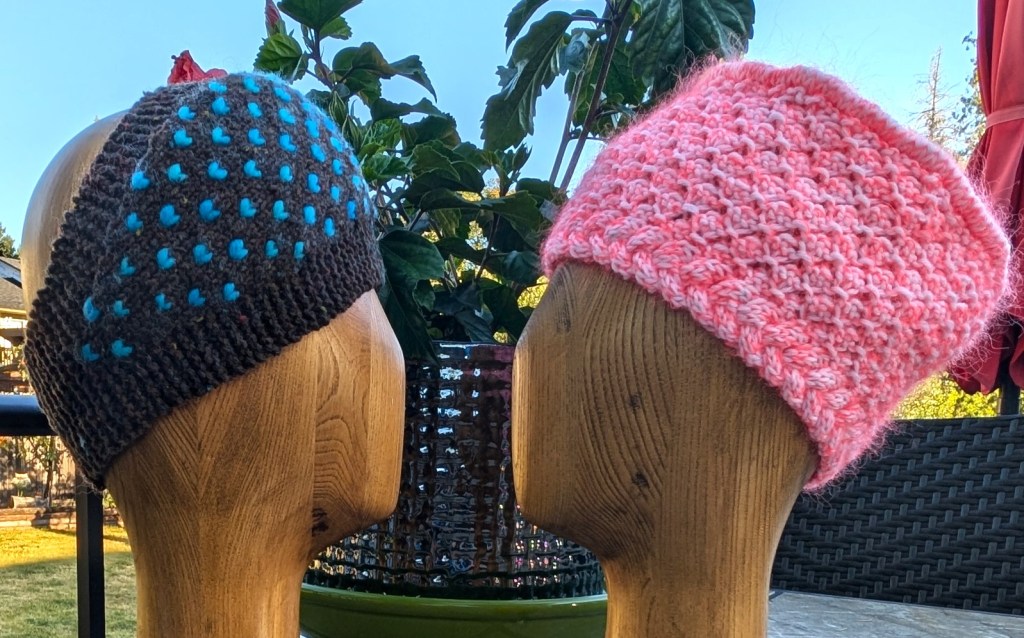
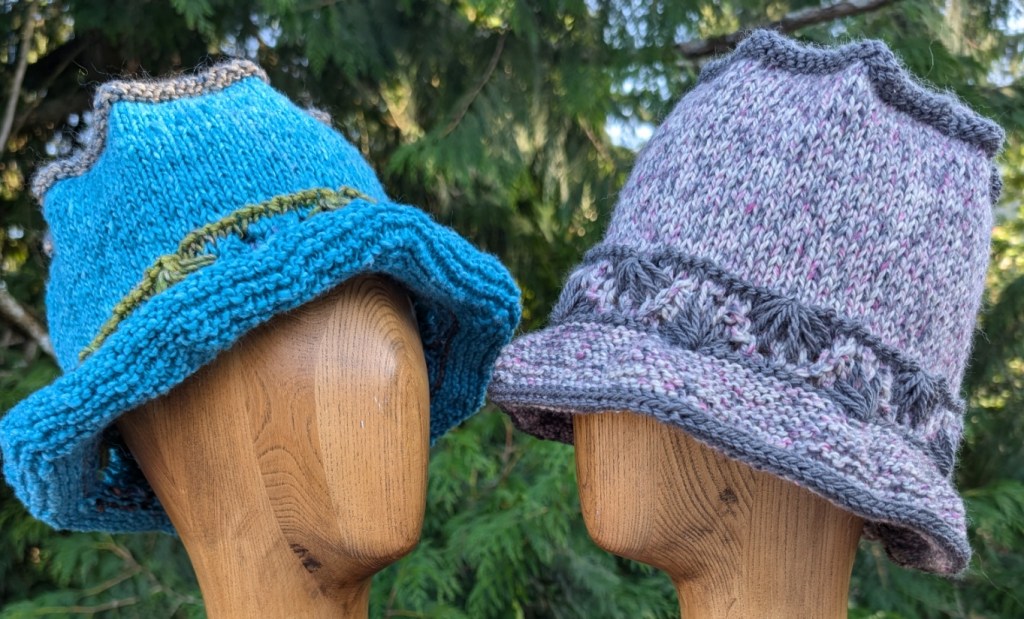
Now that the class has started there has been a request for a mitten pattern to co-ordinate with the hat! So…
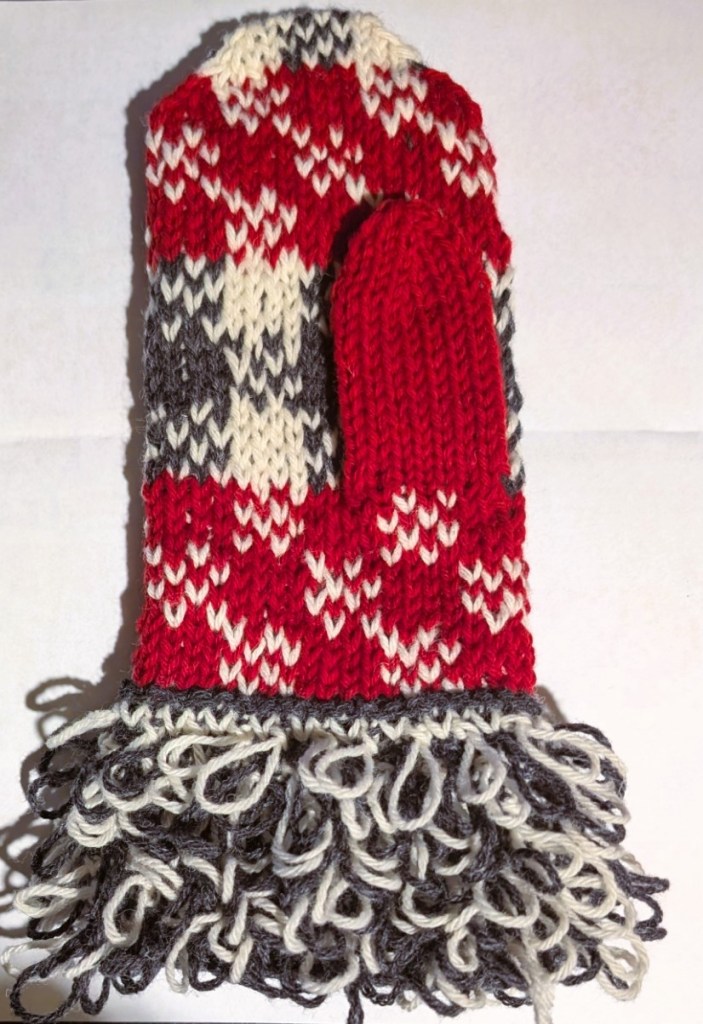
I am knitting a pair. The first mitten is complete and the second it started! There will be two sizes of mittens, small/medium (for me) and a medium/large. I am knitting the small/medium as the sample pair. UPDATE – the second mitten is finished! They practically knit themselves!
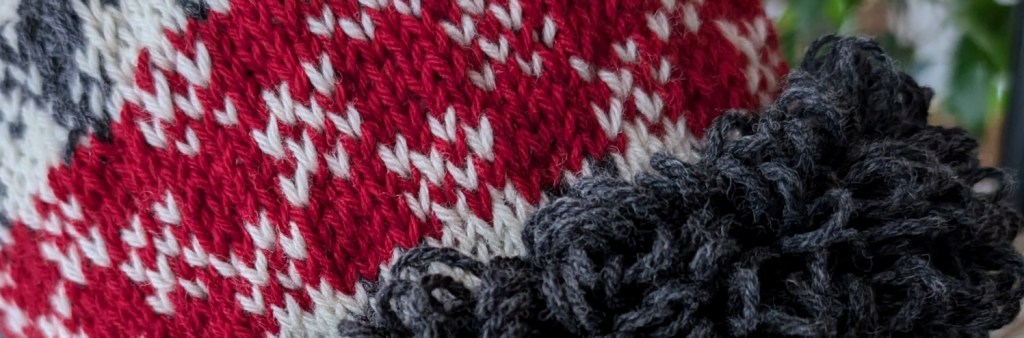
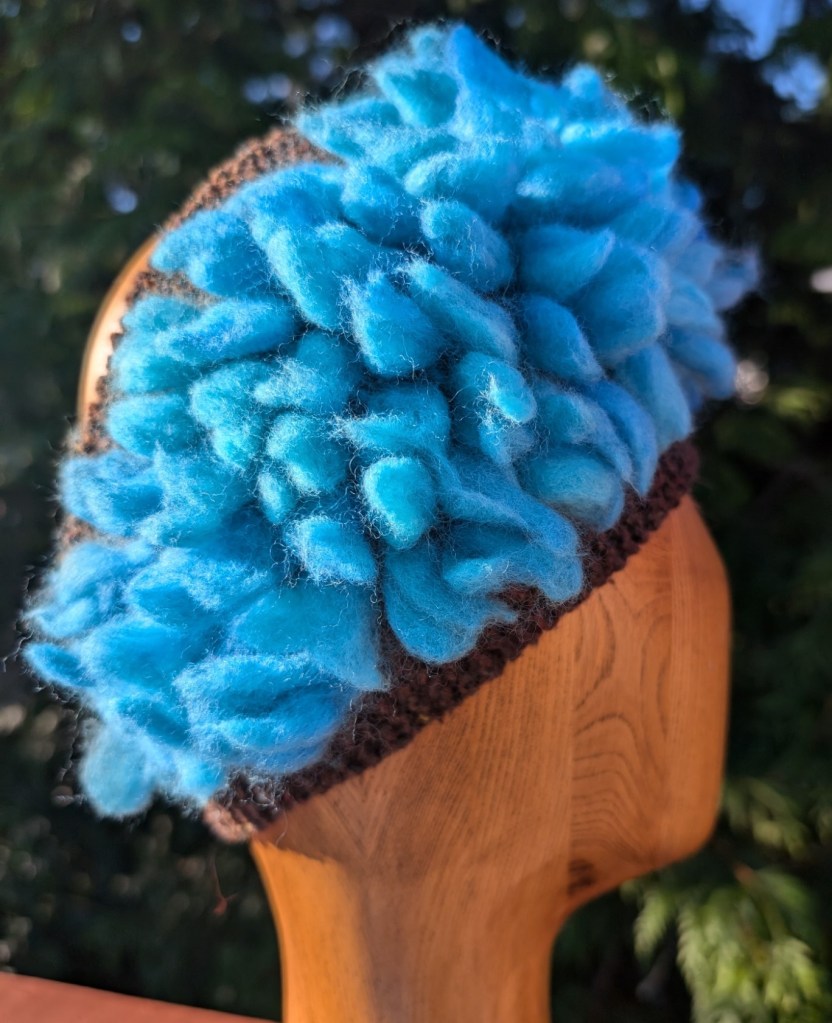
I decided to knit the loopy cuff with two colours, grey and white. I knew that there wasn’t enough grey for a solid cuff on both mittens, and I am still not sure that even with mixing the colours that I will have enough grey to finish the mittens. I am loving the colour mix, sometimes need is the best teacher! We will see if I have saved enough of the grey to finish the mitten without purchasing more yarn.
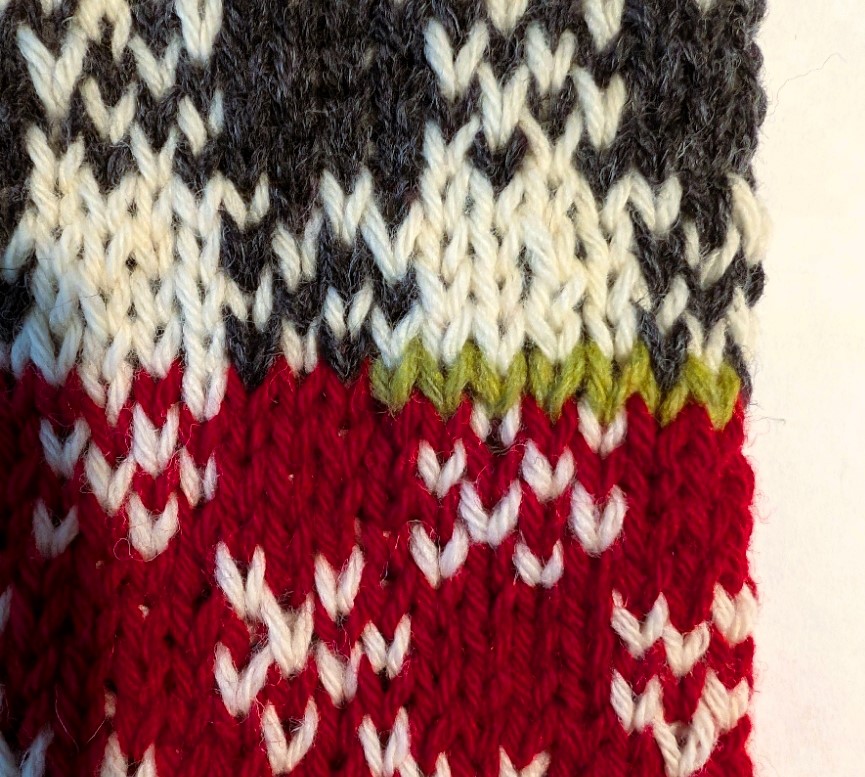
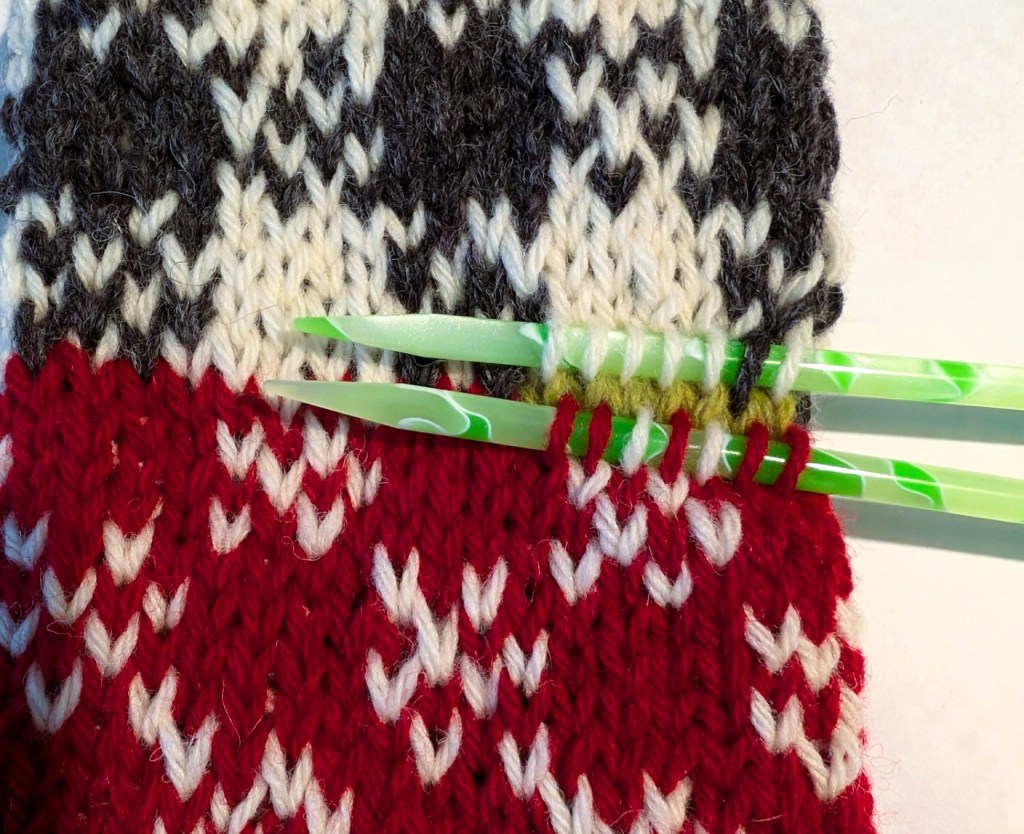
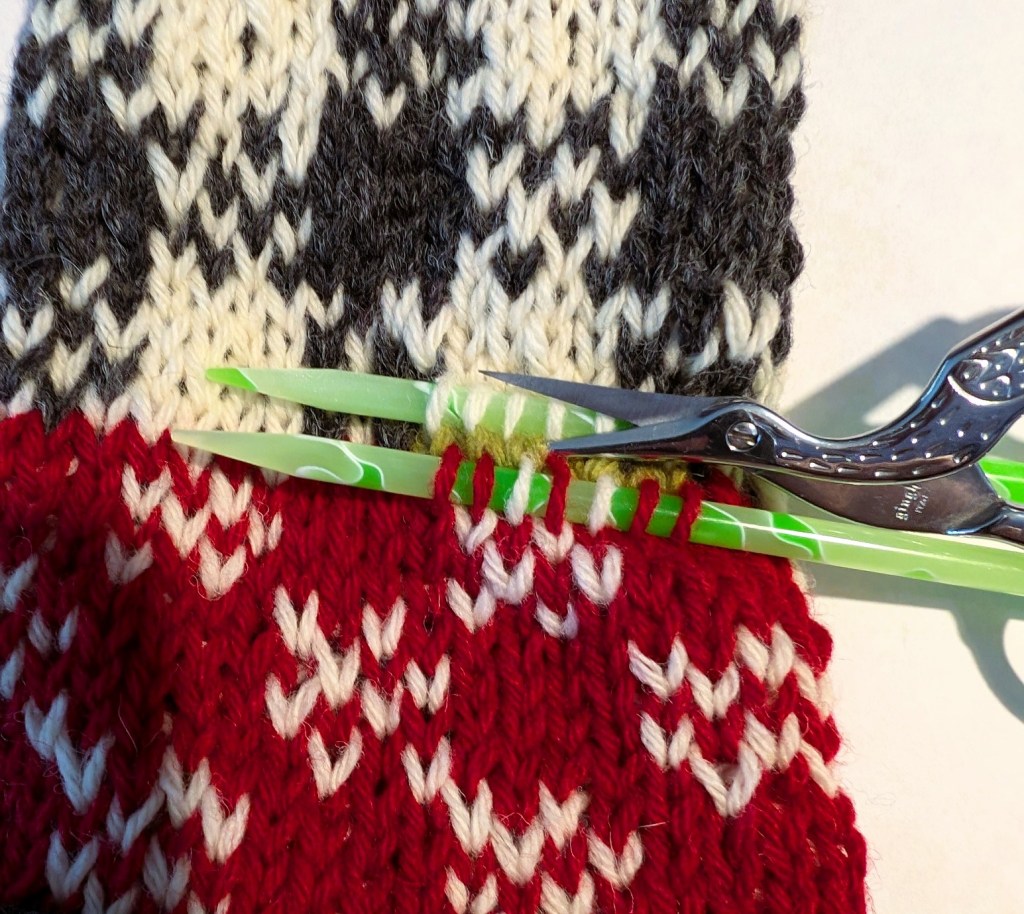
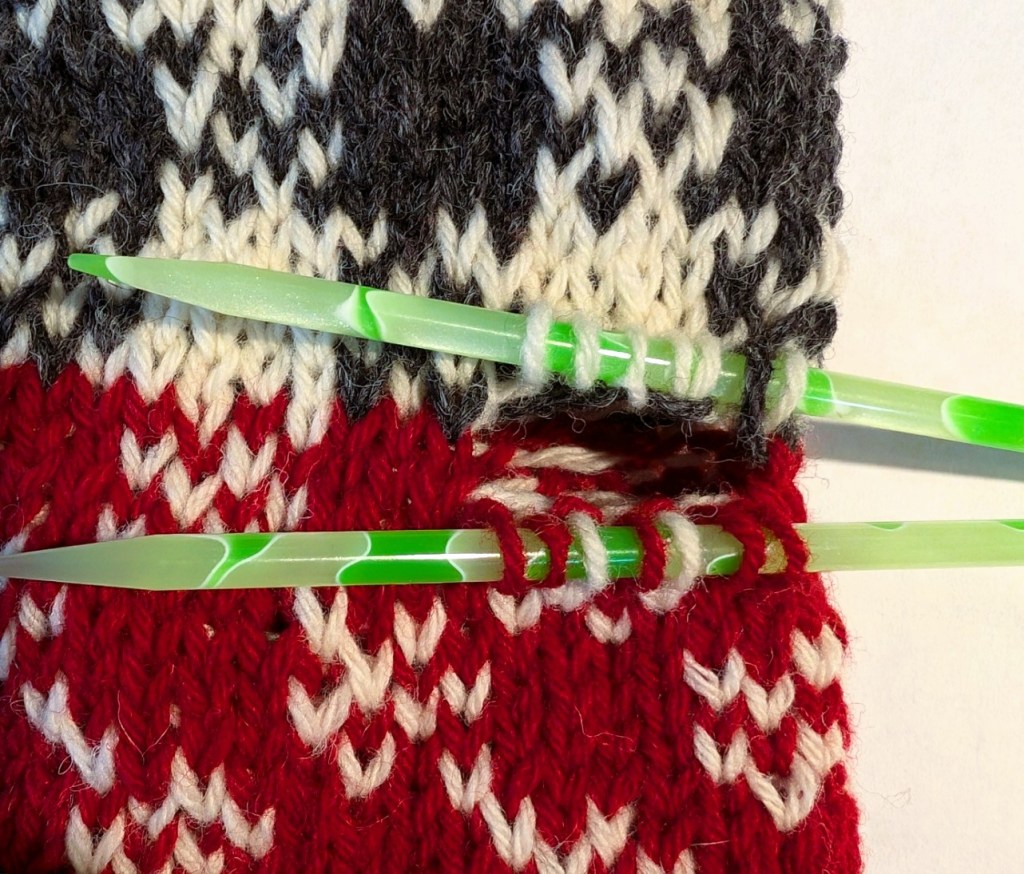
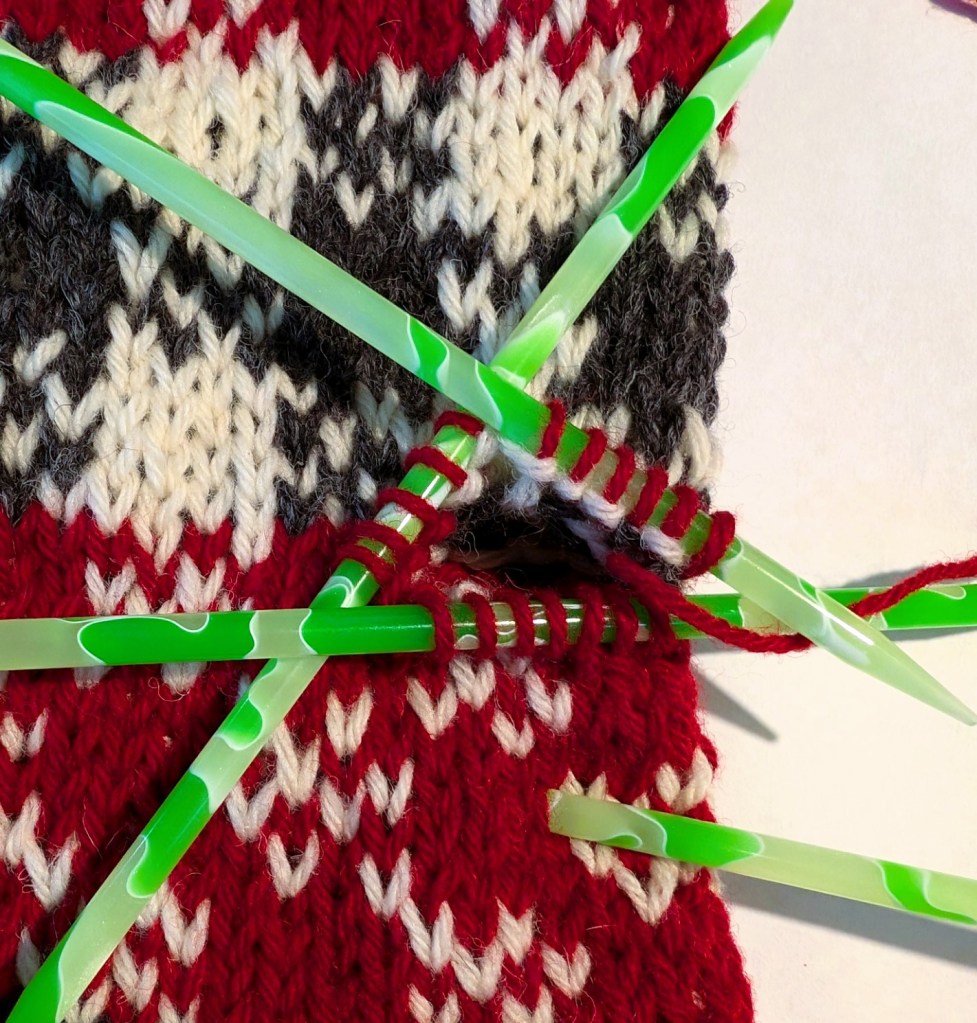
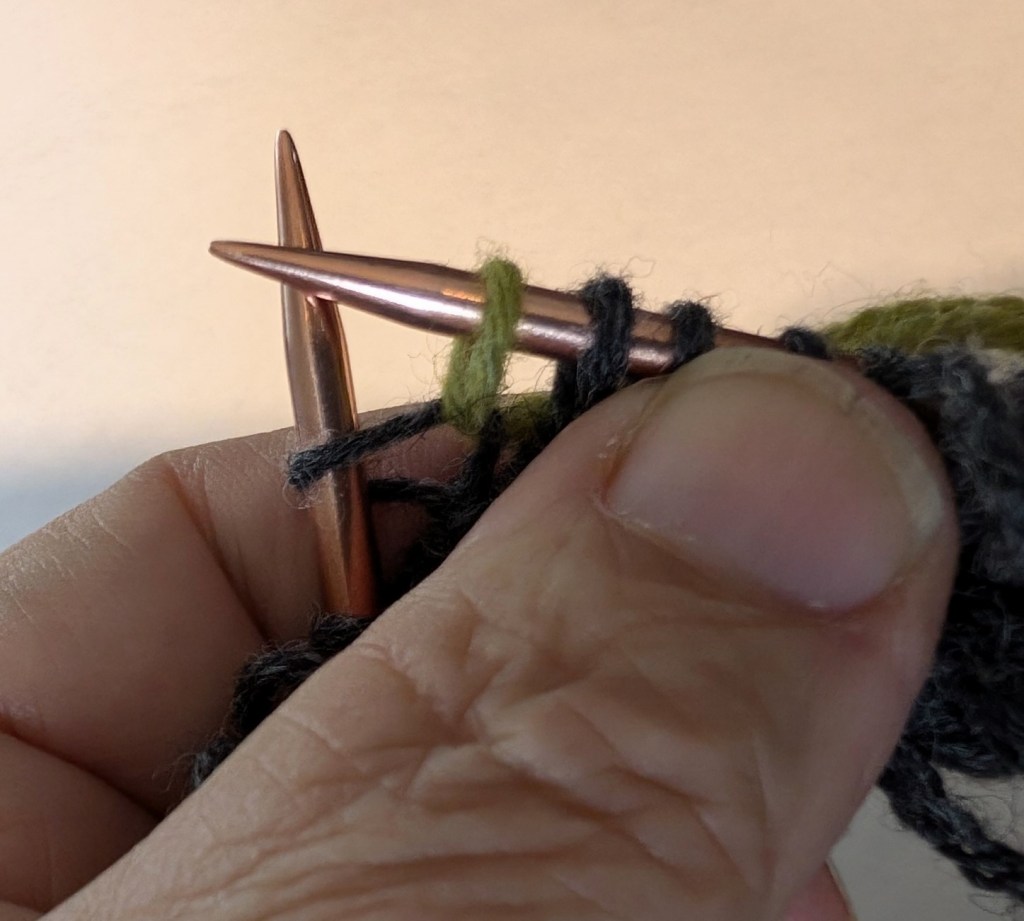
The pattern for both hat and mittens is basically complete – it just needs some pictures and a photo tutorial for the afterthought thumb – my favourite thumb for most colourwork mittens. This thumb is easy to knit and does not interfere with the colourwork pattern.
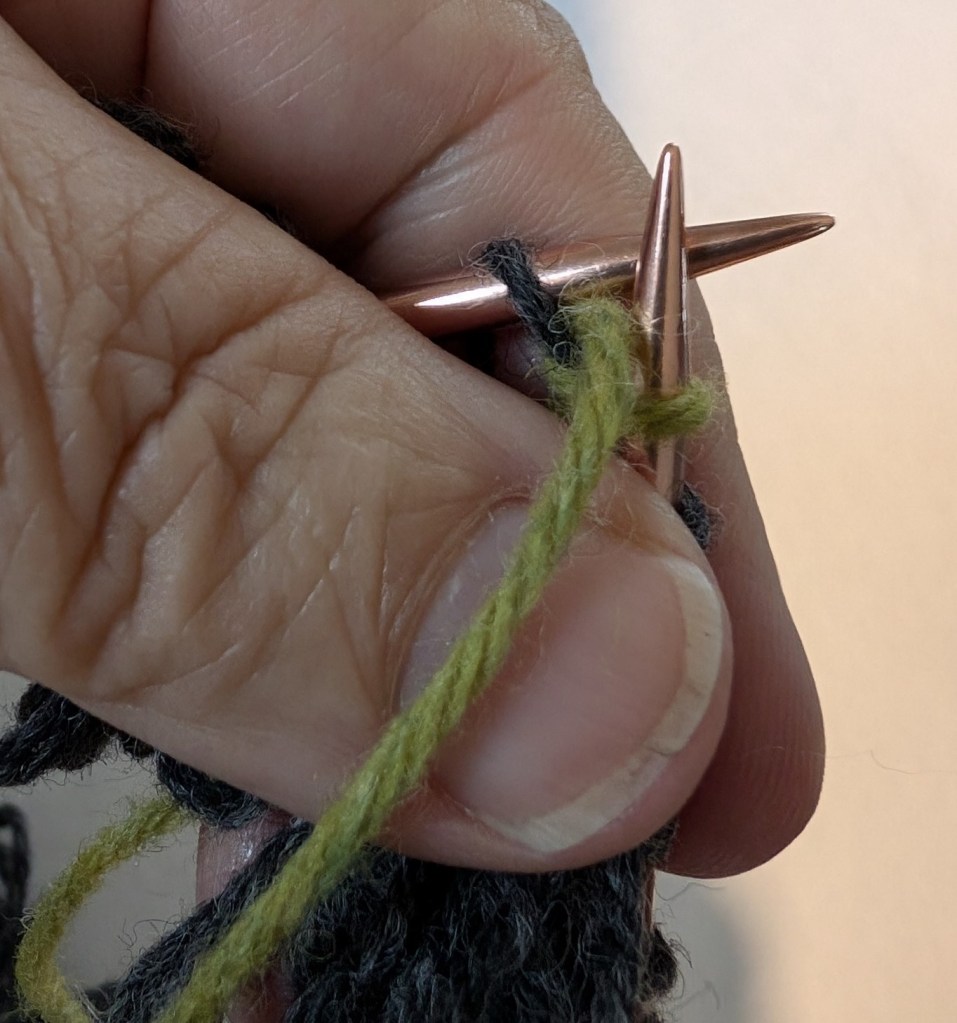
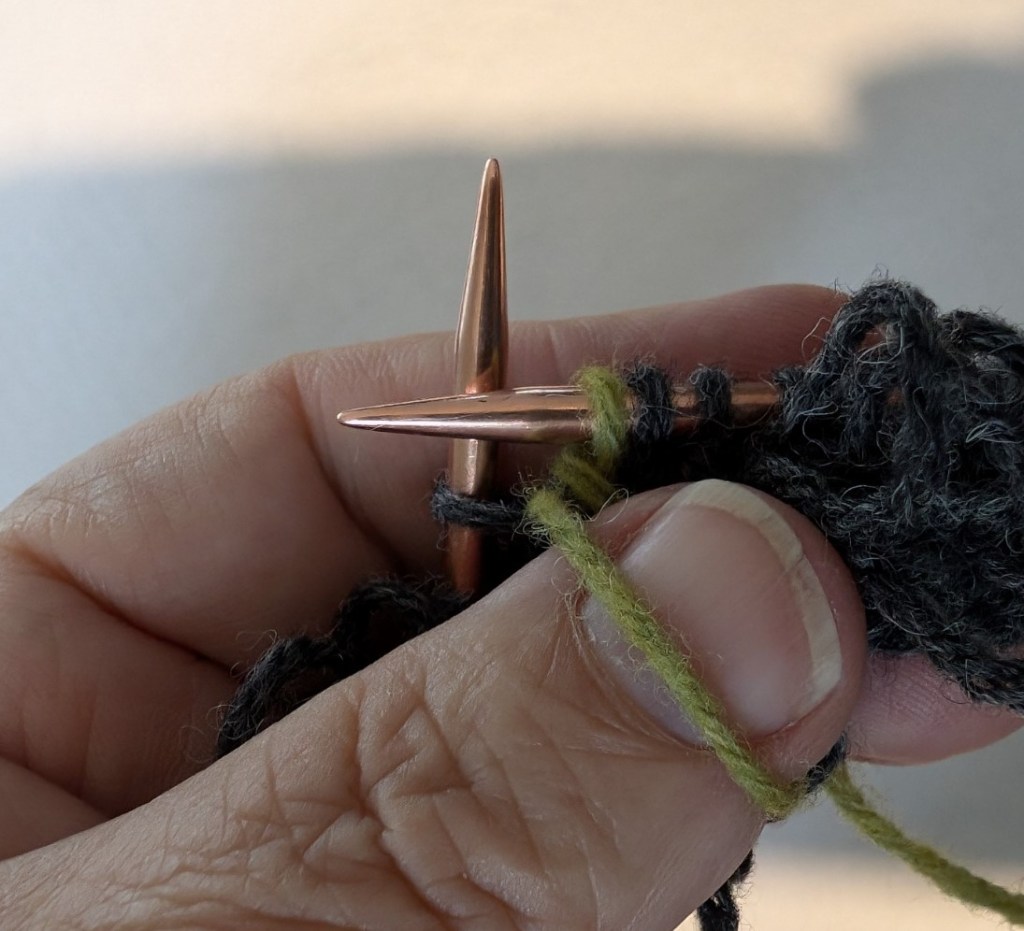
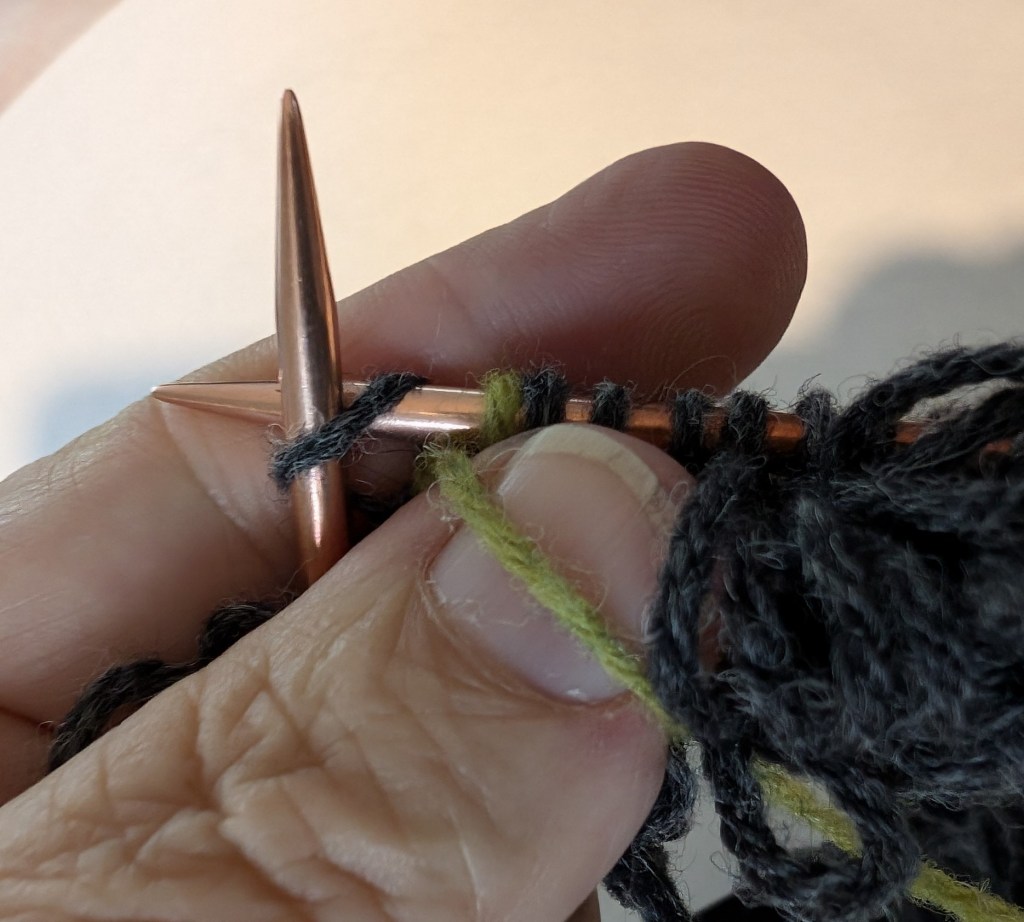
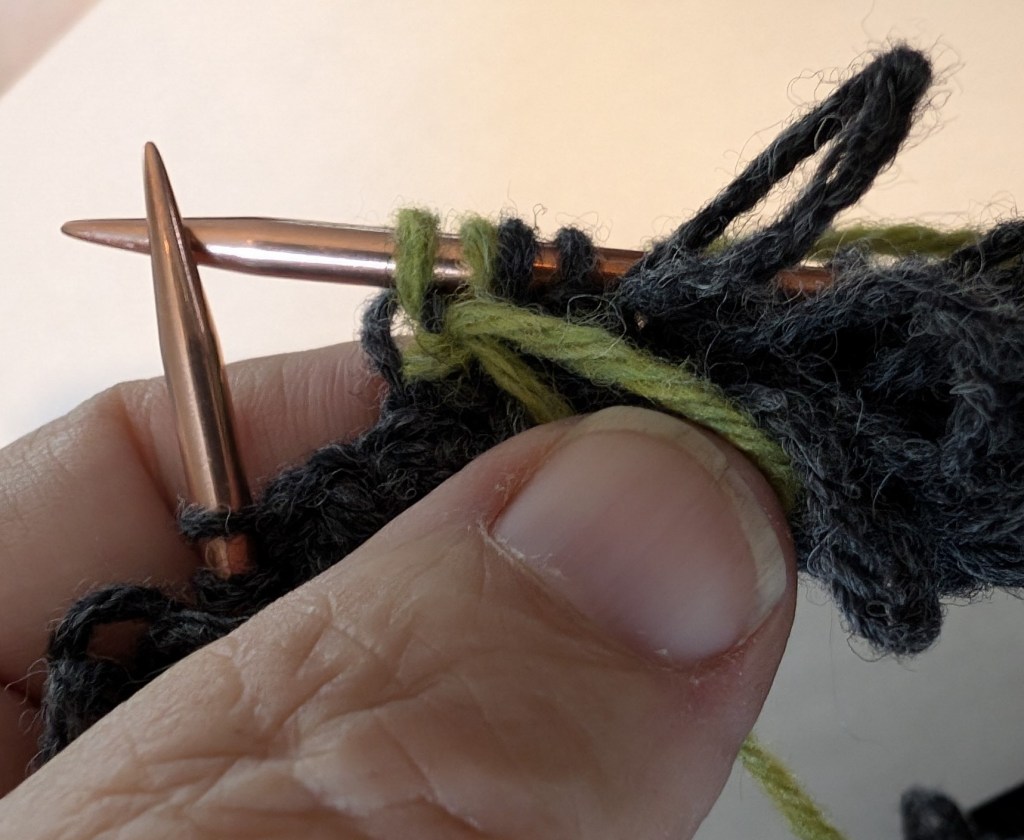
The inserted sts. The guideline for the thumb placementUsing two dpn’s pick-up 1 arm of each st above and below the inserted waste yarn.Starting at the center arefully cut and remove the waste yarn.Waste yarn is removed and the sts are ready to be knit.First round has been created.Mitten with completed thumb.
Would you like to learn how to knit a tea cozy like this?
I love to knit tea cozies.
This is a different yarn from the usual. Ray Gentleman, whom I work with, challenged, suggested, put an idea out there about creating a West Coast Cozy with the Prairie Sea Fusion from Custom Woolen Mills.
The idea stuck in my head and I had to knit it out!
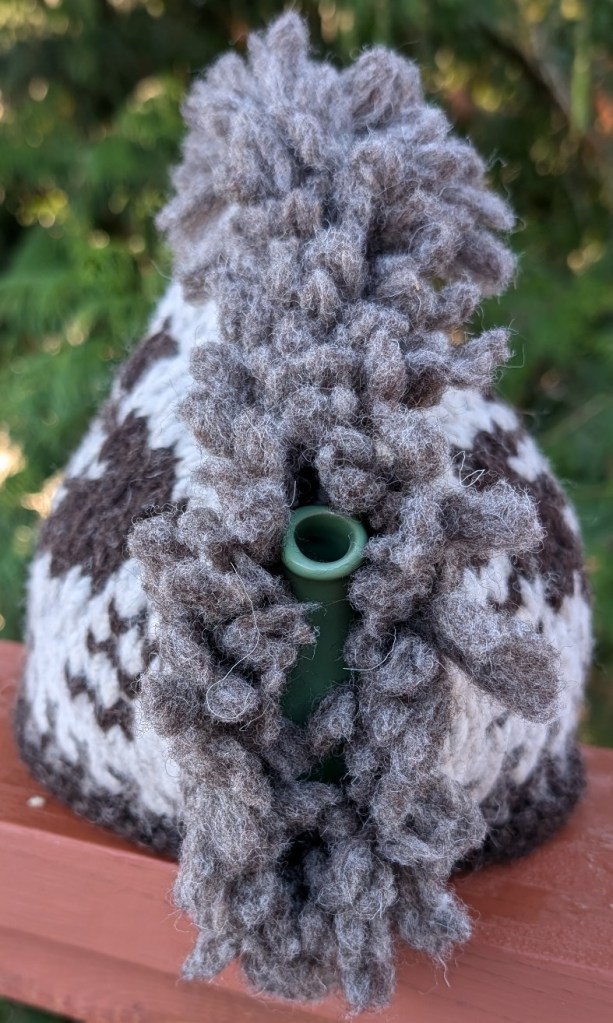
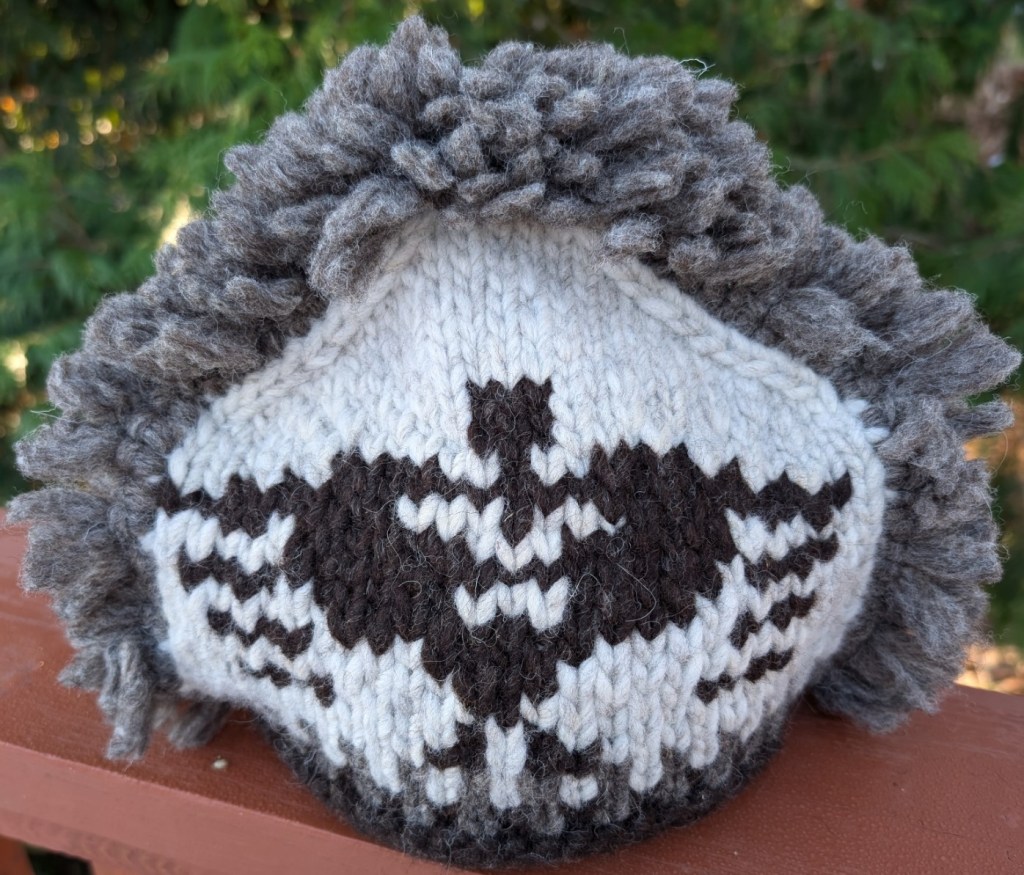
So, if you take the class you will make this charmer of a cozy. You will also learn how to strand the yarn in the proper way for a West Coast knit. Oh and look at that fringe! Learn how to finish the cozy with the fringe on top…
This is The Dancer Cozy. I am quite enamoured with it.
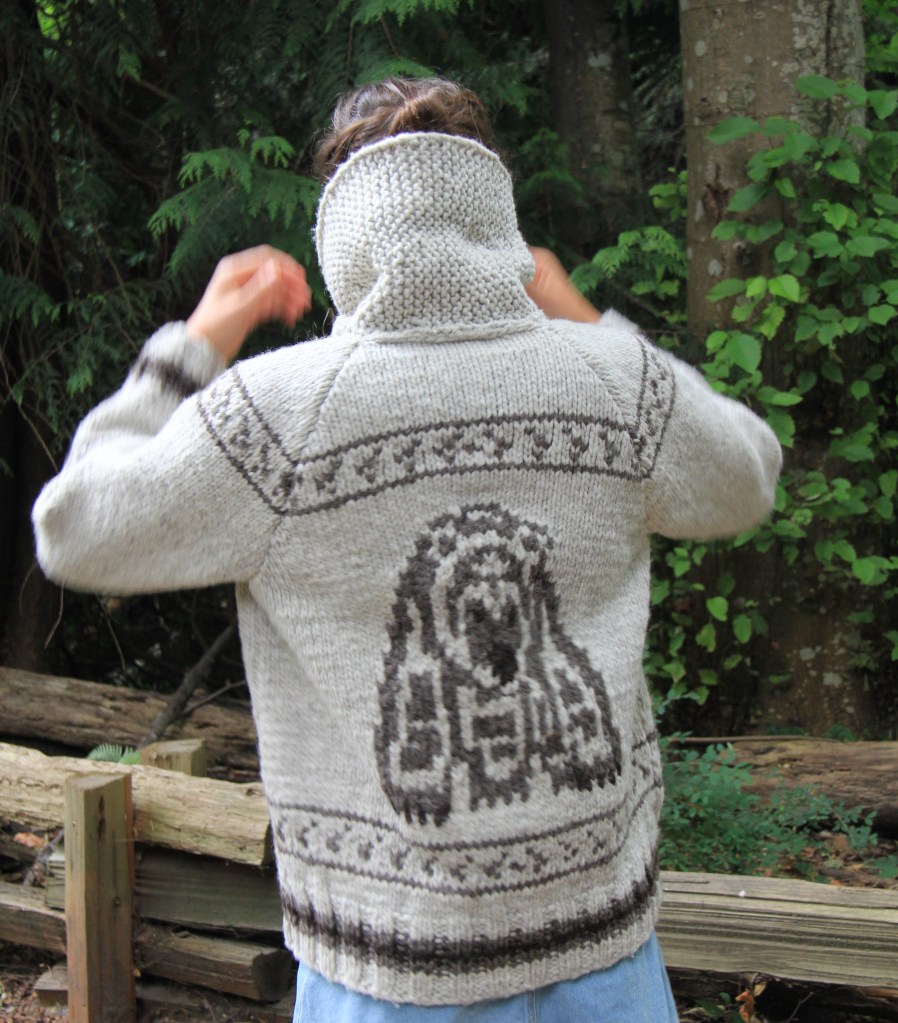
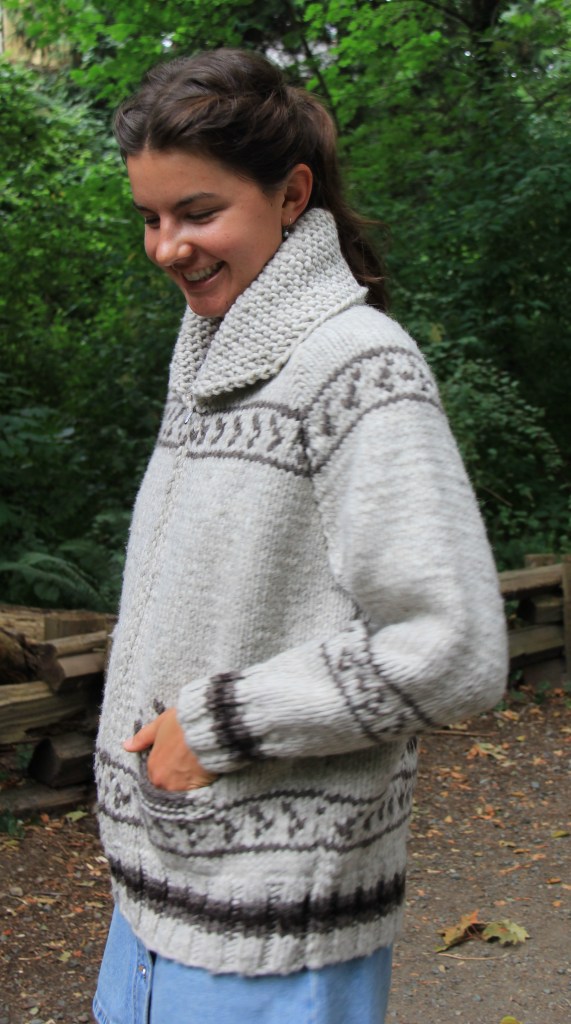
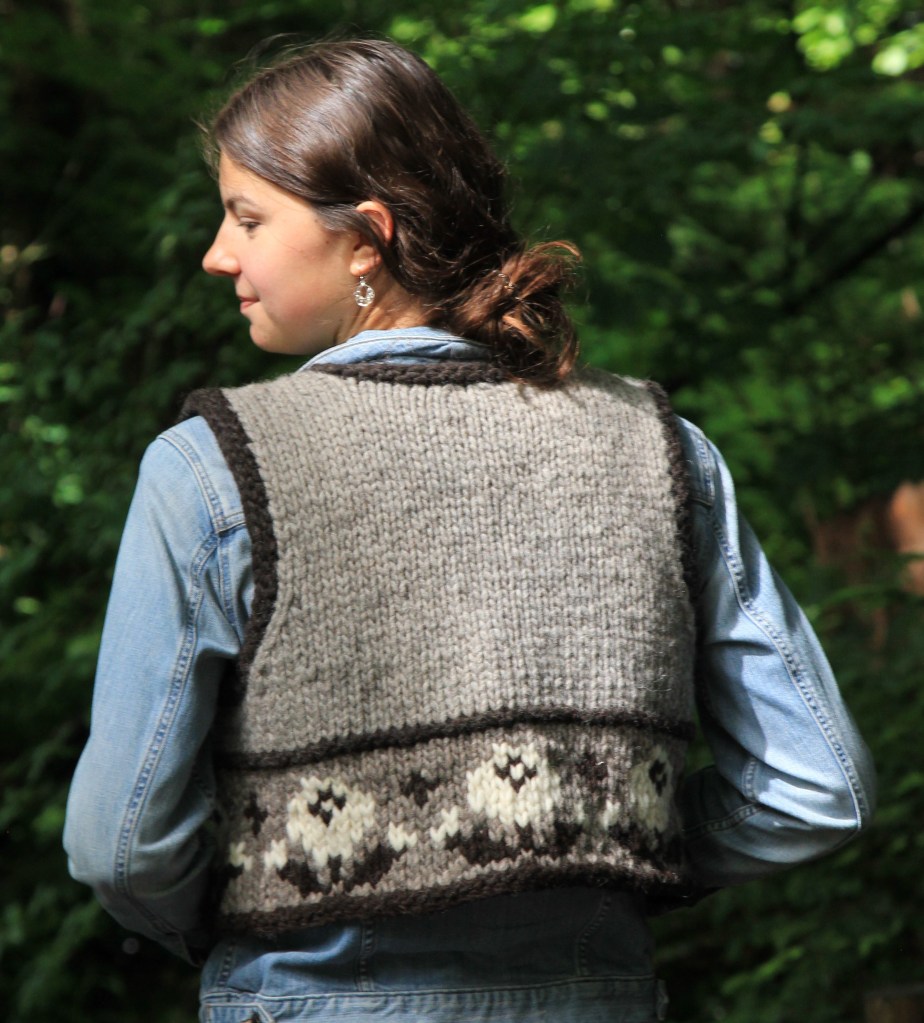
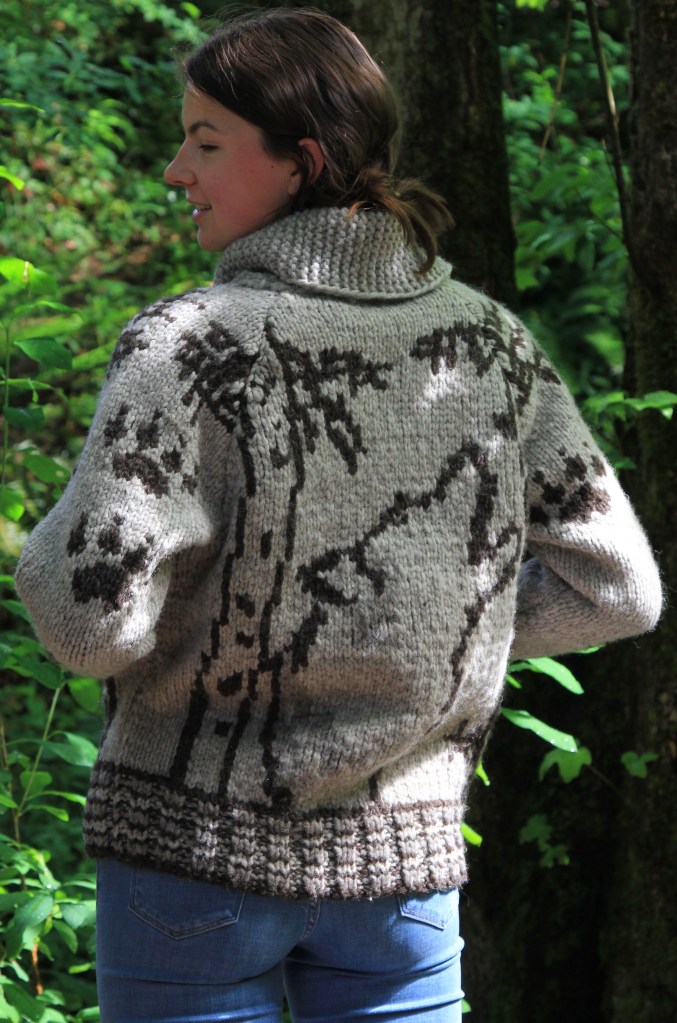
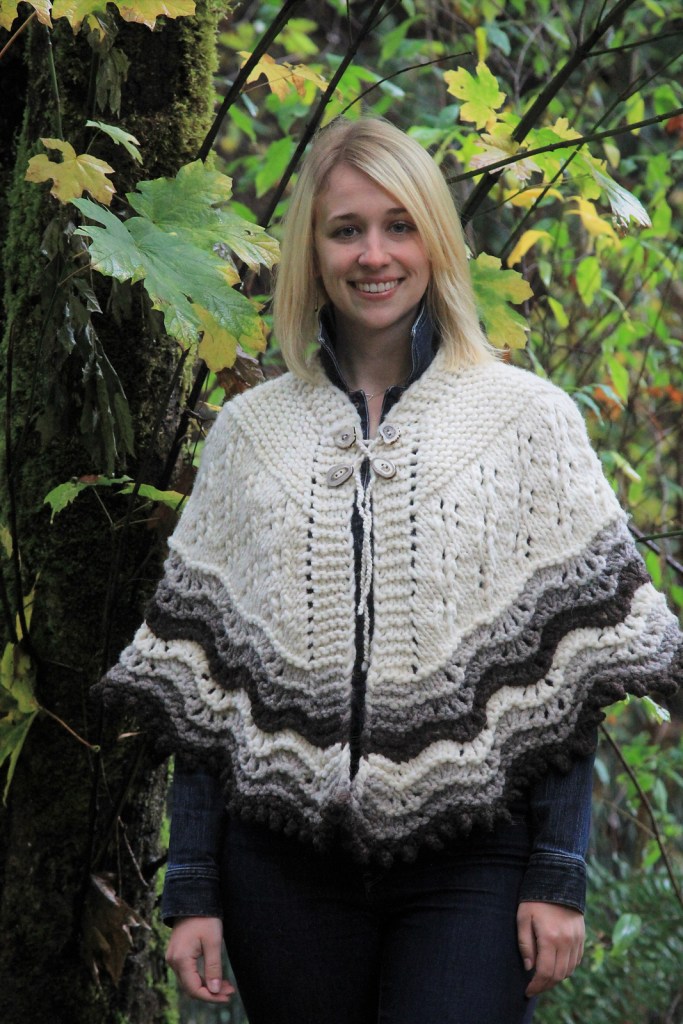
A few years ago I started designing with the Cowichan style of wools. Nowadays that includes Briggs and Little Country Roving, Prairie Wool and Prairie Sea Fusion by Custom Woolen Mills. At the store we were always being asked for the Cowichan patterns, which were really the old White Buffalo and Mary Maxim patterns, not the true West Coast patterns. Those are the intellectual property of the original knitters.
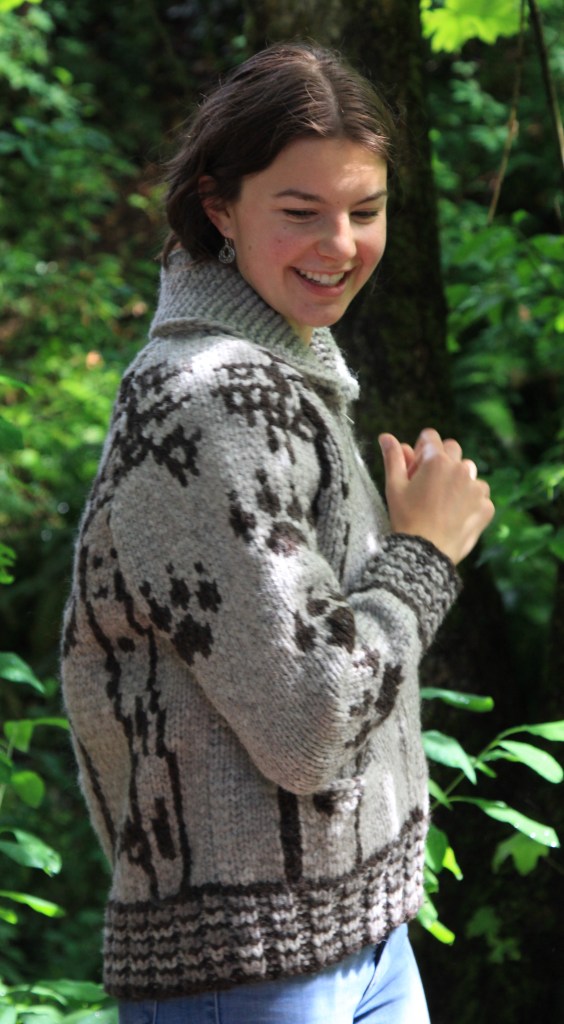
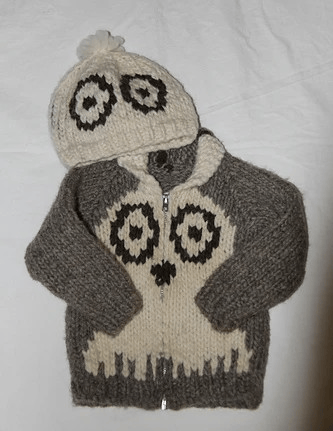
I try to create patterns respectful of the past and the present motifs of the West Coast. They reflect my lifetime of living, mostly on the Coast but also in northern Canada and Malaysia. The OOkpik childs set is based on a childhood memory, a small stuffed snowy owl that my father had given me, named OOkpik. I designed and knit that set for my Grandson. The Standing Tall Gauntlets are based on memories of the gauntlets I wore when living in Northern Manitoba. You needed that extra heavy layer over the basic mittens or gloves – it was cold up there!
The Dancer Cozy reminds of both the Button Blanket dances of the West Coast and the Shadow Puppets of the Malaysian Peninsula. The shapes are both stylized and simplified, taken right down to suggestion and imagination.
The Spirit Bear will be my next sweater pattern release in the Salish Sea Collection.
Sometimes when you spend a lot of time designing “serious” knits, you know, practical but attractive, maybe someone will think that they could knit and wear it items, sometimes you just need to break out of the mold and play!
I love Christmas – I love Gnomes – so here is a little nod to both!
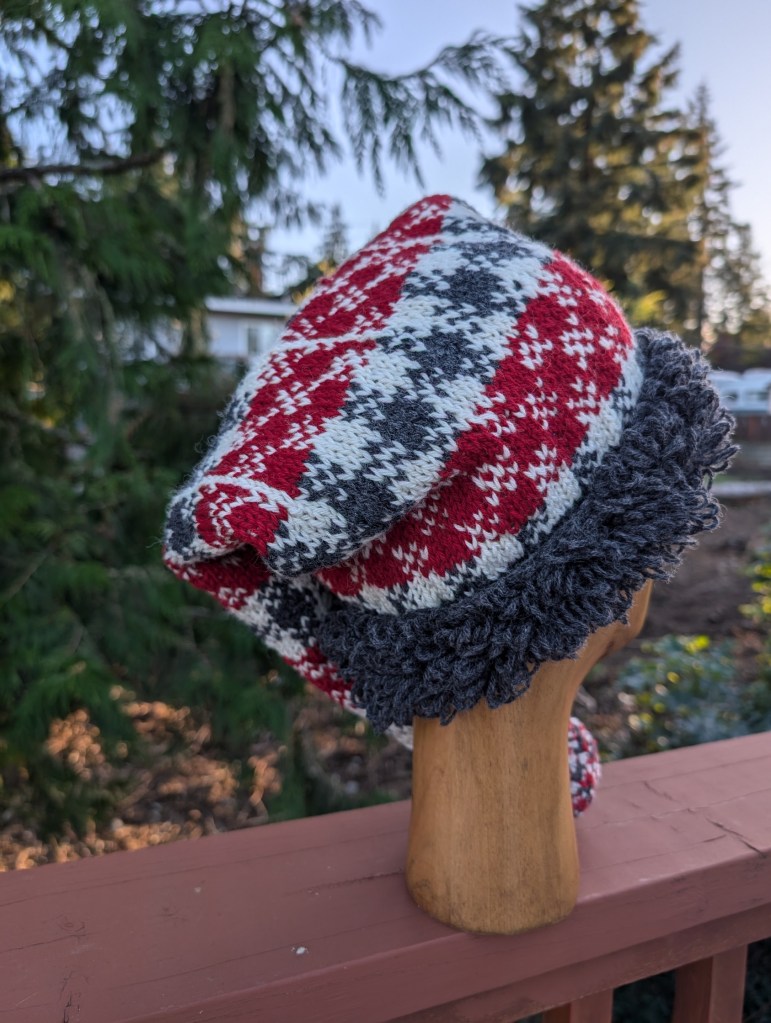
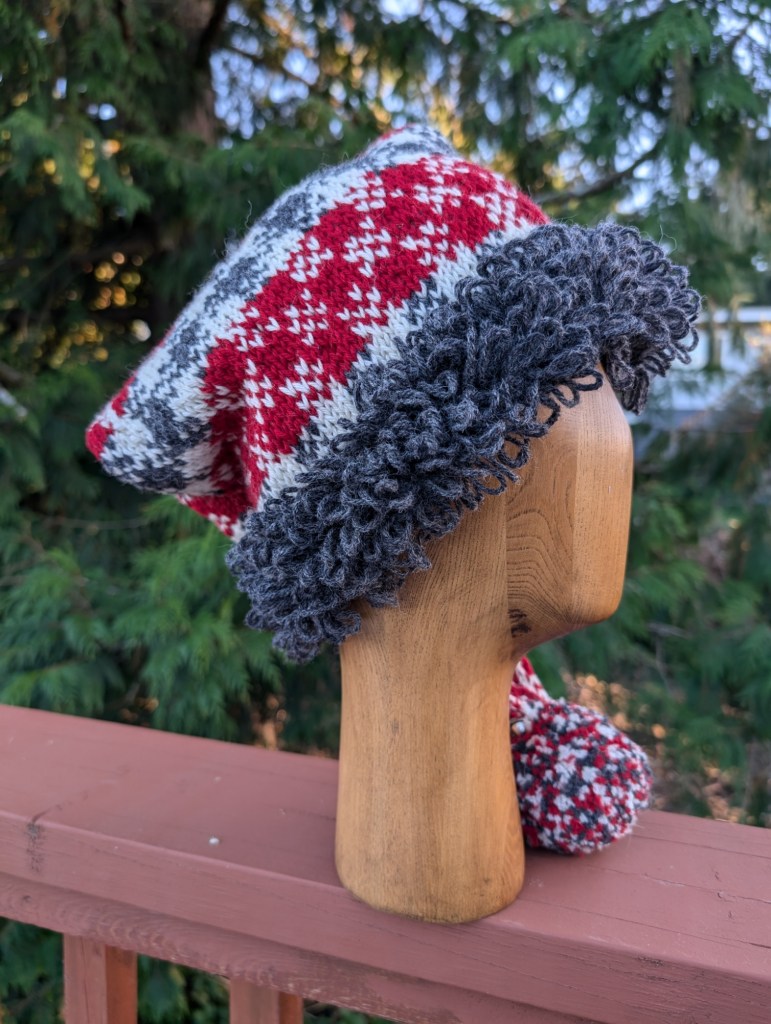
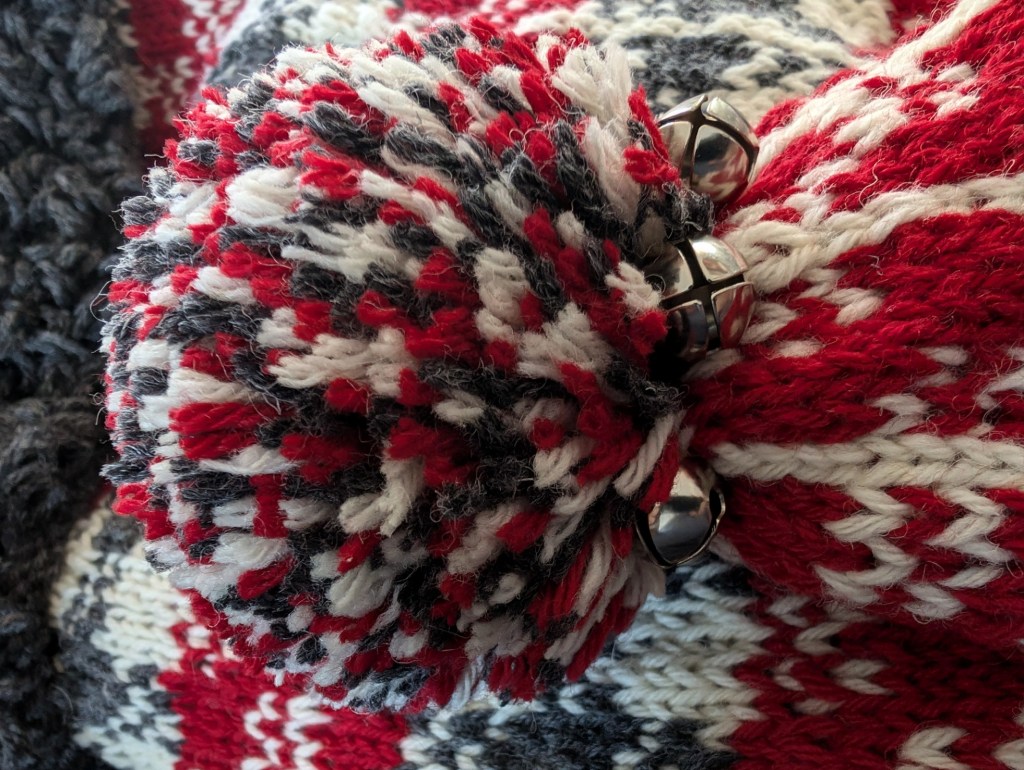
Meet the Jingle Gnome Chapeau, designed for warmth, but with a little “fun” added! This is a sample for a class happening at Mad About Ewe Fine Yarns. It starts next week, Tues Oct 8 and runs over the next couple of weeks. Three classes in total.
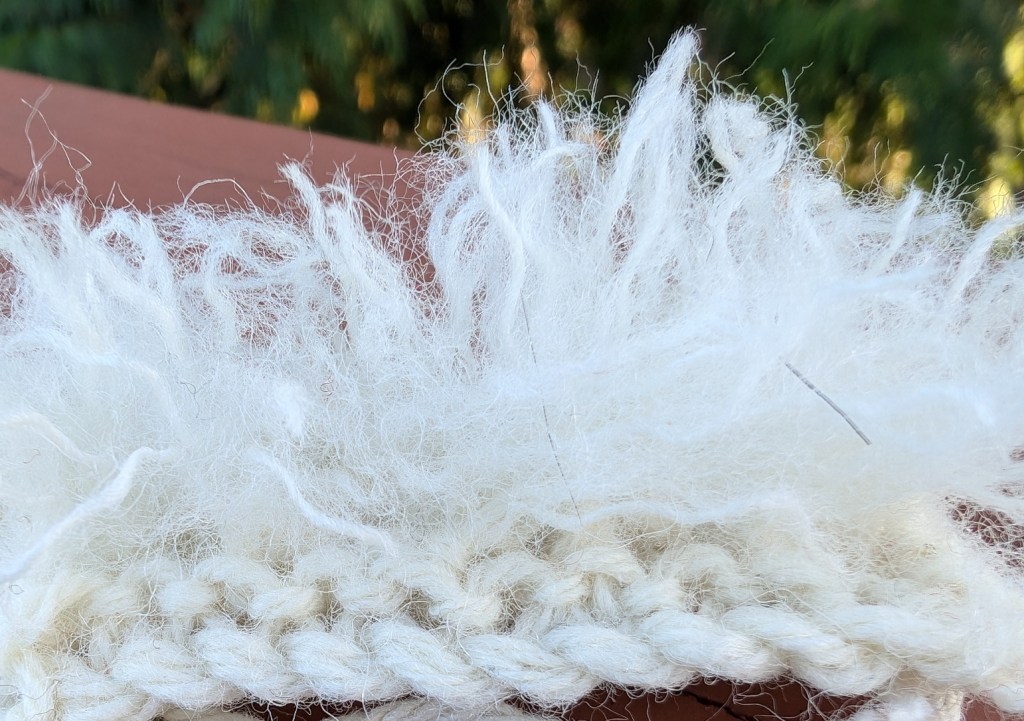
Class # 1 – How to knit loops – link to video – did you know that the loops can be cut and brushed to make a really soft “fur”?
Class # 2 – Basic Stranding – simpler than fair-isle, much more repetitive, but great practice.
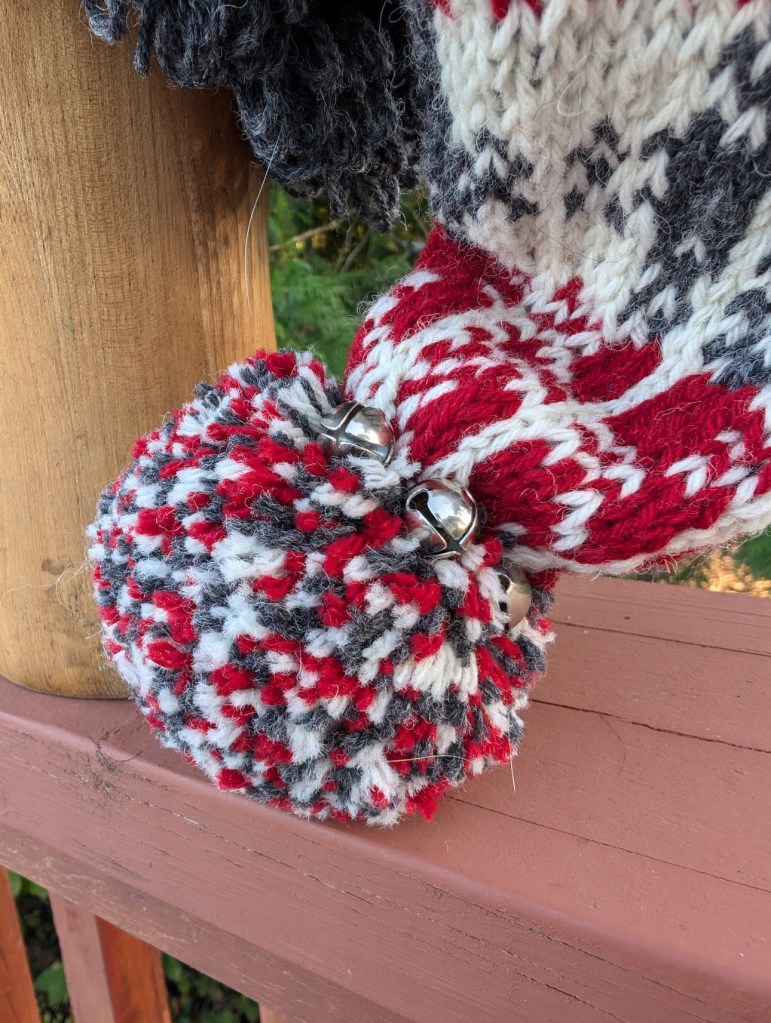
Class #3 – How to make the perfect pompom, and some basic finishing – how to deal with ends.
Jingle is knit with Eco Shetland Worsted, which is a light worsted, almost a dk, but I have knit it a few time at the worsted gauge and been very happy with the results. It has great yardage, 1 skein of each colour is all that is necessary. Plus a few jingle bells and the regular notions!
How about that pompom, surrounded by bells? Isn’t just a dream of a finish?
I know you want one!
Happy Gnome “ing”
Lynette
PS. The pattern will be available in about 3 weeks and will include a mitten pattern to go with the Chapeau!
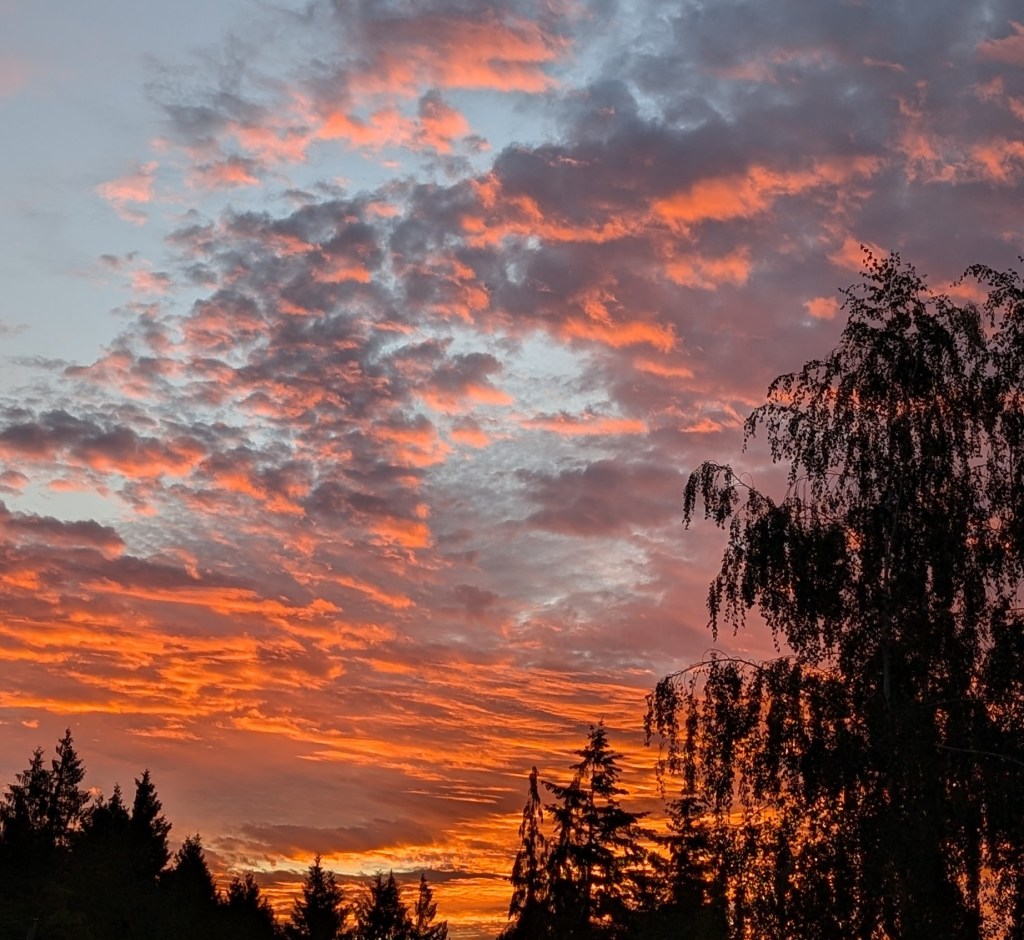
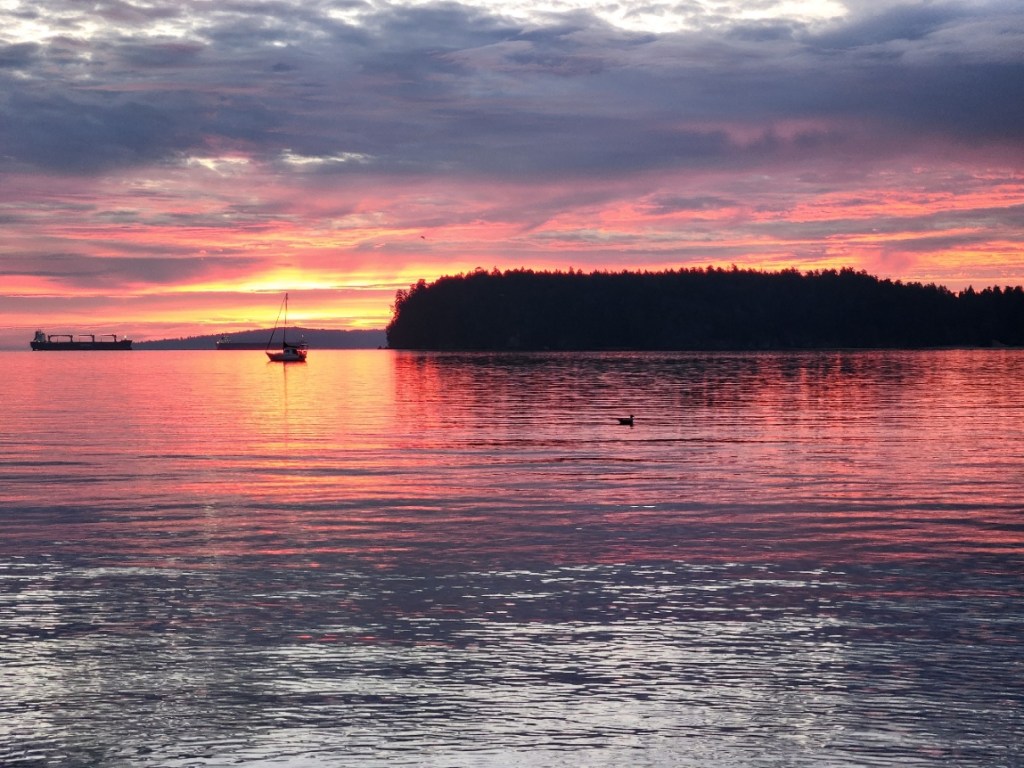
I woke up to the most glorious sunrise. The living room was glowing orange as the light poured in the windows. When I went out onto the deck – the run was rising in front of me and there was a rainbow forming behind me. So awe inspiring.
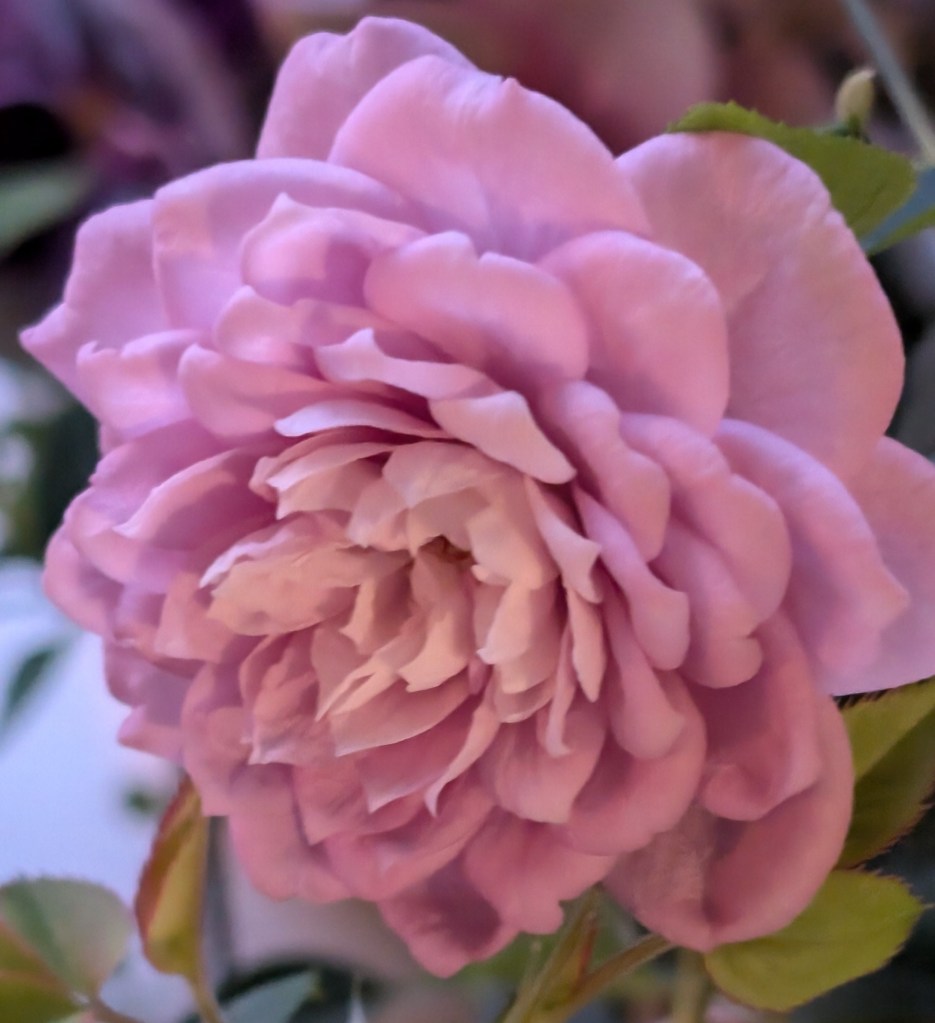
The Mini Rose also produced a new bloom this morning that is absolutely perfect. The Hibiscus plant has several new buds, so many beautiful flowers. Just an amazing start to the day.
Knitting et al.
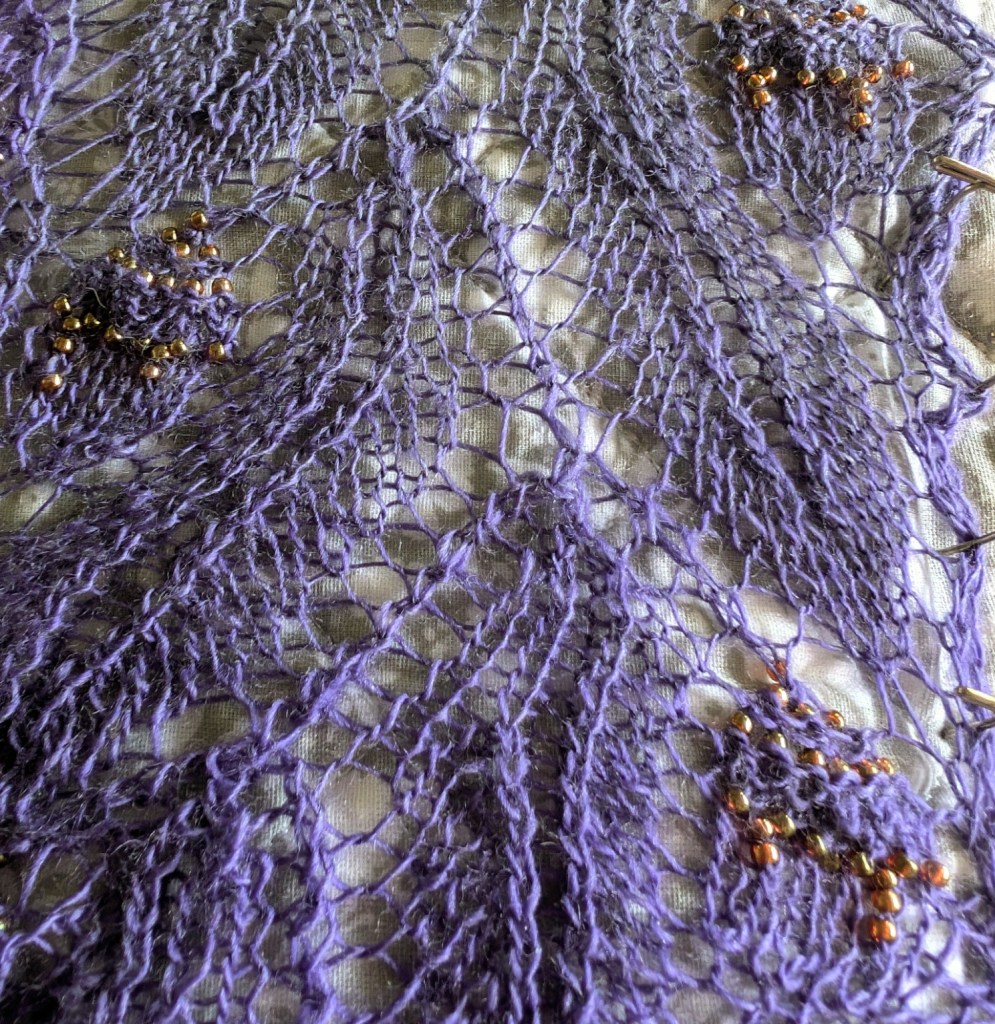
The GreenMan Shawl is progressing nicely. I am about 20% into the Oakleaf and Acorn insert and I am very pleased with the effect of the beads on the knitting.
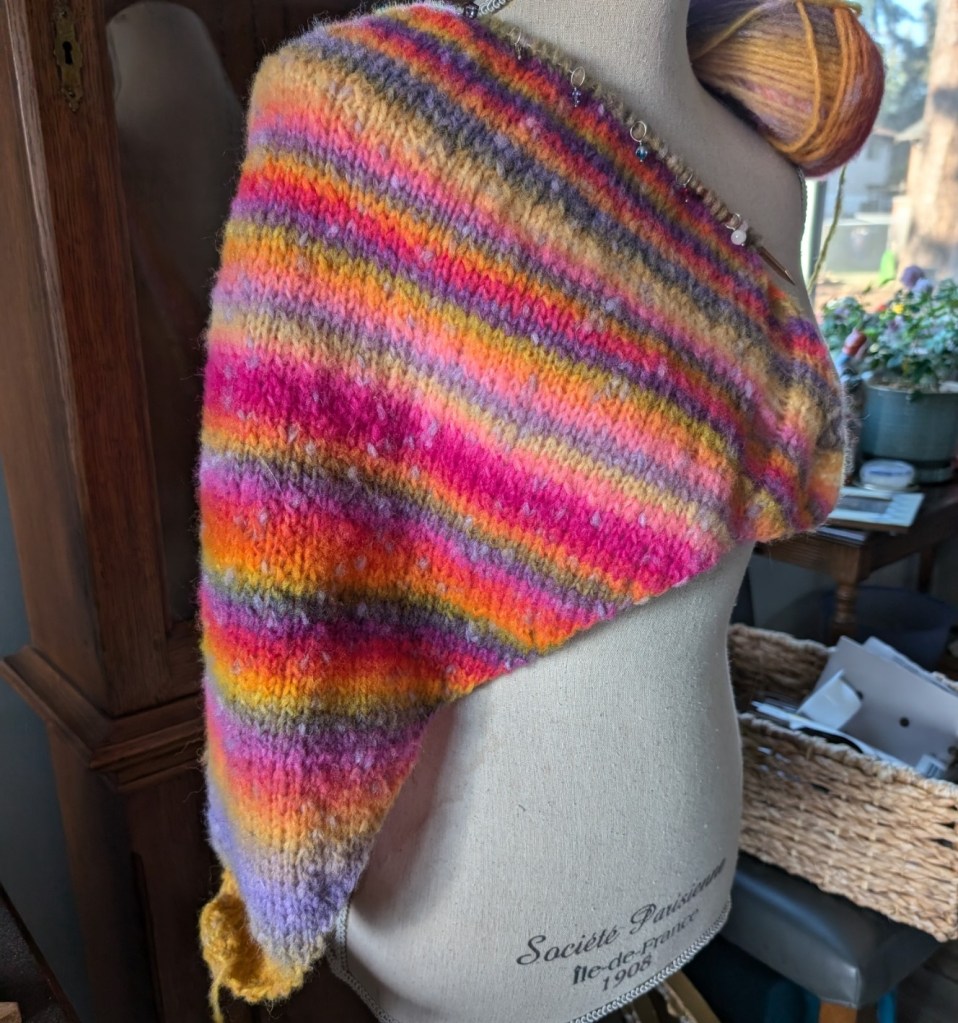
I have started another shawl for myself. I didn’t really intend on this one. I am not even designing it. If you are old enough you will remember or will have knit a Clapotis shawl. I am more than old enough.
Clapotis can be considered one of the first viral patterns on Ravelry and has over 24000 projects listed. It was designed to be knit with some of the glorious hand dyed yarns that were appearing at that time. It has just been re-released on Ravelry as Clapotis 24. There is an accompanying KAL that features lots of yarny prizes.
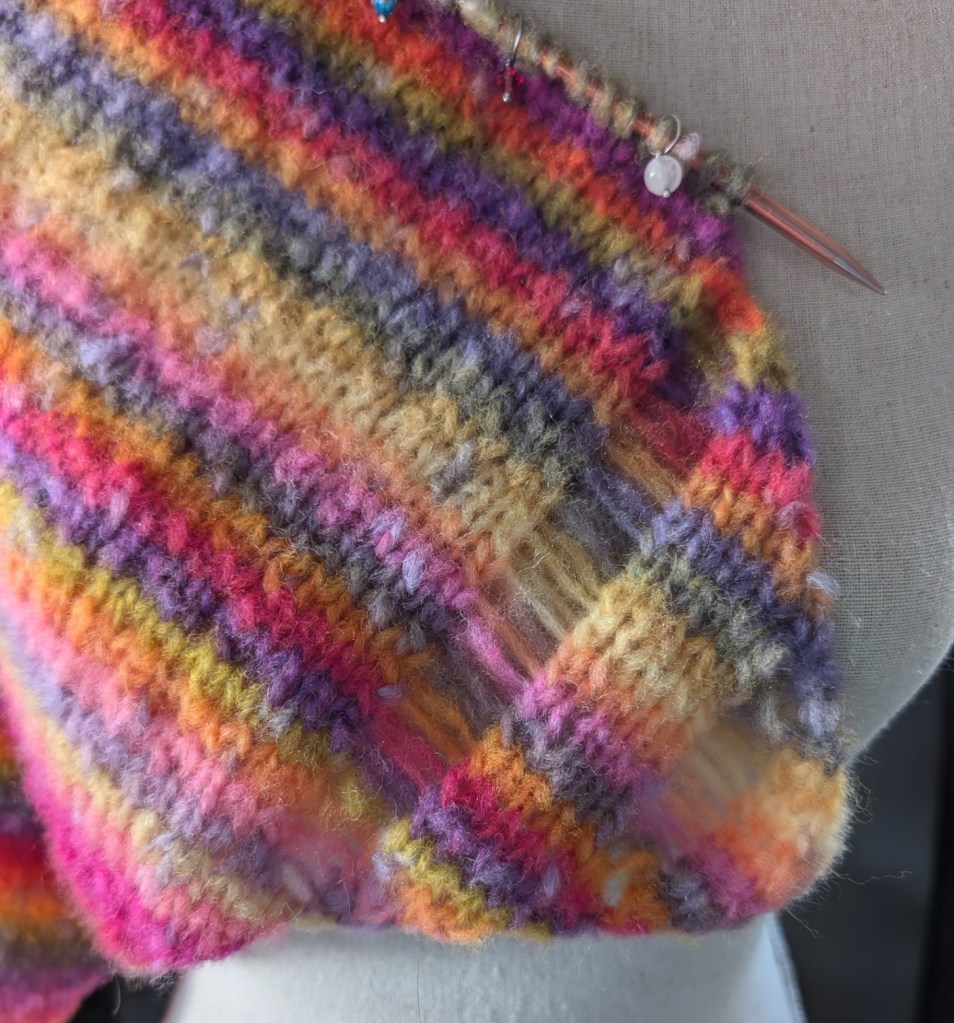
I didn’t knit it the first time around, so I am giving it a go with some yarn from my stash. Not hand dyed, but striping and lively, and I was not having any luck designing a sweater for myself with it. I had already ripped back a couple of attempts. The yarn is Lang Cloud Tweed.
Clapotis is designed for a worsted/aran weight yarn (I keep seeing it in some Rios), but is very easy to adjust for almost any weight! The knitting is basic, stockinette on a diagonal, but the addition of the dropped line of stitches keeps it interesting.
Have you knit a Clapotis?
I am also working on another class project. Remember the loopy st? Meet the Jingle Gnome Chapeau. Still under construction, but already looking like a little bit of rustic “happy”! The class will feature the loop stitch, basic stranded knitting and how to make the perfect pompom! I am working with the Eco Shetland Worsted by Estelle. It is yarn that I really like to work with and gives me great results.
Boho CozyBoho MittsBoho Crown
I hope that you have a wonderful day. Mine is off to a great start!
Have you noticed that we knitters, and almost all crafters, start thinking of Christmas a lot earlier Than other people? I think that we need to as most of our gifts take time, sometimes a lot of time to create.
So today I am sharing a fun technique – Loop Knitting – a little playful technique to add to your skills for the upcoming knitting blitz!
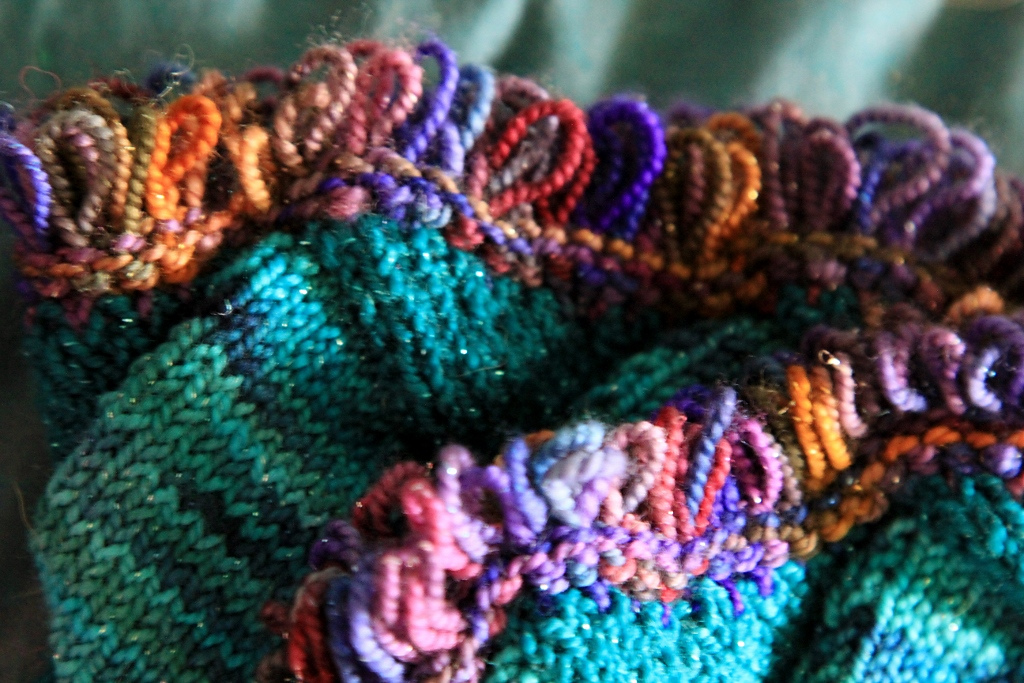
Loop knitting is basically making a series of knotted loops on the right side of the knitting. These loops can be made and left as loops, my current thought, or they can be made, cut open and brushed up to look like fur, a thought under consideration! Loops are not a quick technique, but the results are worth the effort.
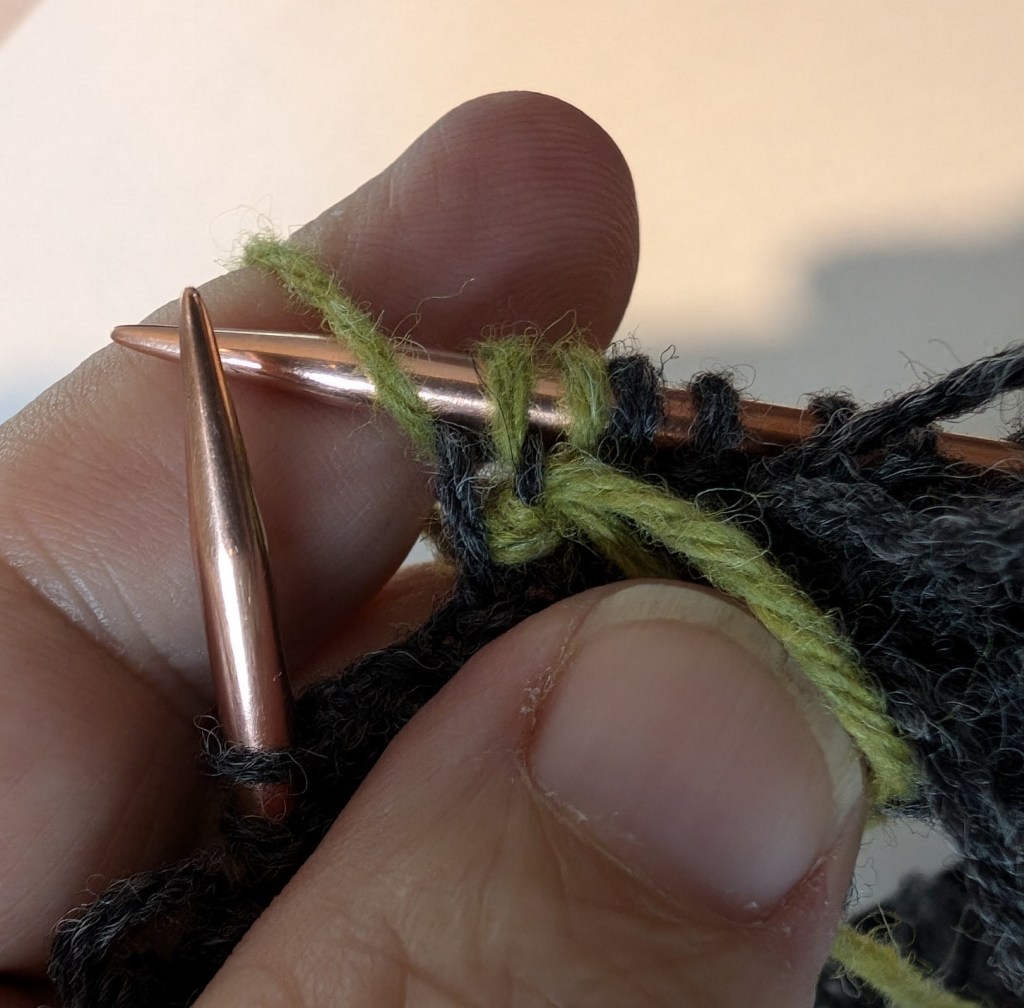
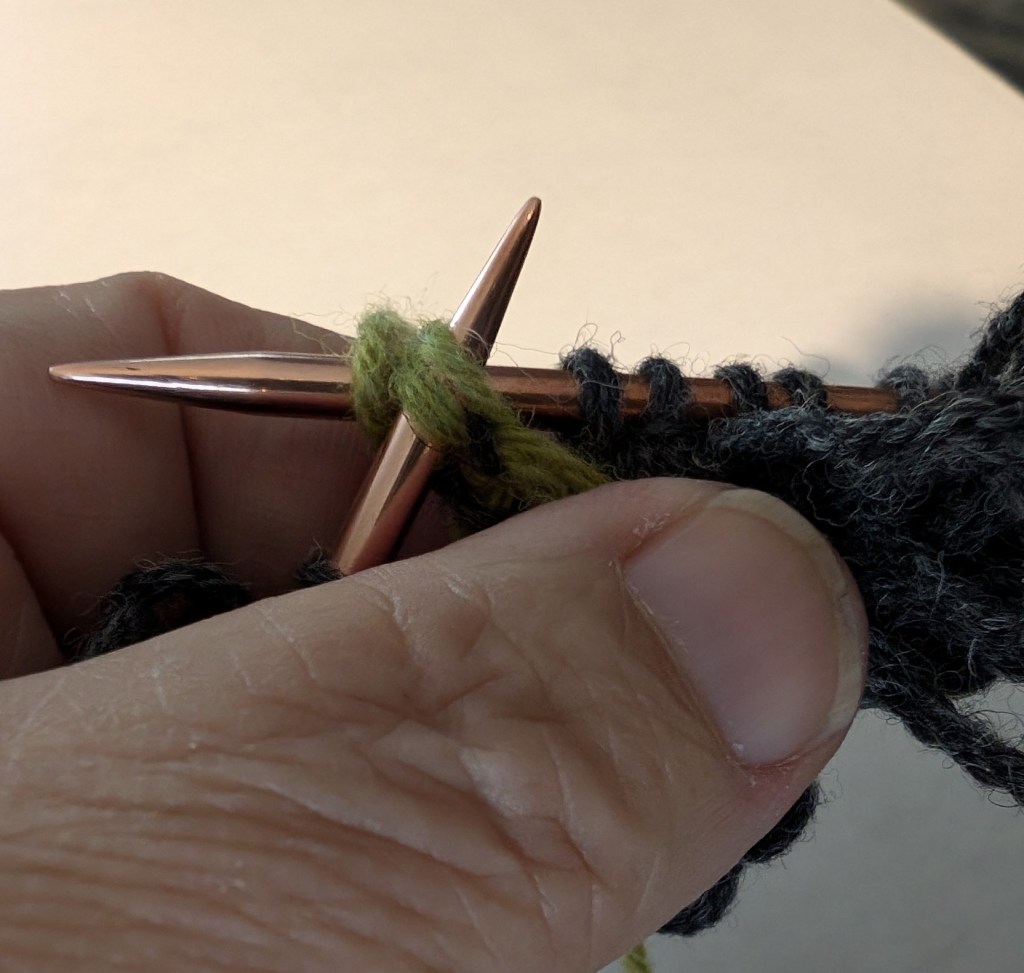
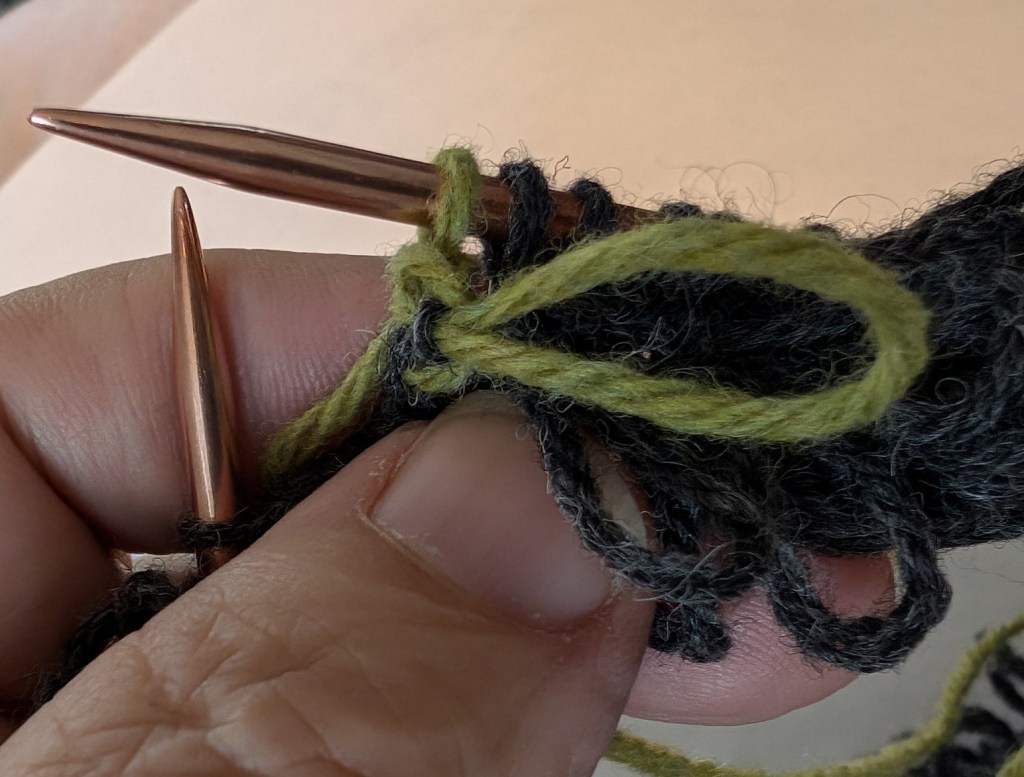
Bring your yarn through the stitch on the needle as if to knit, but do not drop the stitch from the LH needleBring your yarn forward and over your left thumbWrap the yarn tightly around your thumb and take it back between the needlesInsert the RH needle tip into the loop on the LH needle as if to knit the stitchKnit the stitch and remove from LH needle, remove thumb from the loopPull the loop to set in place (don’t pull too tightly), bring working yarn forward and over the needleWith the LH needle tip, pick up the two “stitches” from making the loop and lift them over the yarn sitting on the needleThe knot is closed and a new stitch is created from the three loops on the needle
Loops need to made on the RS of the knitting surface. If you are knitting back and forth the loops can be make every other row. When working in the round as I am, the loops can be worked on every round. I want a fairly thick, loopy surface.
The loops can be made in every stitch for a very full look. I am making my loops every other stitch and off setting them on every other row, for a medium thick appearance.
Loop knitting is playful and offers some interesting options for hatbands and mitten cuffs. Right now I am working on a hatband. I am planning to knit a swatch and cut and brush out the loops – I am really intrigued by the concept of being able to create the look of “faux fur”!
When starting loop knitting the going will be slow at first. It may take a round or two to develop a rhythm, but each successive round gets quicker than the one before!
I know that this technique would work well for toy knitting. Remember Lamb Chop? I have made a few things over the years with loops on the edges. I think I will try a few more.
Koigu Entrelac gloves from 2016
I hope that you feel inspired to give loop knitting a try!
Really it is still Summer, but the evenings have a little chill and it gets dark just that much earlier, letting us know that Summer is on the way out! So I am working on stuff for the Fall, both personally and professionally!
Part of my job description is teaching. I teach people how to knit, how to knit better, how to execute specific skills that you, the student, may want to add to your repertoire. It is one of the more challenging aspects of my job. Just figuring out what to teach and how to present the goals.
Professional Projects
This fall has started with a successful Thrumming class and a not successful cables class. Perhaps the project wasn’t interesting enough or perhaps those who wanted to learn were looking for something more traditionally shaped. I will still write up the pattern later in the fall as I really do like it a lot! The thrumming headband will be out later this week.
This one didn’t work.
Right now I am working on a 3 part series on finishing for knits. This is loosely based on a Fear of Finishing Workshop that we at Mad About Ewe Fine Yarns ran for years. It was our most popular workshop – Tons of information presented in a six hour workshop. Everyone went home dazed and confused. So this time, it is three, four hour workshops, with time in between so there is time for everything to sink in!
Part 1 – Button Holes and Button Bands. This will be an in depth look at how to pick-up stitches to create button bands. We will look at ratios and gauge, at button holes large and small, how to sew on buttons, and we will start to look at I-cord. This class is already more than half full and I think that the new format is going to work really well.
Part 2 – Seams – I think that says it all. We will look at ratios – ratios are very important to all aspects of finishing. There will be 8 seams built off of the swatches. Seams will include; grafting, 3 styles of mattress stitch, 2 styles of 3-needle bind-off. One unique seam and I am still looking for the last option. There may be some finishing techniques as well.
Part 3 – Everything Else! You know, how to lengthen or shorten our knits. How to add anything after your knitting is finished. Ie Heels to tubes, afterthought pockets. Maybe some dimensional embellishments. Things to consider before we start knitting as well. Swatches, how to make and use them before we start knitting. The best place to work shaping. How to work a short-rows. All of those extra things. Which really aren’t that extra.
Every workshop will include homework beforehand of some kind. Mostly some swatches, something to practice all of the new techniques on!
Personal Projects
Yesterday I cut out a blouse and a pair of pants for myself. Though apparently I made the blouse for my daughter. I missed a couple of key measures. I am really thrilled with the finishing. French seams and fine finishing on a napped wool flannel fabric. My daughter is thrilled.
I hope that the pants turn out a little better as I know I am the only one who will want to wear them!
Italian wool woven fabric. I am planning pleats in the front and maybe a button fly instead of a zipper. Those colours!
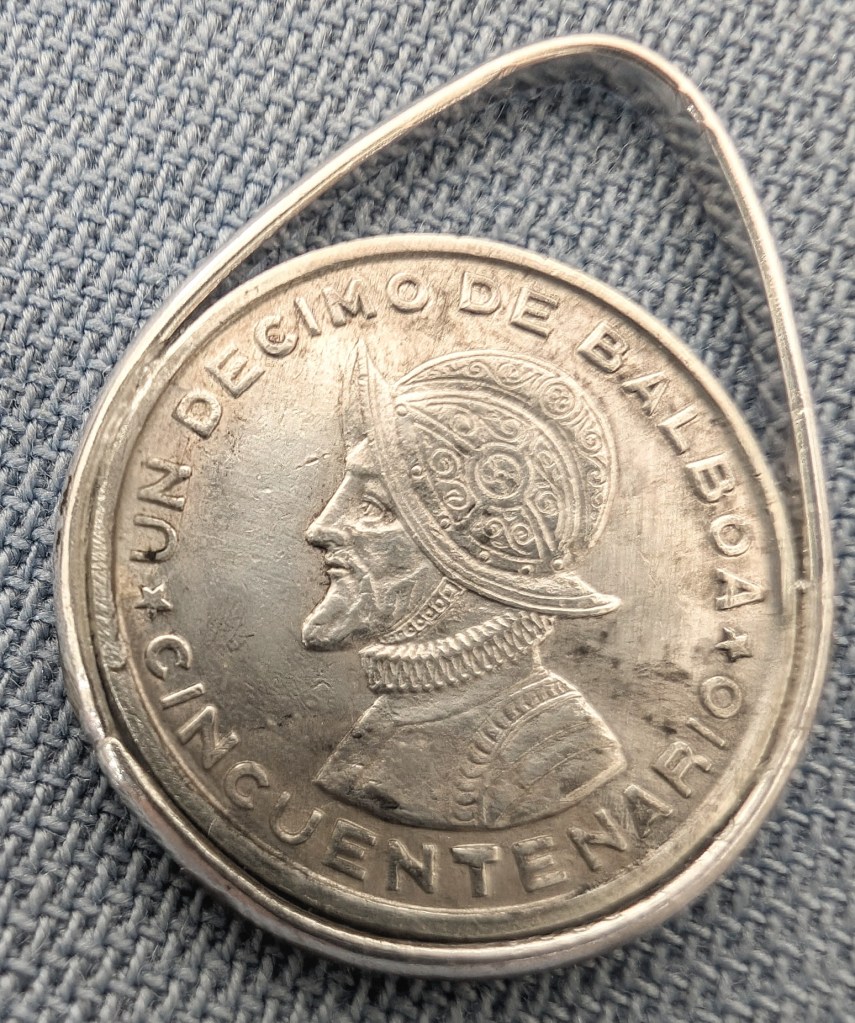
When I was much younger I collected coins. Old Canadian and English pennies and coins from when we went to Malaysia. When I was a teenager my father gave me his coin collection. I
As a collection it was very informal. It consisted of an old plastic tub of coins most of them from Panama and Peru. Most from the late 1950’s, from when he was in the Navy and his ship cruised those waters. I had put away my coin collection by then and wasn’t actively collecting, so I put the tub with my collection and proceeded to spend the next 50 years carrying the collection around with me.
A few months after my father passed away I hauled out that old tub and looked again at those coins. In the collection were about 30 old silver coins, all the same size and all from the Republic De Panama. I started to think of what those coins could become. I wanted to use them as embellishments on a shawl, So, I took the coins to my Silversmith friend Joan and left it with her.
I think that this will be an interesting way of creating a unique piece of knitting while honouring my memories of my father.
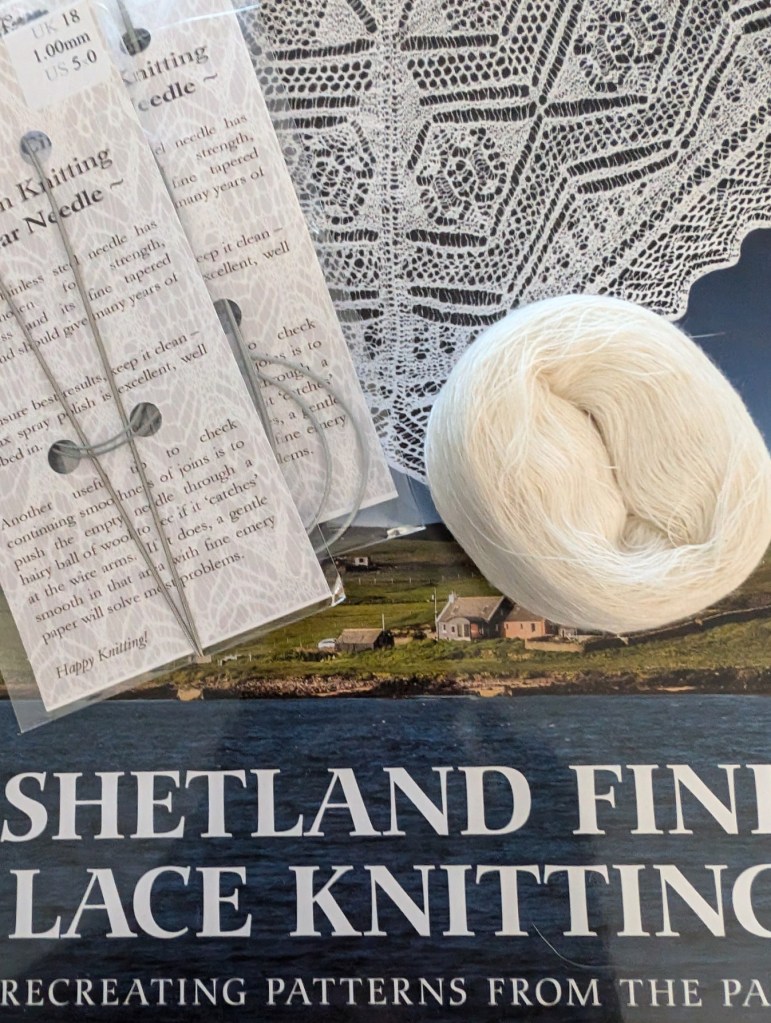
Remember this one? Well it was put on hold while I waited for the book and then it arrived and needed to be examined for new ideas. Which I really couldn’t find. I was in an odd headspace I think. I was looking at my knitting, on the 1.75mm US #00 needles, and thinking it was too loose. I had to get my head around that. So, yesterday I also ripped out my little bit of knitting and put away the the 1.75mm needles and pulled out the 1.0mm US #00000 needles and cringed. I have never, ever, knit with anything that small. So sometime in the next week I will be casting on a new project.
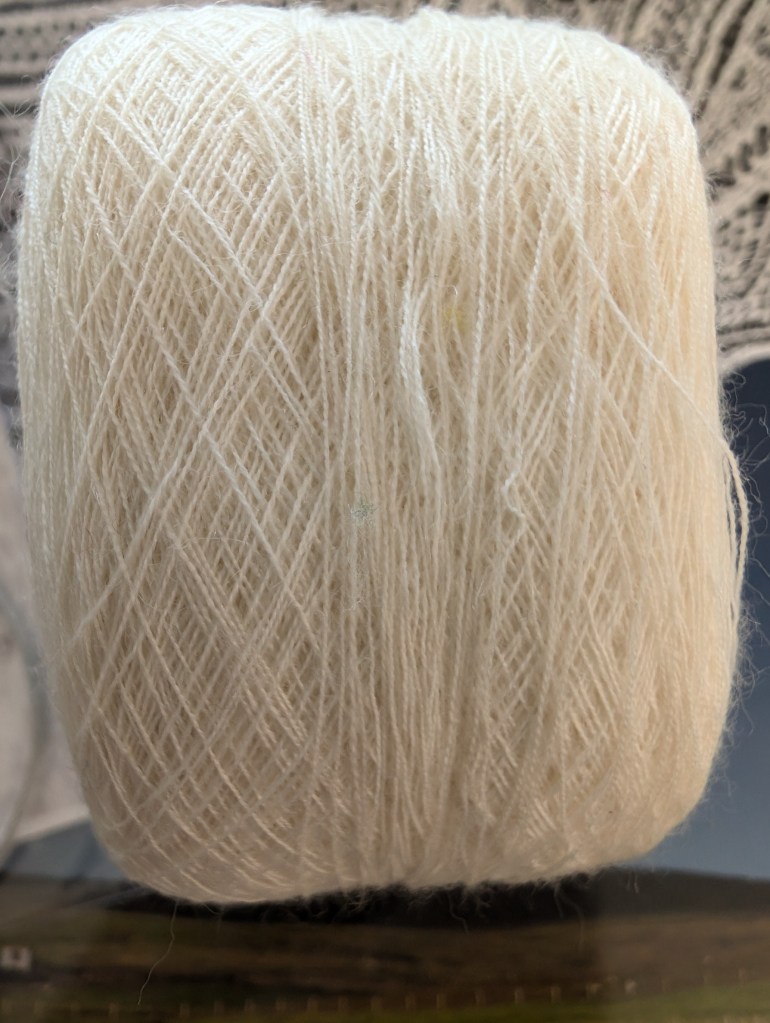
Still trying to get my head around that as well. Do I order more yarn, or do I design a smaller project. Still thinking on it!
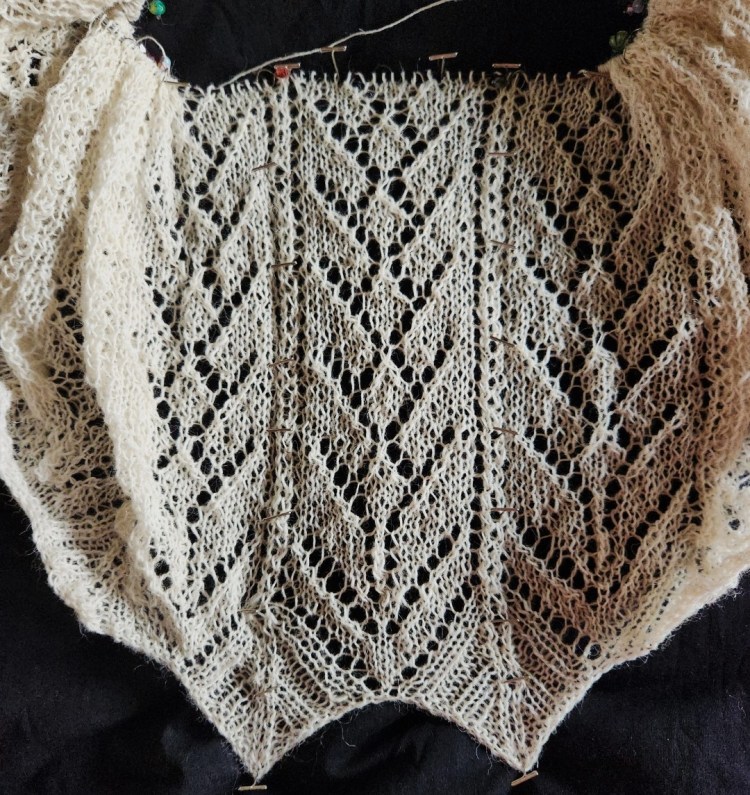
This one has been on hiatus for a while, but I am planning on picking it up at the end of the month. I am not far off the waist and I am hoping to reach the shoulders around Christmas.
There are other projects in the background and more classes to share, but that can be for another day!
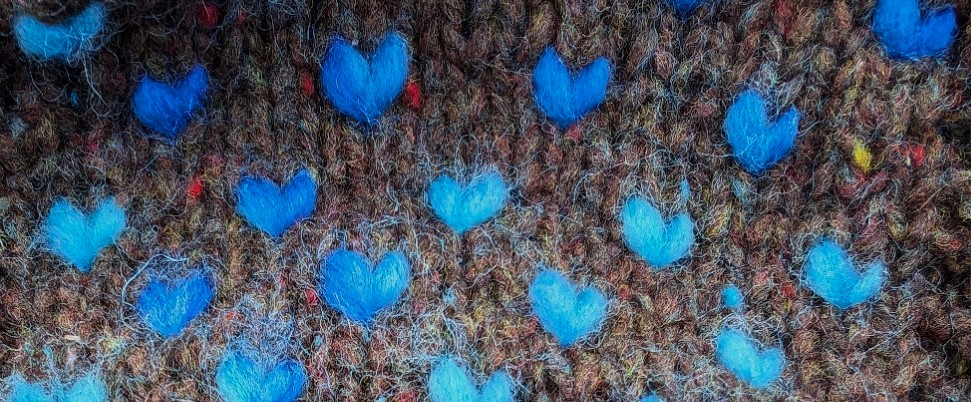
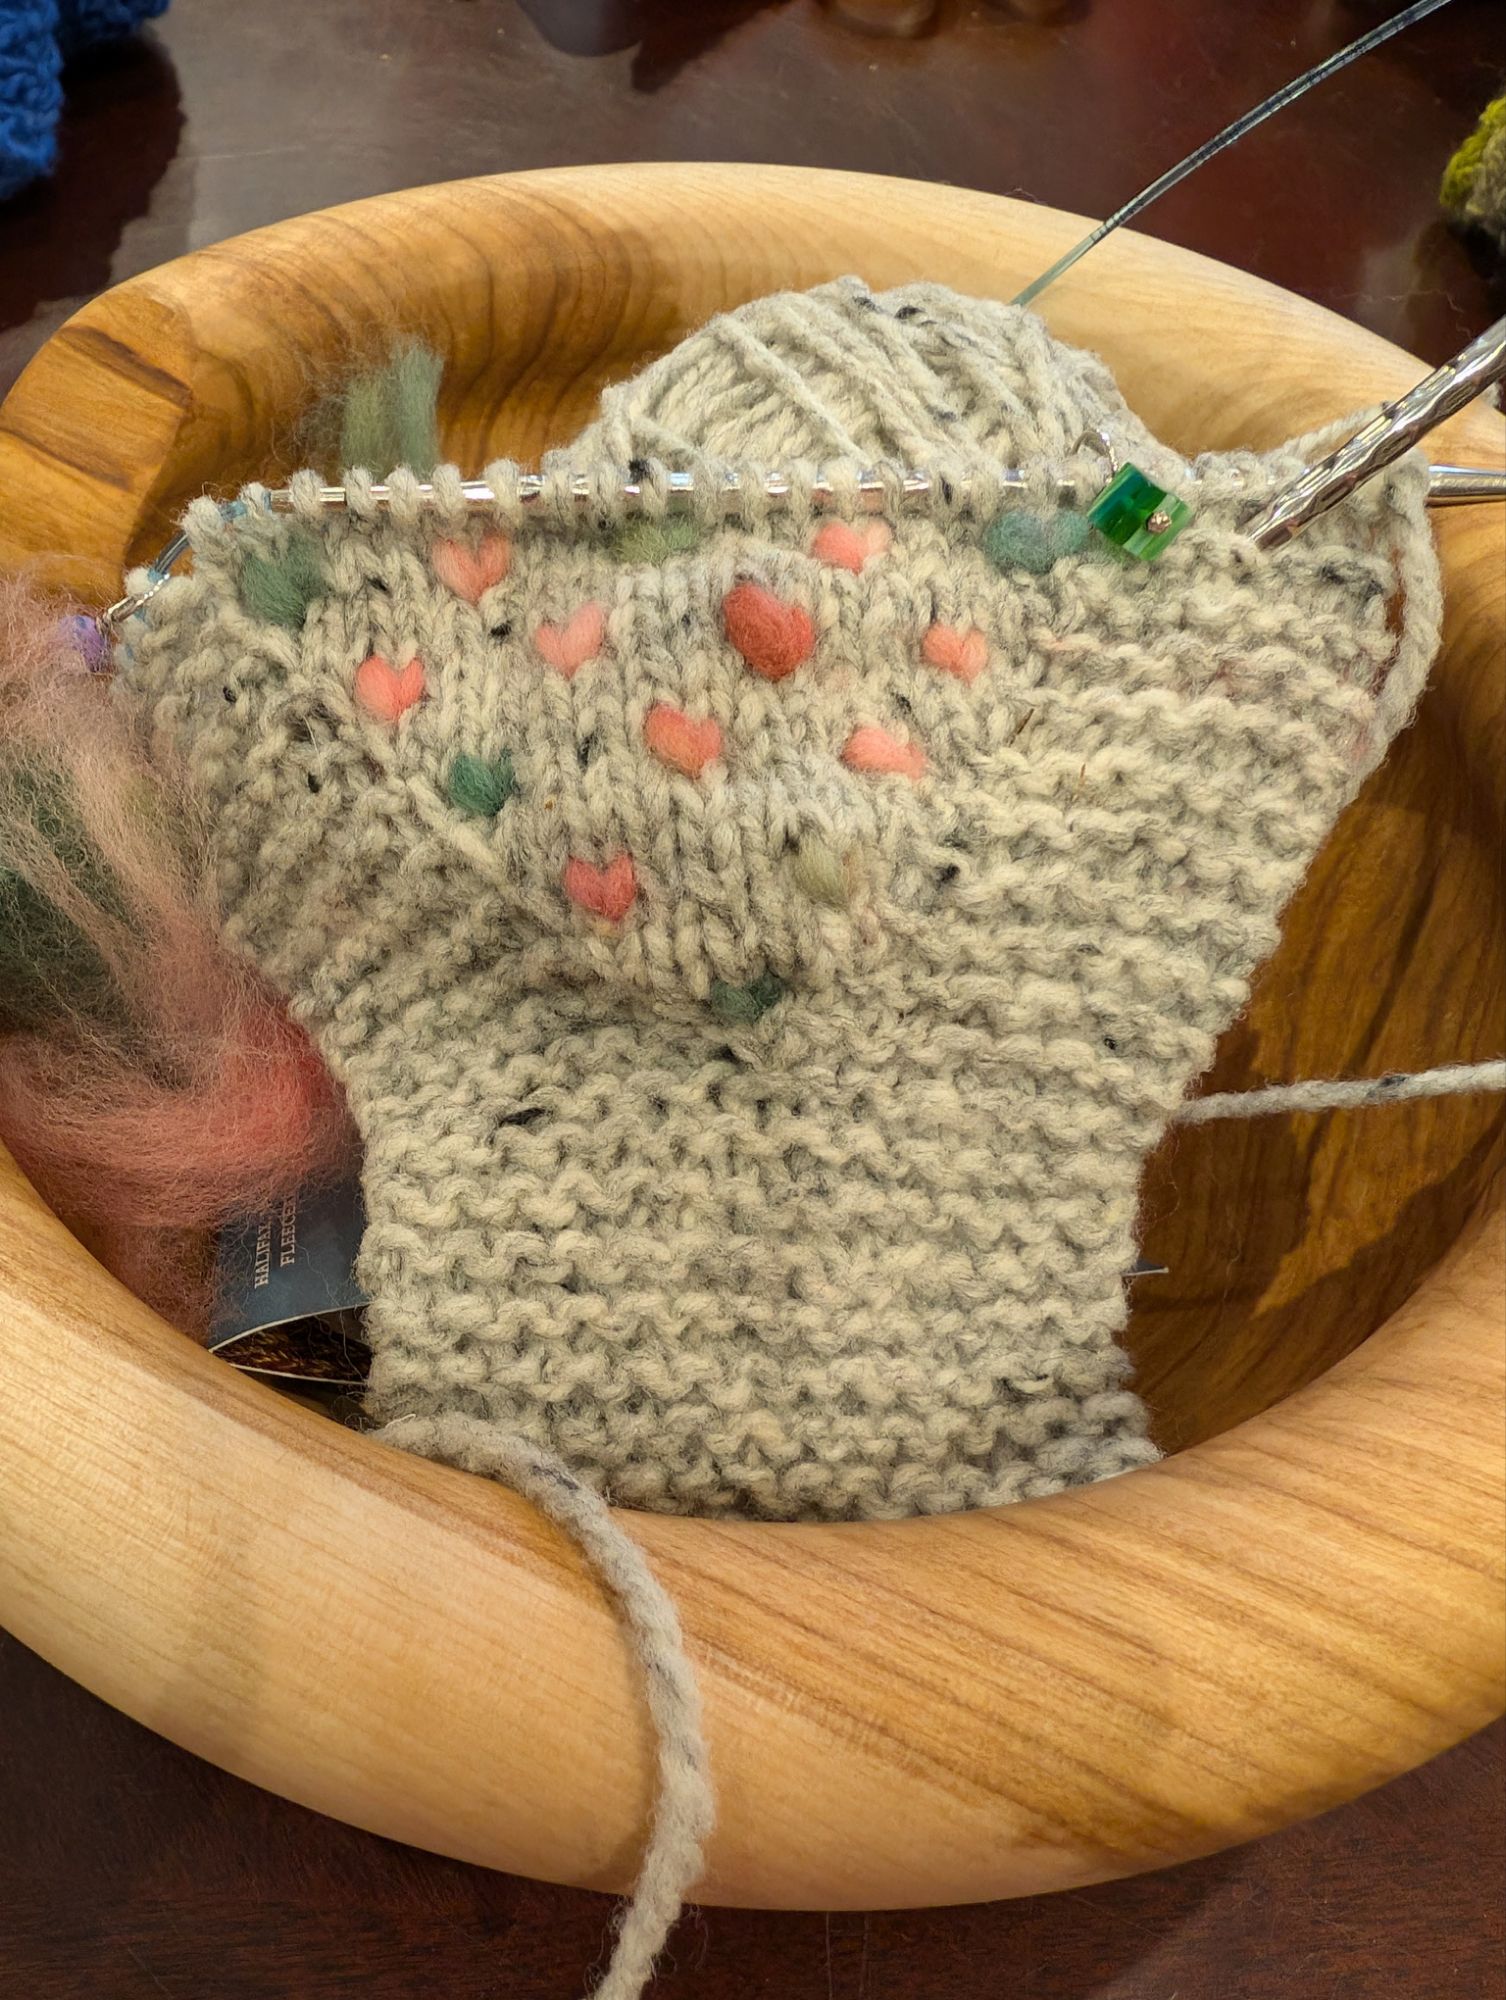
Thrumming was born in Newfoundland, off the east coast of Canada. It is a technique for adding a layer of wool roving to create a very warm and almost totally wind and waterproof mitten. Pieces of roving are knit in to individual stitches with the extra length of the roving remaining inside. With wear, these rovings’ felt, creating the barrier needed to protect hands from the icy winds.
It is really important to note that thrumming works best when knit with non-superwash wool and non-superwash sliver. The scale on the surface of both fibers work together to bond and keep the fibres from separating.
Thrumming in action
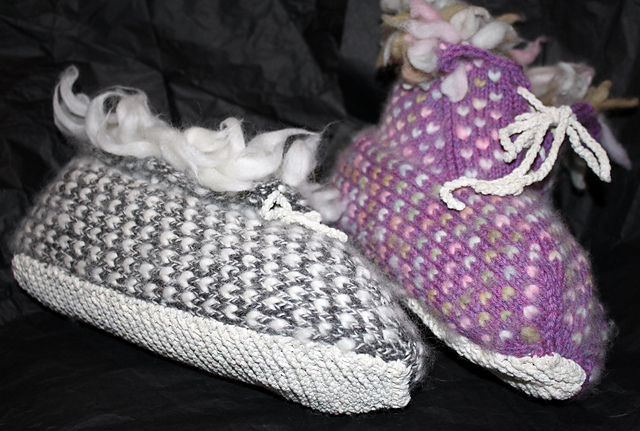
Thrumming can be used for items other than mittens as well. Hat, slippers or a headband (which I am currently designing). And I am thinking of designing a vest. A double sided, thrummed vest would be perfect for our climate.
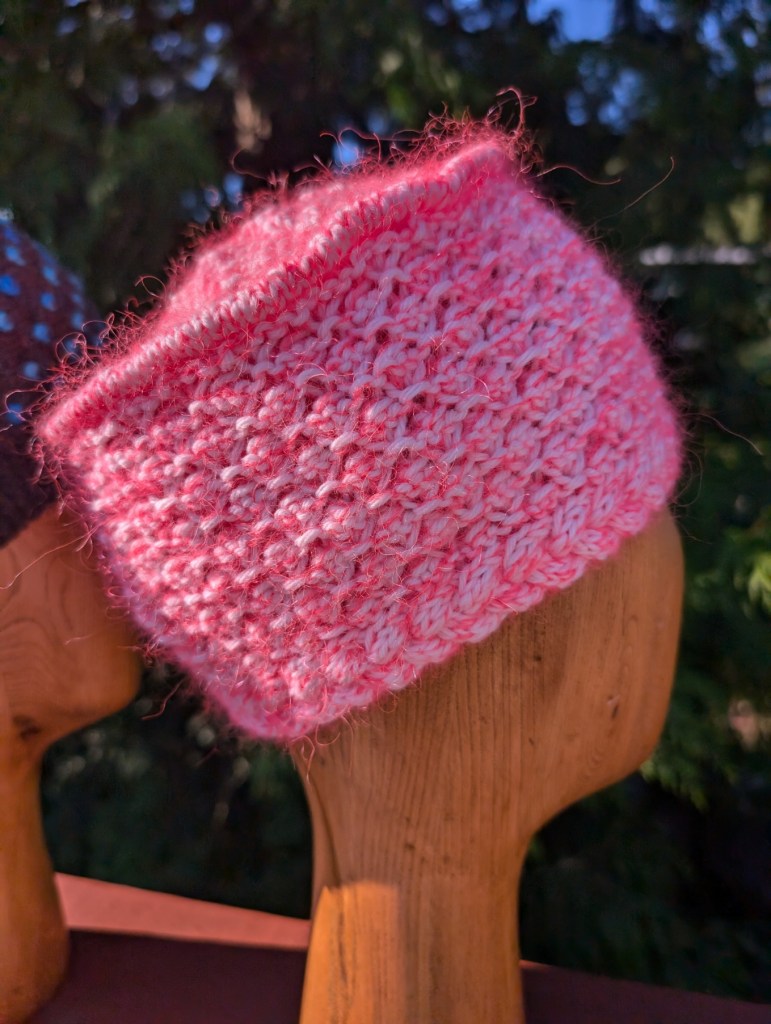
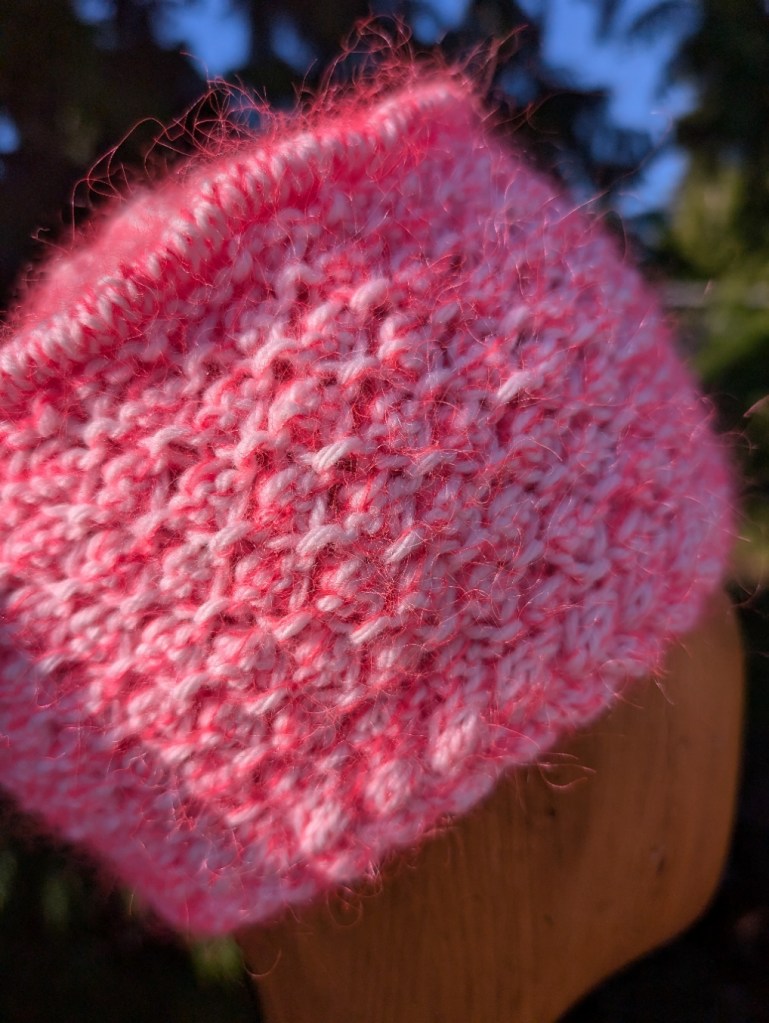
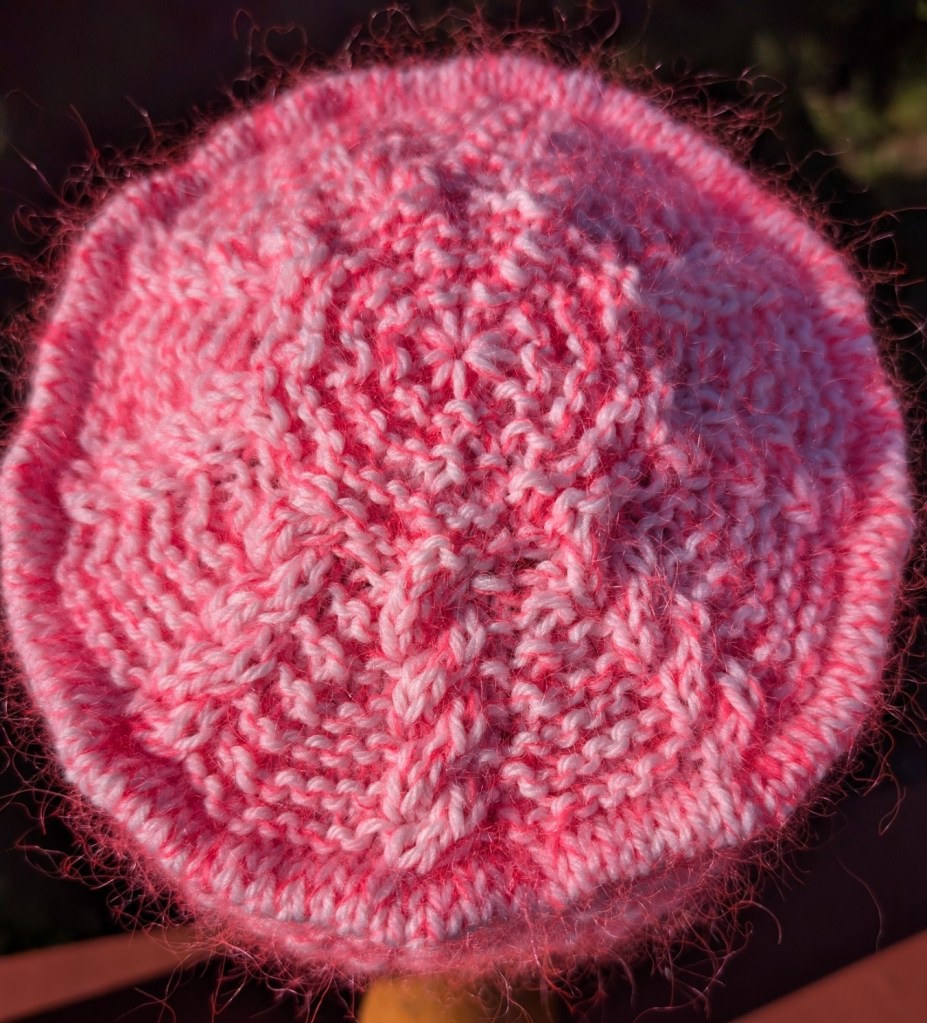
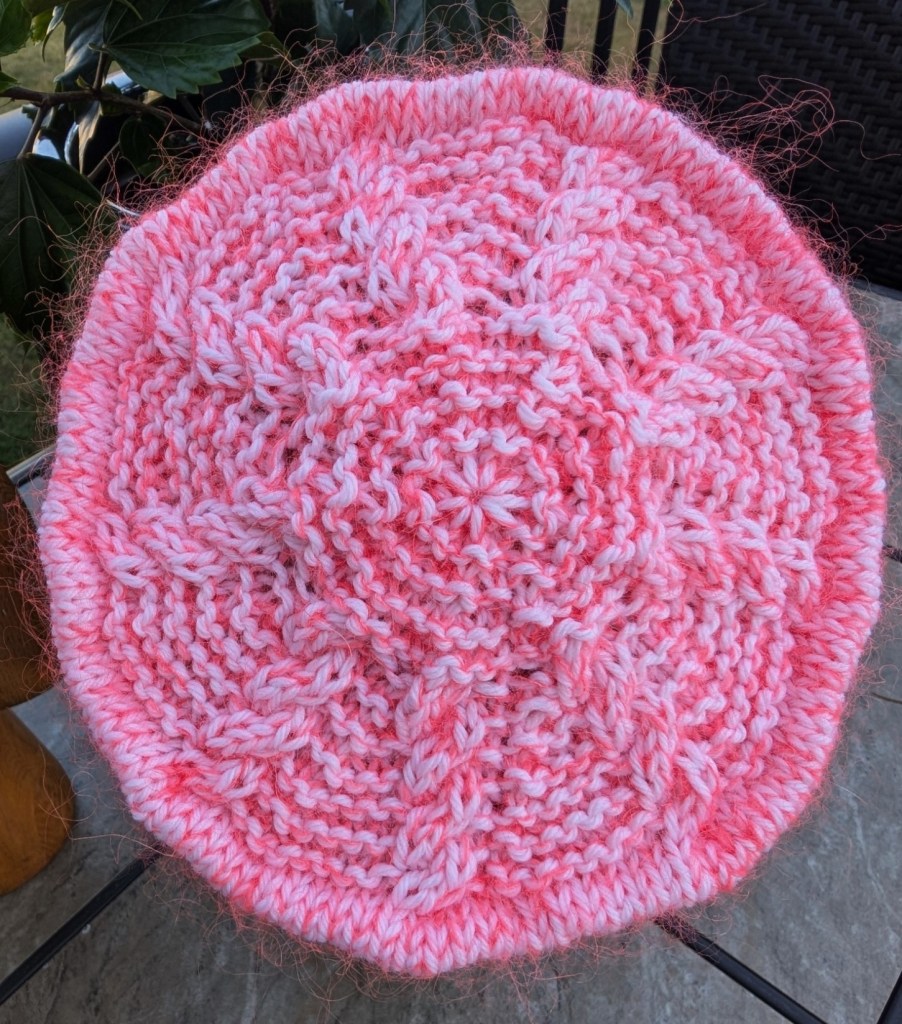
I have finished two of the class samples. Still at least three more to go! I am happy with the results so far! They include a thrummed headband and a cabled pillbox style hat. I took the pictures in different lighting conditions, just to see how the colours would change.
I have no name for the headband pattern, but the pillbox is going to be called Candy Cables – just something about the colour. The white base with the glowing peach mohair looks like candy to me. Check out the mohair halo – so pretty!
I am singing the blues right now. My first attempt at the crown for my new project was a bust. I have gone back to the computer and designed a new crown. I hope it works better than the first!
sometimes you win, sometimes you lose, sometimes the blues get a hold of you…. Carol King, Sweet Seasons
Turn up the sound for the full story!
I hope you have a wonderful evening! I know I will! I will be knitting! LOL!
An i-cord bind-off creates a very defined edge with almost no give. It is perfect for adding stability any edge that needs a little extra something to keep everything together. It is also a very strong edge and was often used in traditional sweaters, such as Fishermen Ganseys, at shoulder joins to help those seams keep their shape.
In the Beach Bucket pattern I am using the I-cord bind-off in a contrasting colour to both highlight the edge and define its shape.
The video will give you an understanding of how to create the I-cord to start the bind-off and the basic steps of the bind-off.