Le Tissier Designs

Of Larks and Linnets and Flying Fingers

Tag: knitting in the round

  • A Quickie…

    A Quickie…

    A few months ago I was interviewed by Stitchmastery. Stitchmastery makes the knitting program that I use to create my charts! I was really stoked when this came out!
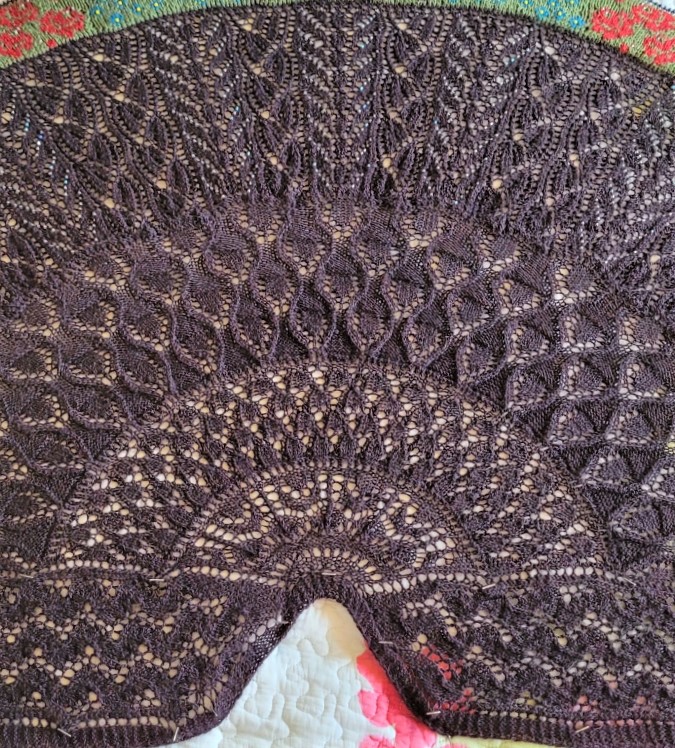
    Look at all those pretty lace patterns, all charts created by Stitchmastery.

    Interview series 51 – Lynette Meek – Stitchmastery

    Pattern is on Ravelry, High Summer KAL.

    I love working with striping yarns. Moving the stripes around in different ways is aways challenging. This technique is a little challenging, but great for the adventurous knitter.

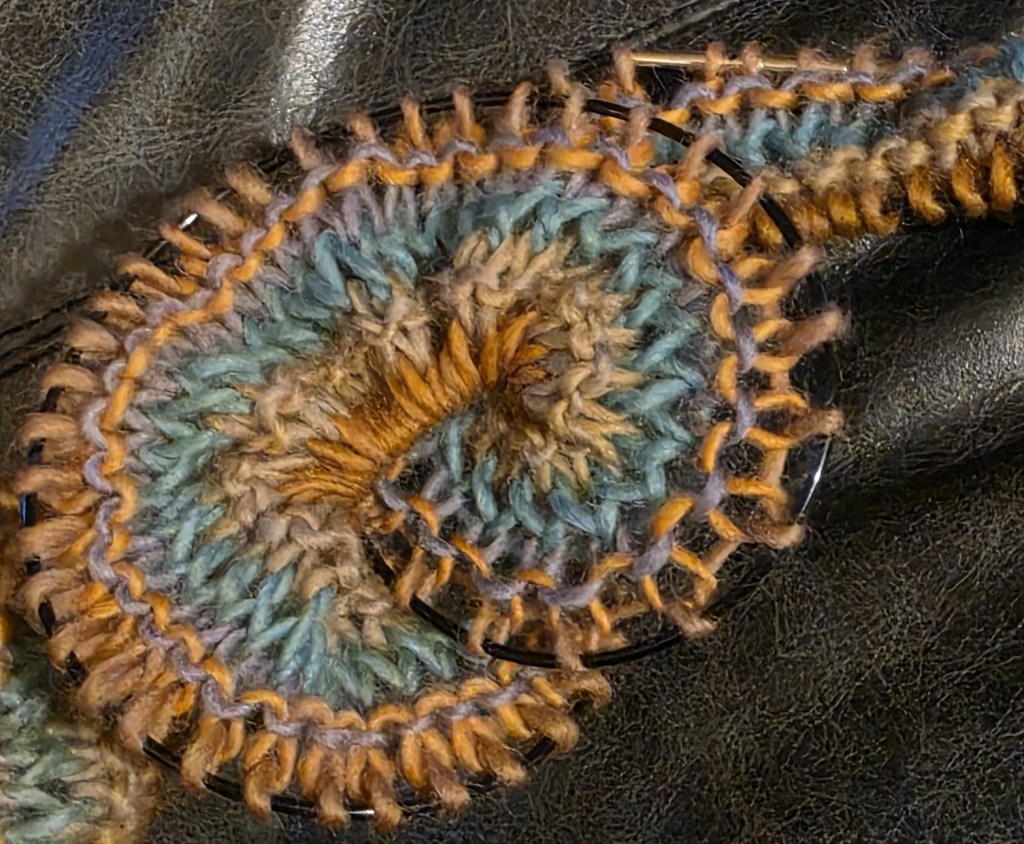
    This striping yarn is Poema Stripes by Laine du Nord

    I have started a new scarf, one with a different style of cast-on. For the knitting nerds outs there – have you every knit a rectangular scarf or shawl in the round? Do you know the magic loop method? Why not give this a try?

    Basic instructions for a worsted start:

    Using a 5.0mm US#8 80cm 32in circ, and using a knitted cast-on (you know, the one with the loopy edge) 170 st. Knit 1 row. With a 150cm 60in needle of the same size, turn work so that the RS is facing with the cast-on edge on the top.

    Pro Tip – one that I forgot until I didn’t need to remember – DUH! – if you have them use a 60 in cord with the short tips – you will be knitting in the round without the rabbit ears a lot sooner (magic loop).

    Pull working yarn up and using the new, longer needle, pick-up and knit 170 sts from the cast-on edge. Pull up enough loop so that the needle can turn the corner, YO, knit 170 sts, YO, place BORM marker – 342 sts.
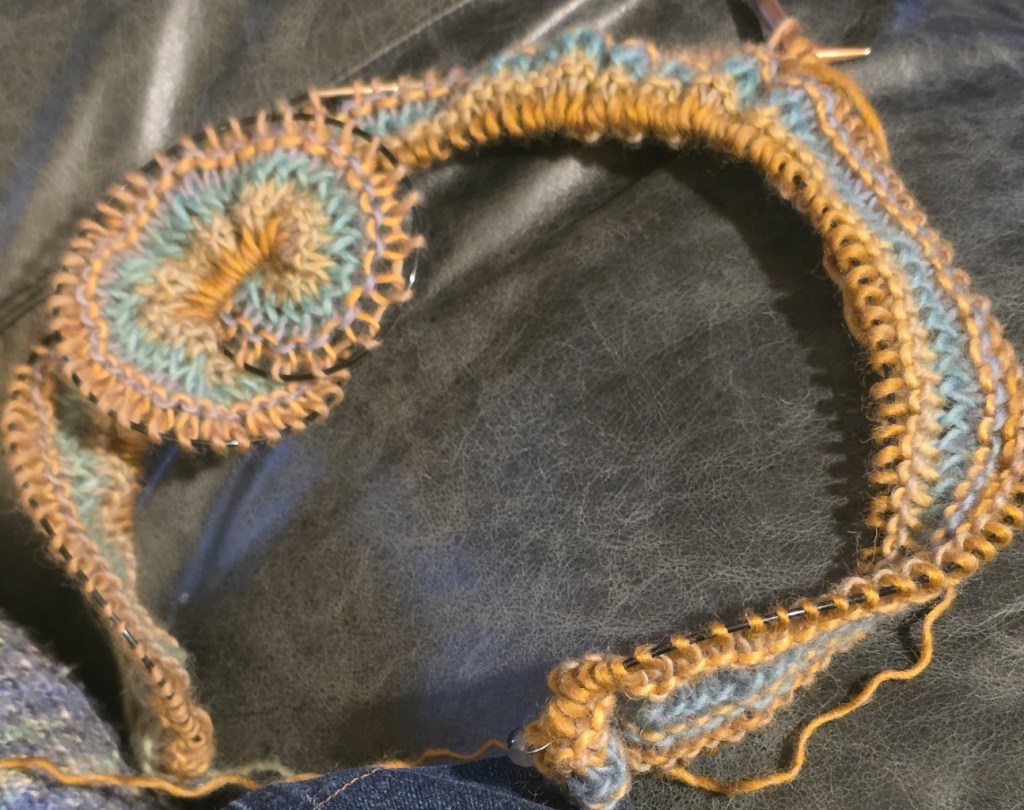
    I love the way the stitches make “turkey tails” as you move them along the cord.

    You will need to pull out the extra cord at each end to turn the corner for the first 10 rounds or so.

    • Round 1 – purl 170 sts, pm, yo, k1, yo, pm, purl 170 sts, pm, yo, k1, yo, slm – 346 sts.
    • Round 2 – knit 170 sts, slm, yo, k1, yo, k1, yo, k1, yo, slm knit 170 st, slm, yo, k1, yo, k1, yo, k1, yo, slm – 354 sts.
    • Round 3 – purl 170 st, slm, k1, yo, k1, yo, k3, yo, k1, yo, k1, slm, purl 170 sts, slm, k1, yo, k1, yo, k3, yo, k1, yo, k1 – 362 sts.
    • Round 4 – knit 170 sts, slm, k2, yo k1, yo, k5, yo, k1, yo, k2, slm, knit 170 sts, slm, k2, yo, k1, yo k5, yo, k1, yo, k2 – 370 sts.
    • Round 5 – purl all around – no increases.

    From this point increases will be every other round.

    This is as far as I have gotten. I will post more as I go.
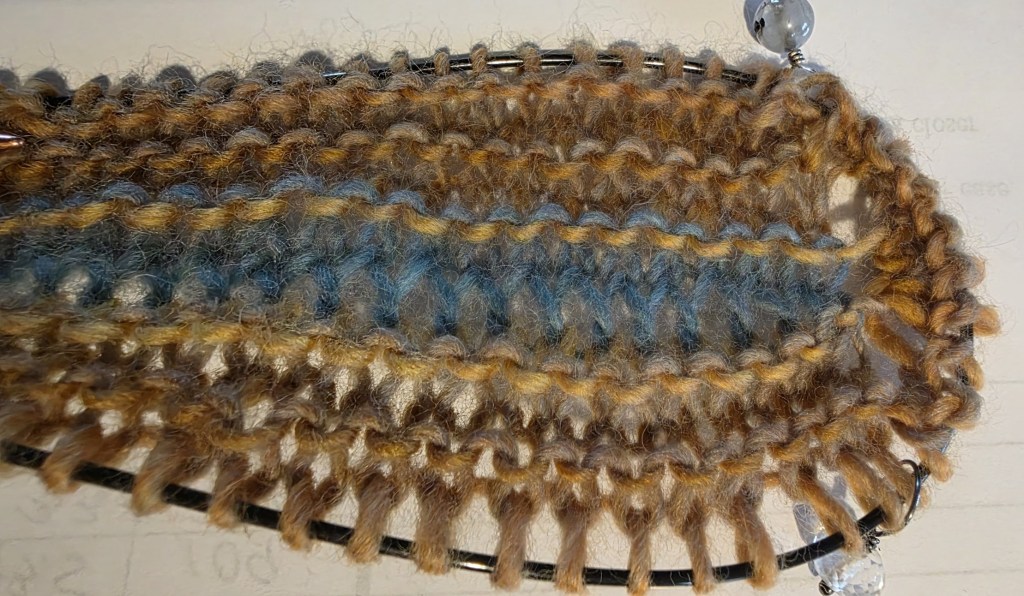
    I will post more of the pattern tomorrow, always supposing I get more done today!

    I hope that your knitting is going well! Happy Knitting!

    Lynette
  • Knit a Dress With Me – Update

    Knit a Dress With Me – Update

    If you are following the my design notes on Ravelry you will find this to be repetitive but if not I hope that you are enjoying the journey!

    Three rounds to go and then I start the panel shaping!

    Dry blocked I am at about 12 inches. The Panels will add approx 7 to 7.5 inches to the length – dry blocked.

    Things I am thinking about and would really appreciate feedback on.

    How closely fitting should the dress be? I am thinking fitted with about 2 inches of ease around the waist for comfort and to smooth out over a slip of some type. I have a pretty good idea of how to achieve the shaping as we get closer to the waist. Which will involve more panel shaping.

    Are you thinking of something that could be pulled over the head?

    If fitted there will need to be an opening of some type in the side seam or up the back. I am thinking side seam buttons under the arm and down past the waist – no zipper – zippers and knits are very chancy. I love the vintage feel of the side seam opening – very old fashioned dress finishing. I am not a big fan of buttons up the back – besides then so much of the dress would need to be knit flat as opposed to circularly. Though there is something about a long swath of tiny buttons up the back of a dress….

    If fitted, then after the waist area there will need to be darts. I chose the panel approach to make it easier to add waist darts if I wanted. But then will I need to add bust darts? If so, how? Short rows are the traditional way, but that would interrupt the lace pattern. I could end the lace pattern on the side of the front after the waist and just have panels in the front, but my vision is still of all over lace. Things to think about as I knit.

    If you are looking for a pullover style of dress – the option will be there and quite easy to make work – let me know.

    I am going to see how far I can get in the next week, after that I will be working on a sample and pattern for a yarn company which will slow this down for a couple of months!

    I will be changing needle size on round 15 of the decreasing chart. Just another quarter point from 3.75mm to 3.5mm (US#4).

    I am not sure when I will go to the 3.25mm. Most likely before the waist area.

    As for shaping the bodice depending upon your shape you may need bust darts or you may not – but you will need some shaping if you want it fitted – even if your bust only has a gentle curve.

    If you want a waist line and would like your dress to be a pullover style, we can add a double knit tubular channel for a belt or Gathering cord. Knit a fine belt in i-cord or 1×1 ribbing to run through the channel and we have a waistline. Alternatively we could run elastic through the channel. Anything to gather to the waist.

    For a more fitted style, then back to the buttons along the side seam. Or maybe an A-line shape with a slow, gentle line of decreasing stitches.

    But before we get there…

    At round 29, if you want a shaped waist, stop knitting. We may be adding more shaping panels. Not sure when I will be able to work those out.

    If you want a waist that is gathered into the belt or elastic, knit until your skirt is your desired length, and then wait for me to get there.

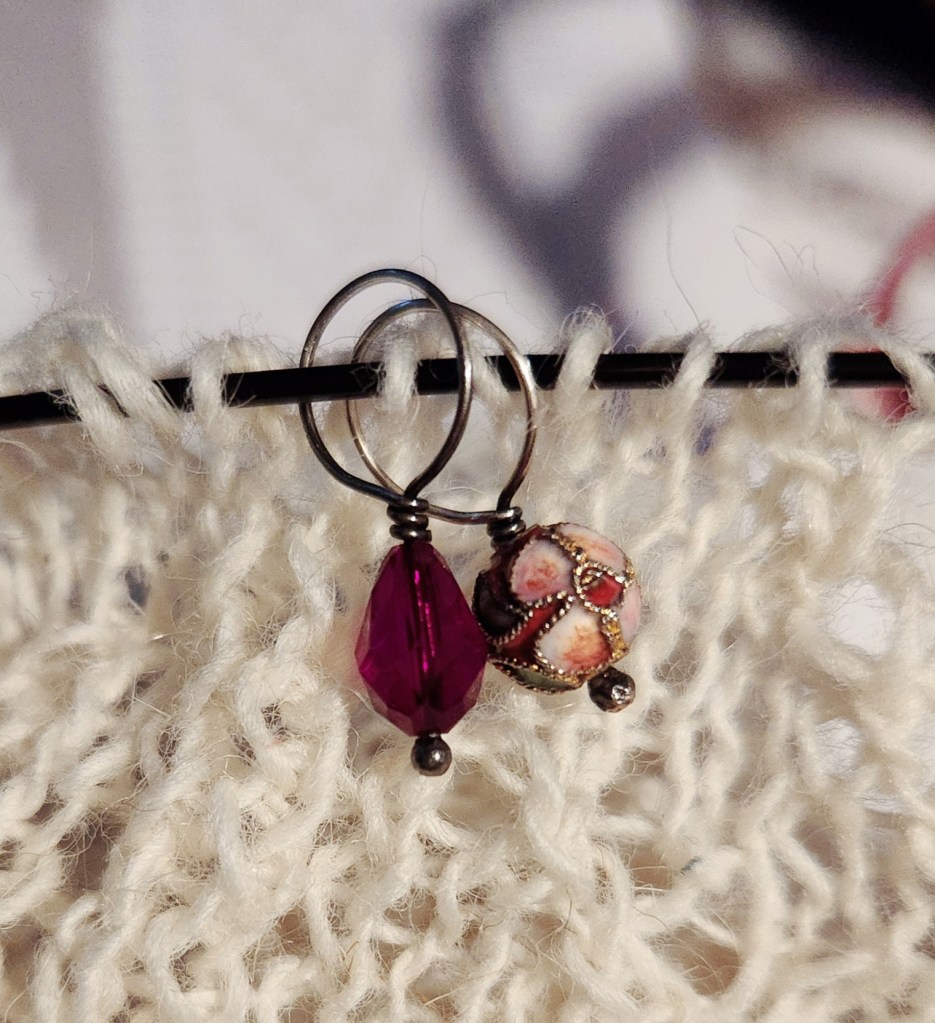
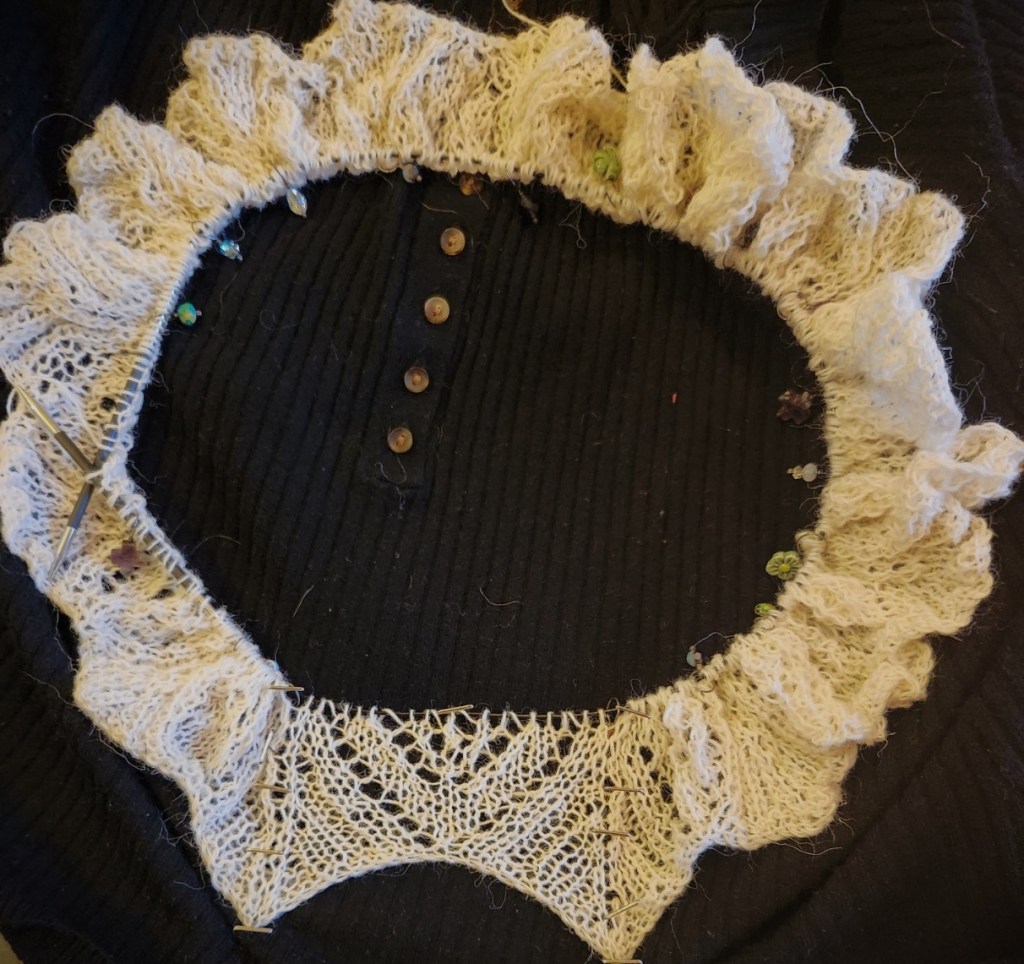
    Double markers for double tracking! I started my first shaping round!

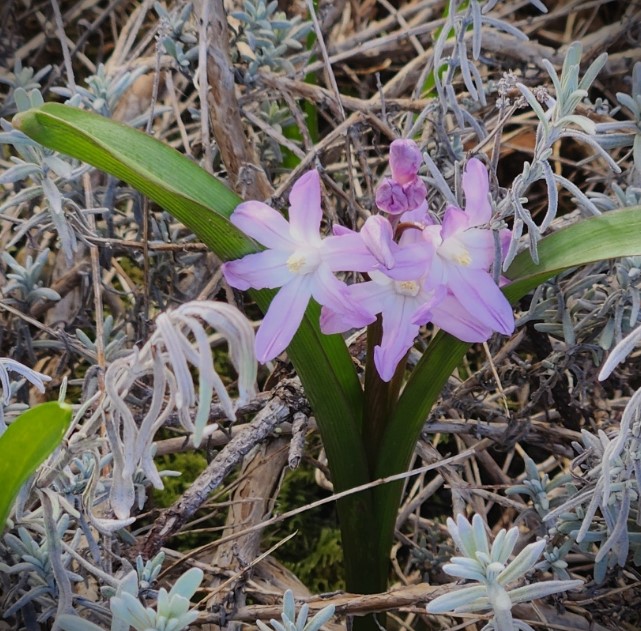
    Spring flower popping up through the Lavender!

    We are facing a glorious weekend of sunshine here! And the flowers are starting to come. The buds are on the trees and the cherry blossoms are starting to bloom! I love the colours of Spring!

    Happy Knitting

    Lynette

    The lacy tracery of branches and leaves against a blue sky! How wonderful is nature.

  • Knit a Dress with Me

    Knit a Dress with Me

    A little over a year ago I decided to knit a dress for myself. I bought the yarn, did some swatching and started to knit.

    My father’s illness and subsequent passing sort of put everything on hold.

    Yesterday I pulled out my knitting and decided it was time to start it again.

    Would you like to knit a dress for yourself? Come and knit one with me. It is free. It is “pithy”, to quote Elizabeth Zimmerman and it (the pattern) will be very flexible. This will be a creative recipe, a guideline, not a hard and fast pattern that you can only knit one way!

    This pattern is designed for intermediate knitters with some experience with lace knitting. The lace patterning will not be difficult, in fact knitting the skirt could be a little repetitive and boring. Shaping, and fitting the top of the dress could be a little challenging. But by then you may be a professional lace knitter.

    Dress pattern will be written and charted. You can find the link to the pattern in my Ravelry Store and on a post in my forum, also on Ravelry.

    knit a dress with me

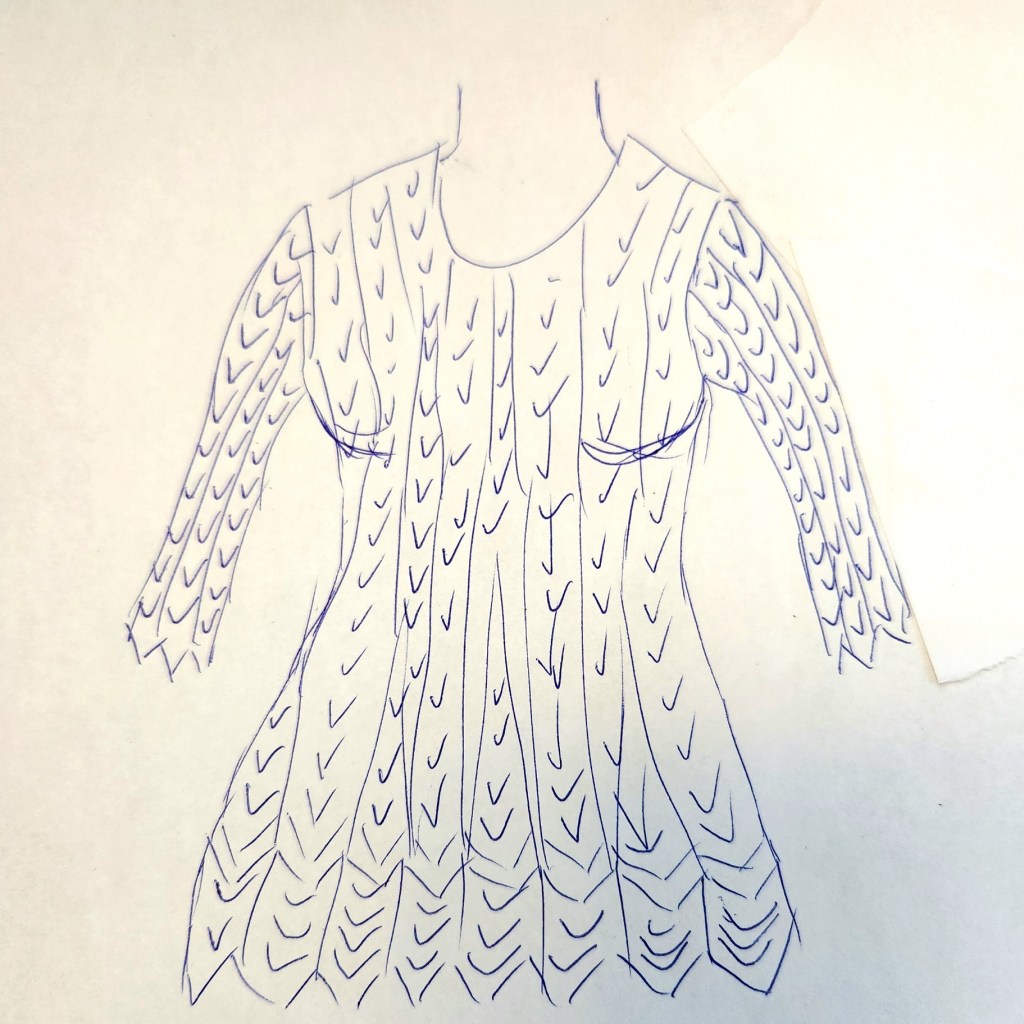
    The dress is knit in panels. The dress starts at the hem and will be shaped to fit loosely at the waist and darted to fit a bust line. There will be sleeves, but as they will be fitted they could be omitted to turn the dress into a sleeveless dress or jumper. I am sort of putting in three sizes. Right now those sizes refer to the hem. How wide do you want your hem? These sizes were created from my gauge.

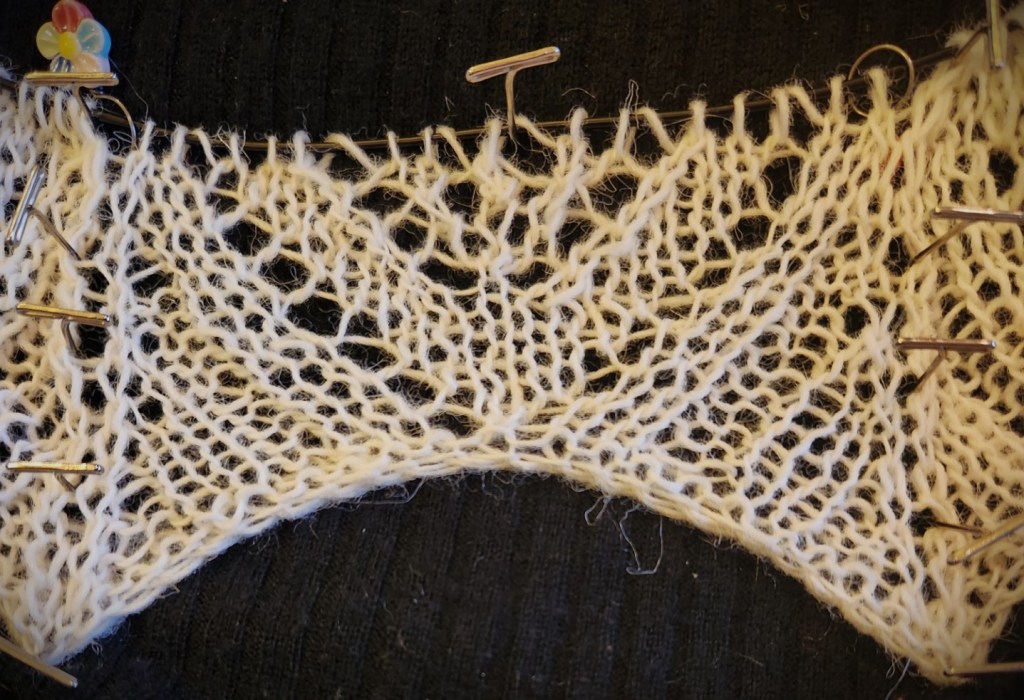
    There are two panels to choose from. One (titled Skirt) will give you a lace panel at the hem and a solid skirt (the shaping will still work in the panels, these panels will also be solid knit)(no picture available). This was my first idea. Then I decided I wanted more lace and less plain knitting. I suffer from boredom without patterning.

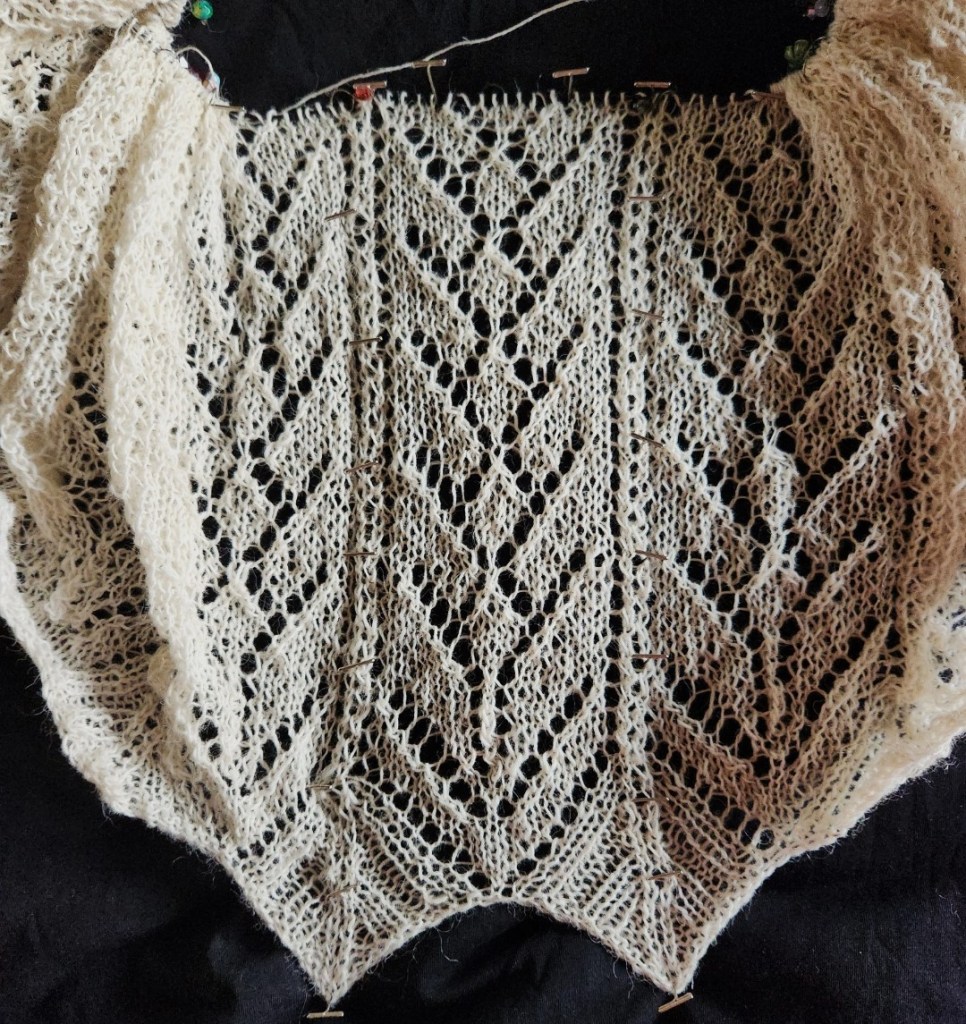
    The other panel (titled Dress Panel), the one I will be working, will create linear lines of lace up the skirt, through the shaping and into the bodice. Work the first 29 rounds as written and then repeat rounds 30 – 39 for the rest of the skirt.

    Please note – the shaping panels have not been written as yet. They will be added when I get there, maybe in about 4 months. So don’t hurry your knitting along. I will not be.

    My gauge is roughly 5 inches per panel (dry stretched, and pinned) I am expecting that the actual hem may be a bit larger.

    Why Panels?
    Panels will allow the knitter to easily add or take away panels to the cast-on (how full do you want your hem to be?) and then remove them when I start adding the reducing panels. I recommend adding repeats in either, twos or threes – to make the later shaping easier. So you can take away the stitches evenly around your skirt.

    Each Panel is 21 sts – 5 inches.

    I am working with Lopi Einband – a heavy laceweight (or light fingering). I have approx. 2500m in my stash. I am working with undyed yarn so that I can dye it later. For a longer or fuller skirt up to 3000m of yarn might be required.

    You can work with any yarn from light fingering to sport/light DK. The needle size is 4.0mm US #6 circular.

    You will need to work a circular swatch to check your gauge. Or not, a swatch is just for your information.

    By the way – my size is 50 inch hips, 42 inch waist and 43 inch bust. I am planning my skirt to come to just below my knees, so approx. 22 or 23 inches long. I will start the skirt shaping at about 15 inches in length. I have just over 2 inches (16 rounds) knit so far. This will not be fast. I am thinking the dress will be a year or two in the making.

    Happy Knitting

    Lynette