Le Tissier Designs

Of Larks and Linnets and Flying Fingers

Tag: mending

  • Mending 101 – Part 2

    Mending 101 – Part 2

    Mending a Ribbed Cuff – replacing the rib

    Yesterday I mended the blue sweater cuff. It took about two and a half hours, including the knitting time. Why did I wait so long? I’ve had the yarn for close to three years! Other things kept getting in the way. And I would rather knit than mend! Wouldn’t you?

    I am working on changing that attitude within myself.
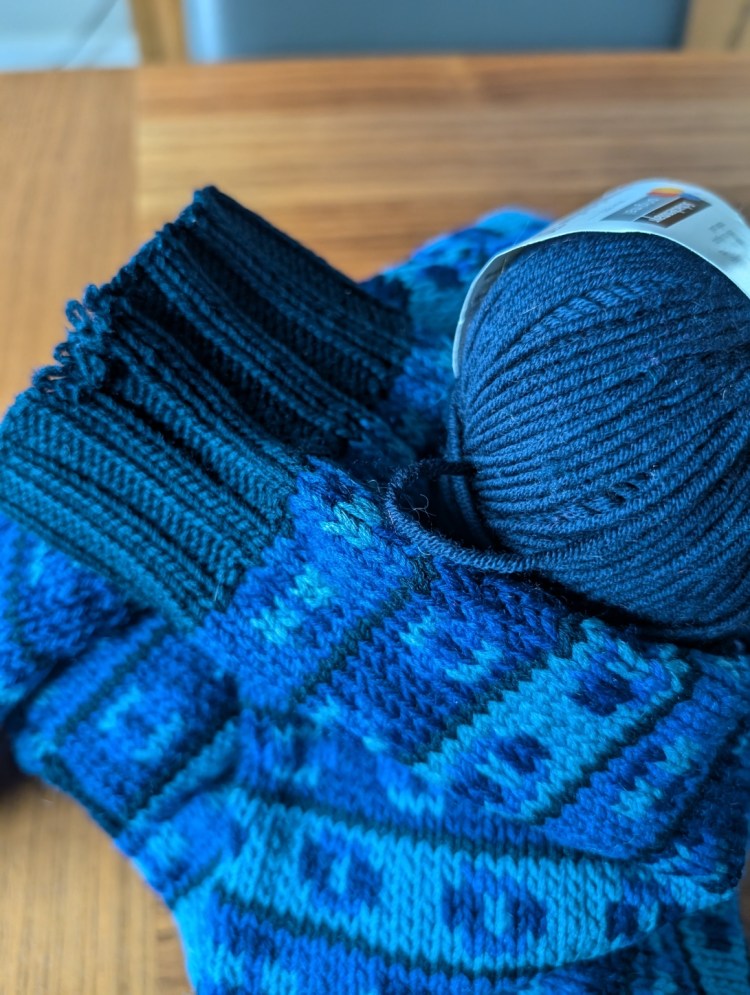
    This sweater was knit in the round. Bottom up for the body, but top down for the sleeves.

    At the time, I knew my yardage was limited and I wanted to make sure that each sleeve was the same and that the yardage went as far as possible. Top-down knitting is the best way to make that happen. It worked well for this project. I finished the sweater with only a little of the main shade of blue to spare.

    The original yarn was a dk, so I decided to work the cuff with a set of 3.5mm US #4 dpn’s.

    Top-down knitting also makes it easier to mend/replace the bits that wear out, like the sleeve cuffs. Had I knit the sleeves from the cuff up I would have had to cut the knitting at the join of the cuff and very carefully retrieve my live stitches above the cuff. That will be a demonstration for another day and a different sweater!

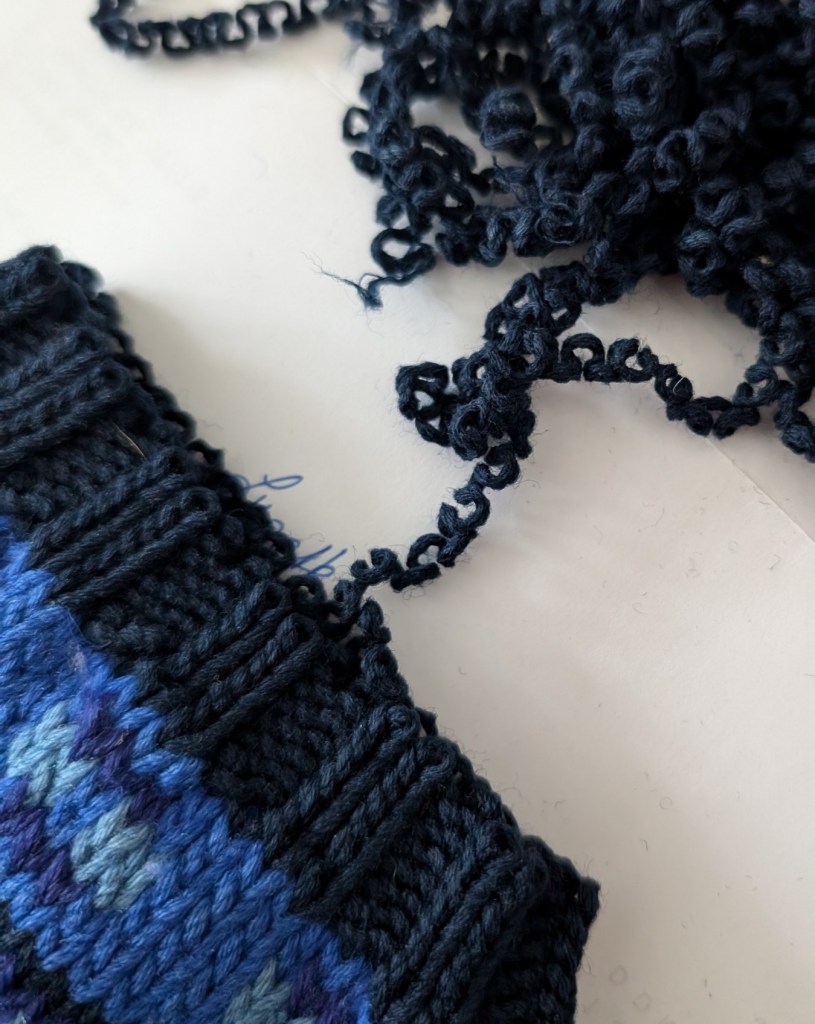
    When working with an older sweater, the stitches will not usually run down the knitting in the same way as a garment that you are working. After a certain amount of time the yarn itself has been almost pressed into shape with folds and bends. You can see in the unraveled yarn and stitches at the end of the cuff (4th picture in the sequence) that the shape is set and unwilling to move. A bonus, one that makes the work you are trying to achieve a little easier.
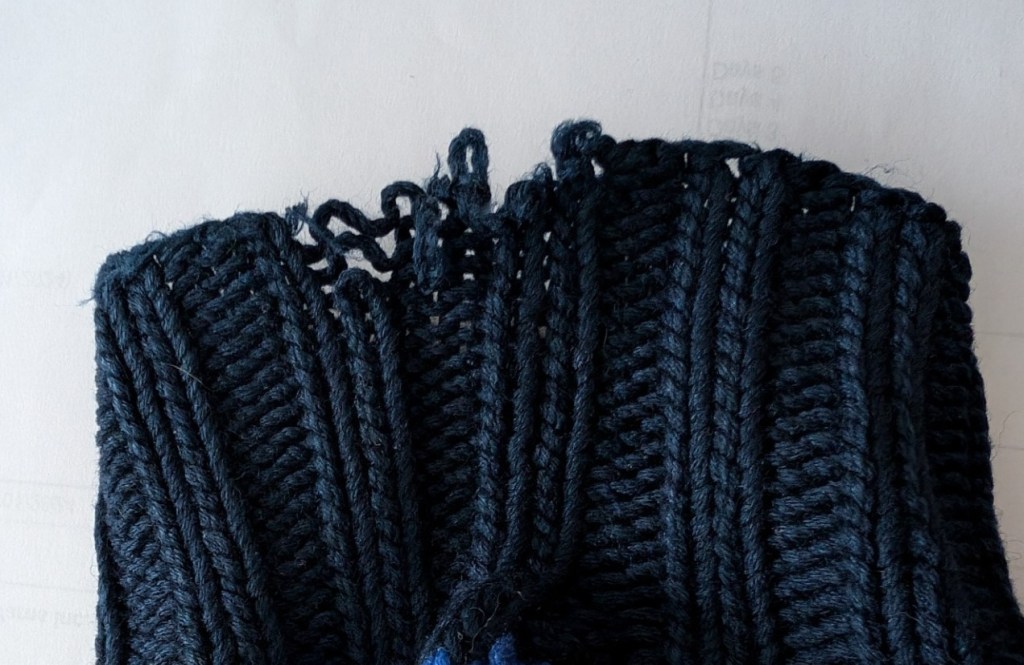
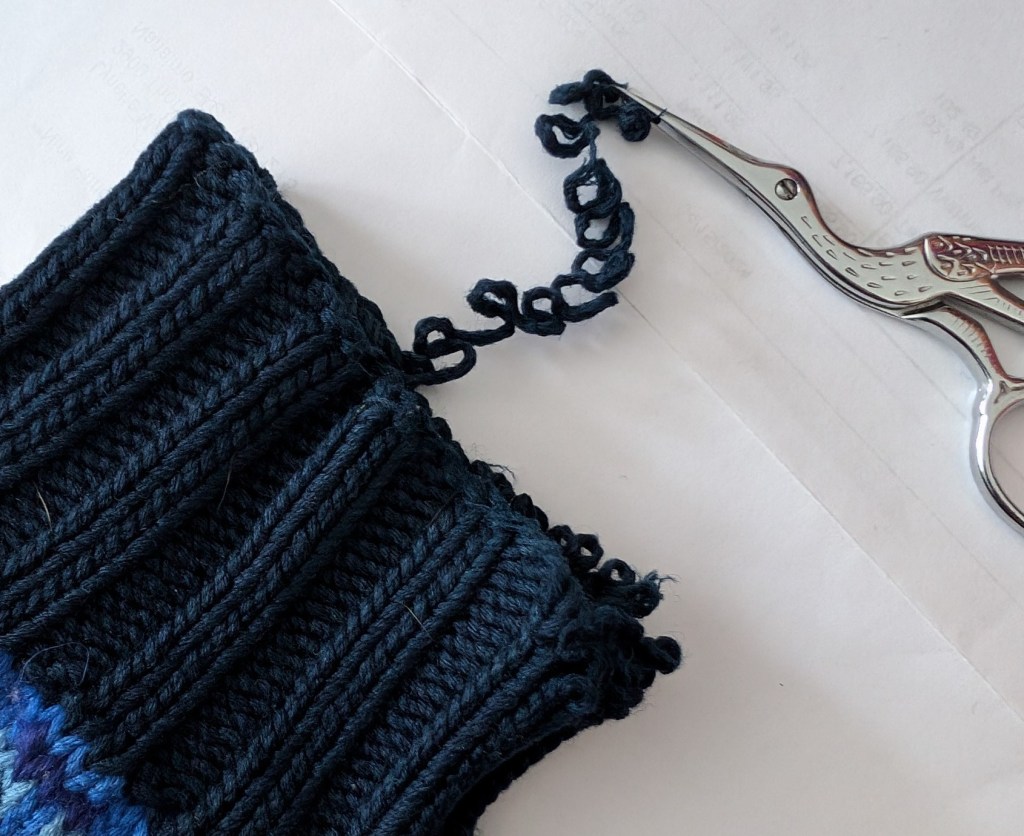
    The wrist is frayed right at the beginning/end of the round. Which makes it slightly more complicated to pull back as the end has been woven in down towards the cuff.
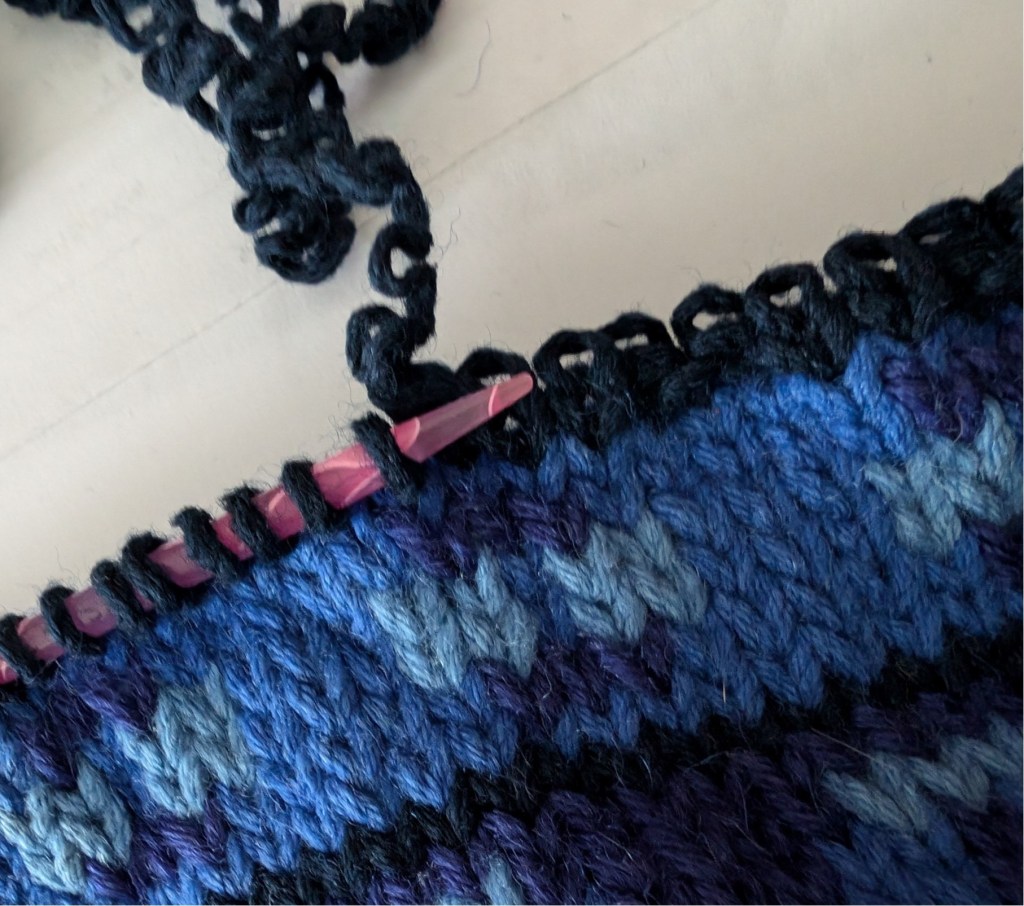
    Scissors will be needed to cut the yarn every time it hits the woven in tail, Once the end of the knitting is found the knitting will pull back easily, except where the tail yarn has been woven into the fabric. Scissors were used to cut the knotted area and the wrist kept on unravelling.
    The end is gone and the unravelling speeds along.
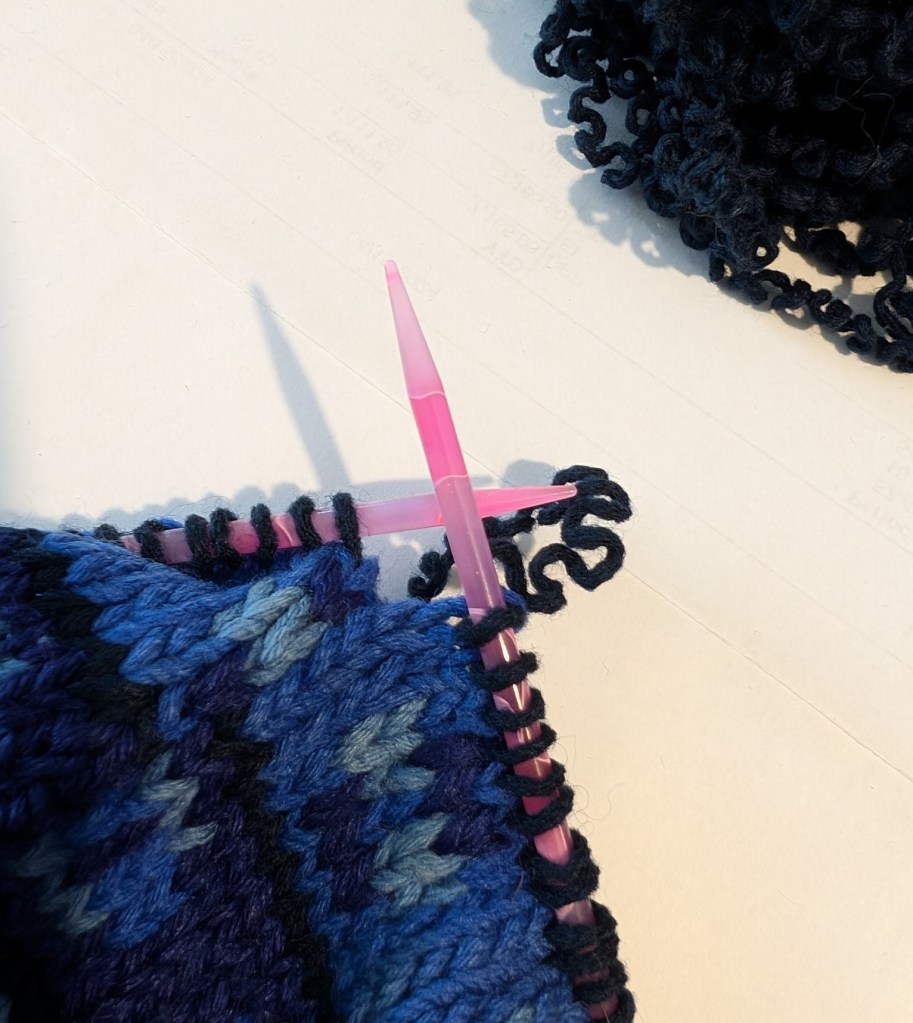
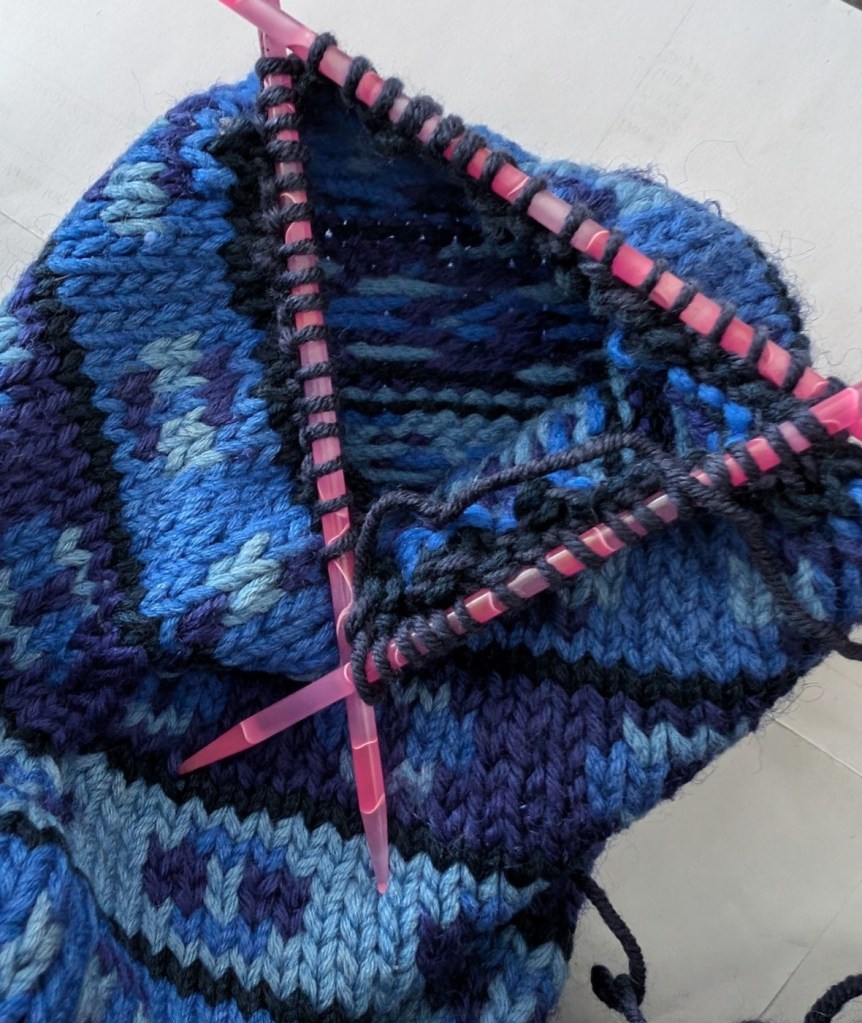
    Once the knitting is pulled back to the sleeve, pull the next round out carefully, As you pull catch each stitch revealed with a dpn. Continue to pull back the last round, switching dpn’s as they are filled. Use 3 or 4 dpn’s to hold the stitches depending upon your comfort level with dpn use.
    Once all of the stitches have been picked up, cut off the old yarn leaving an 8 inch tail. Weave in the tail as you knit the first round of the new ribbed cuff.
    I had 68 sts on the needles but the cuff had been 48 sts. The sleeve had been reduced by 20 sts in the cuff. So I worked an extra round, reducing as I knit, to match the 48 sts, before starting the ribbing.

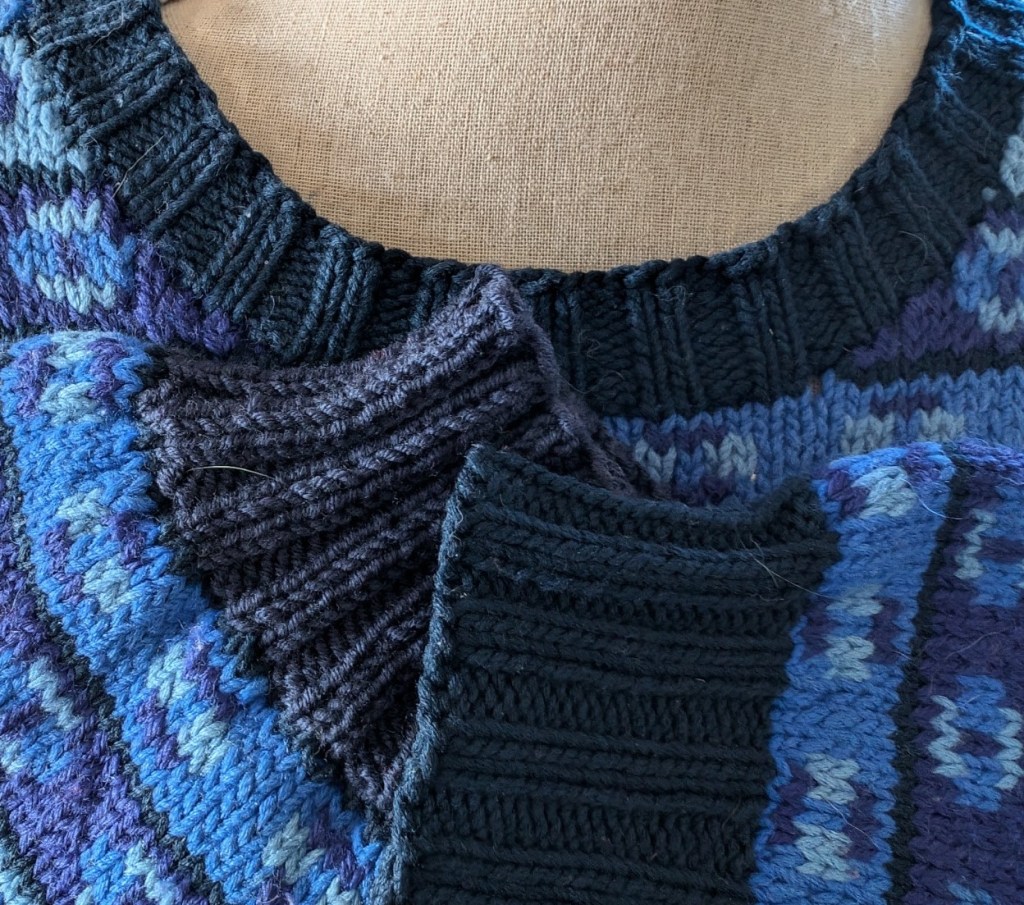
    I am very happy with the results. The new blue cuff is not perfect, but perfect enough for a sweater that was knit in 1990, 34 years ago. The neck may be the next piece that needs replacing, I noticed some wear along the back, but that is a problem for another day!
    Happy Mending

    Lynette
  • Mending 101

    Mending 101

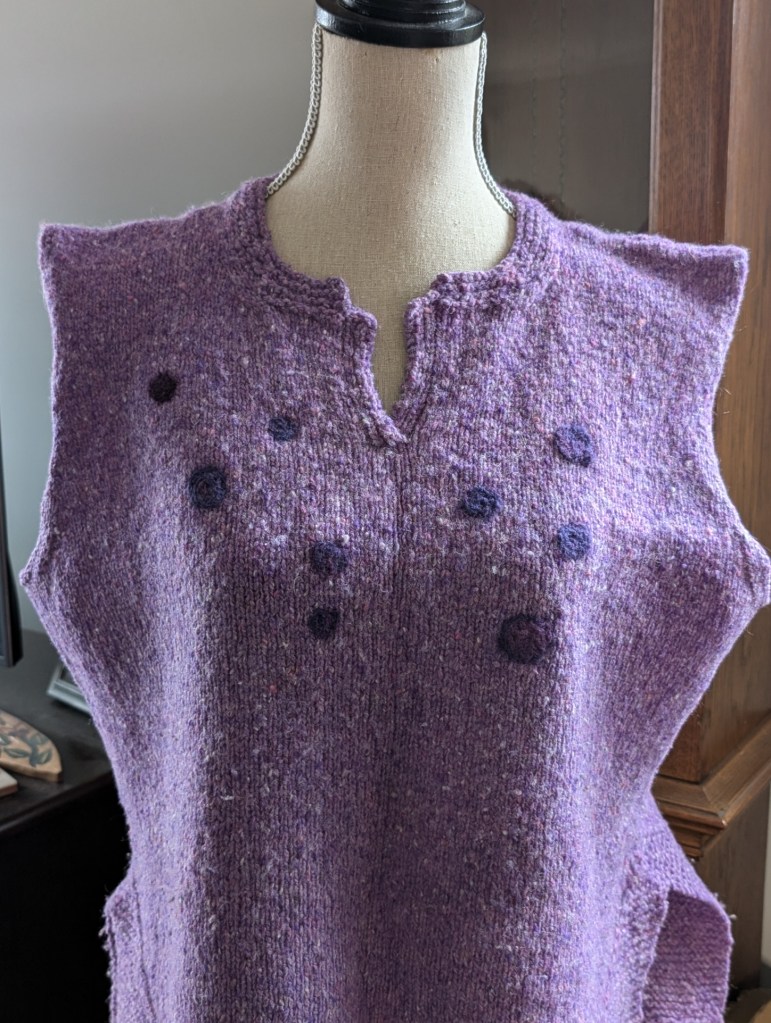
    This Fall and Winter and I am undertaking a self taught mending course. I started it yesterday by mending a few moth holes in my favourite vest and what I call my weekend sweater!

    I had hoped to work on these things in the summer for a Winter Class but the best laid plans….. So better now than not at all! See On the Mend.

    Needle Felting

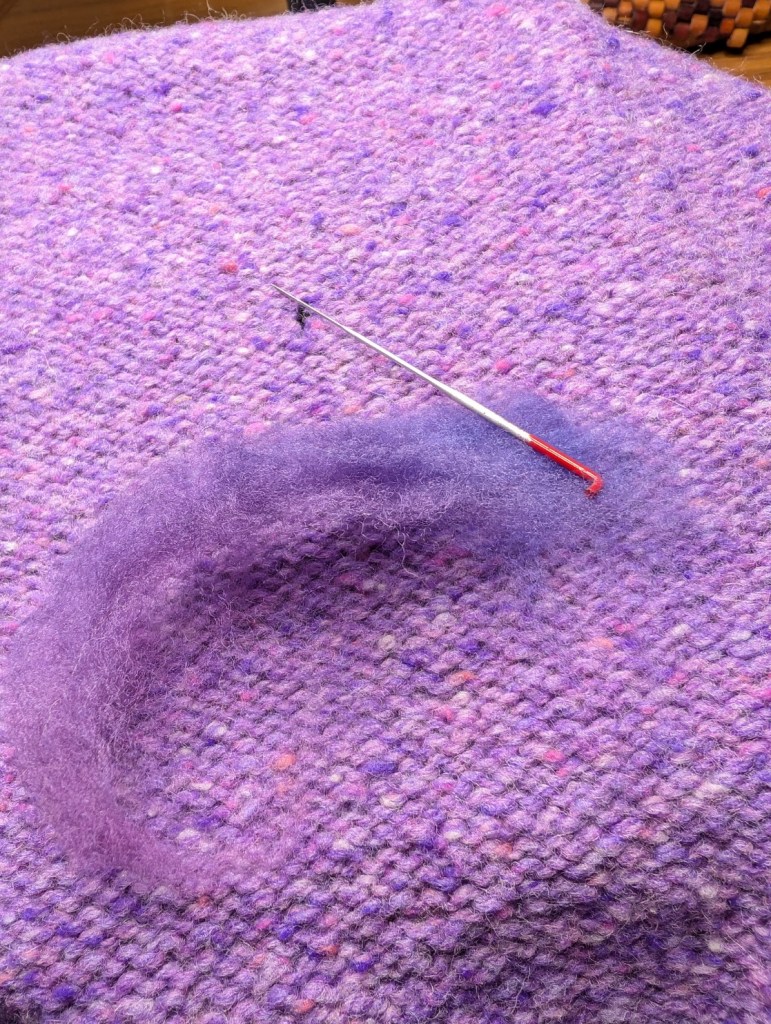
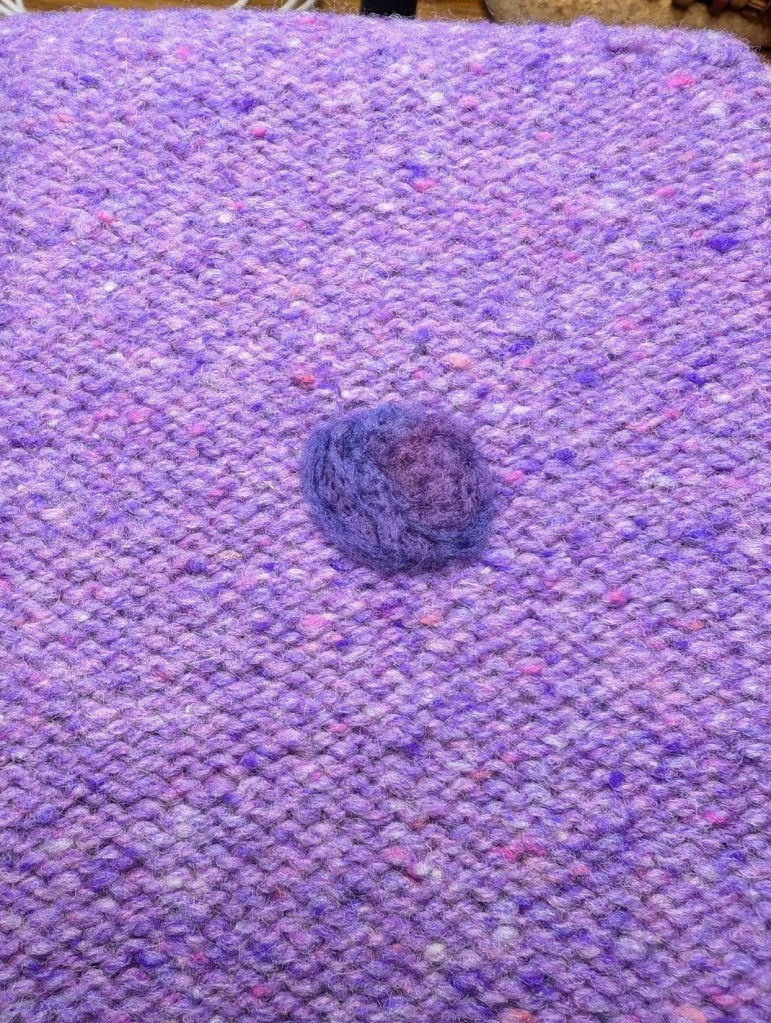
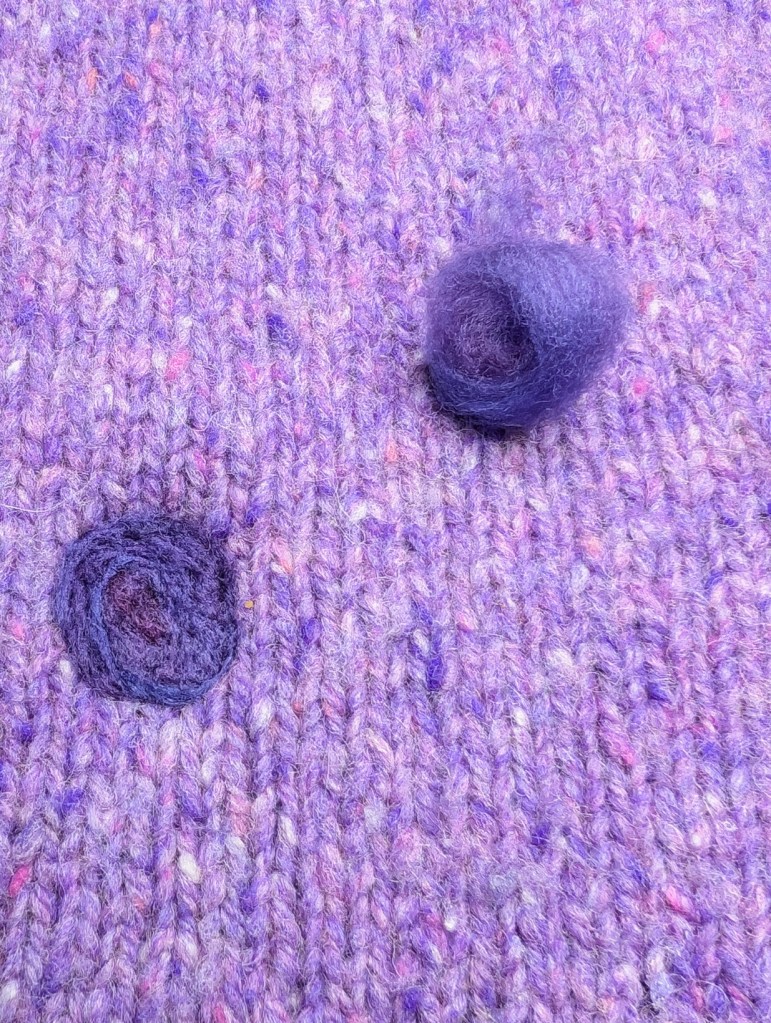
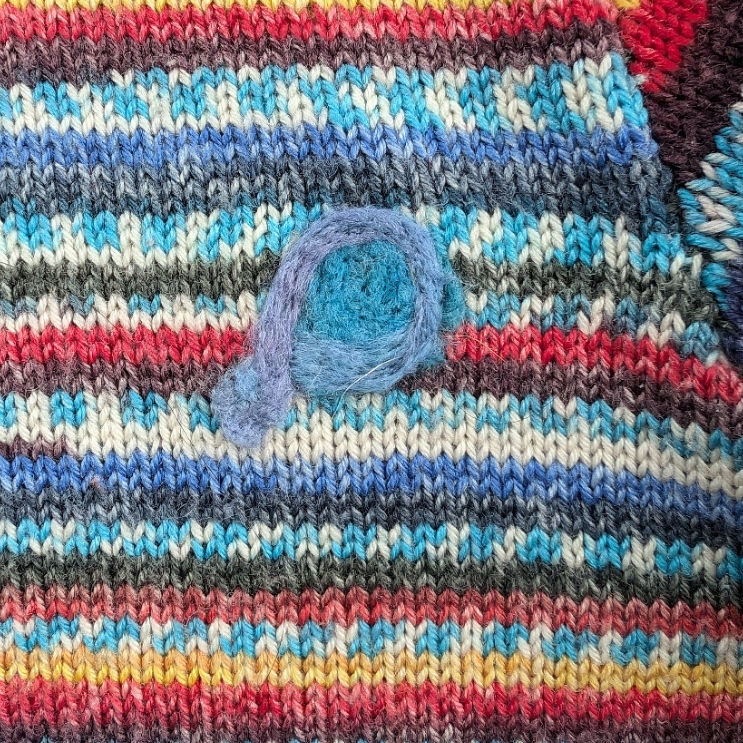
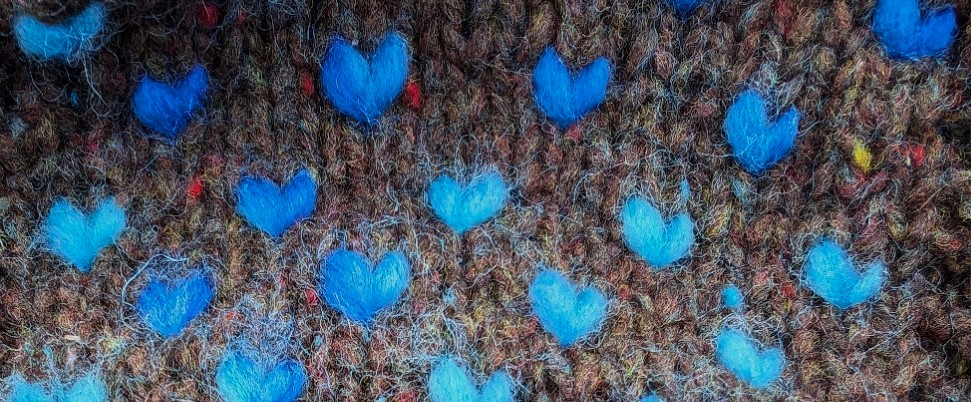
    Small holes in our knits can be repaired with a few basic needle felting tools and some fibre. I did not realize how easy this would be or I would have tried it years ago! There are some other methods of dealing with small holes, embroidery stitches offer many options! But this is easy and fast!

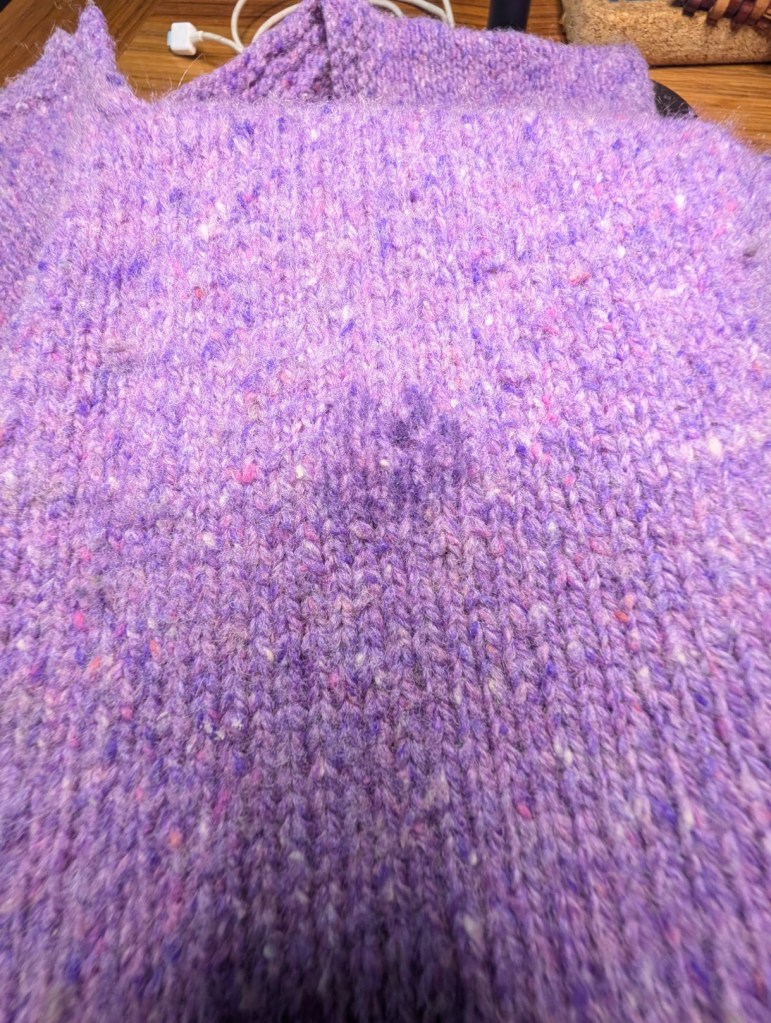
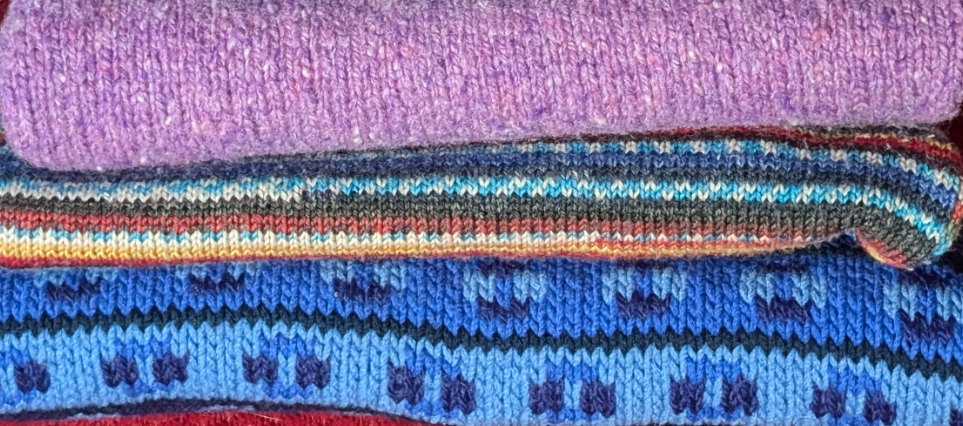
    The second sweater with a hole was a much simpler project. This sweater is what I call my weekend sweater. I throw it on over when I just need a little more warmth. It was knit with sock yarn when the patterning sock first came out, so about 24 years ago. There was only 1 hole in the back, So I filled it up with fibre and called it done!. I did play around with it a little, added a little bit of an edge and curlicue!

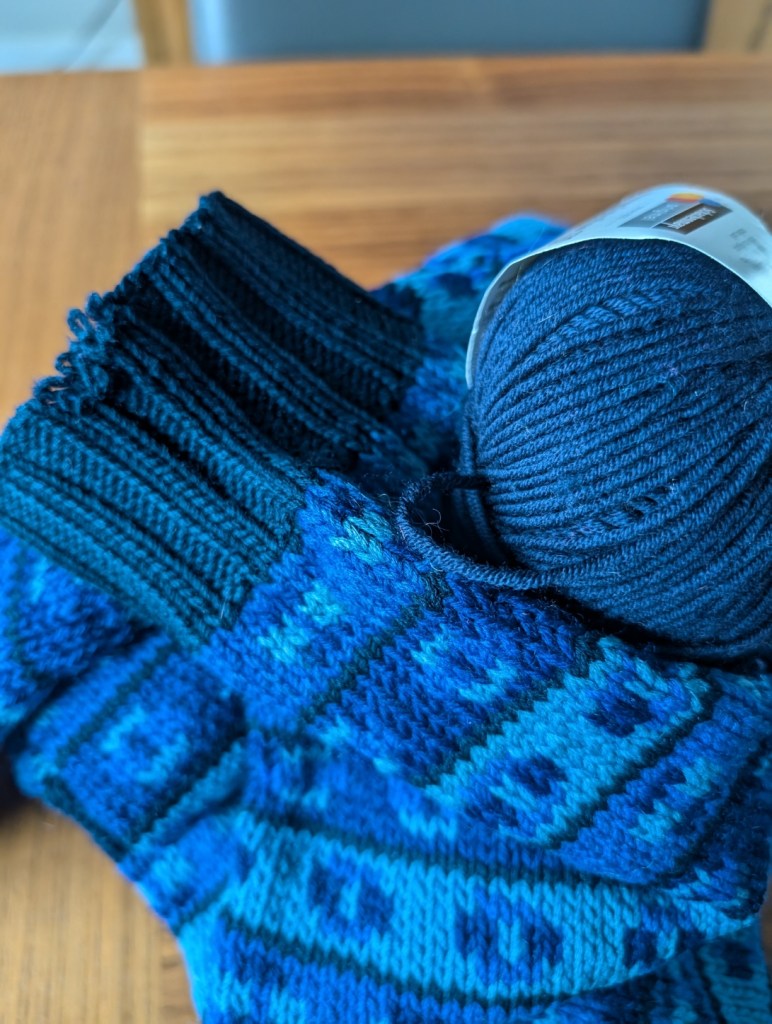
    I had hoped to get another sweater mend underway, this one needs a new ribbing at the wrist. The sweater is over 30 years old but still looks great, no pilling and the colours are still vibrant! Well worth repairing, especially as it’s big, boxy style is coming back.

    Several years ago I had to replace the ribbing on the other wrist, I had caught it on something sharp and that had broken the bind-off (the sleeves had been knit from the top down – best way when yardage was short). I had used up all of my remaining yarn with that repair. So finding a close colour took a while, then the yarn I found got put away in my stash, so this sweater has been waiting for about three years. You can see in the photo the colour is not perfect, but it will make the sweater wearable again, not bad for a 30+ year old sweater!

    Yesterday I put the work in and found the yarn! That took a little time, you know, the needle in the haystack approach! So after looking for the yarn, I did not have time to do the work – but this weekend it will happen!

    The original yarn was a wool from New Zealand, gorgeous blues in 4 tones. The pattern was an early Kaffe Fassett pattern in about 36 colours, so I simplified it a little!

    I have quite a few other pieces to mend and I want to try many different techniques! So my Fall knitting projects are booking up fast!

    How is your Fall planning coming along?

    Happy Knitting and Mending

    Lynette
  • Fall Classes – Working on Samples and Dreaming up Ideas!

    Fall Classes – Working on Samples and Dreaming up Ideas!

    First up – Thrumming

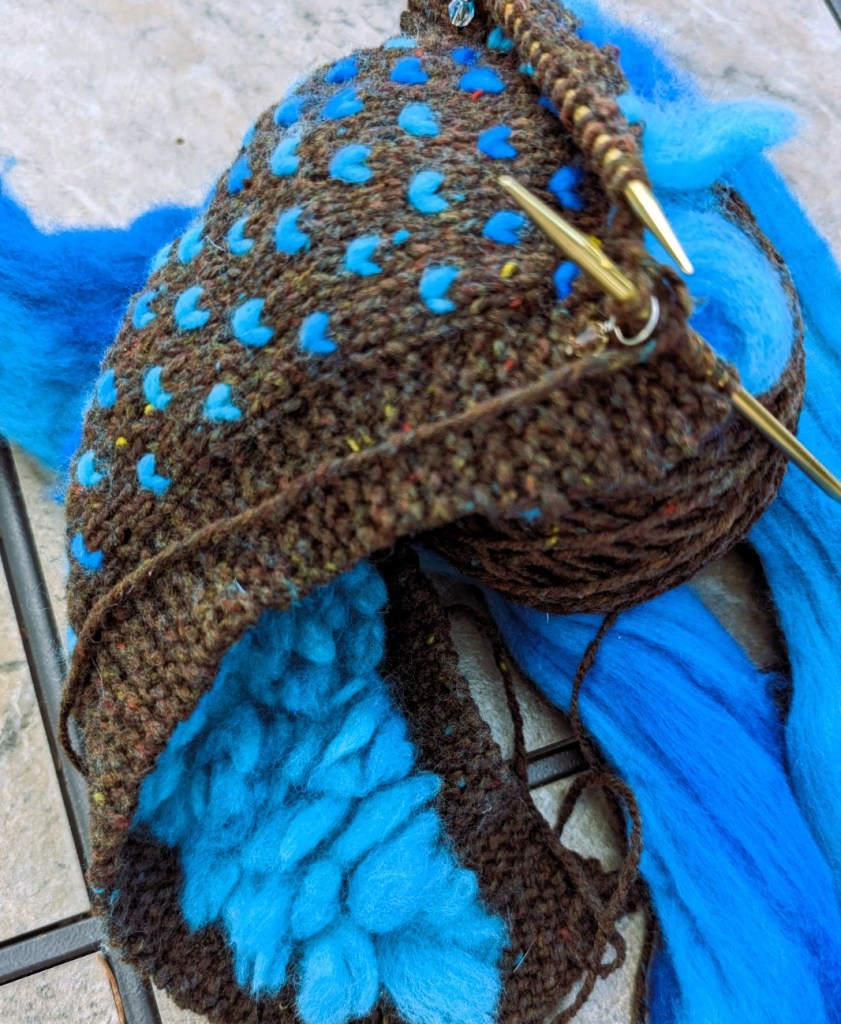
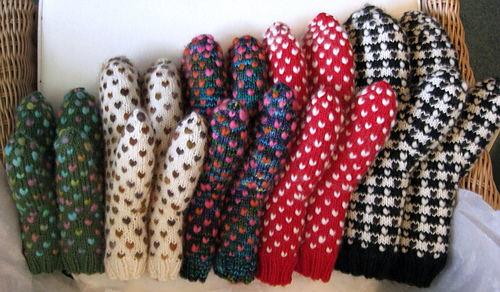
    Have you ever made thrummed mittens? Or slippers? Well I am working on a Thrummed Headband. It has an easy shape and will be easy to learn the technique so that you could make mittens or slippers if you wished!

    2) Cables

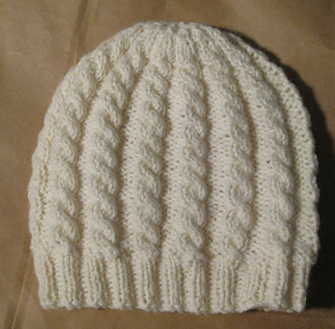
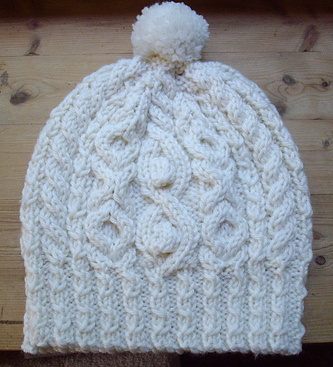
    A simple cable hat?

    Or maybe a not so simple cable hat?

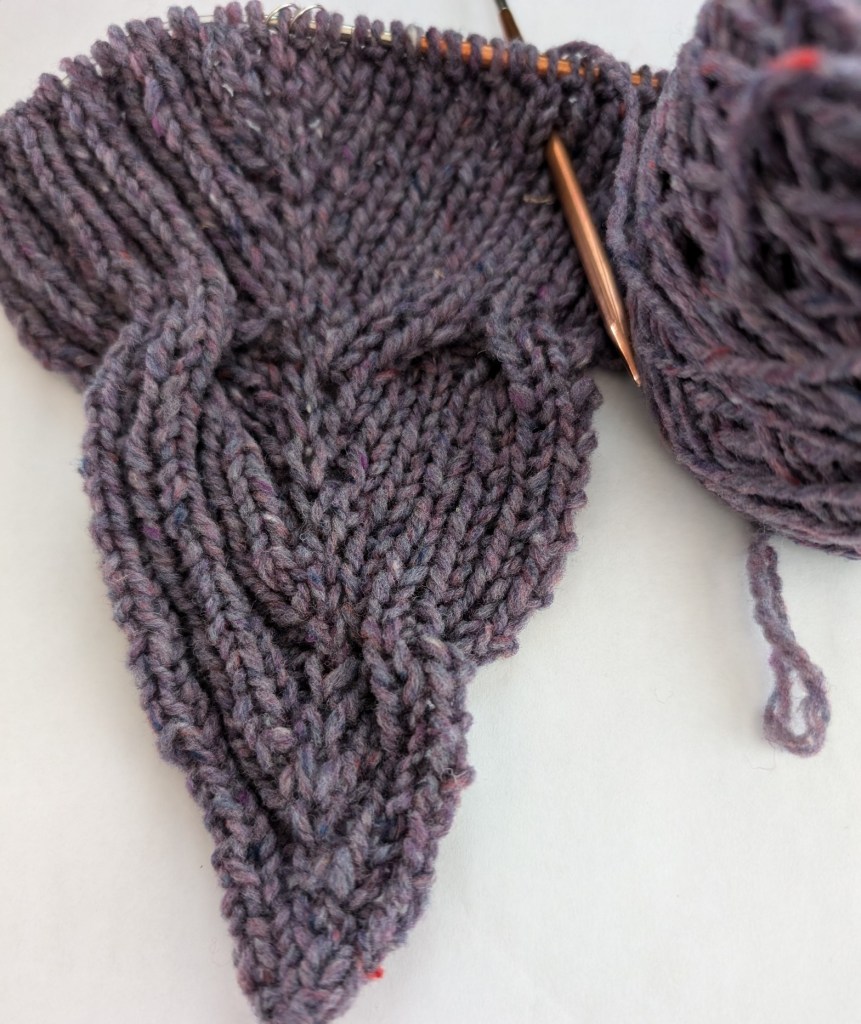
    How about a reversible cable scarf? As you can see this idea is still in the very early stages!

    3) Maybe something more long term, with once a month meeting/classes.

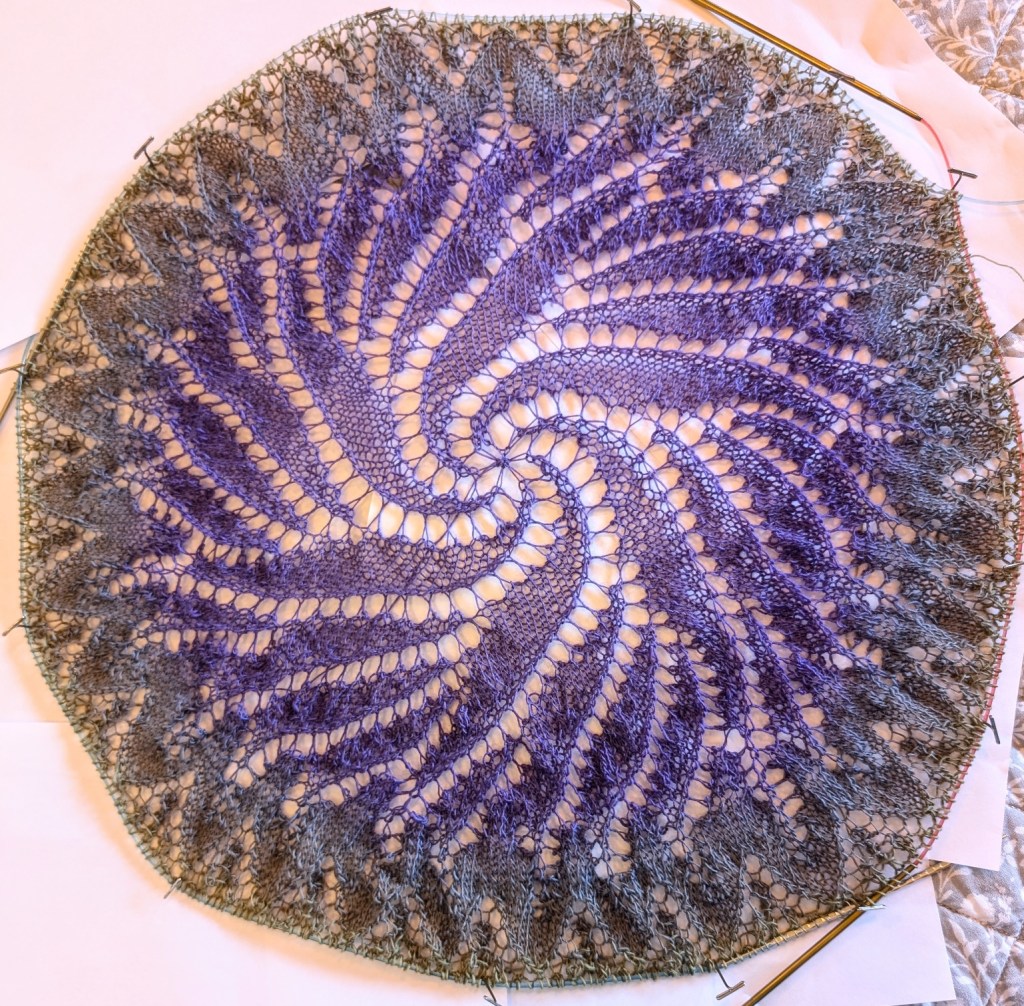
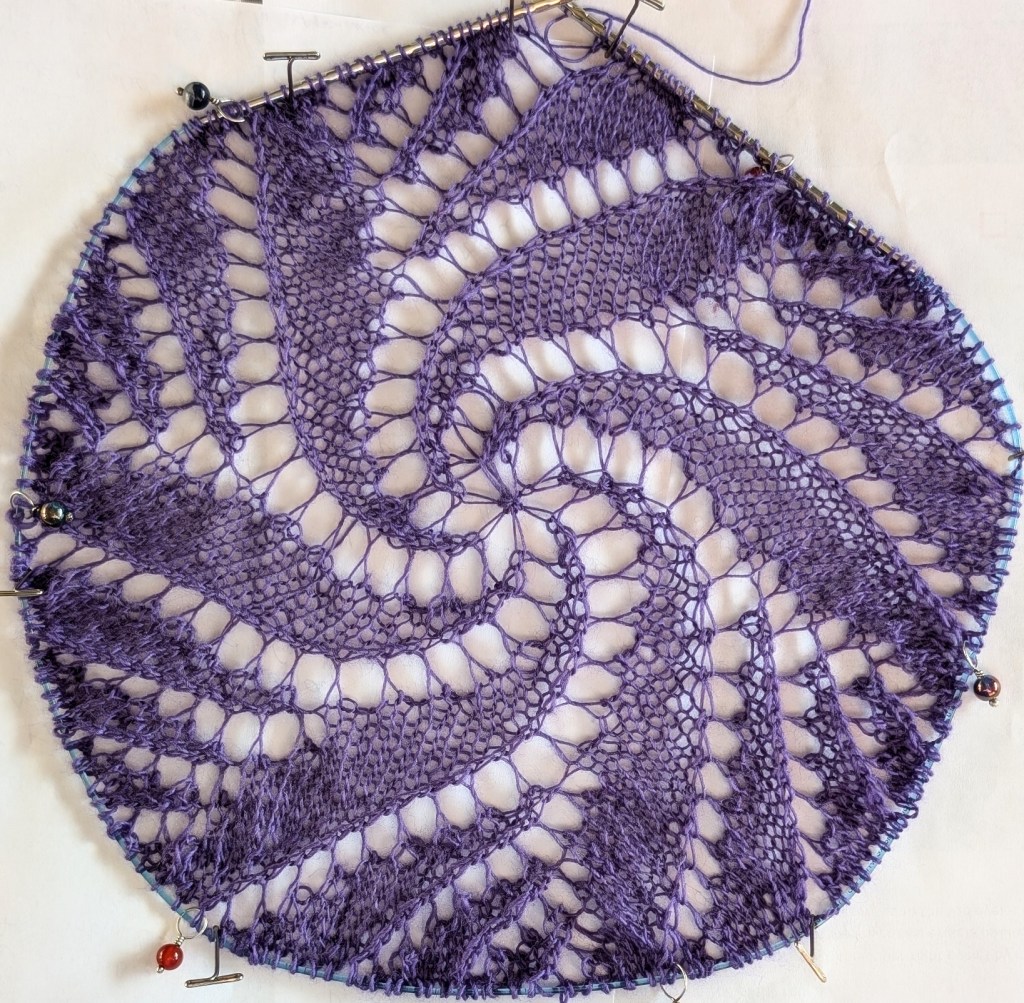
    I am planning a Knit-a-Long. KAL for short. The Green Man KAL. This will be a lace shawl for the more advanced knitter. It could be knit in a fingering or lace weight yarn, knitters choice and there will be how to video’s attached for those who don’t live in the area and in person classes for those who do. Techniques we will cover include circular cast-ons, adding beads (if desired), three dimensional embellishing, some interesting lace techniques and finishing with knitted on edging. Sample below is knit with Schoppell Zauber Lace 100. Right now I am working on the chart for the the Green Man and will share updates as that comes together.

    4) Of course I will run the Fear of Finishing Workshop – an in depth look at some basic and not so basic finishing techniques. Including the best start to create the best finishes and things the pattern always forget to tell you.

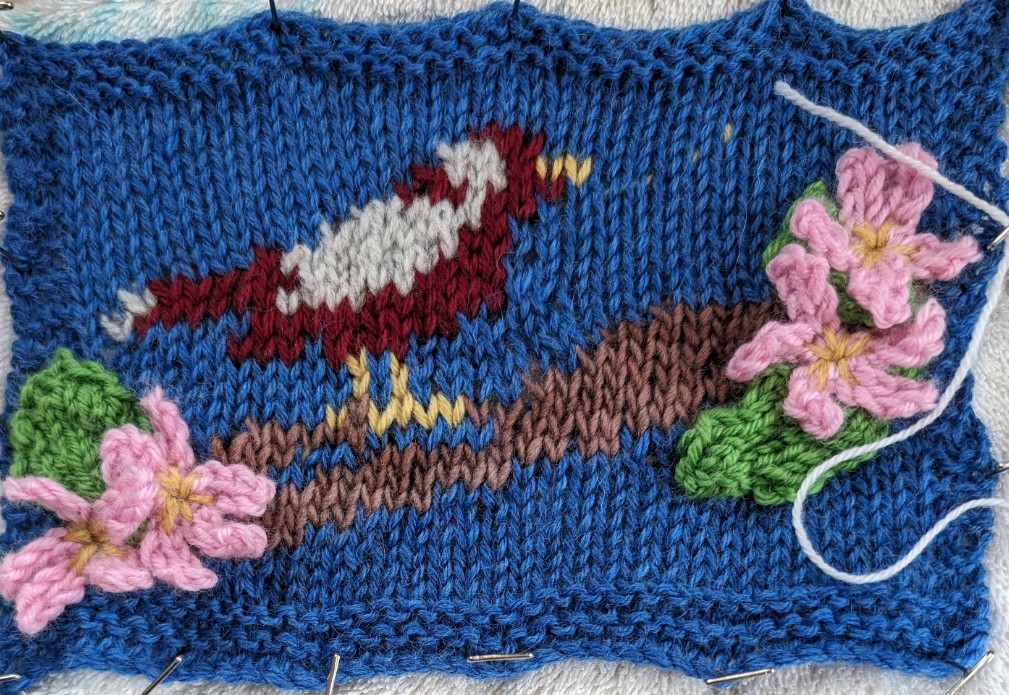
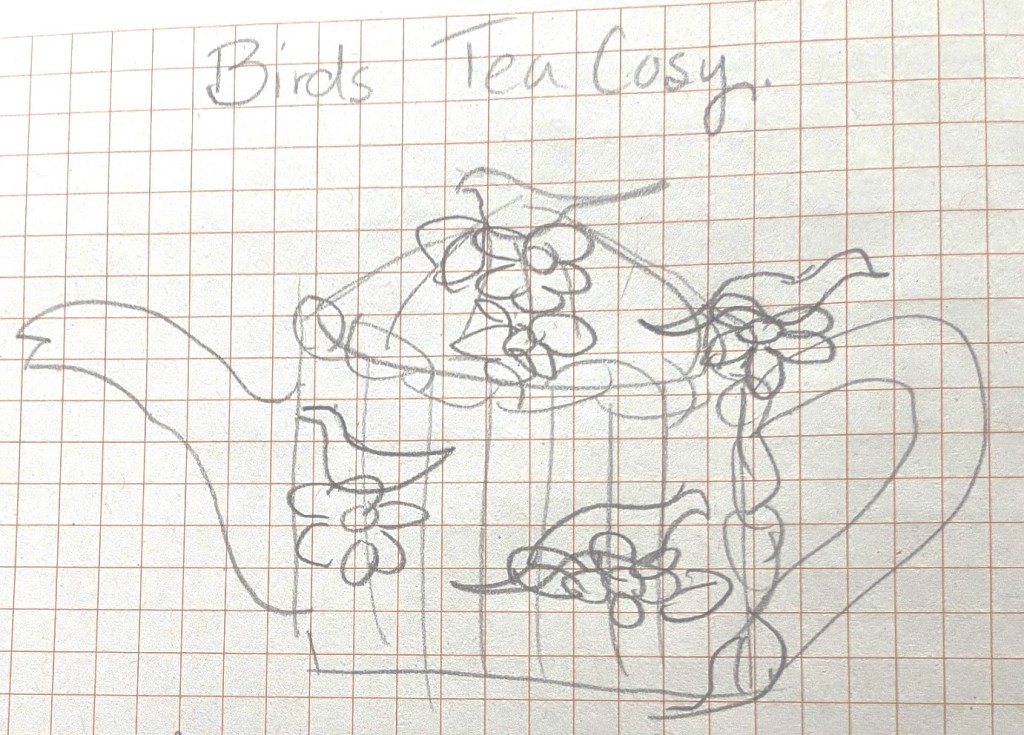
    5) I am thinking of a designing a new tea cozy this fall. Something with birds I think!

    6) A class on mending is in the works as well! Darning socks, fixing holes with some creative mends and swiss darning the old fashioned way!

    I am also looking for new ideas. What do you want to learn? Can I teach it in a class or does it need a workshop? I could teach something in Mosaic Stitch, or maybe Twinned Knitting? Some simple fair-isle mittens or cowl for gifts?

    What style of project would you like to see? A simple shape to show up the new technique, a pillow perhaps, maybe bolster style with knitted on fringe for finishing. Or a new hat, a pillbox or cloche style, something a little different from your basic beanie.

    I am off to dream up and then knit up some new samples. I hope that you have a dreamy week as well!

    Be Well and Happy Knitting

    Lynette

  • On the Mend

    On the Mend

    Nope I haven’t been sick, but I am looking to mend!

    I am going to learn how to mend my clothing. Well, I am teaching myself how to mend my woolens mostly.

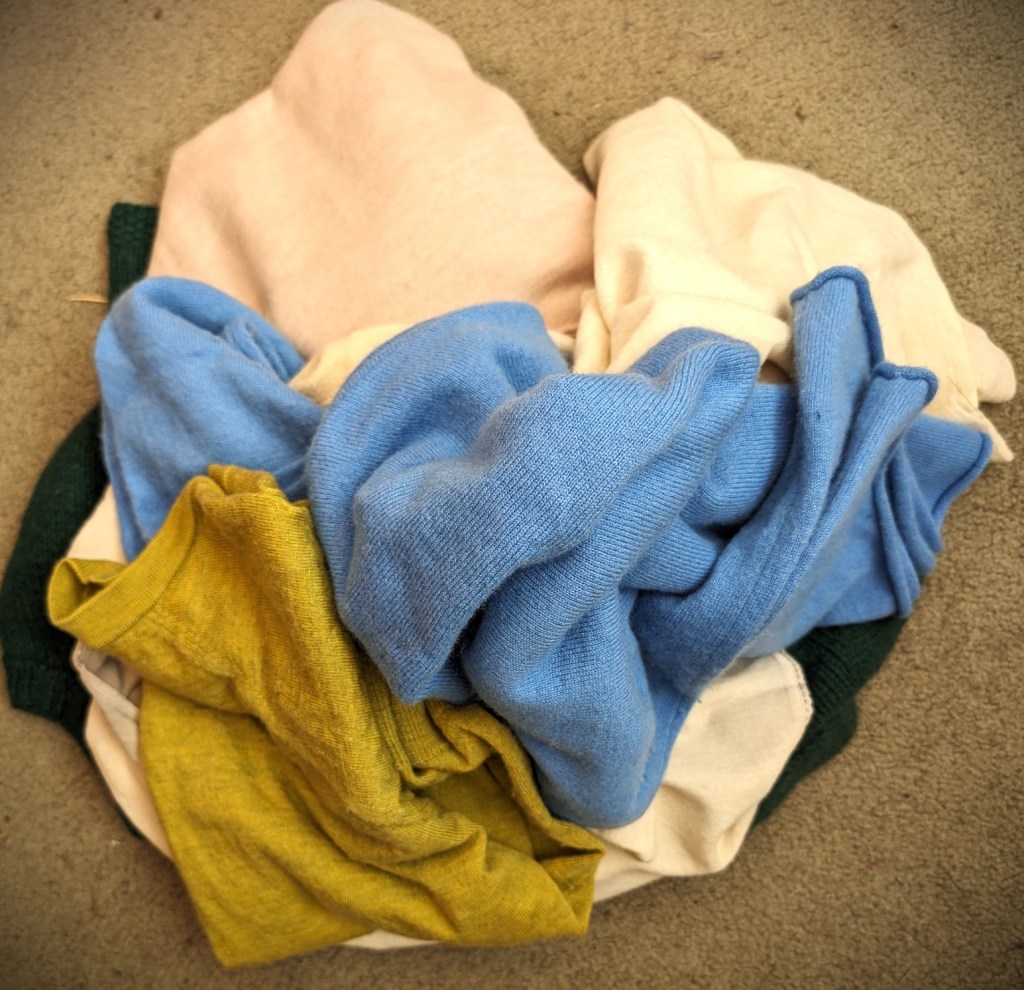
    I have been a sewer, (sewist?) all my life. I started with Barbie clothes and I have made my own and my children’s clothing, at various point of my life, with varying levels of success. I have designed and created costumes for live theatre. And I can mend many of of clothes, as in hem, fix seams, adjust fit and play with anything fabric. But I have seldom mended my clothing, as in fixing actual holes in the fabric! That needs to change.

    I also knit. And I have knitted steadily for the last 40+ years. Like most of us knitters I have a stack of woolens to mend. I hate to throw things out, especially now, when we are talking of sustainability and slow clothes and making everything count. So I have been looking at my own pile of clothes that need saving. From woolen undershirts (sorry, they are not pretty enough to be called camisoles) to fine merino sweaters to my handknits – I have things that need mending.

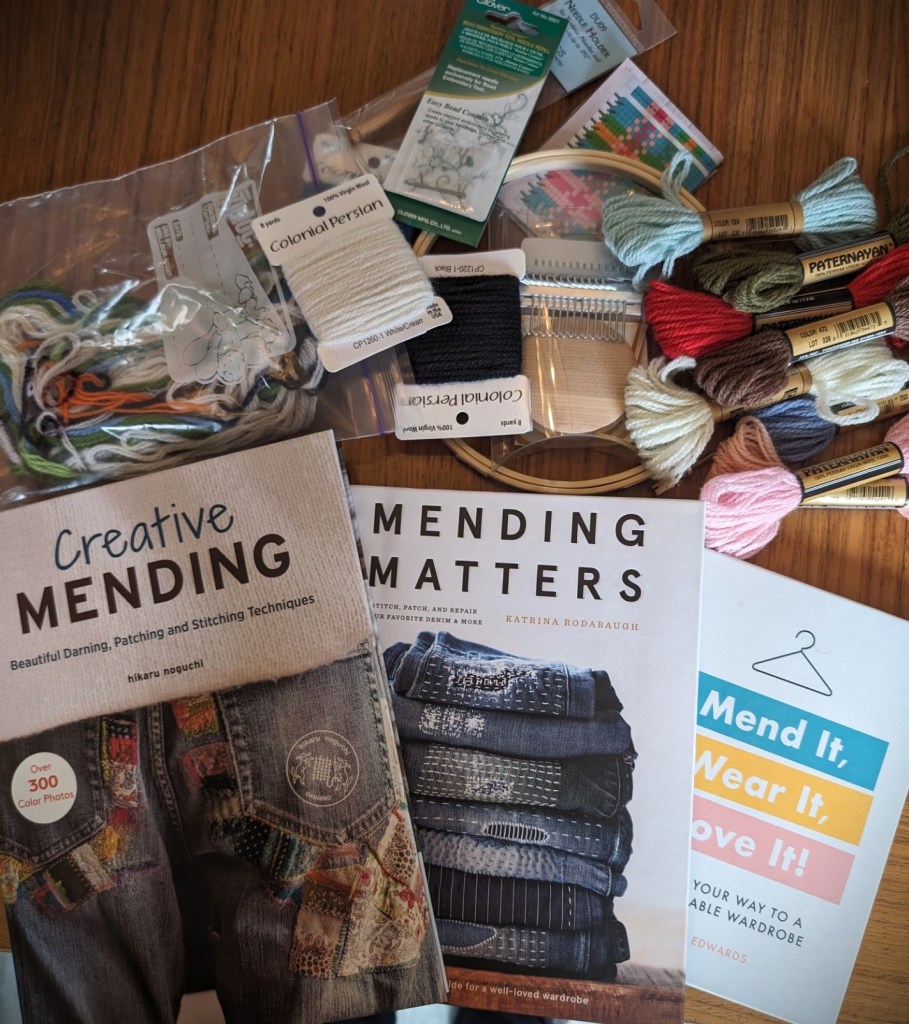
    So, over the last few months I have been collecting books and tools to start teaching myself the basics. Okay, not just the basics, in some cases the more interesting and artistic ways of doing things!

    Not that I will be starting with the fancy patterns, but the possibilities are interesting.

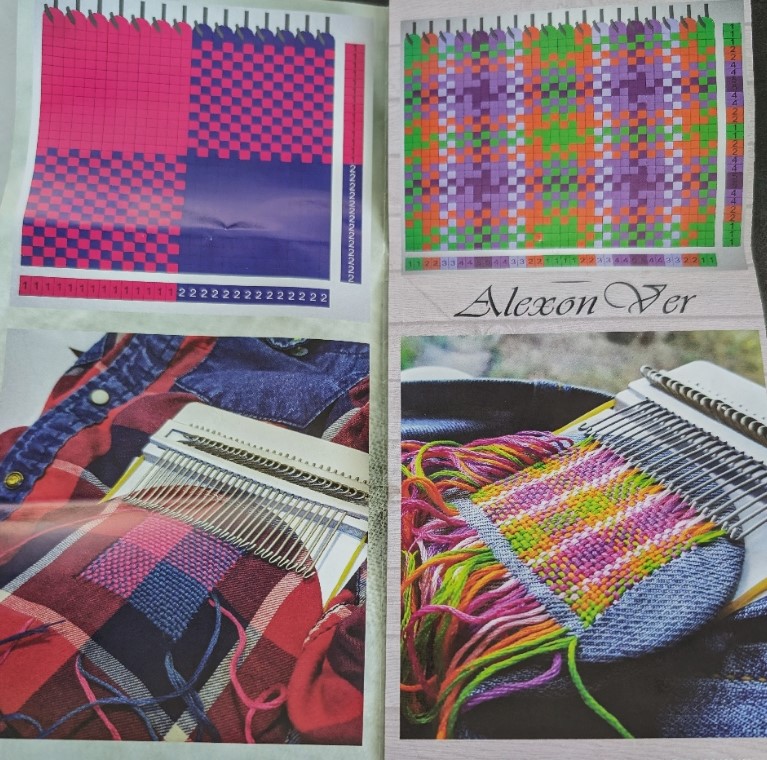
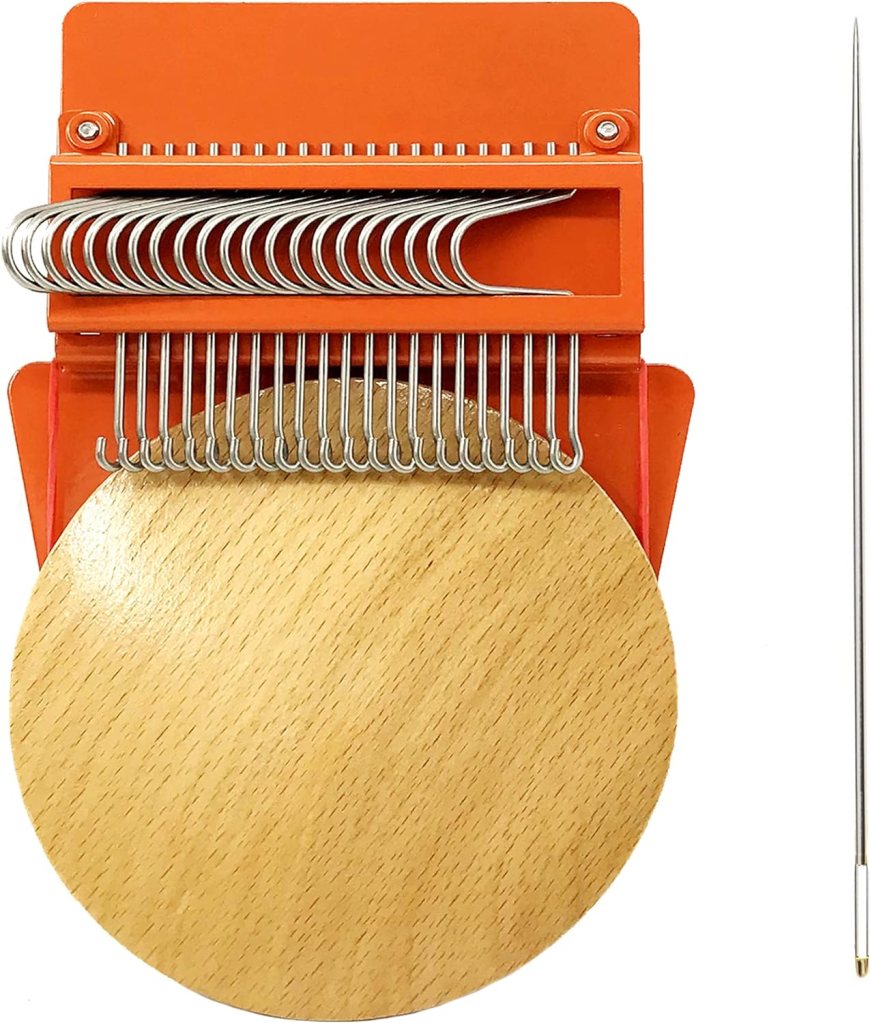
    I am also going to learn how to use a tiny punch needle, really a needle for tambour bead embroidery. Beads as mending! you can see that this is a whole new rabbit hole for me! For mending you are supposed to forgo the beads and just use a fine wool to punch through your knit fabric. And I have just purchased a Speedweve style mending tool. A small one (14 hooks), with a bigger one (21 hooks) on the way.

    Tambour beading is a technique that developed in Europe in the late eighteenth century. A small hook (tambour hook) is used to attach the beads to the ground cloth, rather than a needle. The word tambour is French for ‘drum’ and is named after the drum-shaped tensioning frame that was originally used.

    Plus there are the traditional means of mending as in swiss daring, patching and overdying. Overdying is a great way to recover sweaters that have been stained by life. I have used this method a few times! I would also like to try some leather patching for sweaters, especially hems at neck and sleeves. So, lots of things to explore!

    This is going to be so much fun!

    And then, this fall, there will be a class at Mad About Ewe Fine Yarns in Nanaimo. After all, there are not many things better than sharing an interest!

    Happy Mending

    Lynette