Tag: mittens
-
Jingle Gnome Chapeau Part Two
Now that the class has started there has been a request for a mitten pattern to co-ordinate with the hat! So…
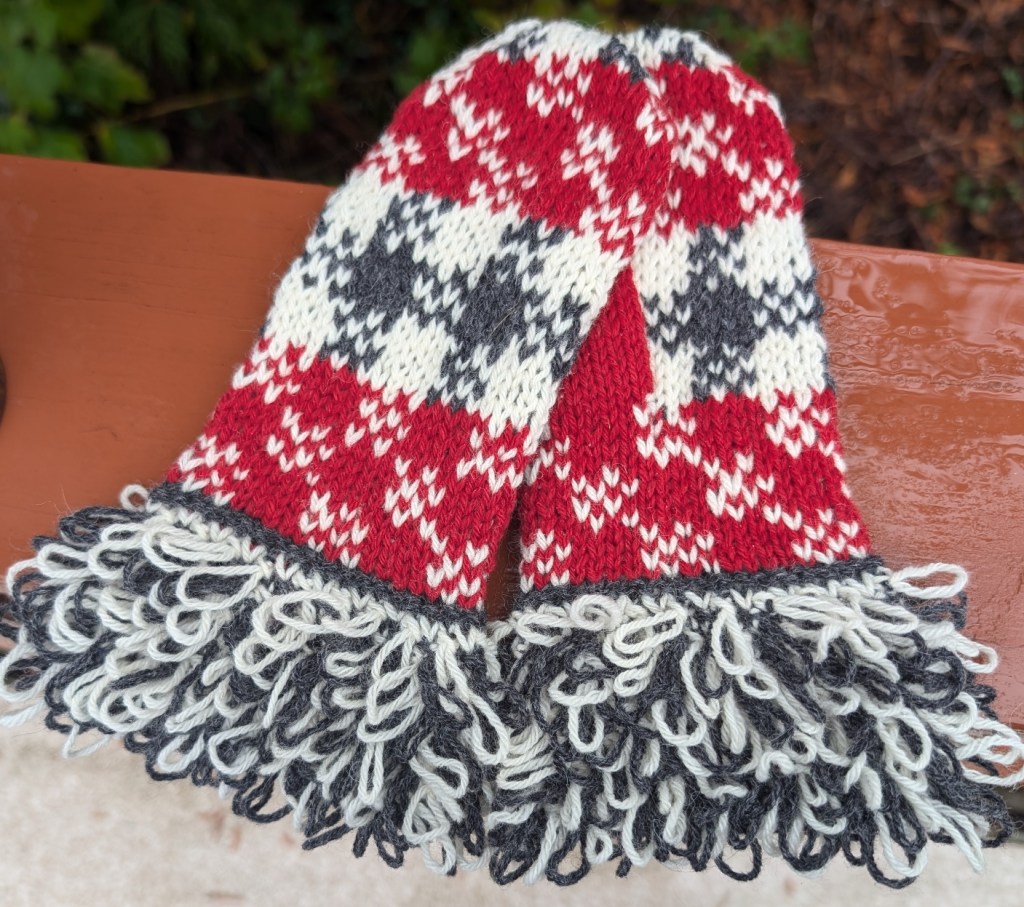
I am knitting a pair. The first mitten is complete and the second it started! There will be two sizes of mittens, small/medium (for me) and a medium/large. I am knitting the small/medium as the sample pair. UPDATE – the second mitten is finished! They practically knit themselves!
I decided to knit the loopy cuff with two colours, grey and white. I knew that there wasn’t enough grey for a solid cuff on both mittens, and I am still not sure that even with mixing the colours that I will have enough grey to finish the mittens. I am loving the colour mix, sometimes need is the best teacher! We will see if I have saved enough of the grey to finish the mitten without purchasing more yarn.
The pattern for both hat and mittens is basically complete – it just needs some pictures and a photo tutorial for the afterthought thumb – my favourite thumb for most colourwork mittens. This thumb is easy to knit and does not interfere with the colourwork pattern.
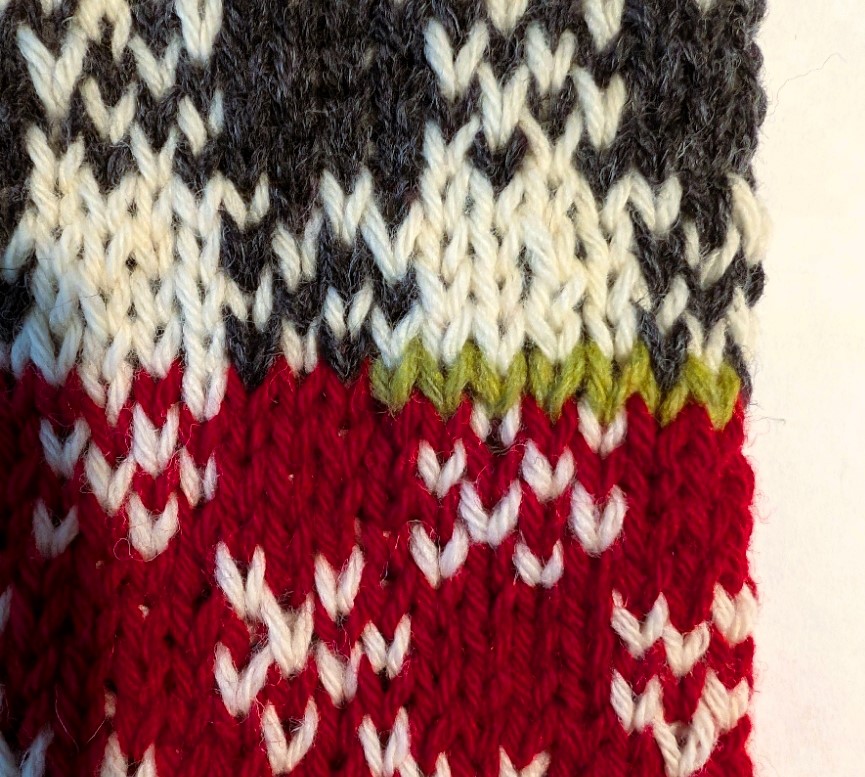
The inserted sts. The guideline for the thumb placement 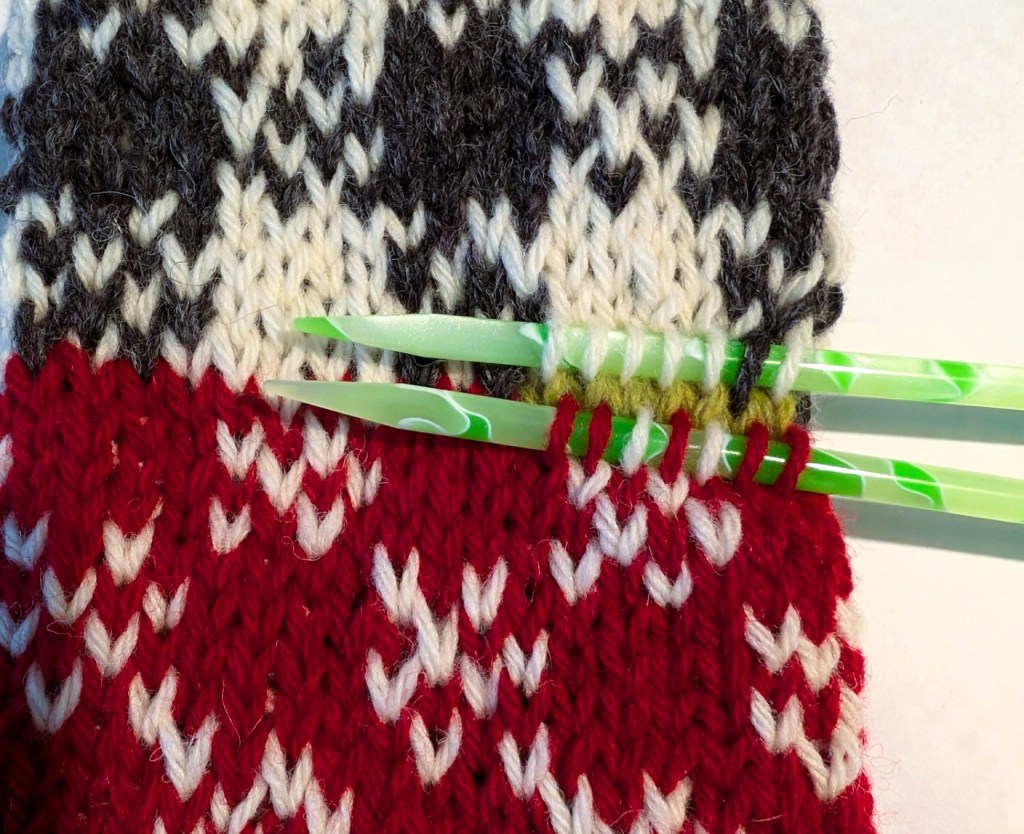
Using two dpn’s pick-up 1 arm of each st above and below the inserted waste yarn. 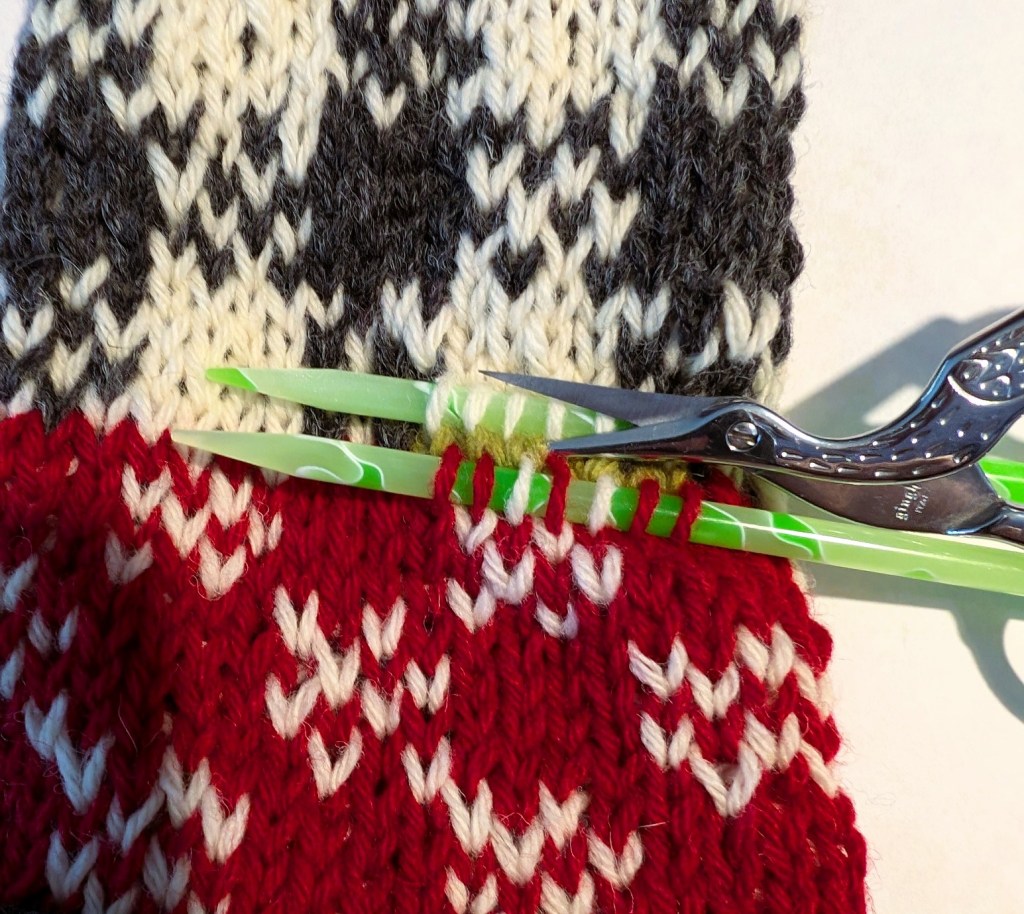
Starting at the center arefully cut and remove the waste yarn. 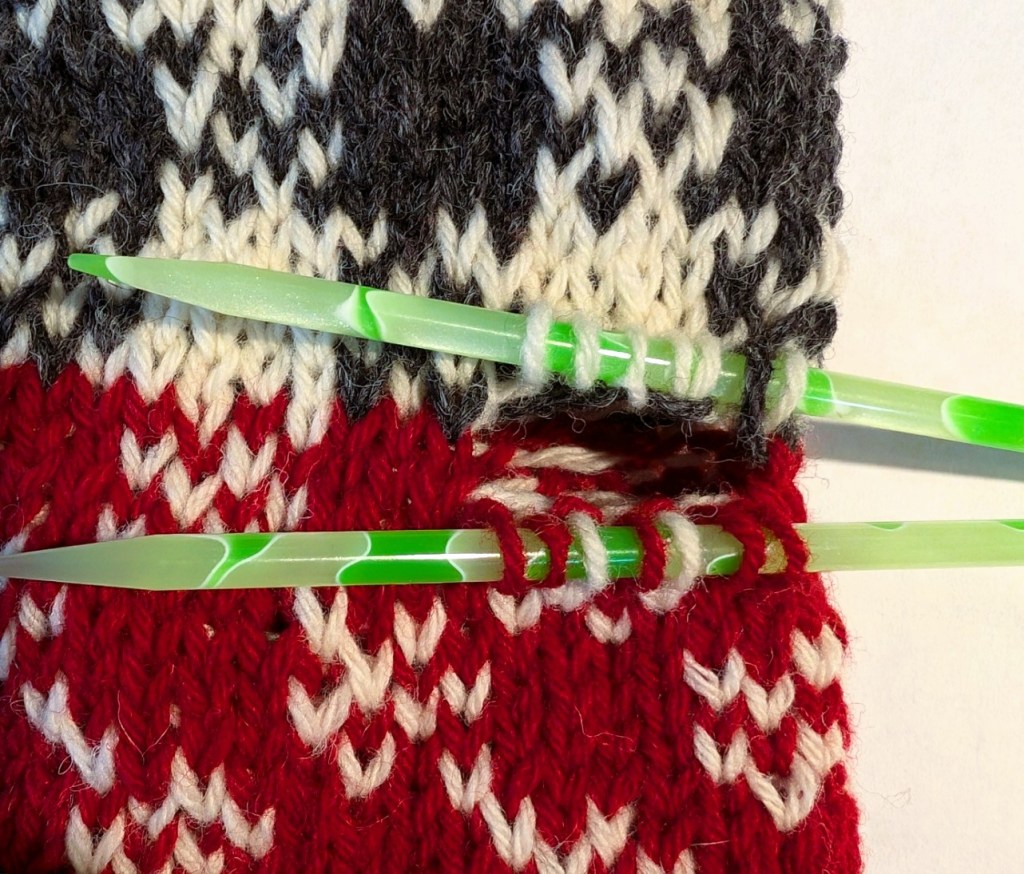
Waste yarn is removed and the sts are ready to be knit. 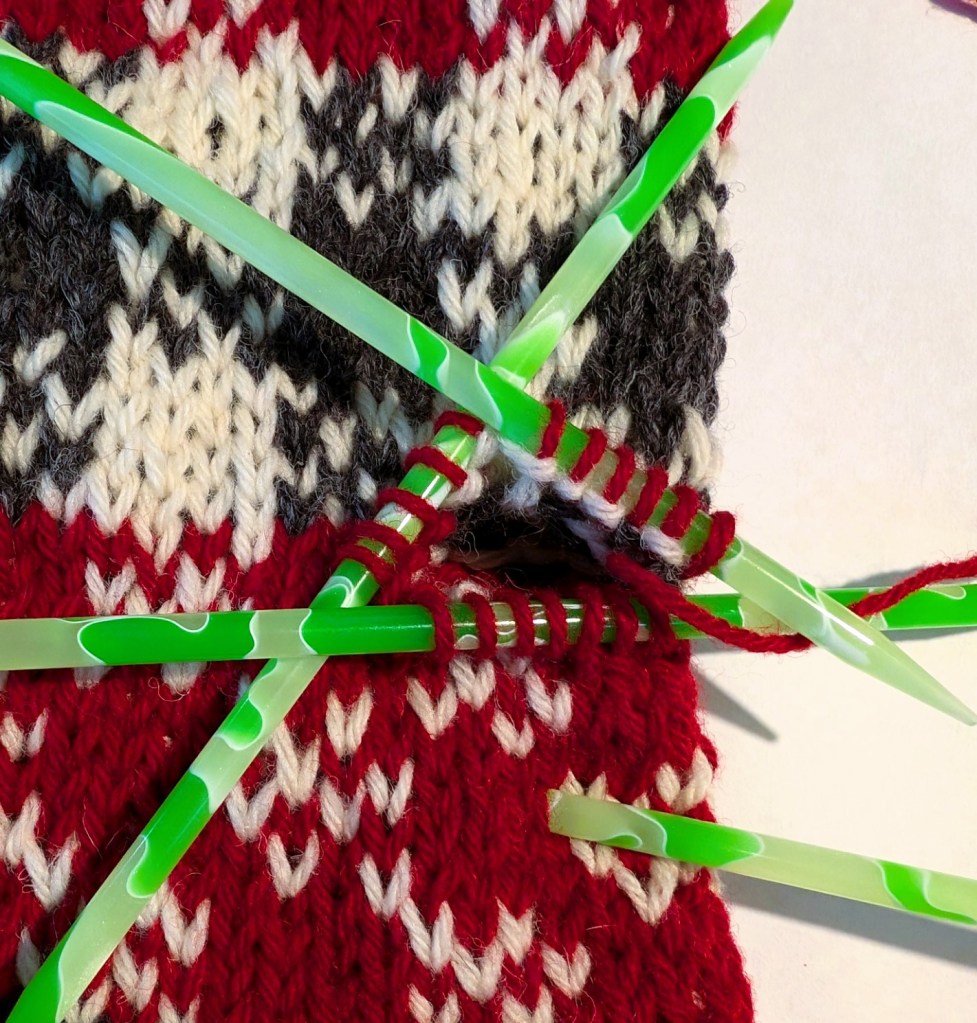
First round has been created. 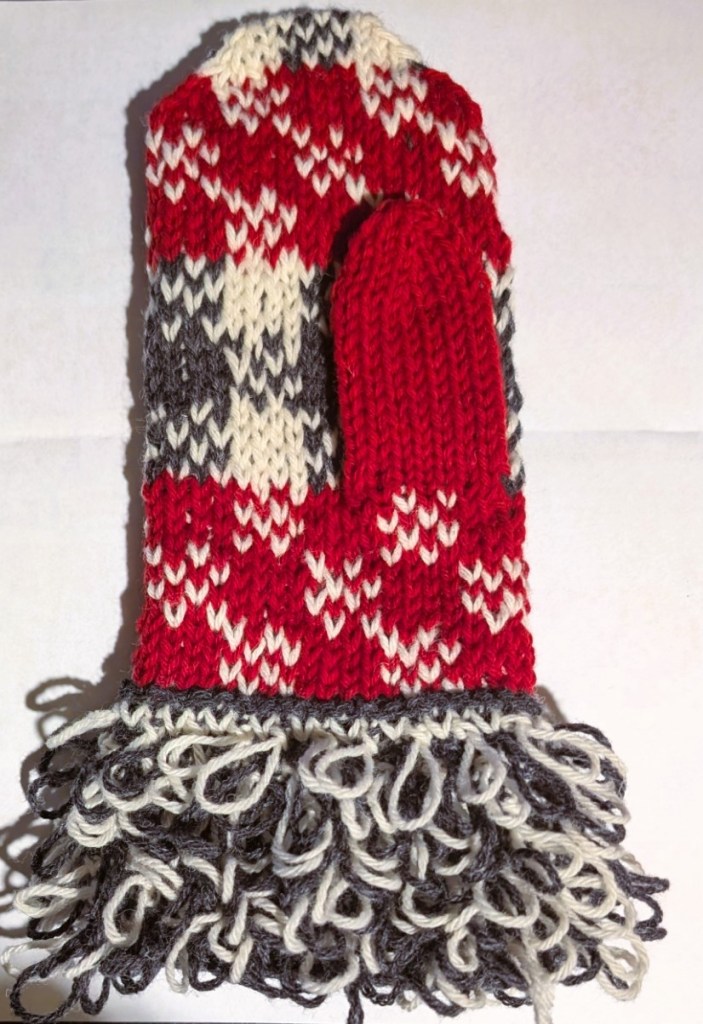
Mitten with completed thumb. The pattern is available on Ravelry as the Jingle Gnome Chapeau with Bonus Mittens.
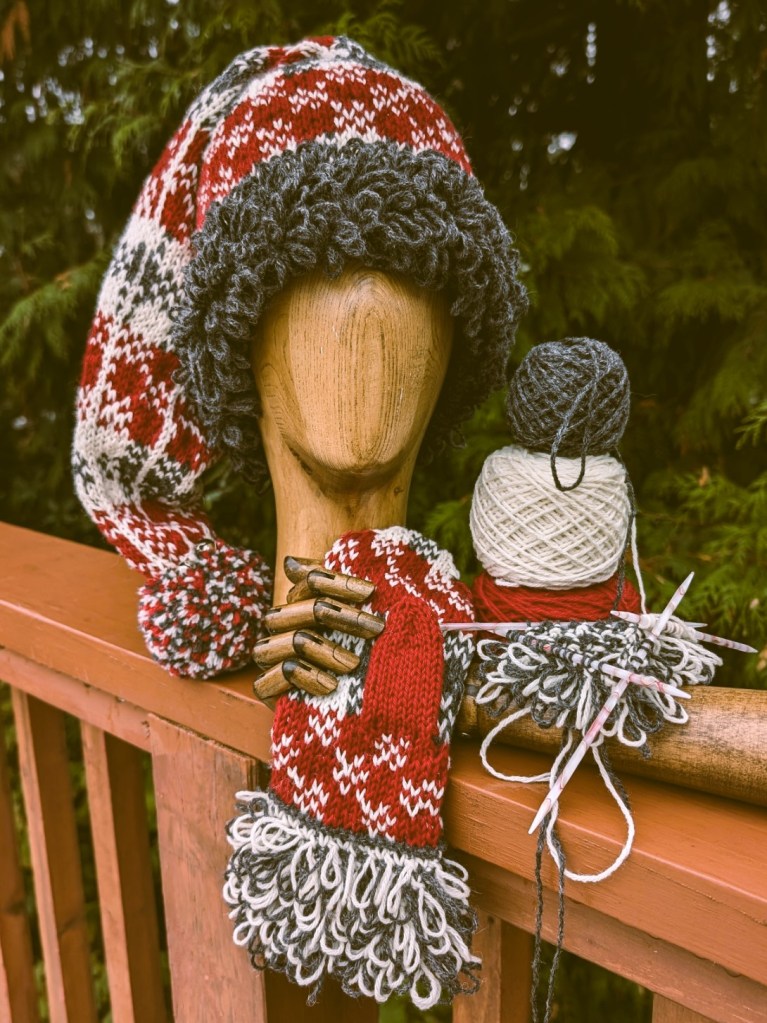
I love the vintage filter on my computer photo editing program, it really suits the mood of the Jingle Gnome Chapeau!
Happy Knitting!
Lynette
-
Another Possible Class Project
Would you like to learn how to knit a tea cozy like this?
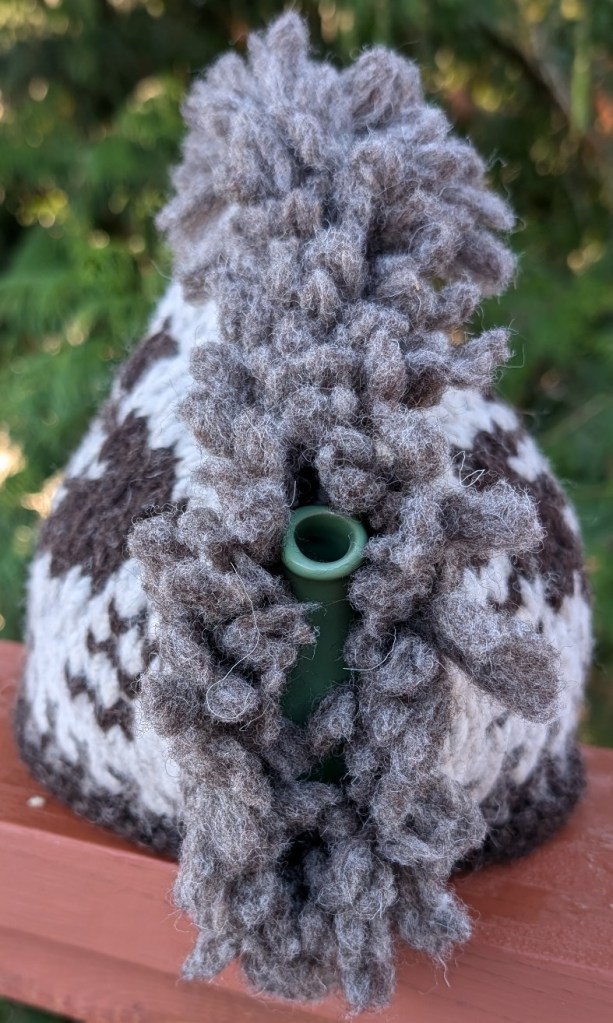
I love to knit tea cozies.
This is a different yarn from the usual. Ray Gentleman, whom I work with, challenged, suggested, put an idea out there about creating a West Coast Cozy with the Prairie Sea Fusion from Custom Woolen Mills.
The idea stuck in my head and I had to knit it out!
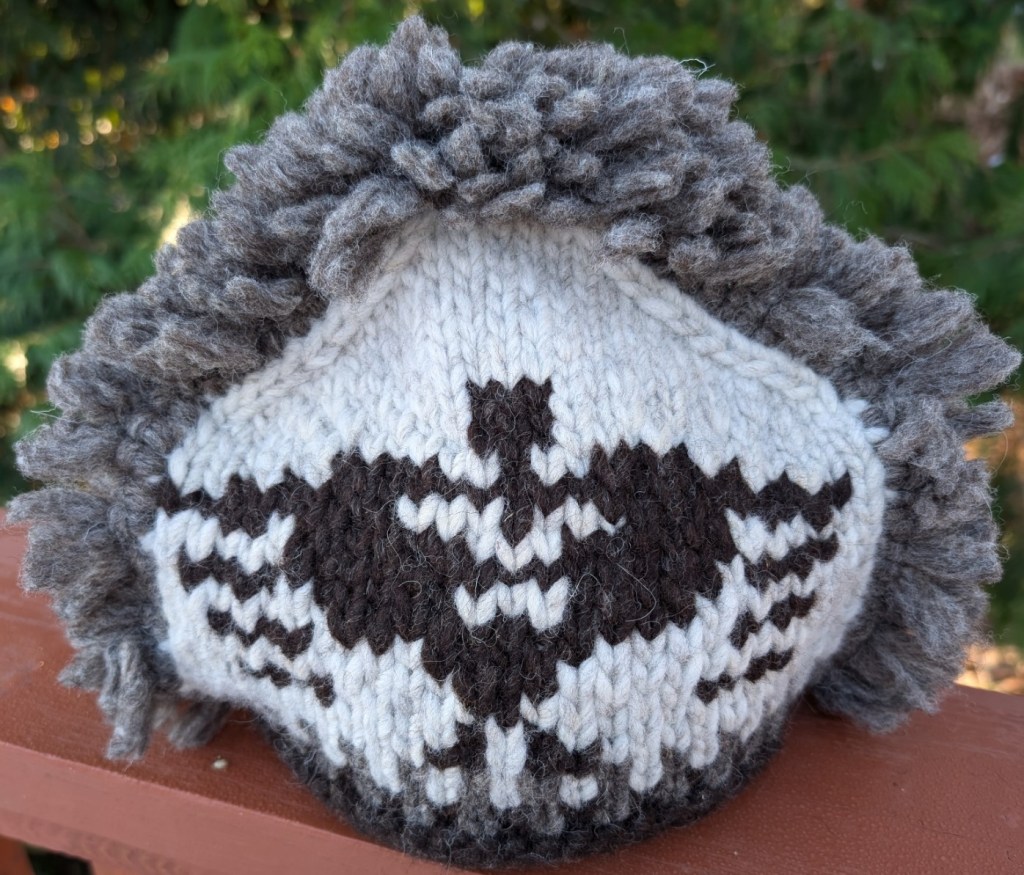
So, if you take the class you will make this charmer of a cozy. You will also learn how to strand the yarn in the proper way for a West Coast knit. Oh and look at that fringe! Learn how to finish the cozy with the fringe on top…
This is The Dancer Cozy. I am quite enamoured with it.
A few years ago I started designing with the Cowichan style of wools. Nowadays that includes Briggs and Little Country Roving, Prairie Wool and Prairie Sea Fusion by Custom Woolen Mills. At the store we were always being asked for the Cowichan patterns, which were really the old White Buffalo and Mary Maxim patterns, not the true West Coast patterns. Those are the intellectual property of the original knitters.
I try to create patterns respectful of the past and the present motifs of the West Coast. They reflect my lifetime of living, mostly on the Coast but also in northern Canada and Malaysia. The OOkpik childs set is based on a childhood memory, a small stuffed snowy owl that my father had given me, named OOkpik. I designed and knit that set for my Grandson. The Standing Tall Gauntlets are based on memories of the gauntlets I wore when living in Northern Manitoba. You needed that extra heavy layer over the basic mittens or gloves – it was cold up there!
The Dancer Cozy reminds of both the Button Blanket dances of the West Coast and the Shadow Puppets of the Malaysian Peninsula. The shapes are both stylized and simplified, taken right down to suggestion and imagination.
The Spirit Bear will be my next sweater pattern release in the Salish Sea Collection.
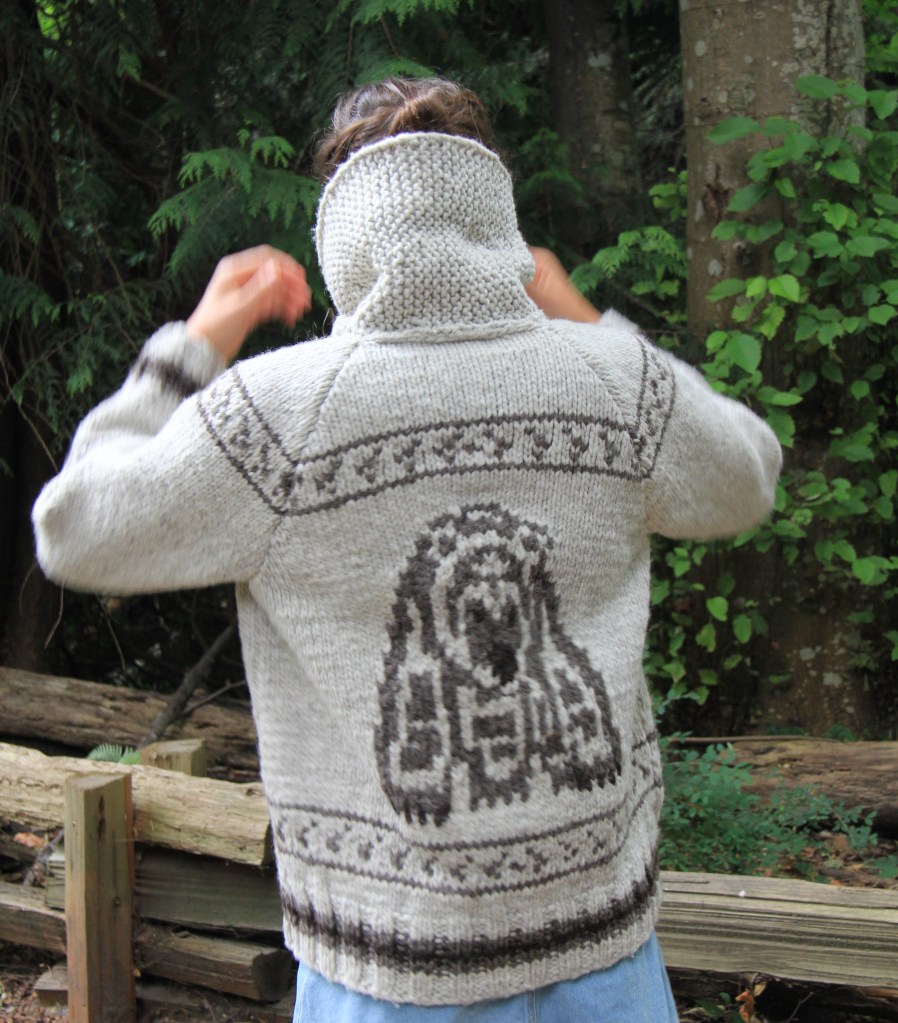
Spirit Bear 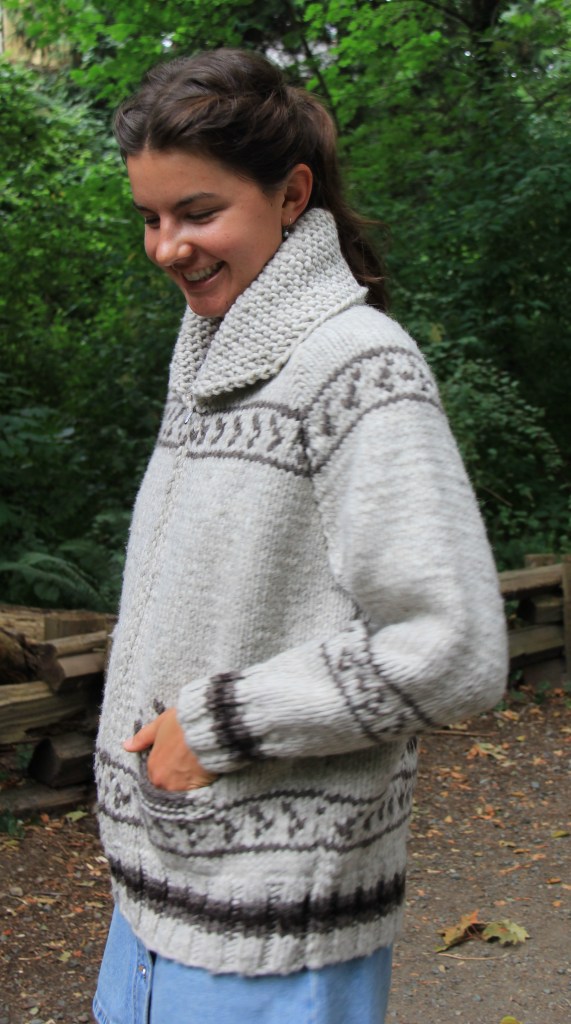
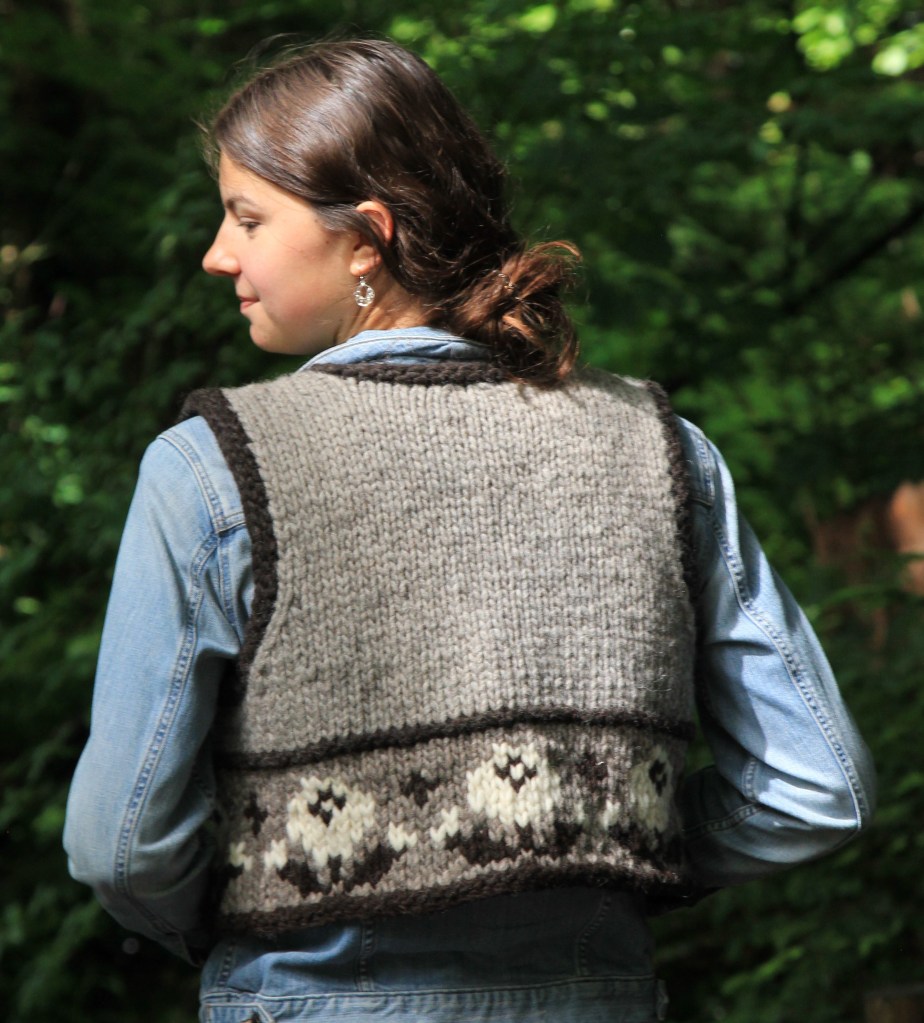
Bento Box 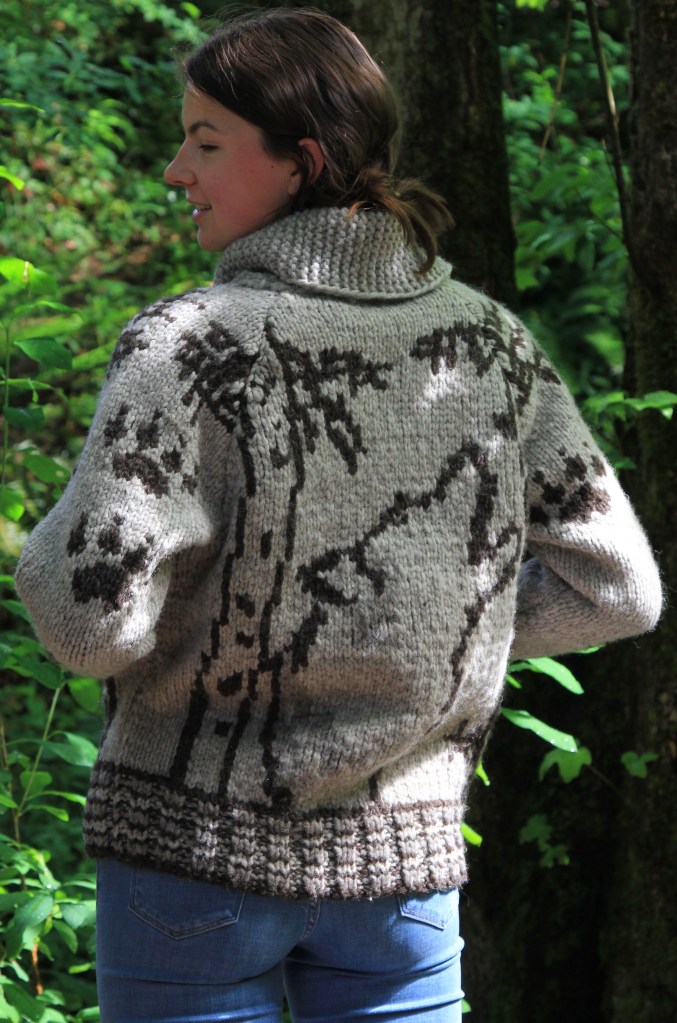
Wolf Song 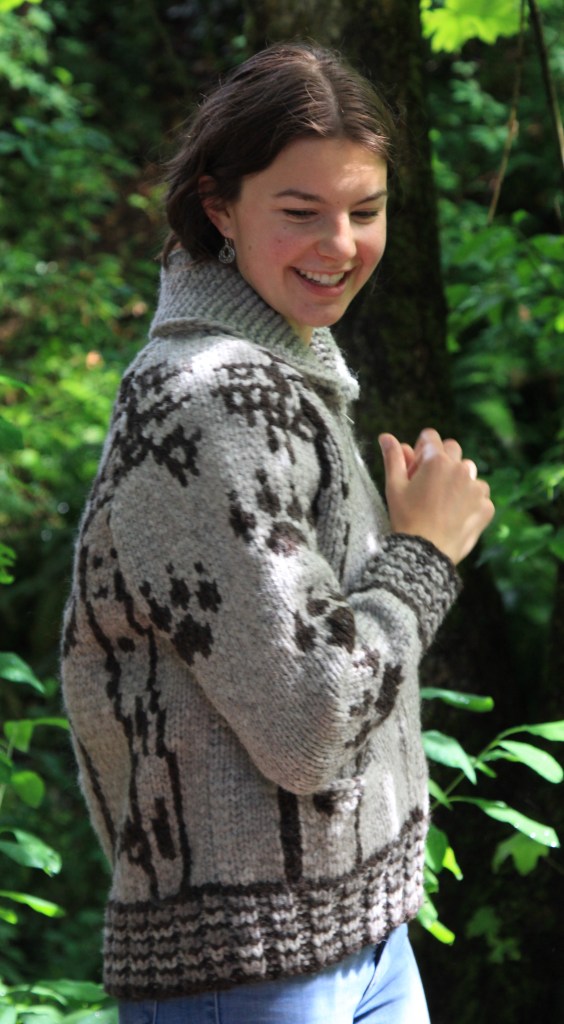
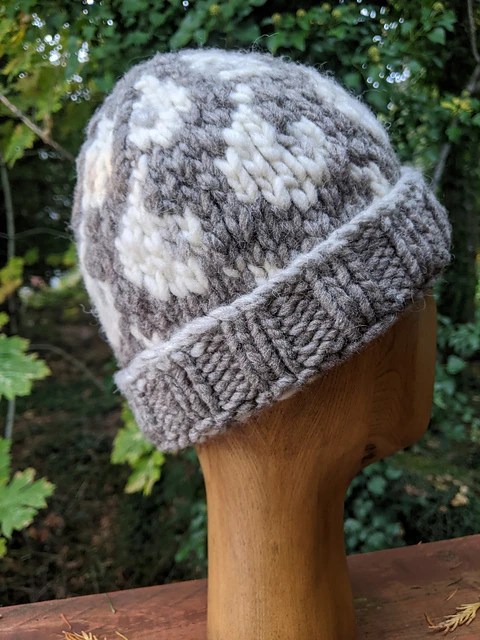
Wet Coast 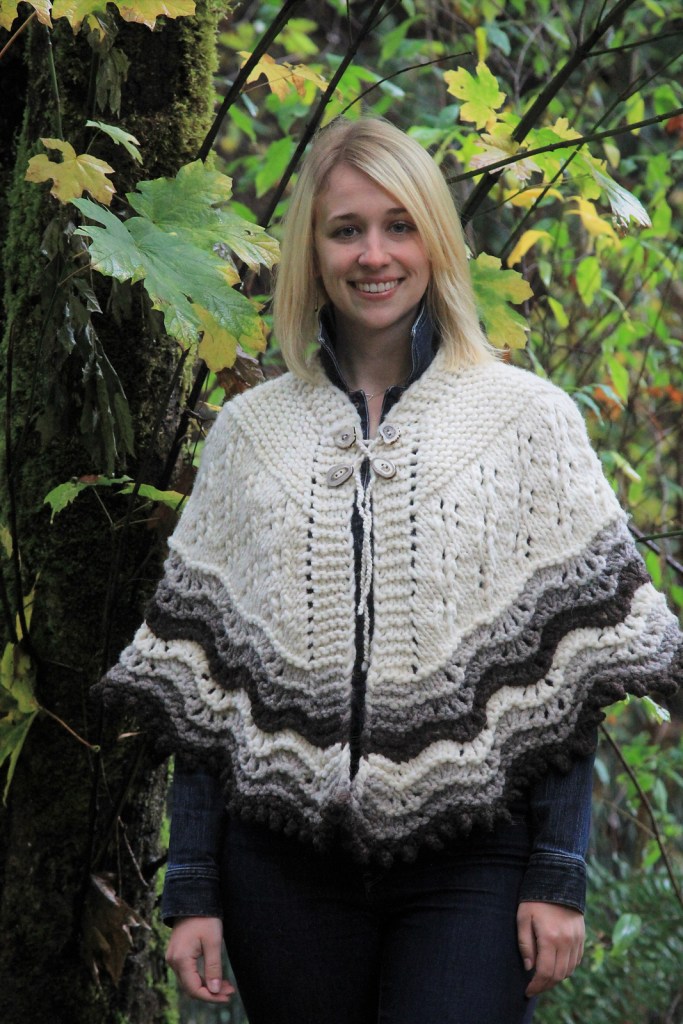
North Sea Hap 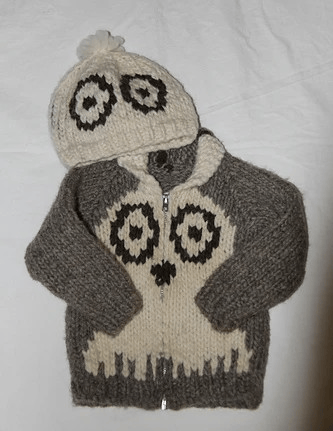
OOKpik 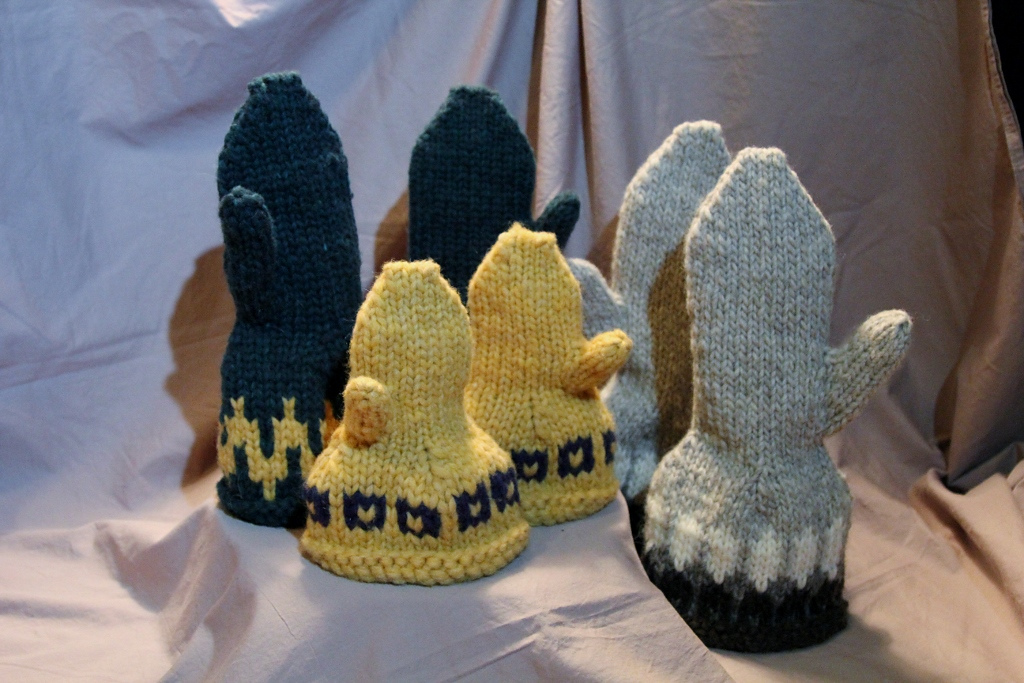
Standing Tall 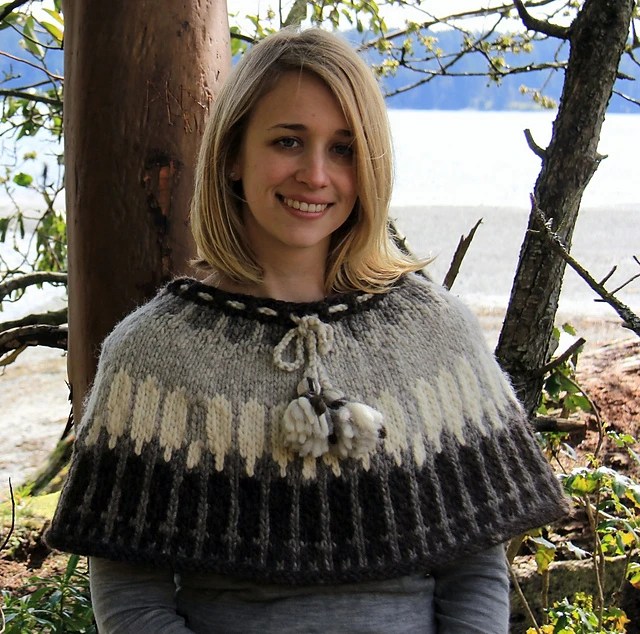
Sitka Poncho 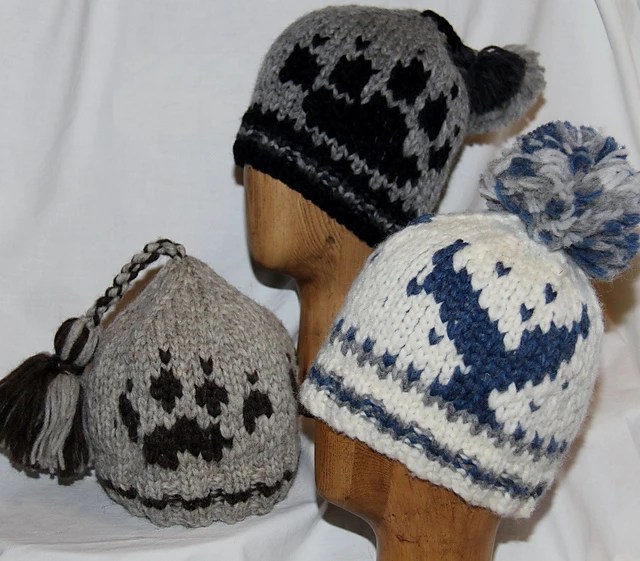
Spirit Toques 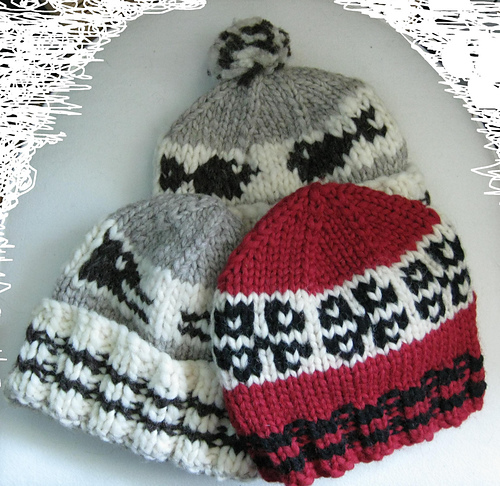
Cowichan Inspired Toques 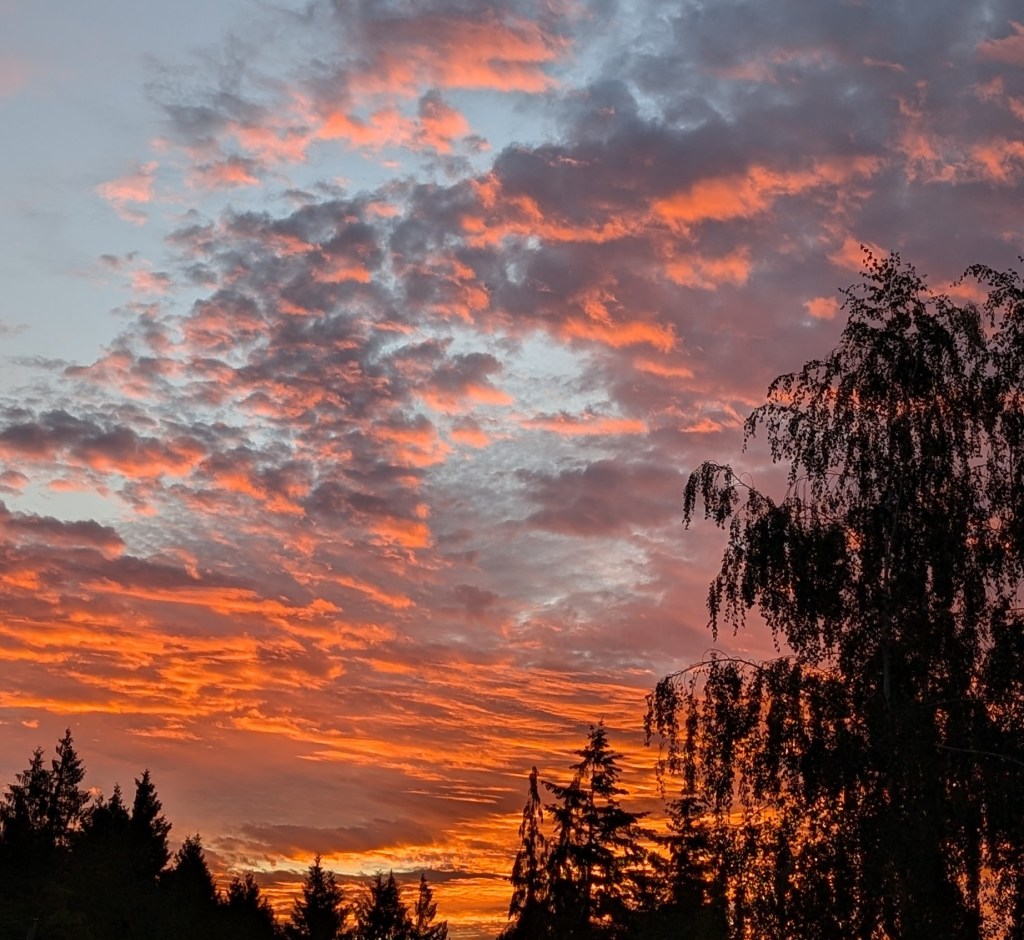


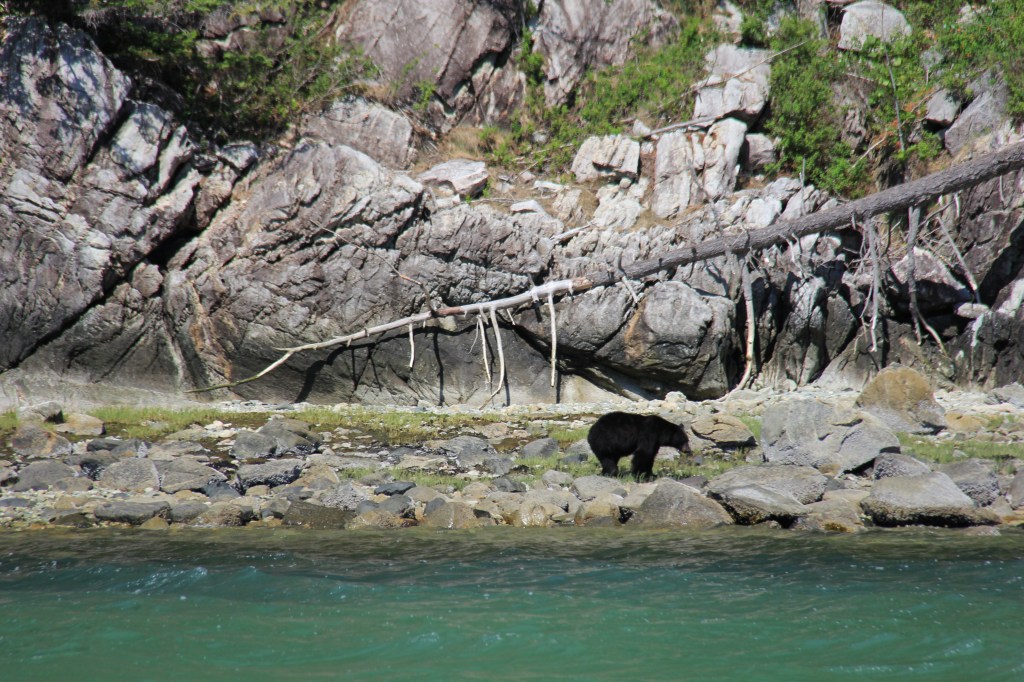


So much inspiration, never enough time! I love where I live!
Happy Thanksgiving!
Lynette
-
East Coast Thrumming
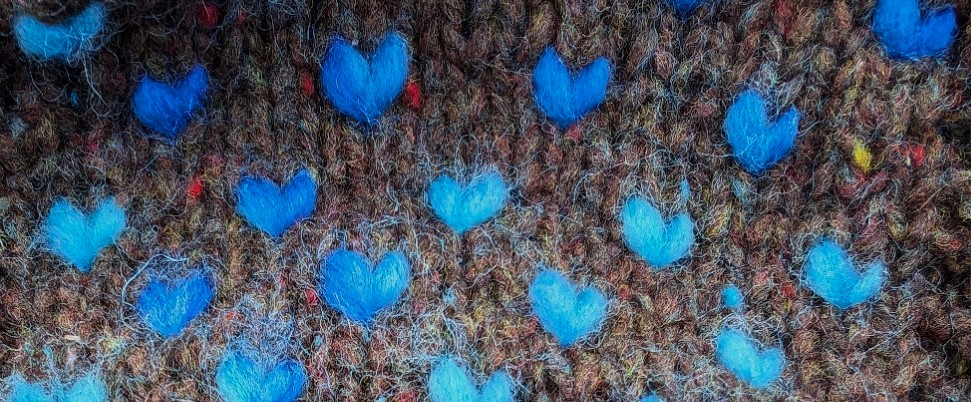
What is Thrumming?Thrumming was born in Newfoundland, off the east coast of Canada. It is a technique for adding a layer of wool
roving to create a very warm and almost totally wind and waterproof mitten. Pieces of roving are knit in to
individual stitches with the extra length of the roving remaining inside. With wear, these rovings’ felt, creating the
barrier needed to protect hands from the icy winds.It is really important to note that thrumming works best when knit with non-superwash wool and non-superwash sliver. The scale on the surface of both fibers work together to bond and keep the fibres from separating.
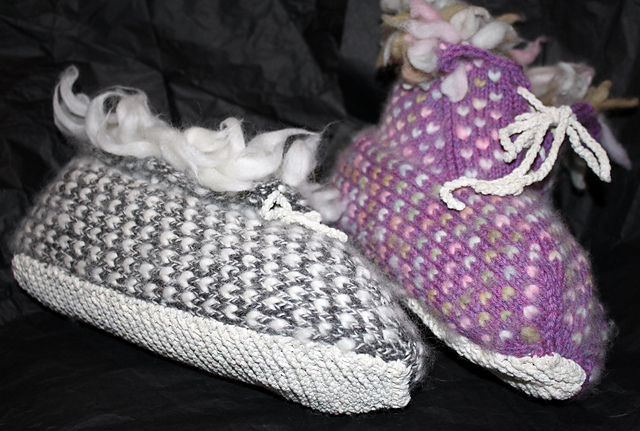
Thrumming in action Thrumming can be used for items other than mittens as well. Hat, slippers or a headband (which I am currently designing). And I am thinking of designing a vest. A double sided, thrummed vest would be perfect for our climate.
Happy Thrumming
Lynette
-
Bead Knits
On the subject of beads….
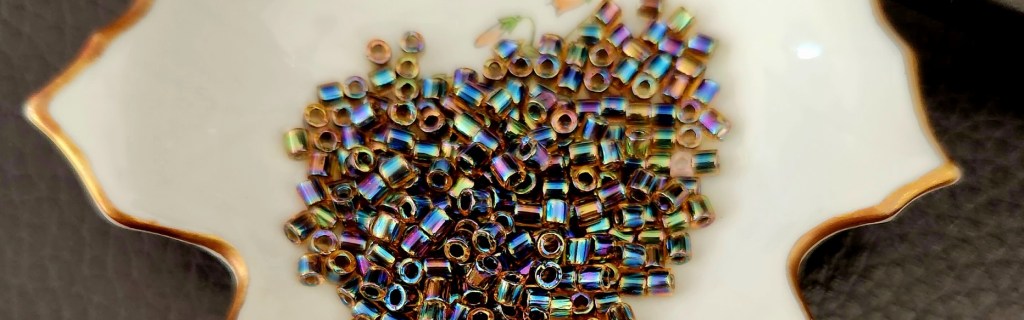
It can be said with some authority that I am more than a little obsessed with beads and the many possibilities they offer for embellishment on our knits. It is more than a pity that our society really isn’t so much into the glittering styles of the past! I would so rock those days!
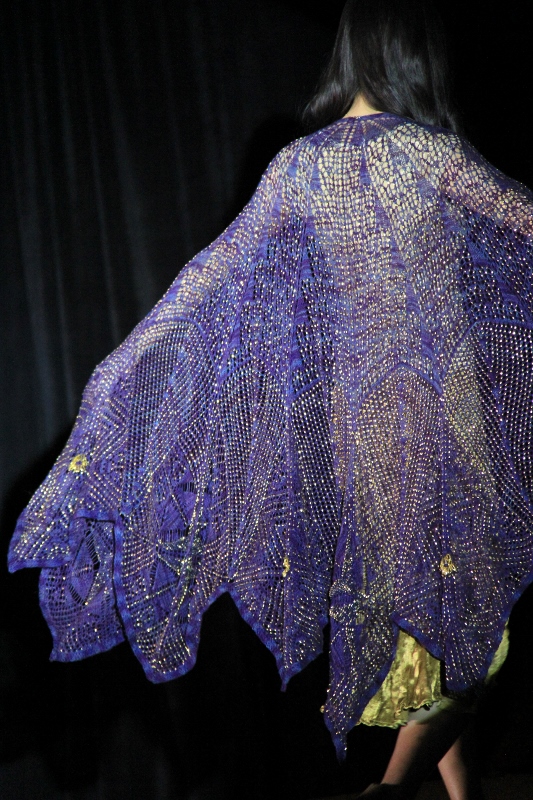
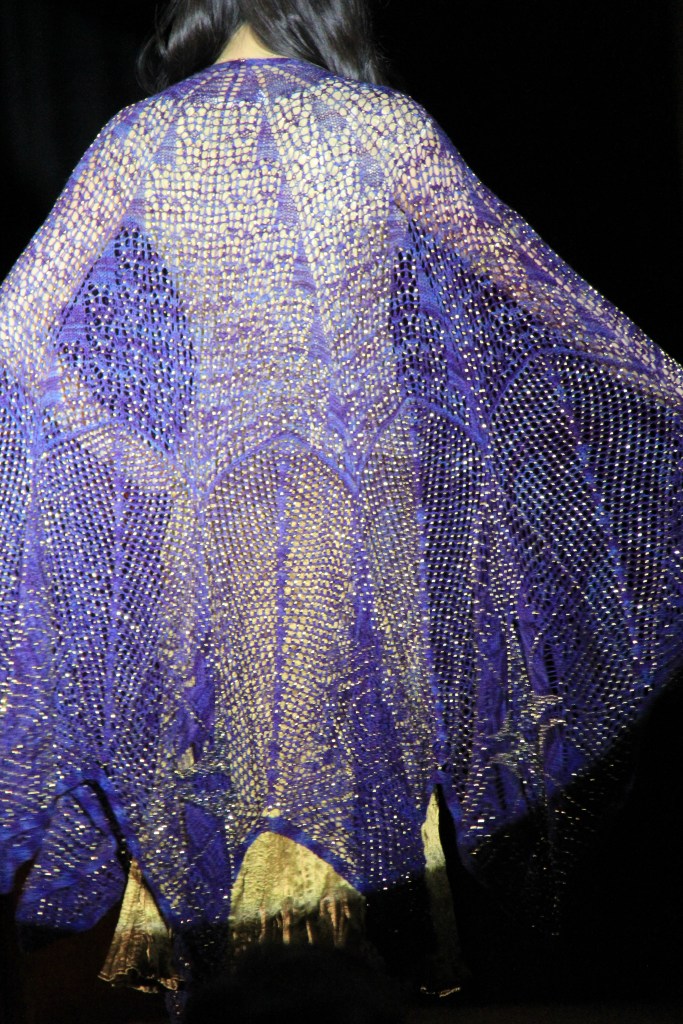
Rhiannon – knit with Buffalo Wool Co Sexy yarn and 20,000 + 24 k gold dipped delicas and crystals. Knitting with beads – There are several methods for placing a bead onto knitted fabric: between the stitches, on one arm of the stitch or on both arms of the stitch. Some methods require that the beads be strung on the knitting yarn before knitting. Some are placed on the stitch as it is knit and others are added after the work is finished. The size of bead will determine whether it can be placed on the stitch or whether it needs a separate strand. If you are planning to use thousands of beads on a project, do work a sampler first to determine the most efficient method of working the beads. When stringing beads make sure that there are no knots in the yarn.
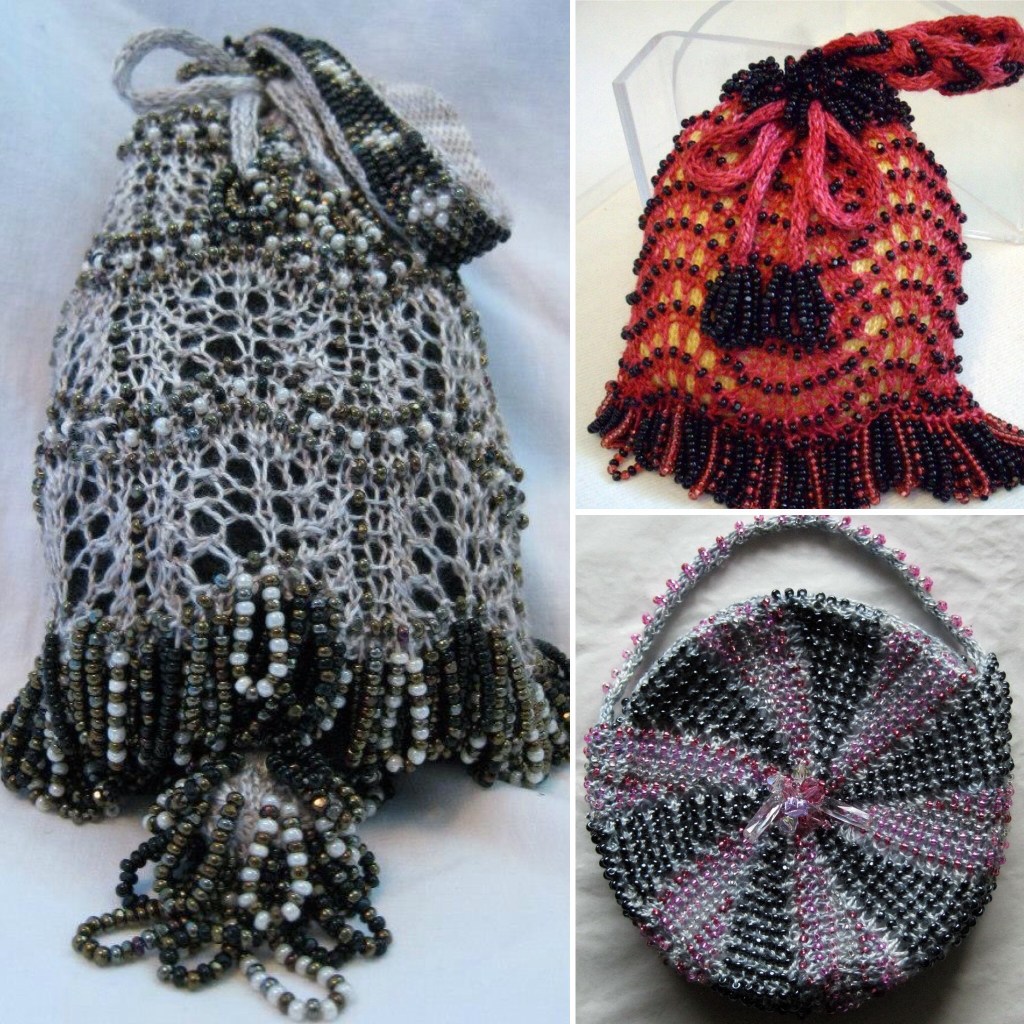
Pre-strung beads used for loops and beads placed between stitches in a garter stitch background. Traditional bead knitting -The bead is placed on one arm of the stitch. All beads need to be pre-strung and if using multiple colours they need to be pre-strung in reverse order.
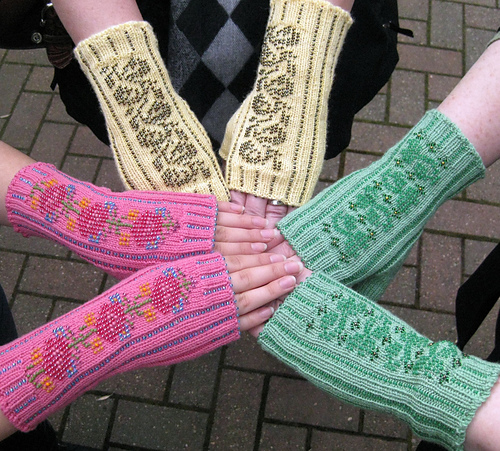
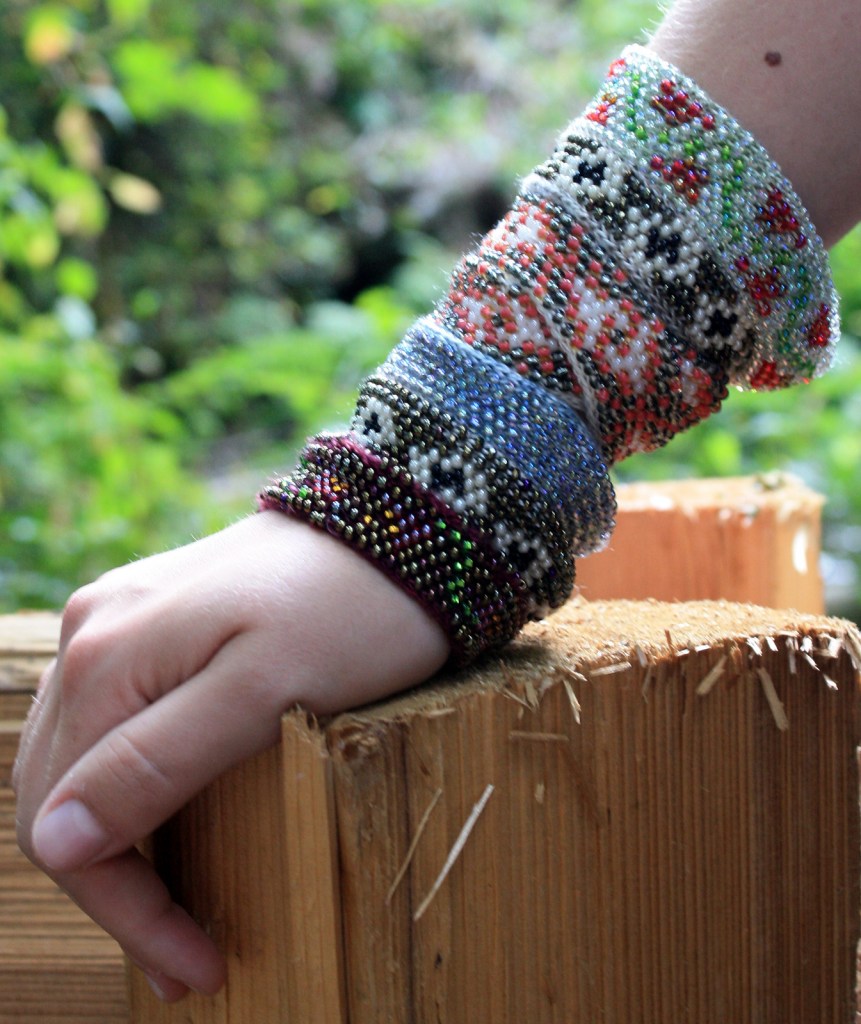
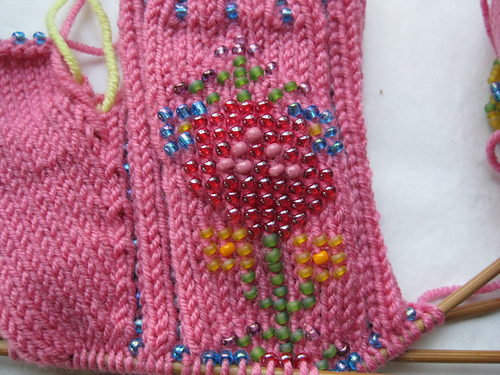
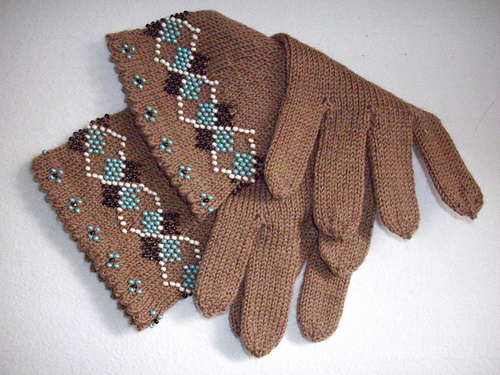
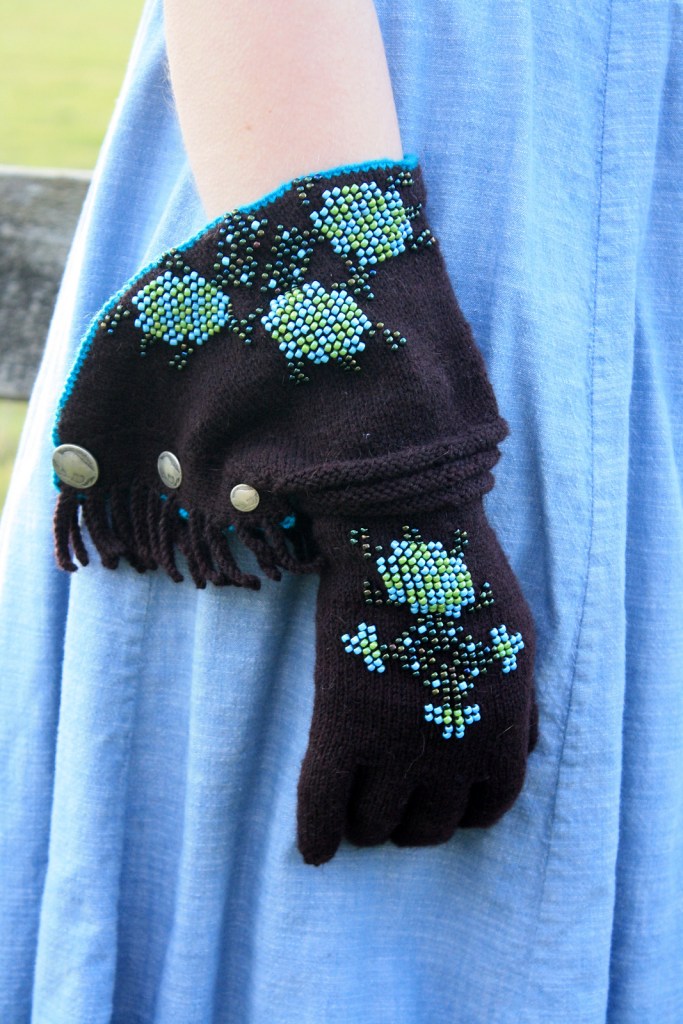
Bead knit gloves, mitts, gauntlets and jewelery! 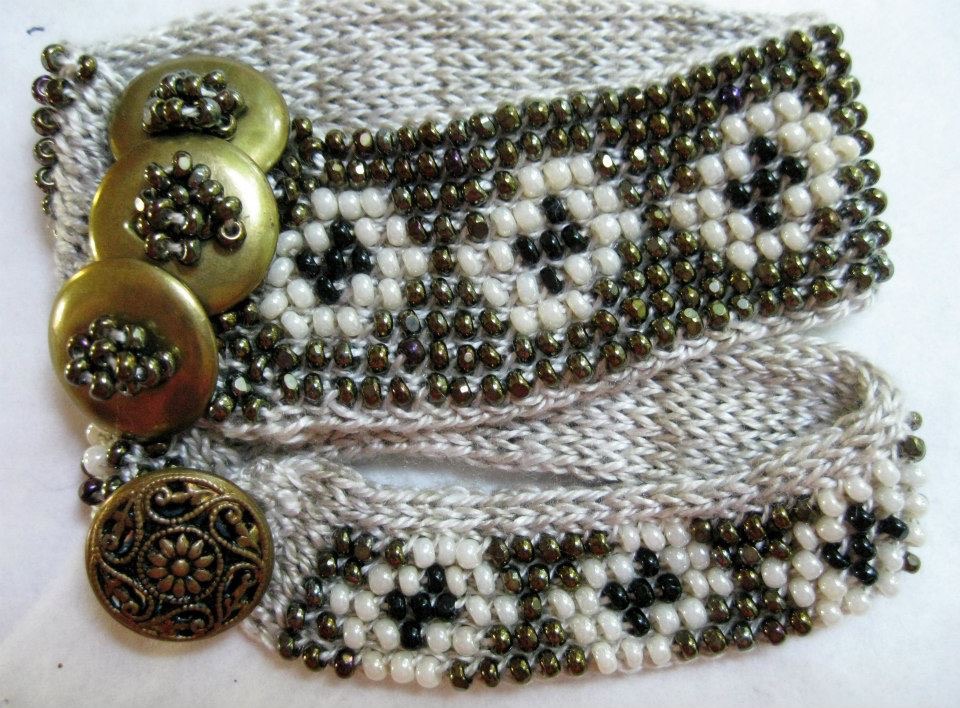
A bead is placed on an arm of each stitch, as you are knitting through the back of the loop. This style of knitting will have a tendency to bias. This is not a problem if the fabric is knit circularly. (Which is the only way I will tackle it!) Most Victorian purses were worked circularly and the biasing was not readily noticeable. The other advantage of working circularly is that you do not need to work a purl stitch through the back (try purling through the back of a loop and placing a bead at the same time!) Bead knitting used to be worked with small (think micro) seed beads and silk or cotton thread and very fine steel needles. There are still knitters who work in this way.
I work bead knitting with small beads (not micro) and fine yarns – lace or fingering weight yarns (not threads) and small needles, anything from 2.0mm US#0 to 2.75mm US 2. I haven’t done any bead knitting for quite a while. I have taught both styles of bead knitting but always had a hard time convincing others that working traditional bead knitting was worth the effort!
I still use a lot of beads in my knitting but they are mostly placed with a small crochet hook, and not always pre-strung as in traditional bead knitting.
So, when I decided to knit a pair of gloves with some beautiful new yarn I also decided to knit myself a beautiful bead knit edge for those new gloves.
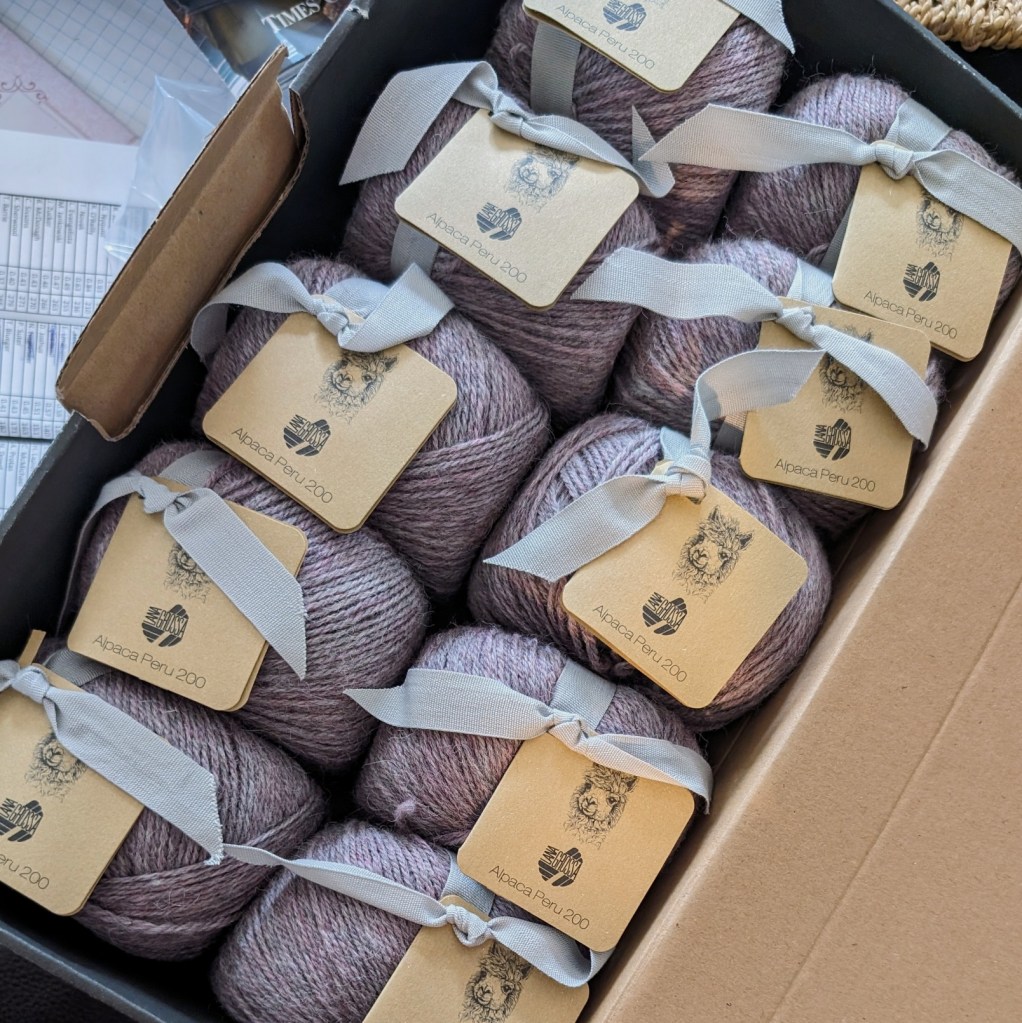
Beautiful Alpaca fingering weight yarn – a soft pinky/lavender grey melange. I am seeing a short beaded gauntlet with either short finger gloves or mitts! But maybe I won’t be able to resist the lure of a proper pair of gloves! These gloves are my “swatch” for the yarn. From this I can learn about the yarns strength, how or if it has a “halo”. How much will it stretch (alpaca has no memory – so if it stretches it won’t go back). And I have something useful at the end of the knit. Many of my hats are gauge swatches. A trick that Elizabeth Zimmermann suggests as a means to learn your yarn and create something useful at the same time!
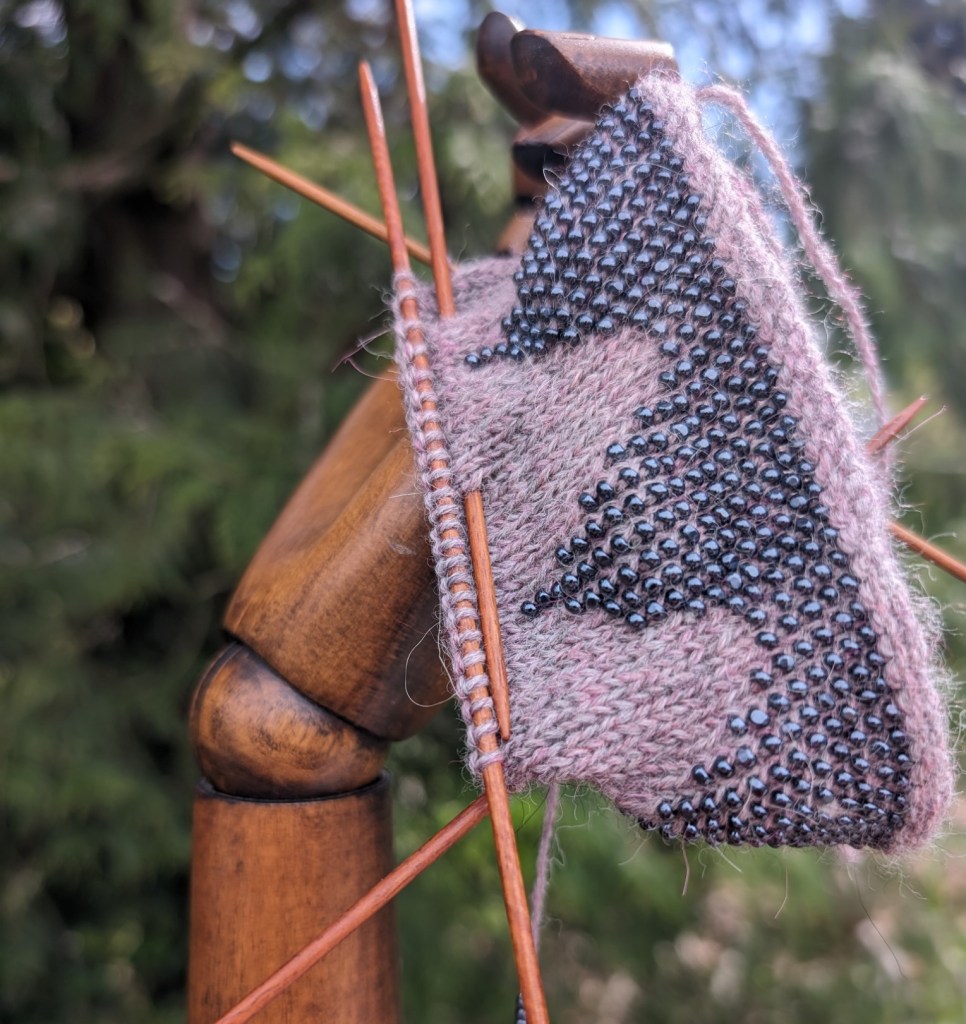
The yarn is a breeze to knit with. And yes, there is a lovely halo. The yarn is also handling the weight of the beads without too much obvious stretch. So I will continue on, and isn’t it a beautiful colour?
I was wondering if anyone would be interested in a workshop this summer to learn how to bead knit…. I would love to lead you down the garden path and introduce you to another side of working with beads and knitting!?
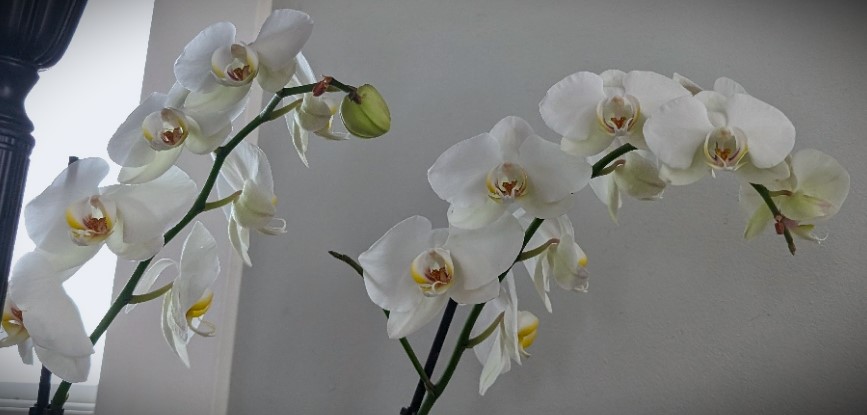
Check out the Orchid! It is still kicking and has opened some new blossoms!
Happy Knitting!
Lynette
-
Knitting a Dress and Other Projects
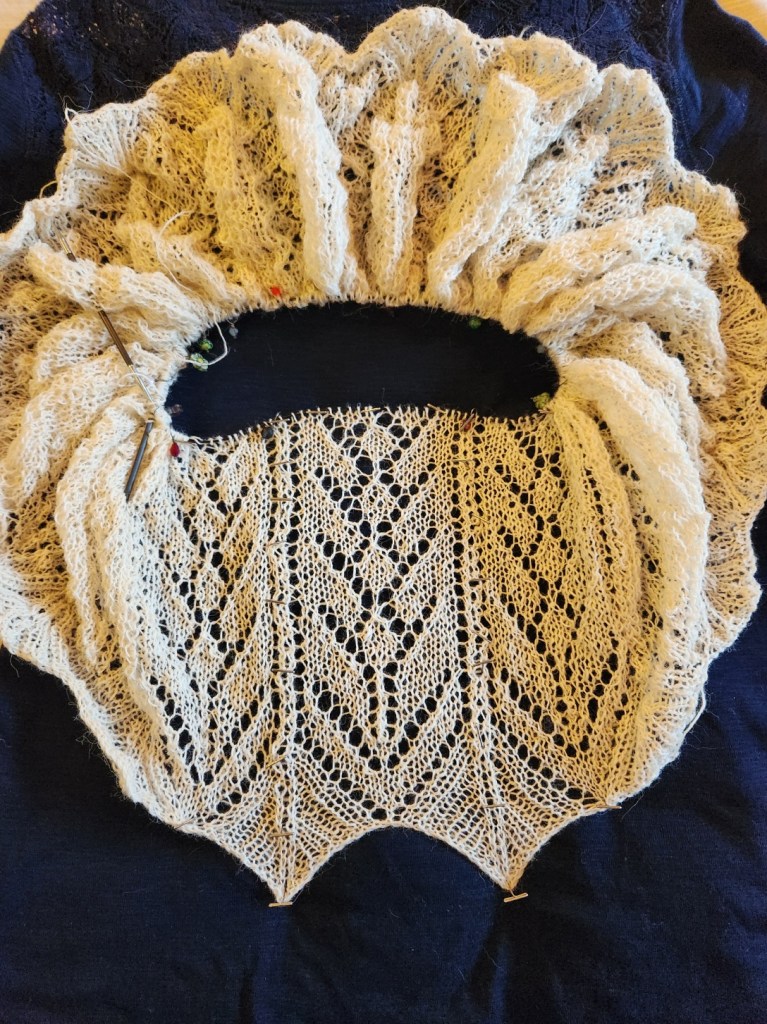
I am now at the point where the skirt is growing, at what seems like an agonizingly slow rate. I must focus on the fact that the skirt is growing and the pattern is repeating and that is what is supposed to happen.
I switched to a 3.75mm needle about 12 rounds ago to start the slow shaping of the skirt. I will most likely drop the needle size to 3.5mm in about 40 more rounds. So between the changing the size of the needles and shaping the panels I am hoping for a lovely, gradual shaping the skirt to the waist. At that point the needle size will be 3.25mm for the bodice of the dress.
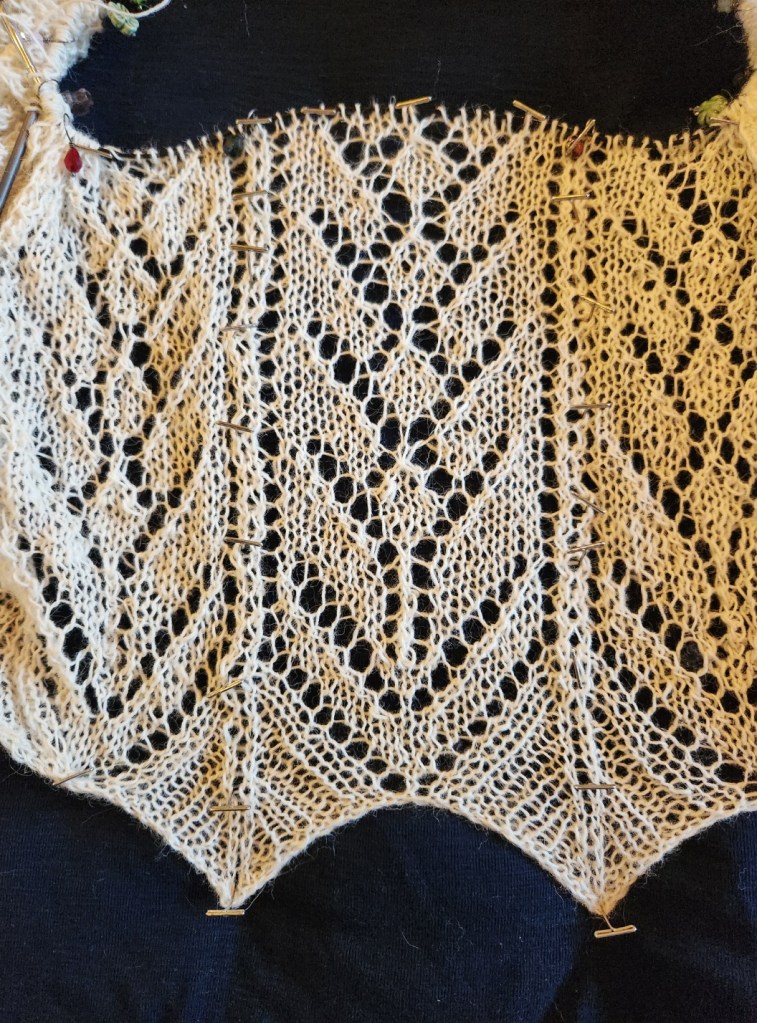
Dry blocked the skirt is 10 inches deep from the top of the 4th pattern repeat to the curve of the hem. The points are not included as length. I think that three more repeats will get me to the start of shaping panels (approx 15 inches) which will reduce the stitch count of the skirt. The reducing section will take about 45 rounds.
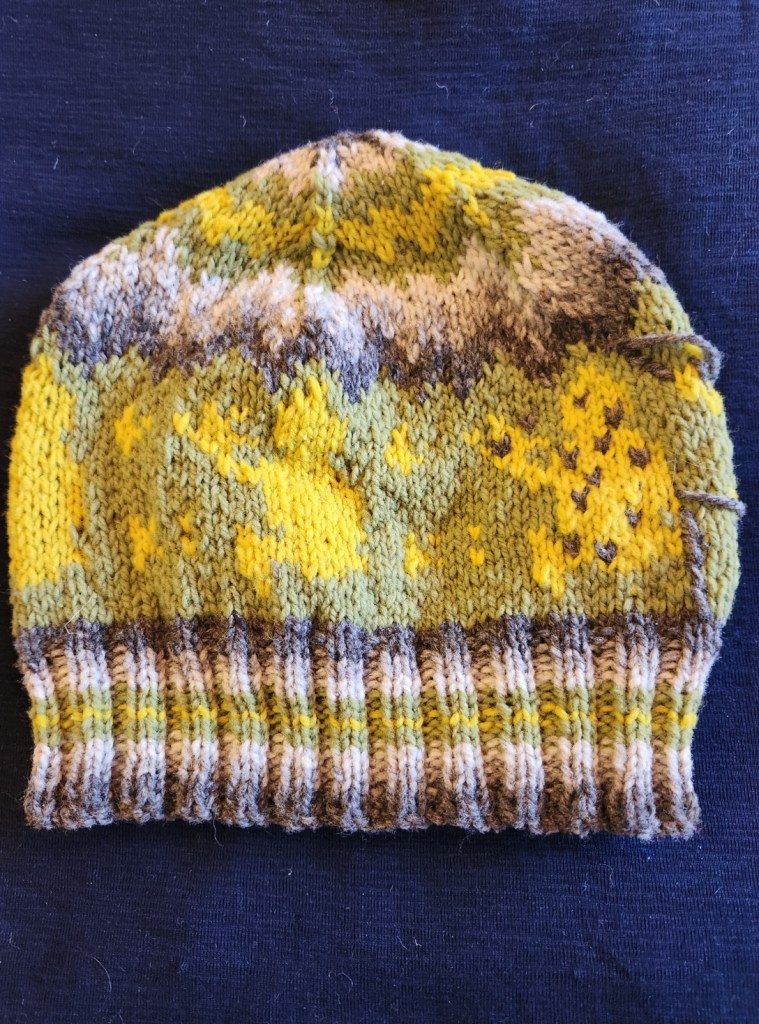
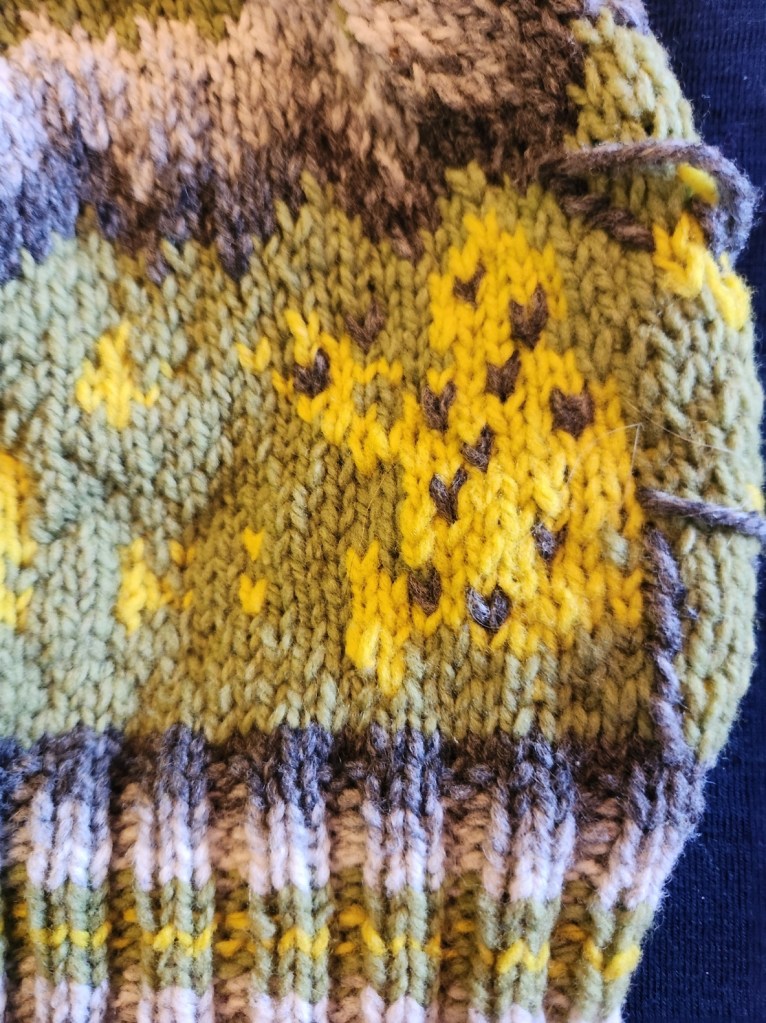
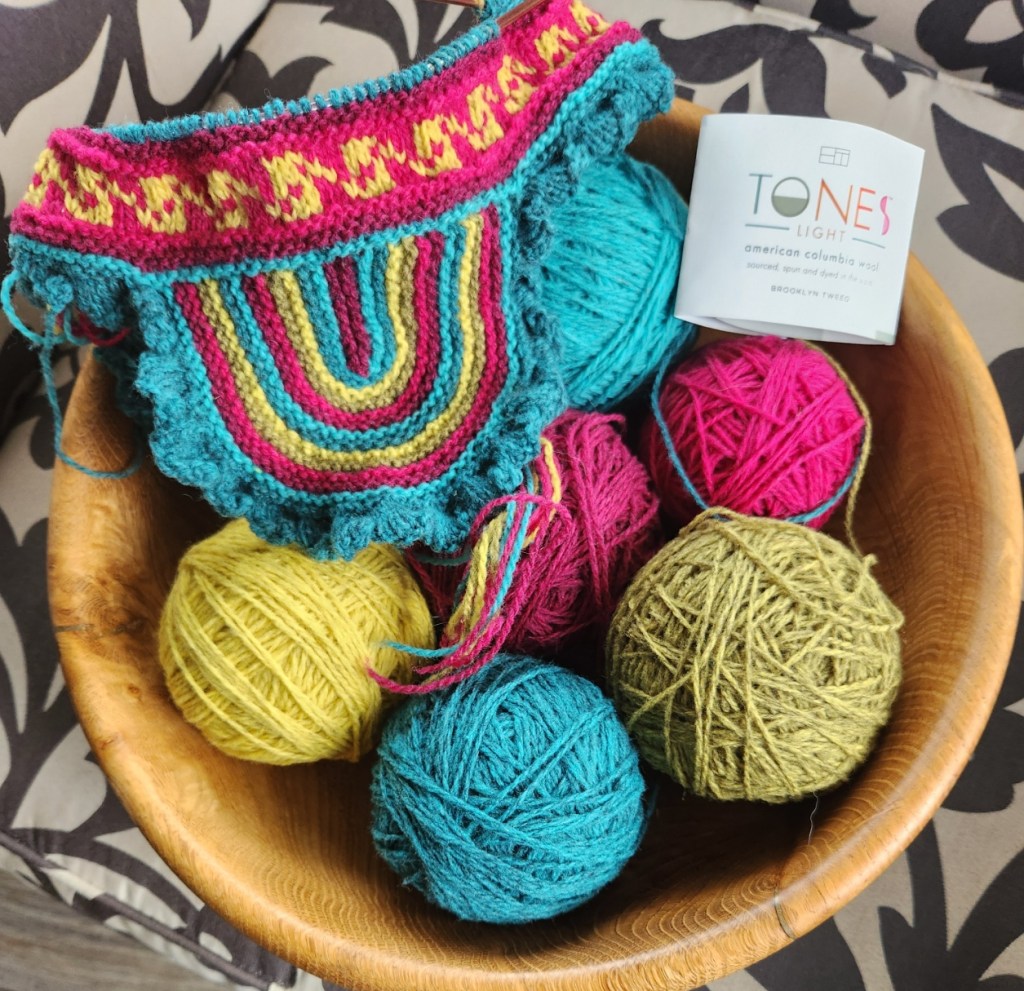
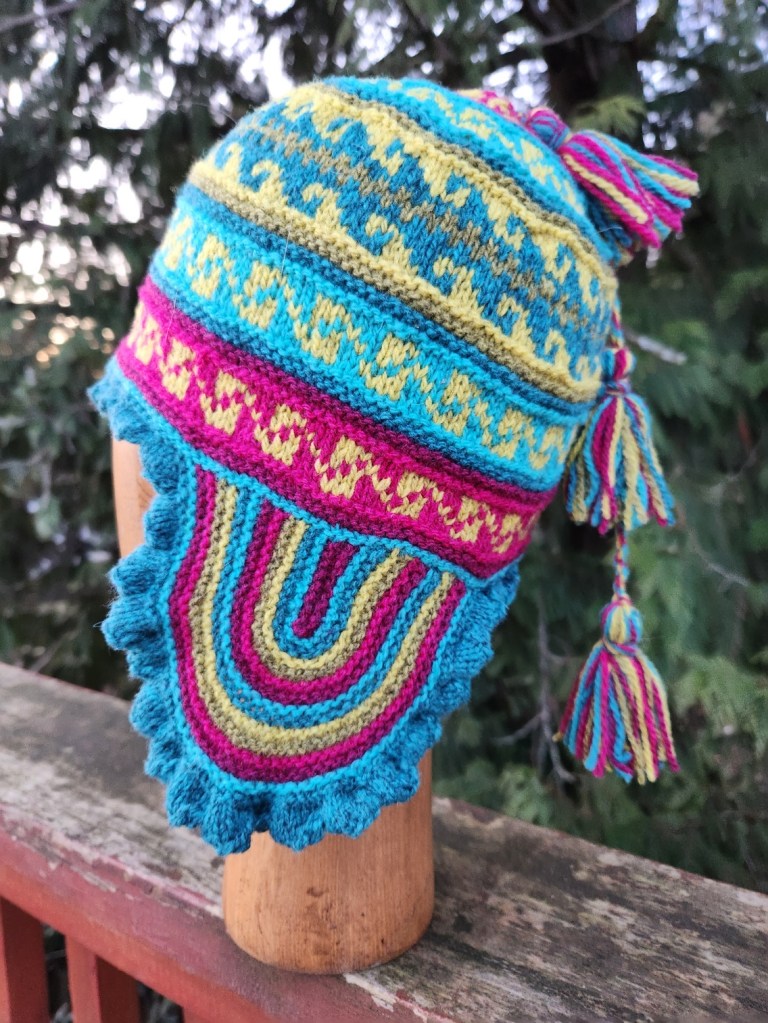
I work at Mad About Ewe and I get to play with the yarn. We are now carrying Brooklyn Tweed Shelter and Tones Light. I have been playing.
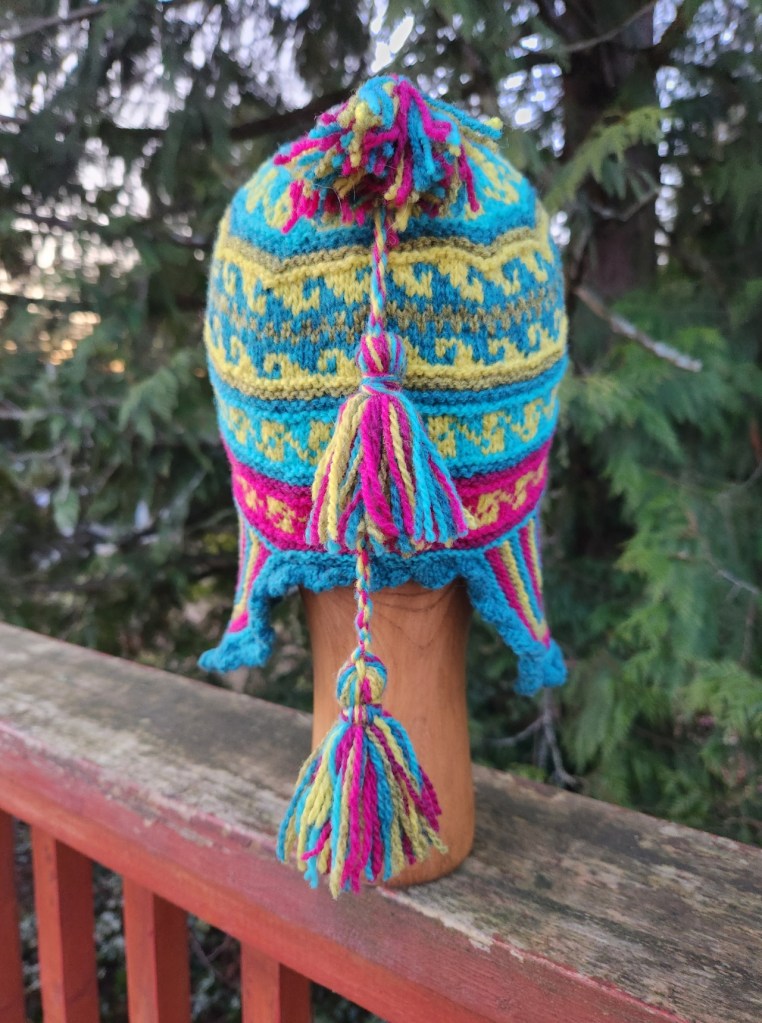
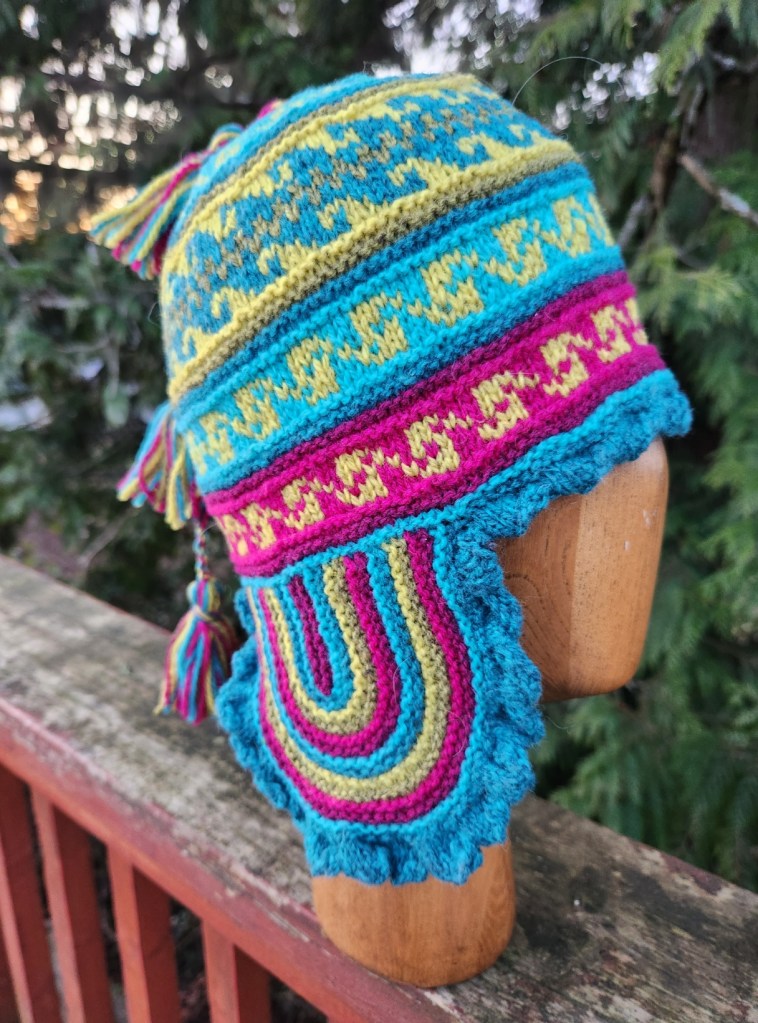
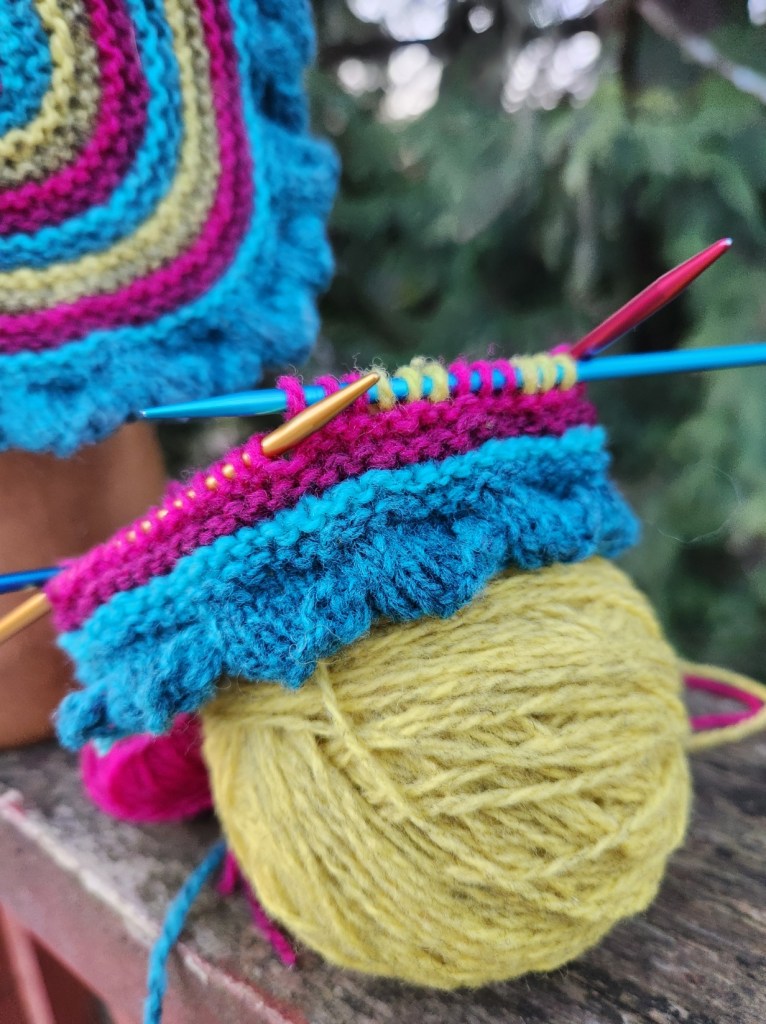
Wait there’s more! More hats, cables and hearts; double knit fingerless mittens and just so much more to do and create!
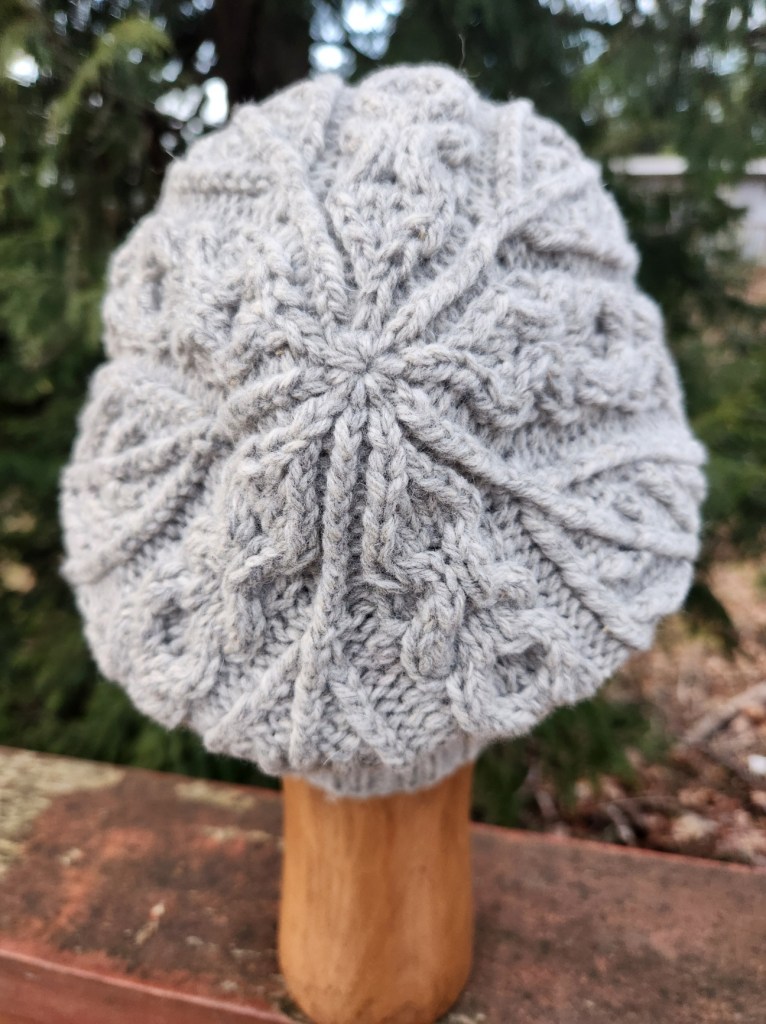
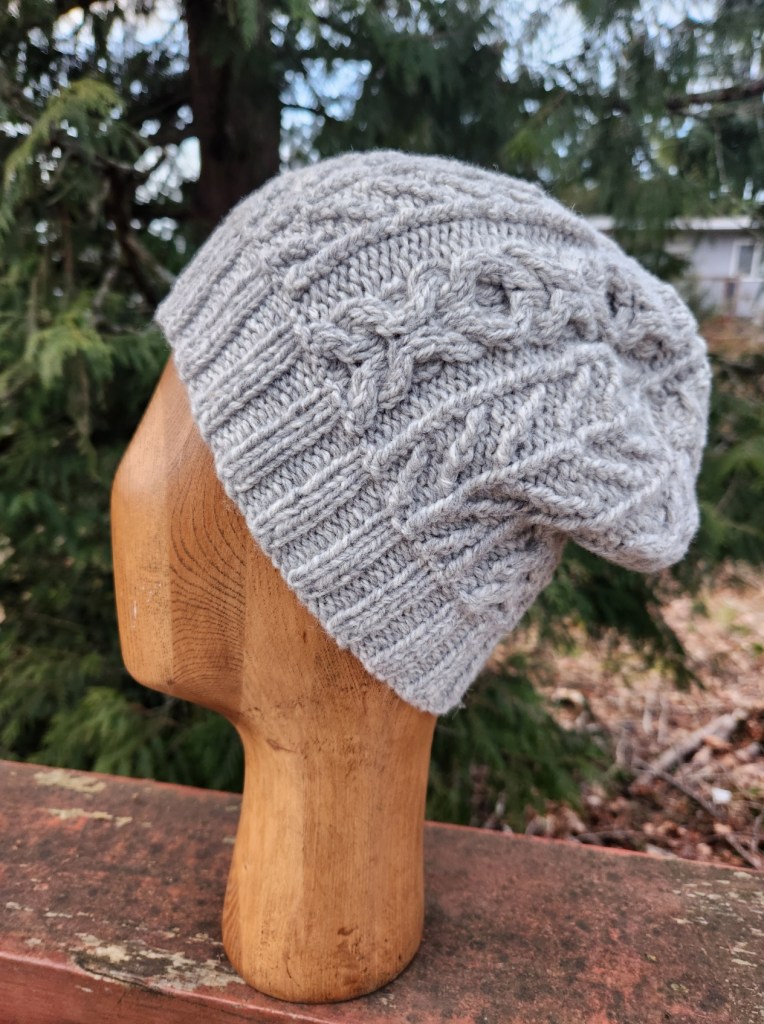
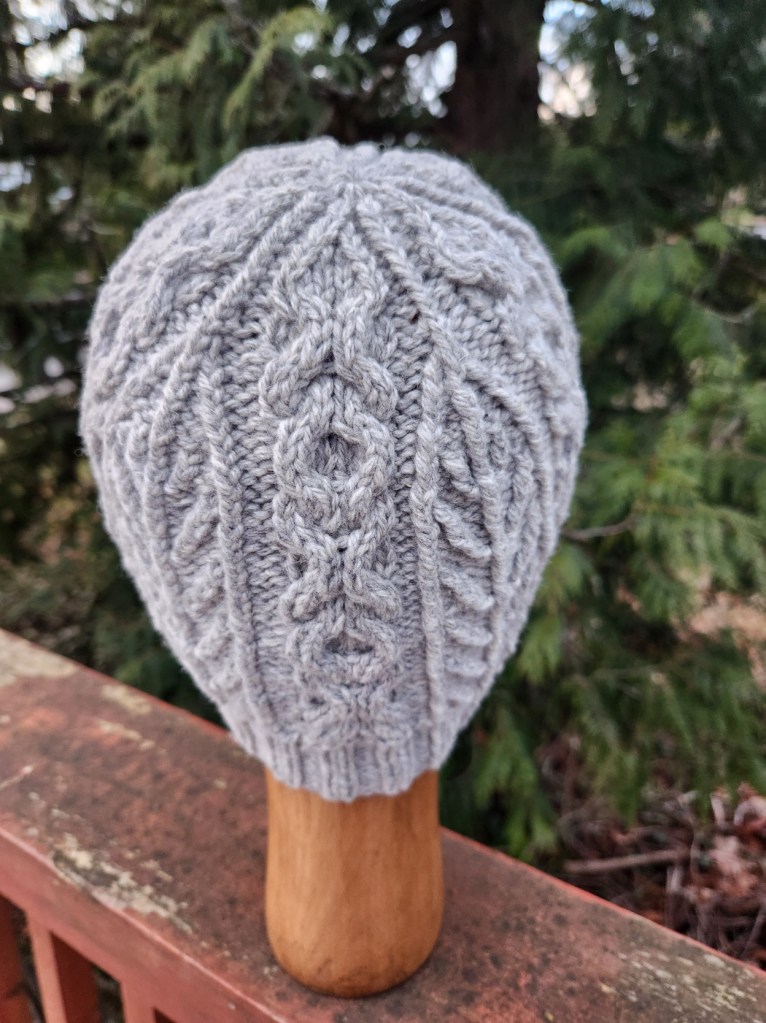
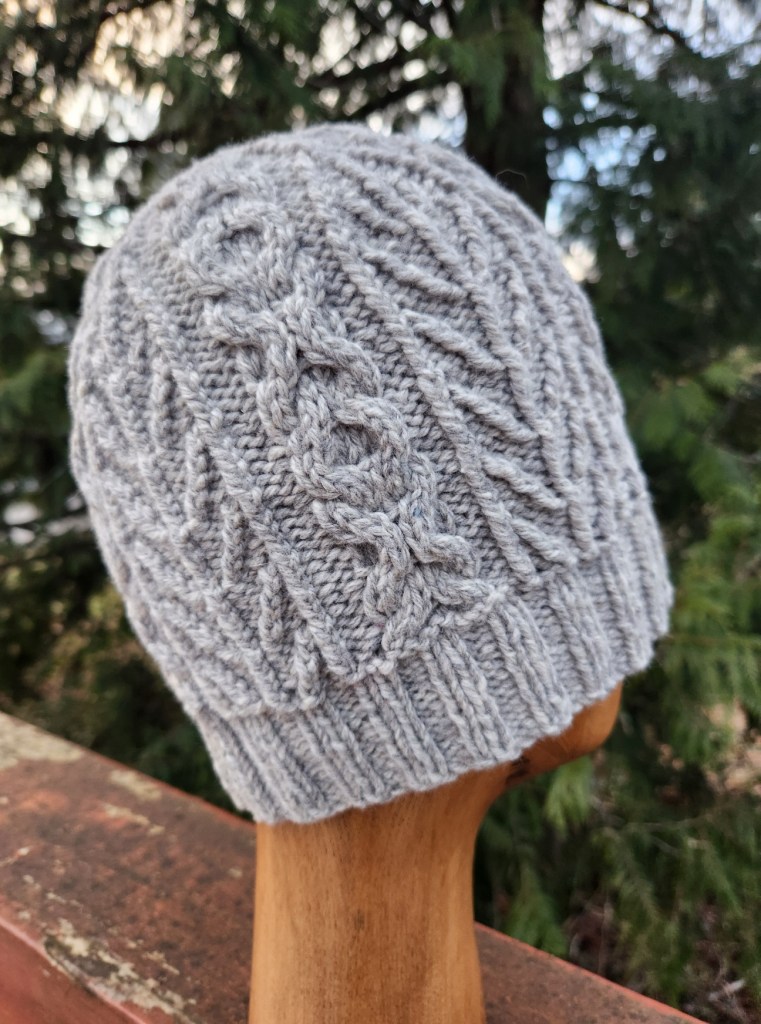
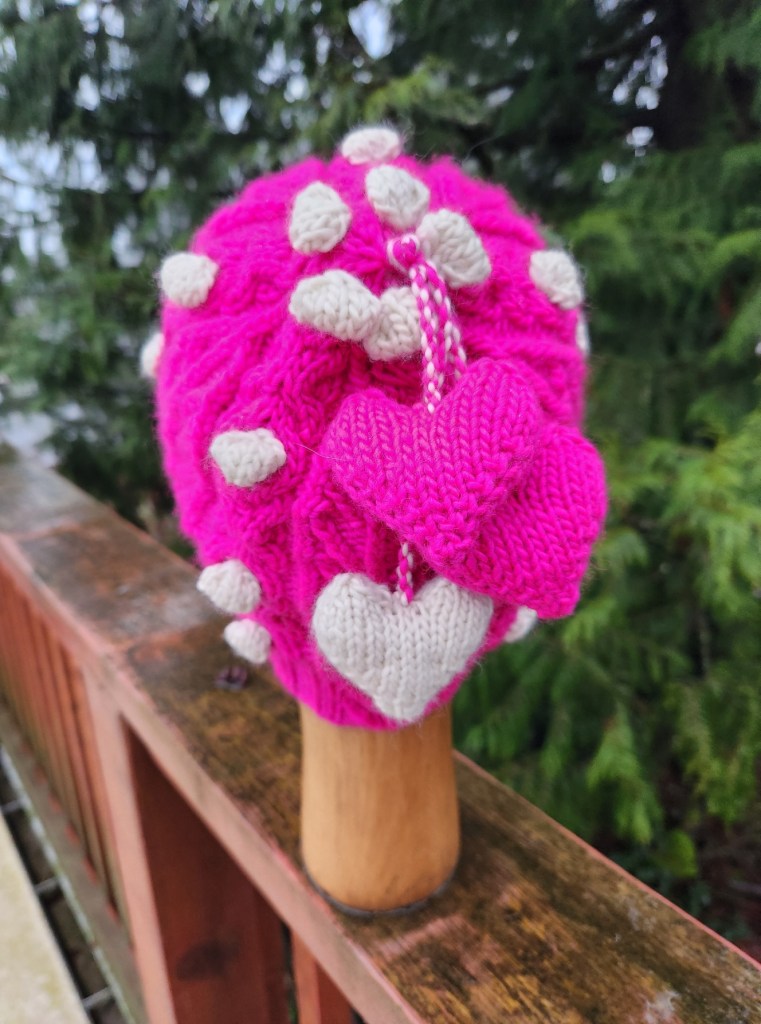
Below is “Smitten” A cabled hat with the “hugs and kisses” cable and the tree of life pattern. Classic in Grey and no bobbles, knit Juniper Moon Santa Cruz in the Palladium colourway! And Wild in with everything – cables, bobbles and hearts, knit with Malabrigo Worsted in the natural and Very Berry colourways.
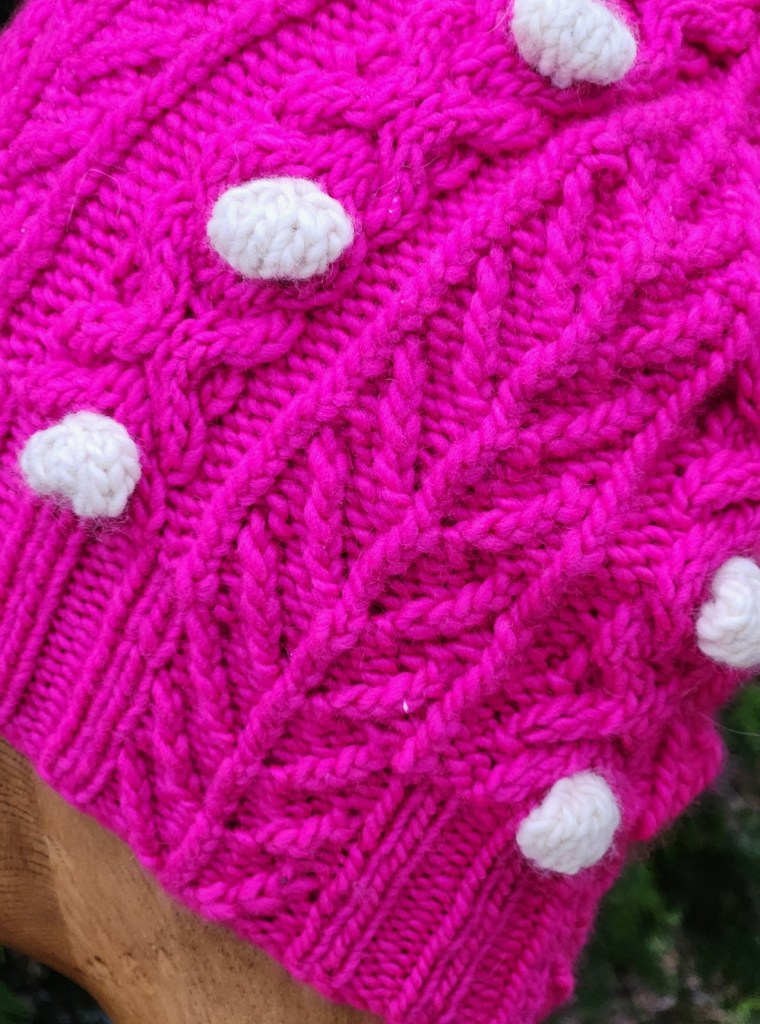
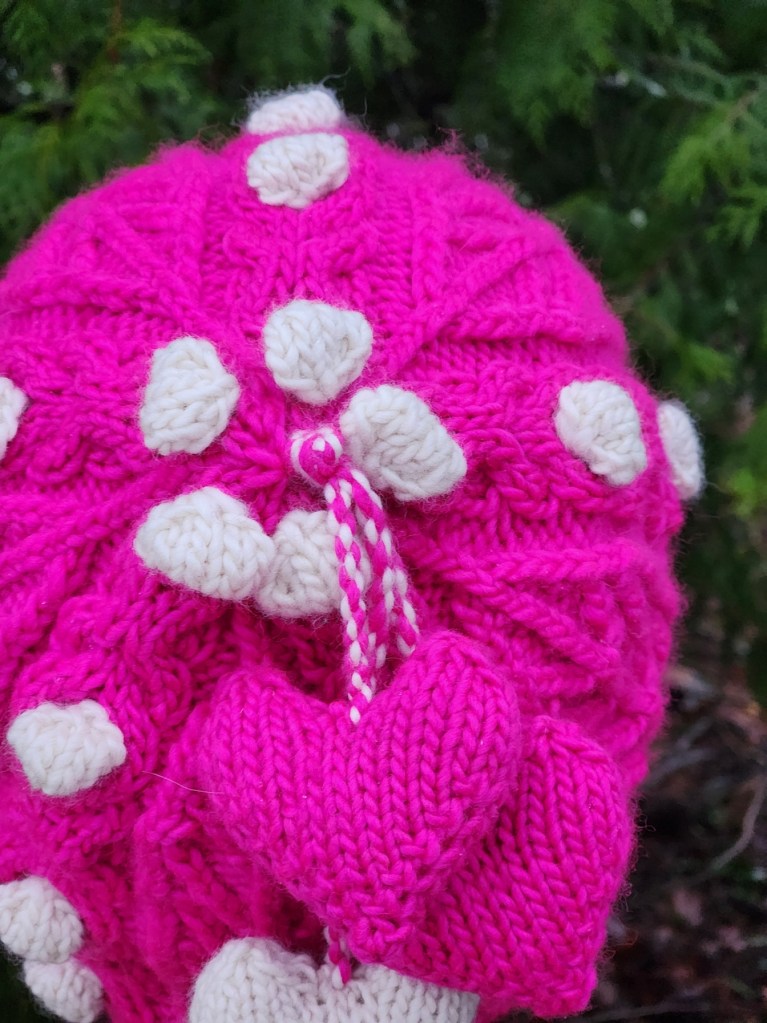
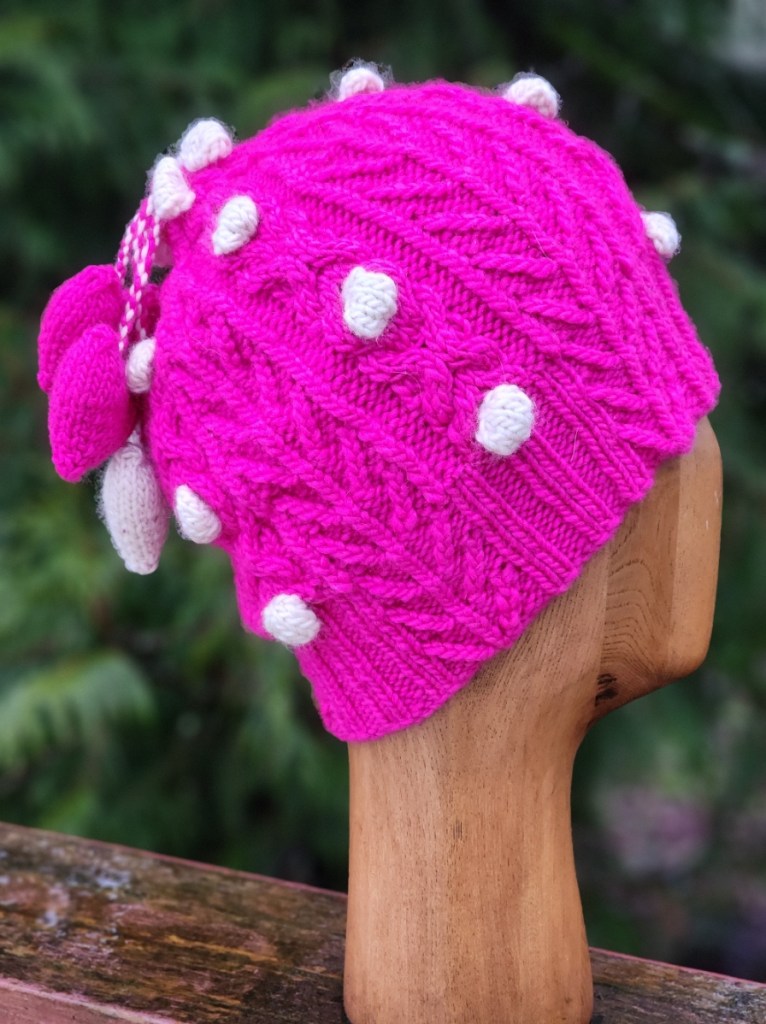
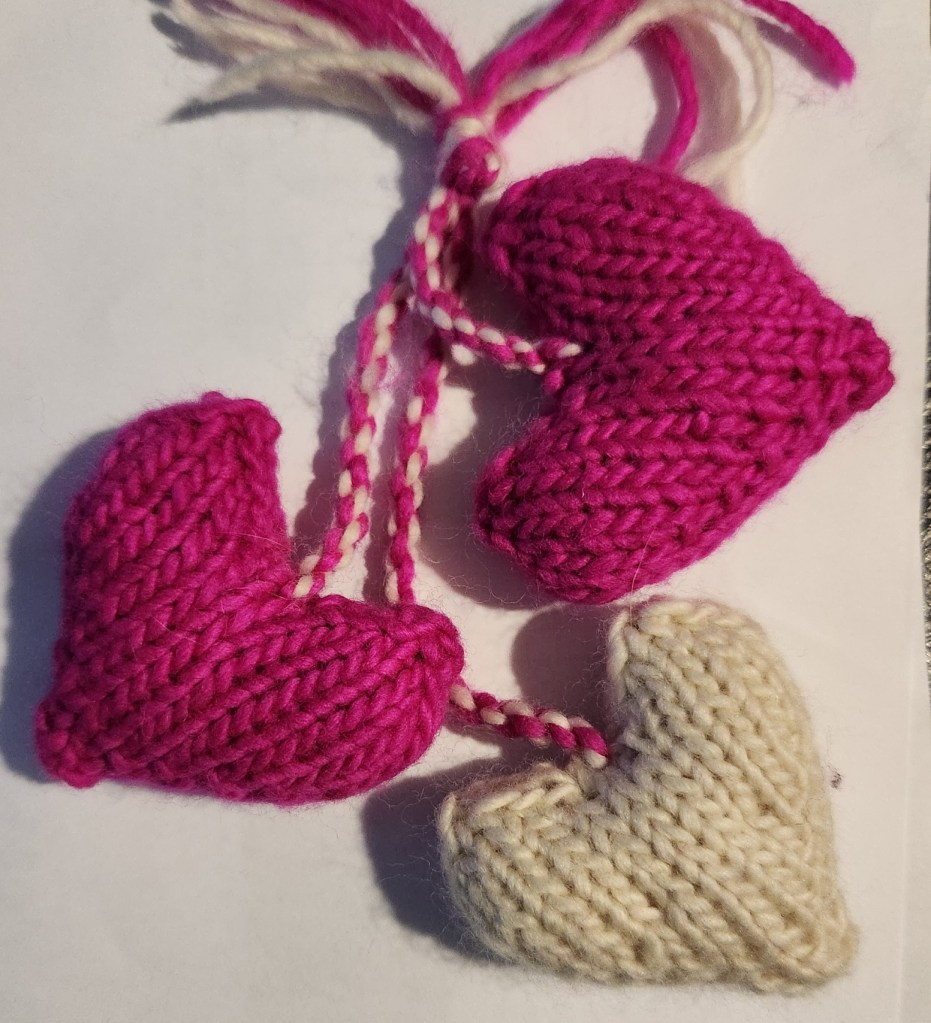
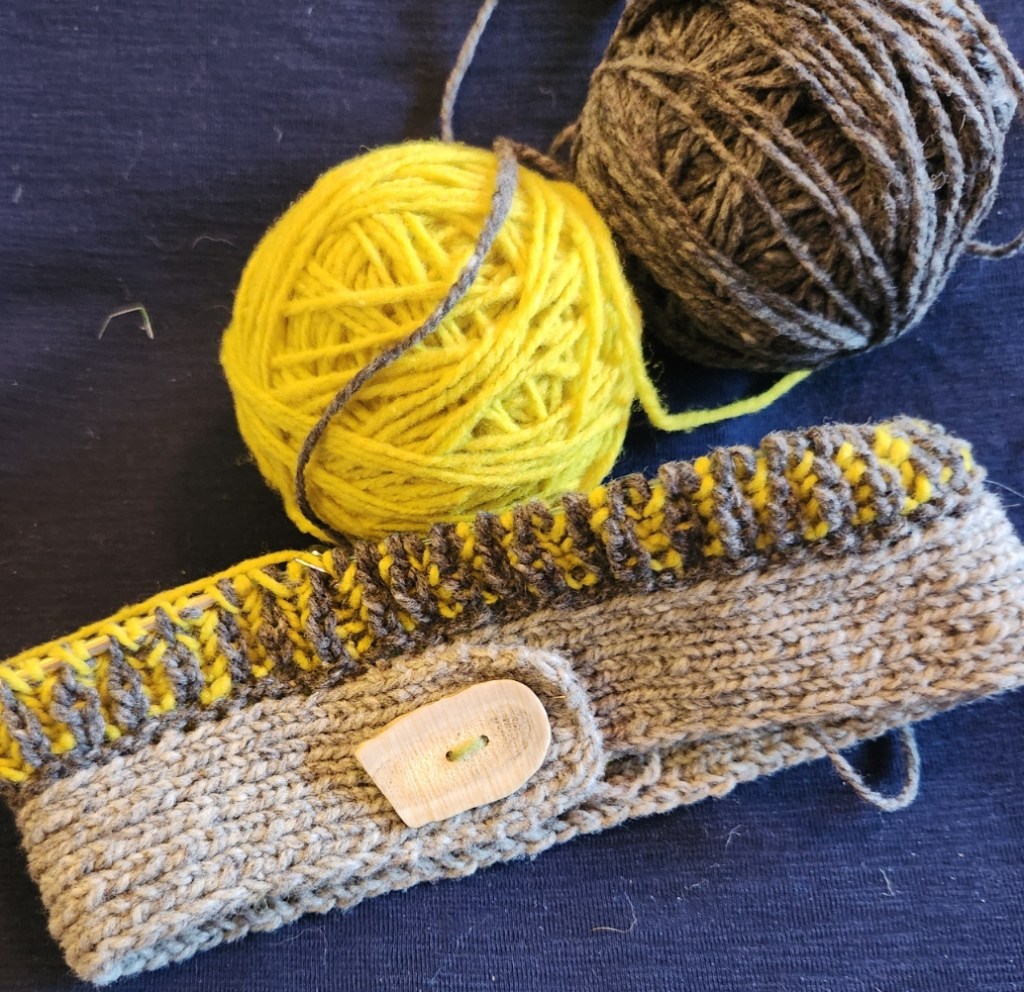
Straight forward and cozy these double knit wristers are super cozy and super easy! These Cozy Wristers can be knit in any dk or sport weight wool that you might have to hand.
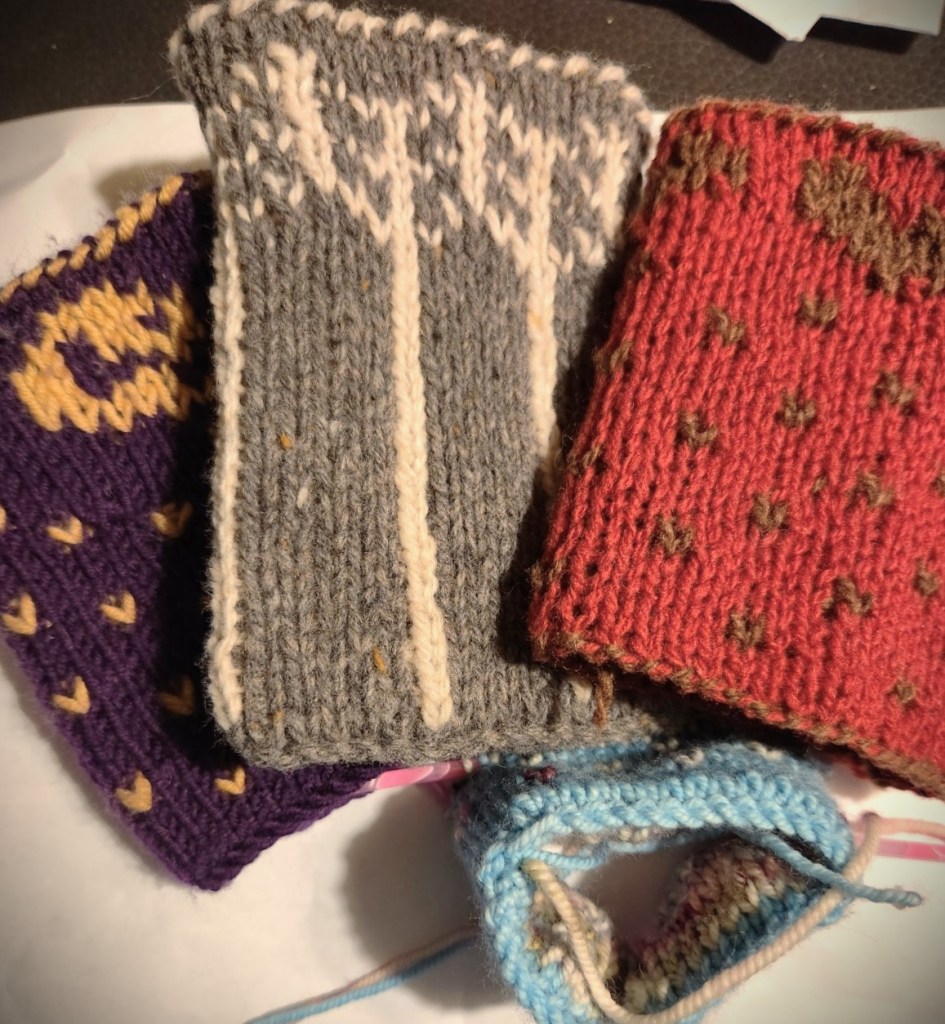
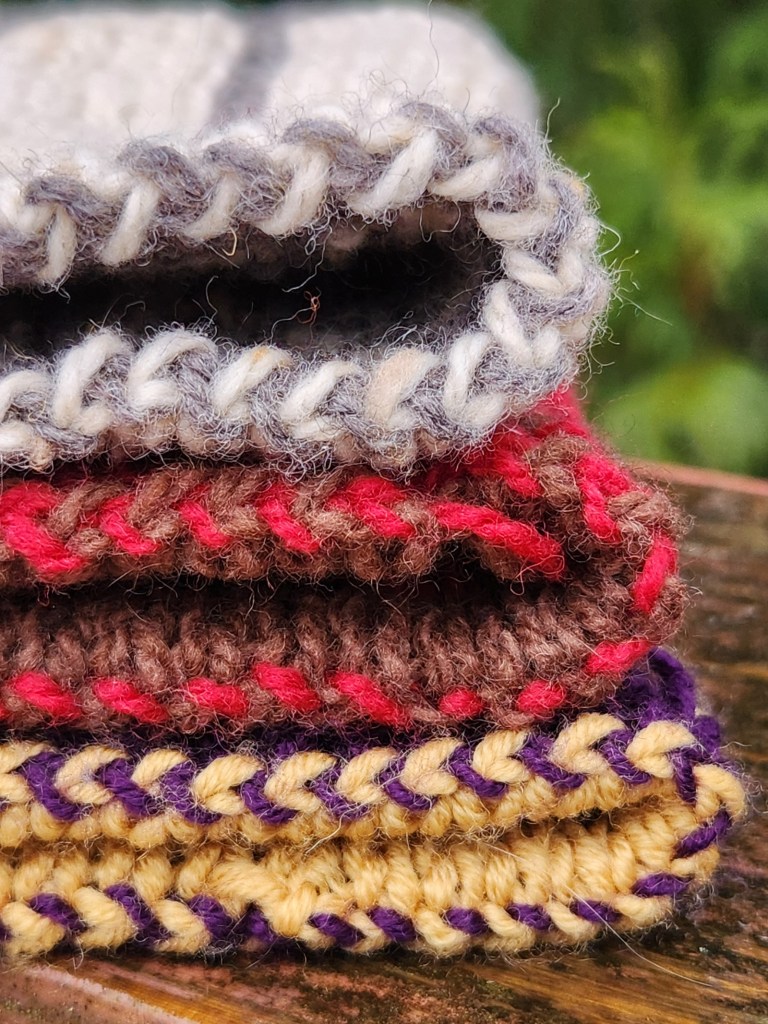
Because they are double knit they are also totally reversible.
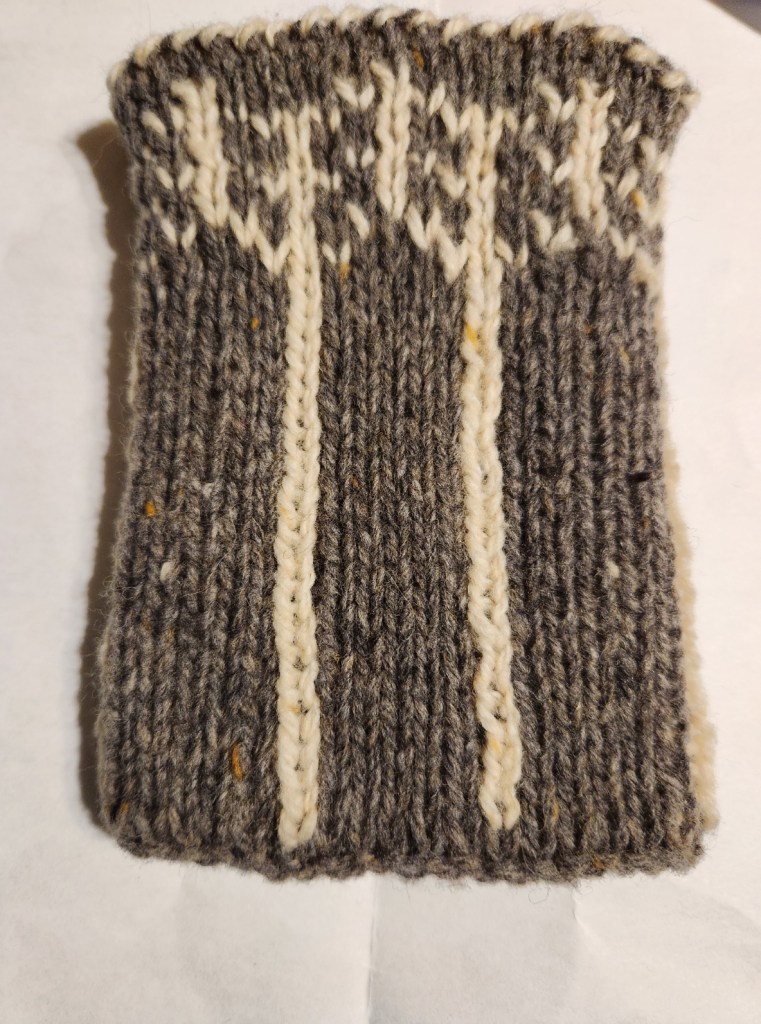
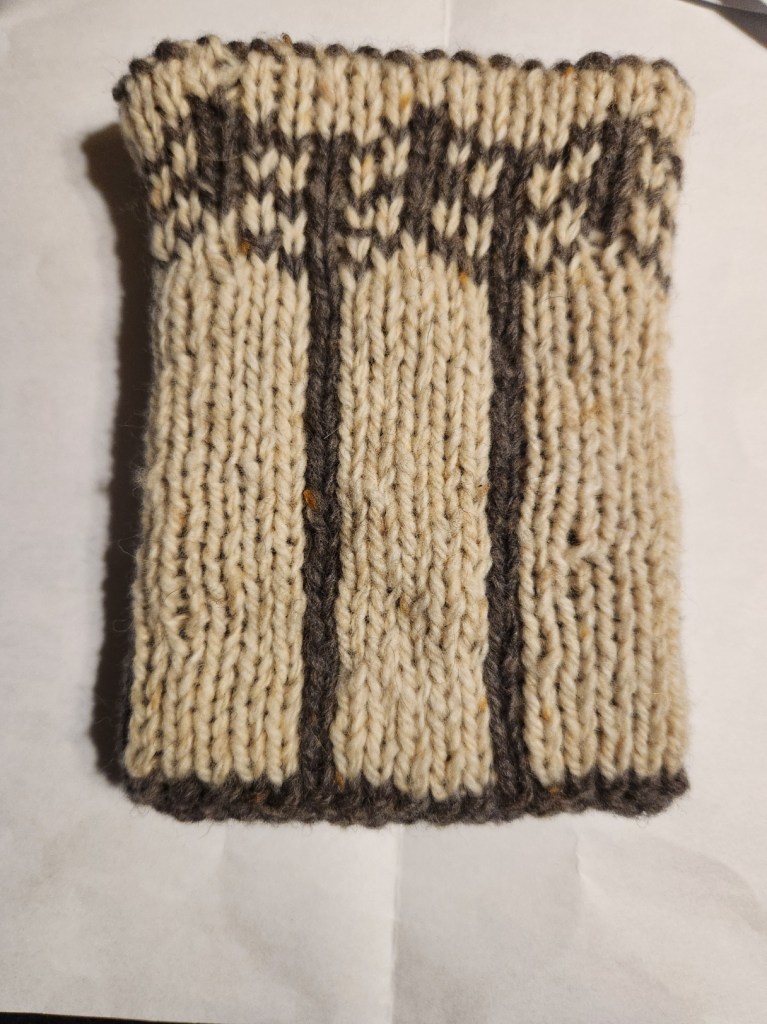
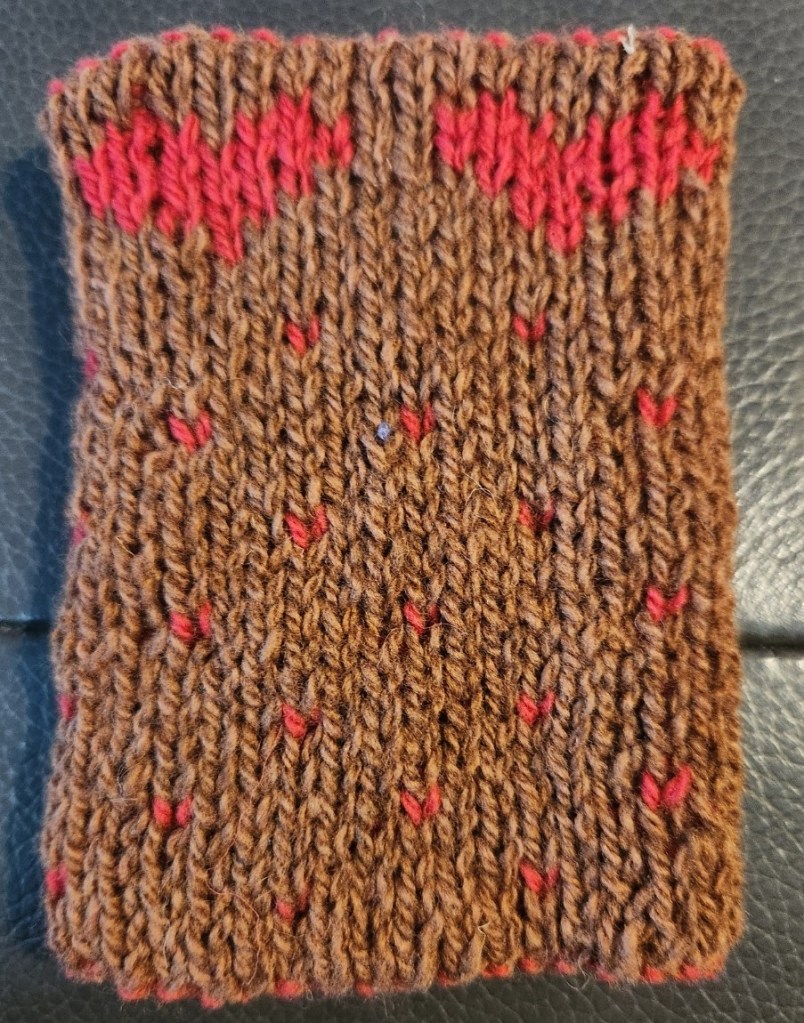
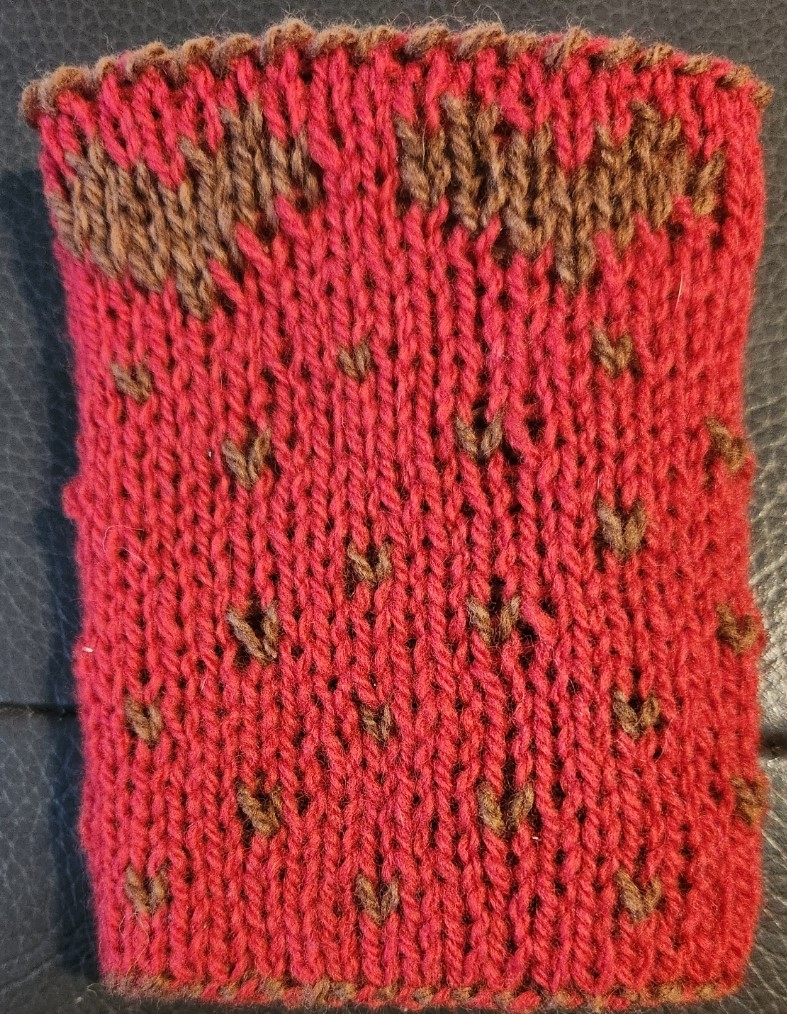
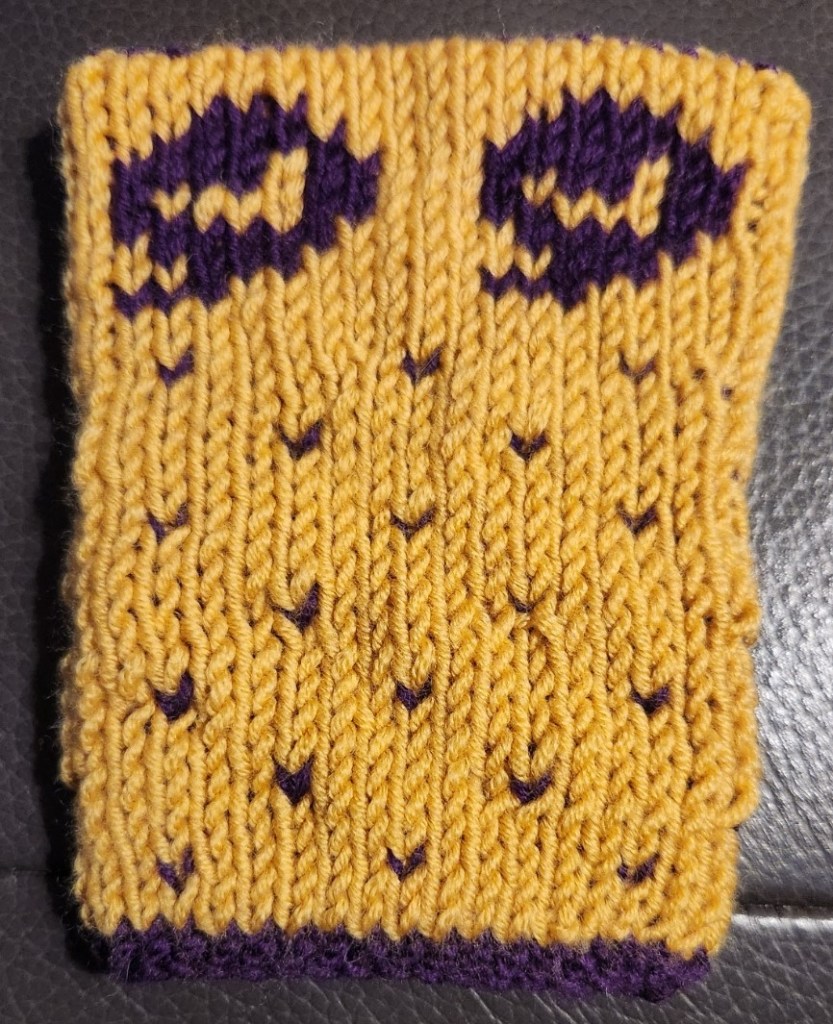
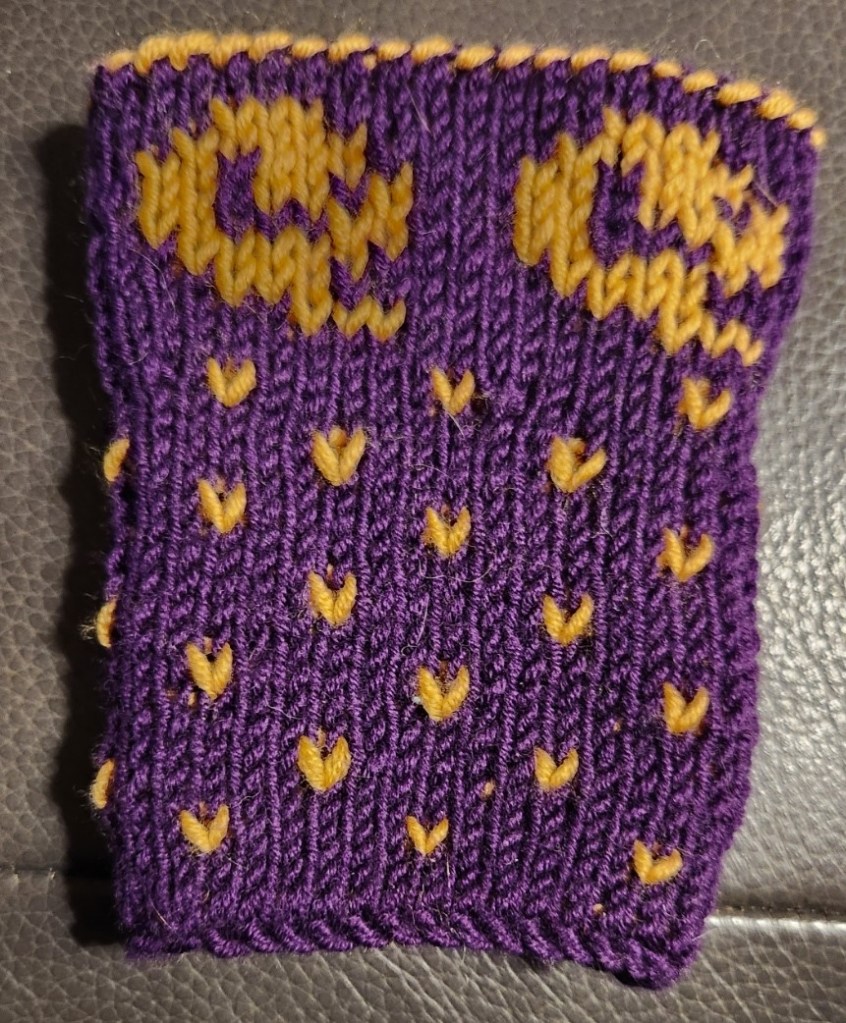
I hope that your knitting adventures have been moving along with lots of colour and texture to keep your mind occupied and your hands busy!
Happy Knitting
Lynette
-
New and Noteworthy
I have been busy!
I am currently working on a few patterns for Gathering Yarns –
- Cats in the Cradle – baby blanket or shawl with coordinating beanies.
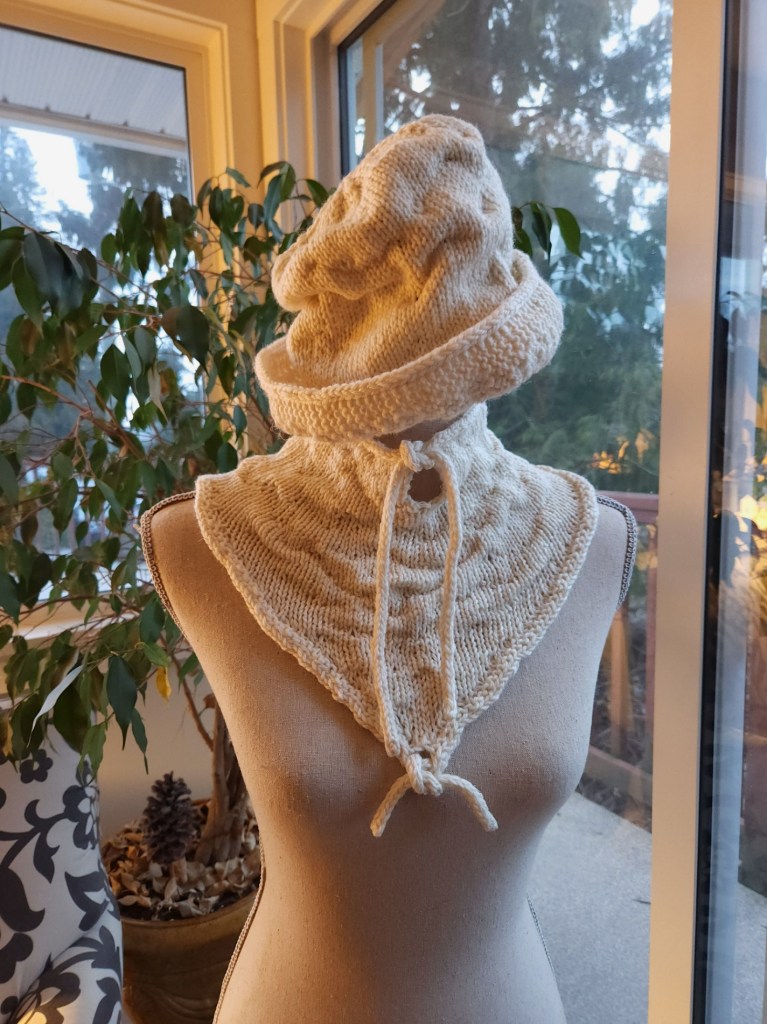
- Funky Brimmed Hat with Bad-dana Cowl – Hat modelled by Glorious Gertrude
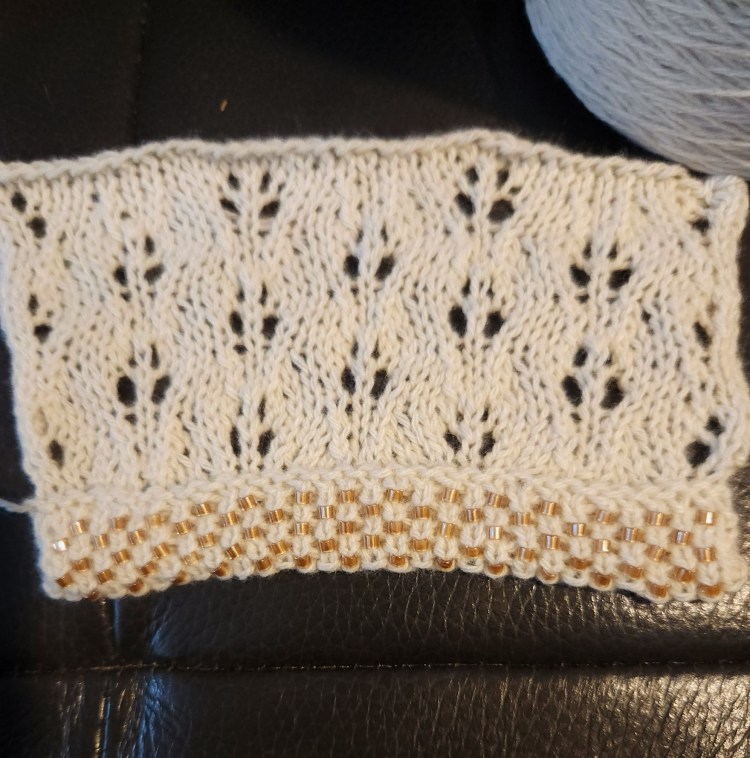
- Caahh…shmere with beads swatch – lusious lace tank in the future.
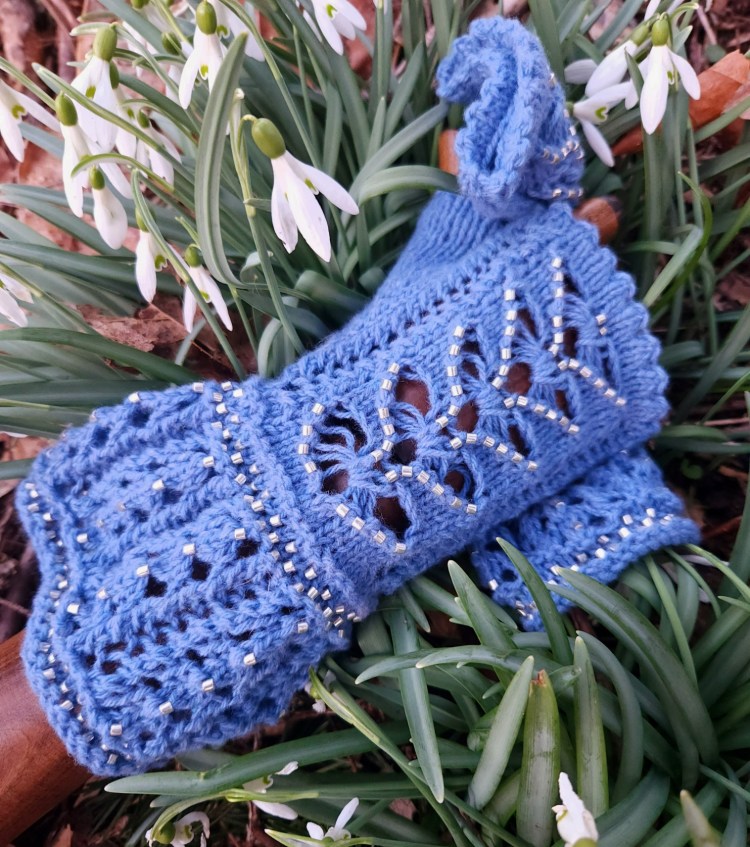
- Cashmere beaded Fingerless Mitts – The Bee’s Knees!
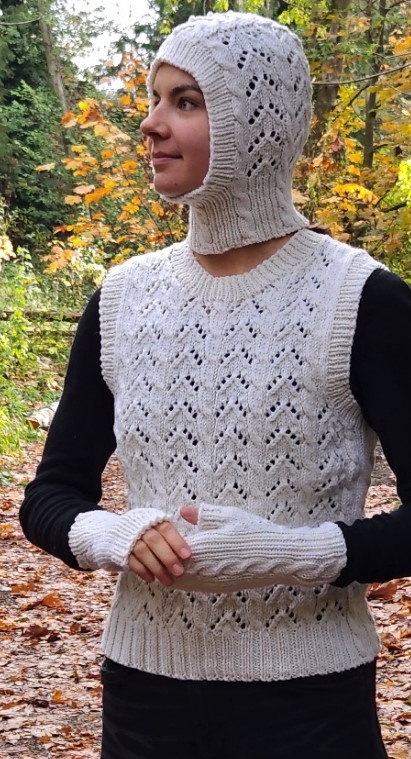
- Cable Cool Balaklava and Mitts
- Cable Cool vest.
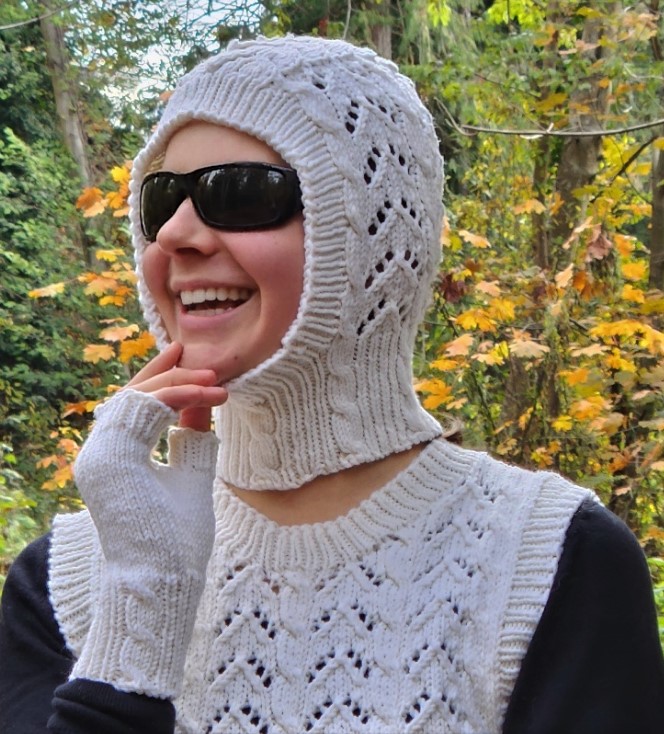
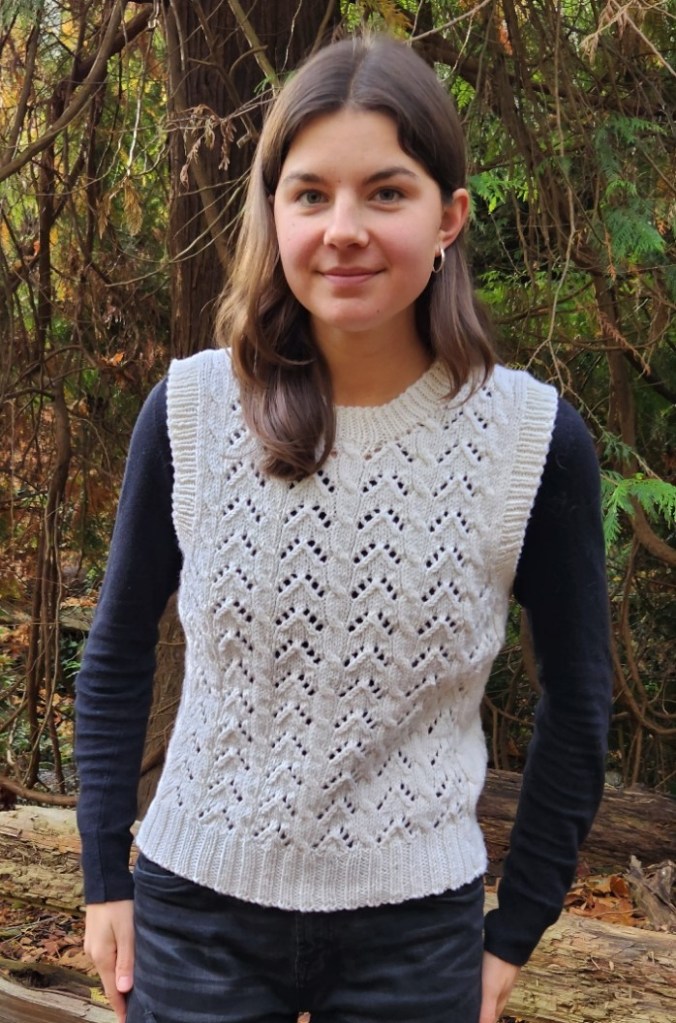
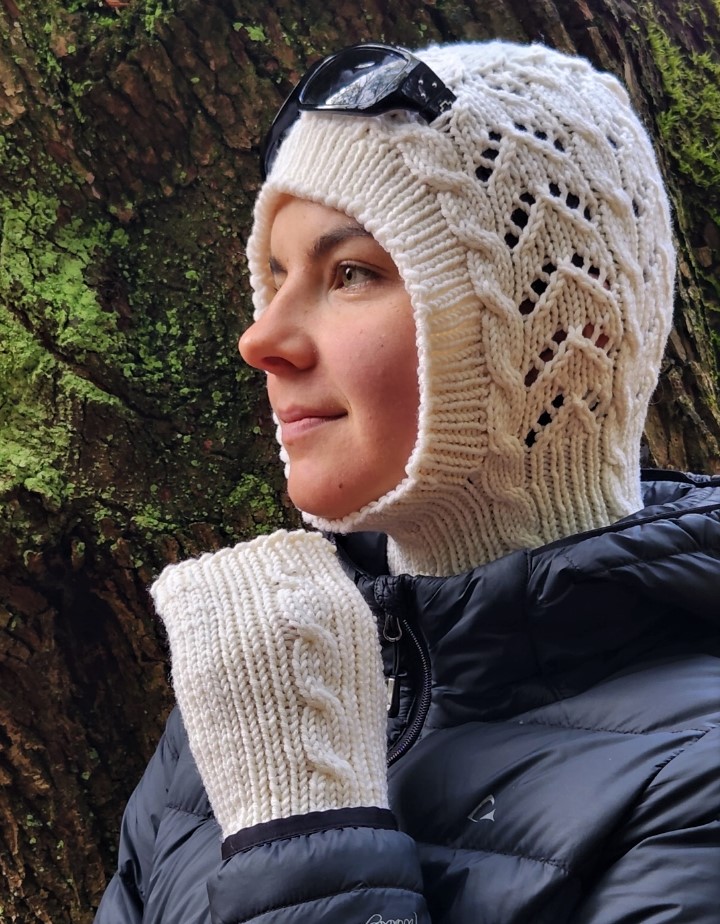
For fun times in the future – beautiful handmade glass buttons.
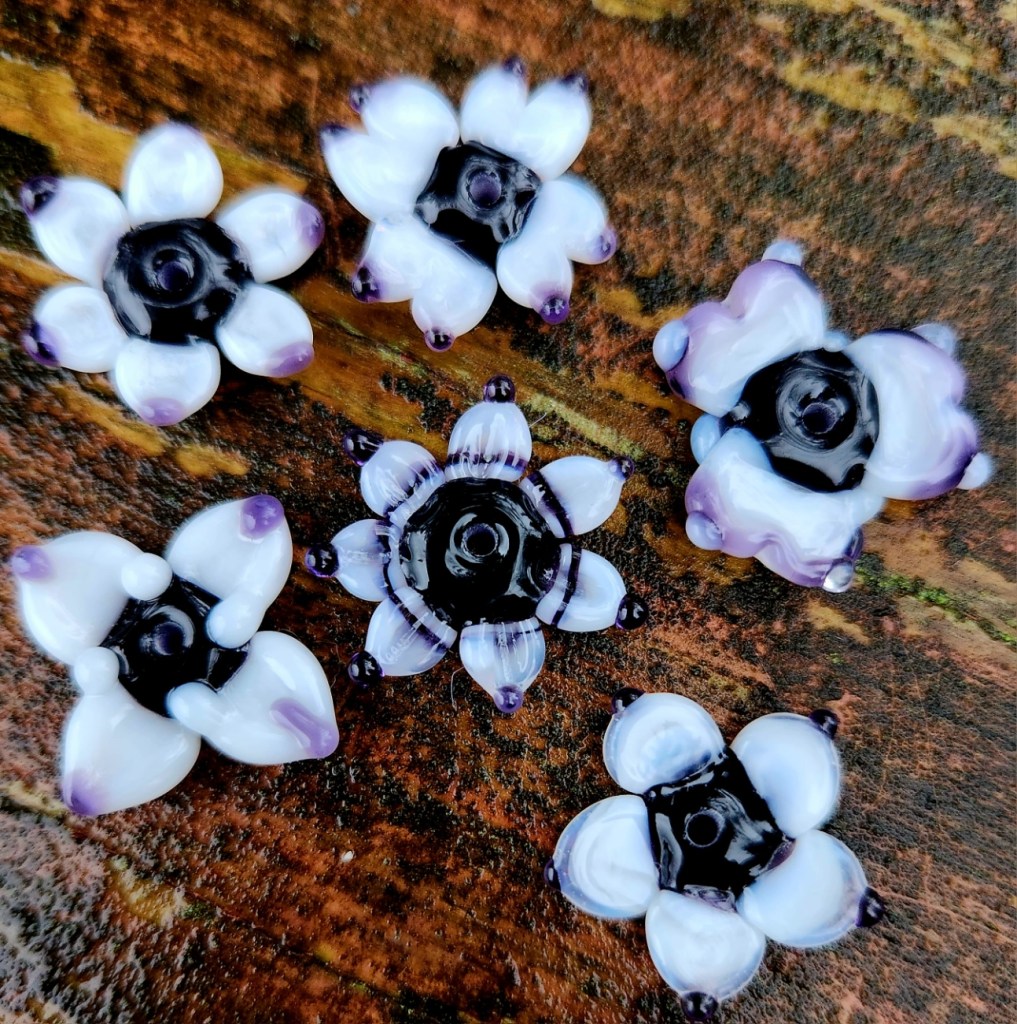
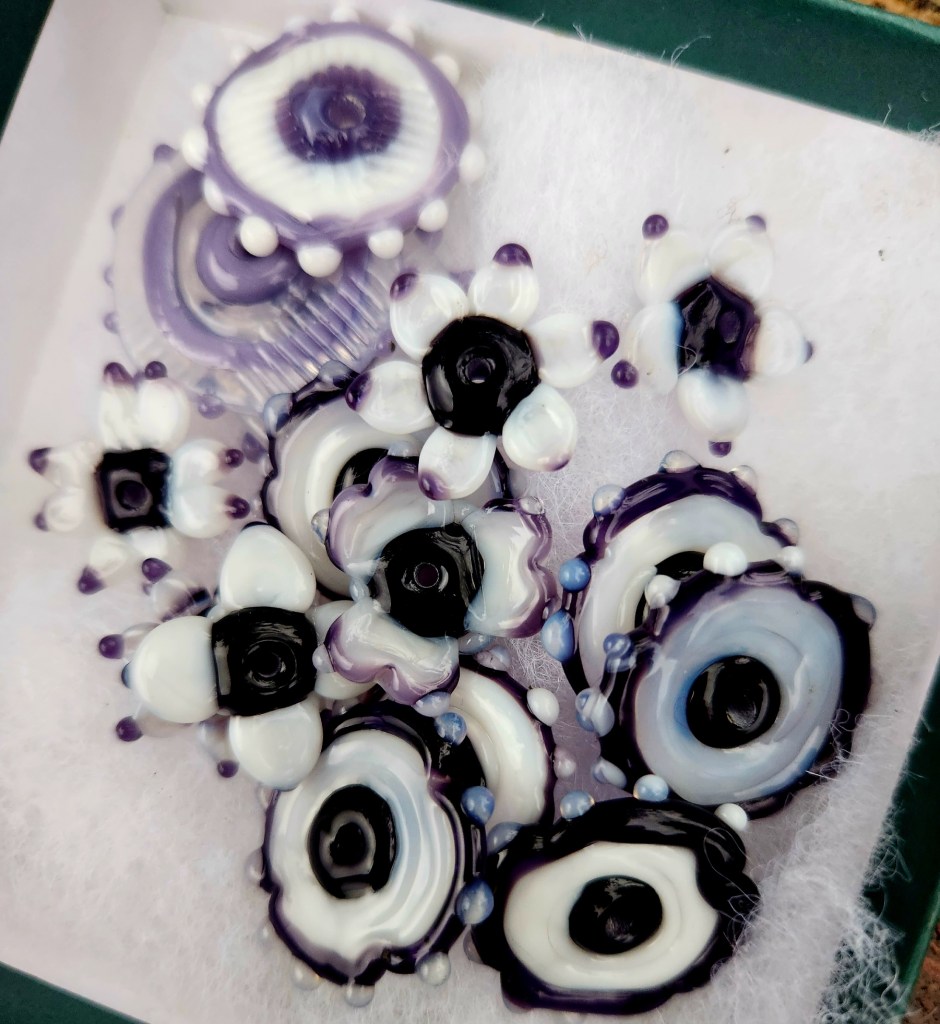
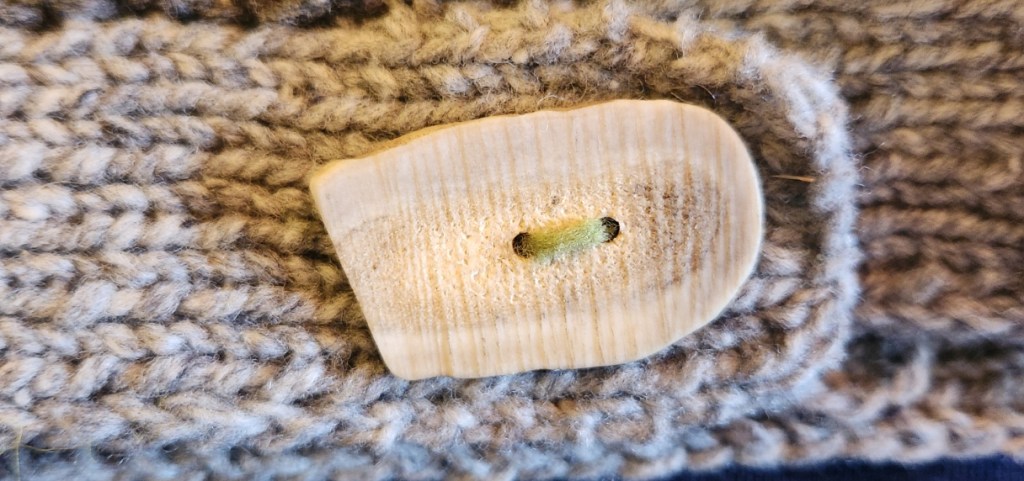
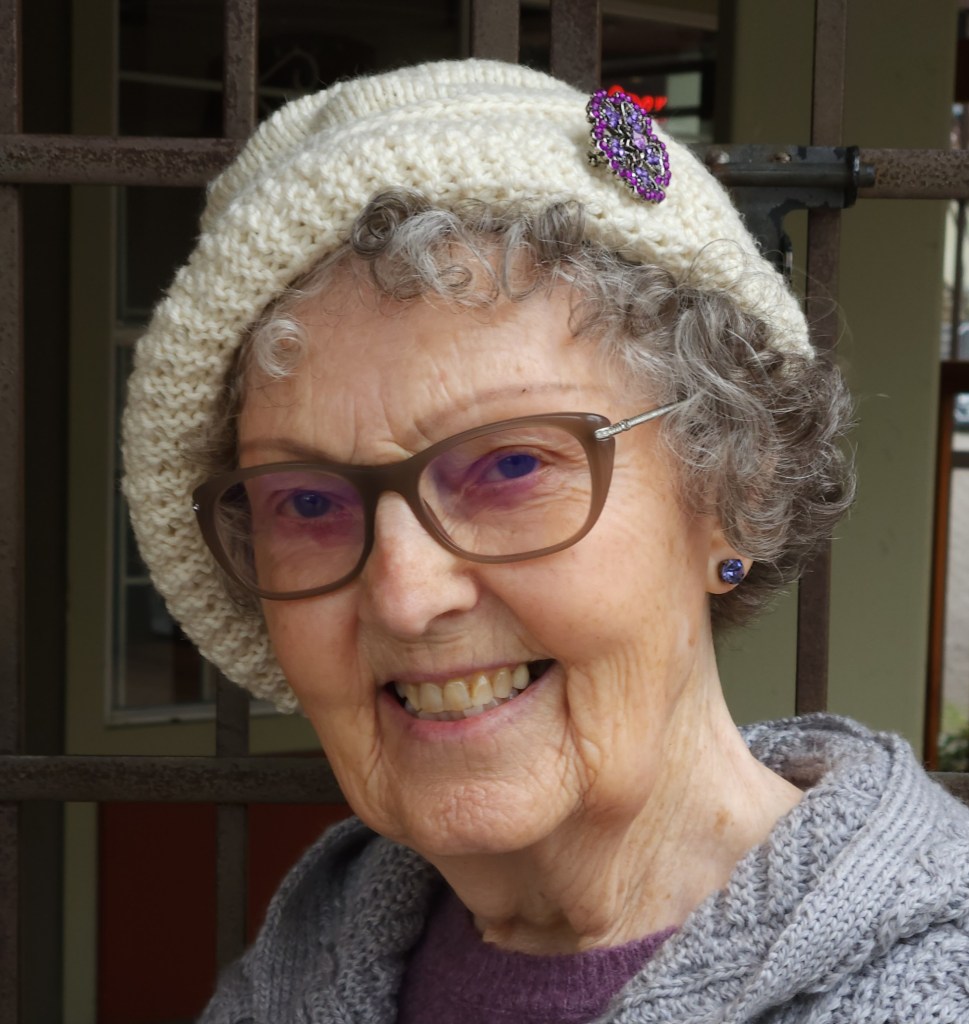
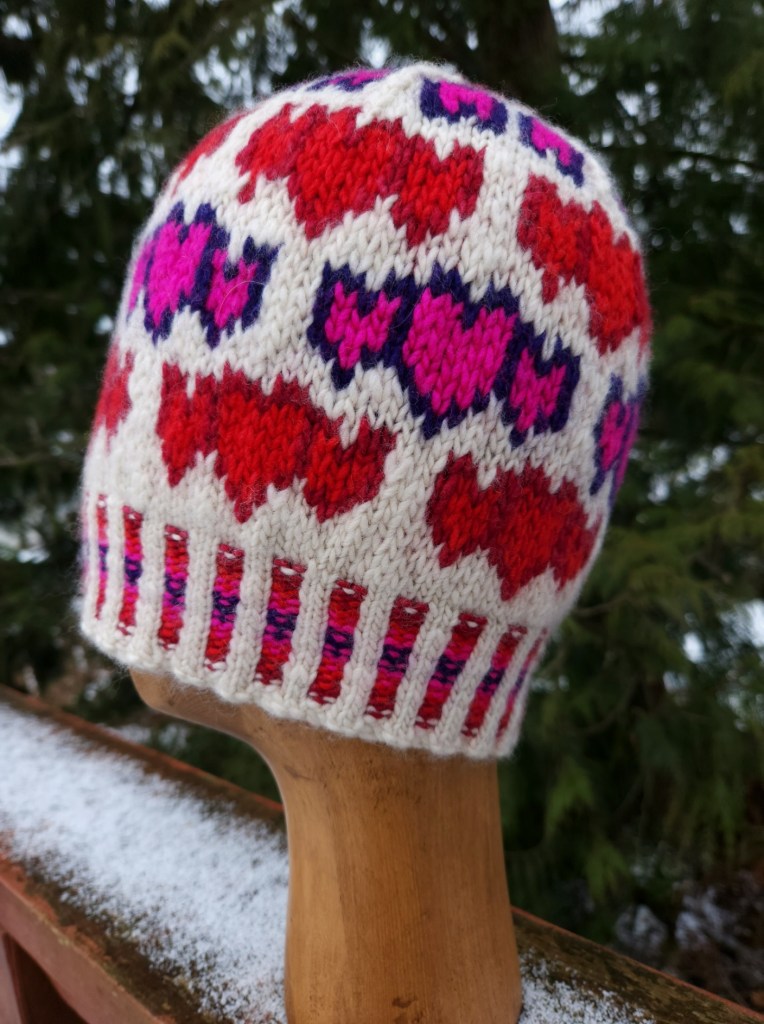
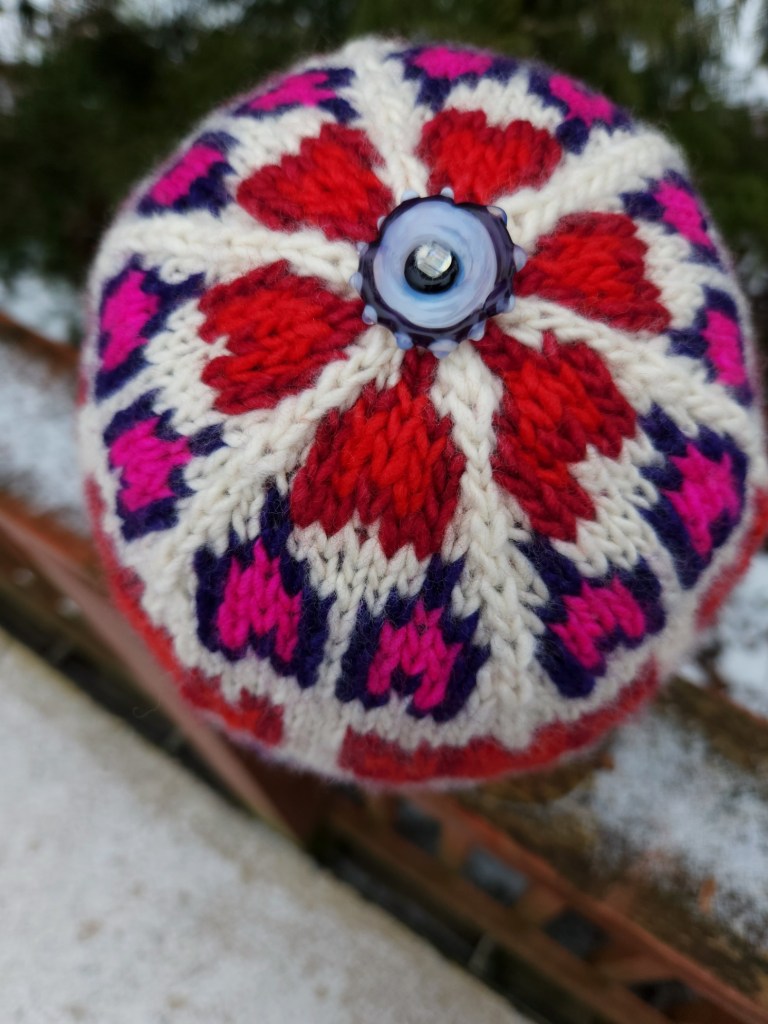
Ada made the beautiful buttons – Ada Babys Beads on Facebook – and I made her this hat with her favourite hearts! I finished the hat with one of her buttons.
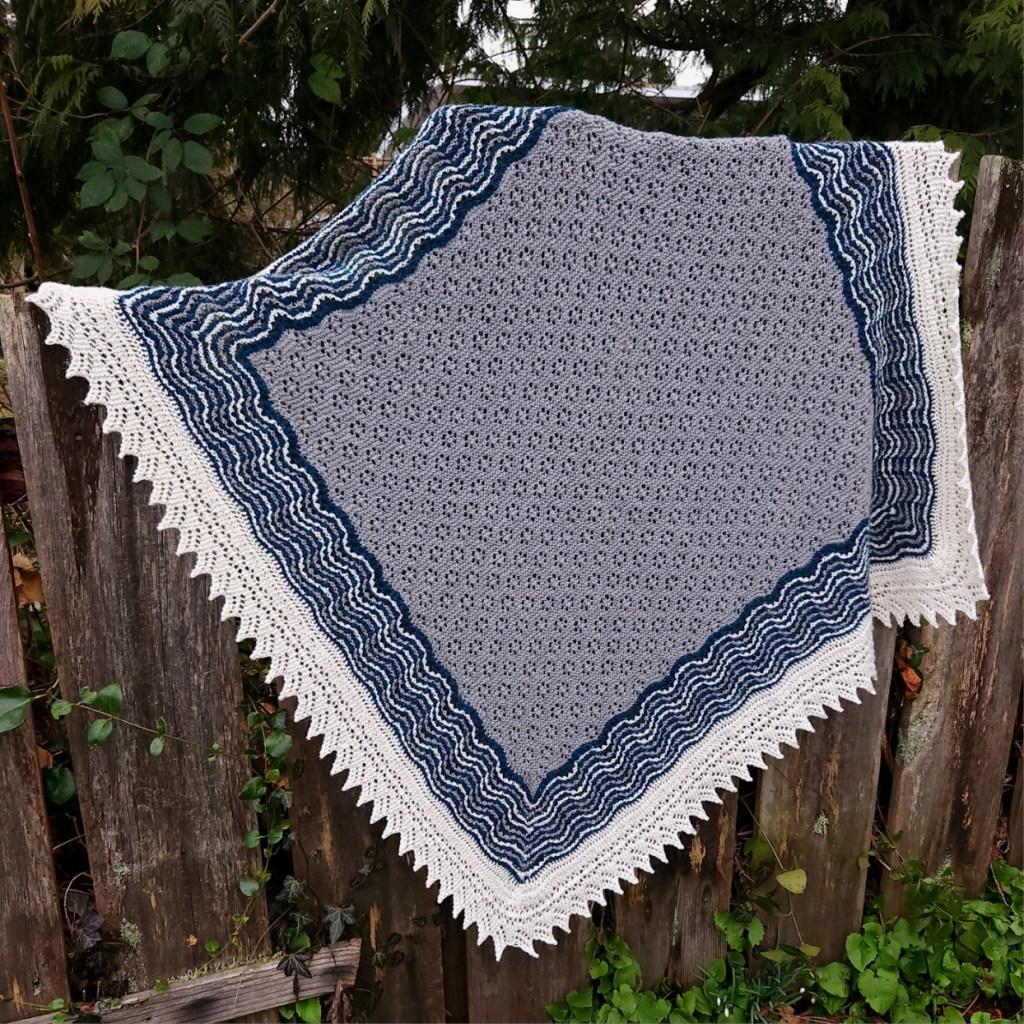
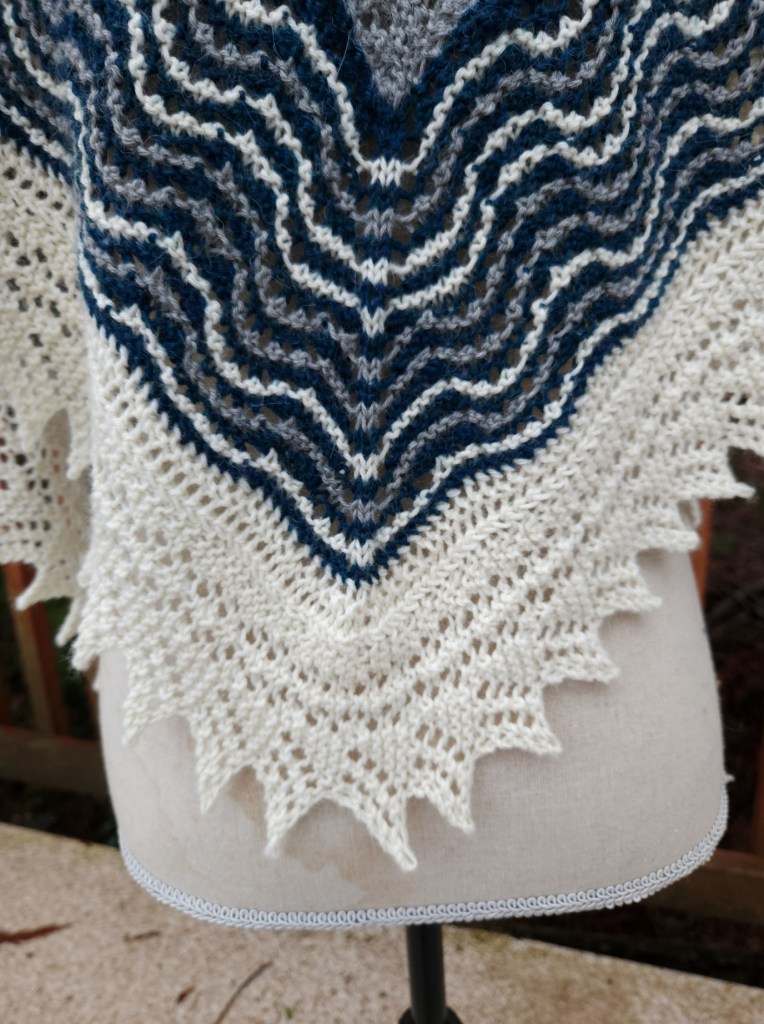
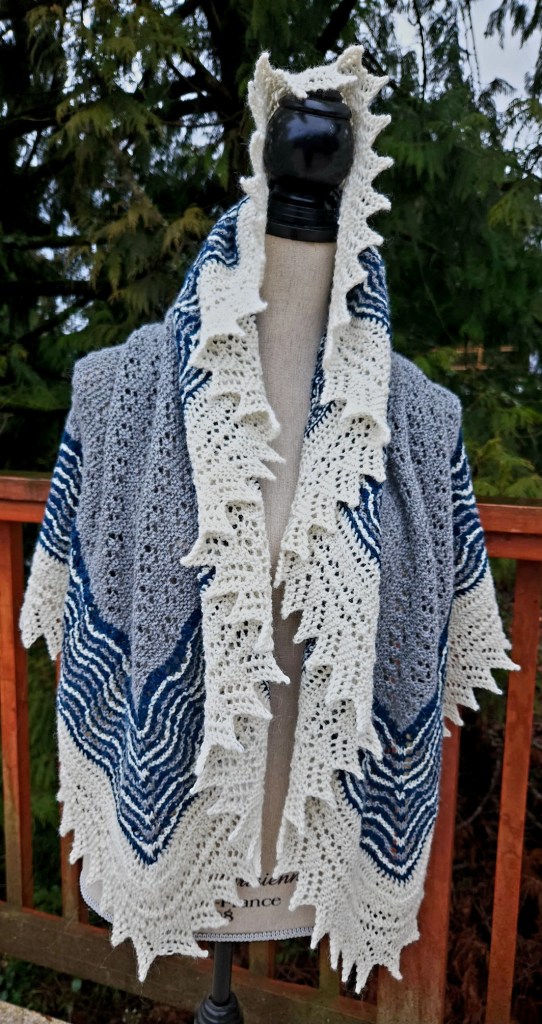
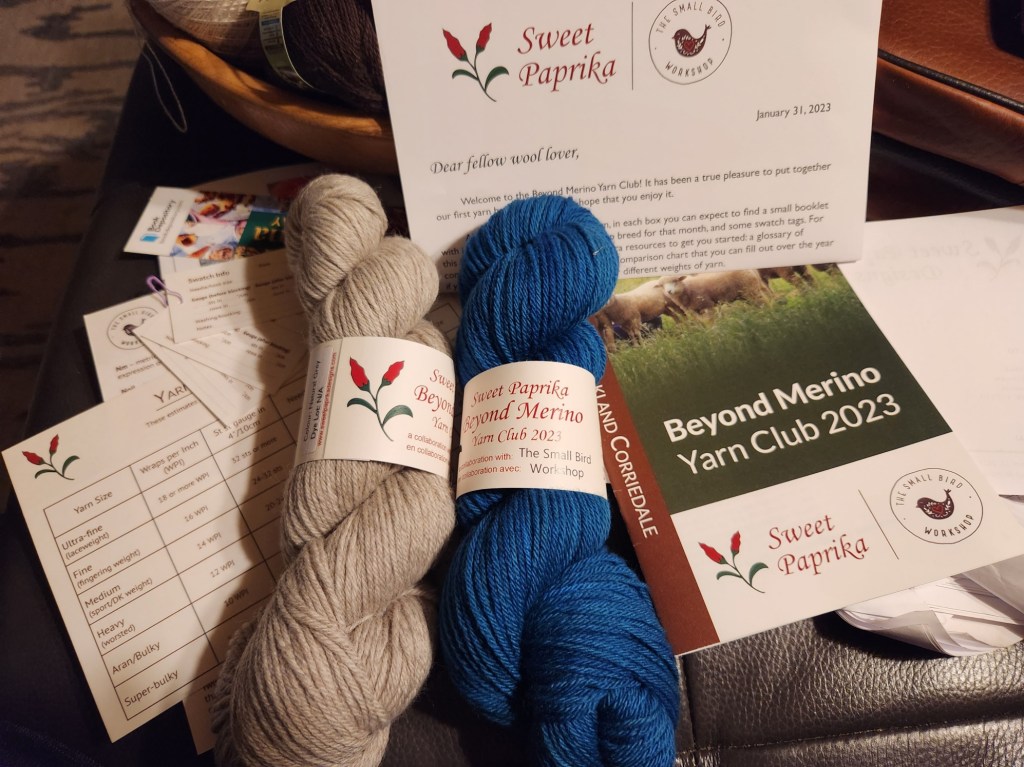
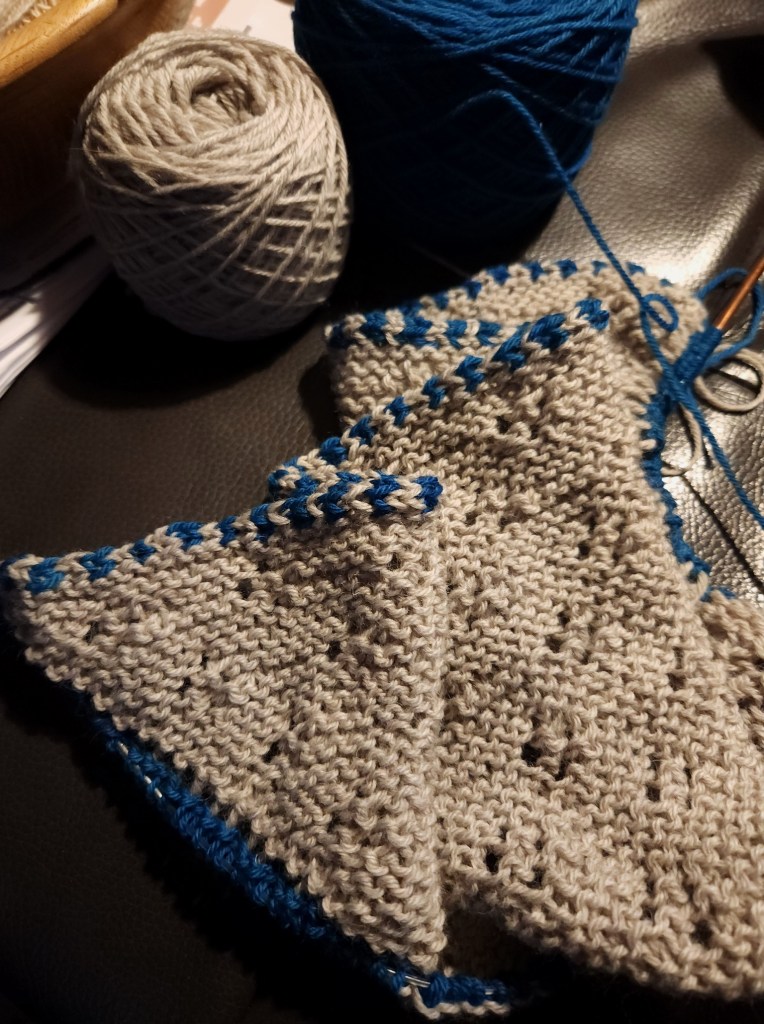
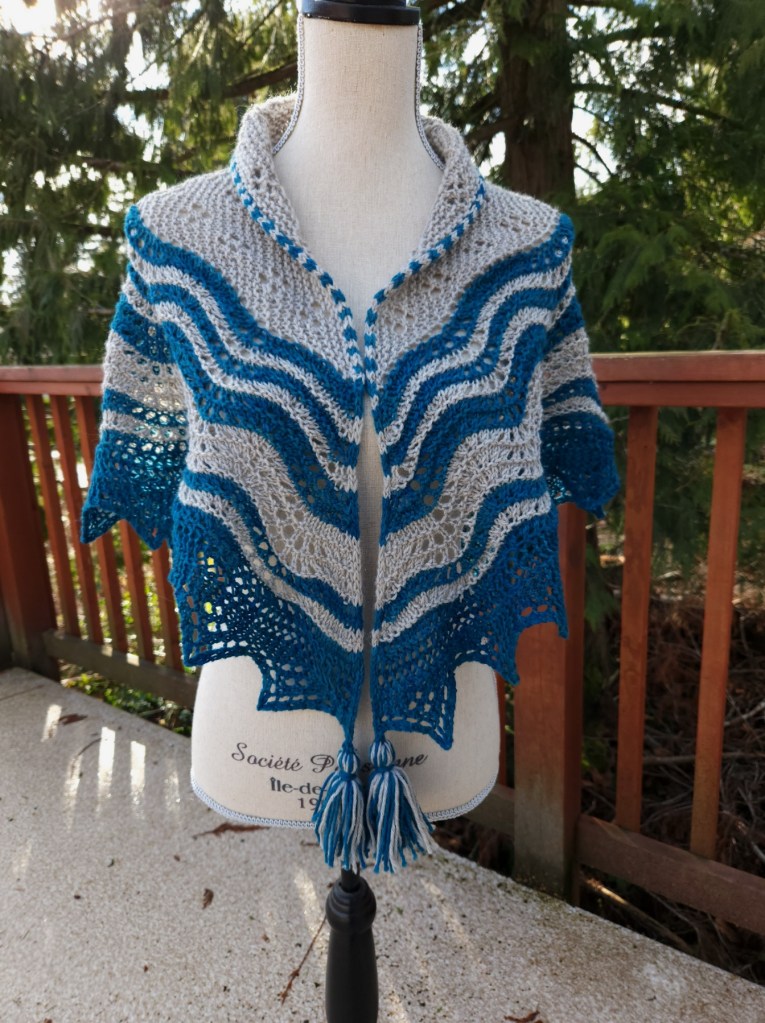
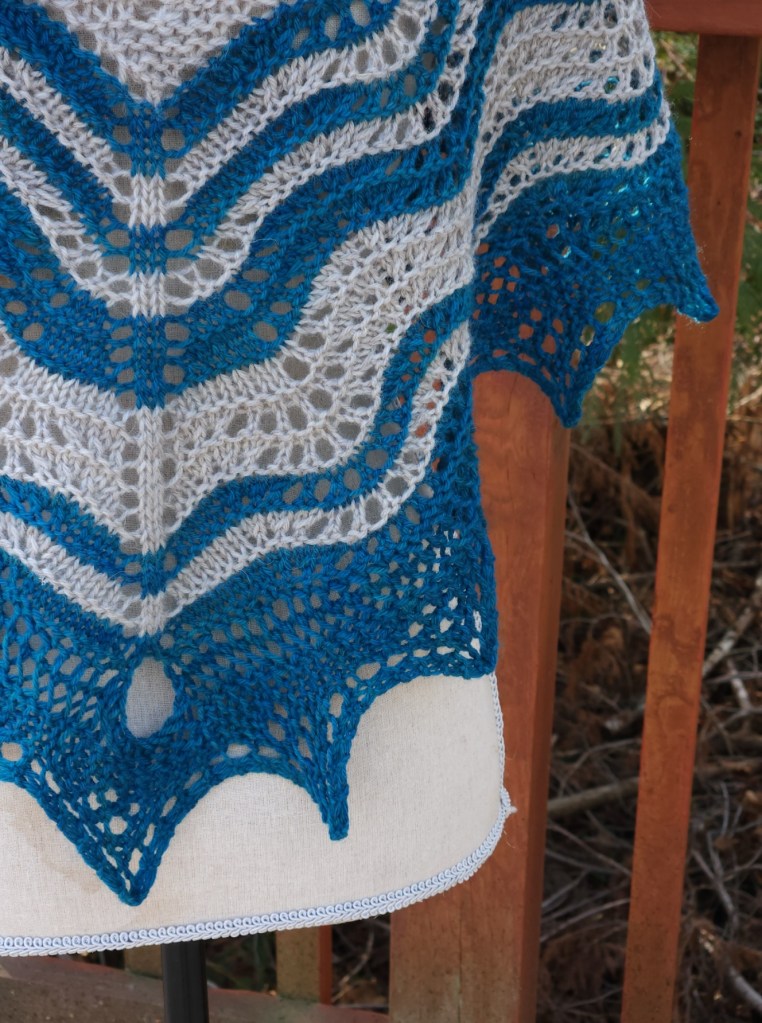
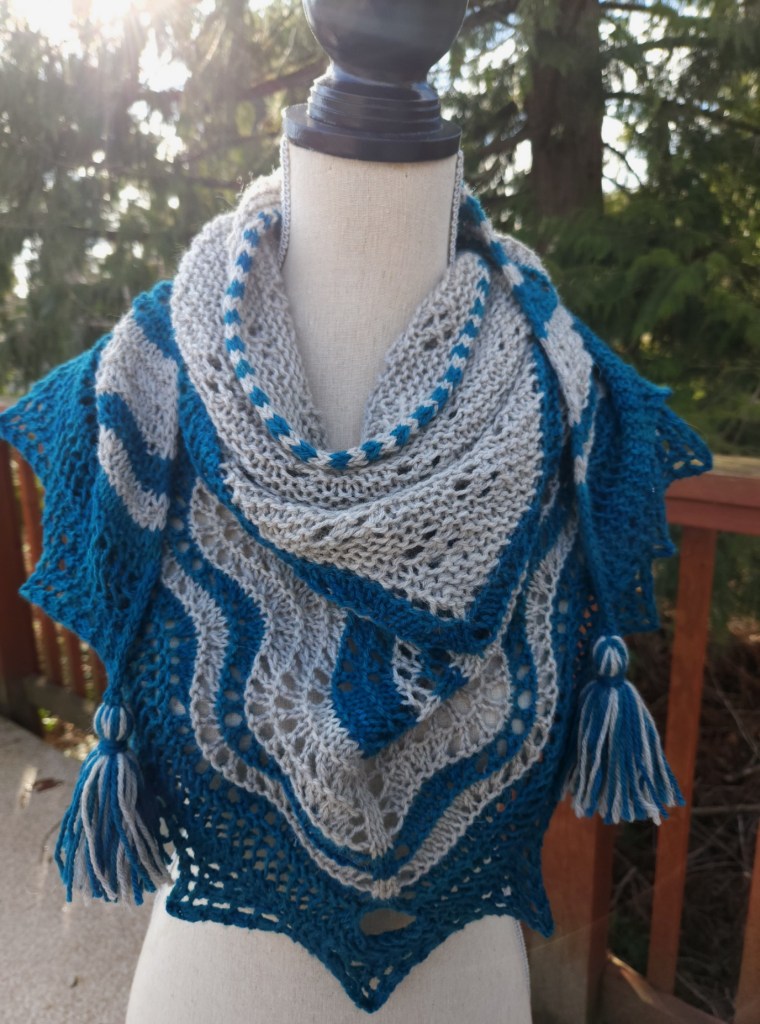
Well, I got the first box from the Beyond Merino Club (hosted by The Small Bird Workshop and Sweet Paprika. It contained 2 hanks of gorgeous, soft Corriedale sheeps wool from the Falkland Islands, one a natural grey and the other a beautiful deep Lagoon blue. Sweet Paprika did the dyeing. I made a half hap shawl. I finished it with I-cord edging and a couple of big, fat tassels. It will be part of the Happiness Hap pattern – coming soon!
We are planning the next session of classes for Mad About Ewe Fine Yarns. I am planning to teach Mosaic Knitting. The first sample is done – a funky little Cloche – finished with a little tassel. I do love tassels. It is knit with Fleece Artist BFL DK and some Drops Kid-Silk.
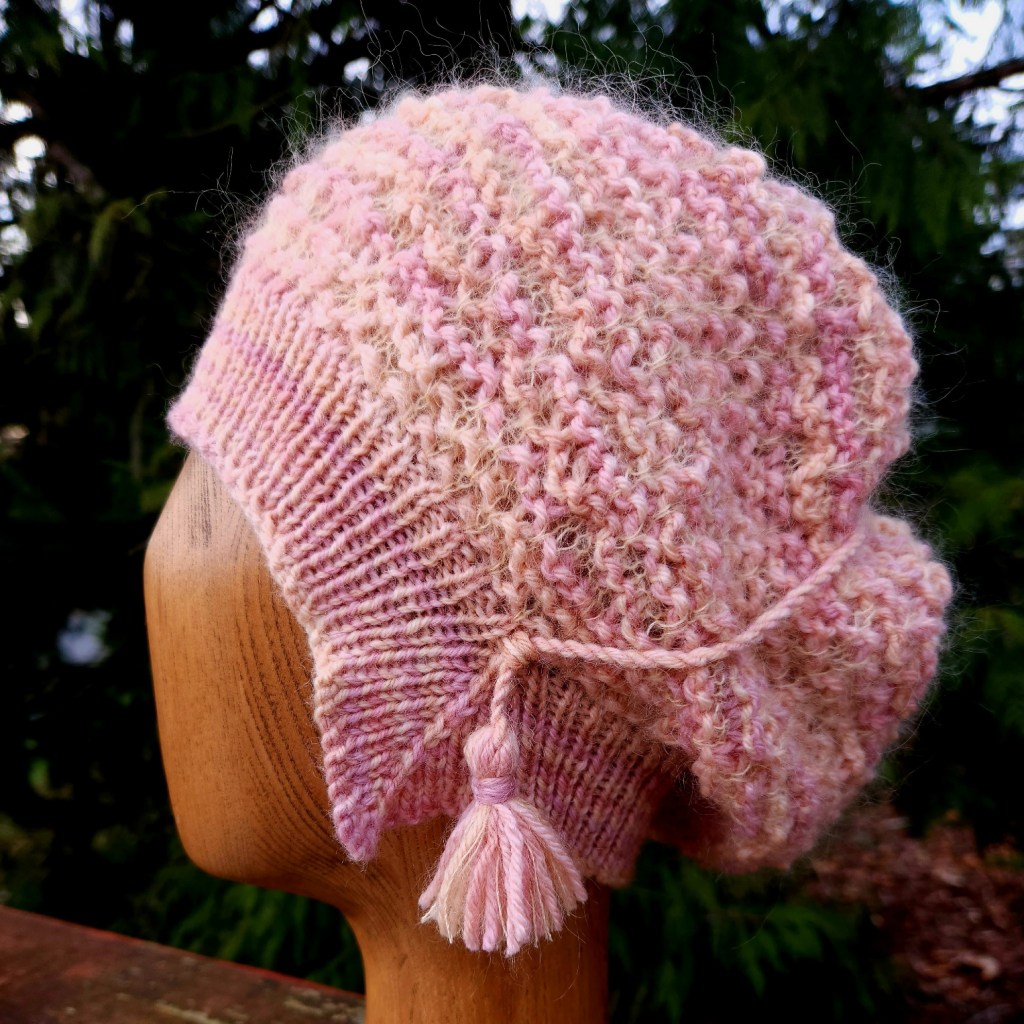
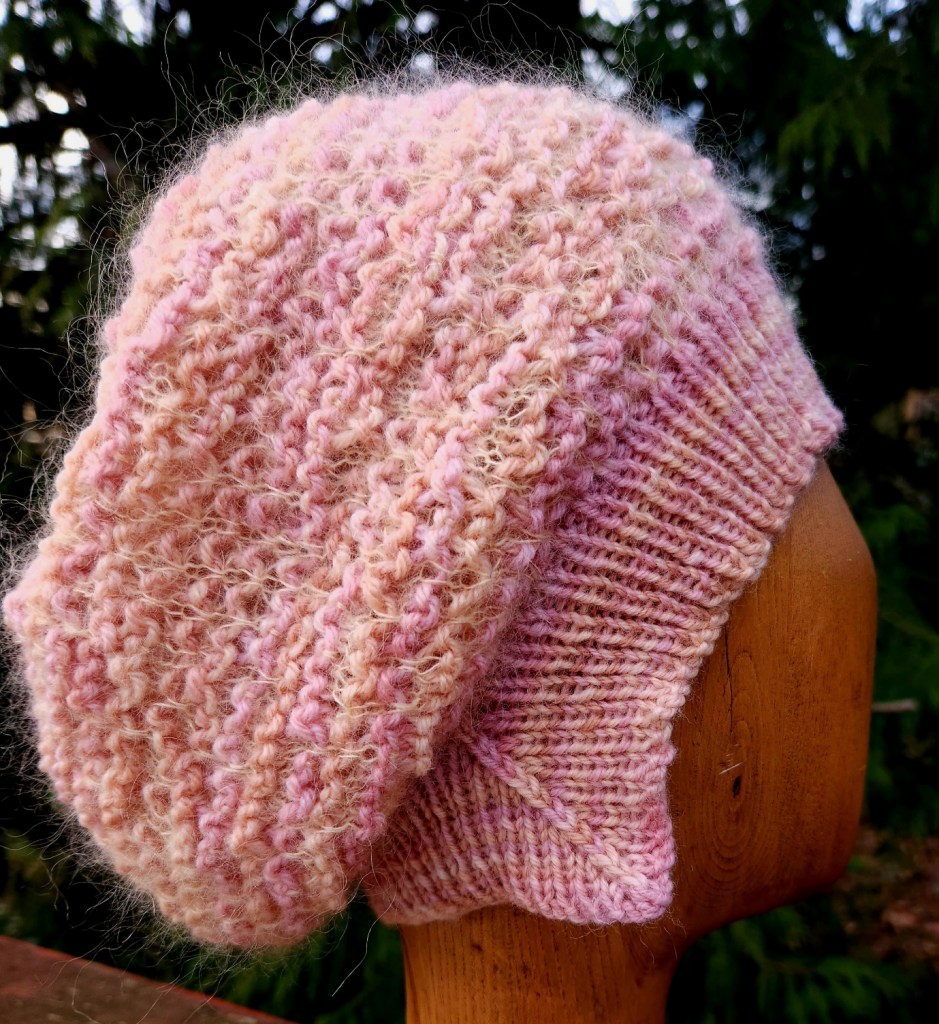
For myself – I am working on a sweater. I just started it last night. And like most sweaters for myself it will most likely get stalled along the way! You never know! I might surprise myself! LOL!
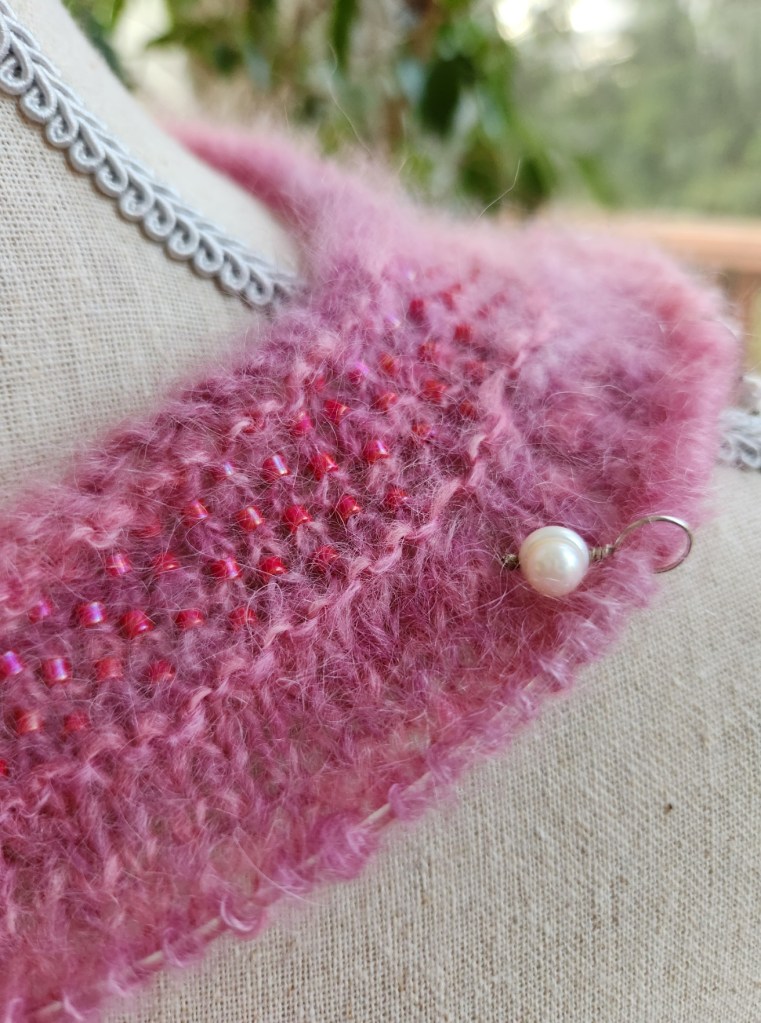
It is pretty. Some soft mohair from Fleece Artist and a just a few little beads for show!
Be well and knit Happy!
I am trying to stay mellow and keep with the flow that comes with knitting. I hope that works for you too!
Lynette
-
Thumbs UP!
I have been knitting a lot of full mittens lately (as opposed to the fingerless variety). They seem to be my gift of choice is this year. They are fun and quick and are great vehicles for learning new techniques – they are sort of like hats that way.
Adding the thumb is the only really fiddley bit. The most popular thumb is the fully shaped gusset with thumb. They are the classic thumb for mittens, but my favourite thumb is the afterthought thumb.
Why the afterthought thumb? Well, it is especially great with patterned mittens, colourwork, texture or cable techniques. Why is it better? I am so happy you asked! LOL! The best and strongest reason is that an afterthought thumb (or afterthought heel) will not interrupt your patterning. Or does not require a special pattern separate from the rest of the mitten – though it can be a great vehicle for more patterning. Afterthought thumbs are usually added after the mitten body is finished and then worked in the main colour yarn in stockinette – making them an easy finish.
How about a step-by-step tutorial?
Technique 1
I love this one for almost everything! But especially textural patterns in any weight. See Boldly Tweed Set.
- first work in pattern to the thumb insertion point; drop the working yarn and pick-up a length of waste yarn and work the desired number of stitches for the thumb as per the pattern size
- slip the waste yarn sts from the RH needle back to the LH needle; now resume working the pattern – knitting over the waste yarn insertion – with the mitten yarn and ignore the waste yarn until the mitten body is complete.
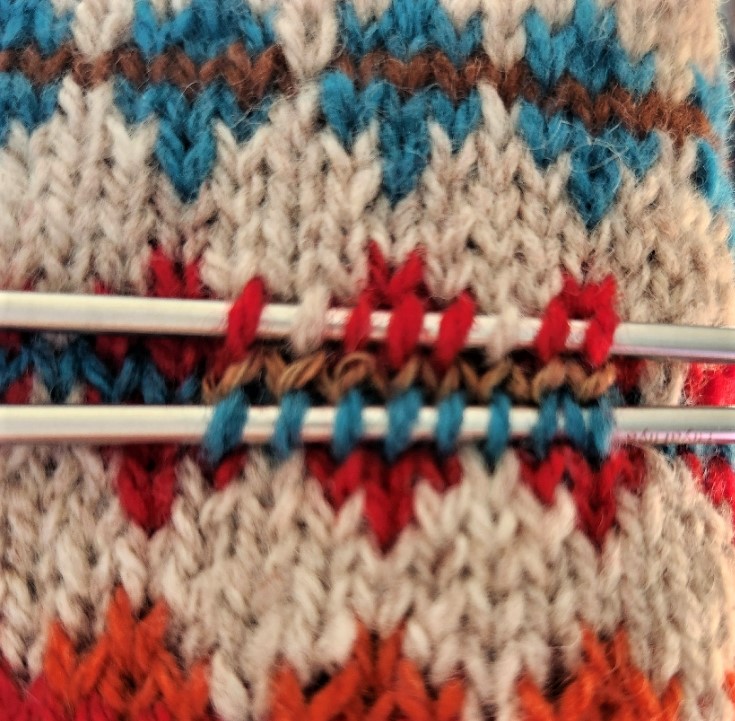
Using a smaller needle size pick-up 1/2 of the stitch above and below the waste yarn insertion. 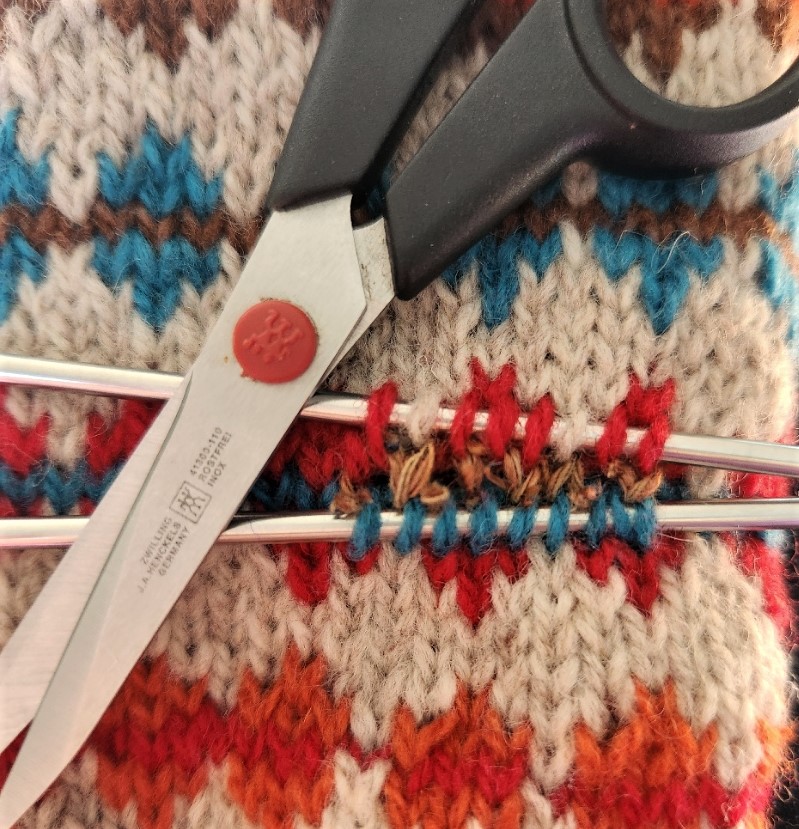
Carefully clip the waste yarn stitches and remove the waste yarn 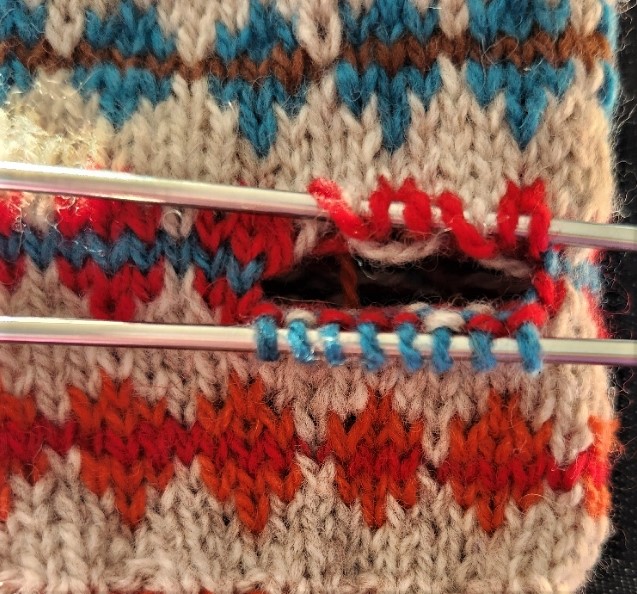
Stitches are sitting free on the needles – they can look a little messy until knitted. 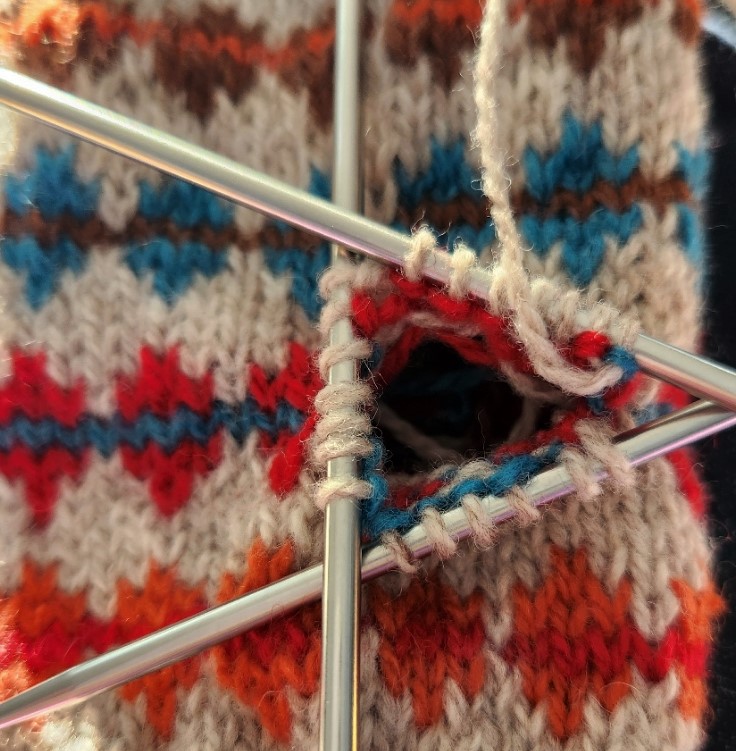
Knit the first round as follows (dividing the sts onto the dpn’s; working with the correct size dpn’s and starting at either corner pick-up and-knit 1 stitch, knit across the needle to the next divide, pick-up and knit 2 sts across the divide, knit the sts across the next needle, pick-up and knit 1 st – end of round – round count is double the sts of the waste yarn plus 4 – in the sample above
8 sts + 8 sts = 16 sts + 4 sts = 20 sts.Work next round of thumb as follows; K2tog, knit to 1 st before next divide, SSK, K2tog, knit to 1 st before next divide, SSK – thumb is now ready to complete as pattern requires.
Technique 2
I use this one mostly with heavier yarns. I find it easier to work than the other method.
- Knit to thumb insertion point, place required sts onto some waste yarn (cable needle in picture – it was handy and the mittens were fast LOL!.
- Backwards loop same amount of sts as are on the waste yarn, continue knitting the mitten.
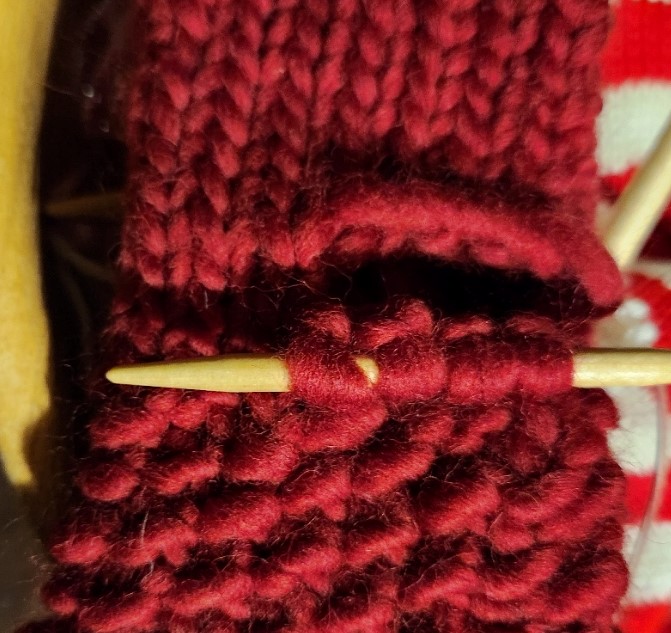
Mitten is knit and the sts ready to be picked up. 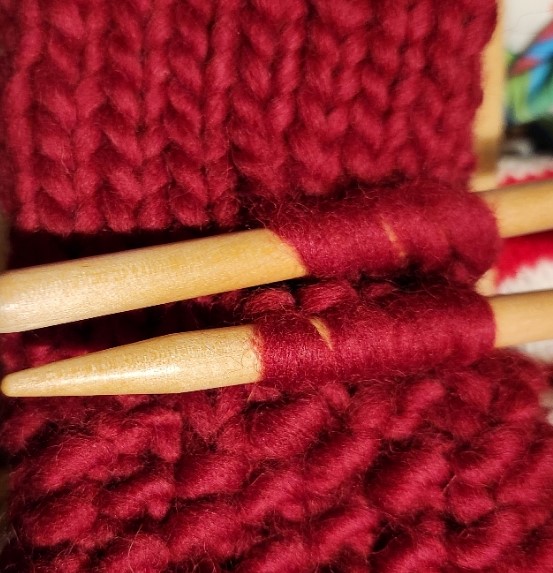
Stitches are picked up and waiting to be knit. Work the 1 st and 2nd round as above. 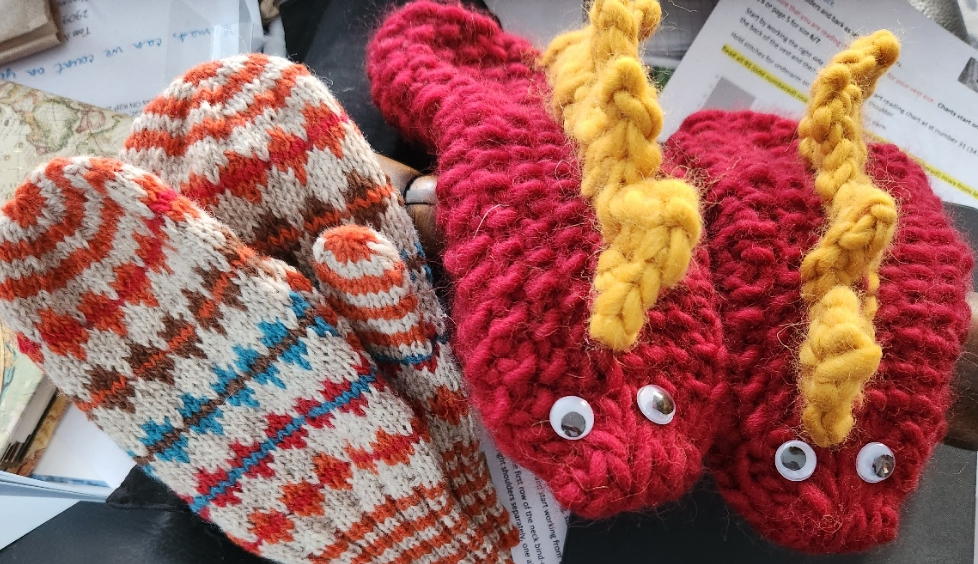
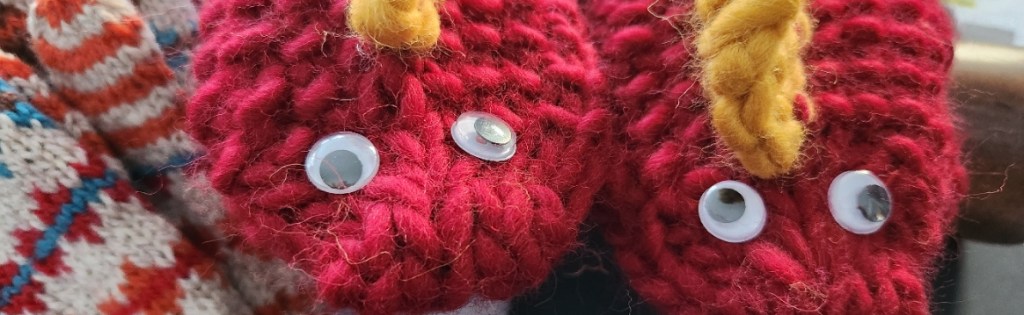
My Grandson’s Christmas Mittens – Jester Mittens and the Monster Mittens There will probably be patterns for these mittens – just not sure when!
Happy Mitten Knitting, Be Well!
Lynette
-
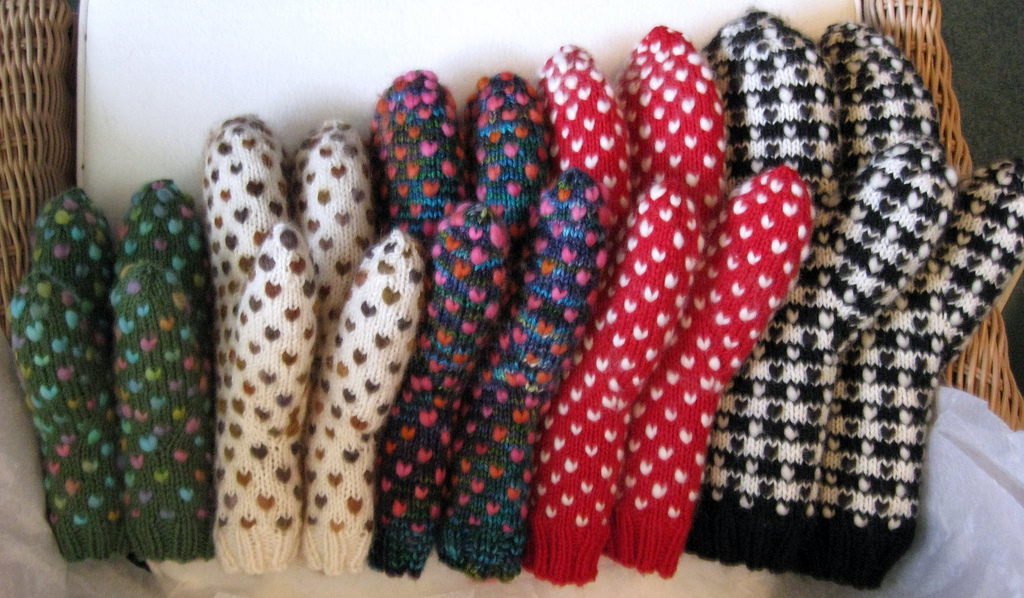
Mitten, Mitten who’s got the Mitten!?
My grandson’s favourite knitted items are mittens and hats. He has a large collection of hats as his head doesn’t grow anywhere near as fast as the rest of him! He has a large head size for a seven year old – bigger than his mothers!
So, I have started to knit him mittens, a new pair or two every year. They are fun projects and can be quick as well! I seem to have problem with mittens though – I always start out smaller than they should. This year, just like last year, I have made the first mitten too small. I should have checked my own pattern for the average lengths of the spacing!
These pattern in these mittens is from my Reindeer Vest pattern. I made him the vest and his bear a matching vest a few years ago. I have always like the colourful diamond motif! If I have enough time – I might make him some dragon mittens! You see I have this idea….
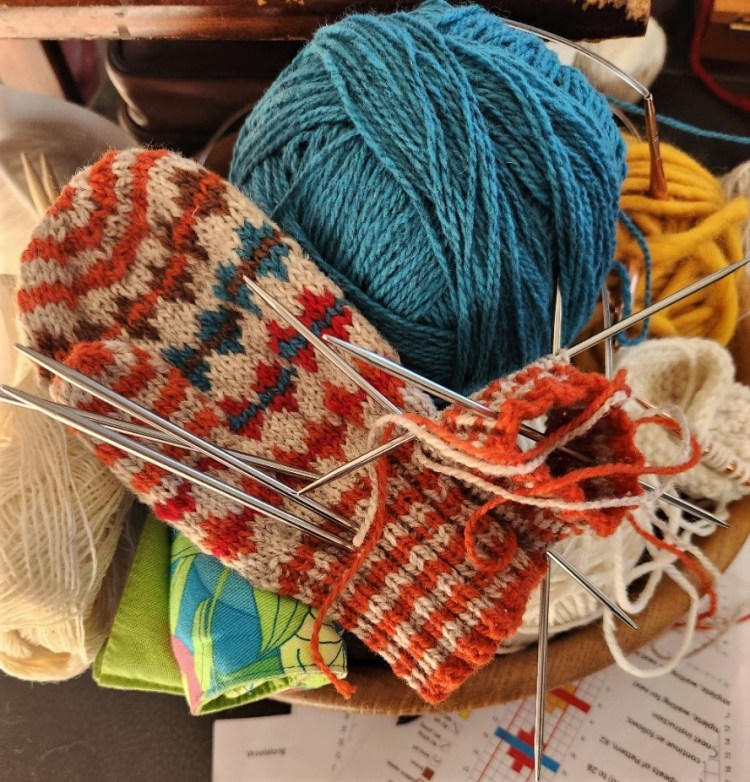
The First mitten is of course too small – so on to the next one! Yarn is Patagonia Organic Merino. I have been designing mittens for a few years and have several patterns out there! My first mitten pattern was for Thrummed Mittens – East Coast Mittens. And from that start came heavy weights like Mitten Love Again or Standing Tall and Multitude of Mittens as well as North Sea Mittens, Eileens Mittens (these ones are lined for extra warmth), Makin’ Mittens, Birds Nest Brioche Cowl and Mittens and my latest mitten pattern – Boldly Tweed, plus countless other gloves and fingerless mittens – keeping hands warm is so much fun!
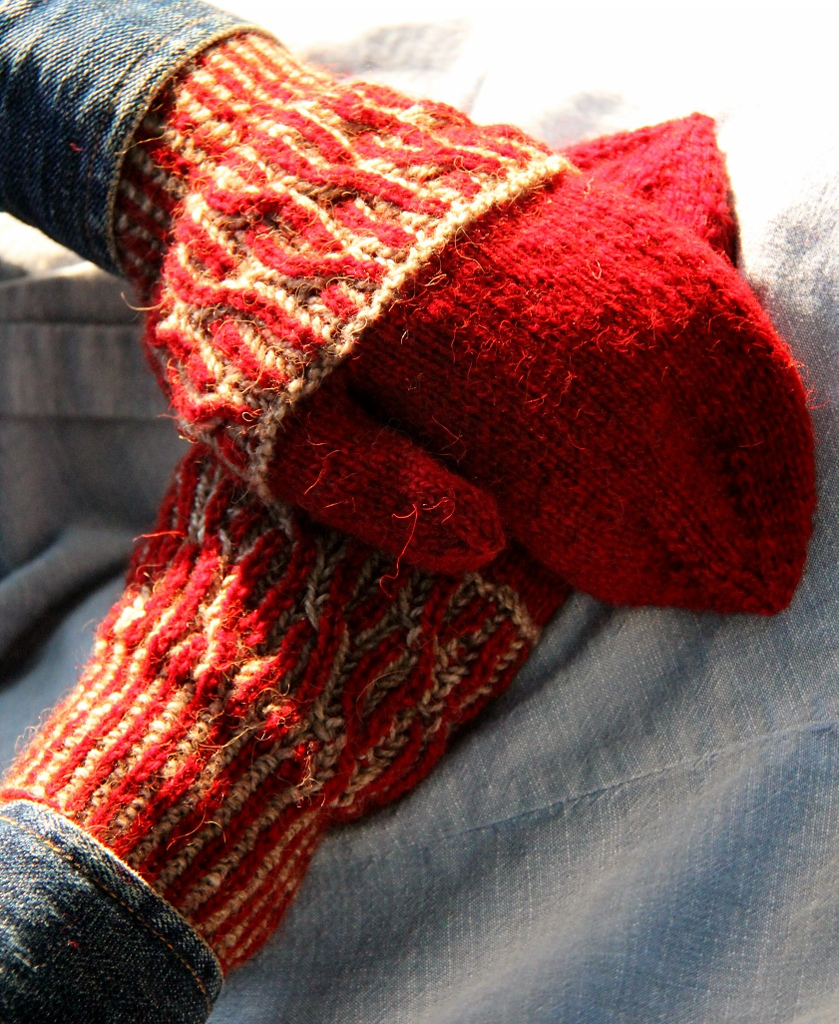
Birds Nest Mittens East Coast Mittens 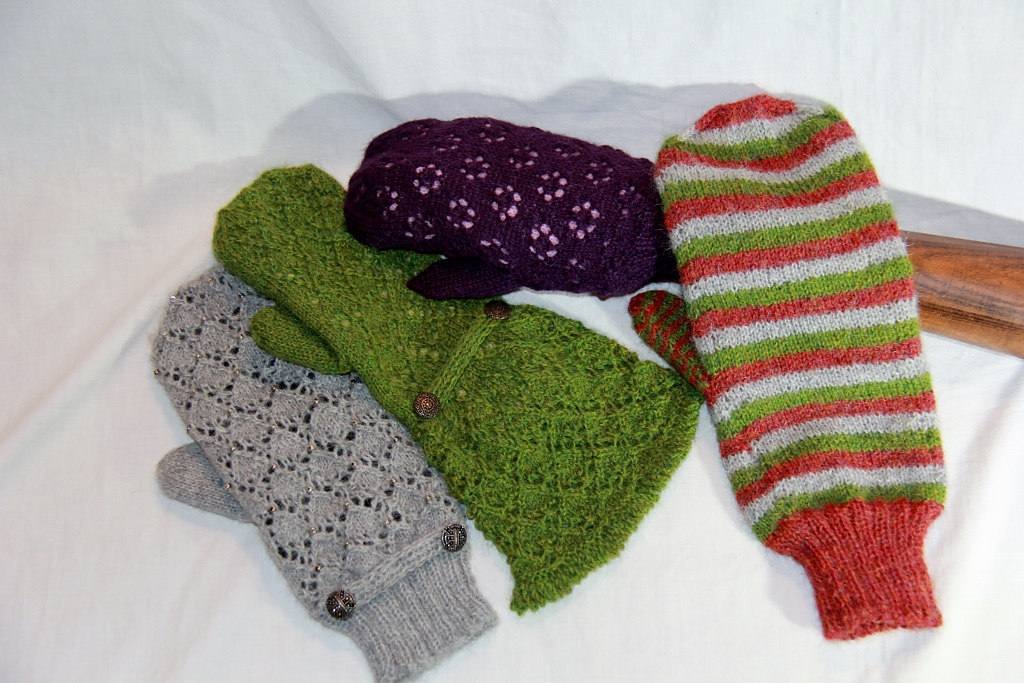
Eileens Mittens 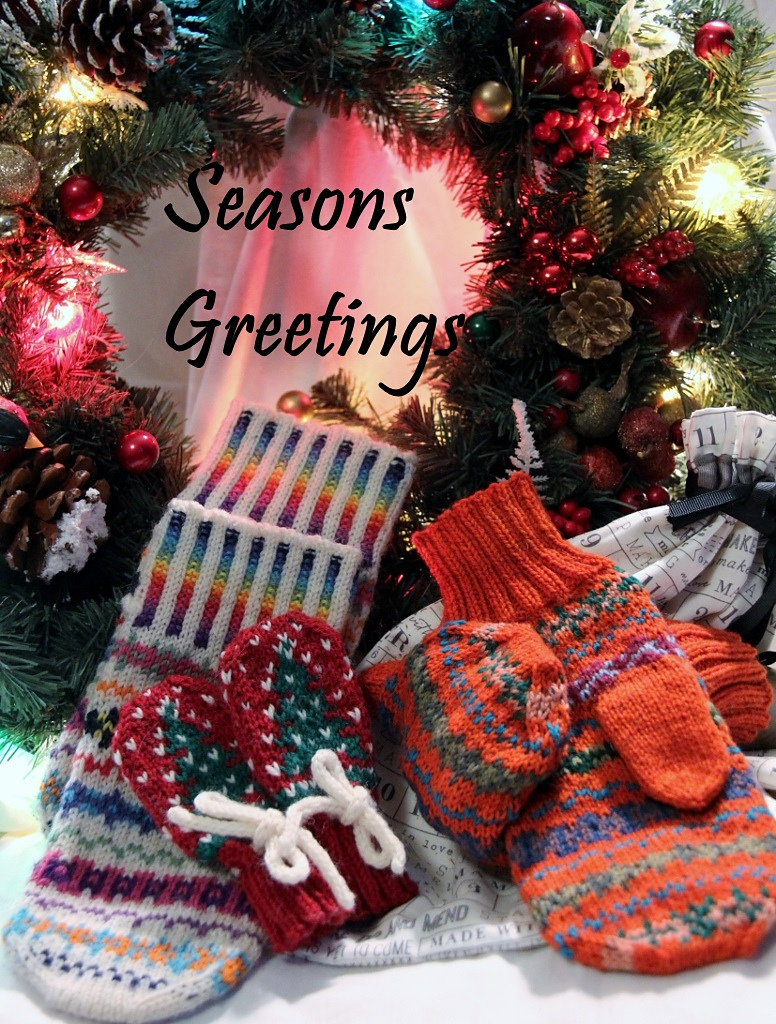
Makin’ Mittens 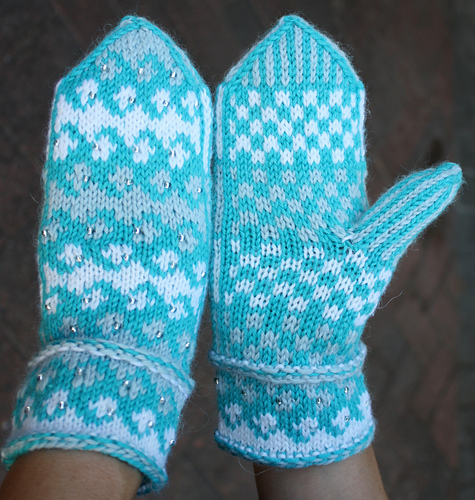
North Sea Mittens 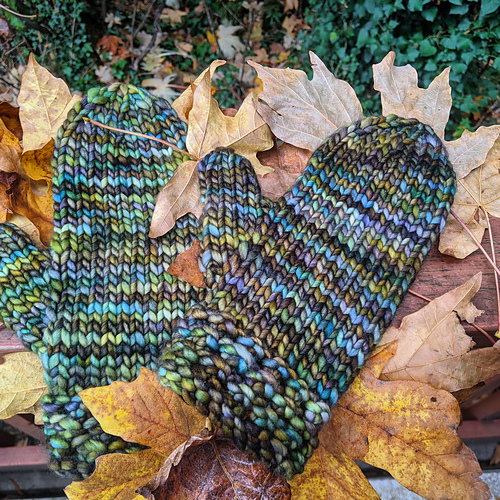
Mitten Love Again 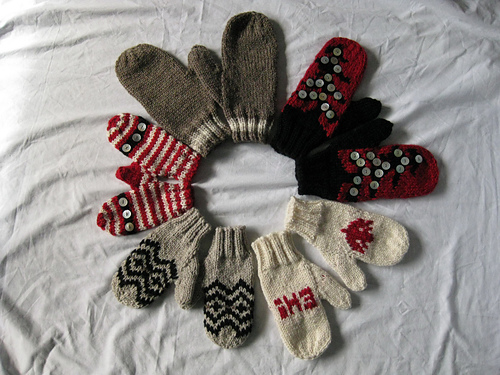
Multitude of Mittens 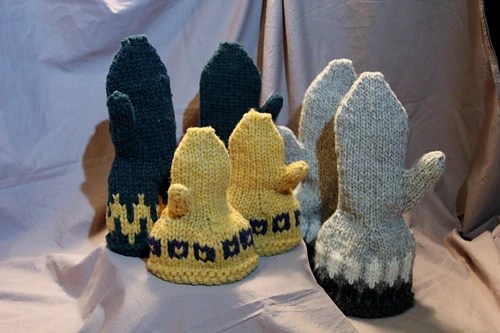
Standing Tall Mittens 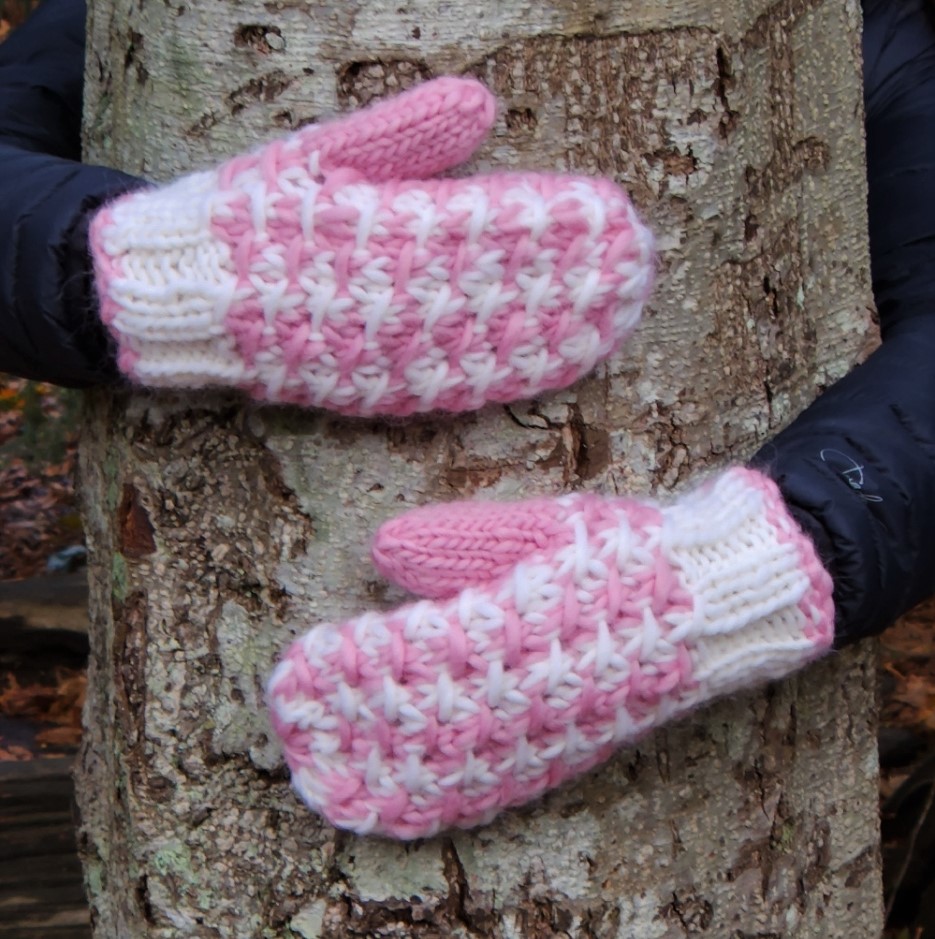
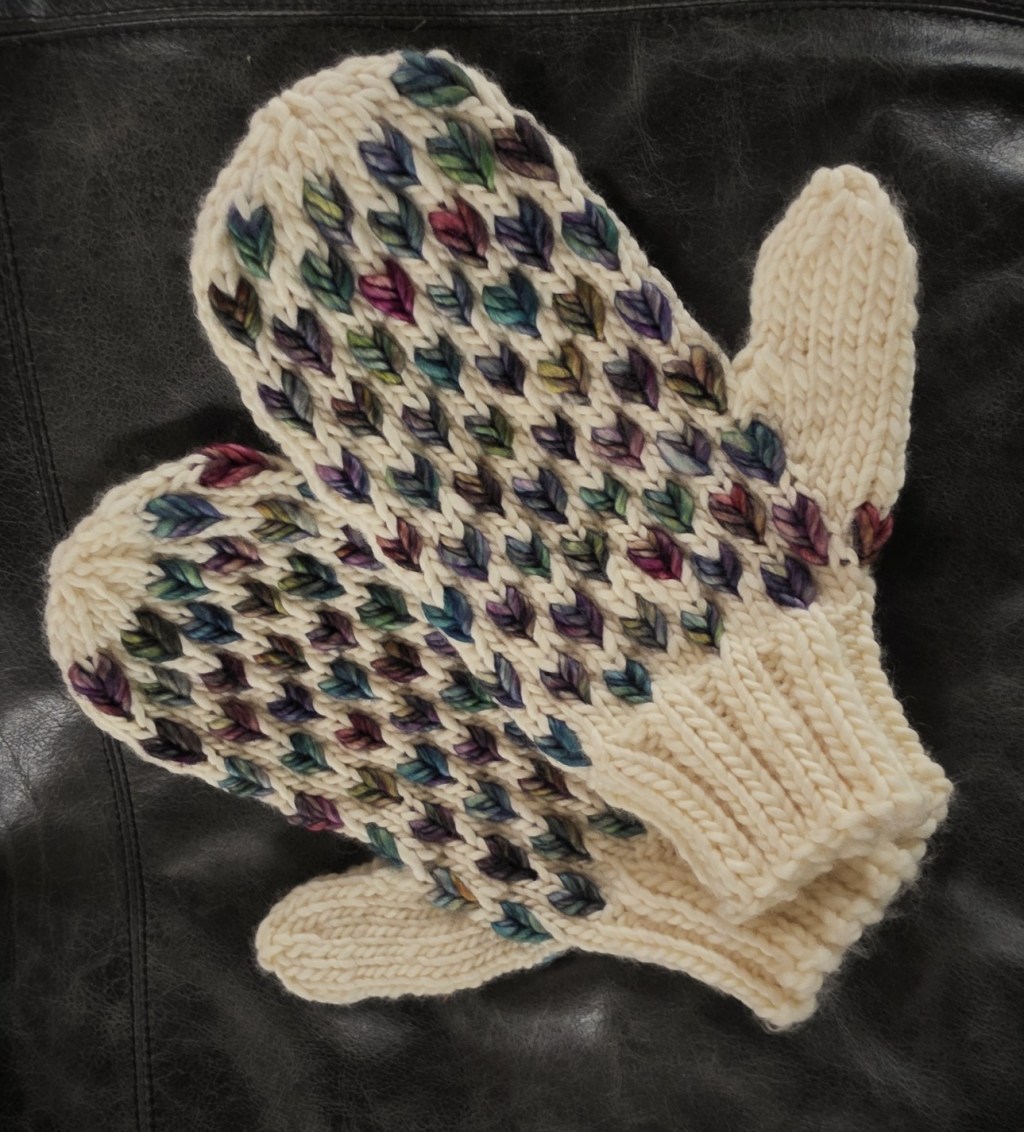
Boldly Tweed Mittens My favourite mittens to design and make were the Patchwork Mittens. I loved the combo of the yarn and pattern! And the colour simply made me happy!
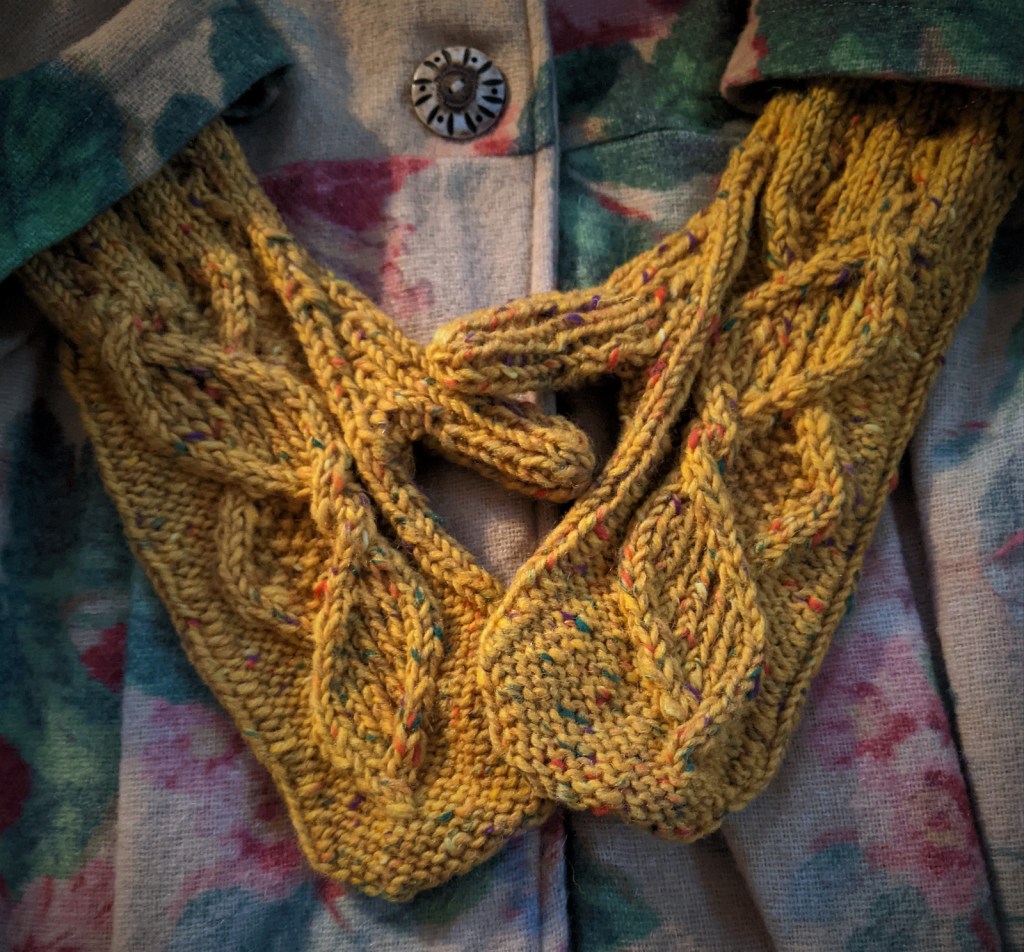
Do you make Mittens? Do you work from patterns? If so, which are your favourites?
Or have you made so many mittens that you just cast-on and go!
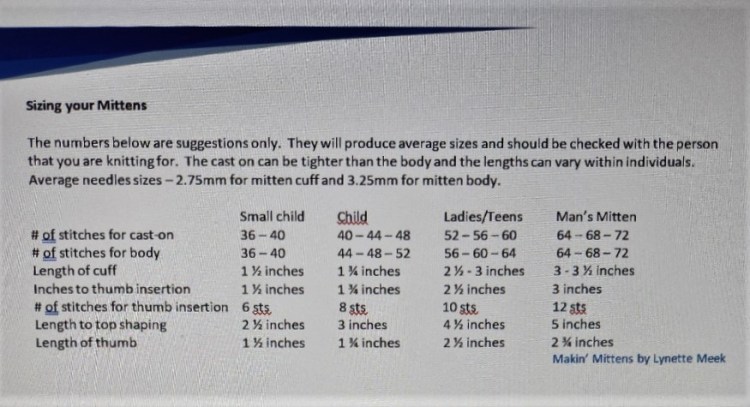
Below is my pithy pattern for 4-ply mittens – though the measurements can be applied to any mitten – just not the stitch counts.
Well, I need to get knitting and so do you! Christmas is coming!
Be Well and Knit Happy!
Lynette
-
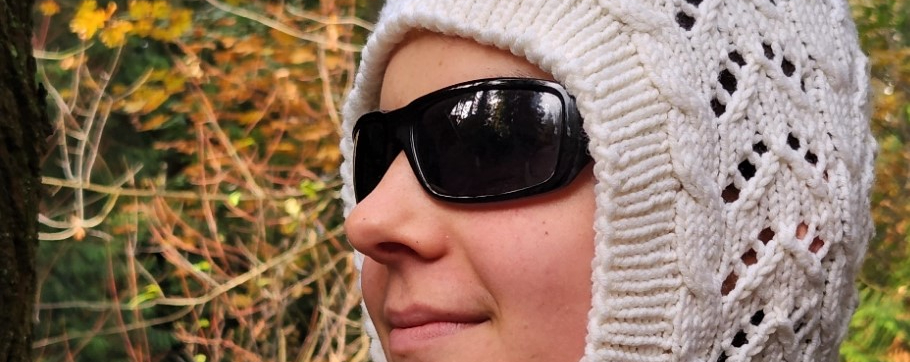
Photo Shoot
Yesterday Elise and I got together for a quick little photo shoot at Woodstream Park. We had a lot of fun. It was a beautiful morning and the trees and surrounding foliage was so full of colour. Gorgeous backdrop for the knitting!
This is a pattern that I am working on for Cindy and Roy of Gathering Yarn. The yarn is a superwash merino aran called Bingo – a lovely yarn to work with.
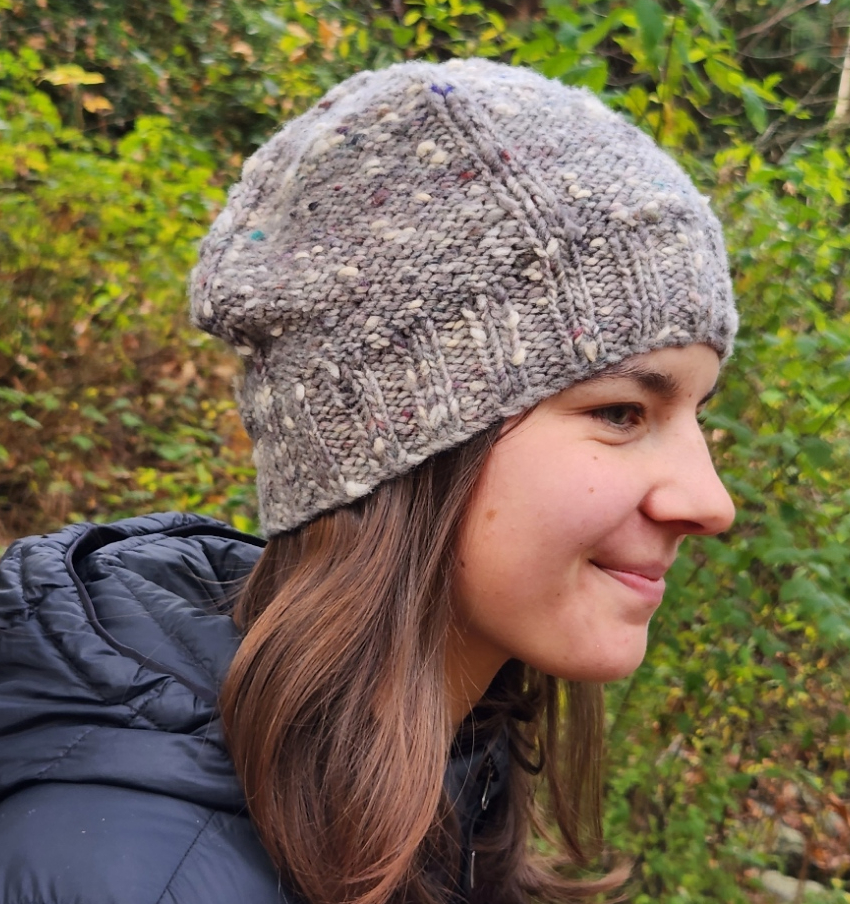
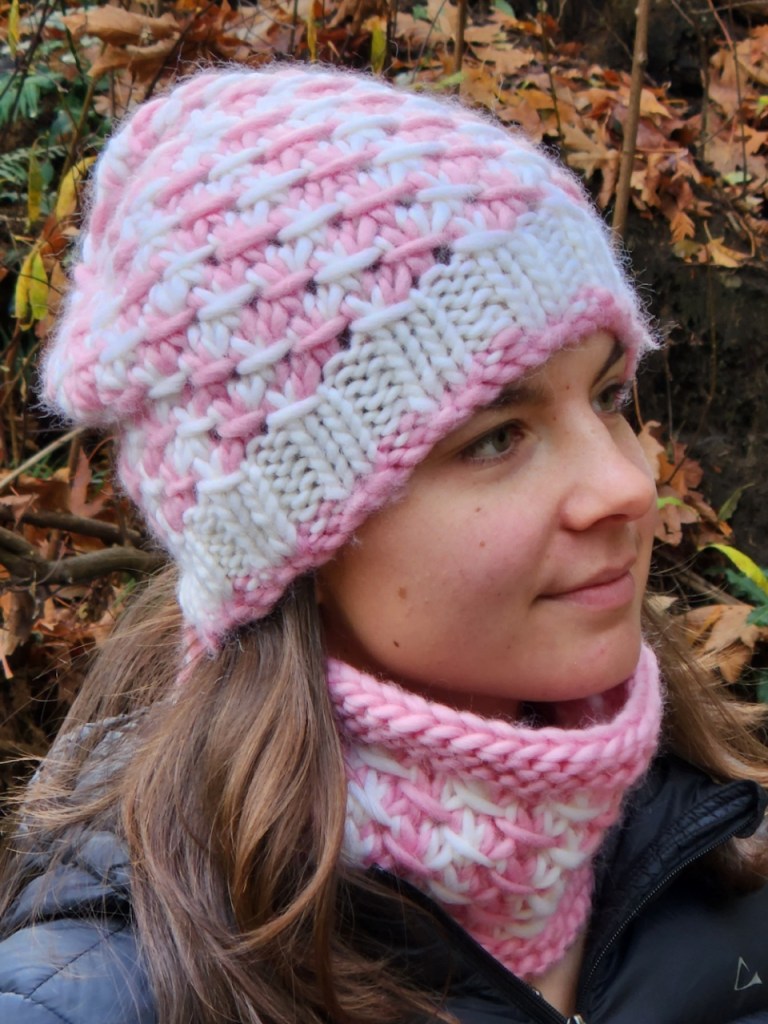
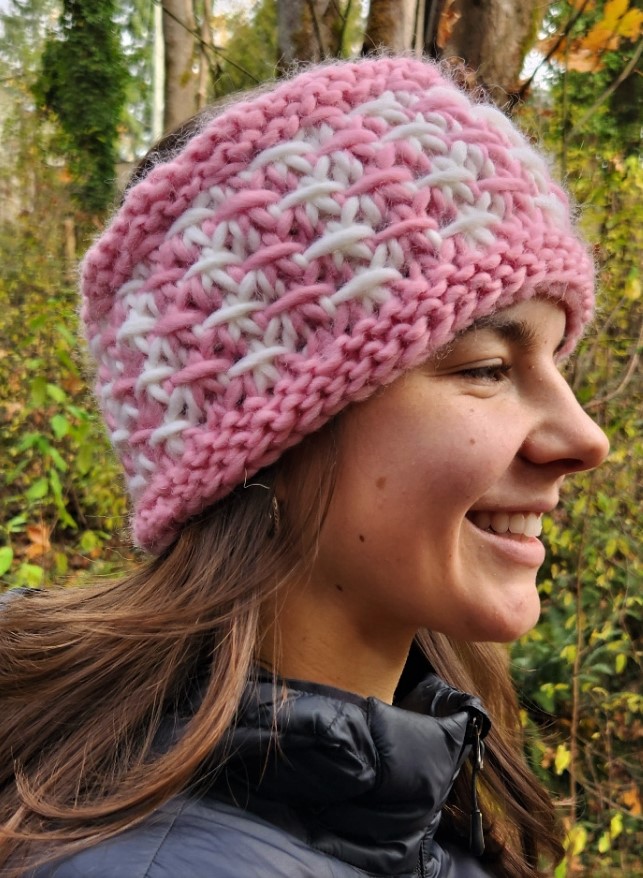
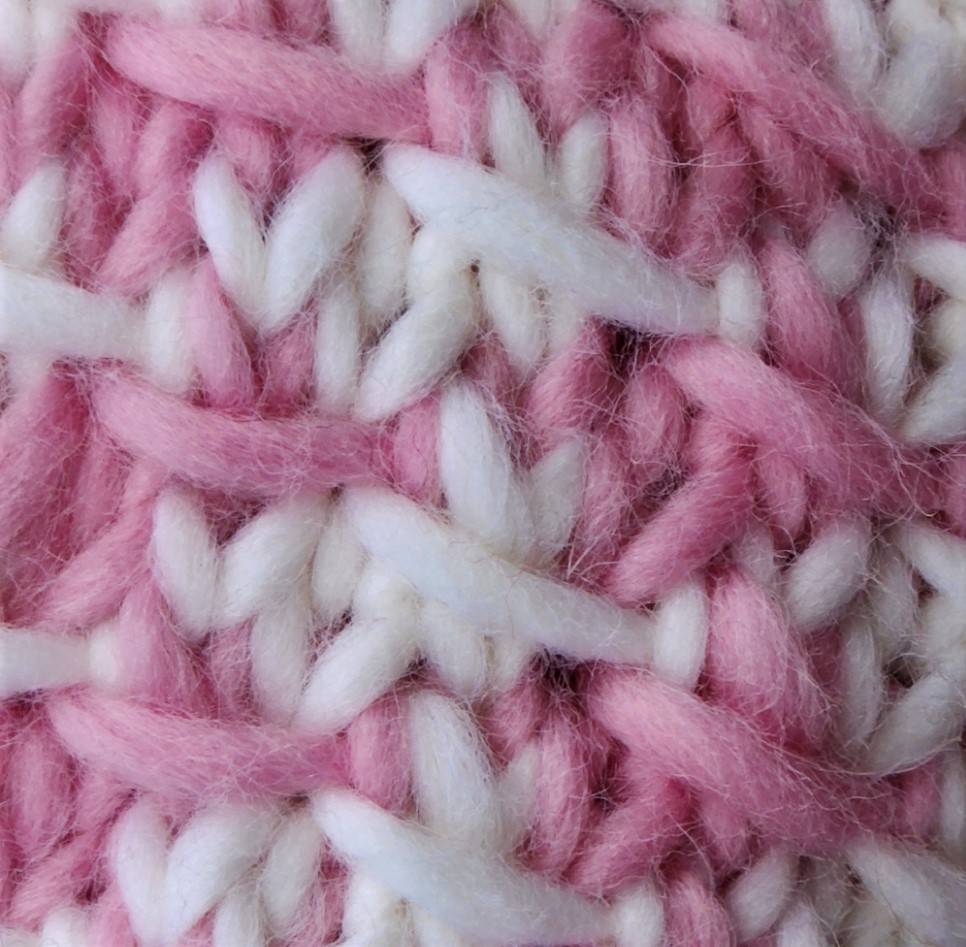
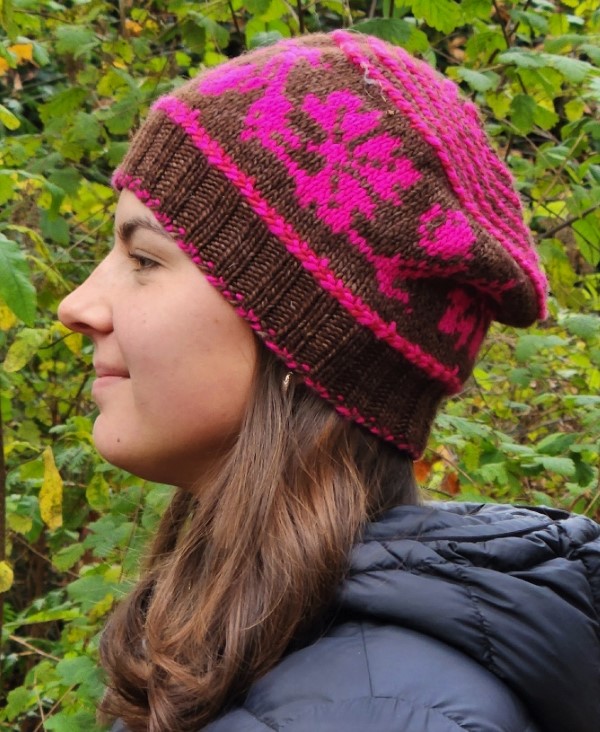
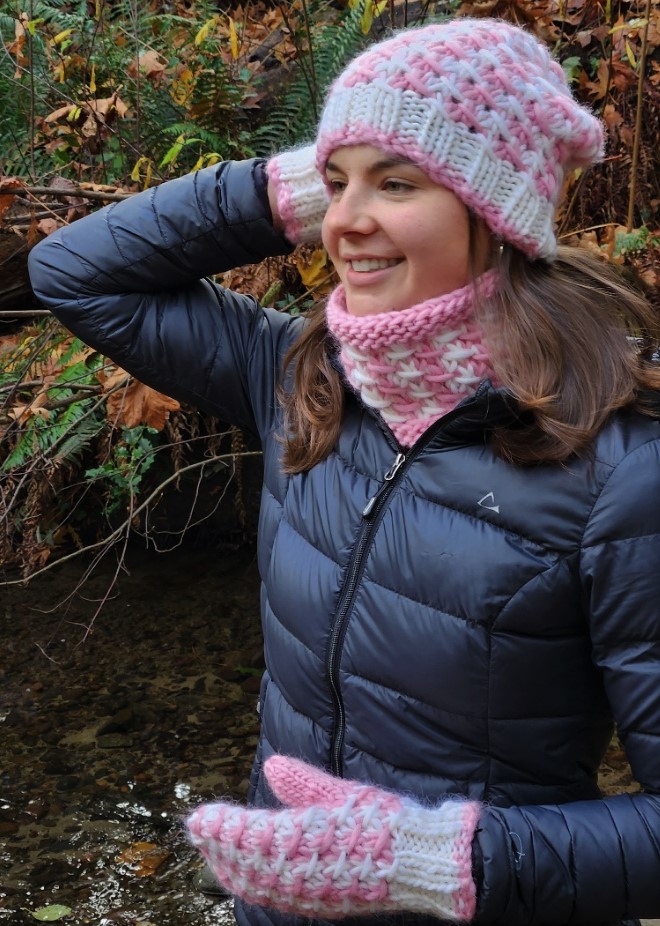
The rest of the items are a few hats and accessories that will be showing up in the next few weeks!
Be well and knit happy!
Lynette