This trip to Knit City was both utterly fabulous – the best ever – and bittersweet – because it will be the last at the forum. I was there at the first one, teaching and talking! At that time I felt totally overwhelmed by the whole event. I really was uncertain of myself and my abilities back then. I regret that I did not seize that moment and walk out of my shell.
Now! I could do better. Now! I could rock the joint. What a difference a few years can make.
This year was fabulous! I met up with customers, exchanged stories and felt connected. I think that when Knit City comes back – I want to teach or organize a group visit or just Wow! myself again!
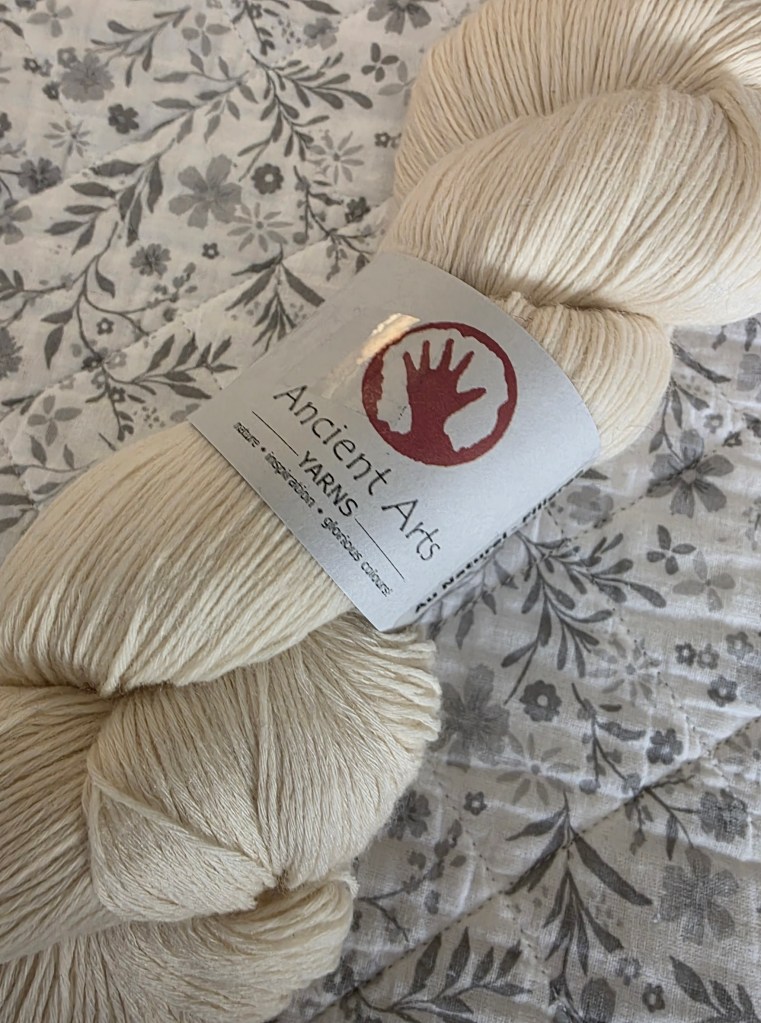
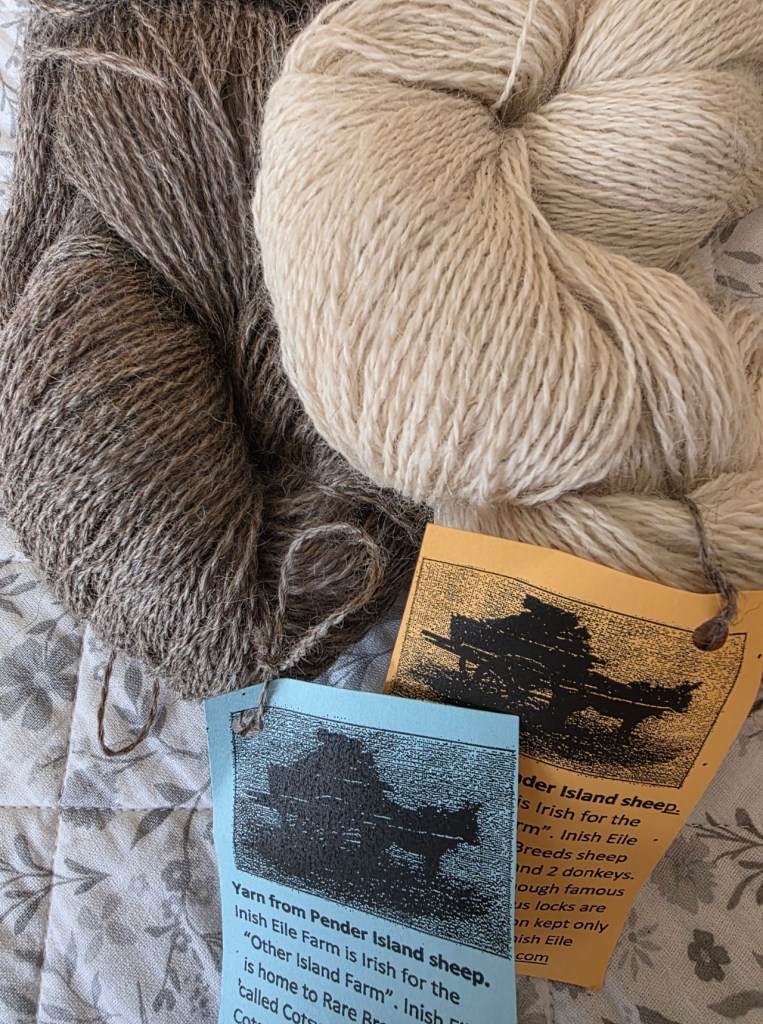
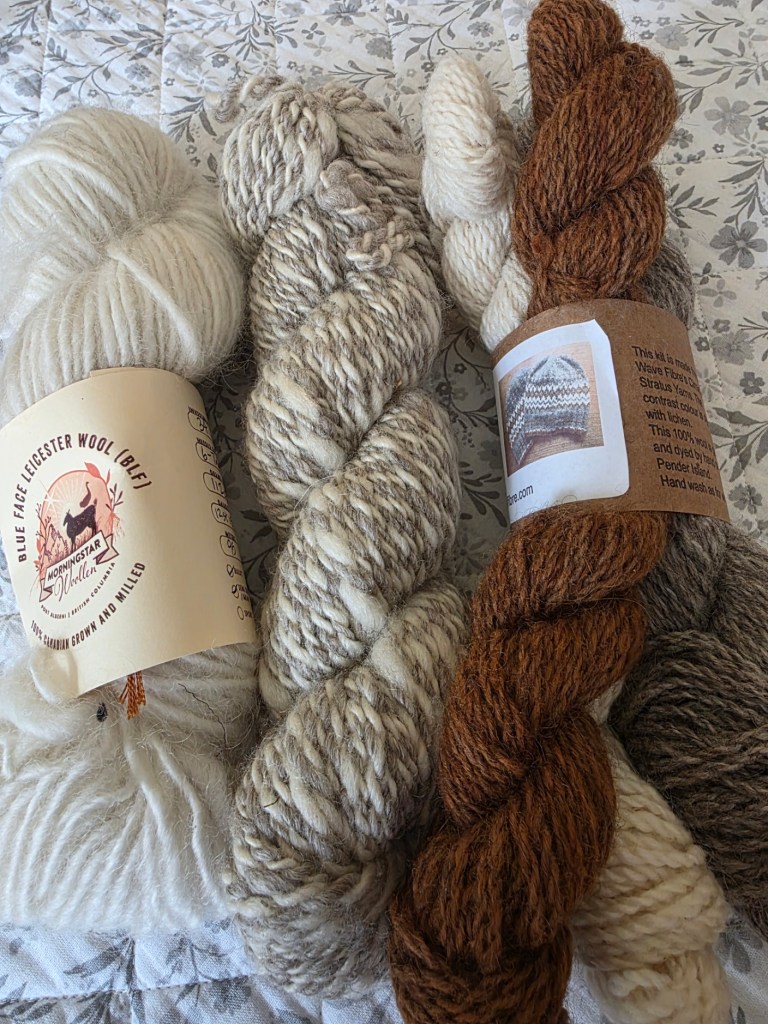
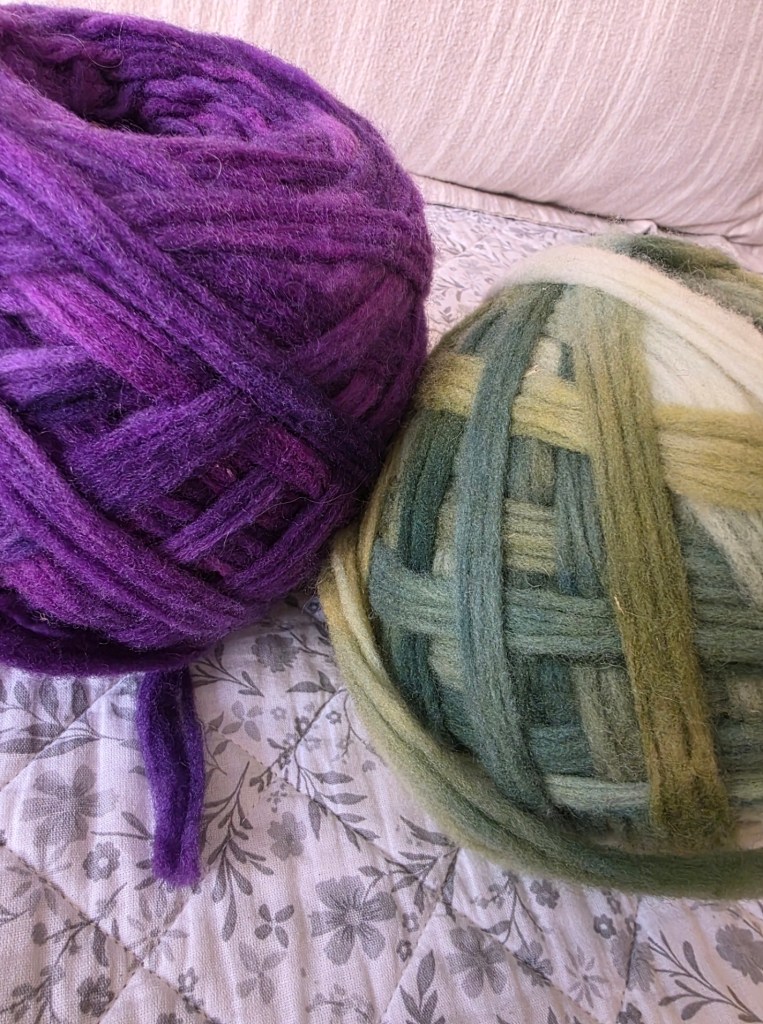
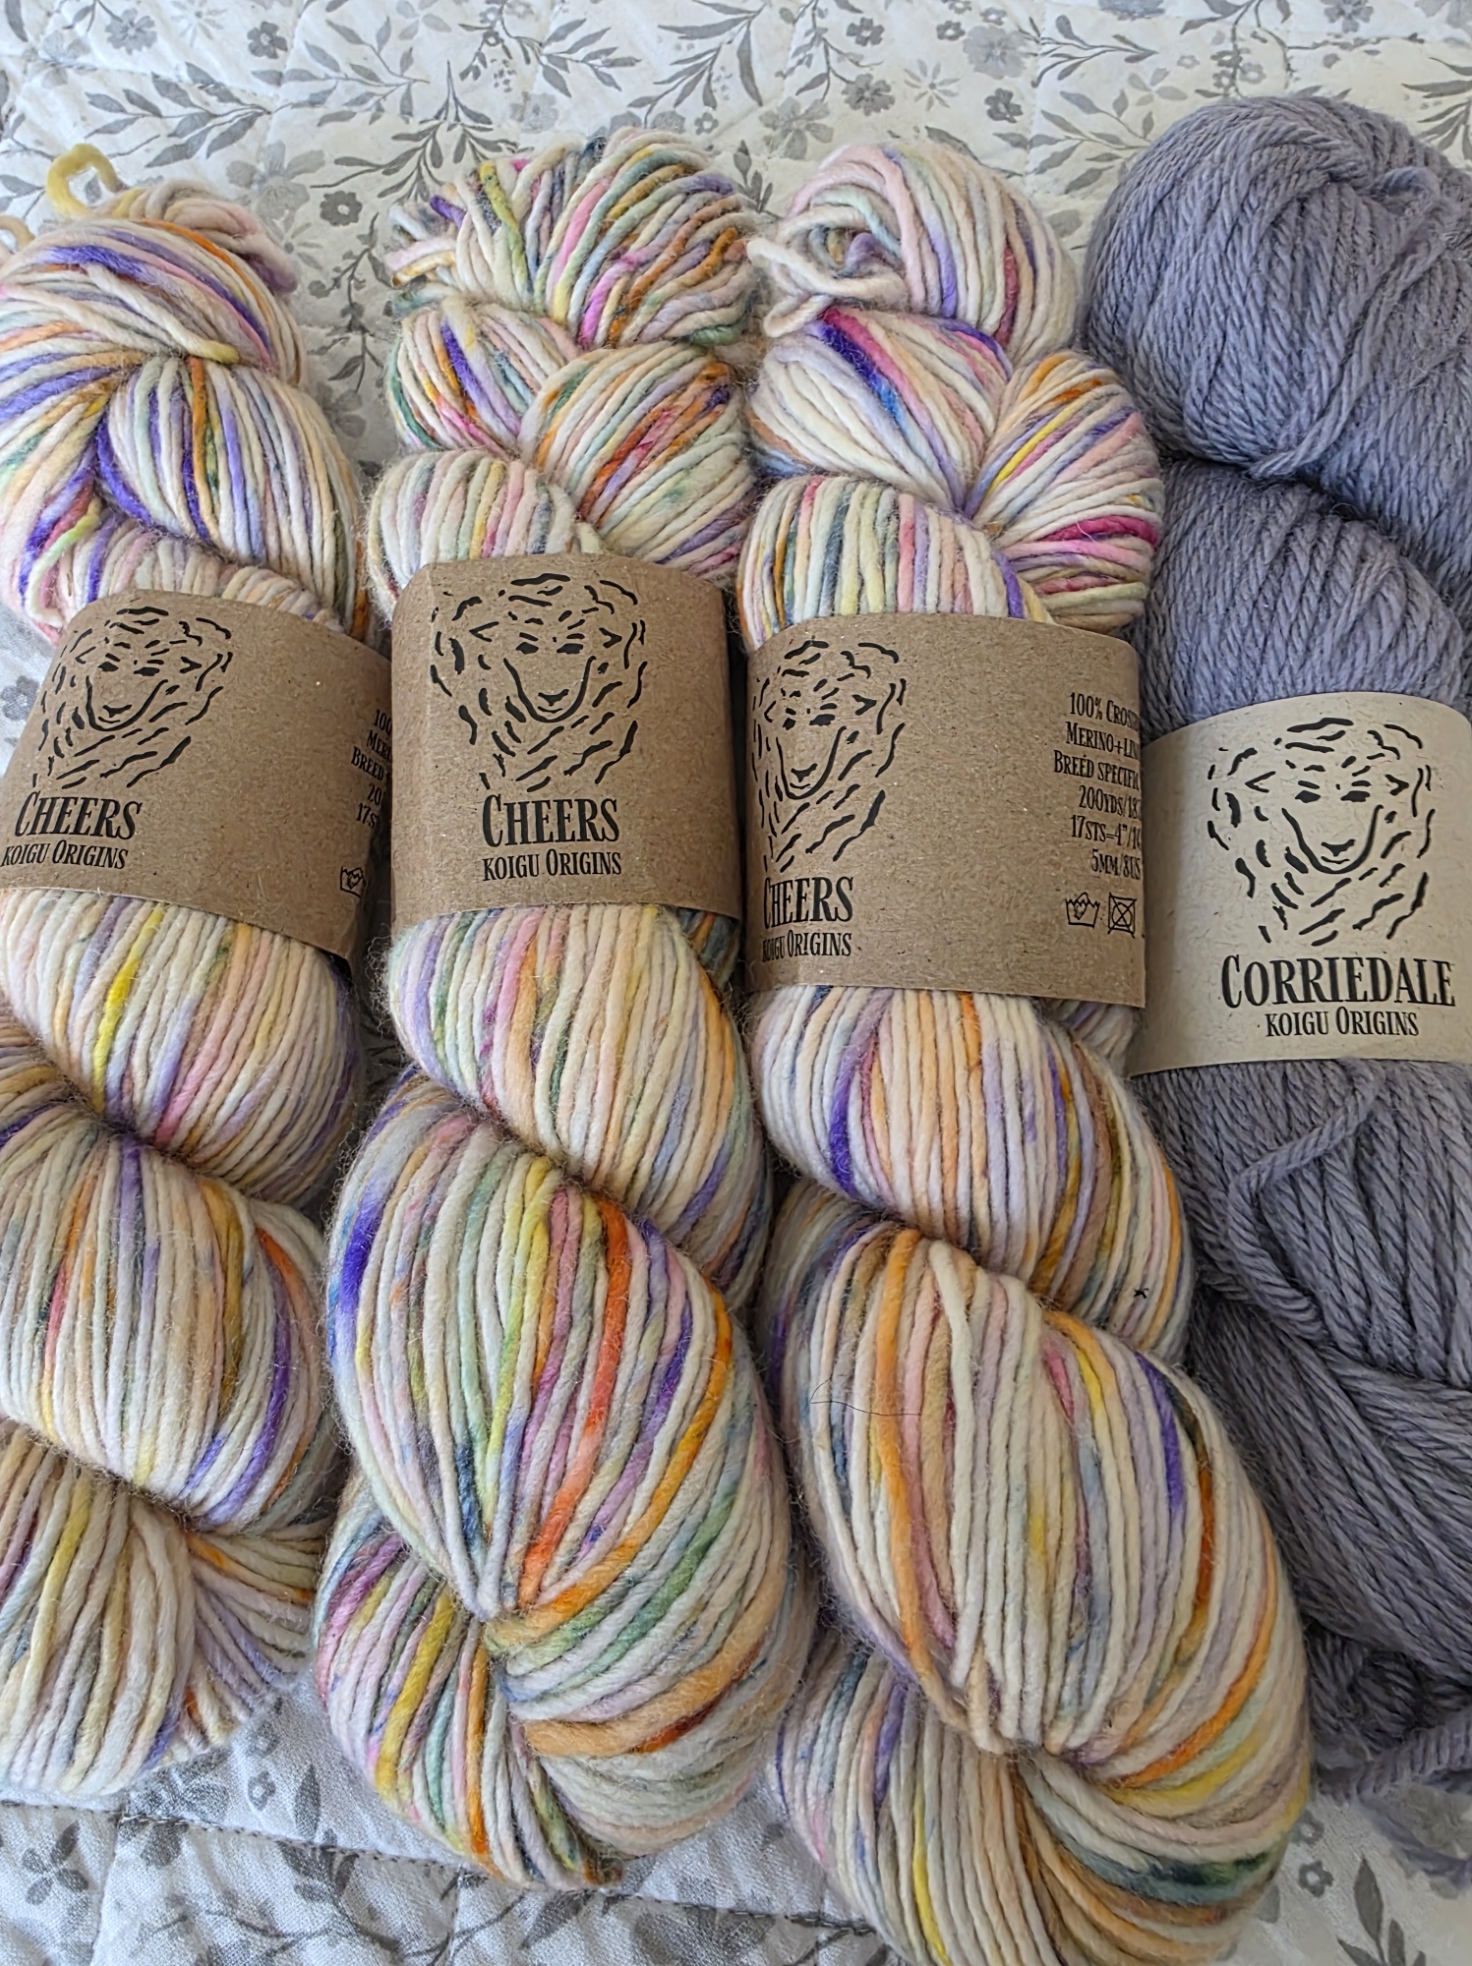
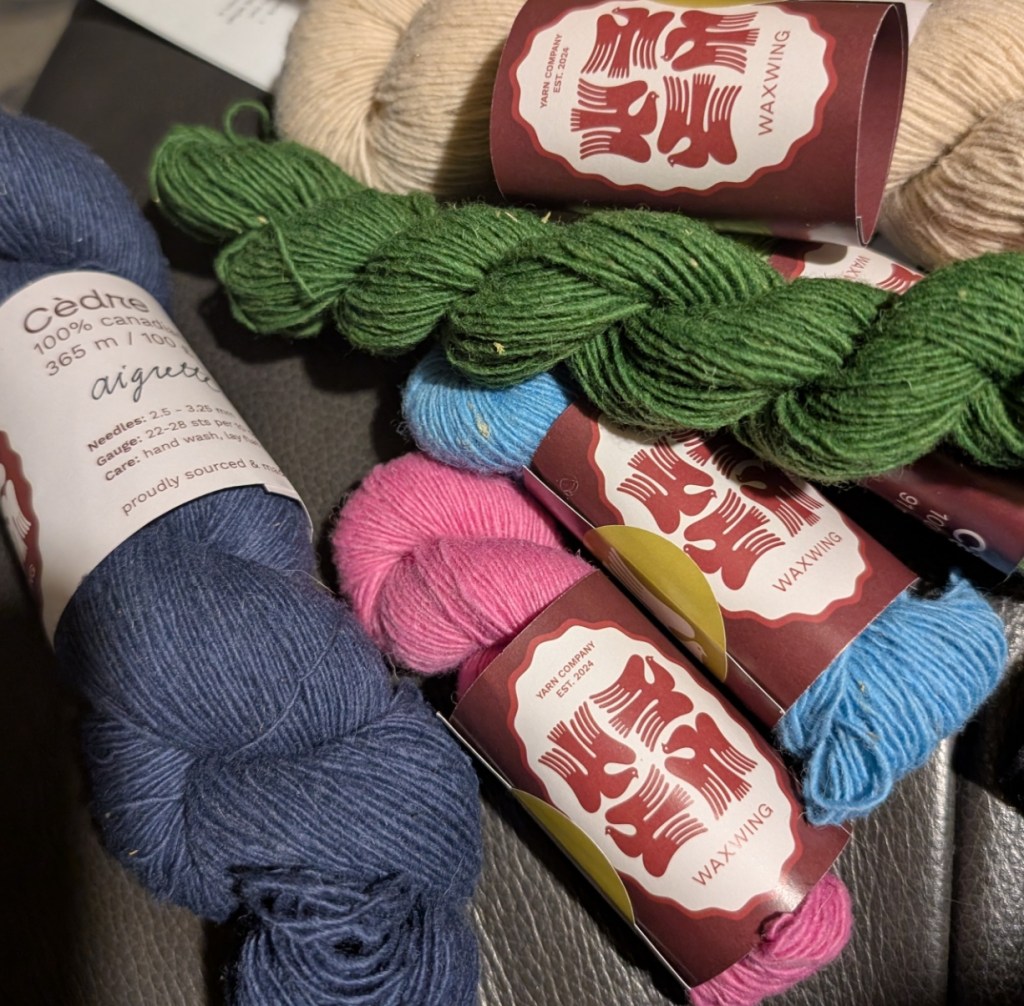
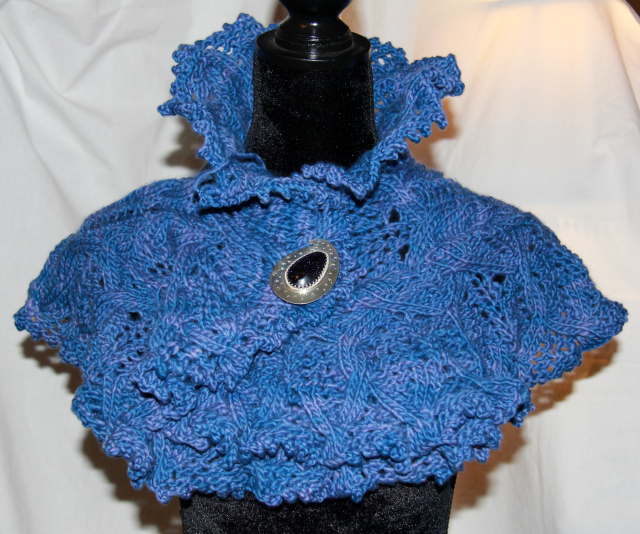
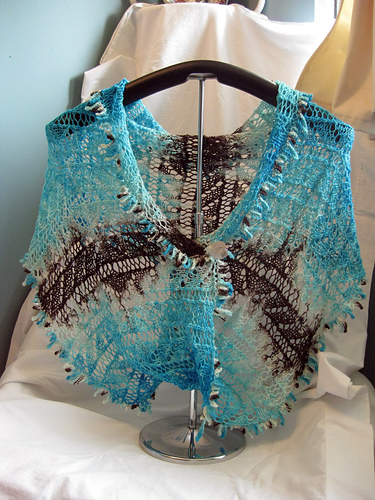
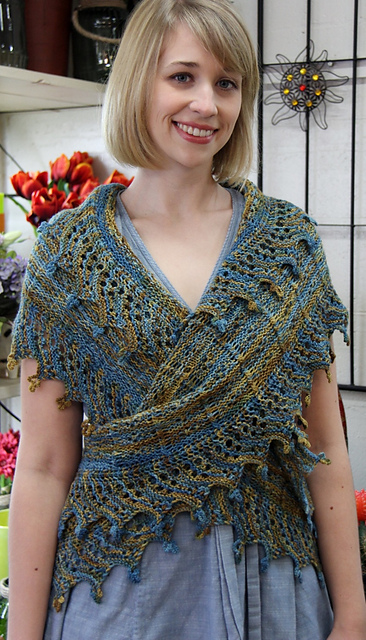
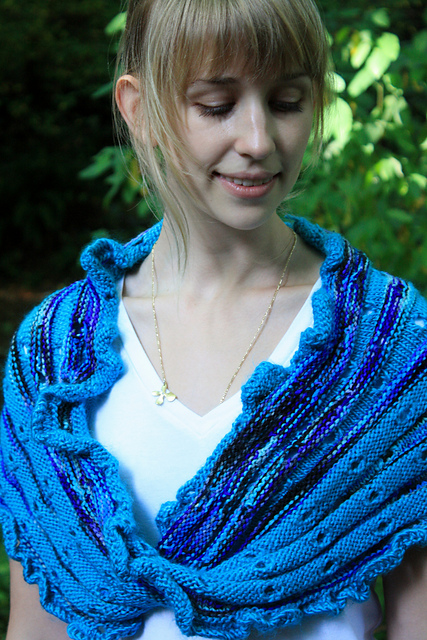
These were my Knit City investments. I love each and every one and I don’t know when I will have time to knit any of them.
Some links are included with the pictures in case you want to find out more about the farms and yarns.
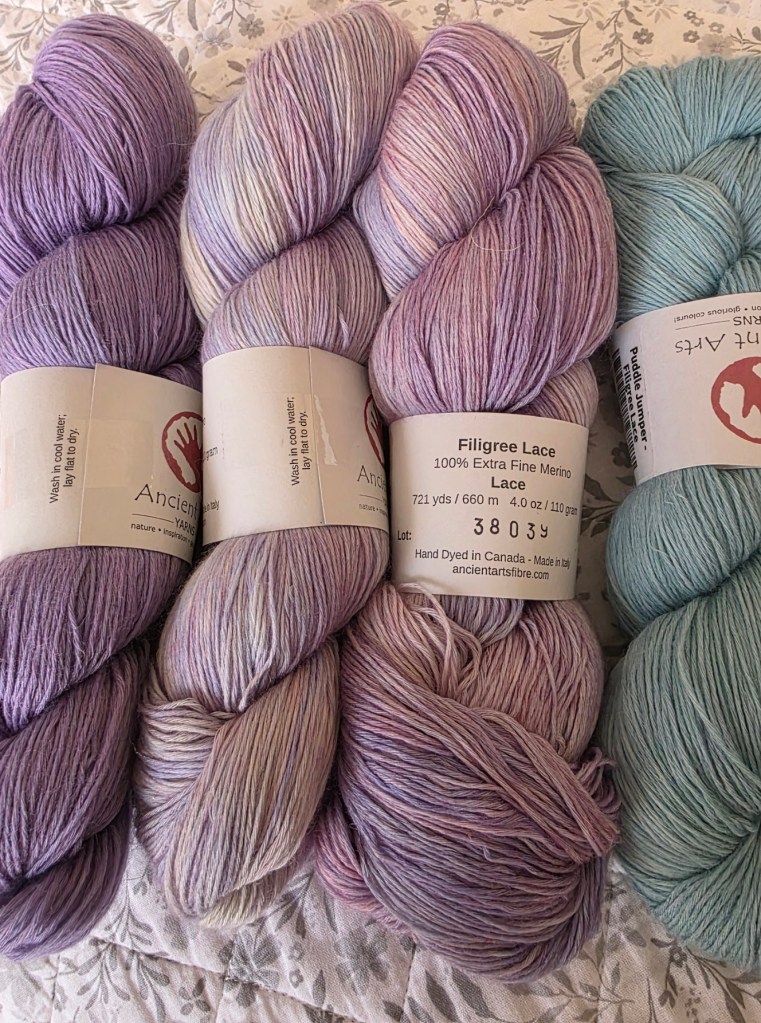
This was the yarn I went to Knit City to find. If I bought nothing else (who was I kidding) I wanted this!
And I was not disappointed.
Merino lace weight, non superwash 8-plys of heaven. I am not sure what I am doing with it but I know that I bought enough for a big project!
There has been a lot of time taken in talking about not having enough time lately for all of the things in my mind that I want to accomplish. I have spoken to friends and colleagues, online acquaintences, family, and customers. We all tell the same story. Perhaps we all need to slow down and step back…
No. I am not ready yet!
I have been having fun, working hard and sometimes even not having fun! But life is still zooming on by.
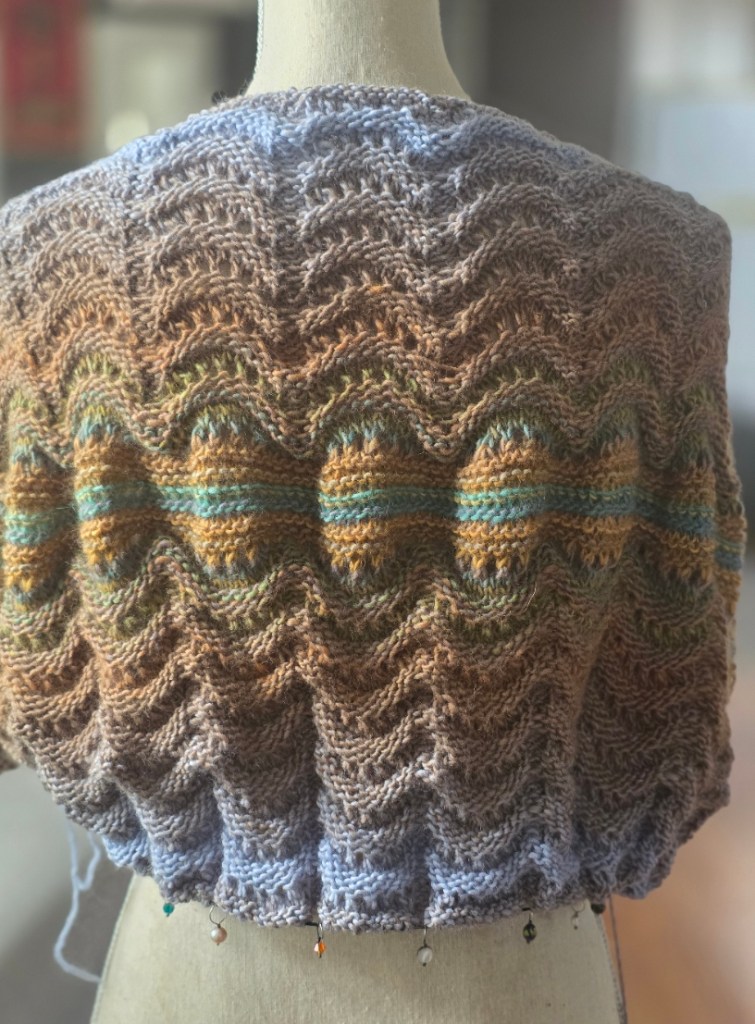
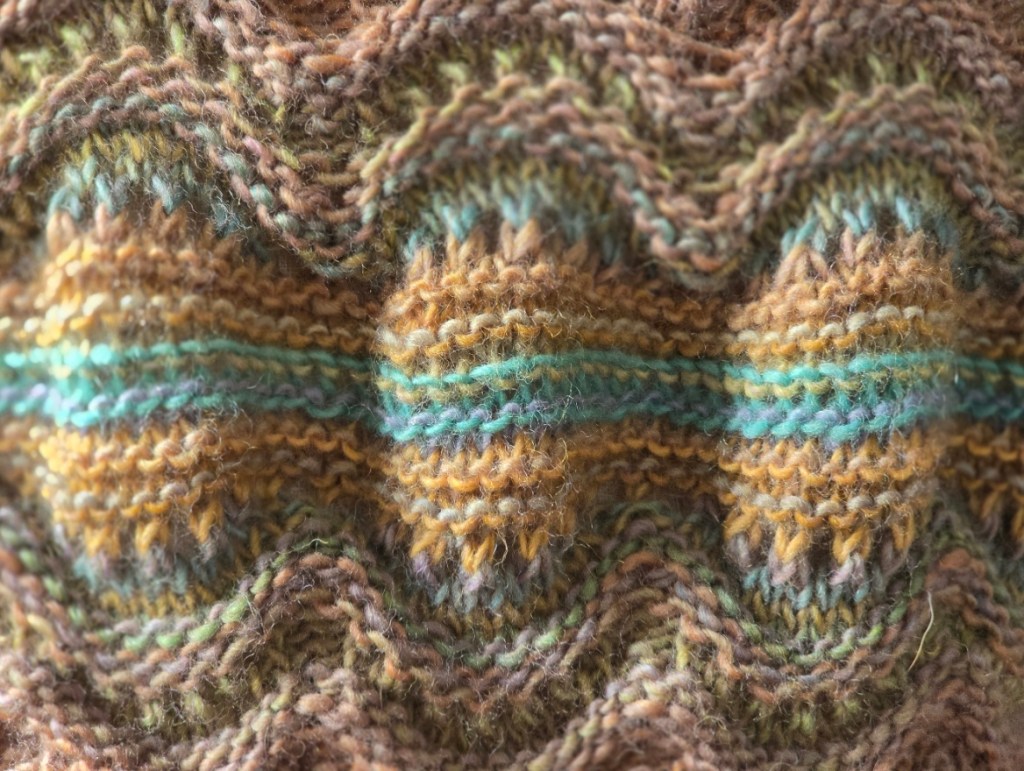
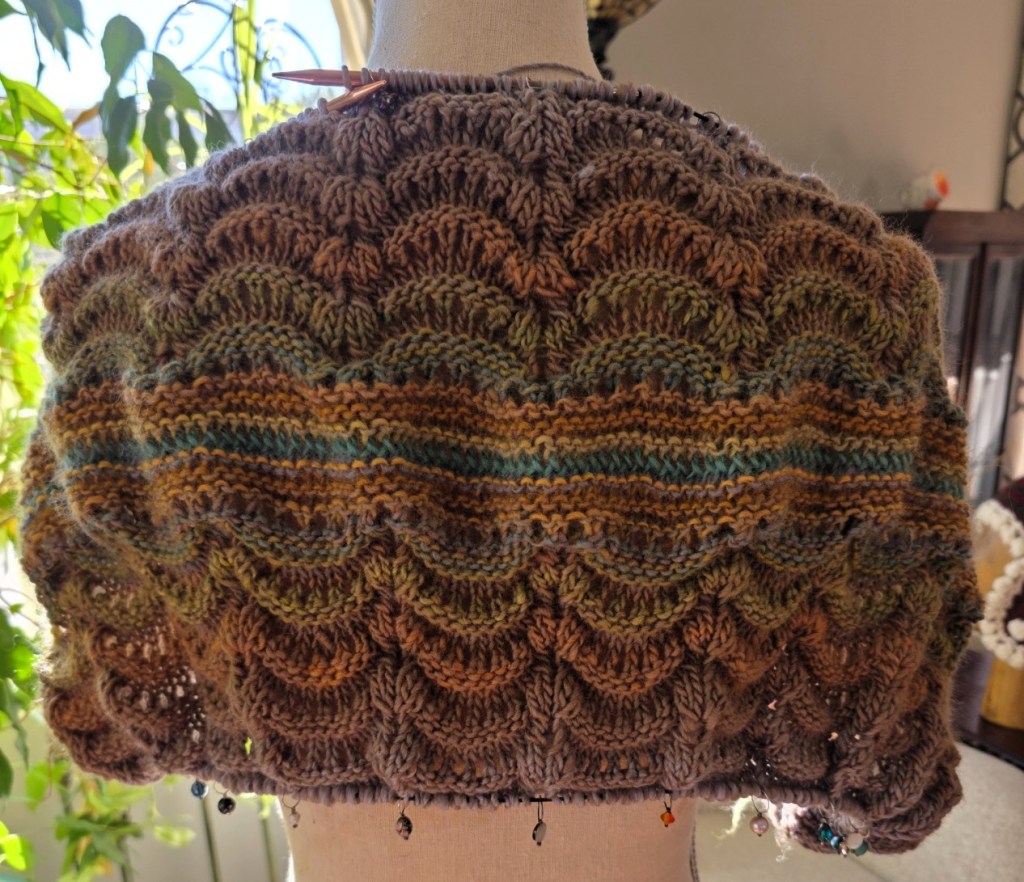
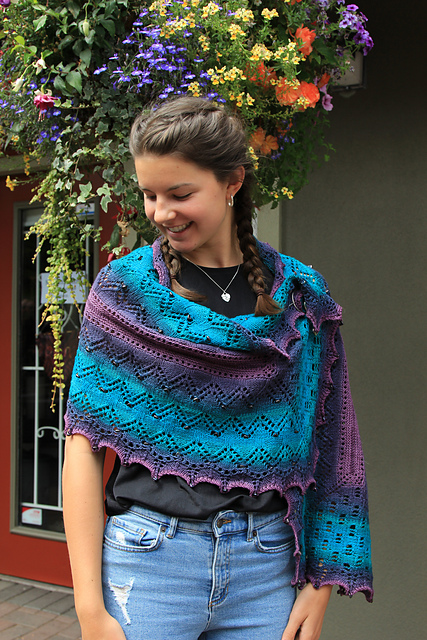
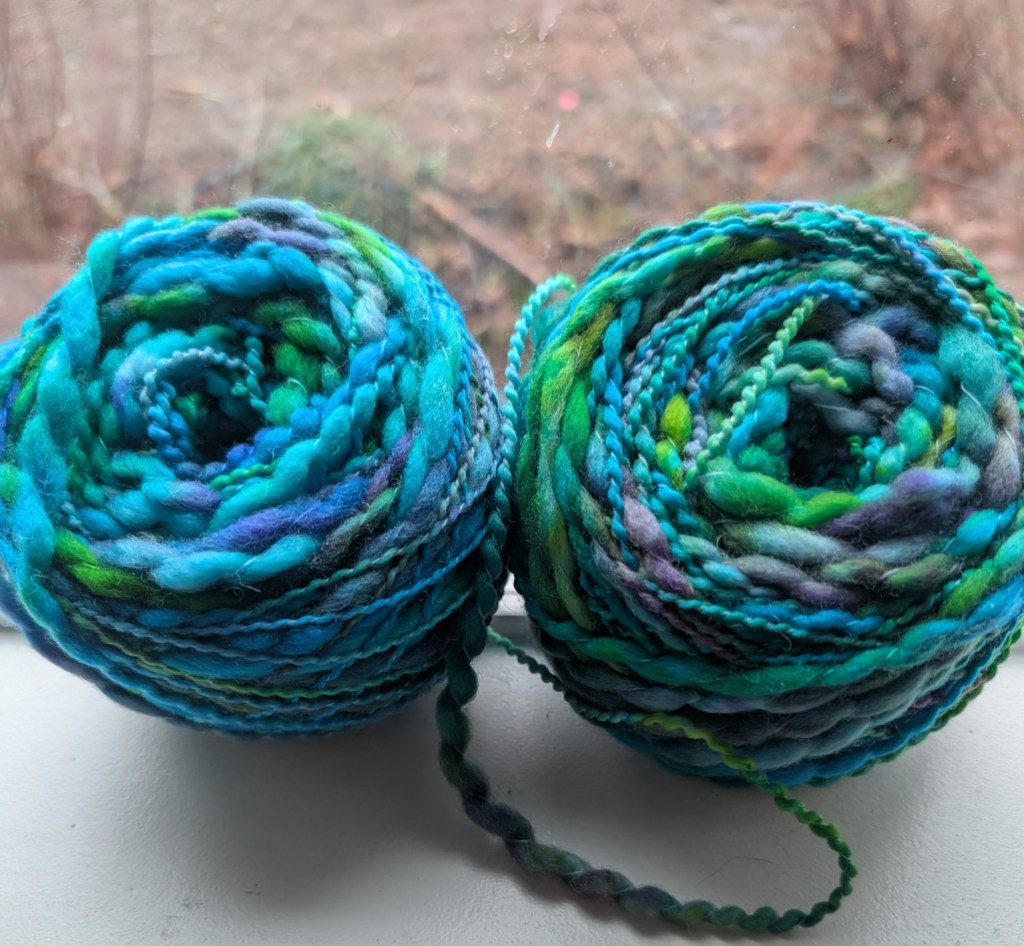
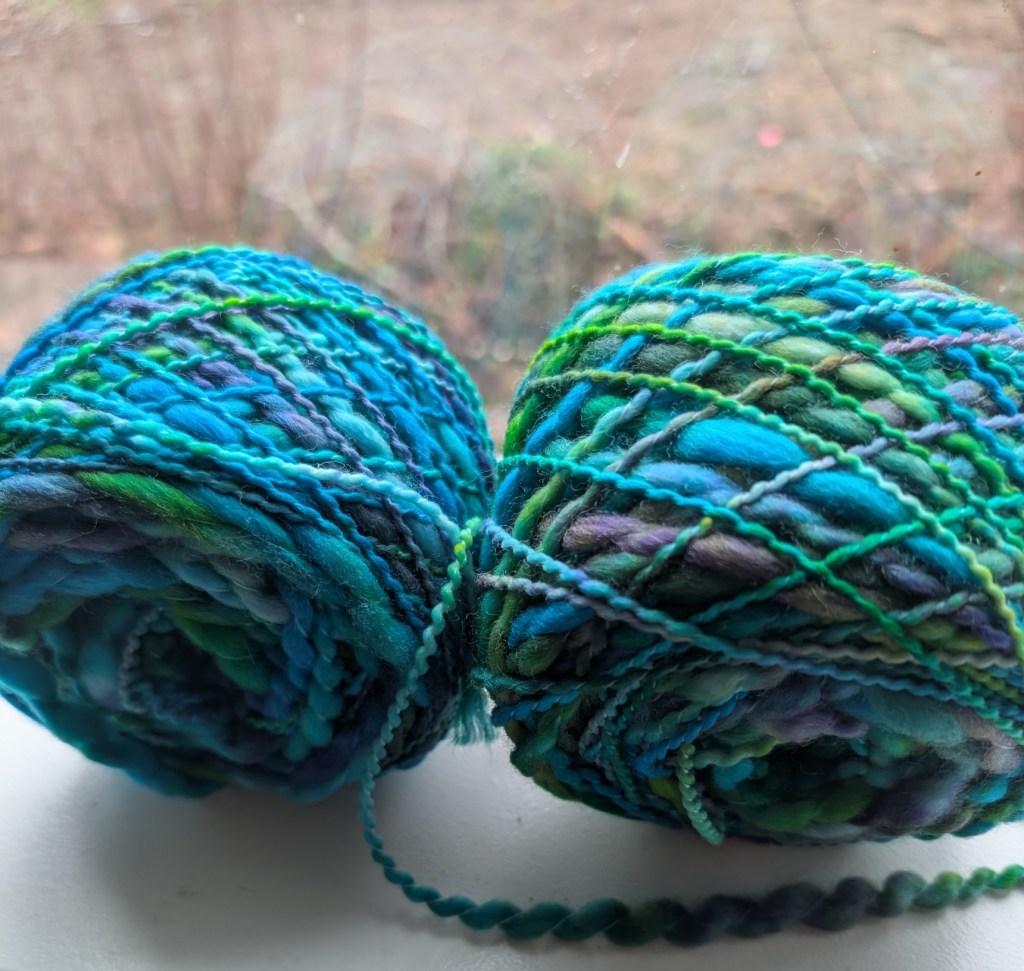
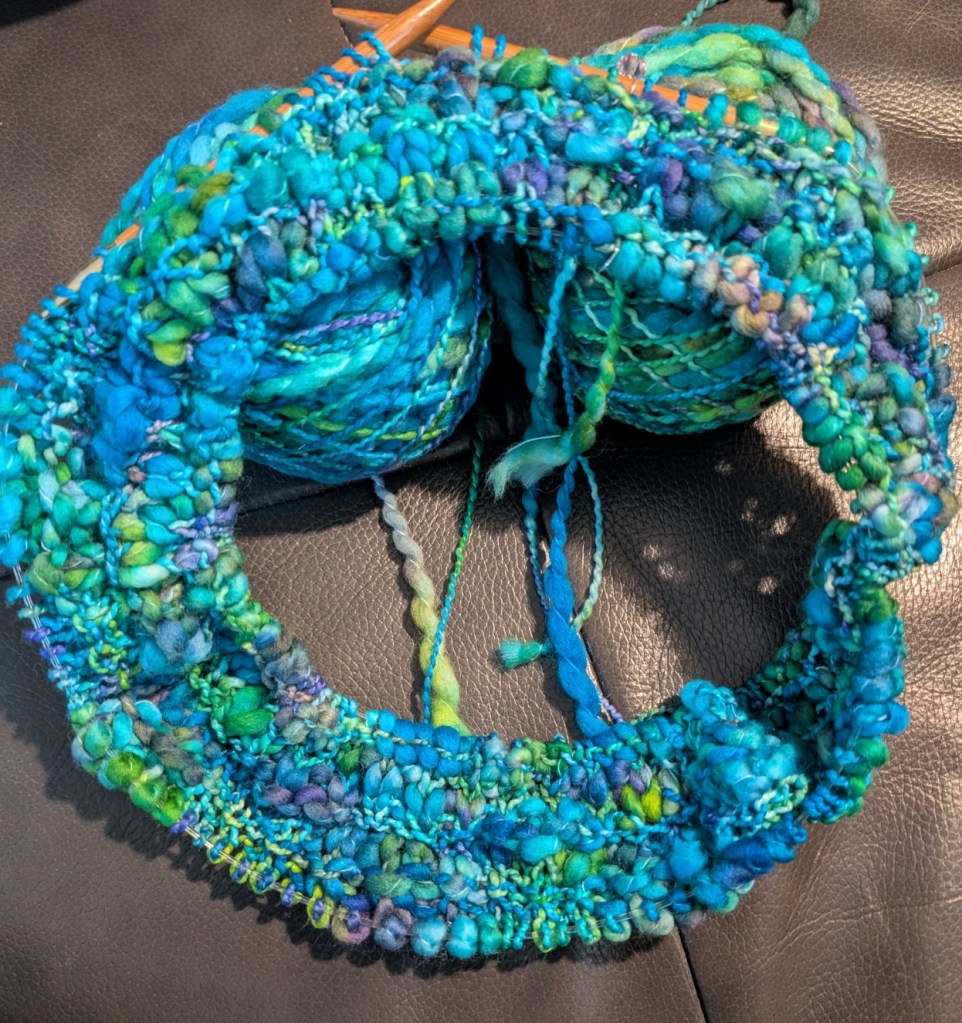
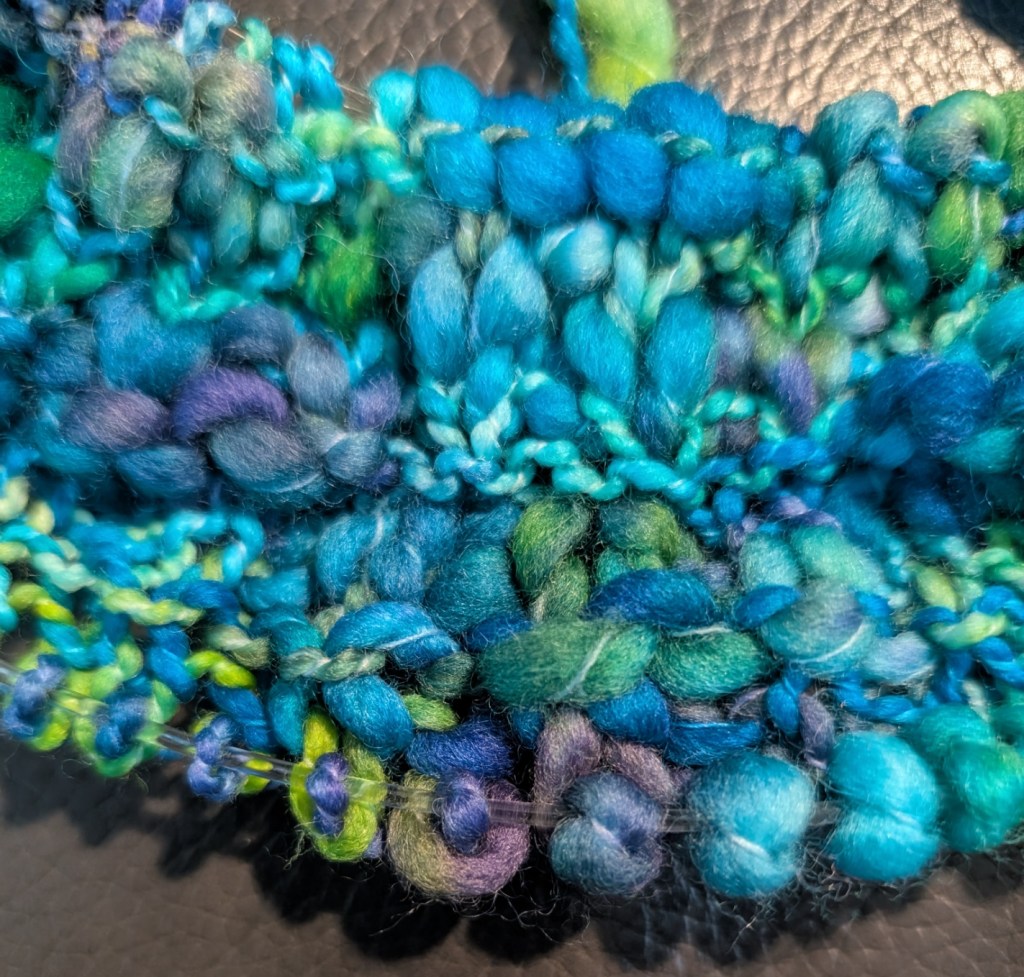
Quickie update – because I have decided that my Quickie project needed to become a shawl – this is no longer really a quickie! It will need a new name. But I am beyond thrilled with the yarn and how it has transitioned from the first ball to the next. The transition is perfect. The end of the first ball matched up perfectly with the middle of the next ball! That beautiful bright blue is the transition point! Poema Stripes rocks it!
I hope that you are using up and enjoying every bit of the time you have! Nothing is wasted if we have experienced the time – both good and bad. All of it makes us who we are! Every experience teaches, enriches, and grows us. We learn from both good and bad. What to do better. What to avoid and what to embrace.
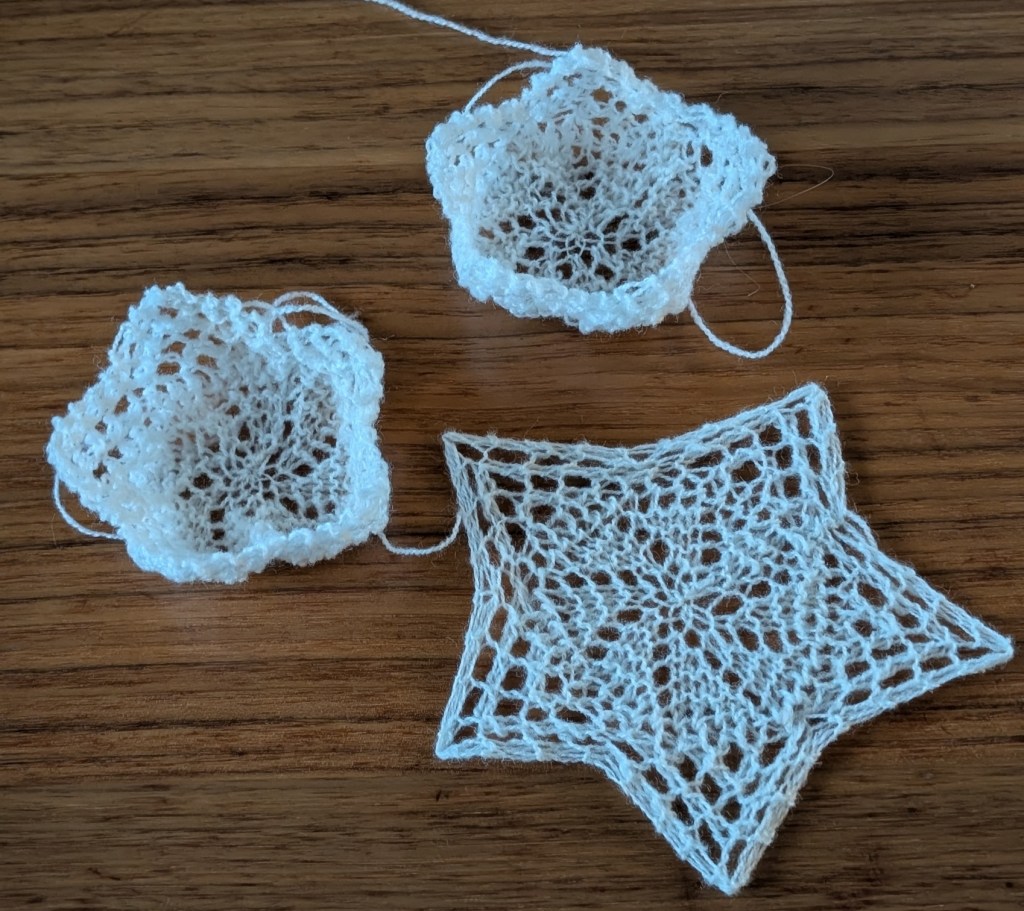
It is time to start thinking about Christmas Knitting. I made a few of these Shetland Stars last year. I think that I will knit some more this year.
Well I am at that point where a decision needs to be made! I have enough yarn to cast-off nicely or I need another ball to make a bigger shawl.
I am really leaning towards another ball. Right now I am at about 12 inches wide and about 5 feet long, without minor blocking. I really do not want to block it at all! I will lose all of that glorious texture – so make it bigger so I do not have to block at all!
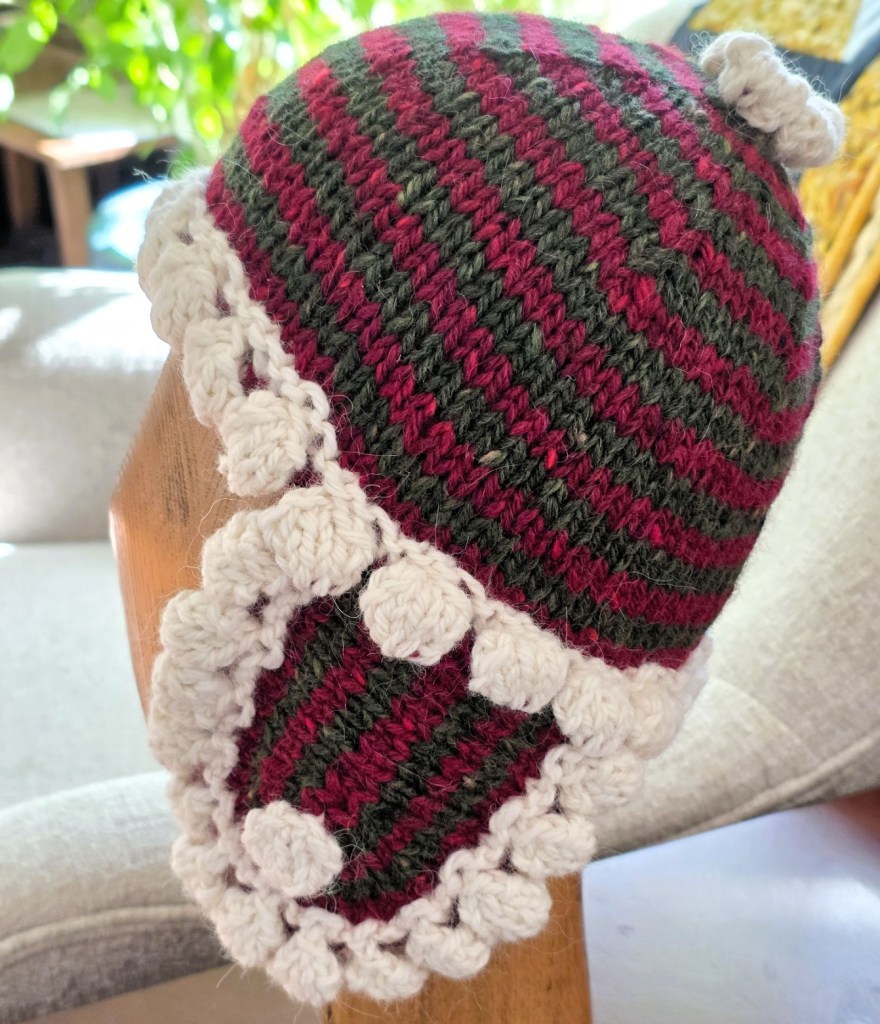
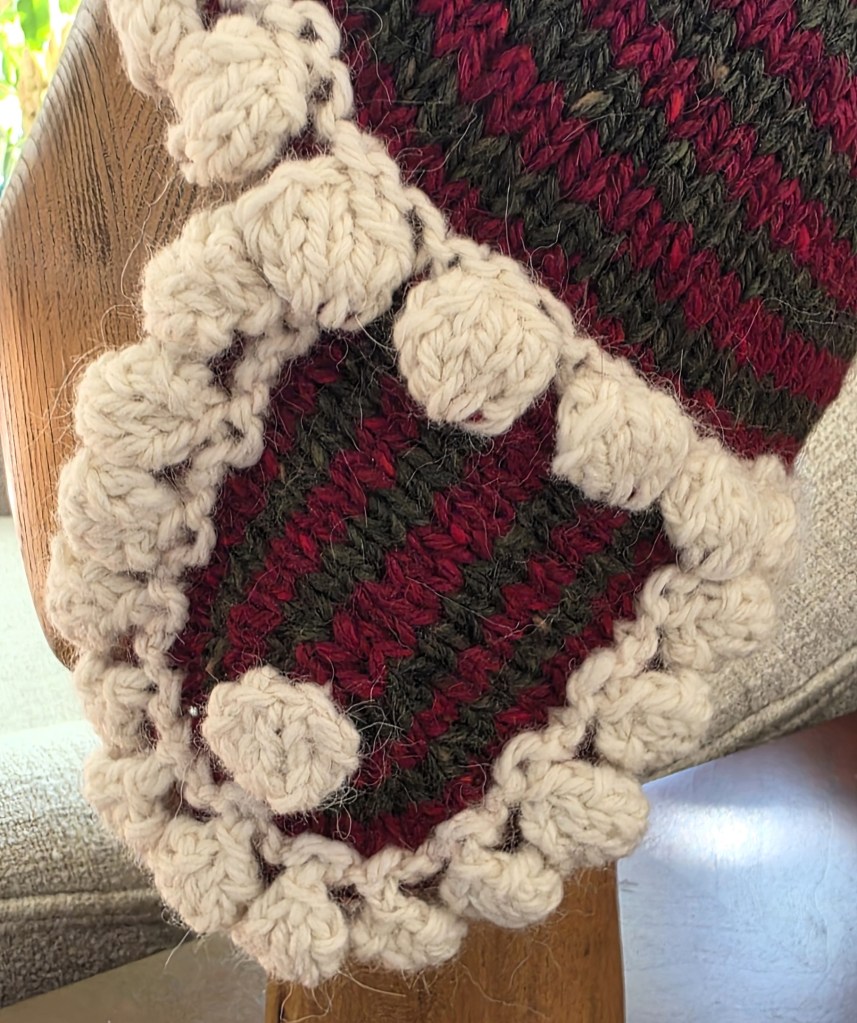
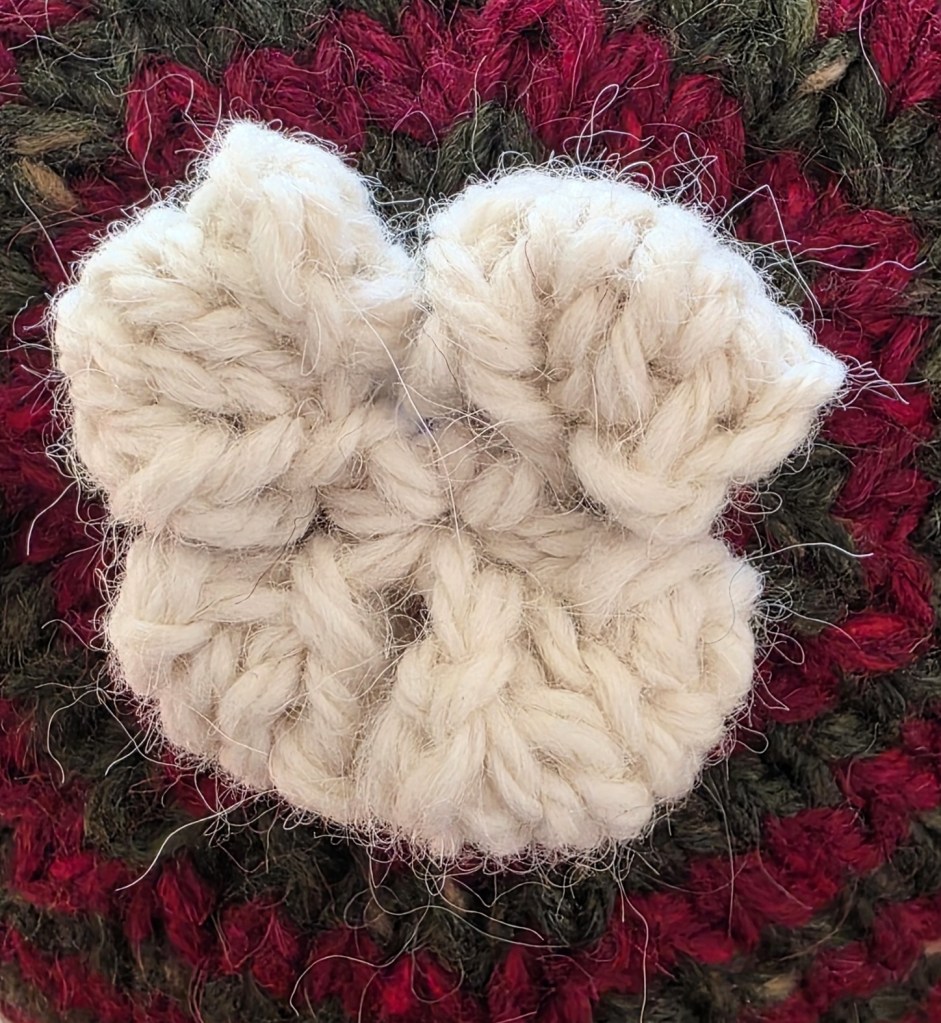
While I have been considering my options – I was also knitting the November Hat for the Year of Hats. Meet Bobbity, especially created for Angie who really wanted to learn how to knit bobbles! I think this will fit the bill!
Bobbity was knit with Estelle Yarns Highland Alpaca Tweed Chunky. A lovely alpaca/wool blend chunky, new this year.
This morning we went for a walk around Neck Point Park. It was the perfect morning, perfectly clear skies and a gleaming sun reflecting off the water. Neck Point has long been one of my favourite walks. We lived close to it when we first moved to to town, 35 years ago. It wasn’t even an official park then. I used to take the kids there when they were little and we would have picnics. Such a beautiful place.
I hope that you are having a wonderful Thanksgiving Day as well1
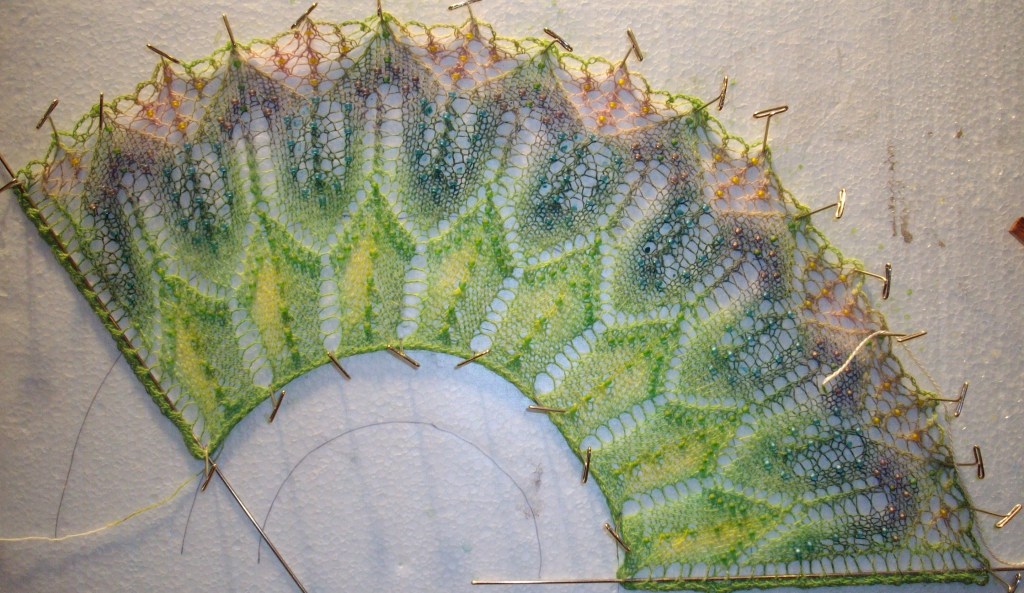
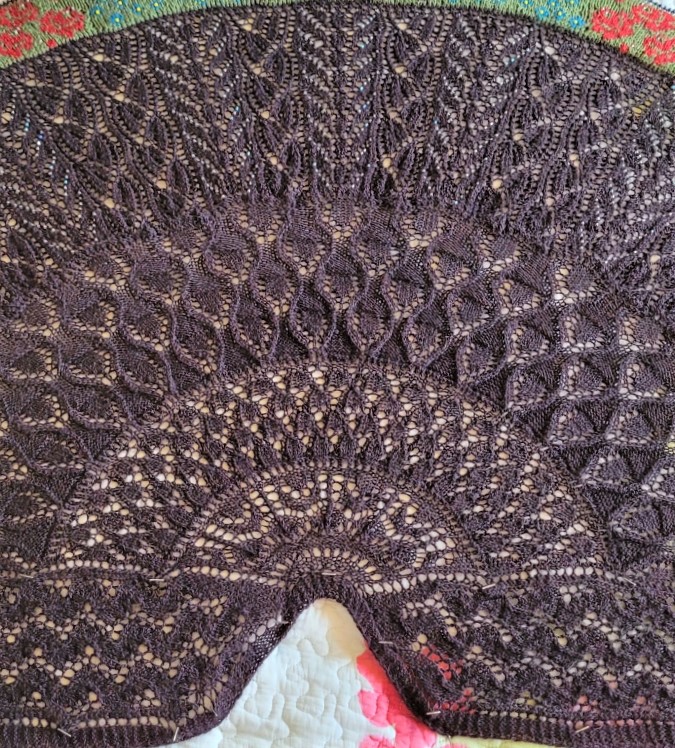
The painted Fan is my first attempt at hand painting with dyes. It has become the basis of my header for the patterns I create and inspiration to keep on trying new things. Pattern was Nightfall Fan by Deborah Robinson.
Ok – everything is set up and I am at the knit until I am done stage. The only decision left is do I make a scarf or a shawl – I am thinking a shawl! So I will need another ball!
I already have a plan for the finishing. But I won’t need that for a while.
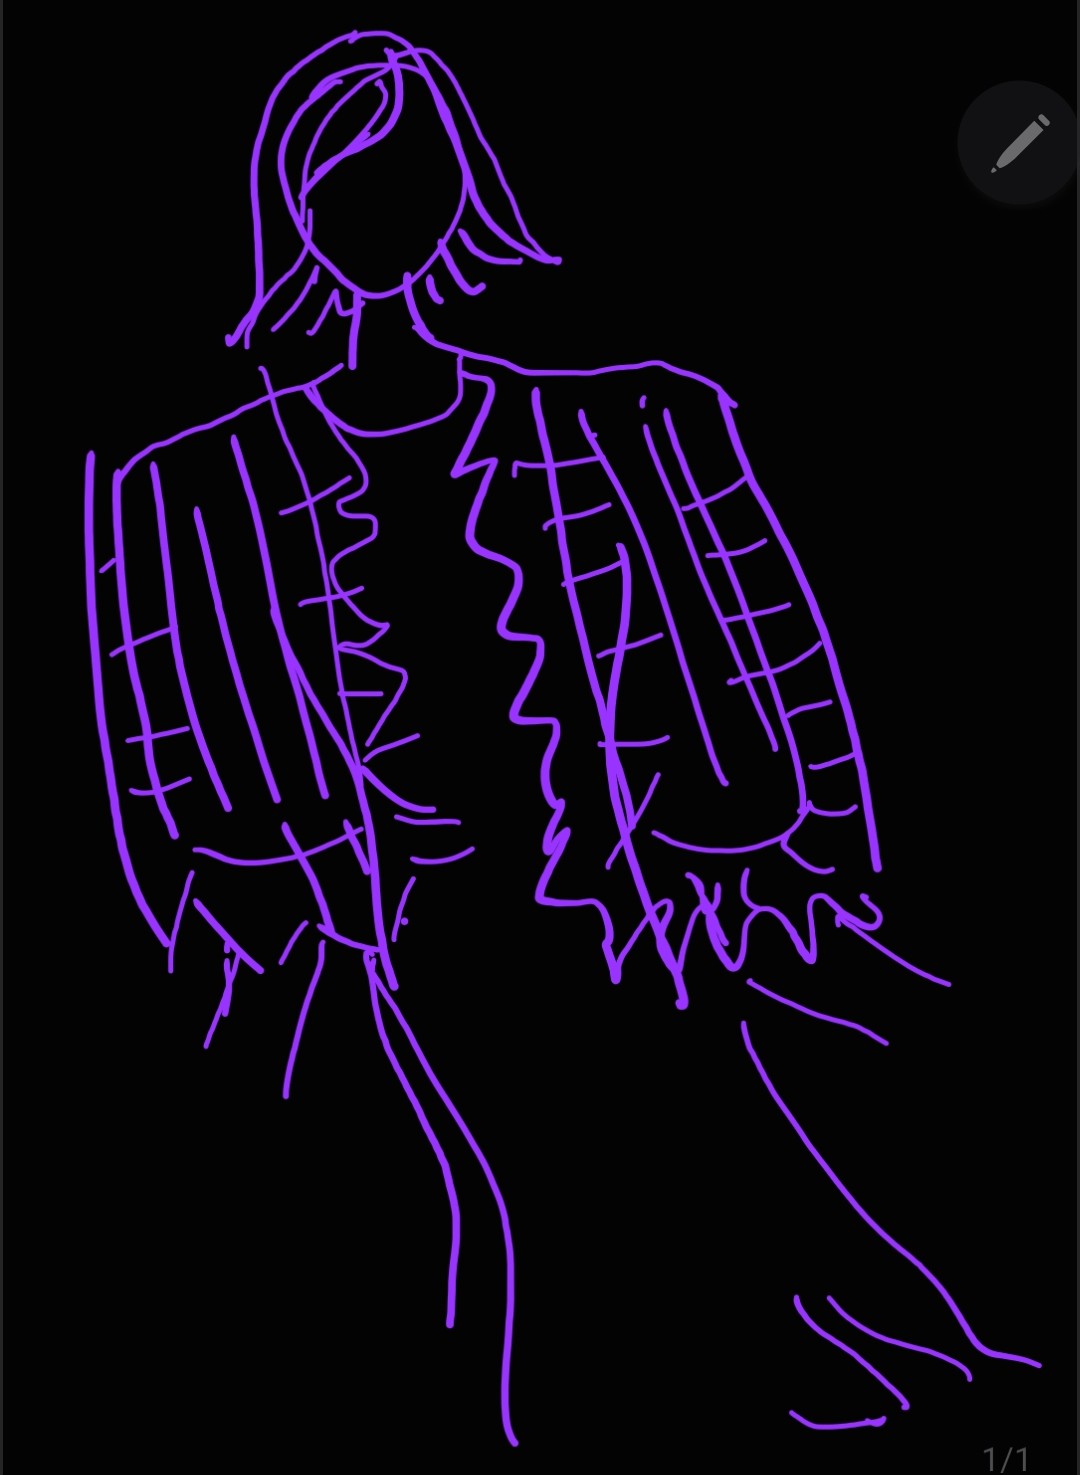
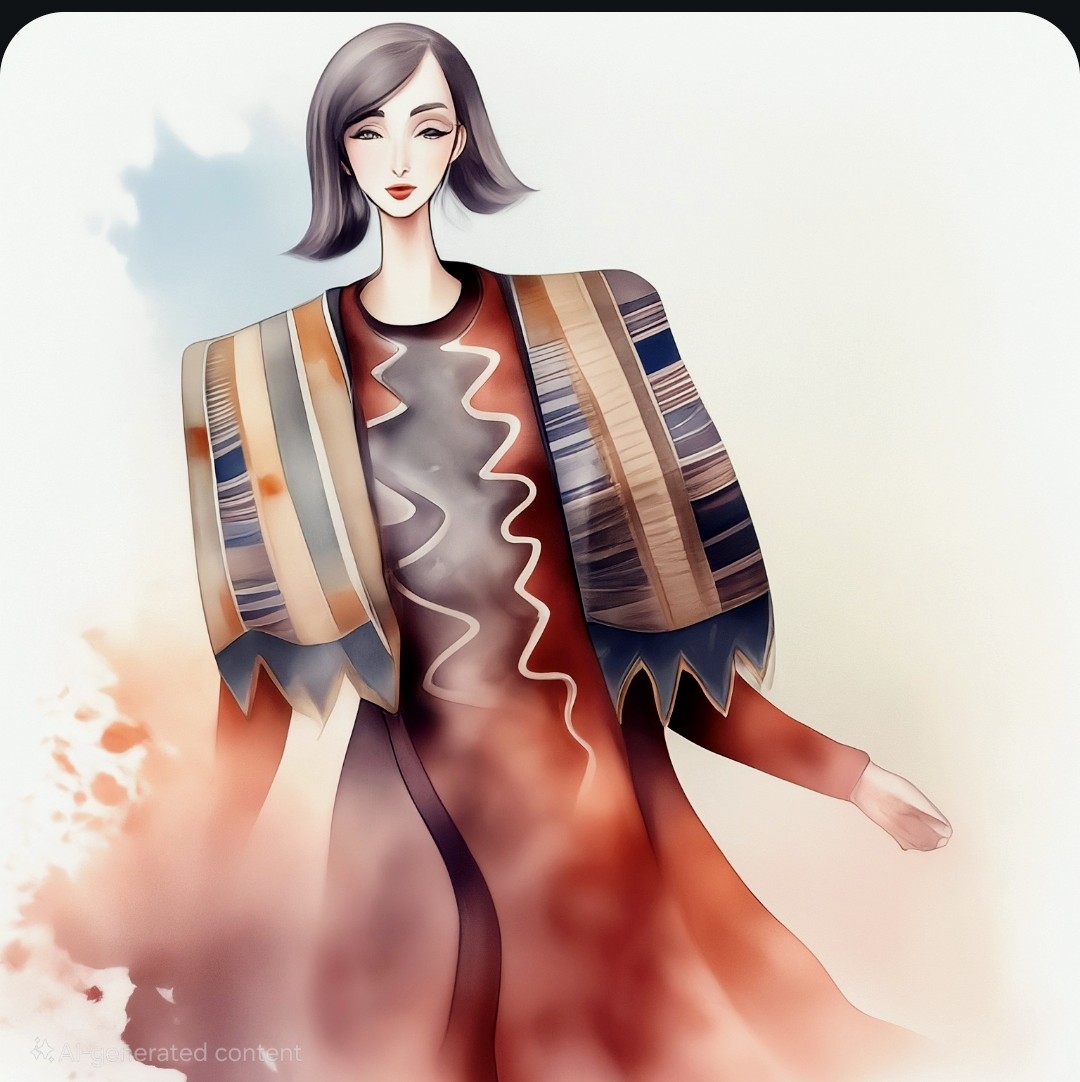
Isn’t technical stuff fascinating? My phone has an app. It is AI based of course. But it will take my rough sketch and turn it into art. If only I could really illustrate my knitting pattern ideas so well! It has been really fun to play with so I will be trying this out more!
Use the slider to see my sketch of “Quickie” and compare to the AI finish!
I have written up Quickie as a PDF. Click HERE to download the pattern for free.
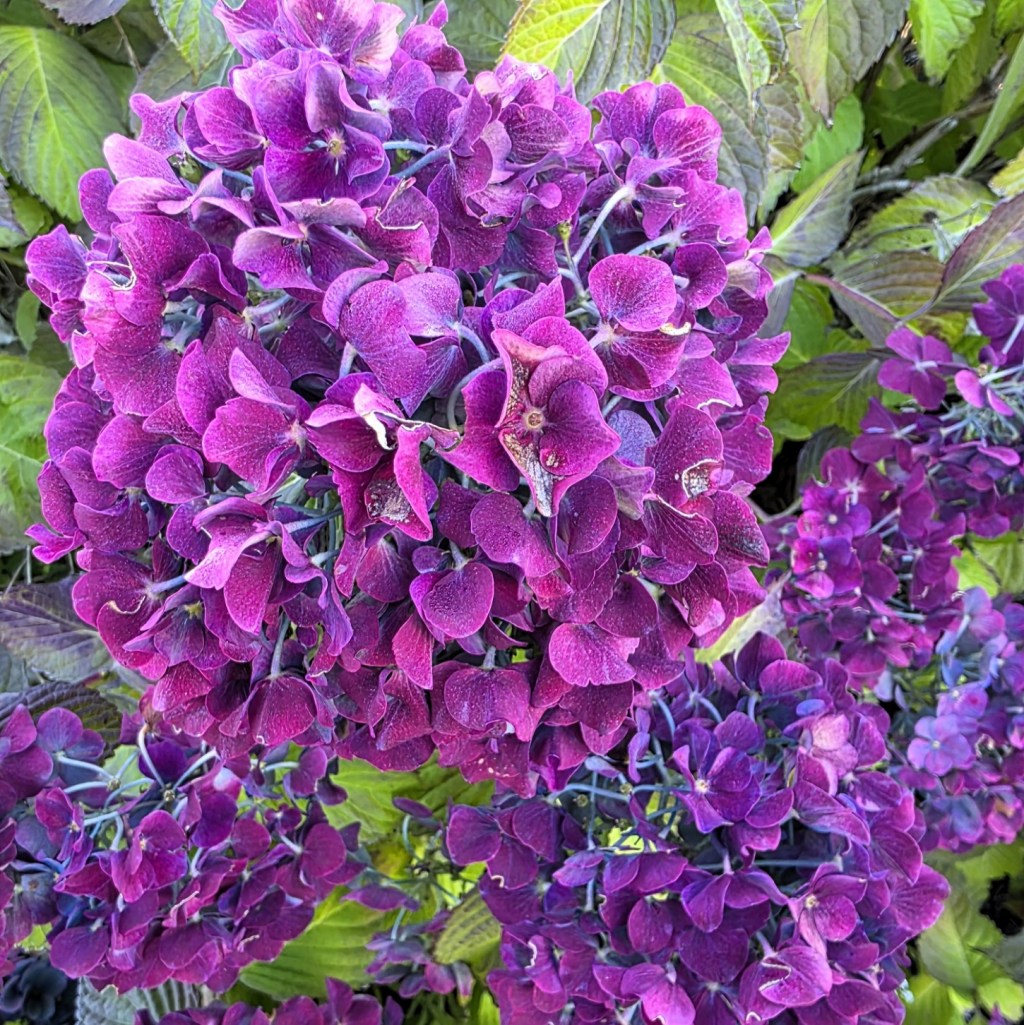
The Hydrangeas are from my new garden – they are aging spectacularly!
Note – I made a couple of changes the original blog post – stitch count is 370 at the end of the last row. I also suggested a different style of needle to make the first rounds work a little more easily.
Here are the next two rounds. The body pattern should be ready by Wednesday.
Transition Rounds
Round 1 – * K3, YO, K1, YO, K1, (YO, K2tog) 3 times, YO, K1, YO, K3, slm, K2tog (YO, Ktog) 84 times, slm, repeat from * once more – 380 st. stitch count moves like this 19, 169, 19, 169. The long sides each lost a stitch.
From this point he stitch count will increase by 4 sts on each end, every other round, 8 sts total and the side stitch count will remain the same.
Round 2 – purl.
My pattern Metro was knit using the same techniques as we are working with the Quickie pattern.
A few months ago I was interviewed by Stitchmastery. Stitchmastery makes the knitting program that I use to create my charts! I was really stoked when this came out!
Look at all those pretty lace patterns, all charts created by Stitchmastery.
I love working with striping yarns. Moving the stripes around in different ways is aways challenging. This technique is a little challenging, but great for the adventurous knitter.
This striping yarn is Poema Stripes by Laine du Nord
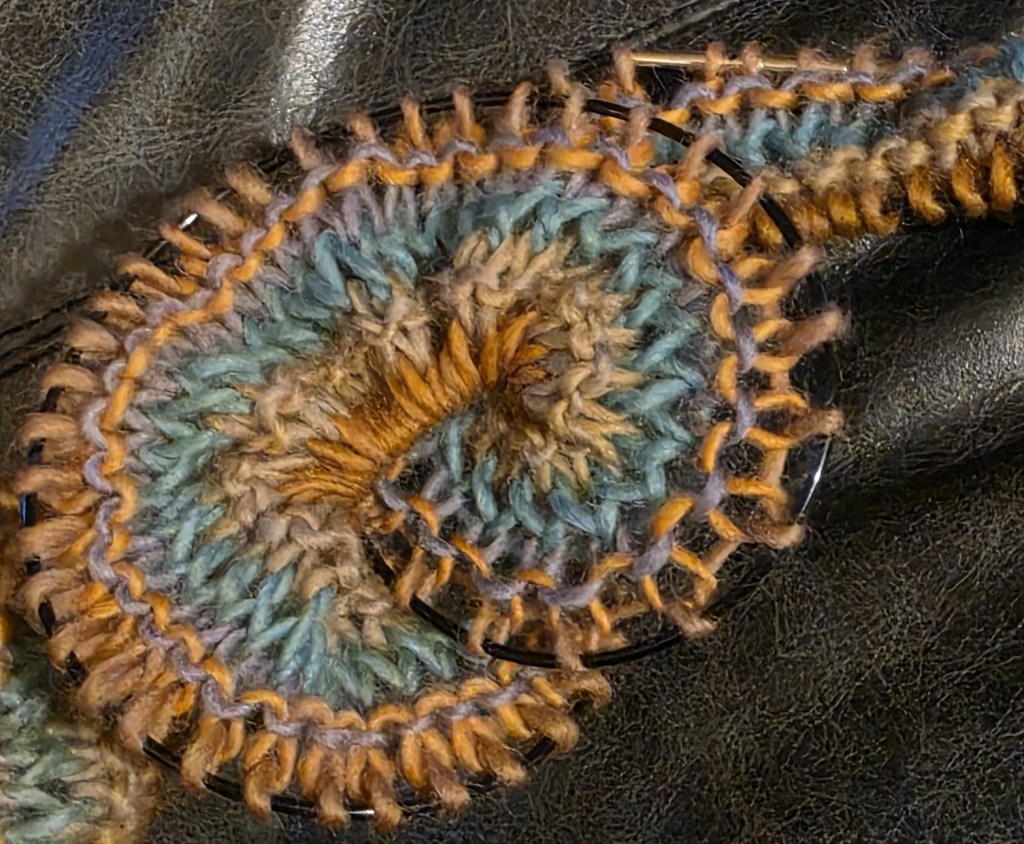
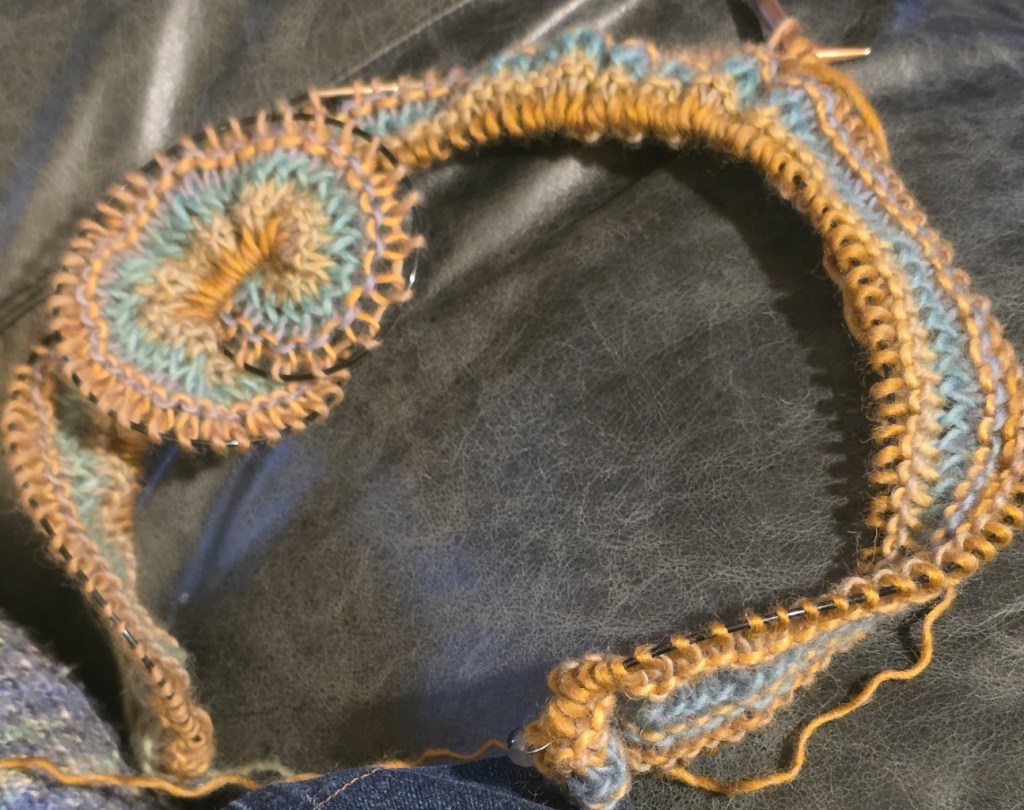
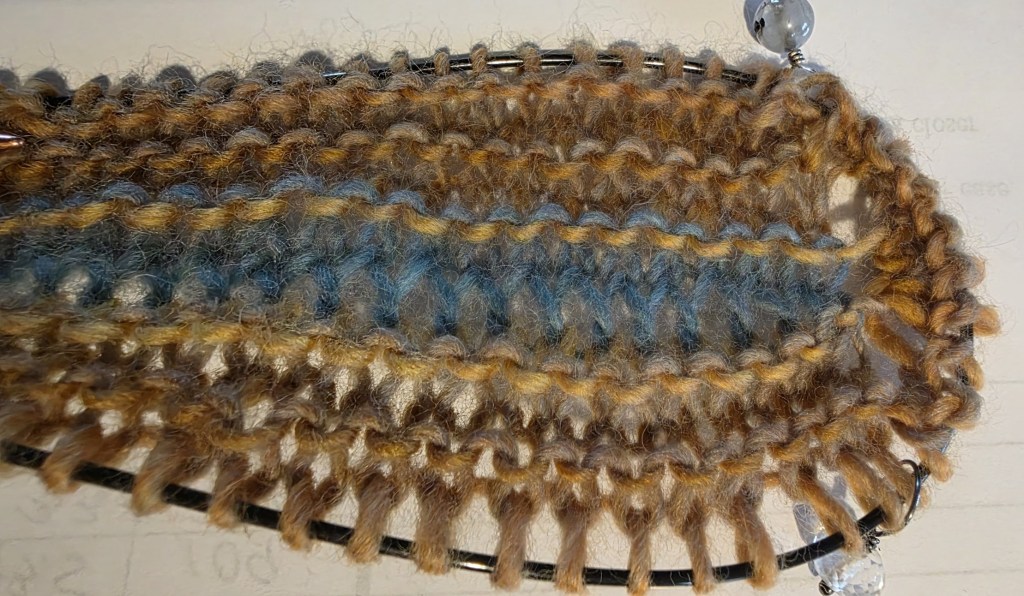
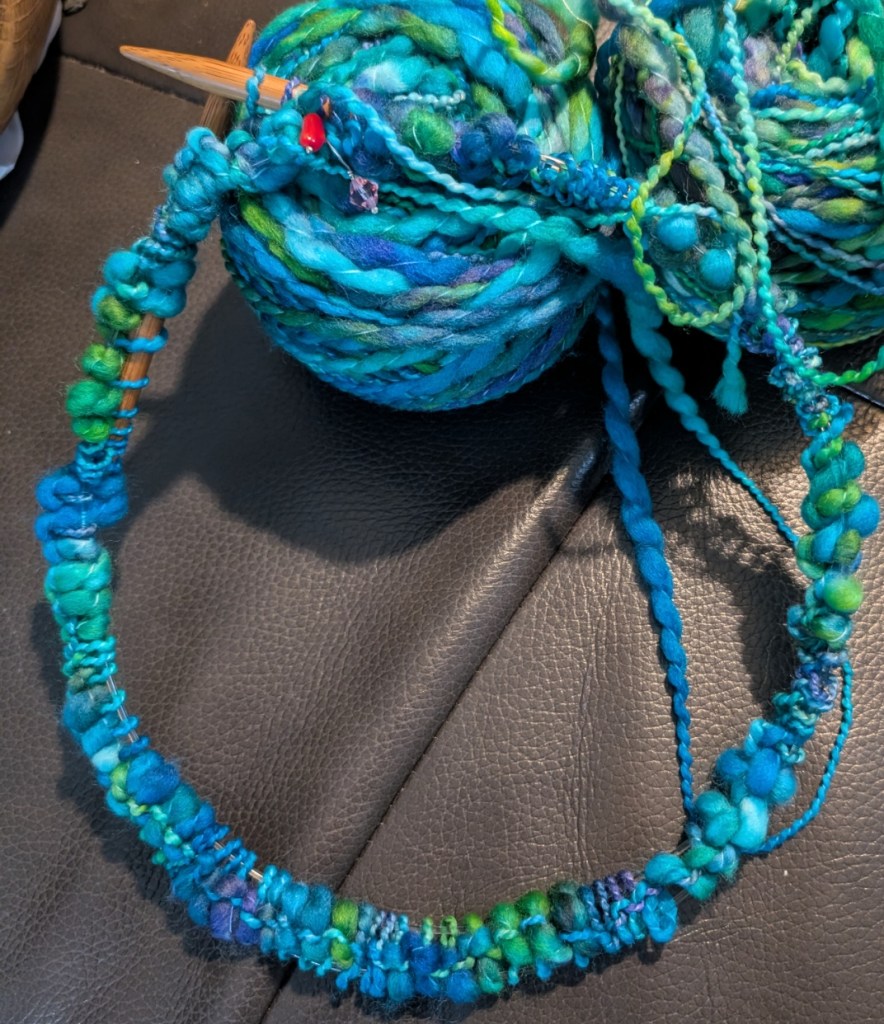
I have started a new scarf, one with a different style of cast-on. For the knitting nerds outs there – have you every knit a rectangular scarf or shawl in the round? Do you know the magic loop method? Why not give this a try?
Basic instructions for a worsted start:
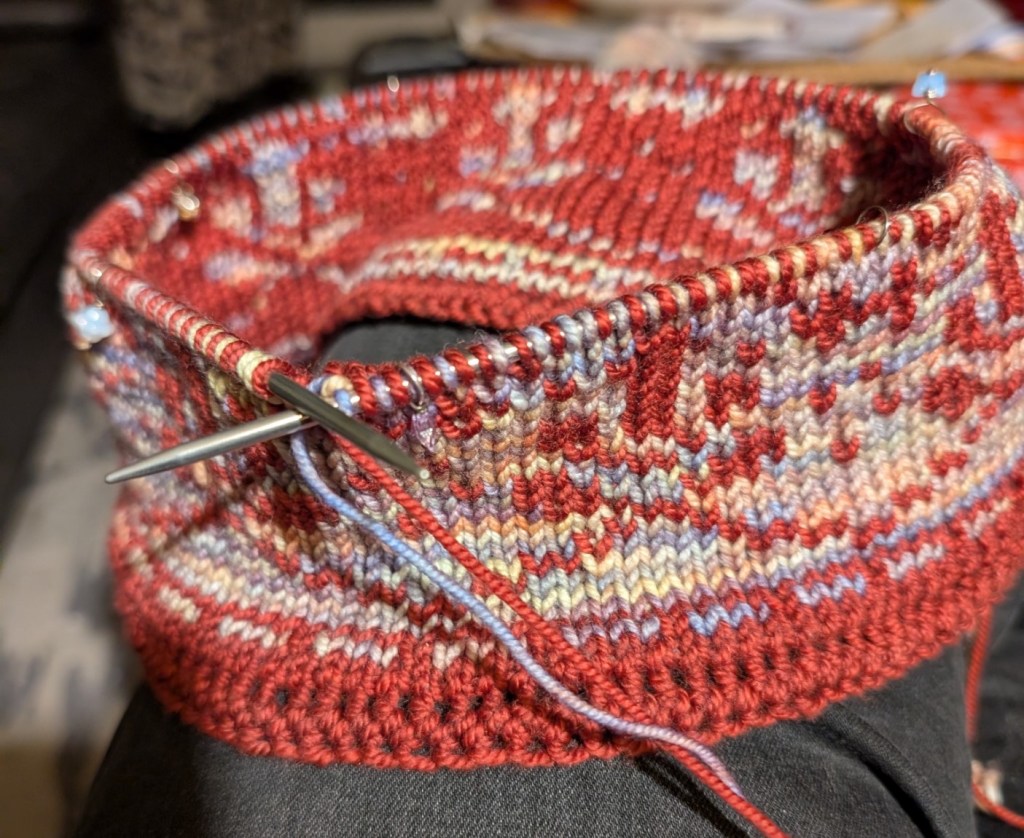
Using a 5.0mm US#8 80cm 32in circ, and using a knitted cast-on (you know, the one with the loopy edge) 170 st. Knit 1 row. With a 150cm 60in needle of the same size, turn work so that the RS is facing with the cast-on edge on the top.
Pro Tip – one that I forgot until I didn’t need to remember – DUH! – if you have them use a 60 in cord with the short tips – you will be knitting in the round without the rabbit ears a lot sooner (magic loop).
Pull working yarn up and using the new, longer needle, pick-up and knit 170 sts from the cast-on edge. Pull up enough loop so that the needle can turn the corner, YO, knit 170 sts, YO, place BORM marker – 342 sts.
I love the way the stitches make “turkey tails” as you move them along the cord.
You will need to pull out the extra cord at each end to turn the corner for the first 10 rounds or so.
I’ve been busy. Selling my home of 30 years, downsizing, and downsizing some more. There is still a storage locker so there will be more downsizing to come. But I am still knitting.
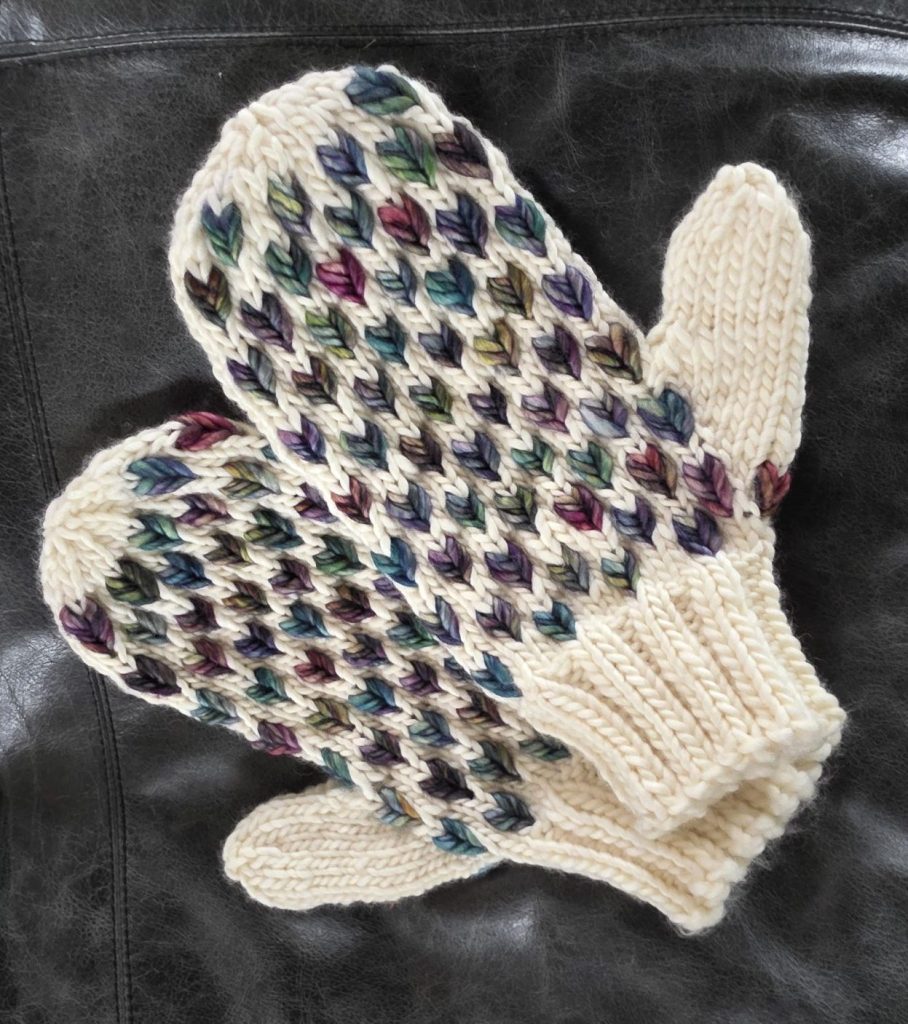
Borealis Mitts for a November Class.
It has been a tumultuous couple of years, both personally and in the world at large. Not sure where it is all going. How about you? How has your life been progressing? Life never stops. But I am still knitting.
Did you know that I am officially retired. Not from working – though I do work less – I am retired by the definition that being retired means I get to do what I love! As I am doing what I love I am retired and still getting paid – how great is that. So I am still knitting, creating, teaching and hopefully bringing other knitters along with me.
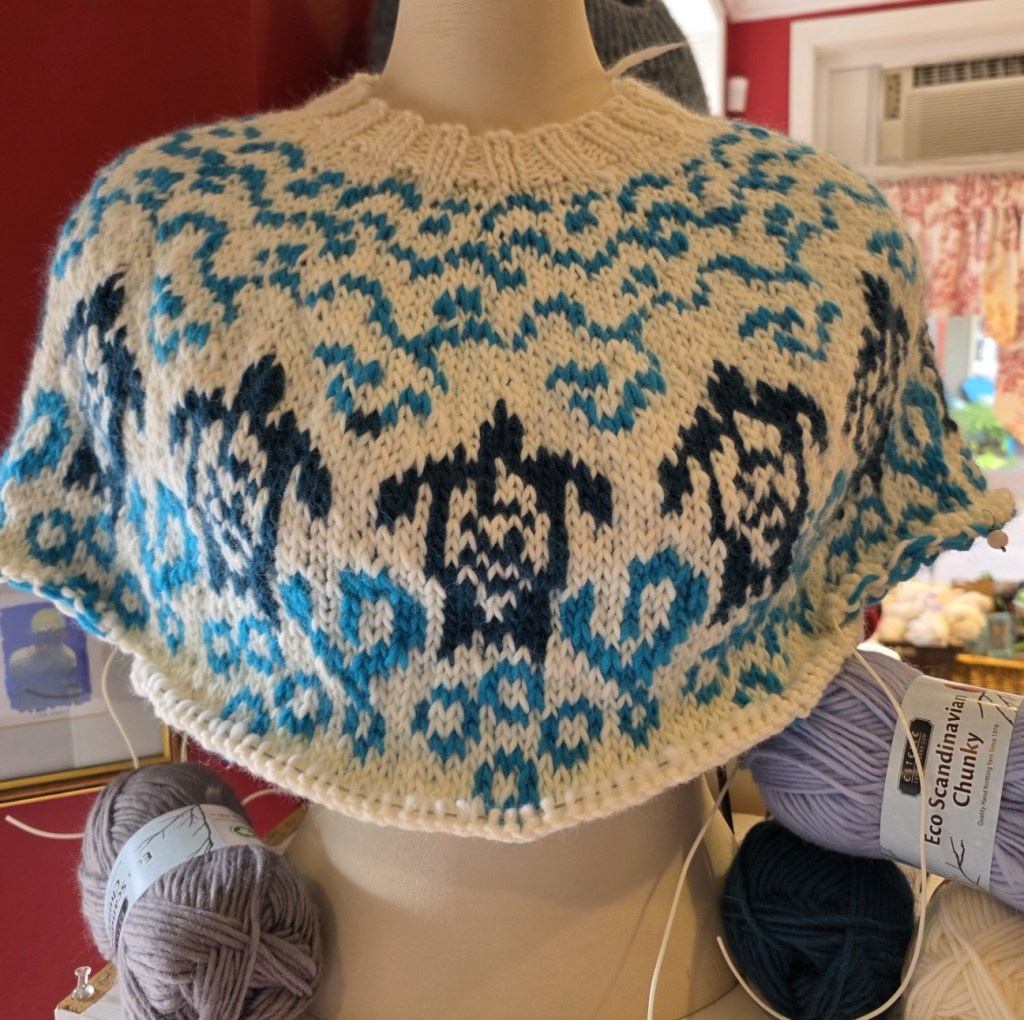
Ocean Legend – a fall class and a new sweater for me. I am still knitting. I hope that you are too!
Last November saw the debut of a new Canadian Yarn. One that was sourced, scoured and milled close to home. Albeit home for this new yarn is Ontario, not here in British Columbia, but this is still important. A new Canadian yarn company that is working towards a more sustainable Canadian yarn market! Something that I want to support!
Waxwing Yarn Company is the name of the new company and is situated in Ontario. The link will take you to their about page which will fill you in in all of the details. Their yarn, Cedre is available in 25 and 100 grs skeins. There are 20 colours and I loved them all. The colours are what I call clear, not greyed, and have been dyed in a palette of beautiful brights.
I had a hard time choosing just a few colours.
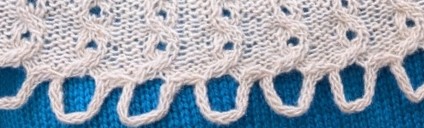
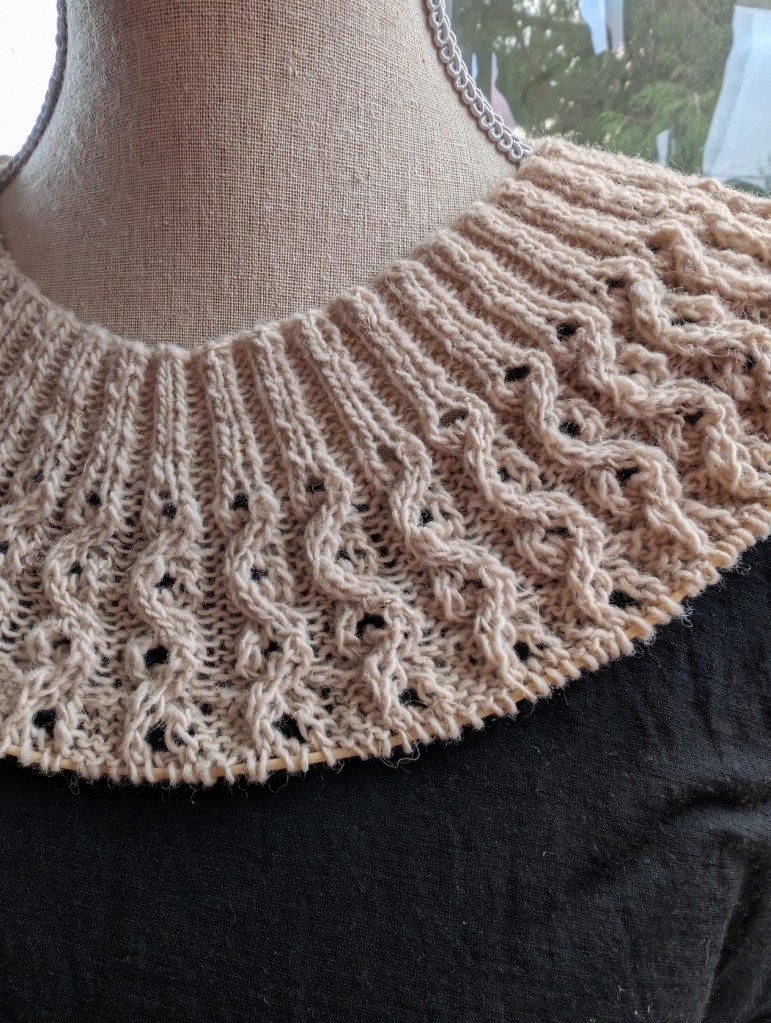
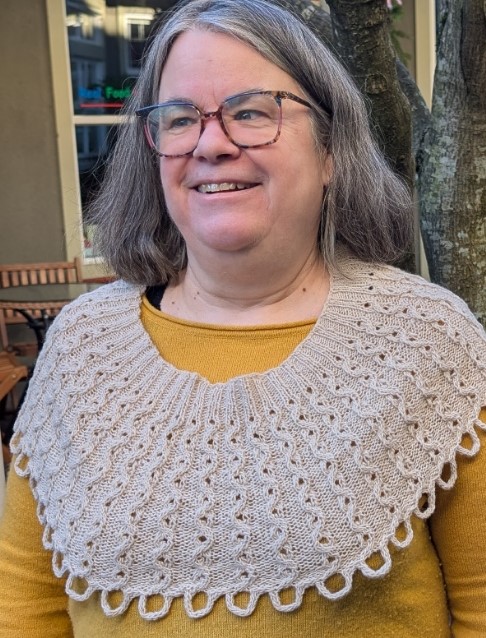
I ordered 2 full skeins and 3, 25 grs skeins. I basically created my own “try me” option. I am thinking of two separate projects, one a simple, single colour project in cables and lace. This is the collar I have been making. The colour I chose is called Brume – a light tone, just a shade darker than natural.
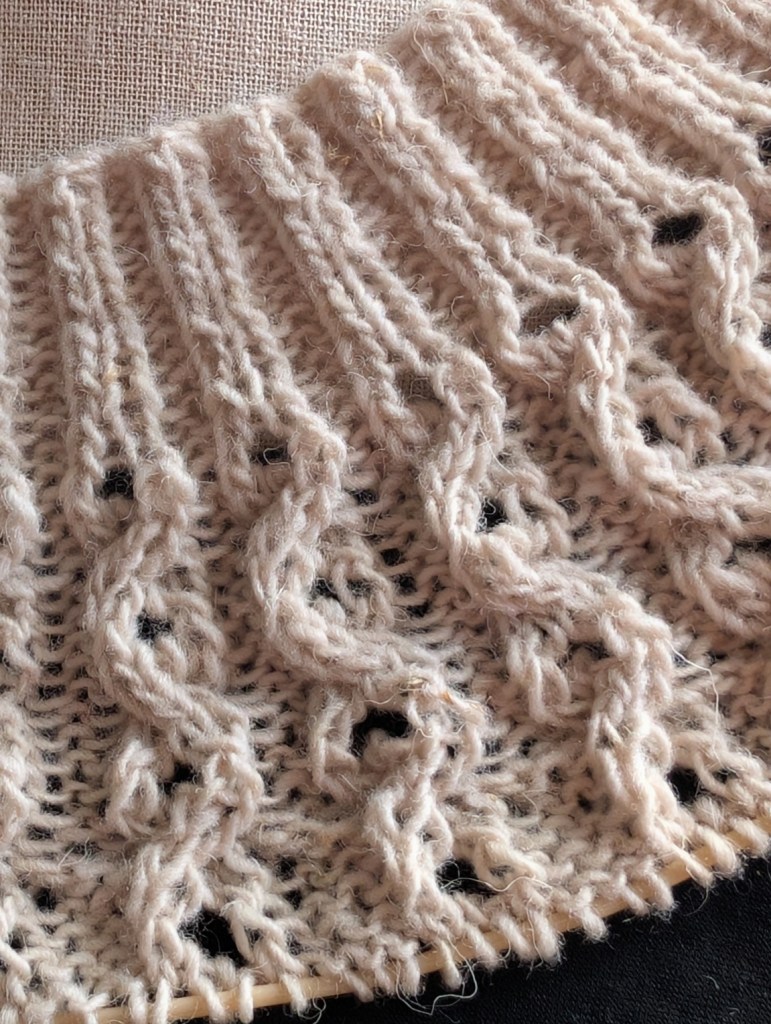
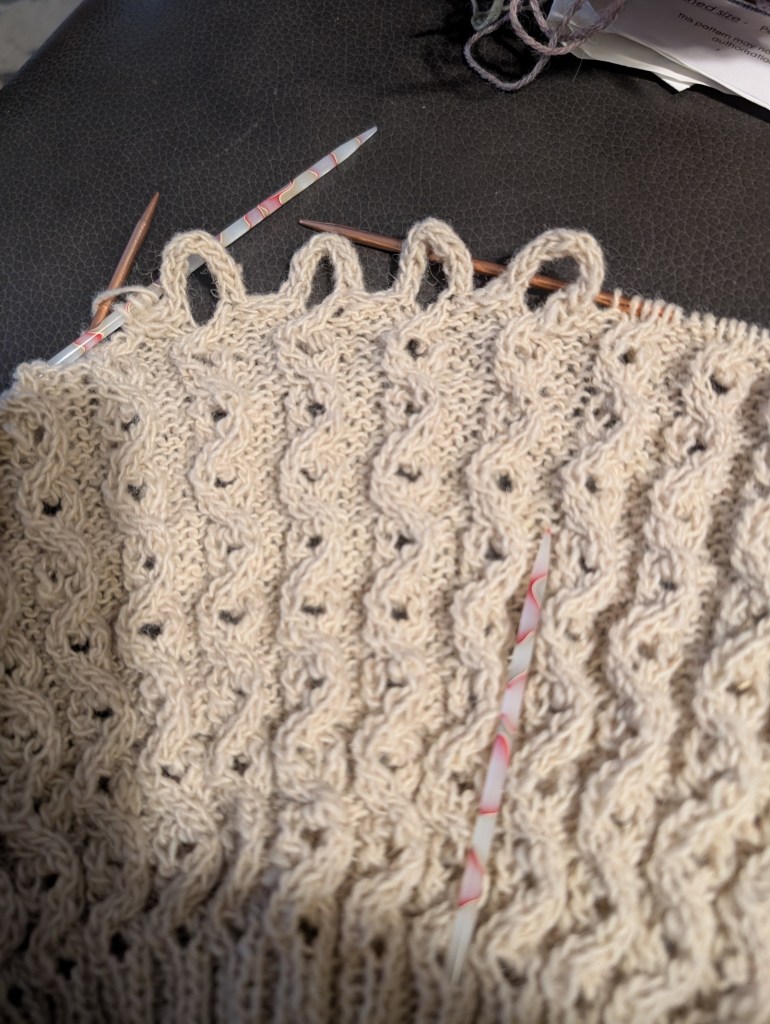
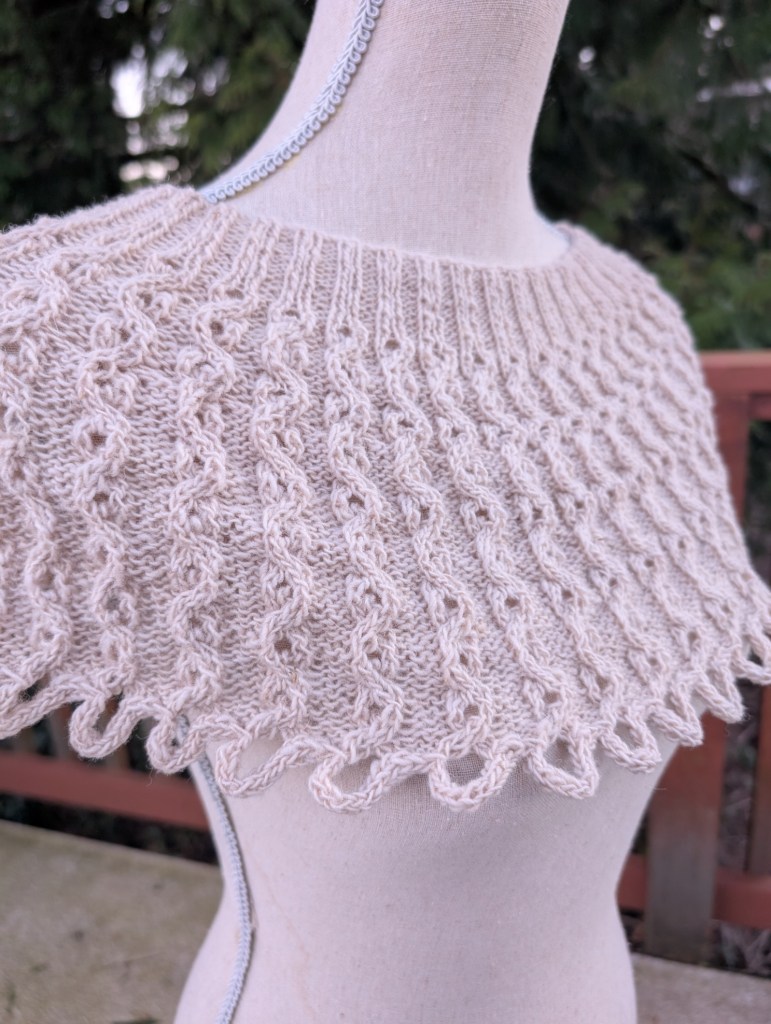
The collar is now complete and I love it, Once blocked the wool really took on a lovely personality. The cable and lace pattern I created came out crisp and clear. The pattern is a wavy cable and eyelet rib that really pulled together and stayed bouncy until I blocked it out firmly. After washing and blocking the yarn had softened but still has that wonderful woolly feel. It is behaving beautifully, staying blocked and open.
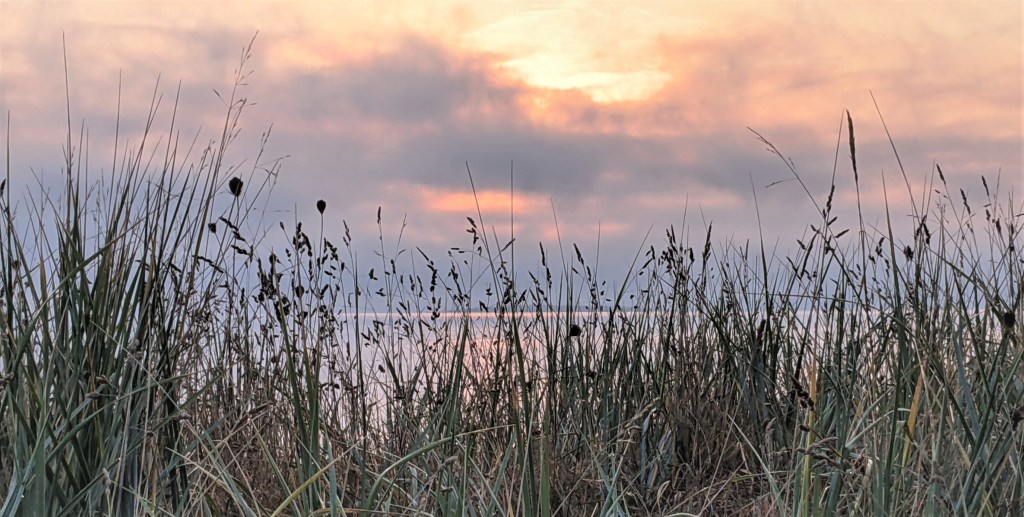
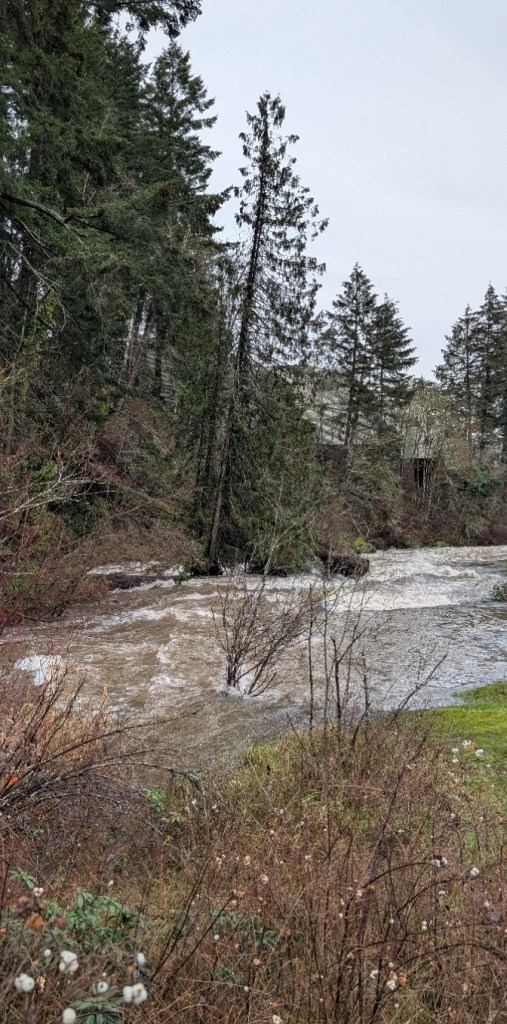
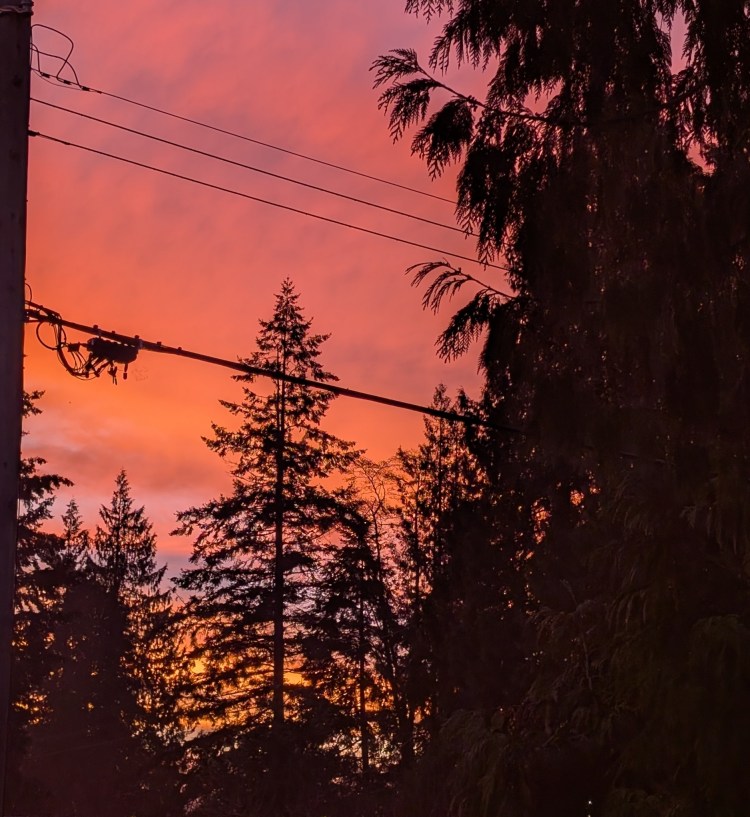
Torrent Collar, is all about the rain around here lately, water streaming down the windows and rollicking down the river, I love living on the west coast. The inspiration that surrounds me is an every day happening from the morning sunrises to the evening sunsets.
Sunrise – no filter
Torrent Collar is being test knit right now and should be available as a pattern in a few weeks!
A good start…Beauty shotI-cord loop bind-offLooking good on a formNot bad on me as well. This is the small/medium size, I really should have made the medium/large, it would sit better, but it is cozy.
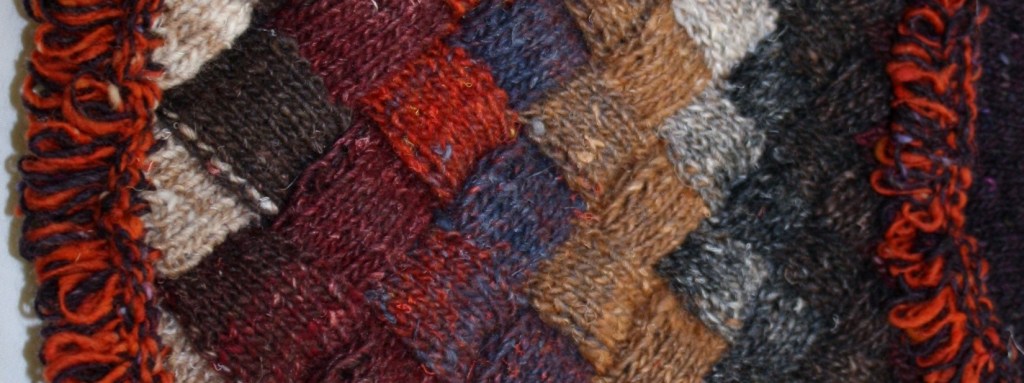
I am thinking maybe and hat and some fingerless mitts will be created from the remaining yarn, something in fairisle! Or maybe entrelac? It has been a while since I designed something in entrelac. Oh so many options.
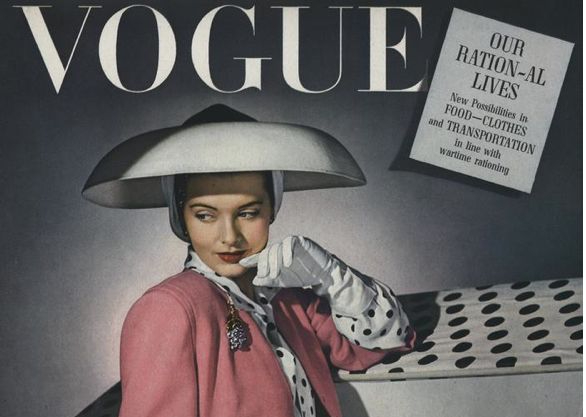
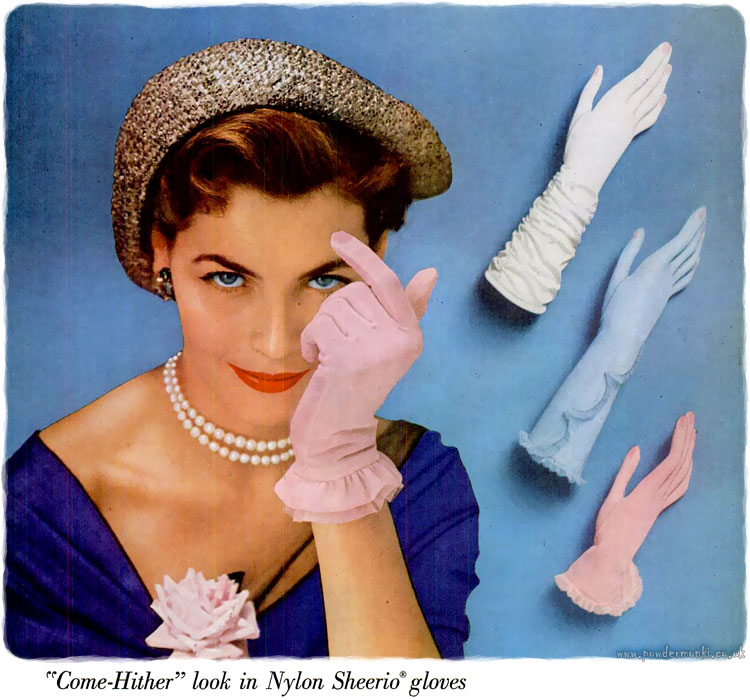
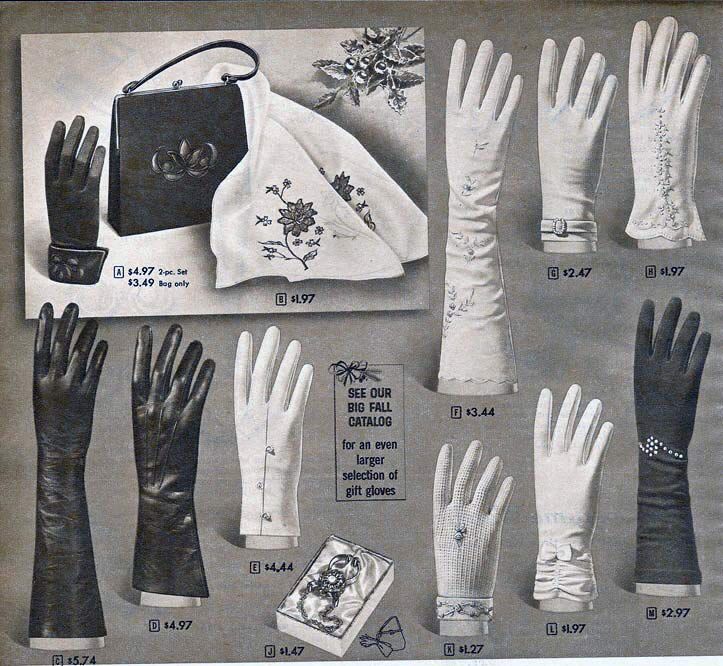
Gloves have been a fashion statement for centuries.
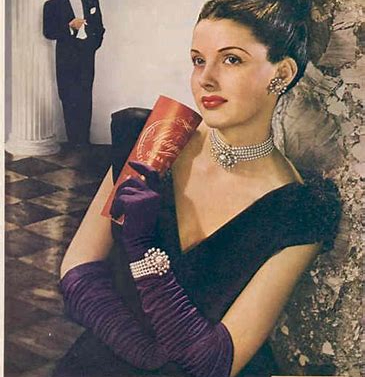
Gloves have been designed to reveal and conceal. Jewelry was designed and sized to wear over them. Gloves are what we wear to be “seen”!
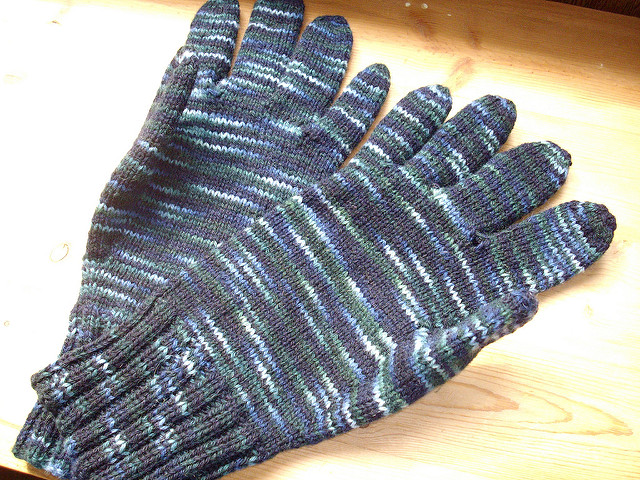
Gloves for a knitter are a perfect project. They are small projects and therefore very portable, much like socks, the common choice for an easy to travel with project. Best of all, unlike socks, gloves are seen immediately when worn. They can showcase a knitter’s skills and interests.
There are not many garments that we wear that can be said to reflect such diverse aspects of our individual psyches’.
Once you learn how to knit the glove hand – the back, palm, thumb and fingers – then there is the cuff.
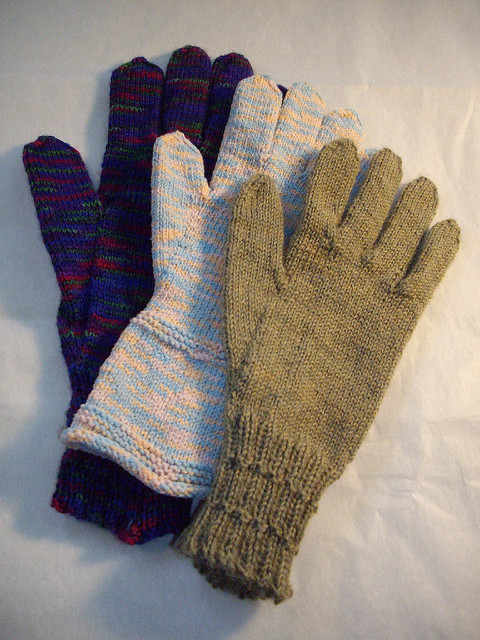
When you start to knit gloves, the cuff is kept simple, after all learning all the small points of glove construction are the main points of difference between gloves and mittens. That is where to focus needs to be. There are bridges and forchettes (french for small gusset) in gloves! And fingers, they appear small and fiddly – but a finger only takes about 20min to knit!
I started to knit gloves because, well, I couldn’t find a commercial glove to fit my non standard hand. I have broad palms and short fingers. Gloves that worked for my fingers would never go over my palm, and gloves that fit my palm would leave me with an inch of extra fingers. I always wanted gloves that fit me, therefor I learned to knit gloves.
Once I learned to knit gloves – I started to play with the cuffs of gloves!
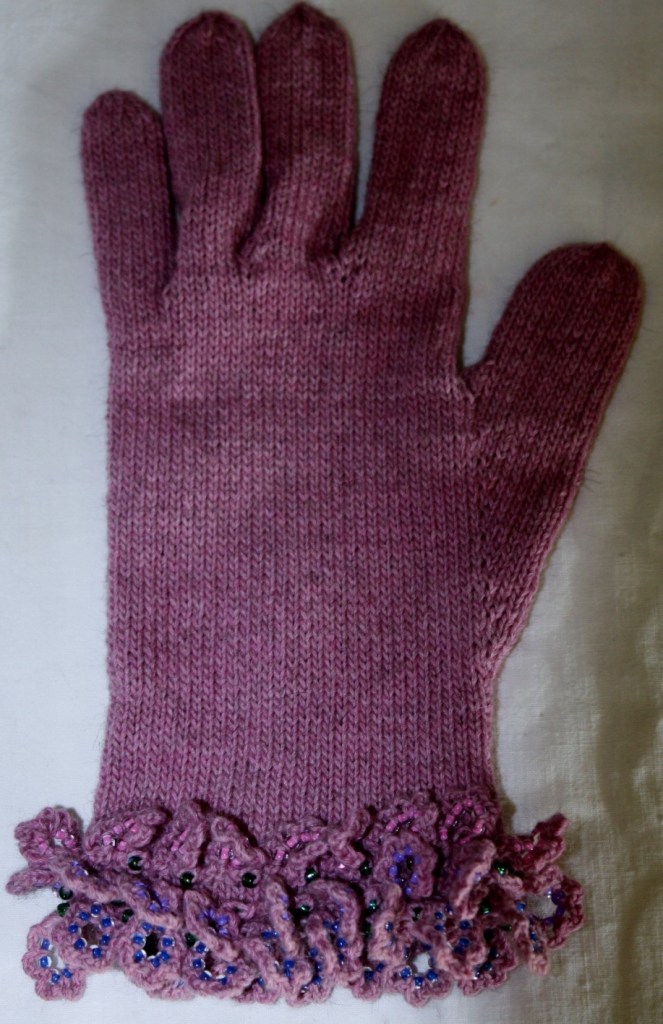
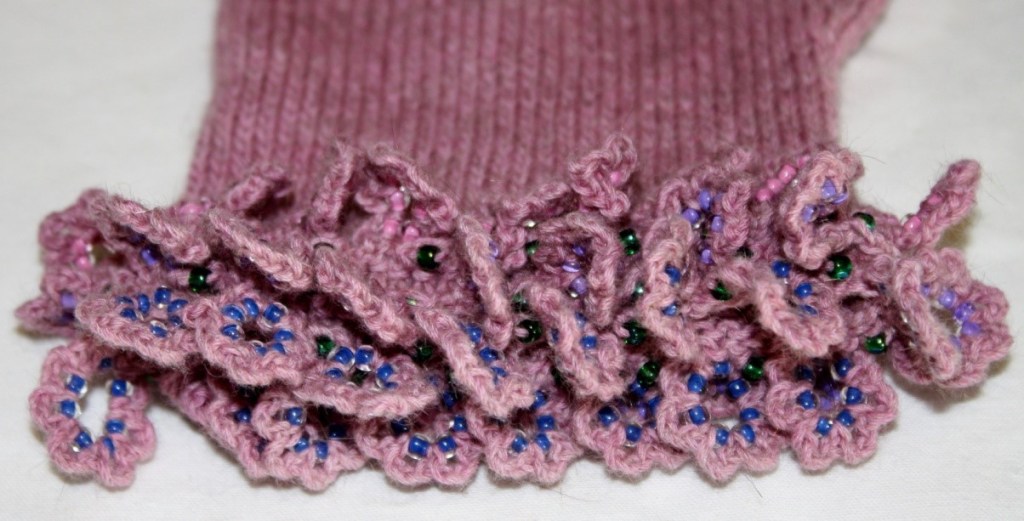
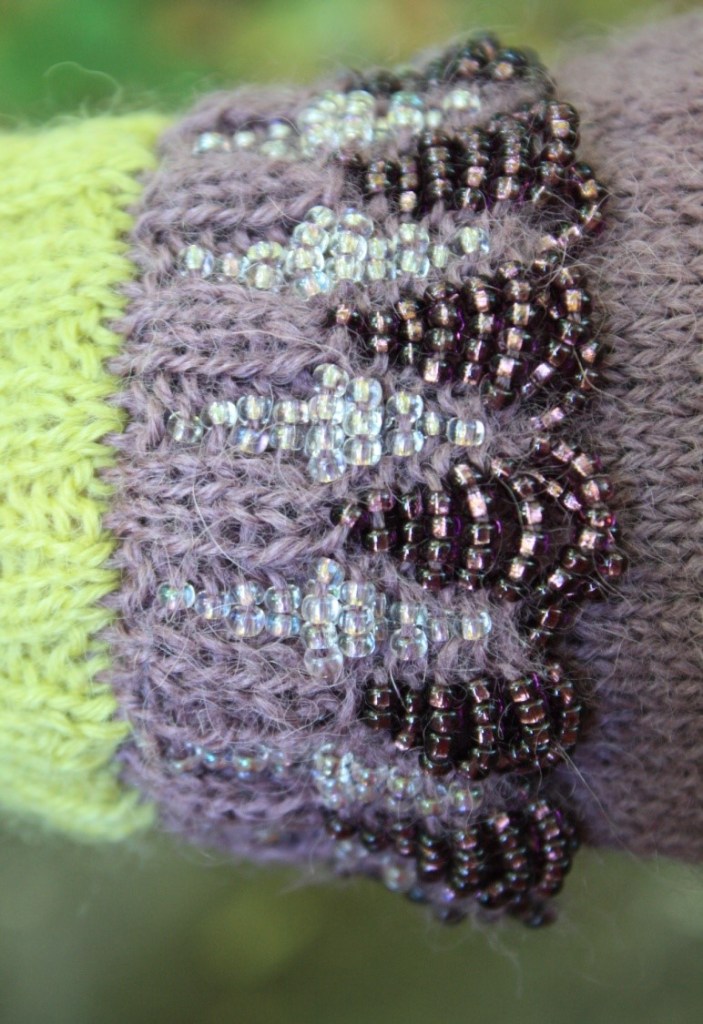
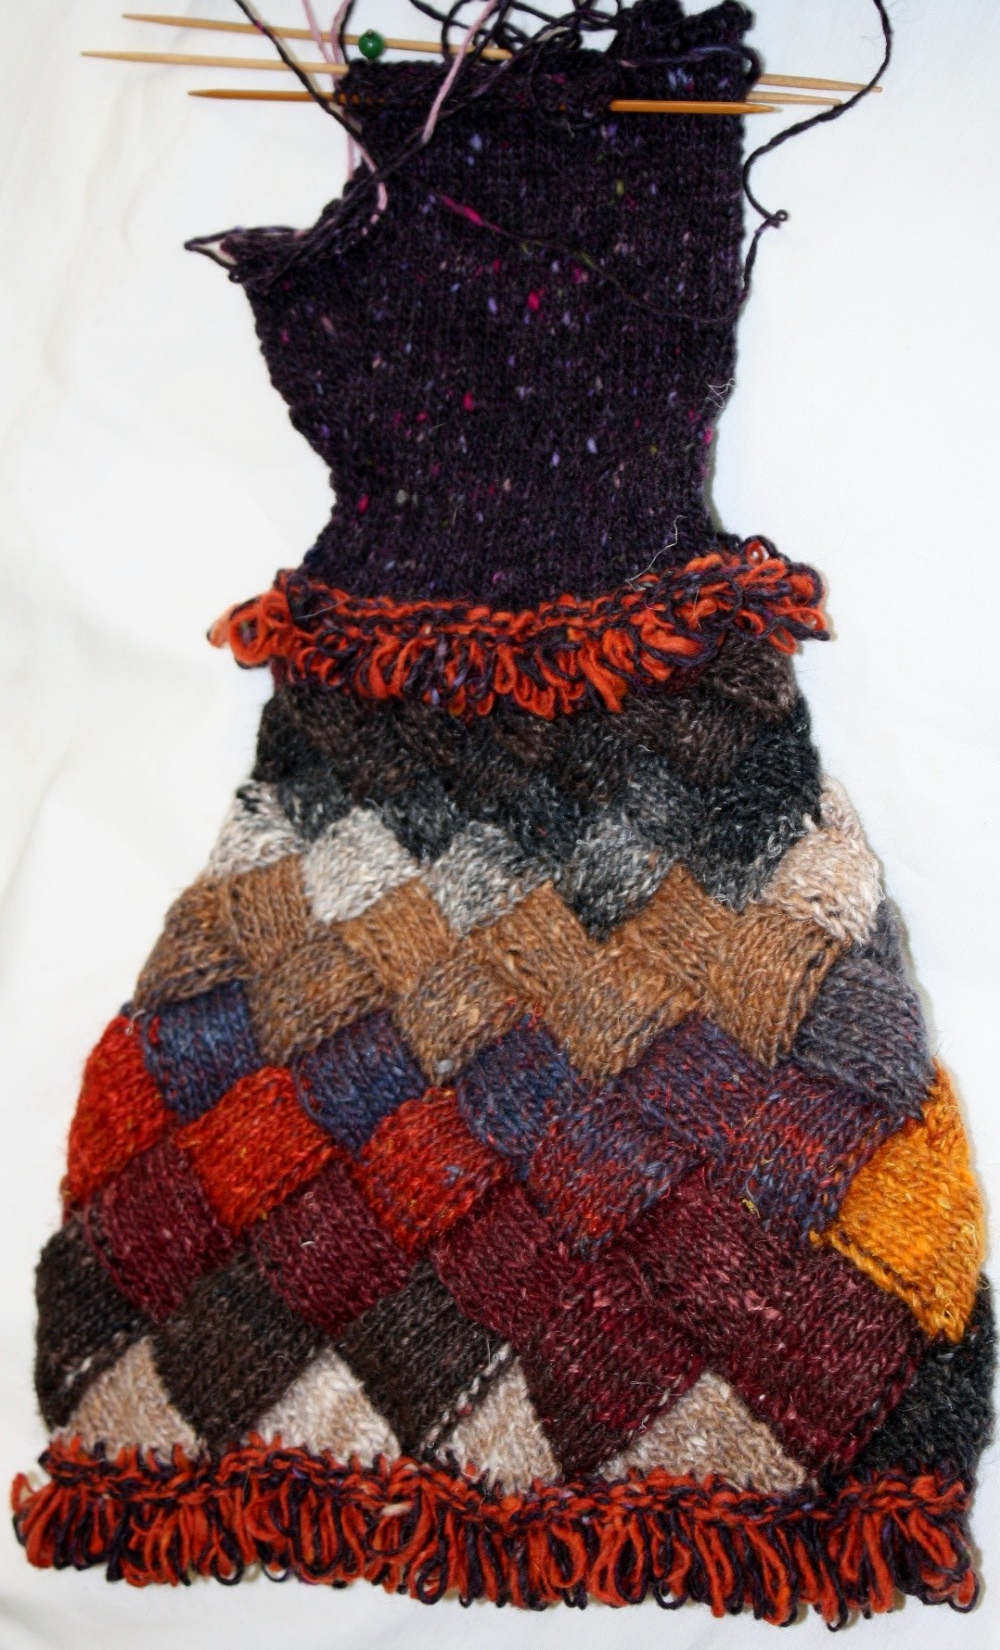
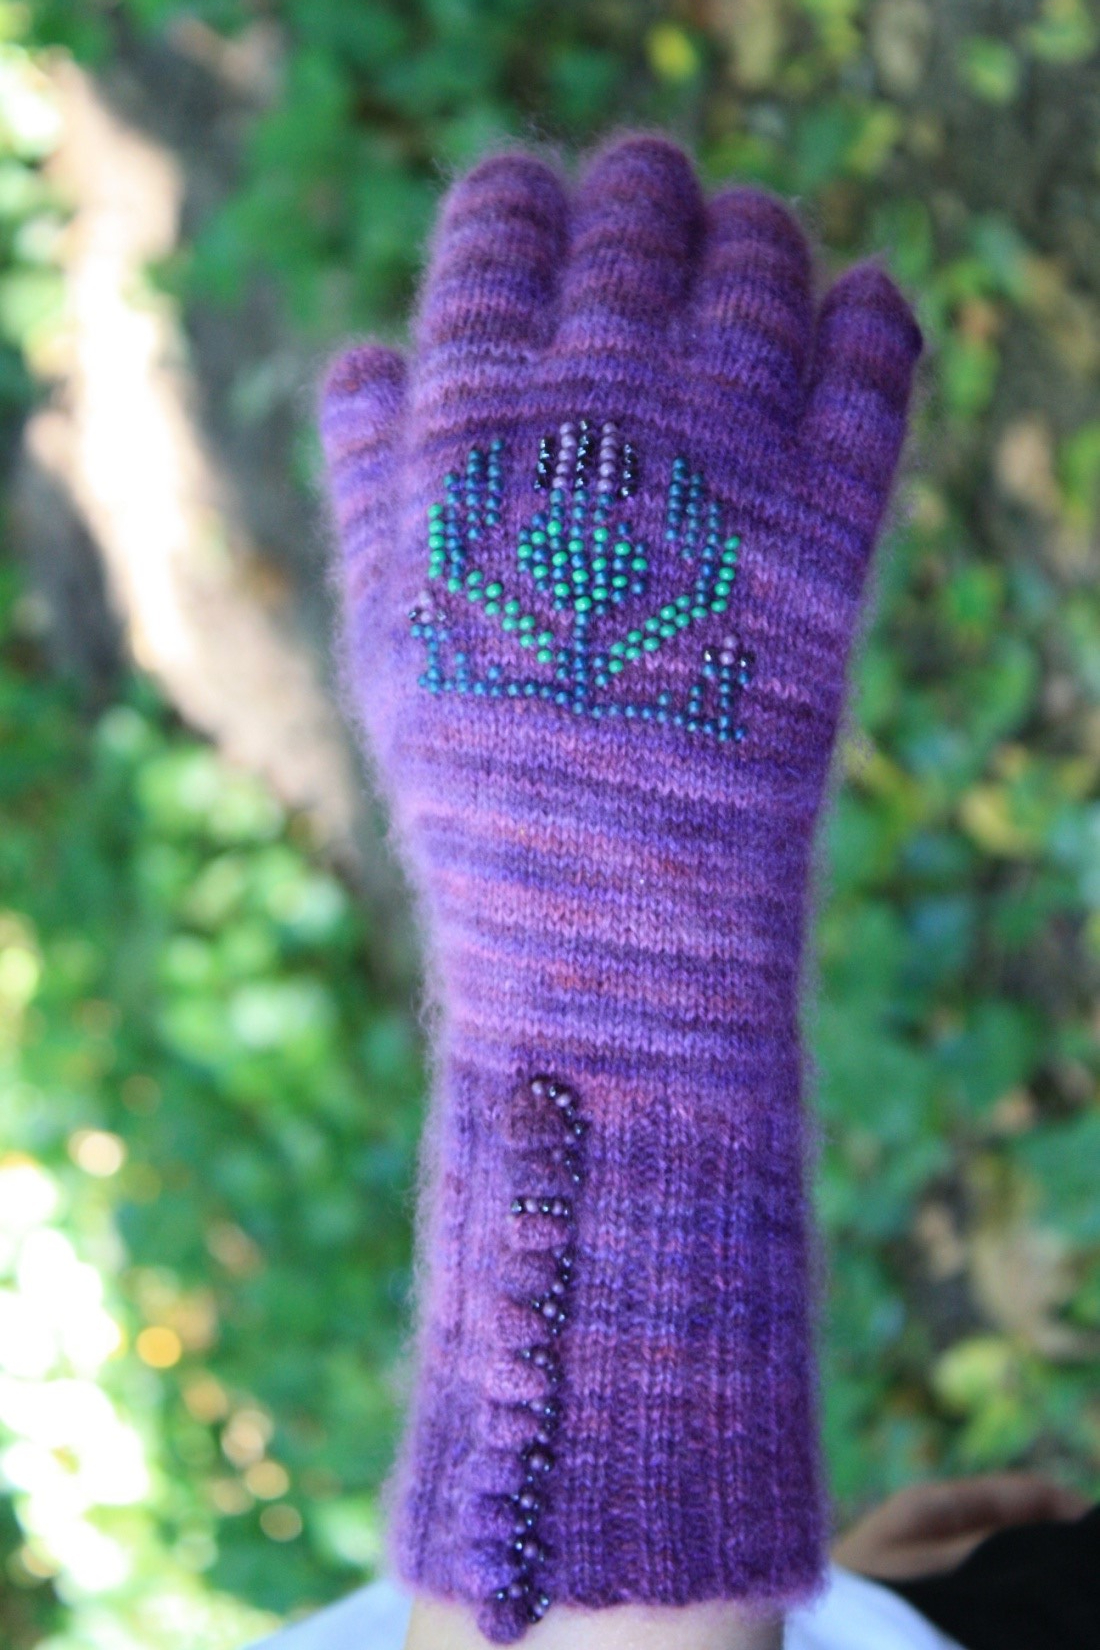
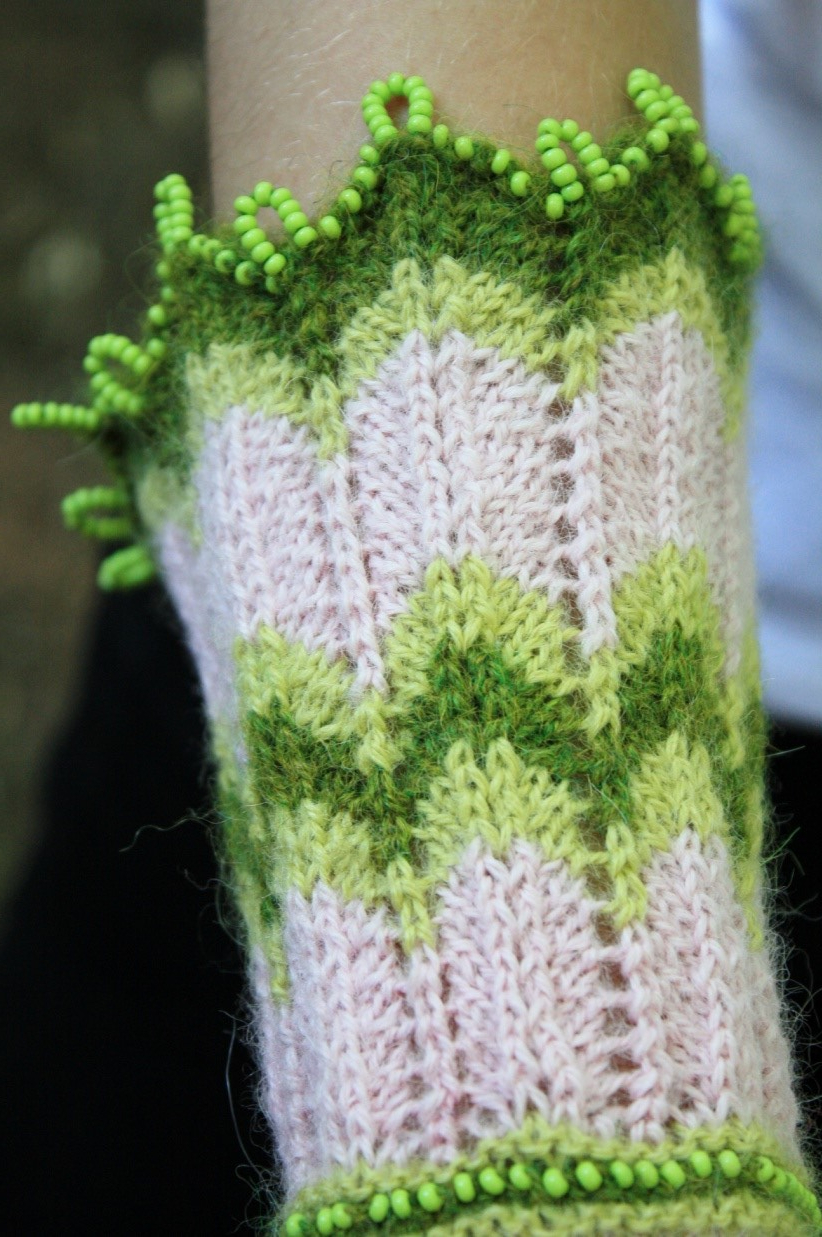
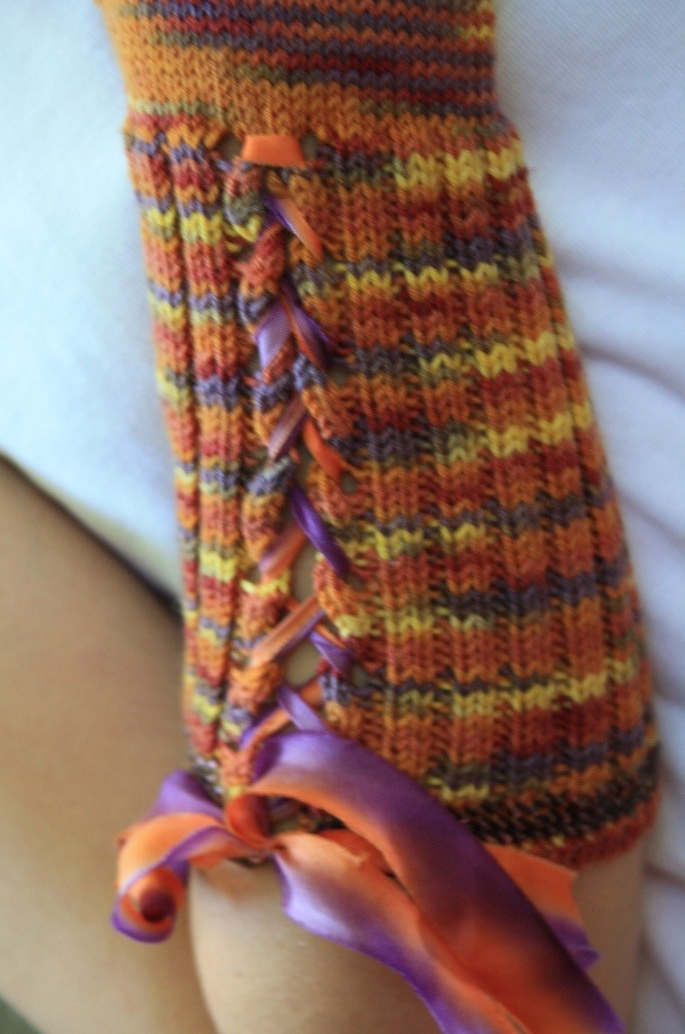
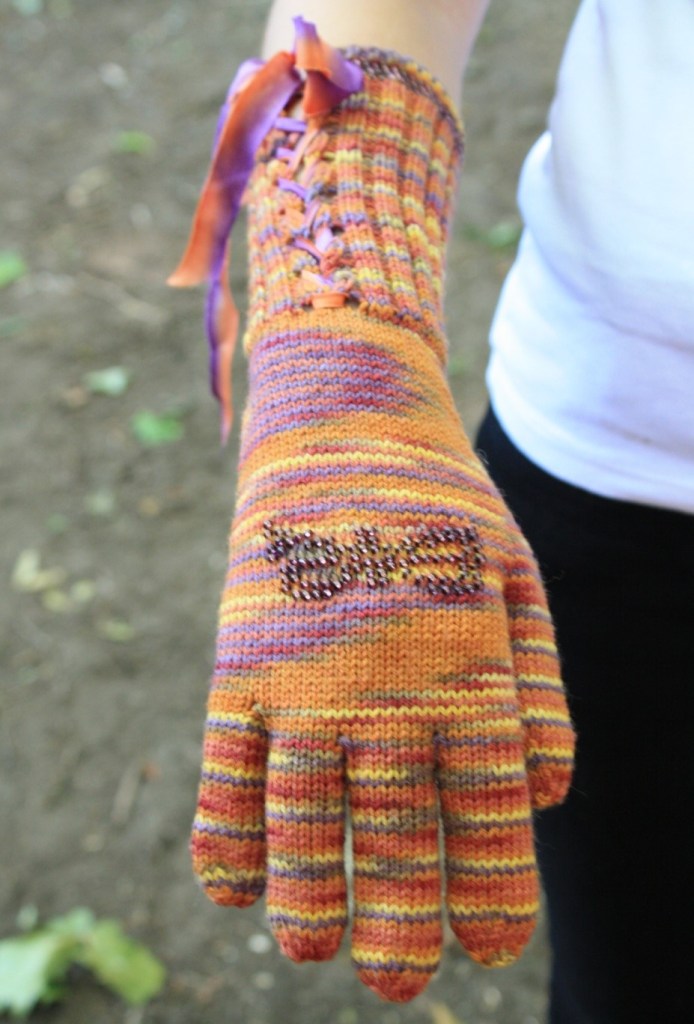
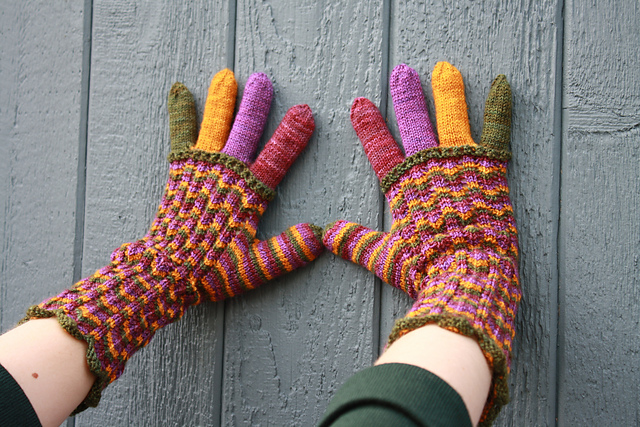
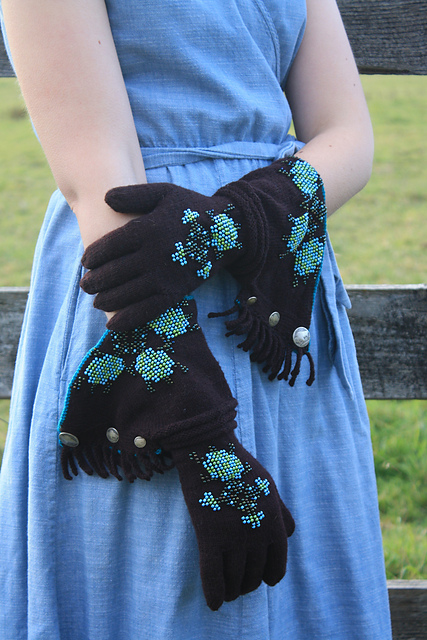
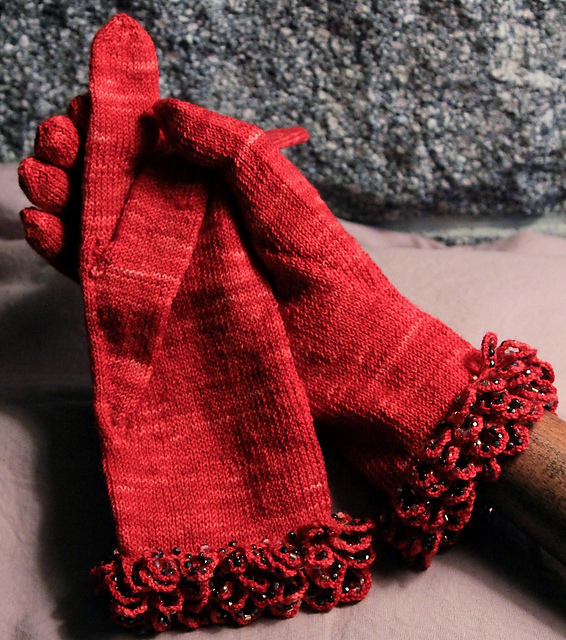
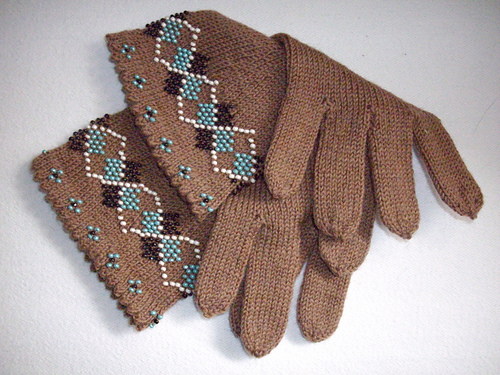
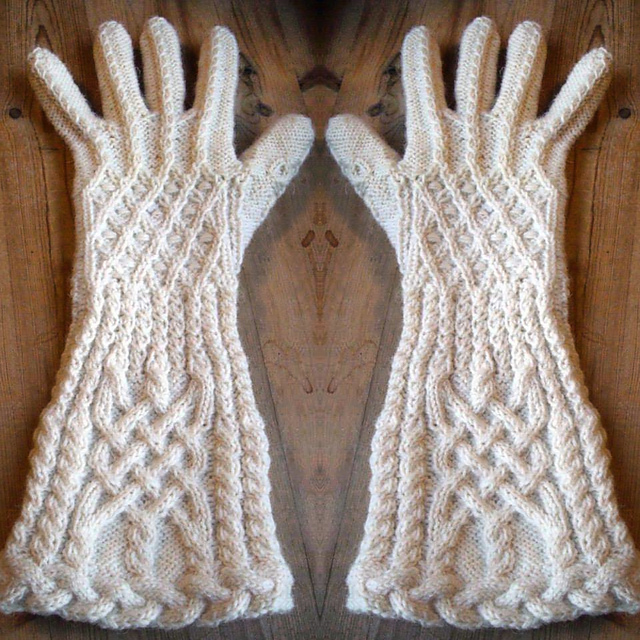
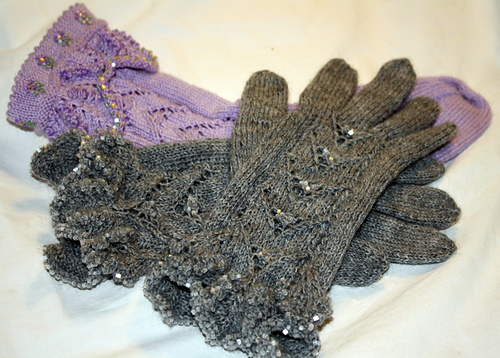
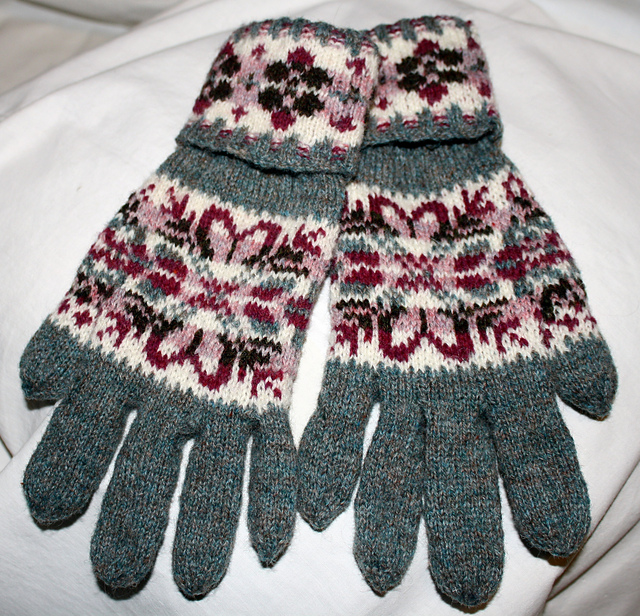
What wonderful small places to add so many interesting details! And for a while there was no stopping the experimentation! There were many more ideas tried and quite often ripped out because the idea didn’t work. You can see that beads played a prominent role in my glove designs. Gloves were meant to showcase jewelry and the hands of the people that wore them! And why not knit in our own bling!
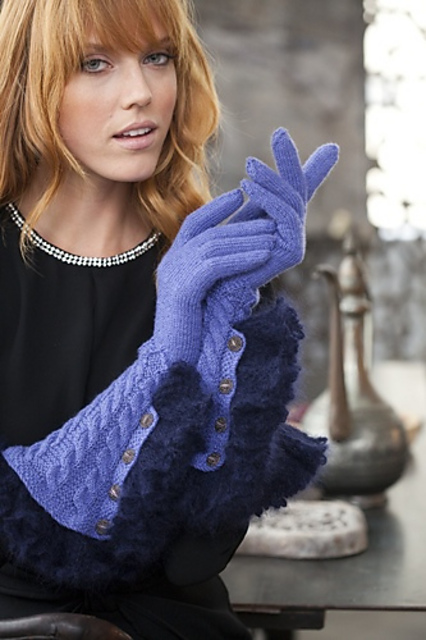
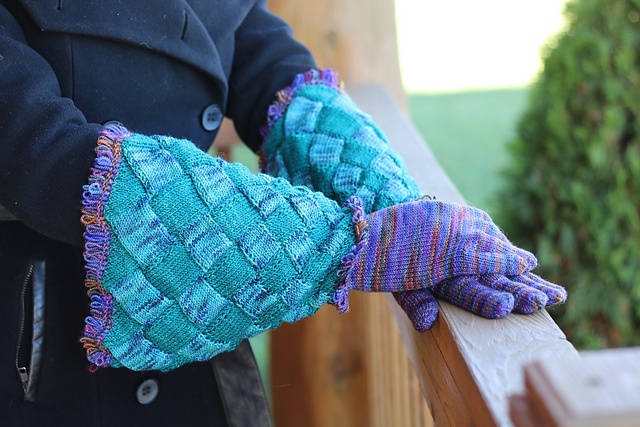
Above is a selection of glove possibilities…. A couple of which you will see below as finished designs. The others are waiting to be redesigned or finished.
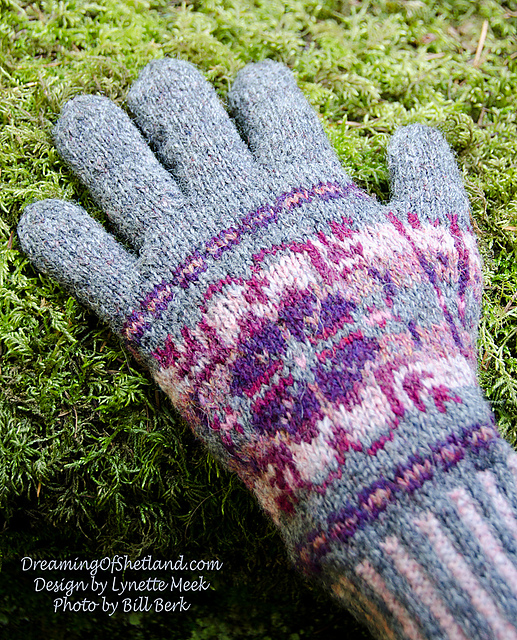
Below is a selection of Glove patterns that I have designed and either published myself or had published by others.
It has been a while since I designed any gloves. I think that needs to change. I have this new coat, maybe it needs some gloves. I do have two designs that I am working on. One a classic fair-isle and the other a long beaded cuff in lace… They might work! LOL!
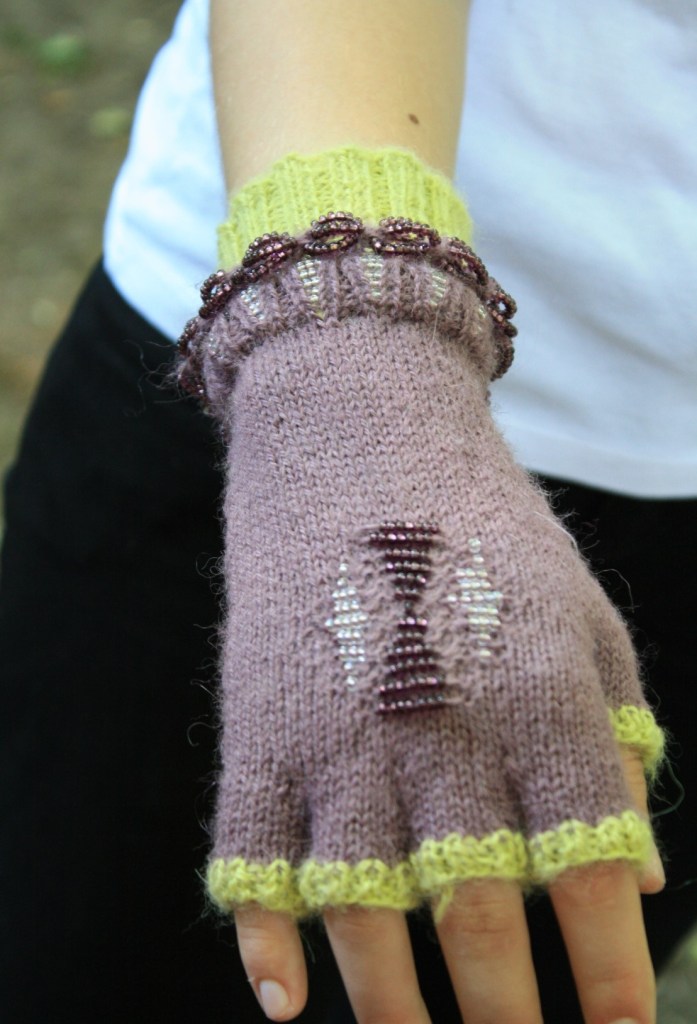
I do design a lot of fingerless mittens with fancy cuffs as well. They are generally more popular than full gloves, quicker to knit for sure…. but there is something about a pair of fancy gloves…
New projects, more plans, life goes forward. I have many plans but no resolutions, I seldom keep a resolution, but plans can be changed and adapted to fit the moment. How about you? Do you make or keep resolutions?
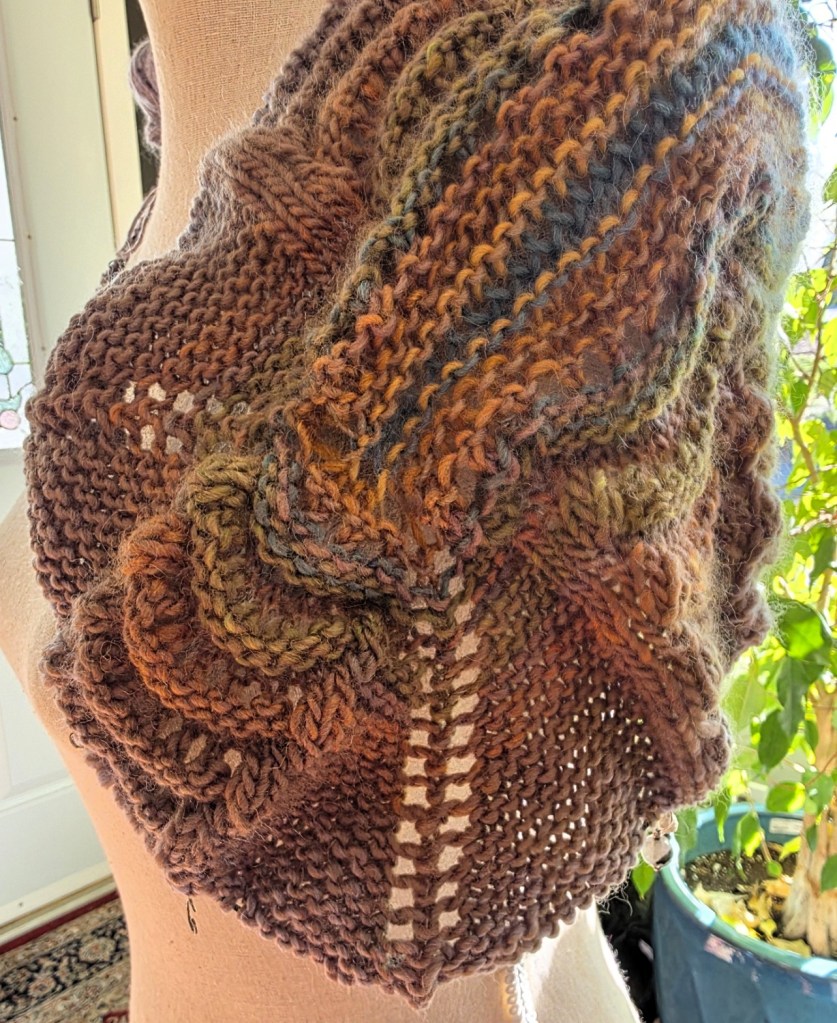
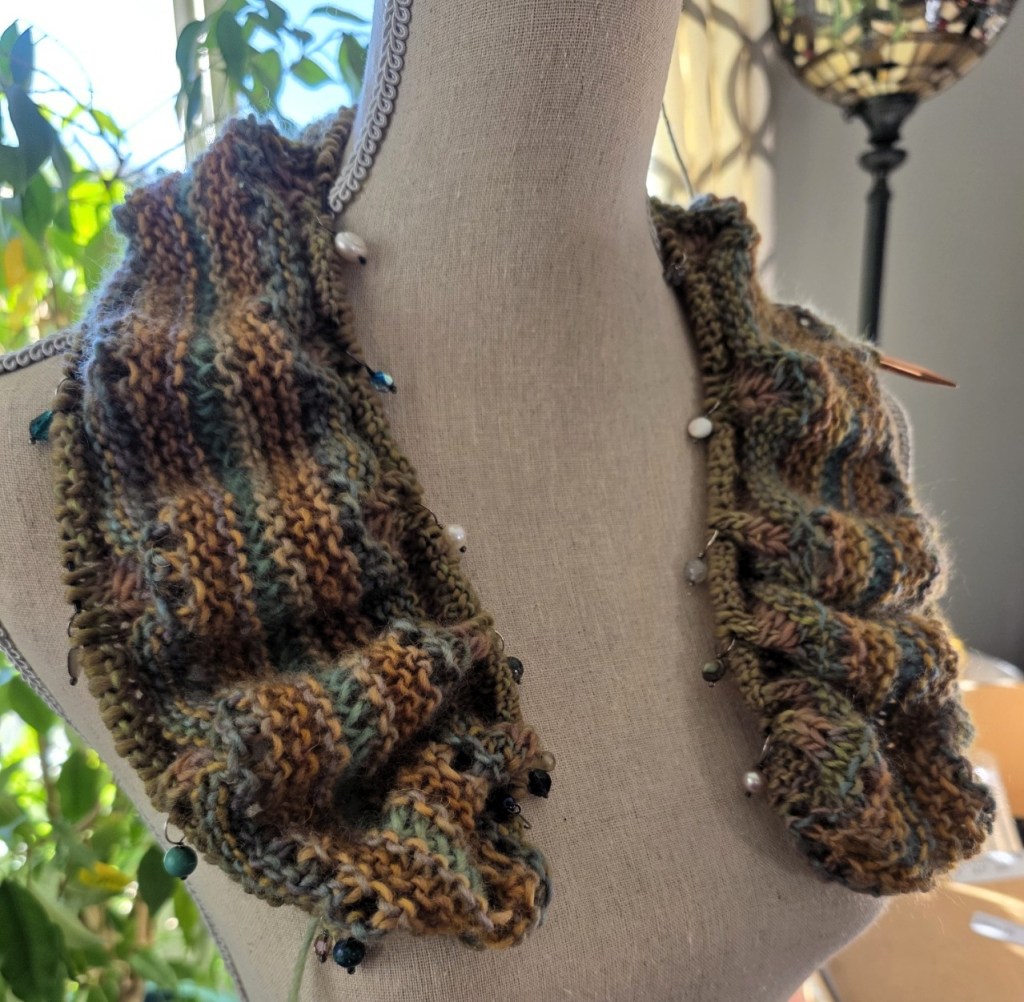
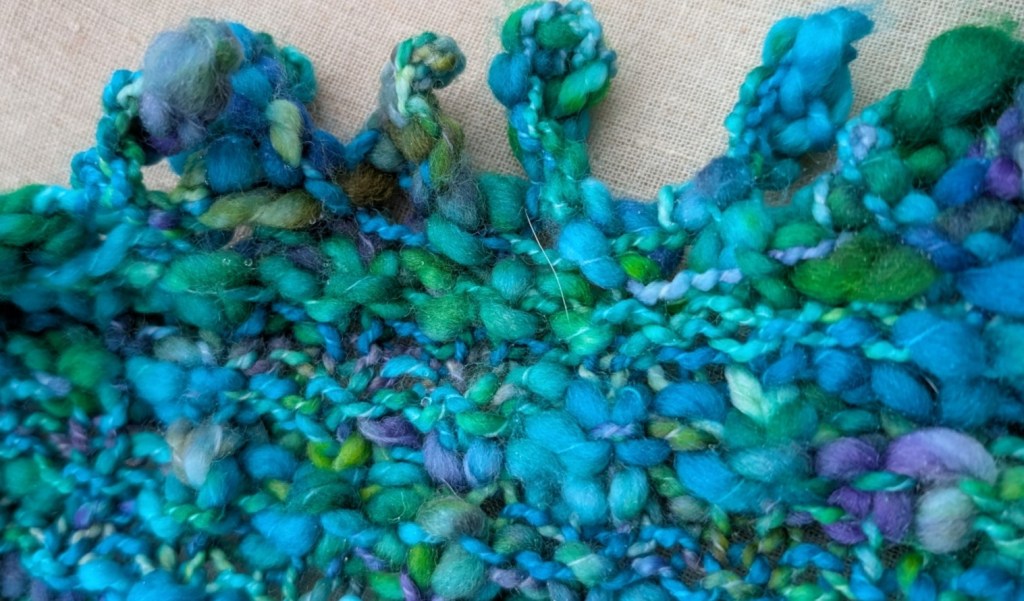
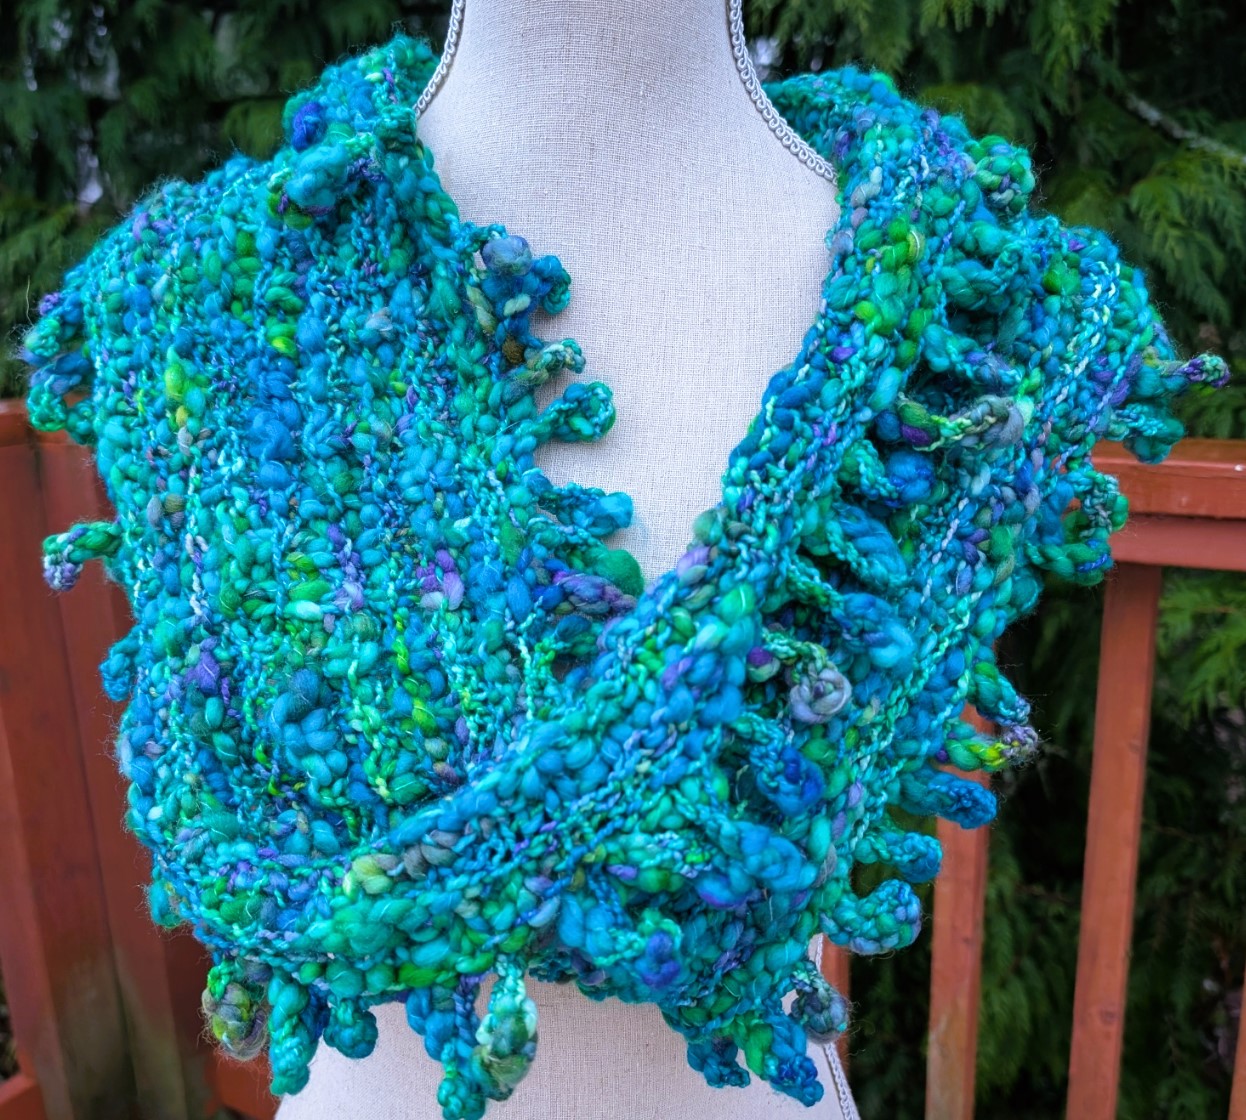
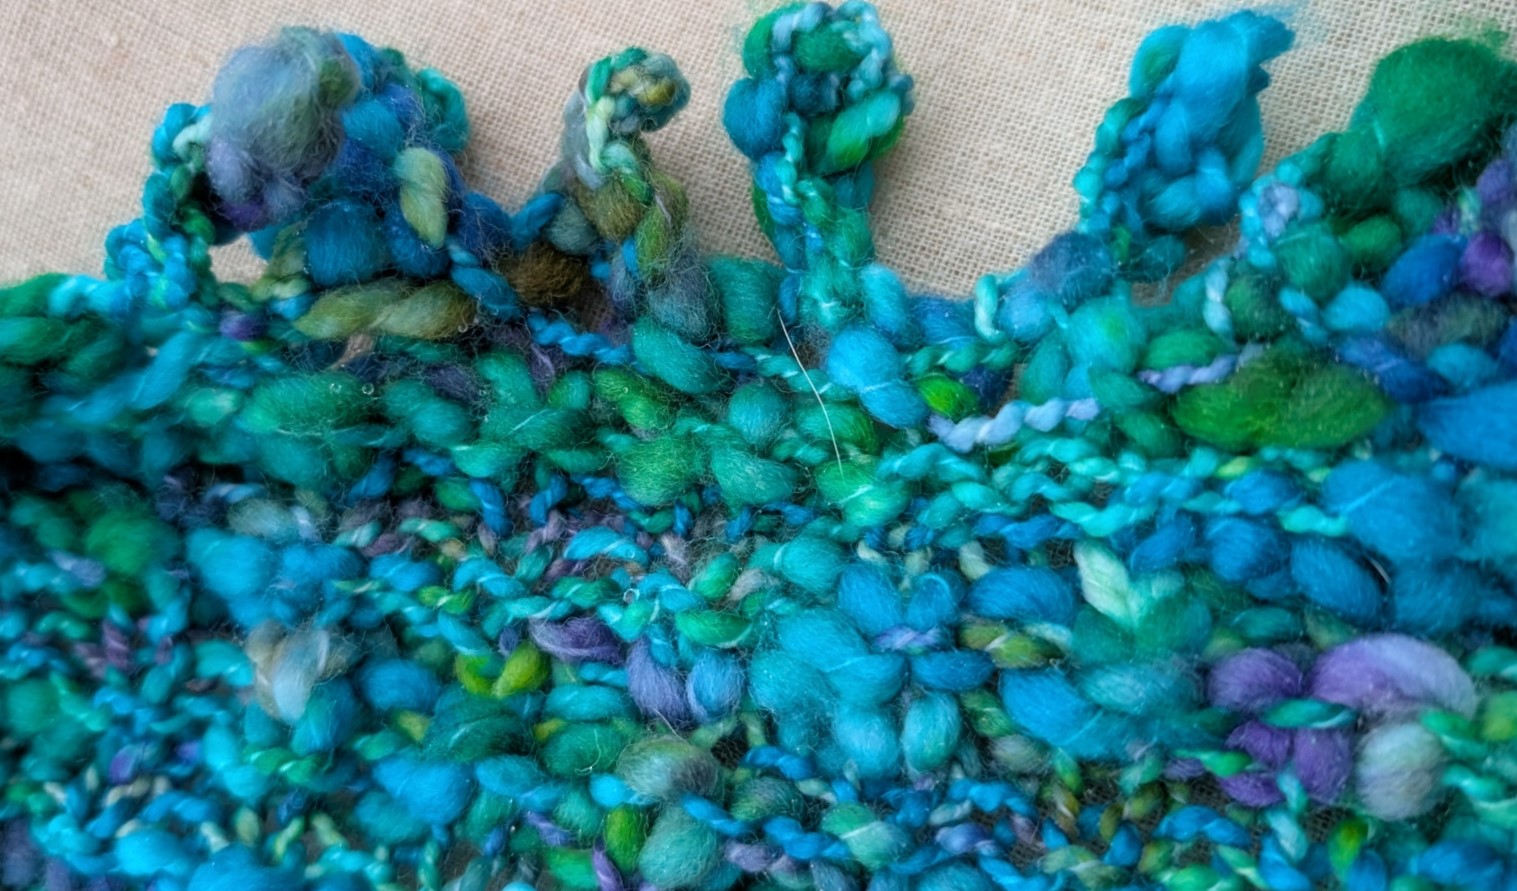
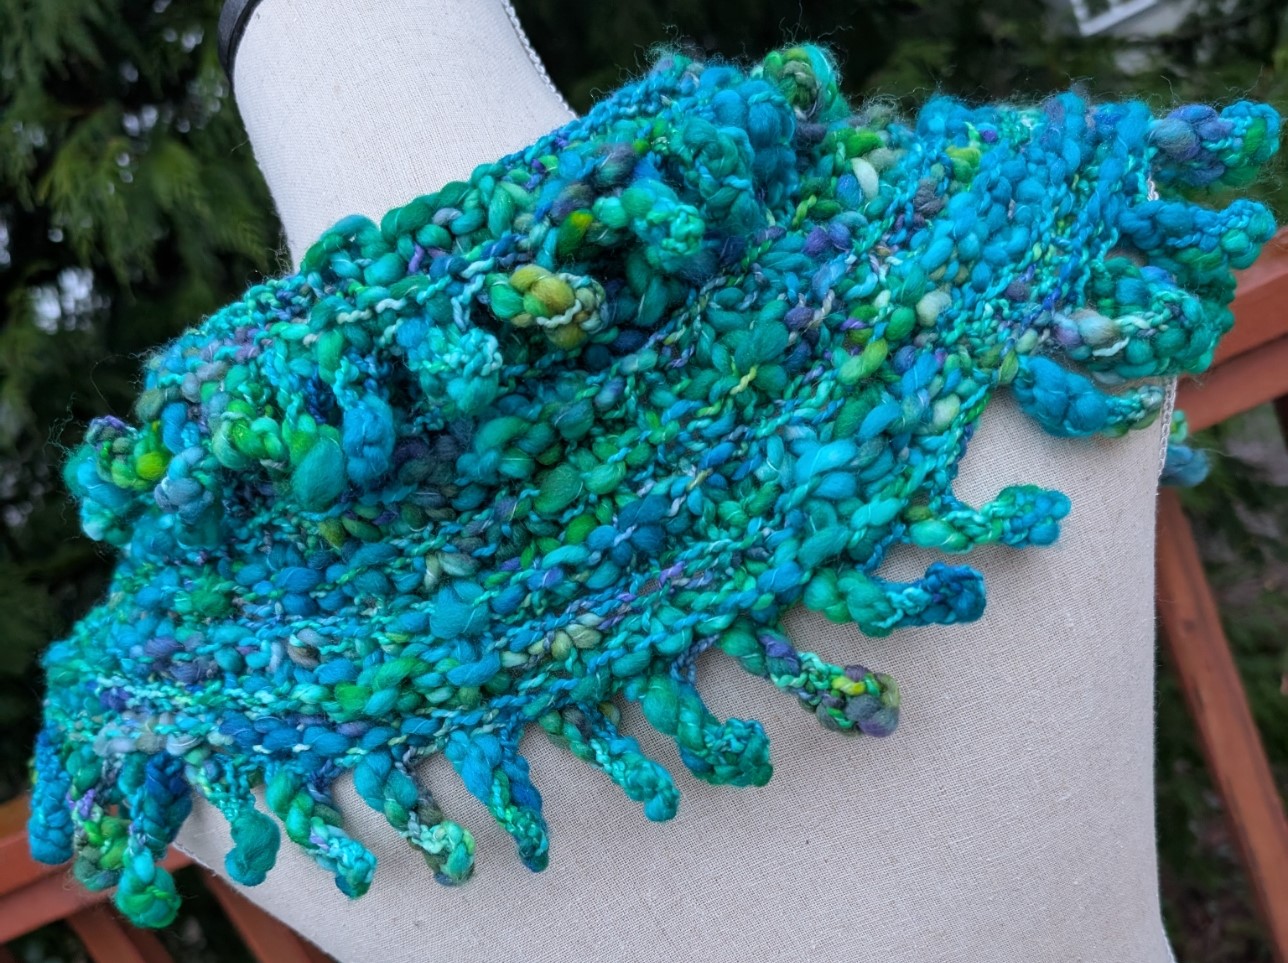
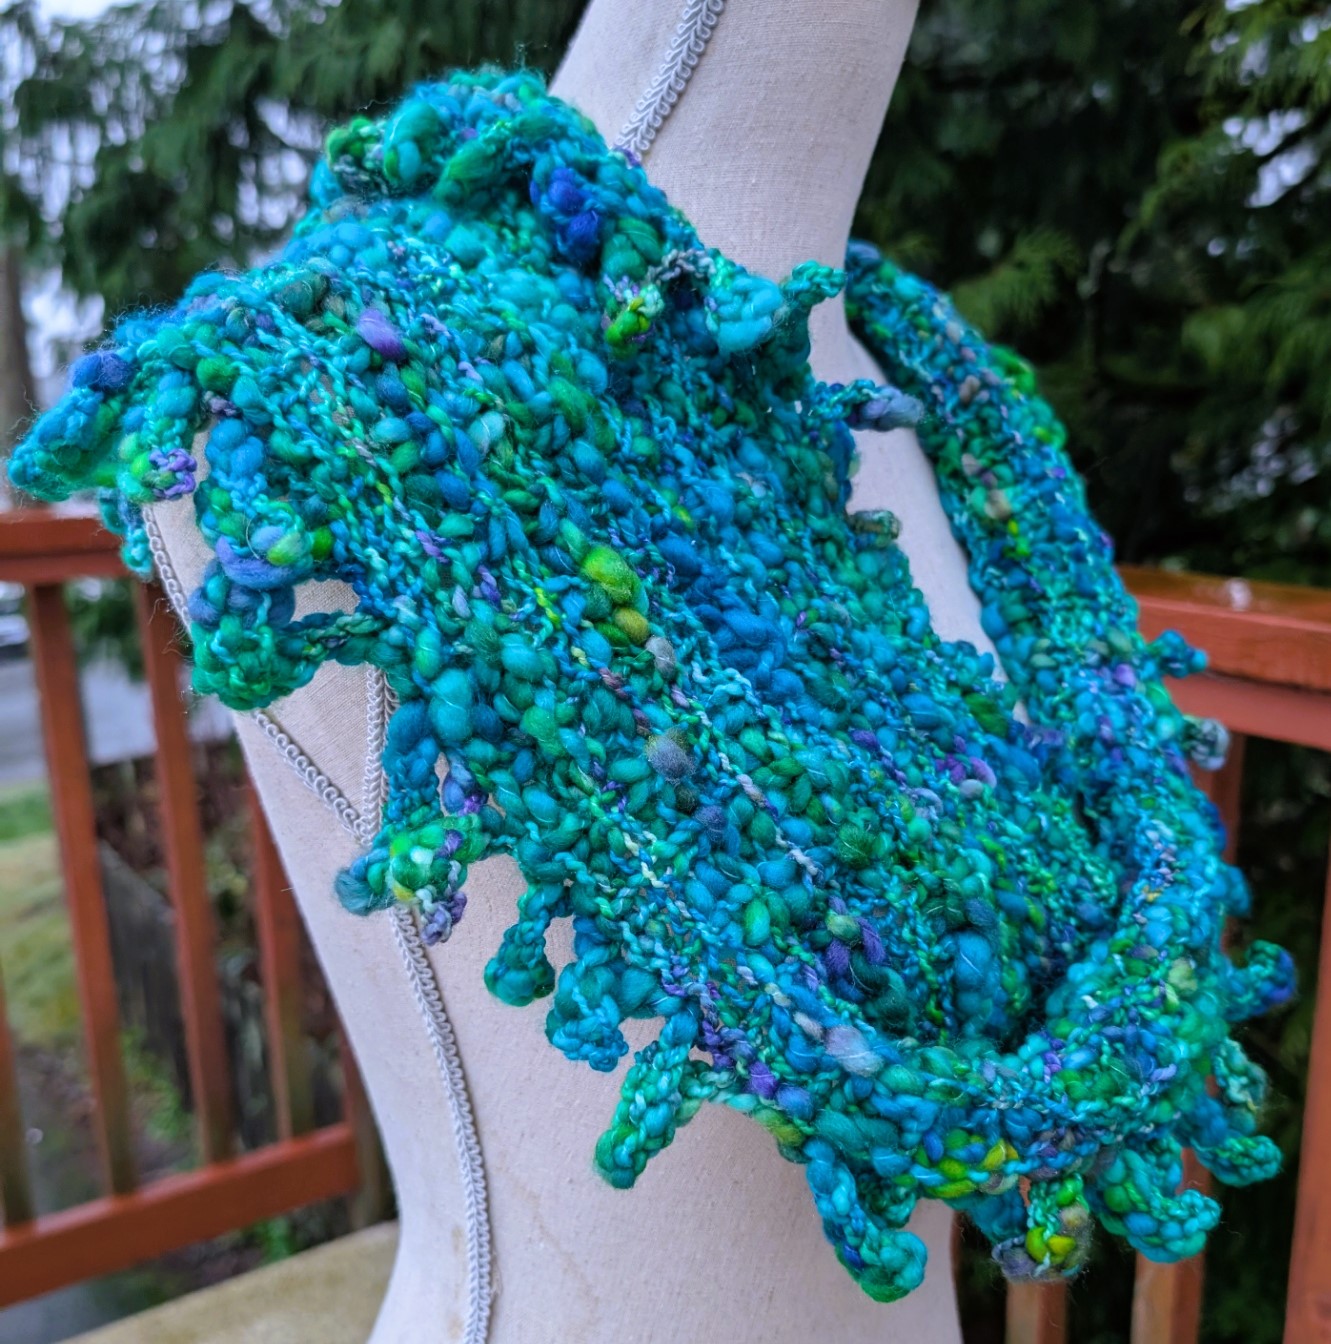
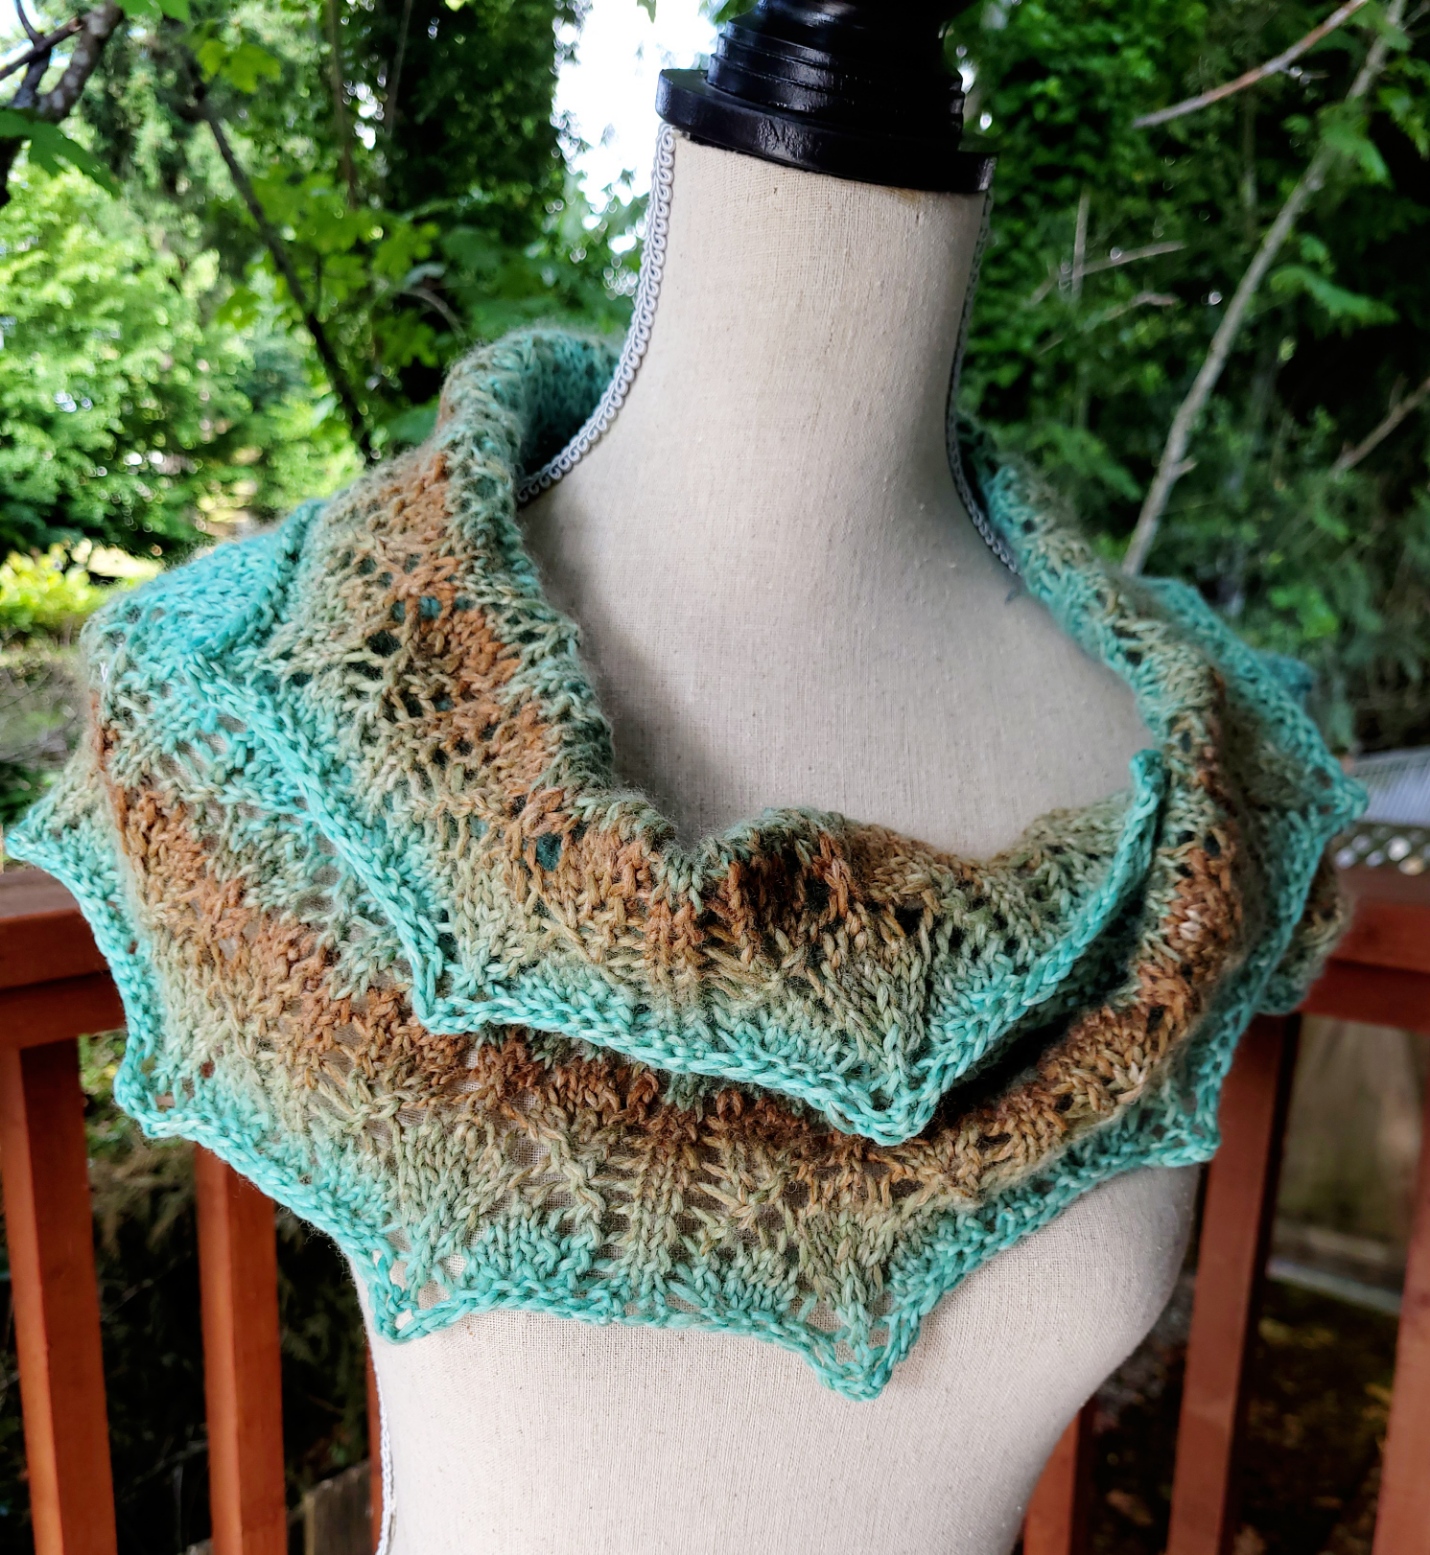
I have finished knitting the Moebius and I am very happy with the result. I love a fringe bind-off. It takes an extra long time, but the effort is so worth it. I wore the Moebius to work on Thursday. It looked great, the feedback supported my thoughts on the matter, and felt good. I did not block it as I really wanted to keep it deeply textural.
I will need to reknit the moebius with a different yarn for the workshop in March. Gathering Yarns Popcorn is not currently available, so I am going to use Fleece Artist Slubby Mix.
Slubby Mix is a Merino/BFL blend, thick and thin single ply, and it will give me the texture that I really loved about the Popcorn. The pattern I designed I think will look good in a smooth yarn as the pattern is a very simple knit and purl texture. But it looks fabulous in a textured yarn that adds extra depth to the textural pattern.
This full day workshop will run March 22, 10:00am to 4:00.
The Year of Hats, a series of 4 hour workshops, will start in a couple of weeks. Each hat will focus on different techniques. Some will be easy, some will be more challenging. There will be homework to do before each workshop. The ribbing or band will need to be completed before the workshop so that the class time will focus on the technique being featured in each hat.
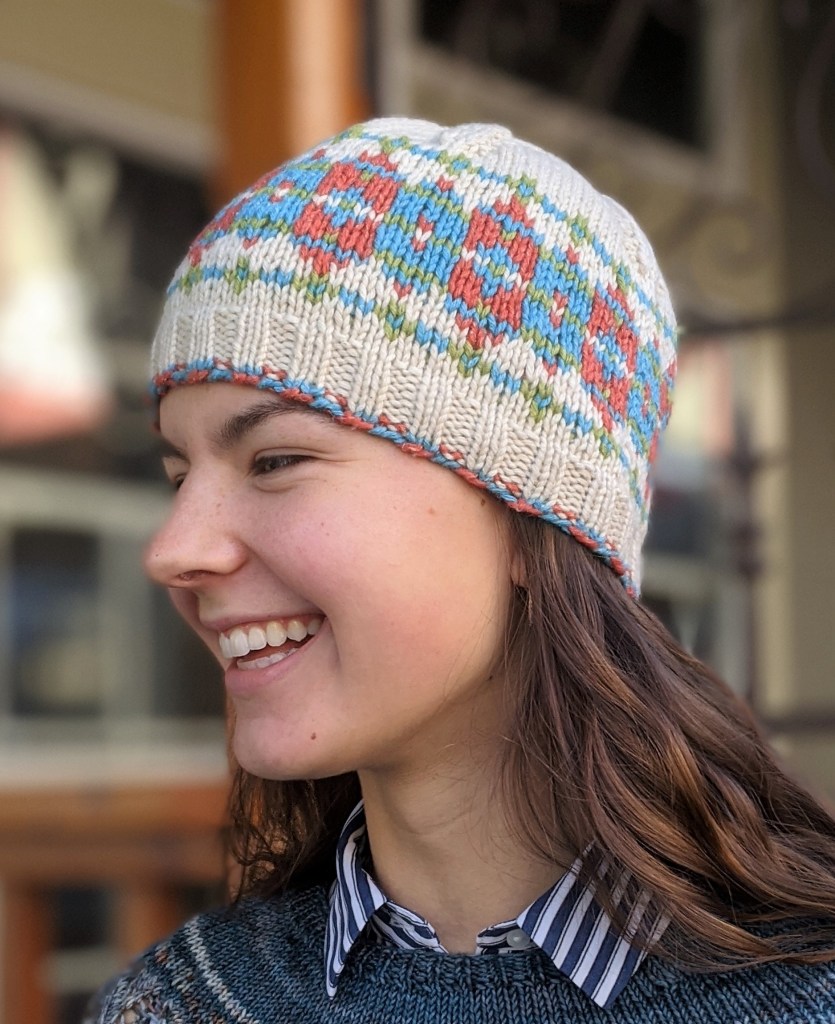
Jan CapFeb Cap – BeretMarch Cap – fair-isle beanie
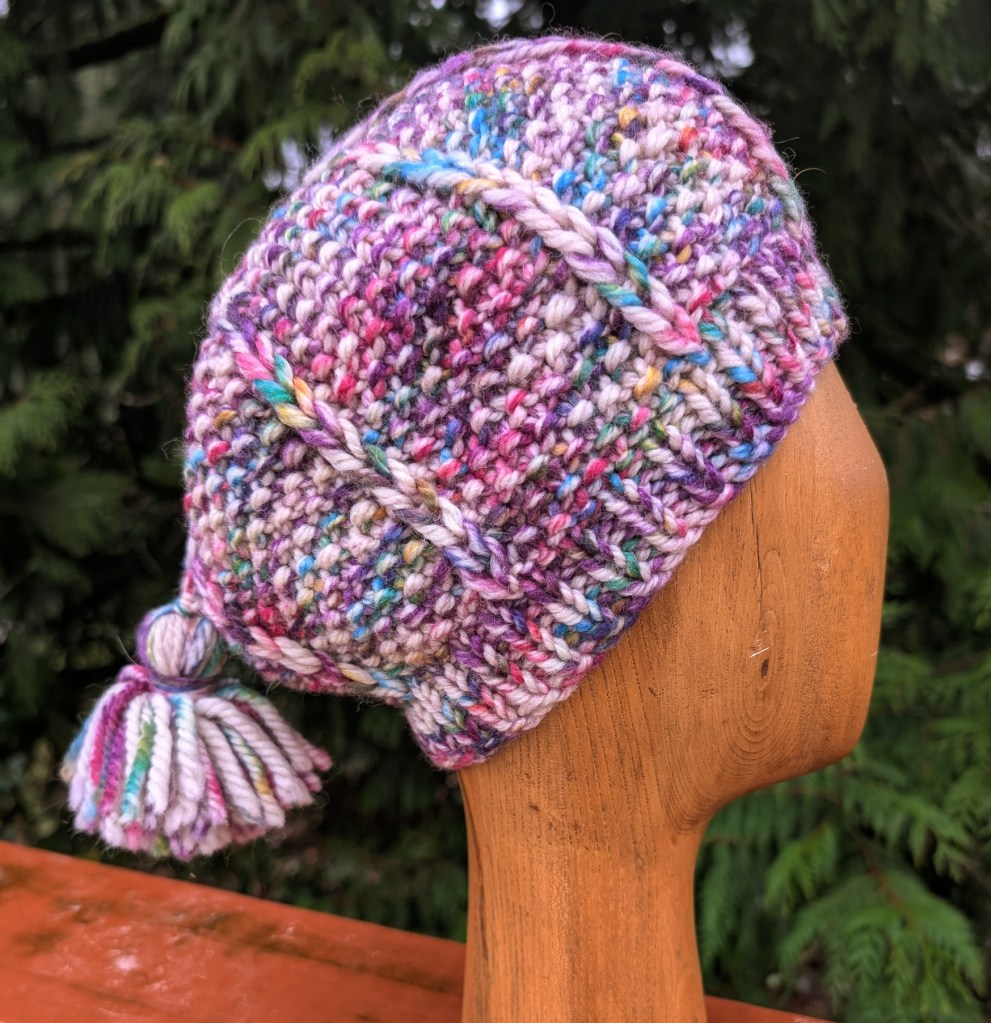
It will start with the Jan Cap, something a little simple to set us up for success as we work our way through the possibilities. This cap is a little slouchy with a seed stitch body, a slip st detail and is finished with a jaunty tassel. This workshop will run this January 25th from 11:00am to 3:00pm with a 4 hour workshop.
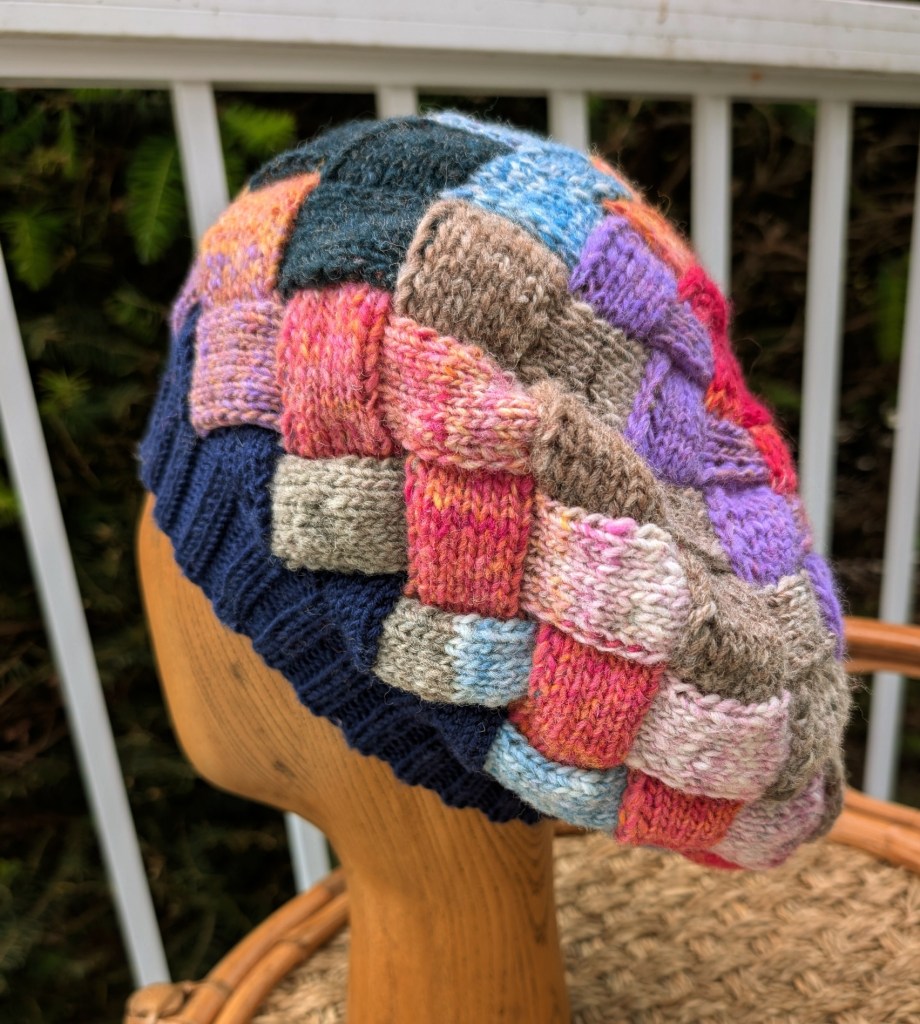
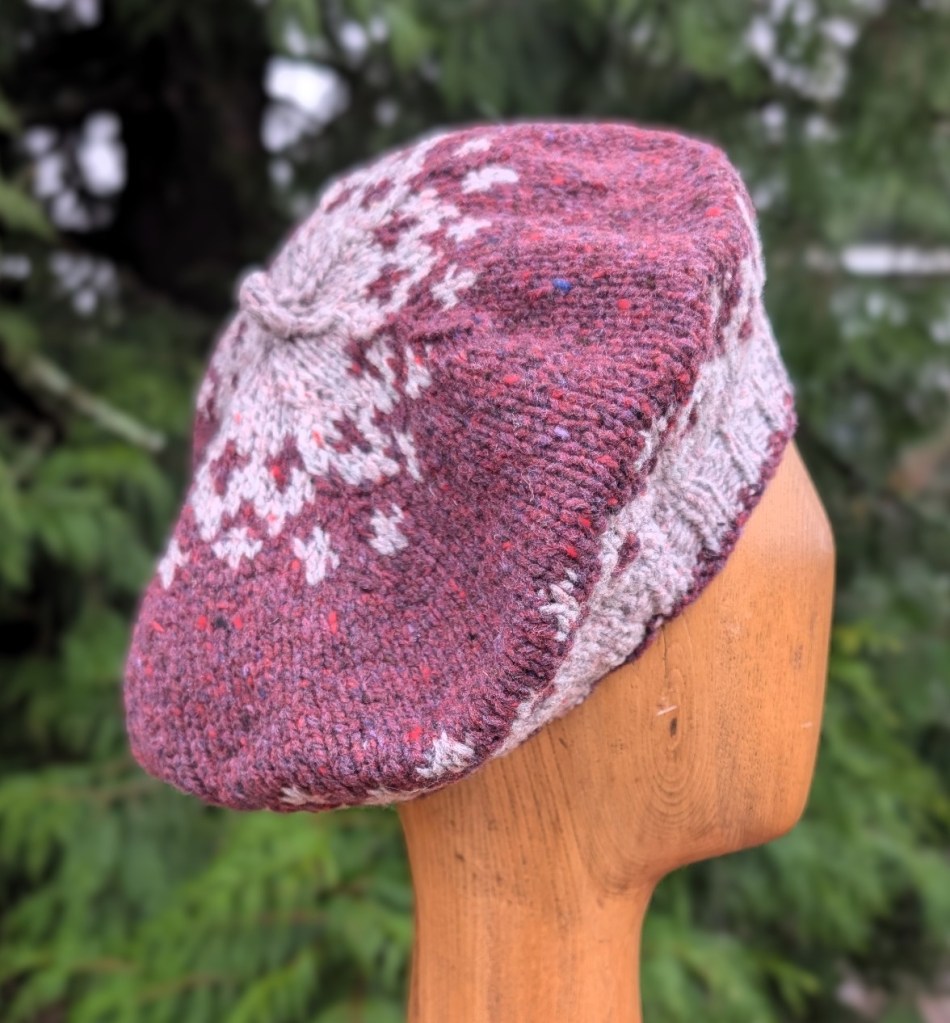
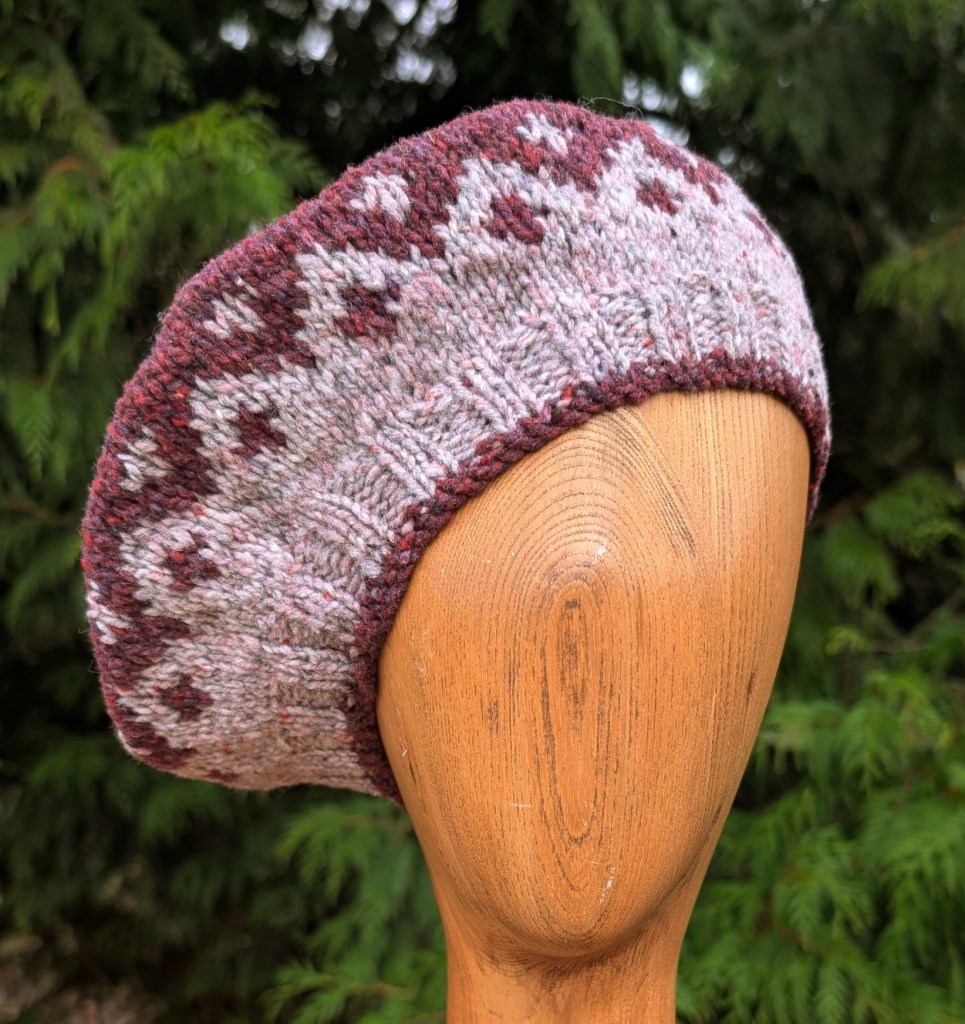
The Feb Cap is a classic Beret. This Beret has a little bit of stranding for detail and a little I-cord loop as a final flourish. This workshop runs February 22nd from 11:00am to 3:00pm.
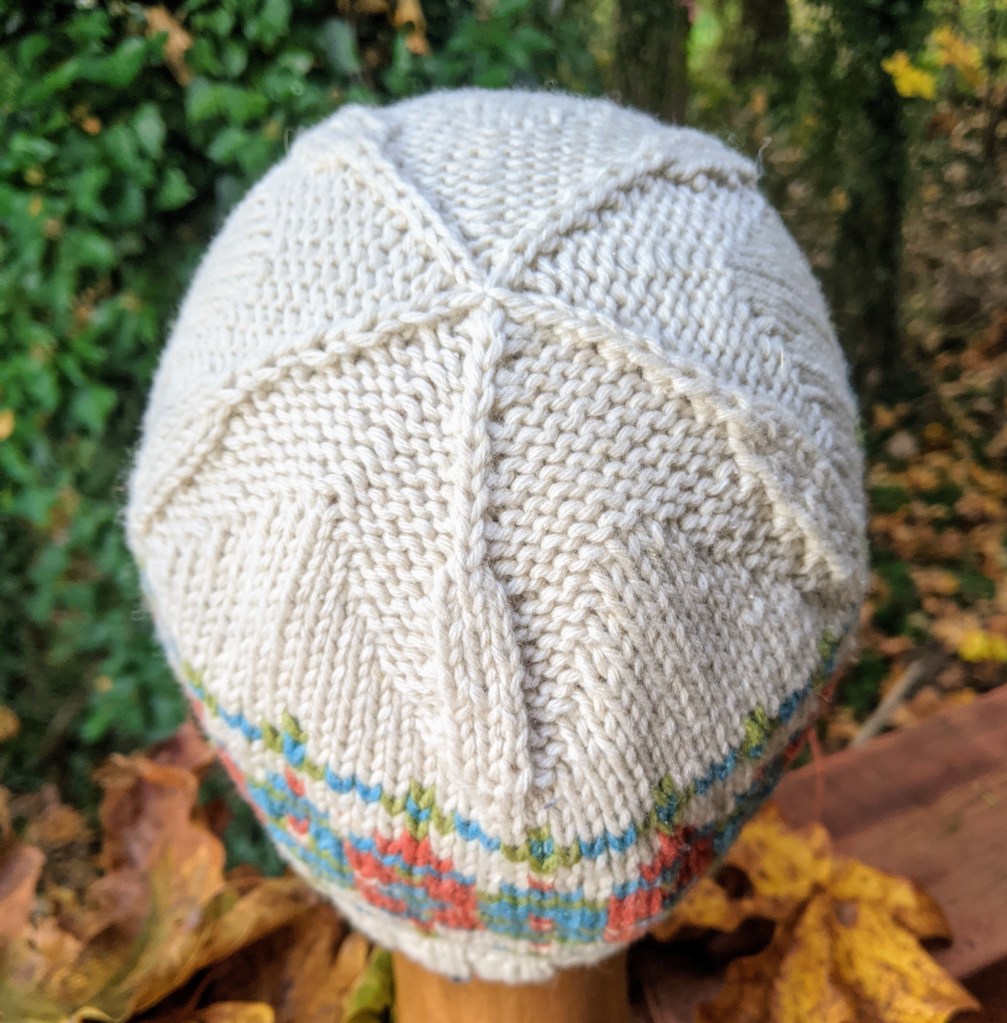
The March Cap is a fair-isle beanie, the Sea Star Beanie. A 3 colour fair-isle band is topped with a textural knit and purl sea star crown. This workshop runs March 29th from 11:00am to 3:00 pm.
Any curling fans out there? I will be going to Kelowna to watch the Brier, at the end of February. While in Kelowna I will be teaching a couple of classes at Kelowna Yarn and Needle Crafts.
If you live in the area and want to take a class, or are coming to the Brier and want to add on something a little different, check out the information below and/or contact Kelowna Yarn. I usually bring a few extra samples to touch and wear so if there is something that you want to see…. maybe I can accommodate.
I am designing a new double knit pattern for the workshop. Winter Florals, knit with Ancient Arts Superwash Merino DK in the Cranberry and Mineral colourways. I am very pleased with the way the pattern is knitting up.
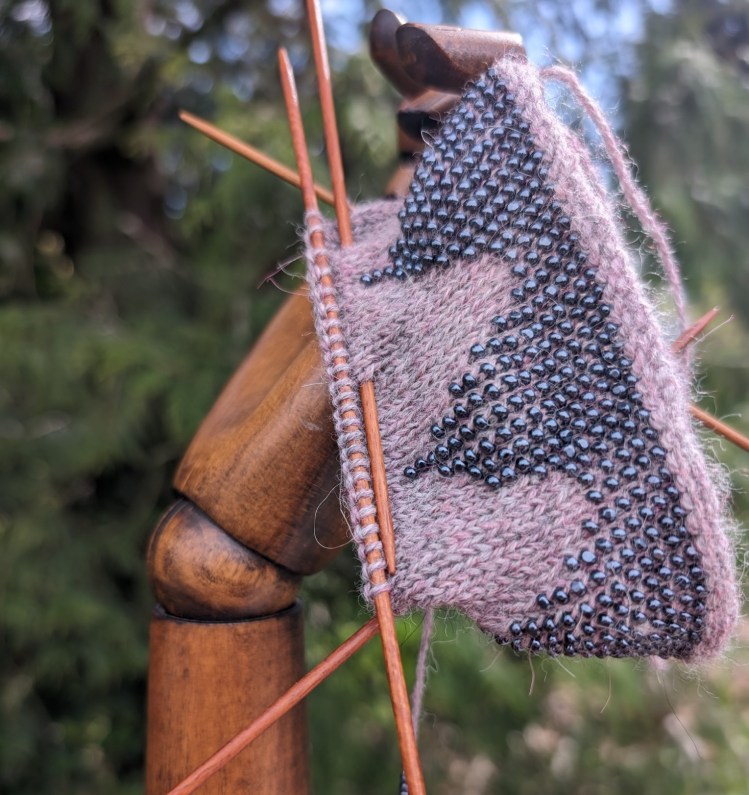
If I have time I will finish a pair of gloves that I have already started for myself. They feature a beautiful beaded cuff. The beaded pattern looks simple but is very effective. The beads are pre-strung and then knit in as the cuff progresses. The remainder of the gloves will be plain stockinette.
This year I will be focusing on finishing some projects already started and hopefully expanding my designing skills. There are still so many things to share! I know you must have something that you want to make or learn how to make. Let me know and maybe a new class can be created.
Around the house we have gone back to “normal”. The Christmas decorations are down and there is a pot of pea soup simmering on the stove. I don’t have any baking planned today. We are kind of taking a small break from sweets. I ate waay to much over Christmas and New Years.
We do have a very big plan this year for ourselves! We are downsizing! Heaven help me! How will I fit all of my yarn into a smaller place!? That is a future problem that will take all of the next few months to figure out!
I haven’t dyed any yarn in a while. And I have had a particular project in mind for a while. I am thinking of teaching the moebius cast-on again, but I want to keep the knitting simple, a textured yarn with great coloures seemed to be the best way to go! So I am going to while away the day preparing for and then starting the project. First to dye the yarn.
The Yarn
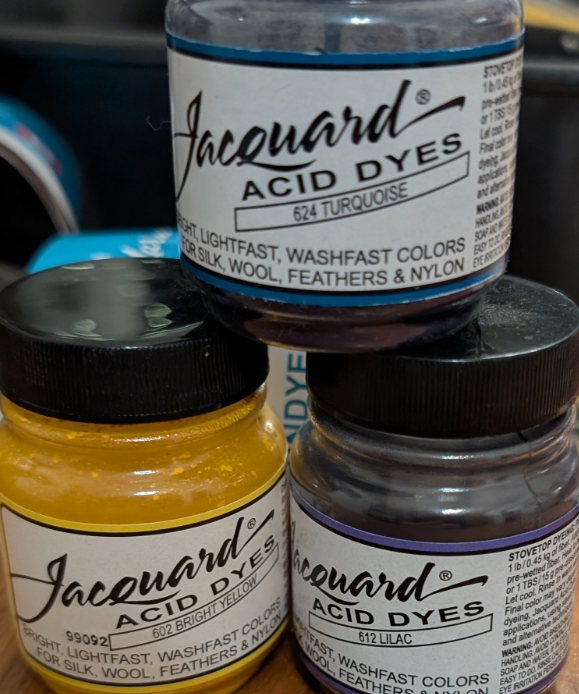
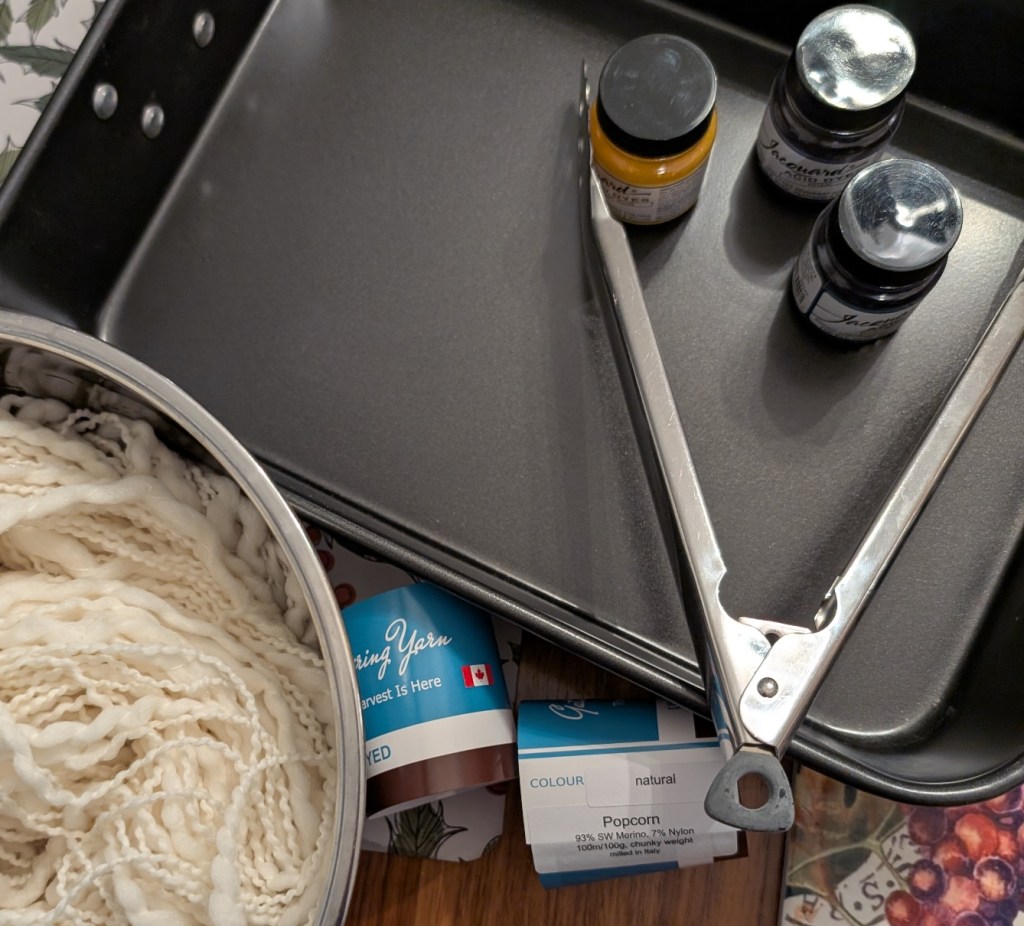
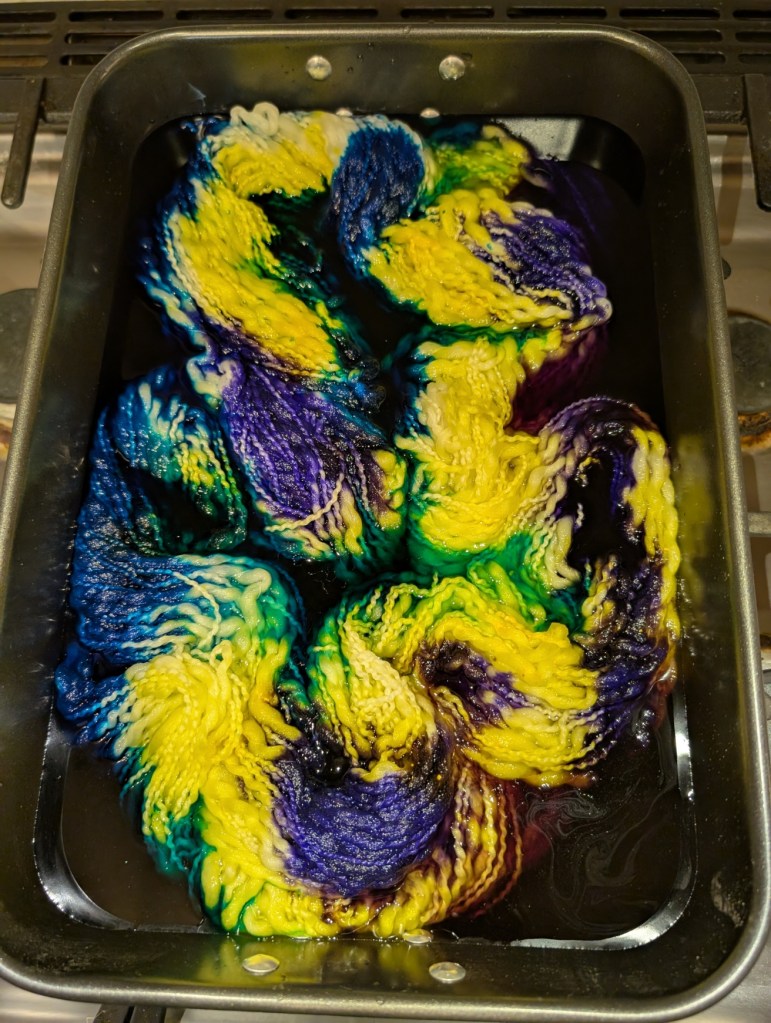
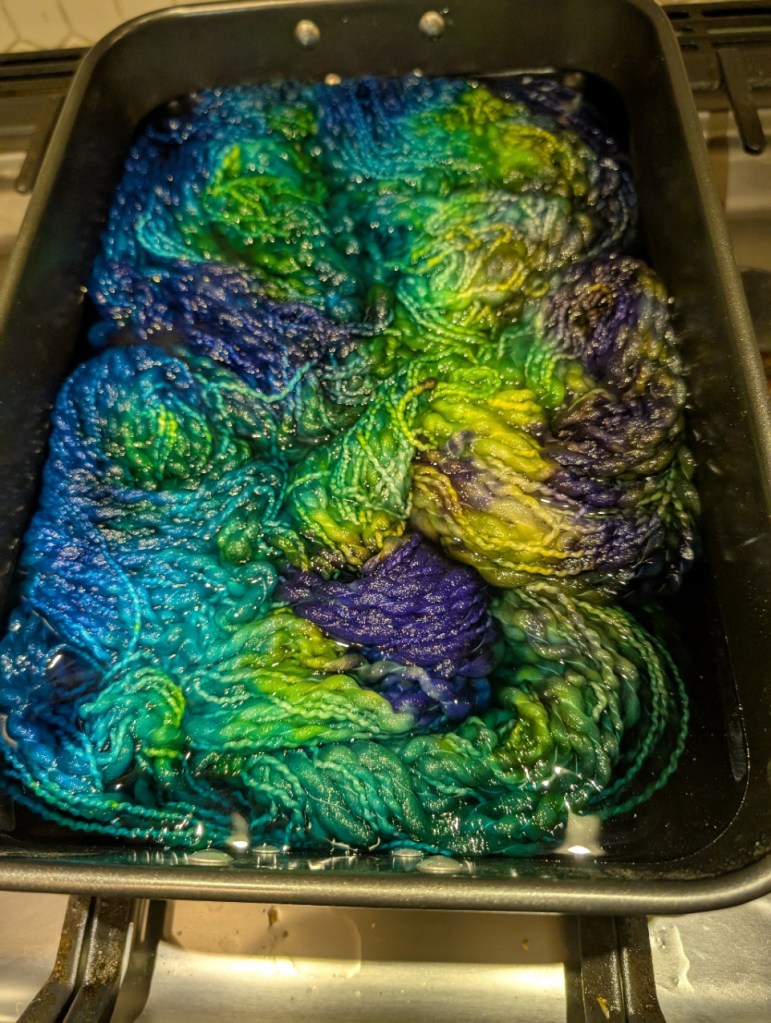
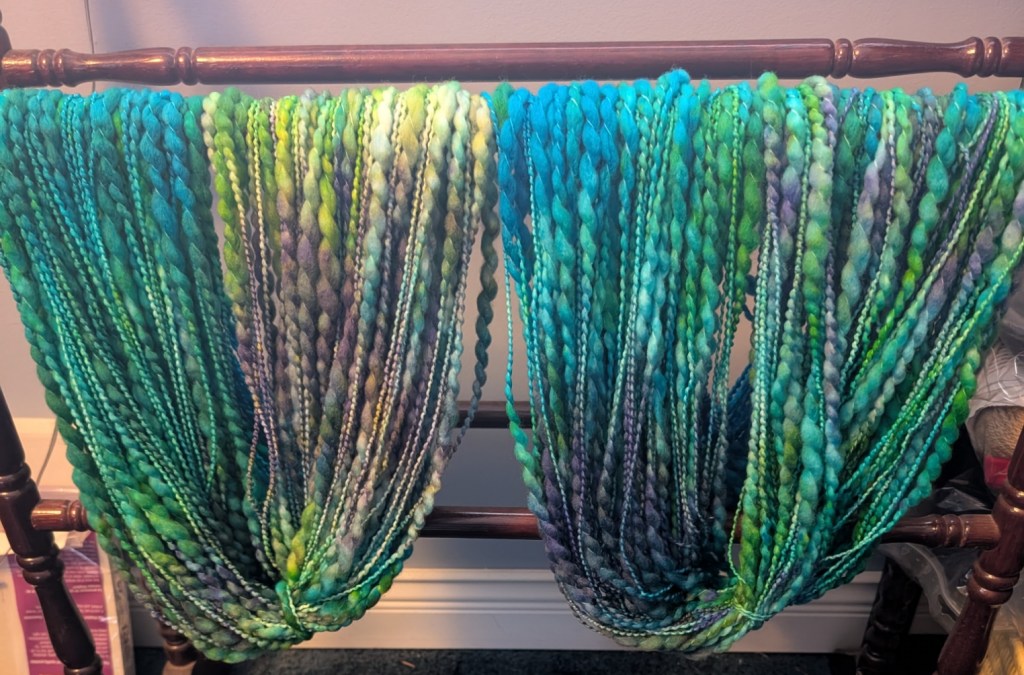
I got the yarn prepped and dyed before breakfast. Right now it is drying. The yarn is Popcorn by Gathering Yarn. It is a 93% merino, 7% nylon blend chunky yarn – 100m per 100grs, highly textured and very soft. My dyeing tools are pretty rudimentary, a heavy steel pan, not to big – I generally don’t try to dye more than 2 or 3 skeins at a time, stainless steel tongs and bowl for presoaking the yarn and basic white vinegar to help set the colours. The dyes are Jacquard in bright yellow, lilac and turquoise.
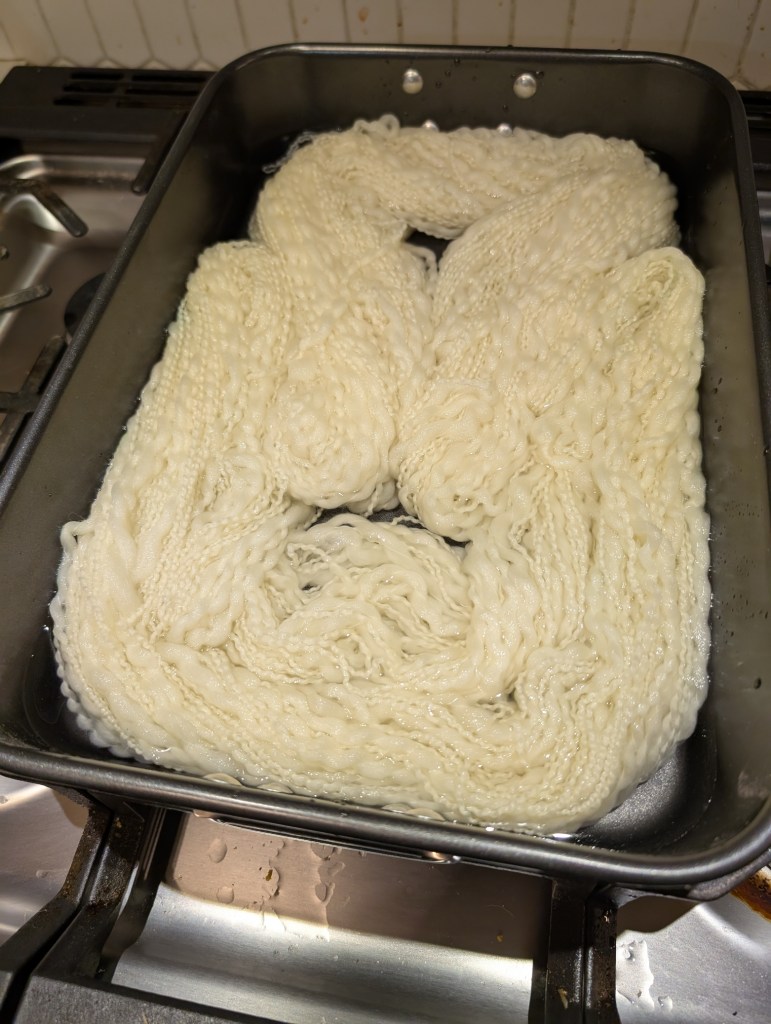
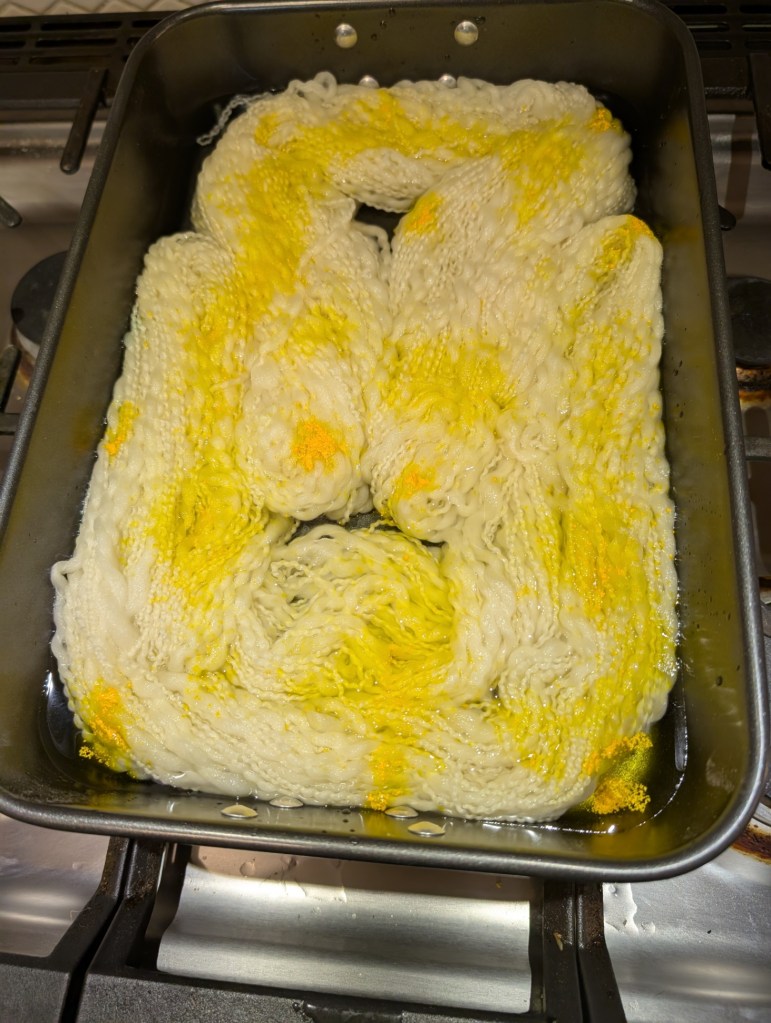
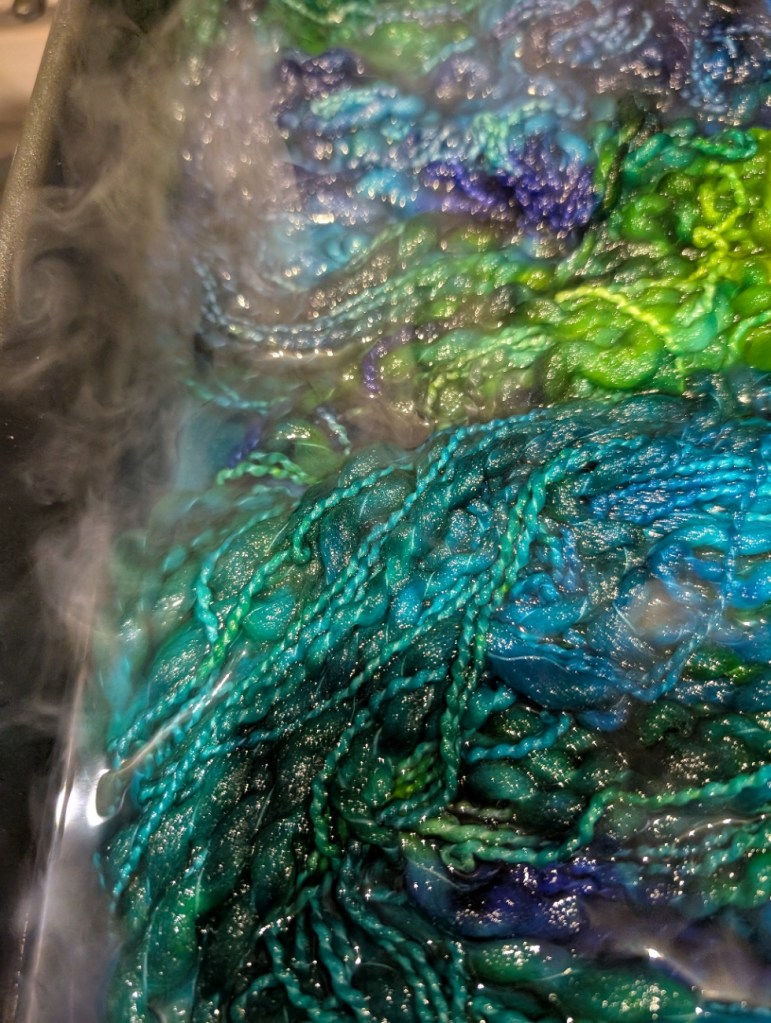
I love to watch the yarn change as the dyes are absorbed into the yarn. My stove has the perfect center element, long and narrow, it works perfectly as a low heat source for the dyepan.
Just a little yellow dry dye for effect.Apparently a little goes a loooong way!What have I done!?Ok! This is more like it.This is looking pretty good!
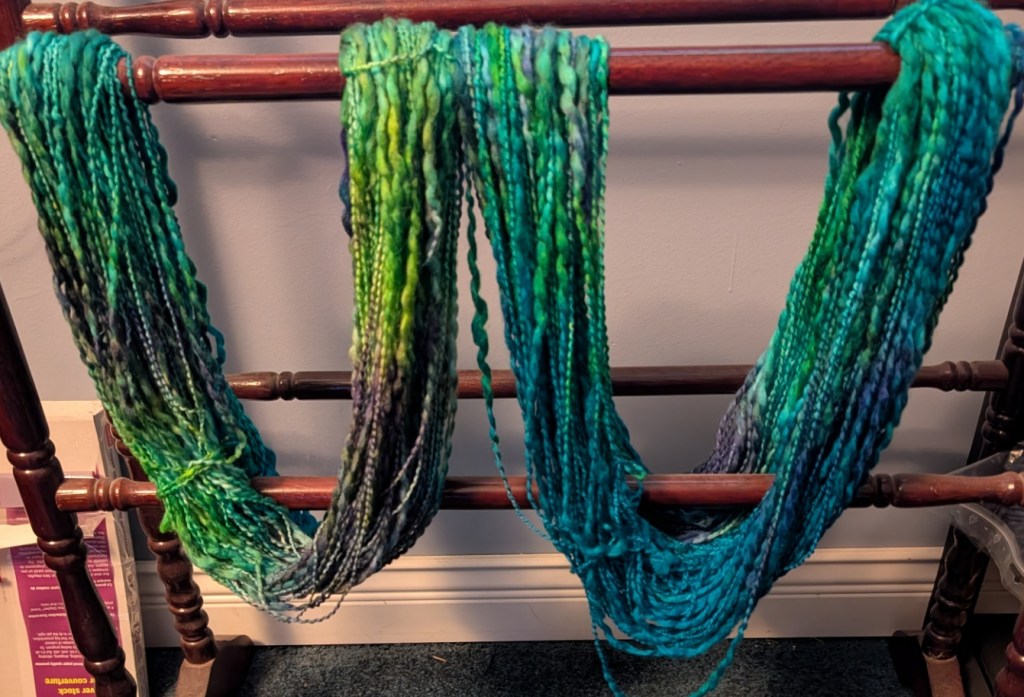
As you can see there are a lot of changes as the dyeing progresses! I am quite pleased with the final effect. It is easy to see that I am not a professional dyer, but I still get results that I can work with. These two skeins are a little different, but if I alternate the rows – which I will most definitely do – I should get a good result.
The first picture is the yarn when wet. The second is the yarn when almost dry. You can see how different the skeins are.
The Project
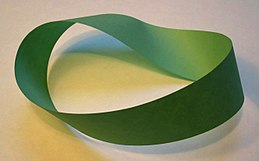
I haven’t knit a moebius in a while. You know that a moebius one of those never ending circles that mathematicians and scientists just love. It is a mathematical concept discovered in the late 1800’s by two scientists working independently of each other. Like the wheel, like knitting, it was it’s time to be discovered.
Beside the text, is a Möbius strip made with a piece of paper and tape. If an ant were to crawl along the length of this strip, it would return to its starting point having traversed the entire length of the strip (on both sides of the original paper) without ever crossing an edge. Wikipedia
Knitters love them too, especially Cat Bordi, her moebius cast-on has really added something to the knitting lexicon.
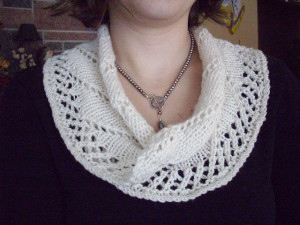
The first project I knit using the moebius cast-on was the free pattern Grace Cowl. I was hooked. Since then I have designed a few moebius patterns. And I think it is time to create another pattern, something simple, something for teaching the technique to knitters who love to play and learn a new cast-on.
The moebius cast-on is a center line cast-on. This means that once the cast-on and first round are knit you will then be knitting in two directions.
The Moebius cast-on resembles a modified provisional cast-on; but is not provisional and becomes the two center rounds of your garment. Like some cast-on’s, provisional or otherwise this cast-on is “un-tensioned” and requires patience for the first half of the round of knitting – the second half of the round is easy. From the Moebius cast-on, like any other cast-on, a knitter can knit almost any kind of stitch and create a unique garment.
Be prepared – each half of the curve is the mirror image of the other half. For example; if every round after the cast-on is knit, one half of the moebius will appear as stockinet and the other half as reverse stockinet. Because of this a reversible stitch is recommended for those knitters who want both sides to be visually the same.
Popcorn is a lovely textured yarn and with being hand-dyed will knit up in a wonderful moebius without to much effort beyond knit and purl textures. I am thinking of a simple seed stitch alternating with some garter st bands. Time to try the cast-on with the dyed yarns.
The skeins definitely will need to be alternated! But aren’t they pretty! It was hard to find some natural light to really show you the colours, today is definitely grey. The dining room window sill did the job!
I couldn’t find my Addi circ needle, 8mm, US 11, 120cm or 47 in long, my preferred needles for this technique, so I am using an old Crystal Palace bamboo circ, 55 inches long. The cord is a little stiffer than I like to use. But everything else is buried behind other stuff until the Christmas Decorations are taken down and everything put away!
The Knitting
Supplies – 8.0mm circ needle, 55 inches long, 200m chunky yarn, BORM and halfway point marker
The most difficult part of moebius knitting is the cast-on and the first half round of the knitting. The cast-on is a unique one, almost provisional, one that creates an upper and lower row of stitches.
This cast-on has no tension and the stitches love to leapfrog over each other for the first half of the round. After the first half is knit the stitches will behave themselves.
Picture – cast-on and first half round complete
Once the first half is knit everything knits as normal except for the fact that you are knitting away from the center. As you get further and further from the center you can see the cords separating and the knitting getting wider. It is so magical!
Time to give my hands a break and do something different! But not for long! This is building up fast and I really want to see it complete!