This technique is for experienced or adventurous knitters. You will need to understand the basics of socks and also how socks fit on your feet. But mostly you will need to read carefully and be willing to pull out your knitting if at first you don’t succeed. I love learning something new. I hope that you will too!
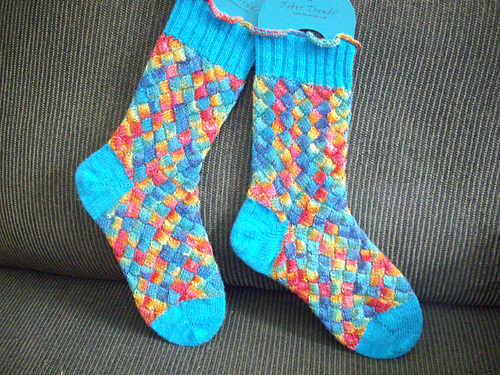
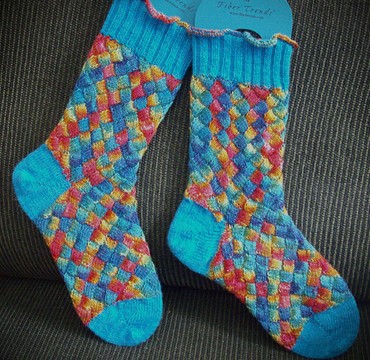
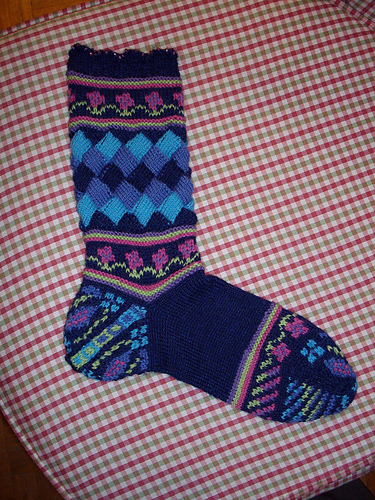
This is an alternative to traditional heels or toe box shaping. It eliminates gusset shaping and can speed up your sock knitting. I don’t really recommend this style of heel if you have a high arch, which I do. I find it a little tight. If I do use it for myself, as I did in the Koigu Entrelac Socks above. I will add short rows to the heel box, in-between the short rows themselves, And/or make the box over more than half of the stitches.
What I do like about these short row boxes is the Japanese style of Short Rows. The extra wraps create a solid seam that is stronger than most short-rows. Also this heel can be added to a highly patterned sock without interrupting the pattern repeats themselves. As in the Entrelac sock above.
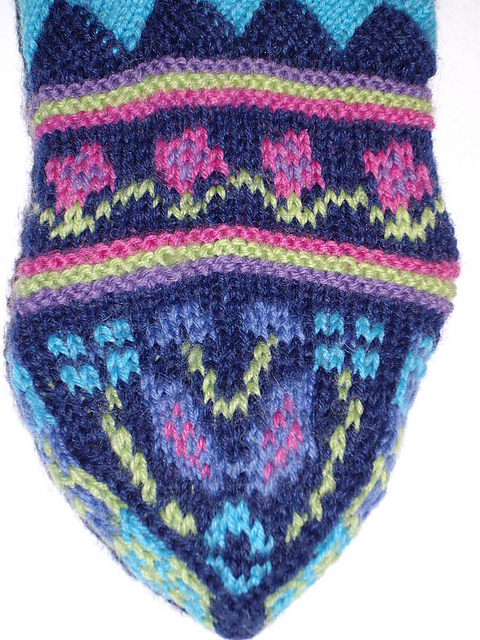
I love using the technique to create the toes for Toe-up socks. The look and the strength of the short rows makes for a strong well defined toe.
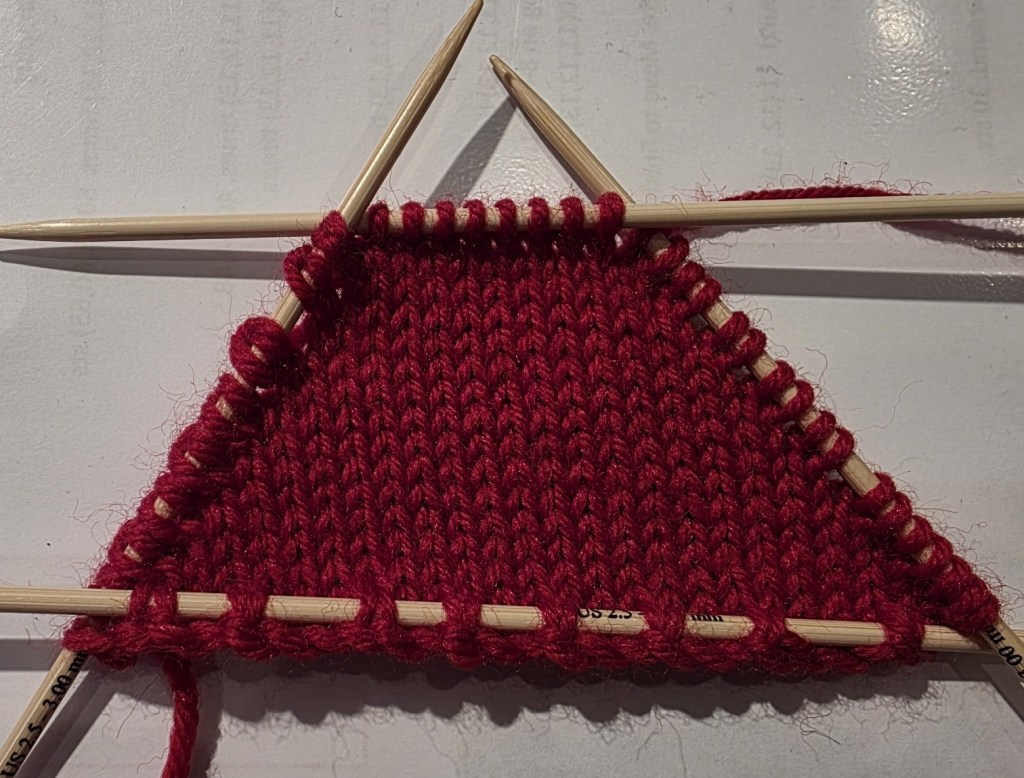
Video of the start of the heel shaping. It shows the making of the double sts with YFs and YBs at each side of the heel box.
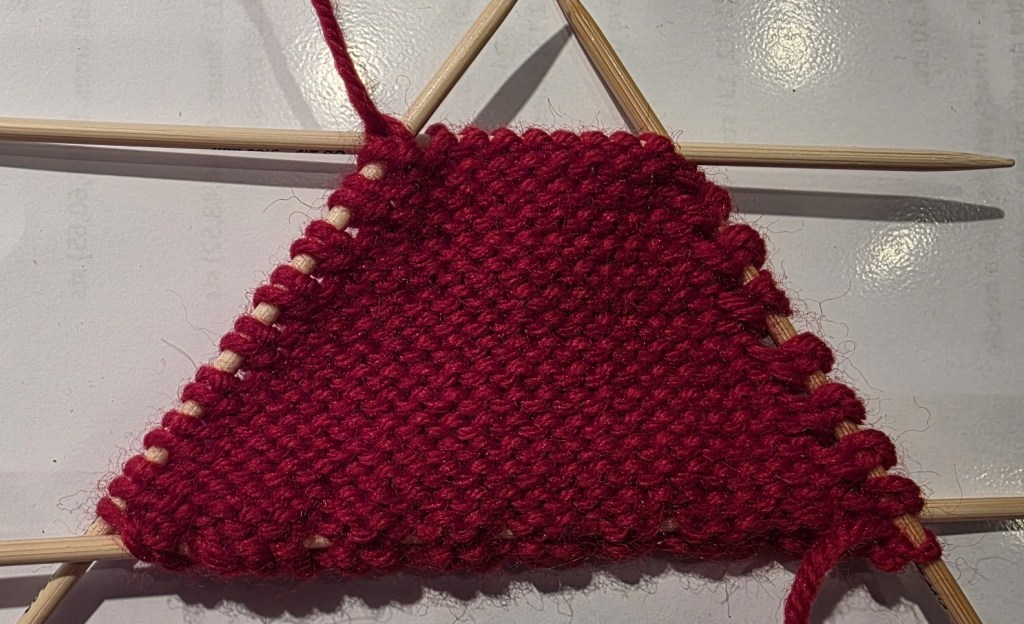
Once the heel is shaped to the tip, the heels need to be shaped and joined, working down to the full stitch count. The extra loops are worked in as you go with K3tog’s and P3tog’s tbl.
YB – take the yarn back between the needles
YF – bring the yarn forward between the needles
Stitch mount – the way the stitch sits on the needle
P2tog tbl – purl 3 sts together through the back of the loops
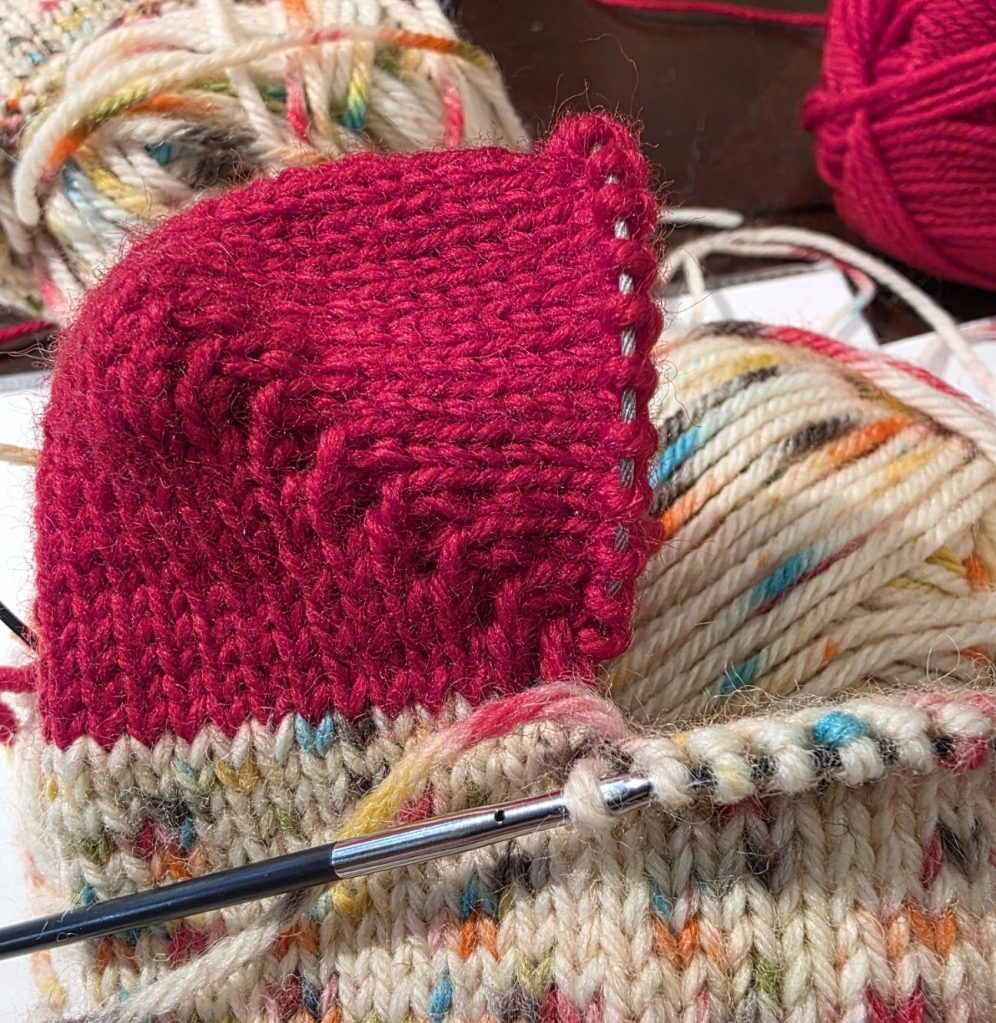
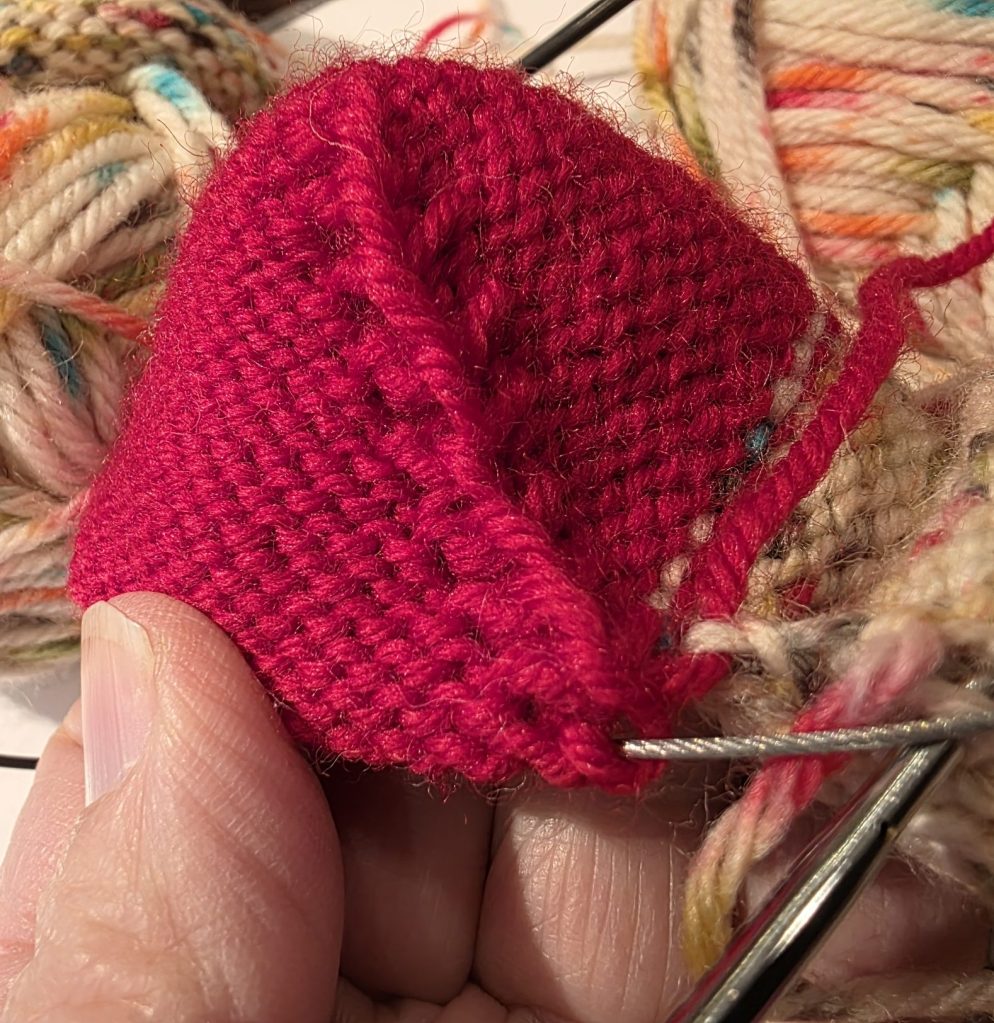
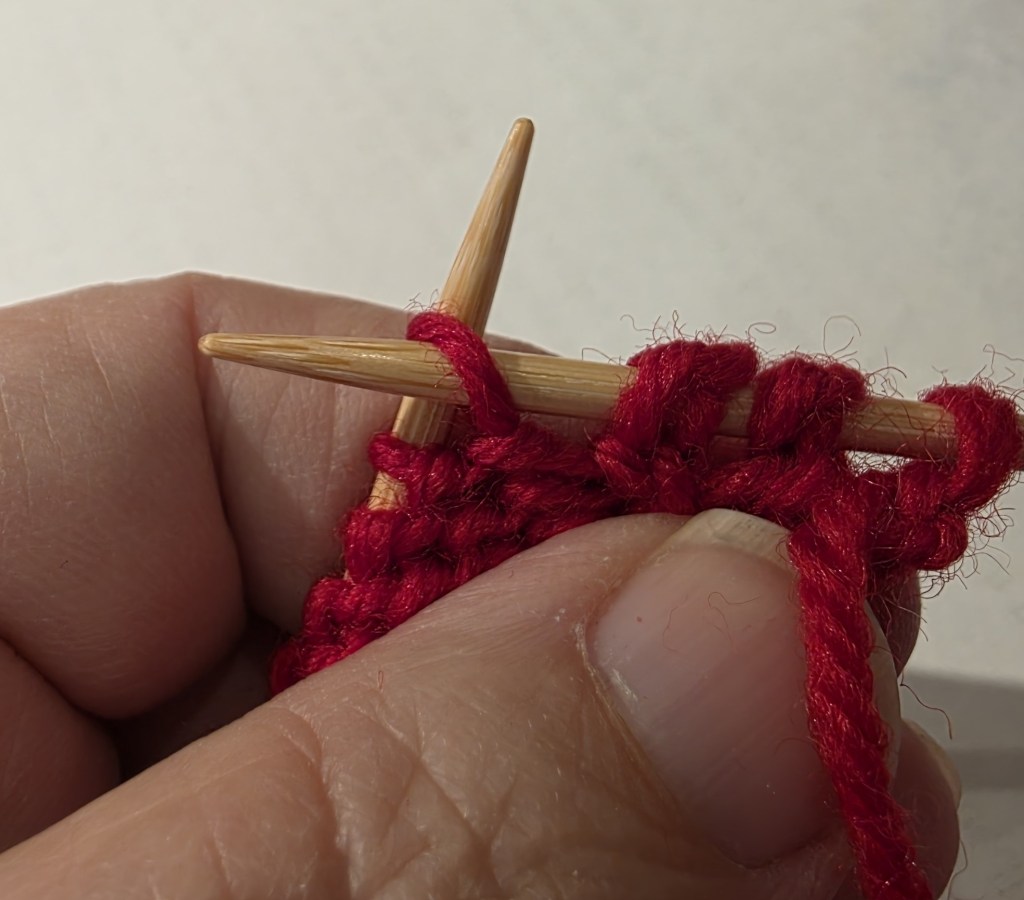
Starting the RS with a close up of the “pairs” created by the YB before working the stitch.ready to knit the other half. RS facing, with the sts and pairs separated off in order to identify everything more easily.ready to knit the other half. WS facing, with sides and top separated.
This technique can be substituted into any sock pattern. I have included a few standard numbers to use for the heels. Remember that there is no gusset shaping. So your sock would go something like this – ribbing, leg, heel, foot, and toe.
If you decide to try out the technique, please let me know what you think! If you have problems please also let me know. What are your favourite styles of sock making? Do you have a heel shaping or toe tip to share? What are your challenges in sock making?
It has been very foggy around here for the last few days. It does create a very different world when it surrounds and softens our world. Even as it lifts in the morning it leaves behind traces of singular beauty.
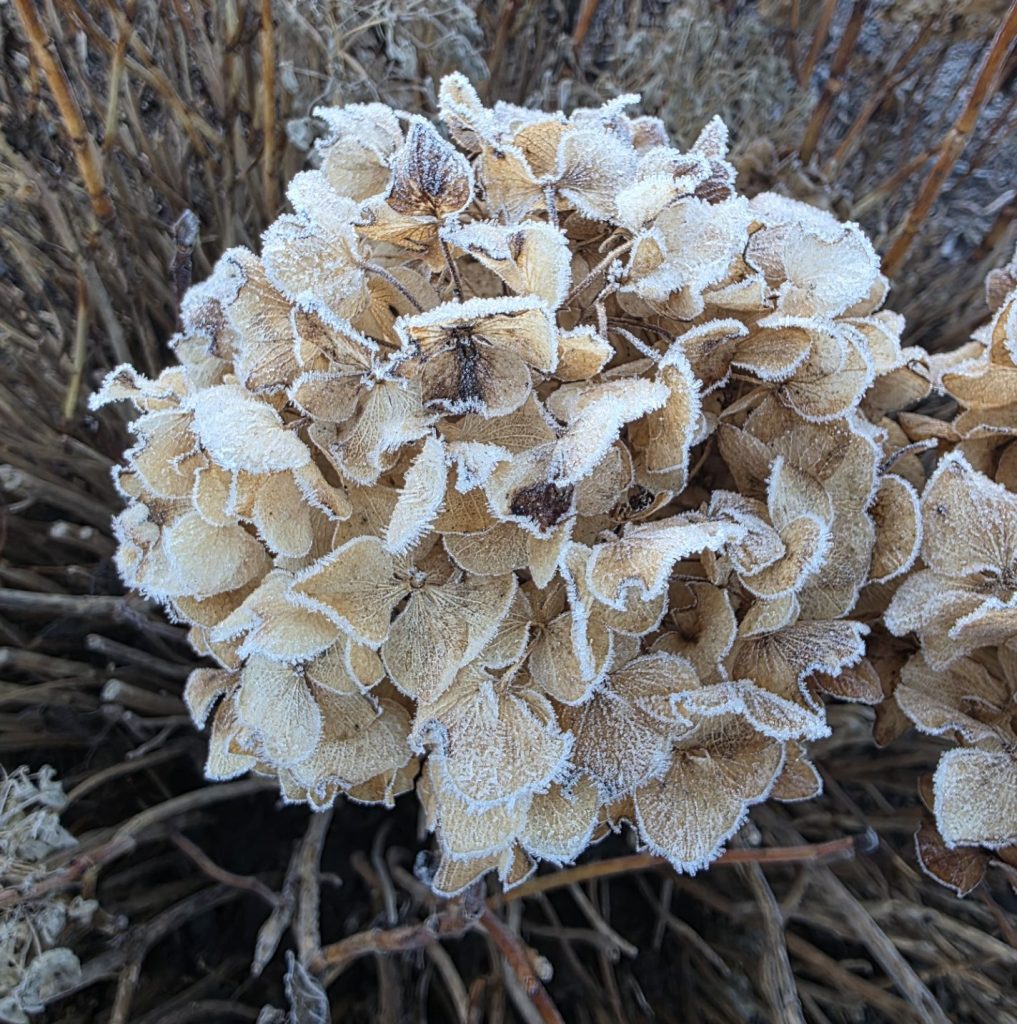
The Frost this morning was amazing! It gives of the sparkle of diamonds in the sunlight and rims each petal and leaf in lace.
Today is Wednesday, the middle of the work week and my day off. To rest, grocery shop and work on my knitting, patterns and blog! Maybe to nap as well. LOL!
Now it is Thursday – yesterday got interrupted by some serious knitting. I am almost ready to place the thumb stitches on my glove onto some waste yarn!
The Qing Fibre is so pretty.
My project/sample knitting is going along swimmingly while my pattern is writing lagging behind my knitting. Which is normal because I would rather knit than write! I am much better at the knitting and struggle with the writing. I blog because it does in improve my writing abilities and it fools me into thinking my pattern will write themselves, so far, this has been proven to be a fallacy. LOL!
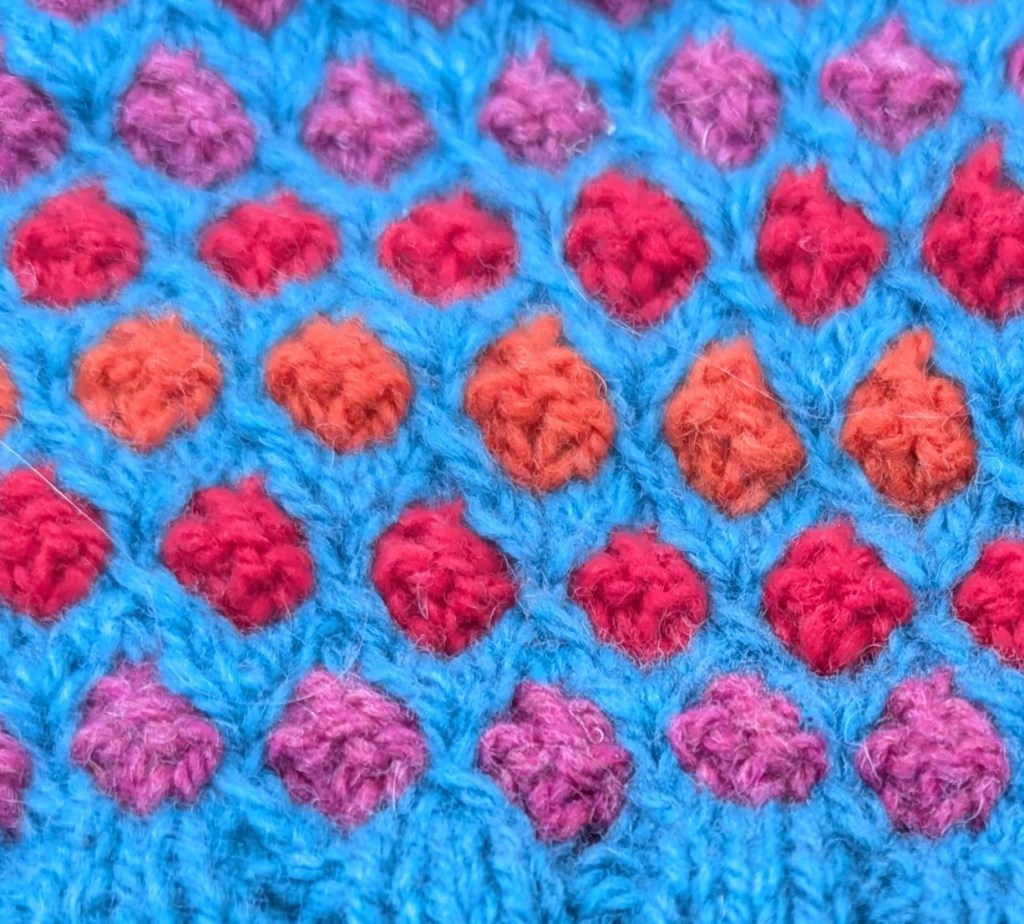
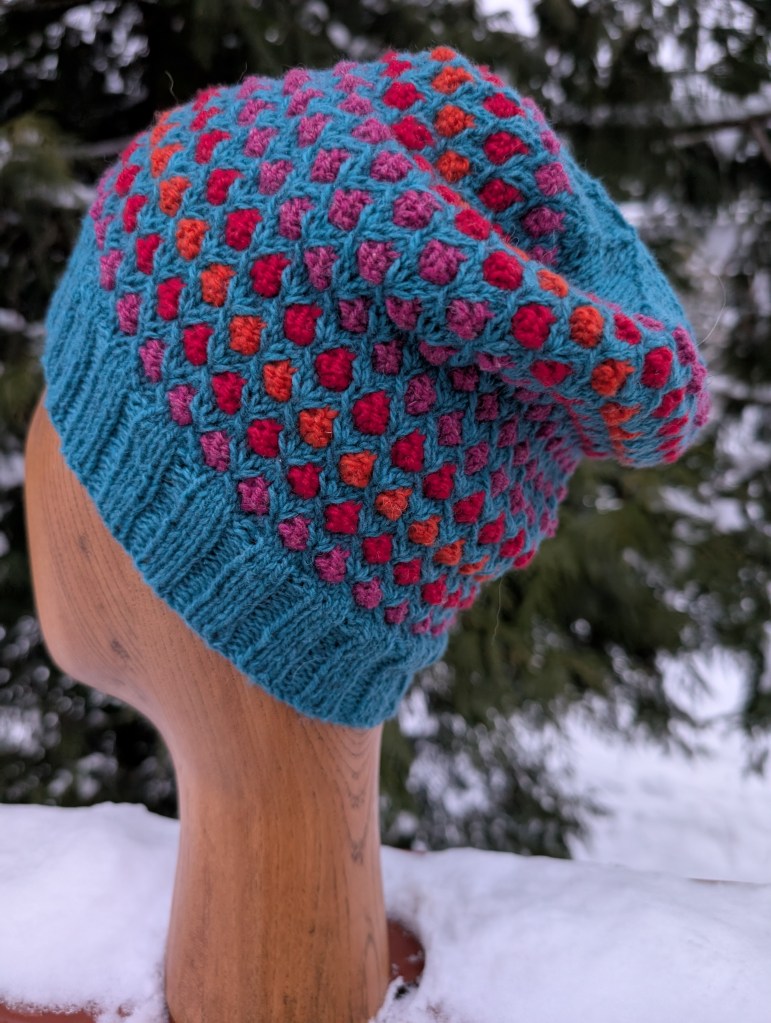
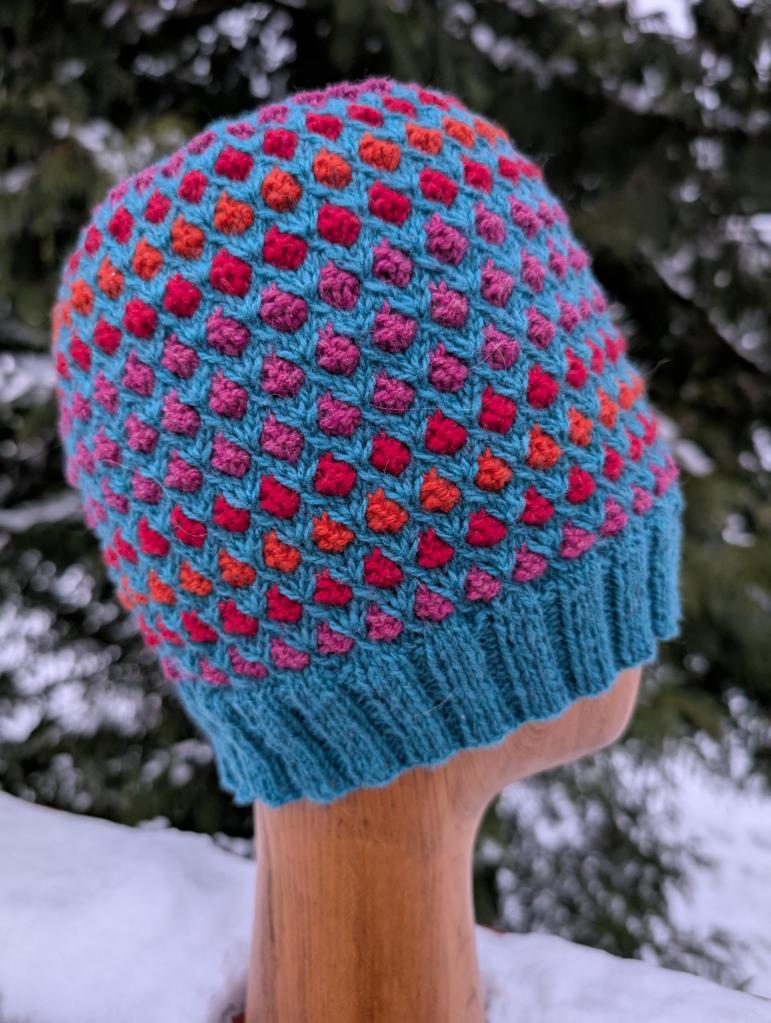
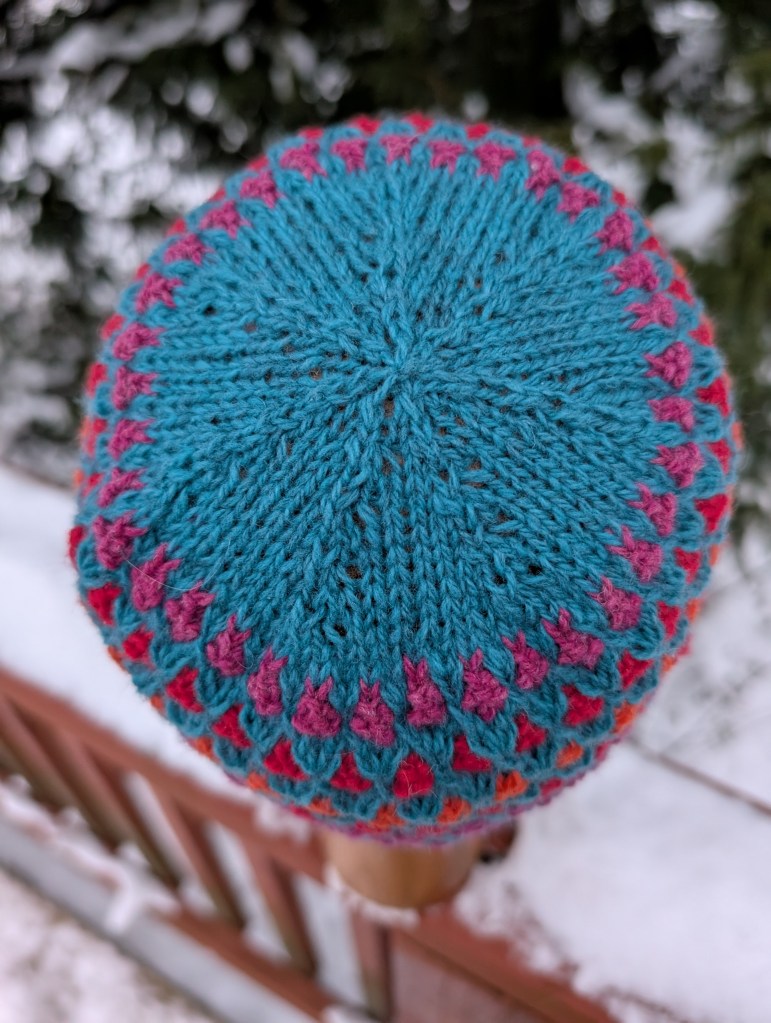
As a knitter and as a designer I love texture and colour. Slip stitch knitting offers so many opportunities to combine both! Slip stitch knitting is very similar to Mosaic knitting in that you are never working with more than one colour at a time. The other colour in the round is slipped as you come to it. The Jelly Bean is a good example of slip stitch knitting.
I have been working on the pattern for the Jelly Bean Hat. It is just about ready for release. The charts are done and the pictures. It just needs some fine tuning.
The yarn is Juniper Moon Farm Patagonia Organic Merino in 4 colours. But it could just as easily be worked in 2 colours or every stripe of “jellybeans” could be a different colour. Knitters choice 🙂
My remainder of the samples for the Winter/Spring classes are coming along. I really only have two samples left to knit.
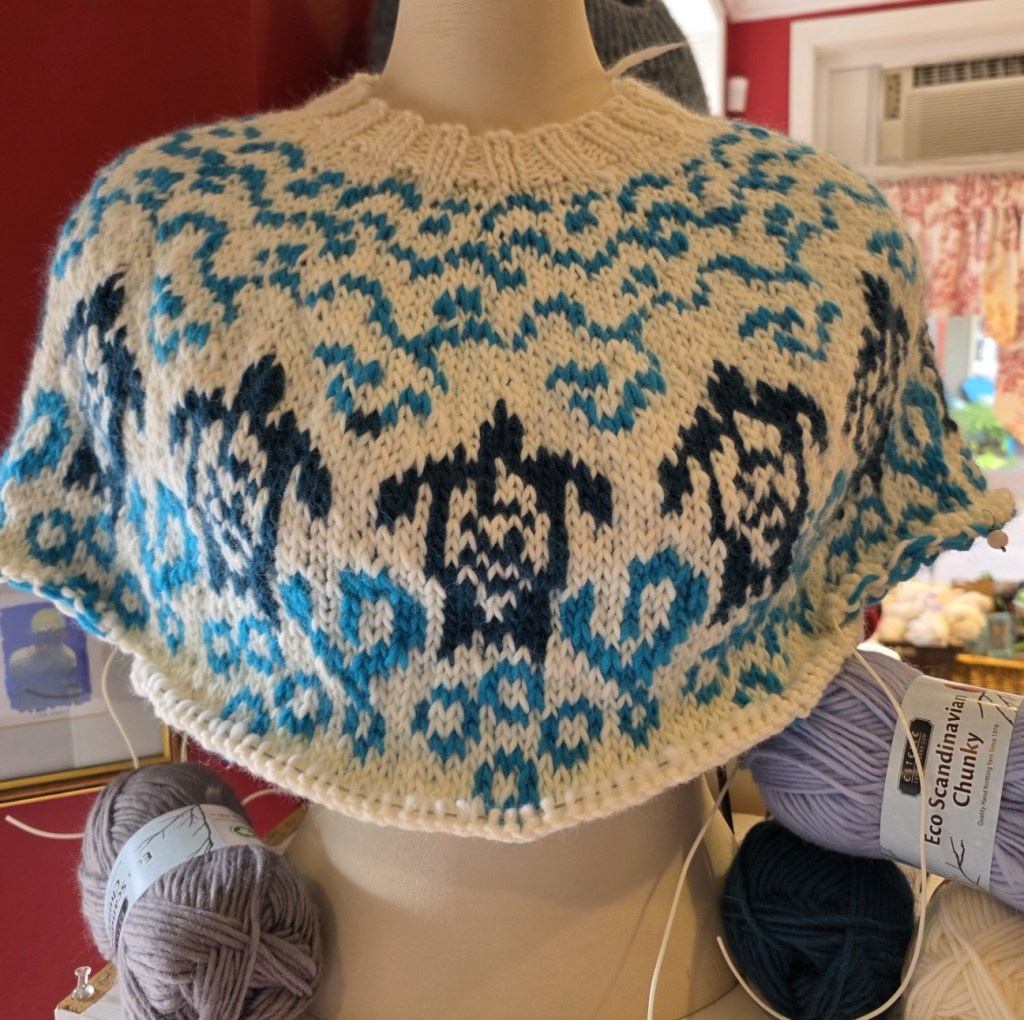
It is getting bigger. I am just a little ways away from dividing off for the underarms.
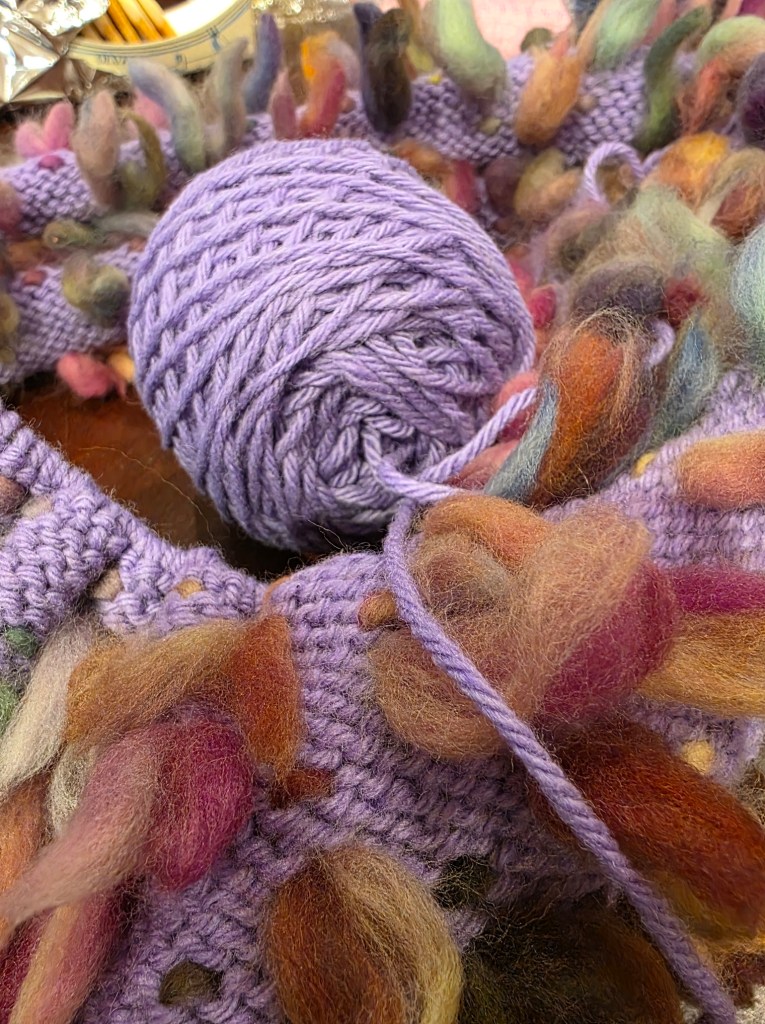
The Puffy Vest, which will take a while as it basically knitting two vests and then knitting them together. AND…
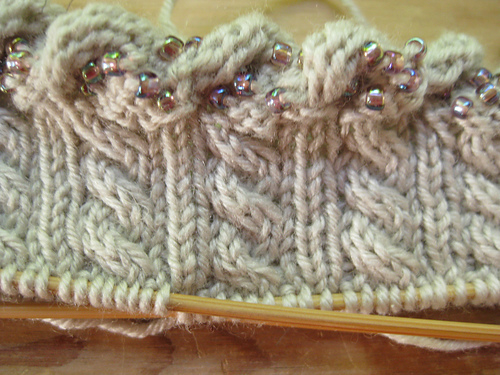
The Beaded and Twisted Cast-on which won’t take very long even though there are two variations on the same theme.
I am going to use gloves and socks for the samples, Which will keep the sample knitting The beaded and twisted start really could be used on almost any garment or accessory. It’s just that I particularly love it’s effect on smaller items!
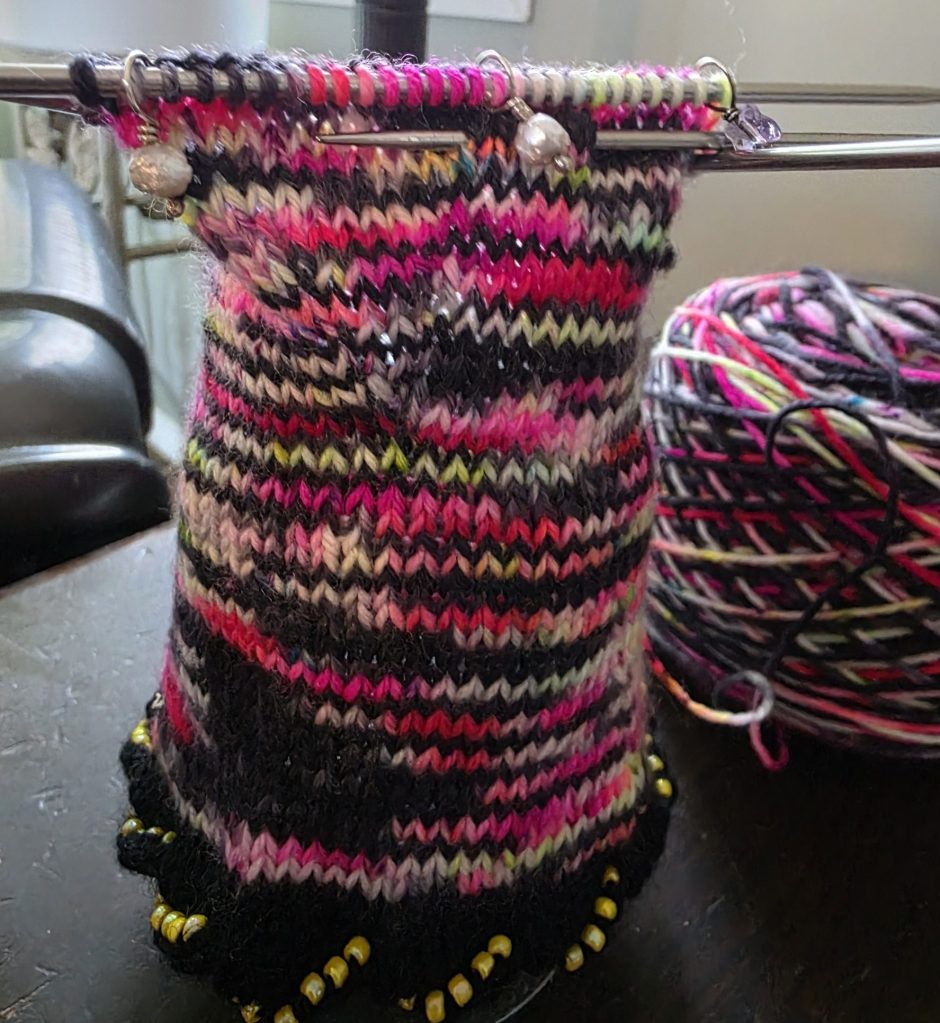
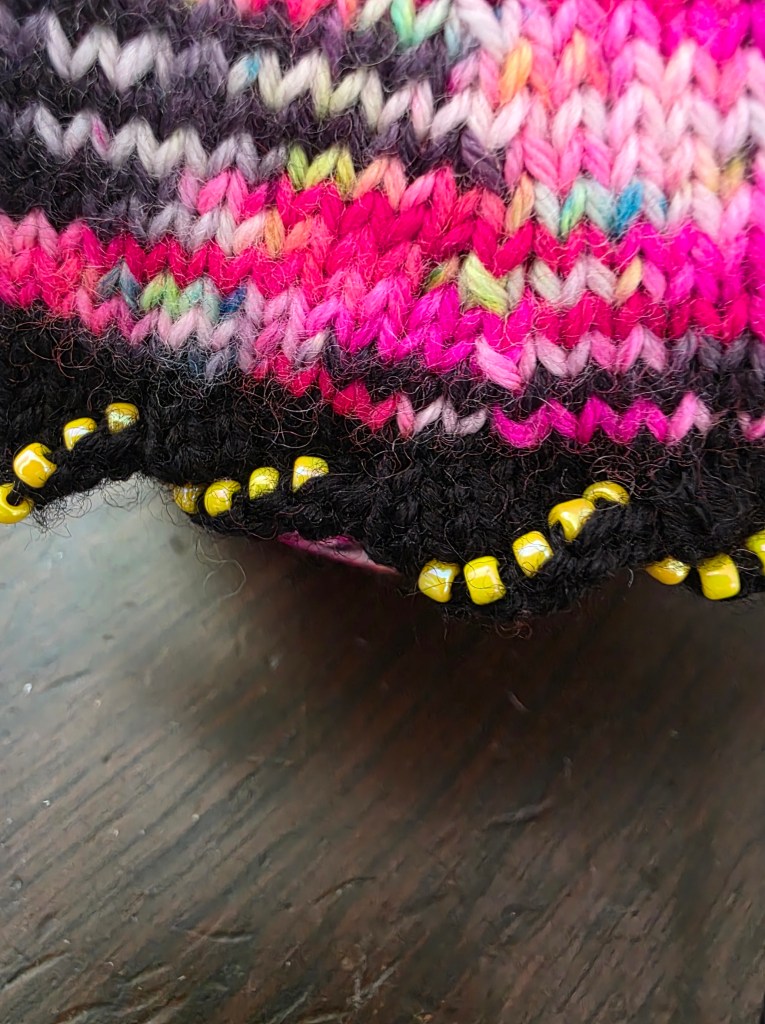
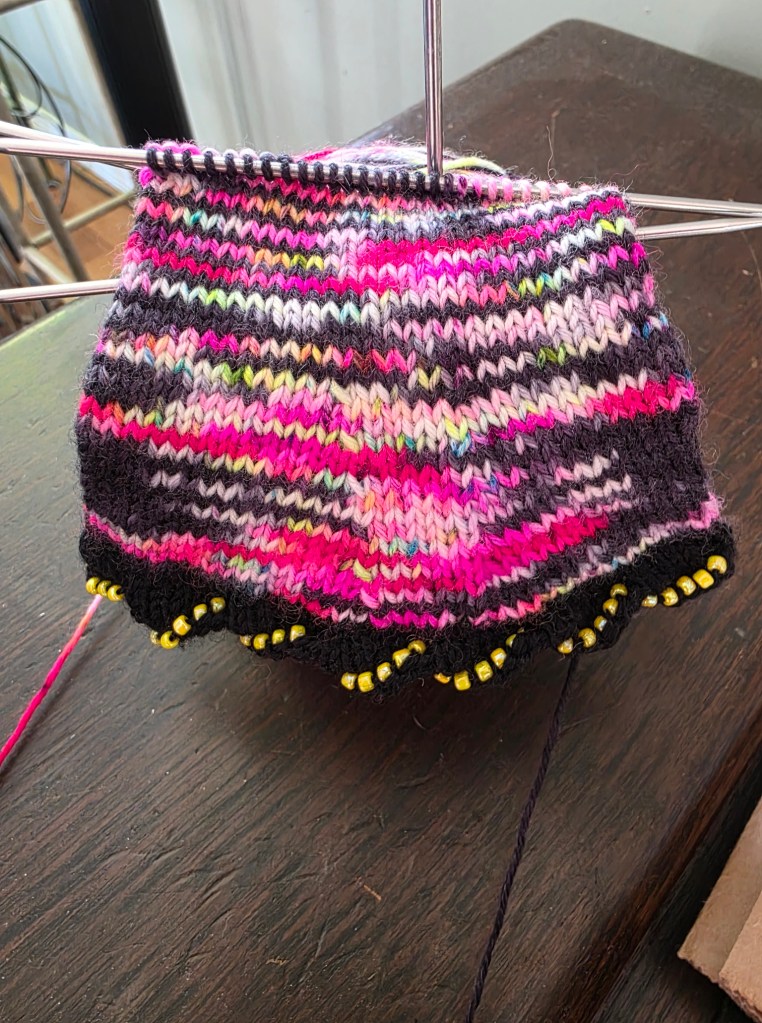
The basic gloves for the class will be sampled with one of the versions of the beaded and twisted cast-on. They were started with a long-tail beaded cast-on. The yarn for the glove body is Qing Fibre Sock in the Blackhare colourway, paired with some basic black sock and size 8/0 beads.
Version 1 – gloves started with the beaded long tail cast-on and then twisted.
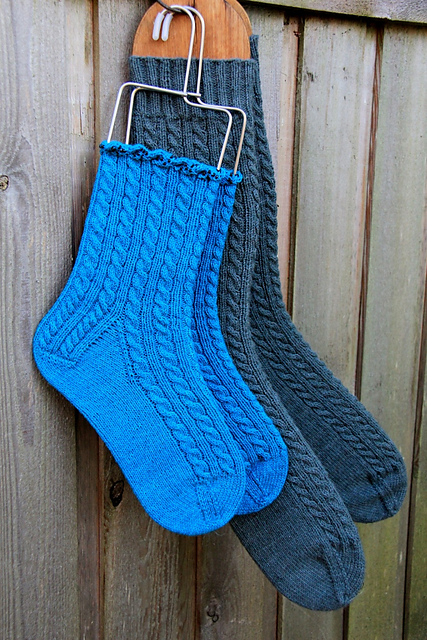
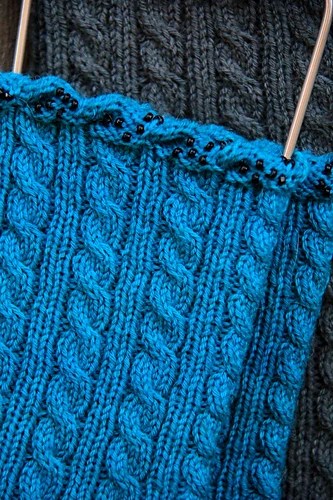
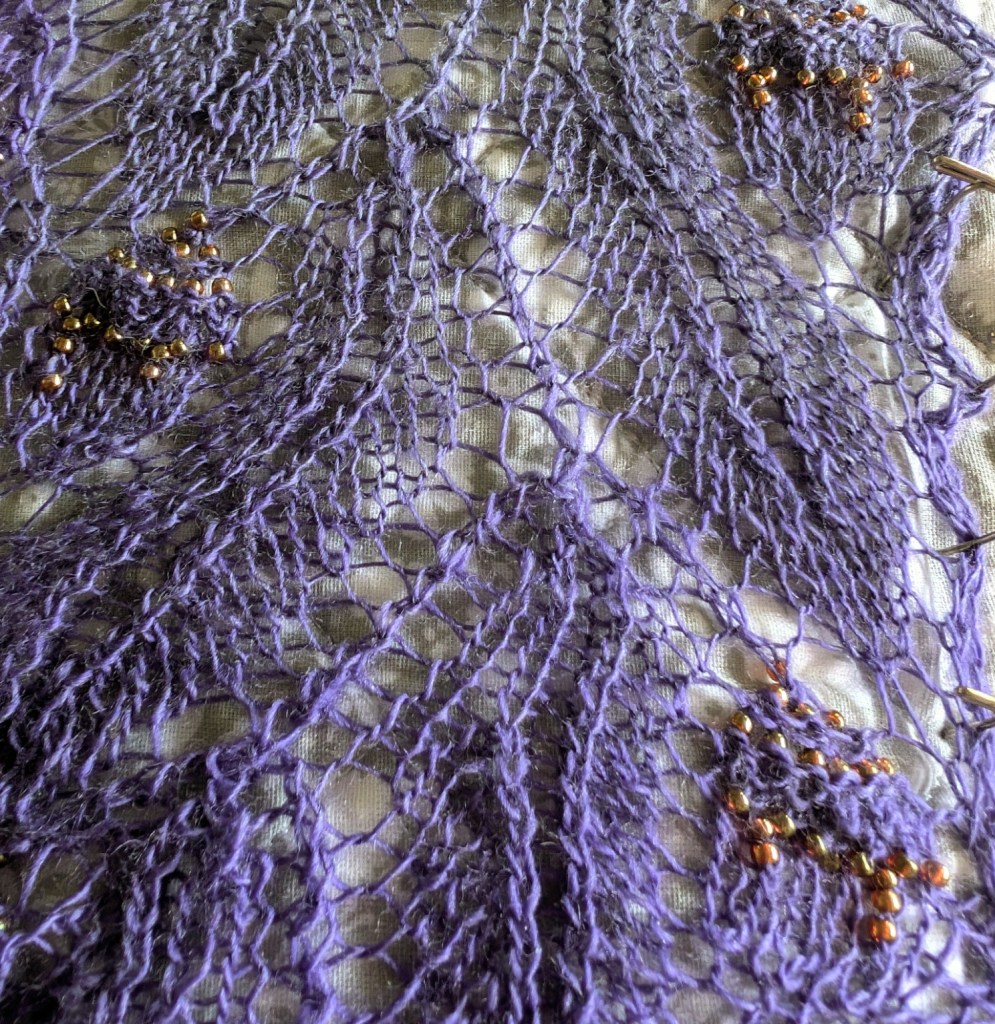
Version 2 – socks started with the beads randomly spaced on the knitting and then twisted.
The other example will be my Sailors Knots Socks. In this twisted and beaded cast-on the beads are placed randomly as you knit.
Epic Fail
I really struggle with the technological aspects of being a small business person in our modern world of computers. Every improvement in technology requires a new learning curve. Usually it doesn’t involve the blog but…
Yesterday I got a note that one of my posts had an error – there were two different versions, so there was a conflict. I had to pick one version. I picked wrong. SO….
My Granny Blanket post has suffered some kind of calamity and will have to be rewritten. I will work on it this weekend. Apparently it was a “me” problem I jigged when I should have jagged! I mangaged to delete the whole thing. I somehow still have a draft version that was never finished so I will use that as a base.
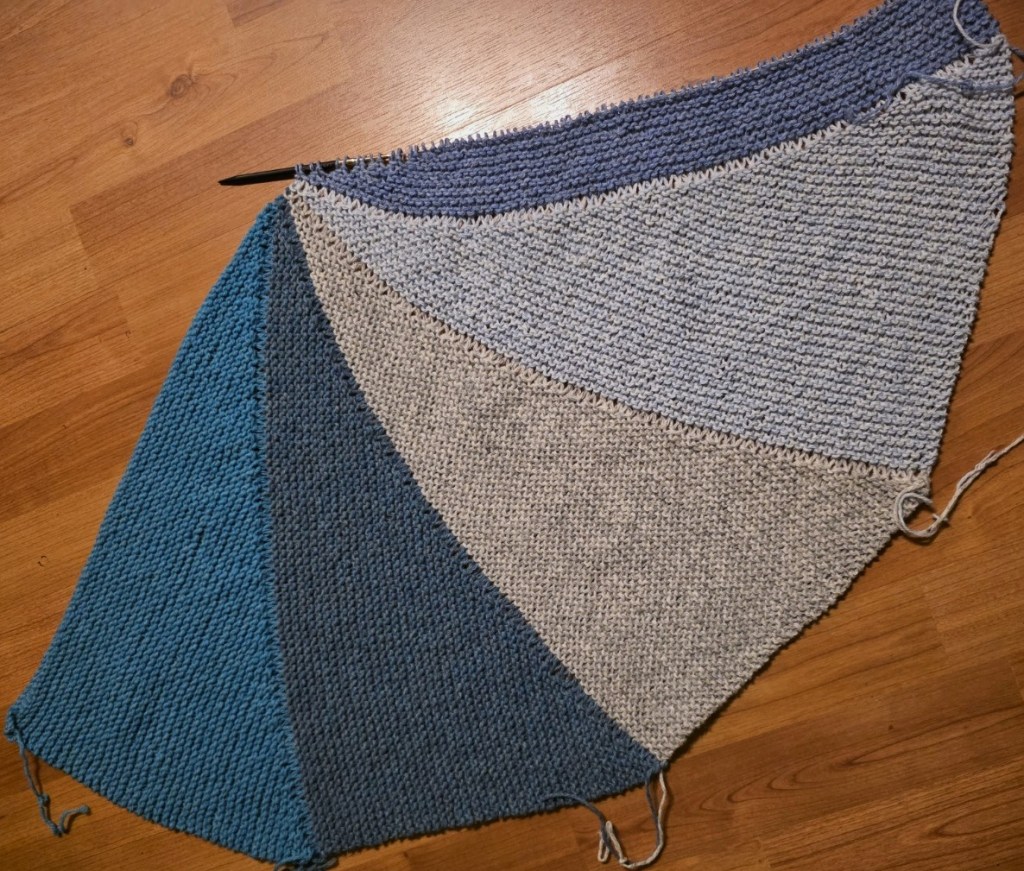
My Granny Blanket Swatch is building quite quickly though. I will be working less wedges than I thought (originally 16). I am currently thinking that 13 or 14 wedges might make the circle.
I hope that you are having a wonderful week. With lots of knitting and no technological glitches!
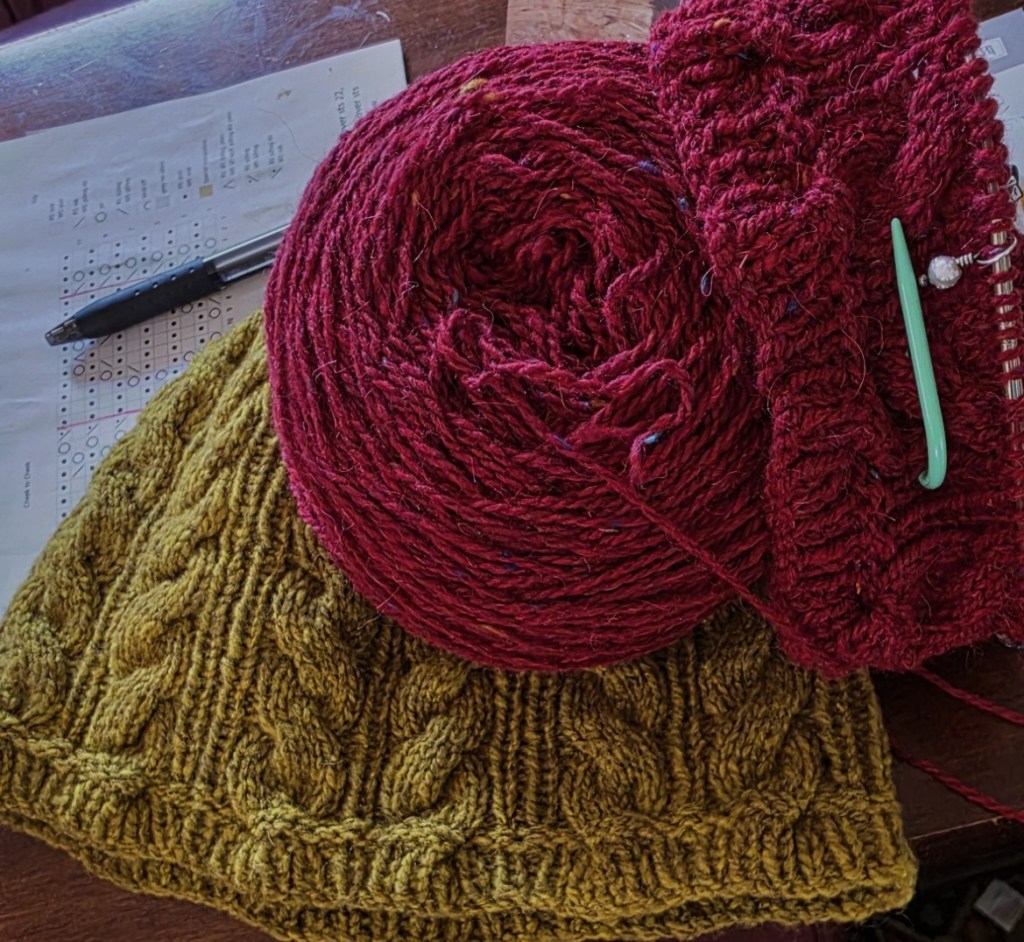
Right now I am working on a few different ideas. A cabled hat, a dress and a shawl (both have been hibernation for too long), a headband, a couple of sweaters, and way too many others projects that need assessment!
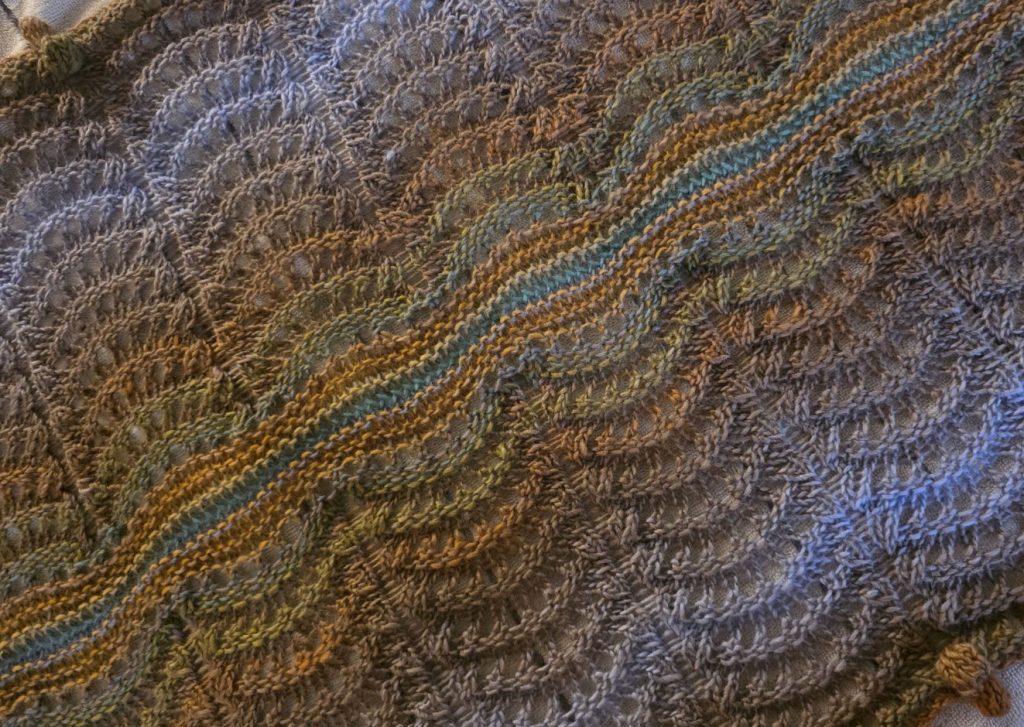
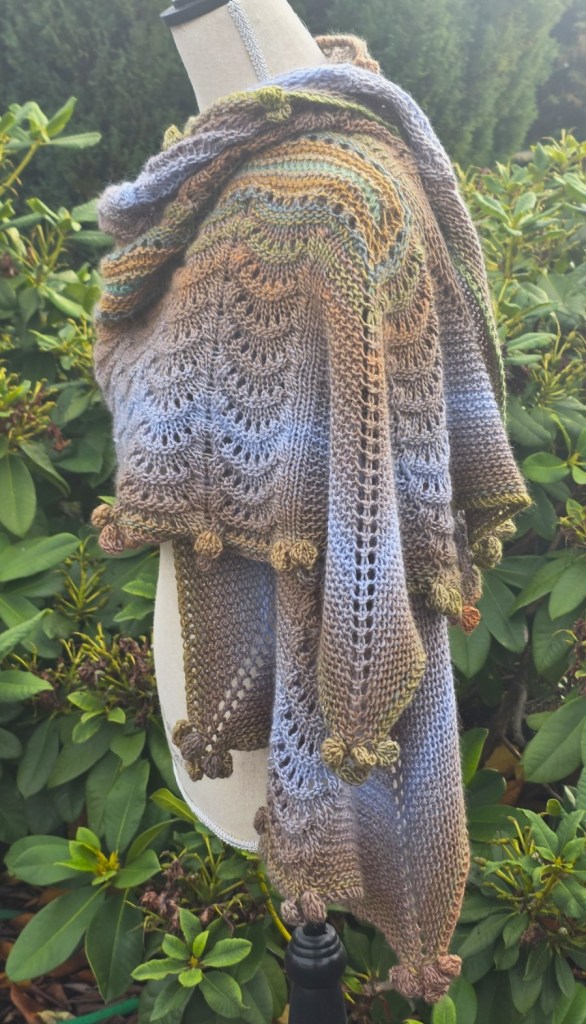
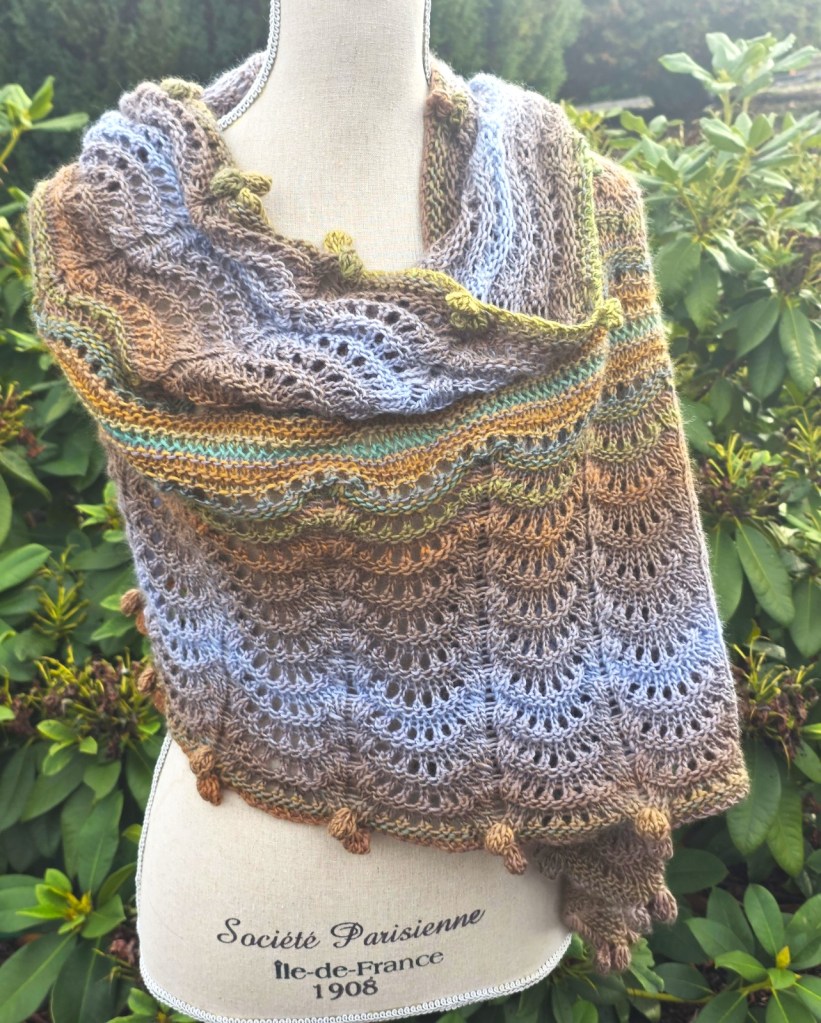
I think this one exceeds the sum of its parts! What do you think? More pictures below.
Quickie Update
Well it is obvious that Quickie needs a new name. For starters it really wasn’t that quick and really it doesn’t suit the beauty that this project turned into! It is blocking right now – and I am rushing it along with a few blasts of warm air from the blow dryer so that I can share some pictures.
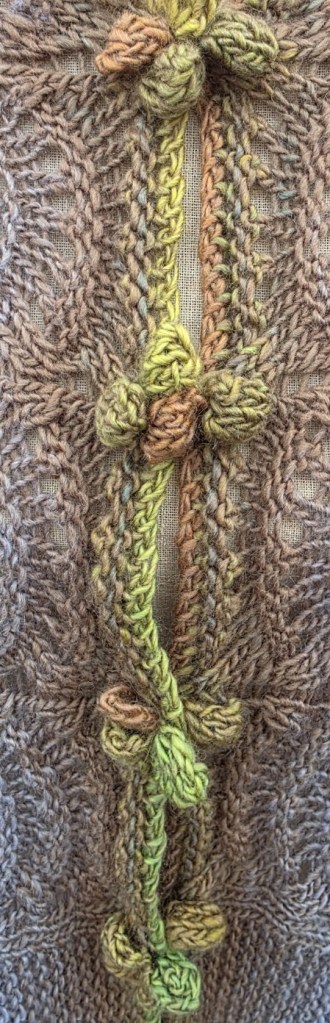
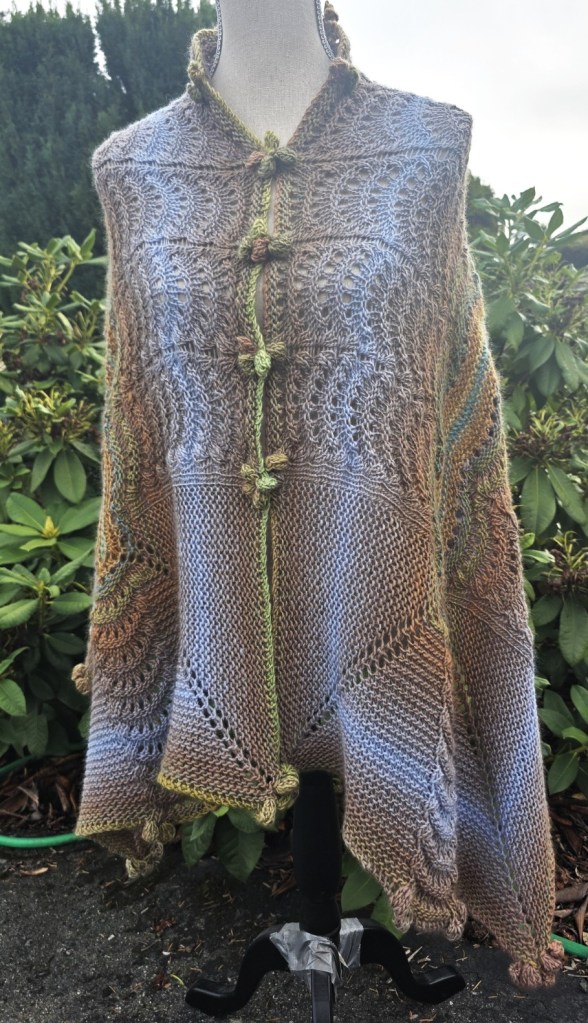
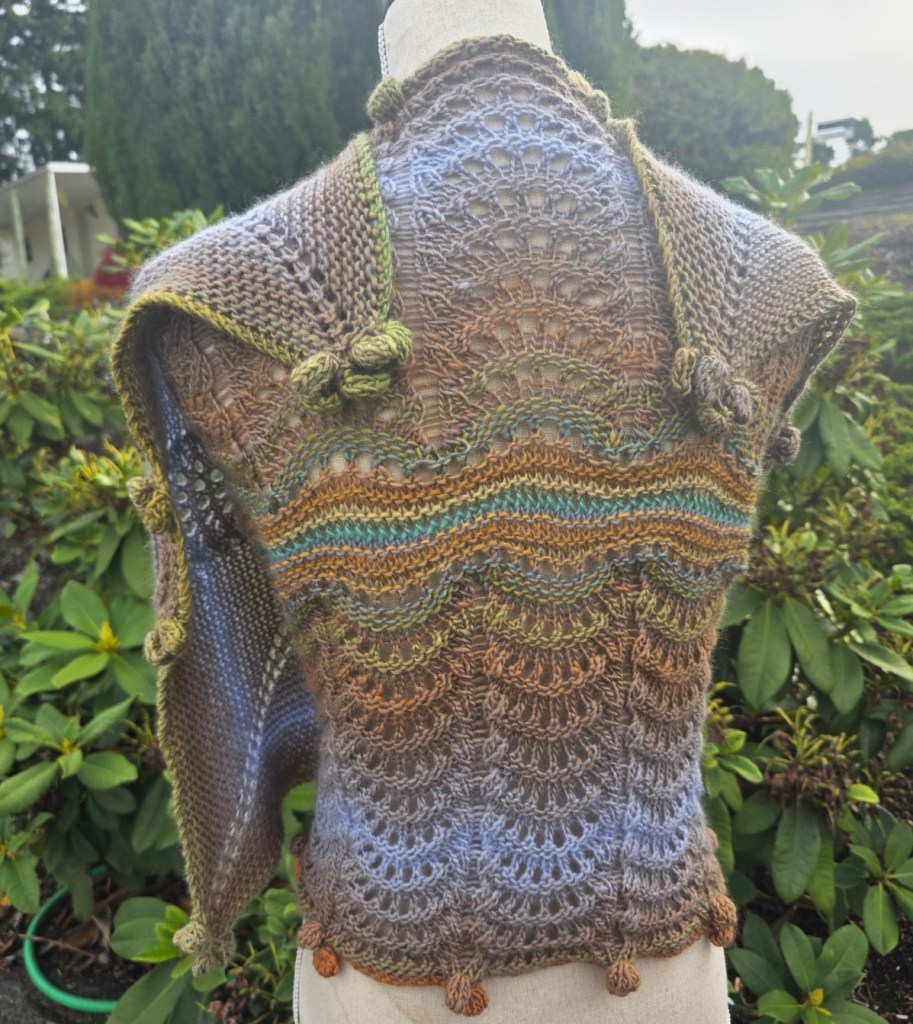
So lets have a little competition. I am looking for a name for this very pretty, textured, and quite happy shawl. It has beautiful stripes highlighted with waves of lace patterning and is finished with cheerful, bouncy bobbles! I think that it has quite the playful vibe. The winner can pick one of my patterns on Ravelry and I will gift it to you! (You would need to be on Ravelry for this as I would need a rav name to send it to!) So put your thinking caps on and come up with something that you think appropriate.
I cannot say enough great things about the Poema Stripes yarn that I used for this. The colours move beautifully and the merino is very soft and bouncy. It made for a very satisfying knit. This yarn is not cheap, but at 150 grs and 450m, there was value for the cost. It is a non superwash which was important to me as well. Some other things on my knitting list (you know the one – it is never ending), were pushed to the side while I played with this yarn. The way this yarn has been spun is amazing. The average yardage in 300grs of worsted weight wool is approx 600m or 660yds. Poema has 900m, which makes for a very light, but cozy shawl.
Basic Stats: 300 grs, or 900M worsted weight yarn, 5.5mm US#9 long circular needle. The bind-off round took almost 35 -40grs (approx 100 – 120 yds) of yarn. I had only 13 grs left after the bind-off. Bobbles do eat up yardage. The pattern will need to be updated, but that might take a while. It was approx 50 inches by 18 inches before blocking. After a relaxed blocking; it was wet blocked but not pinned or stretched, just smoothed out onto the towels. After a relaxed blocking it was 68 inches long and 22 inches wide. Each lace pattern measures 4inches across.
The bobbles as a closures was a complete fluke! But it looks deliberate! Sometimes in design things just happen!I chose bobbles for the border simply because I think of them as happy and fun and a little playful. Which is how I think of this piece.
Next Year at Mad About Ewe
I have been working on the theme for next years classes at Mad About Ewe Fine Yarns and I think I have come up with a bit of theme. I am going to spend the year looking at socks. I haven’t designed any in a while and there seems to be a renewed interest in knitting the more interesting kinds. So are you interested in socks? Did you try them and go “never again”, or did you become hooked?
When I started knitting socks I think I knit over a hundred pairs of heavy socks to give away, sell and wear. Once I move onto 4-ply socks the knitting slowed down, but I still have over 20 pairs in my sock drawer that are worn in rotation. This way very few of them wear out. I also have a few pairs umm, only half done or some just started – It is the way of socks.
There are sooo many options for socks; different heels, classic, dutch, afterthought, short-rowed and toes, box, blossom, grafted; different ways of construction including top-down and toe-up, with double points, long circs, short circs etc. Tube Socks (perfect for kids), Spiral Socks, Work Socks, Dress Socks, Slip-Stitch Socks and even the lowly basic sock, which takes on a new life in all of the fabulous socks yarns we have today.
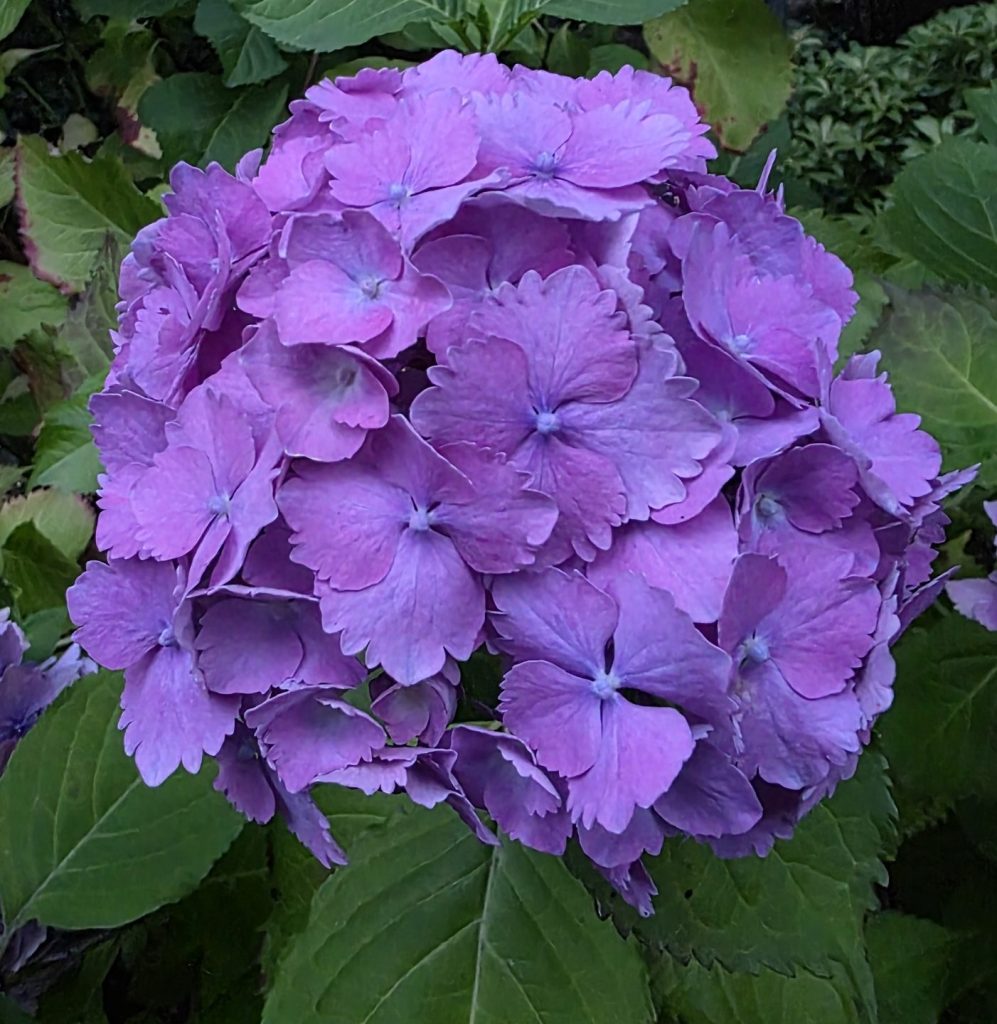
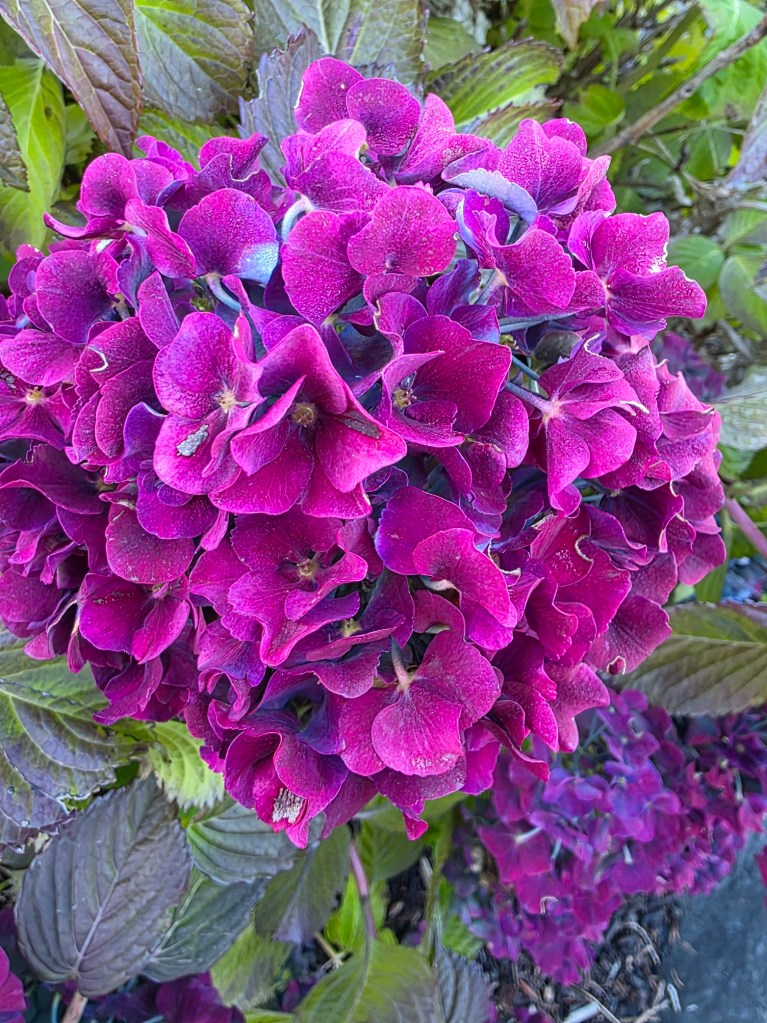
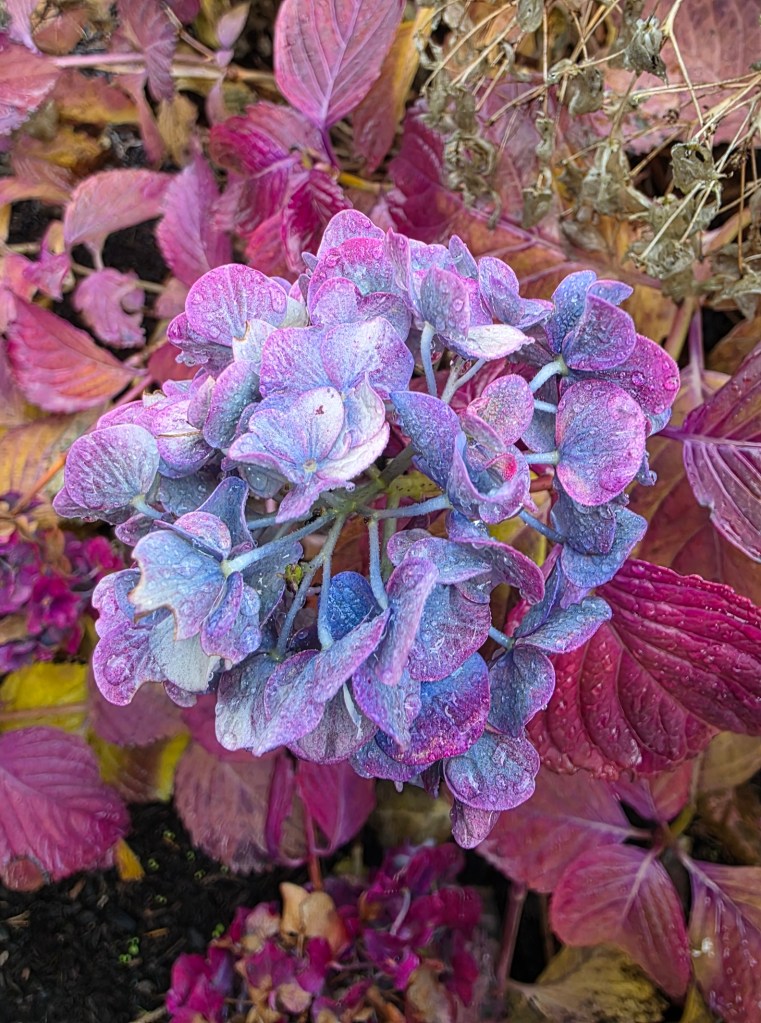
I love the Fall, the changing of the leaves, the cooling of the temperatures and even the way the skies darken so much earlier. Even in the Fall the lingering flowers have great beauty. I have been watching the hydrangea in my new place slowly fade as the cold progresses and isn’t it beautiful?
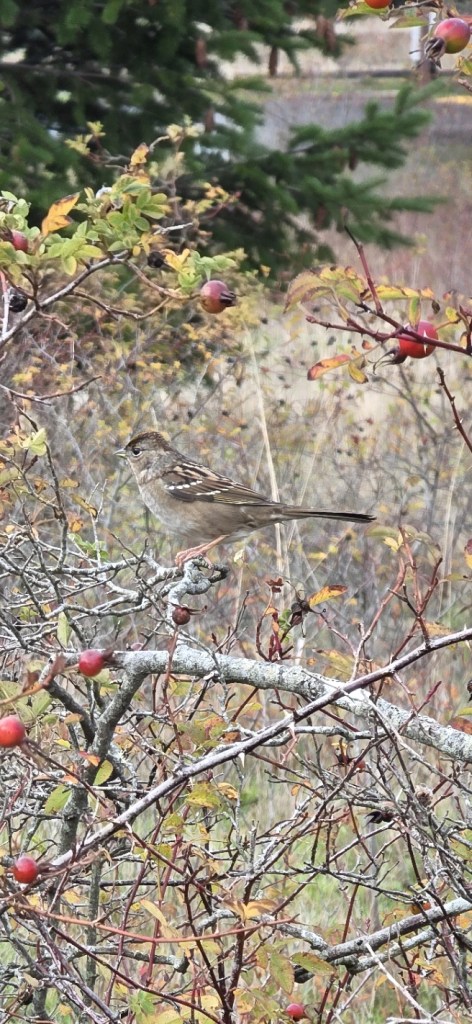
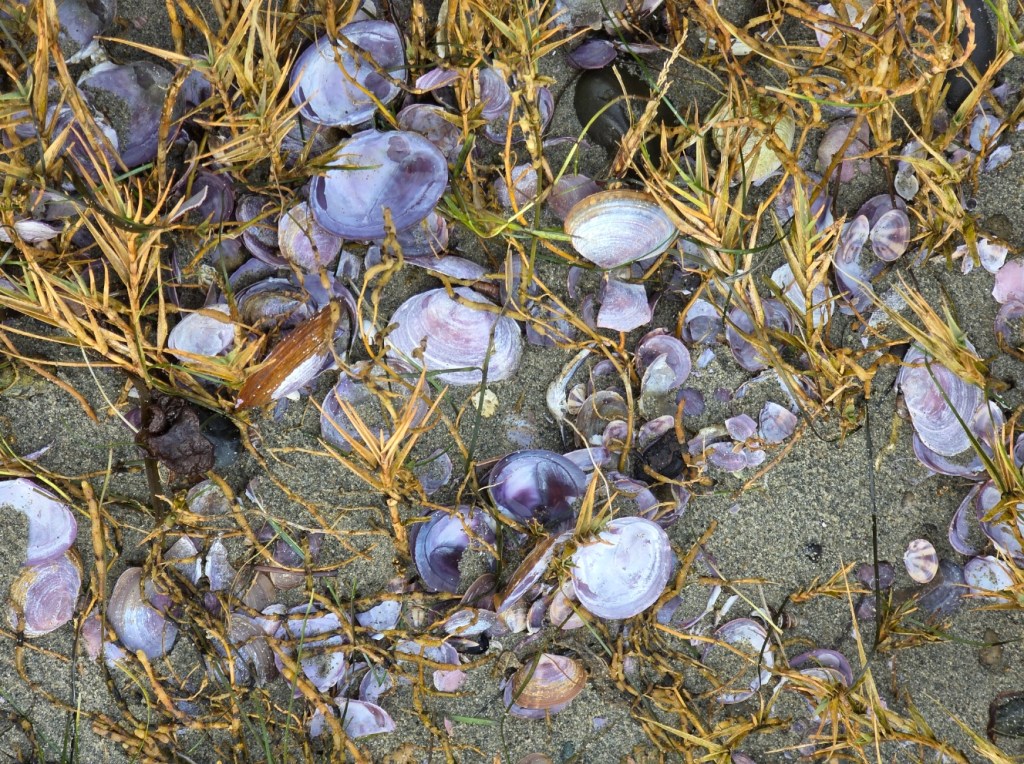
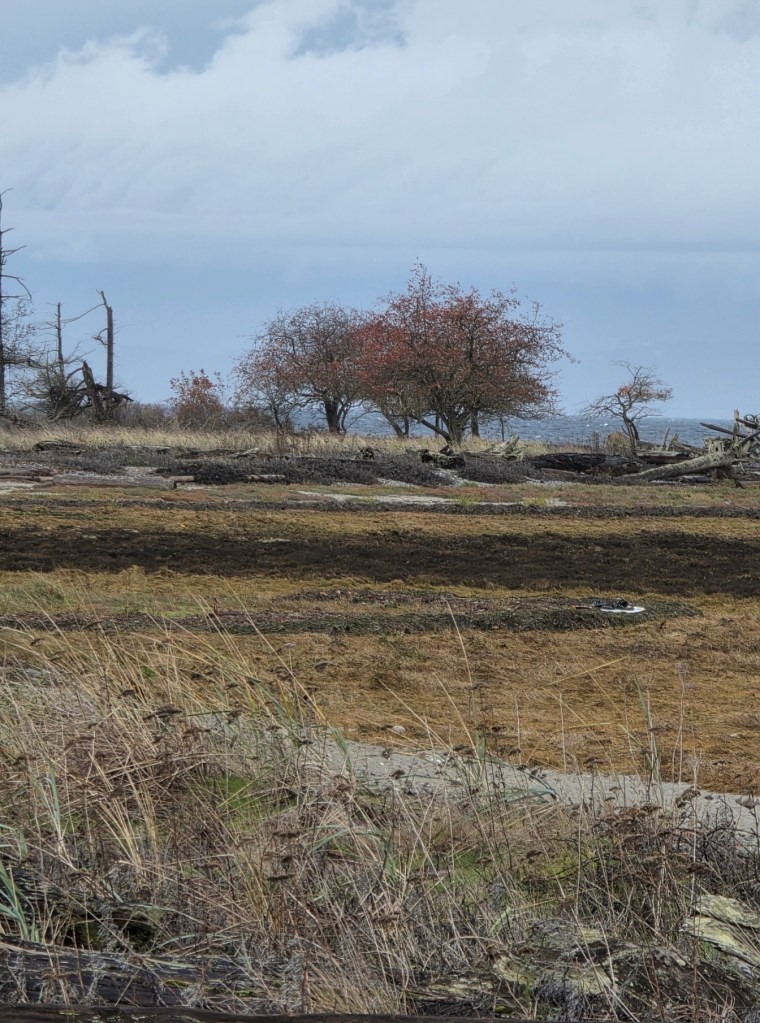
Last Wednesday I was out at Rathtrevor with a friend. It was glorious, the wind was howling, the waves had whitecaps and the clouds were racing across the sky. There were a couple of kite surfers on the water and we watched them for a while. The eagles and gulls were gliding on the winds and the small birds were darting around the tangled rose bushes. It was an amazingly exhilarating walk! It started to rain just as we left. What a day.
Are you a soup person? I have noticed that some people don’t like soups. I love soup. I could easily have soup every day for lunch, even in the Summer. Soup with crackers, soup with bread, soup with croutons – just soup!
I baked a ham earlier in the week so I am currently making a stock with the bone and vegetables and herbs. I will most likely make a pot of split pea soup this evening. Something for lunches this week at work. There should be enough broth for me to freeze so that I can make a pot of split pea soup another weekend. Ham, at the end of the day, is a very economical purchase and now-a-days that is important. It does dinner, breakfast and lunches and then offers up a couple of meals of soup!
Happy Knitting! I am hoping for a few good names to show up!
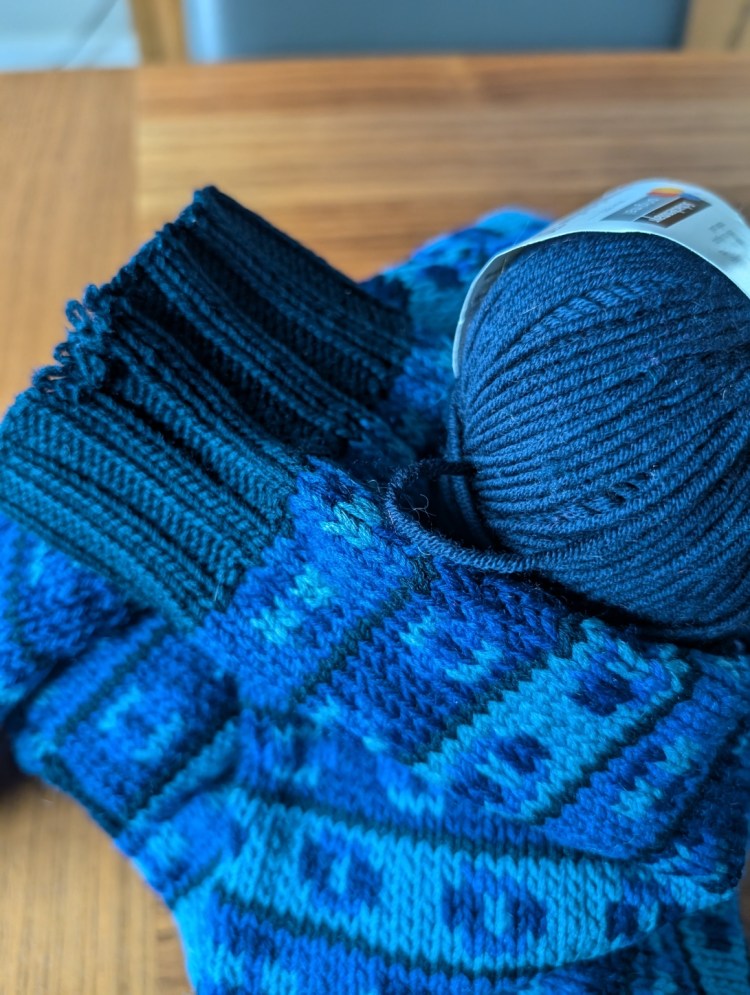
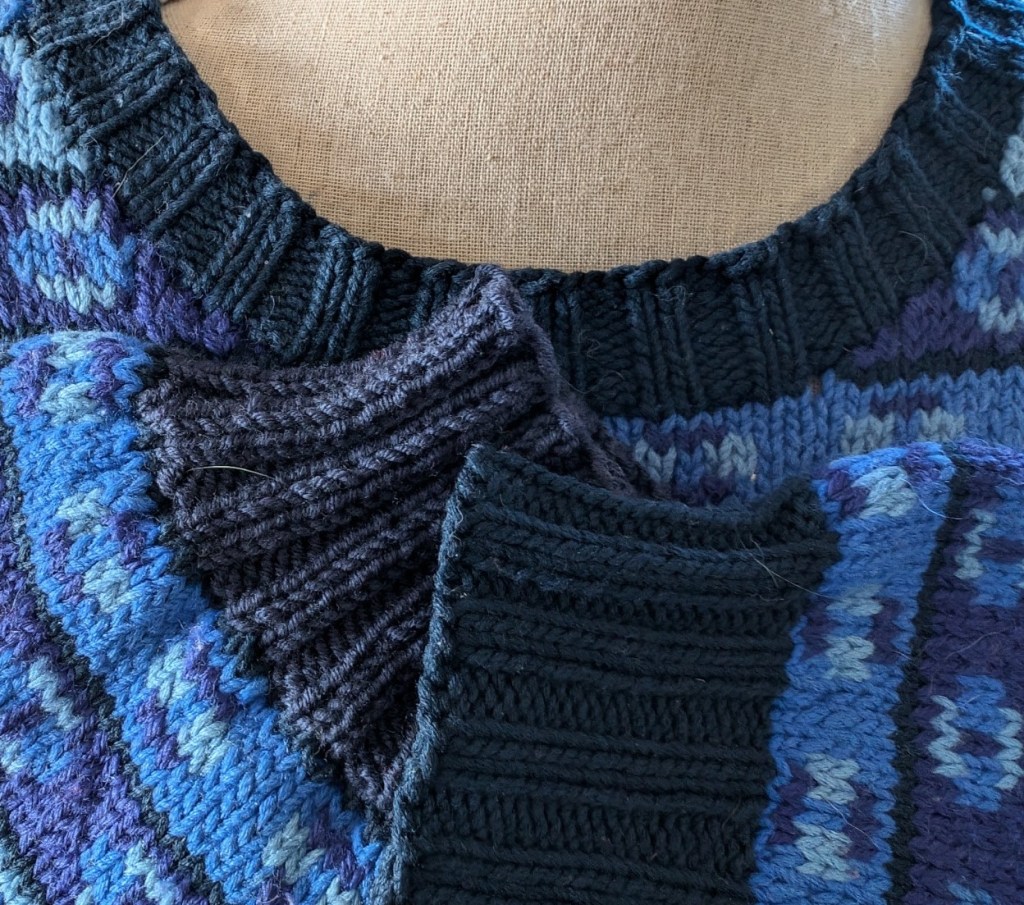
Yesterday I mended the blue sweater cuff. It took about two and a half hours, including the knitting time. Why did I wait so long? I’ve had the yarn for close to three years! Other things kept getting in the way. And I would rather knit than mend! Wouldn’t you?
I am working on changing that attitude within myself.
This sweater was knit in the round. Bottom up for the body, but top down for the sleeves.
At the time, I knew my yardage was limited and I wanted to make sure that each sleeve was the same and that the yardage went as far as possible. Top-down knitting is the best way to make that happen. It worked well for this project. I finished the sweater with only a little of the main shade of blue to spare.
The original yarn was a dk, so I decided to work the cuff with a set of 3.5mm US #4 dpn’s.
Top-down knitting also makes it easier to mend/replace the bits that wear out, like the sleeve cuffs. Had I knit the sleeves from the cuff up I would have had to cut the knitting at the join of the cuff and very carefully retrieve my live stitches above the cuff. That will be a demonstration for another day and a different sweater!
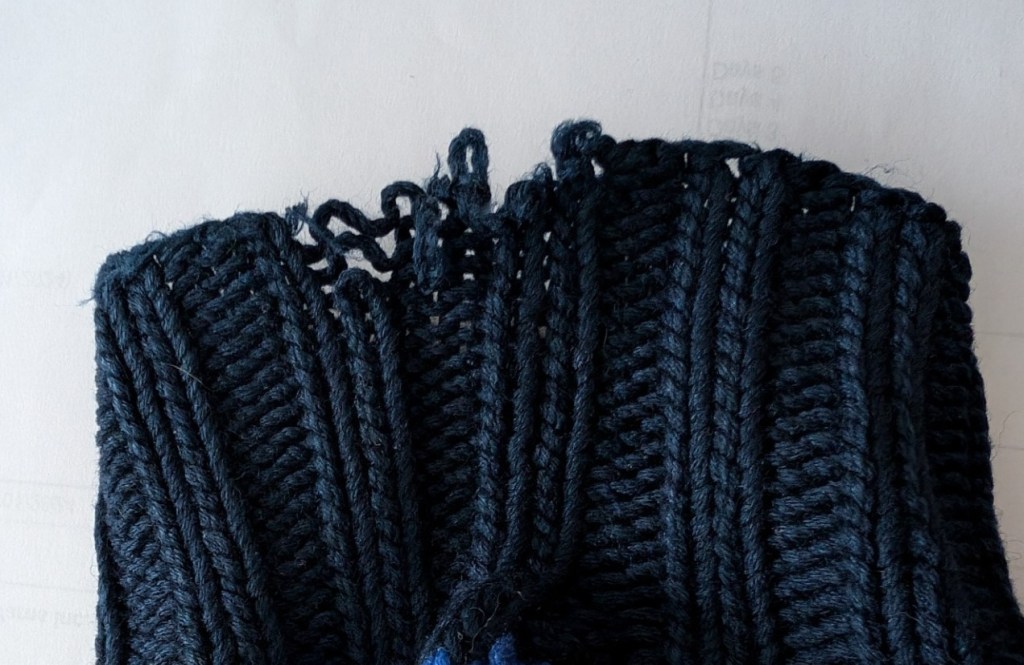
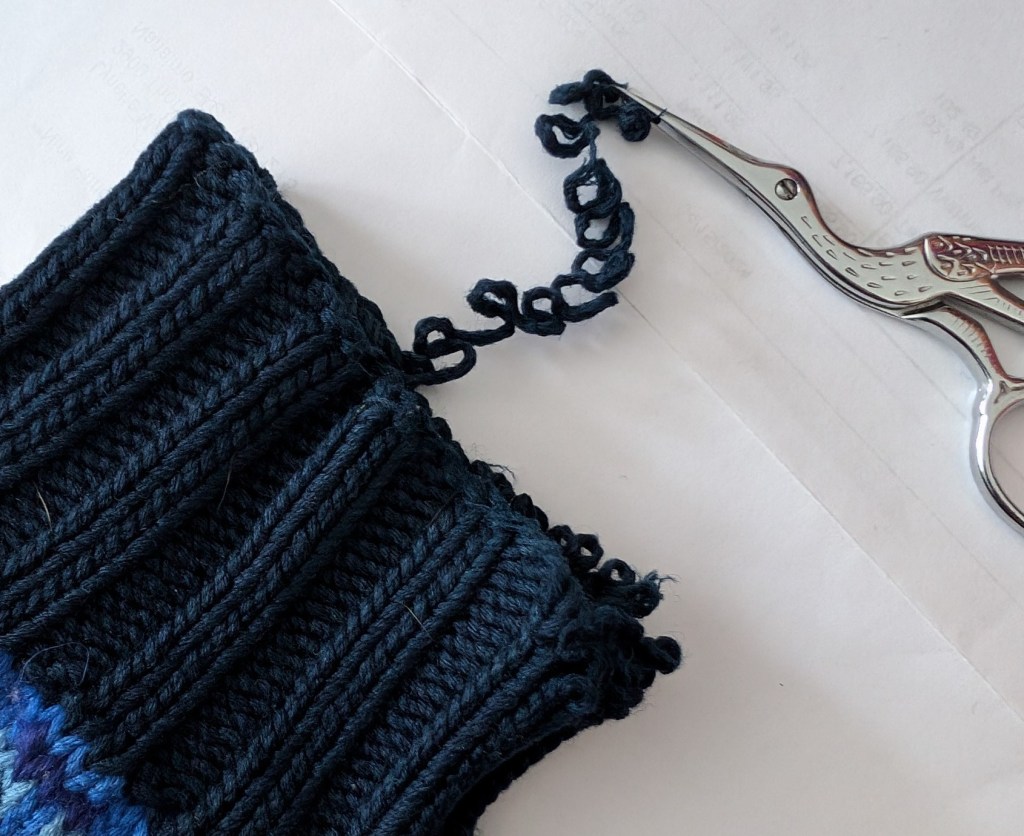
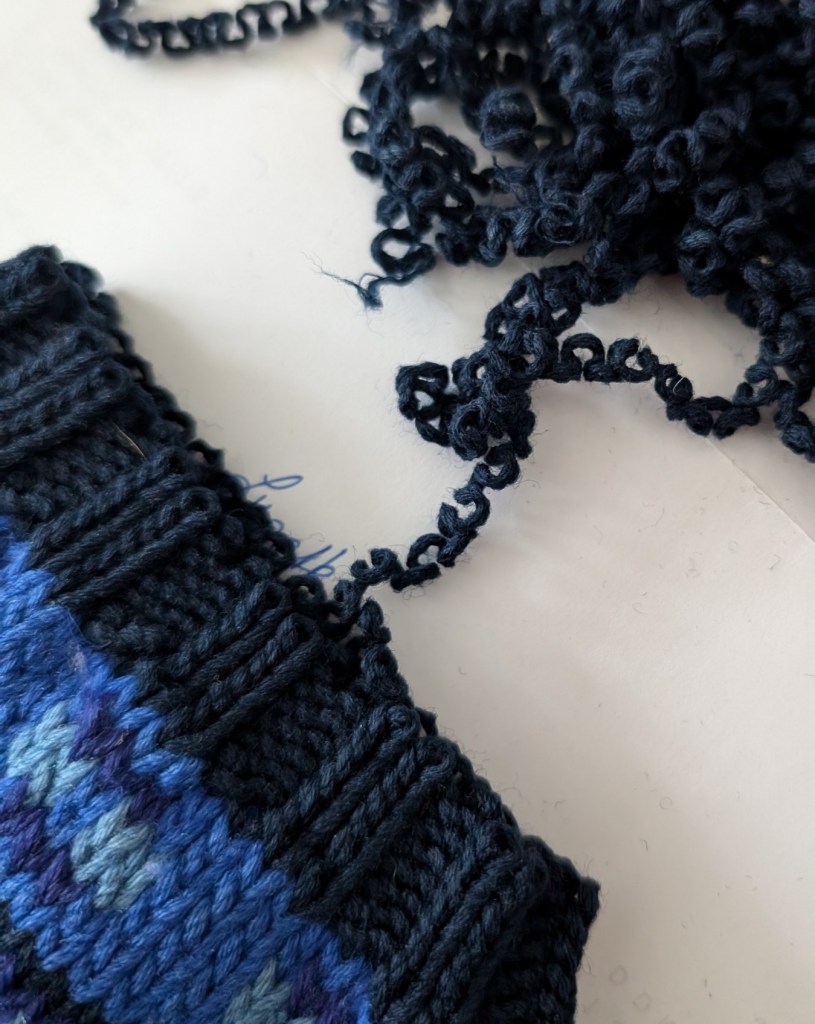
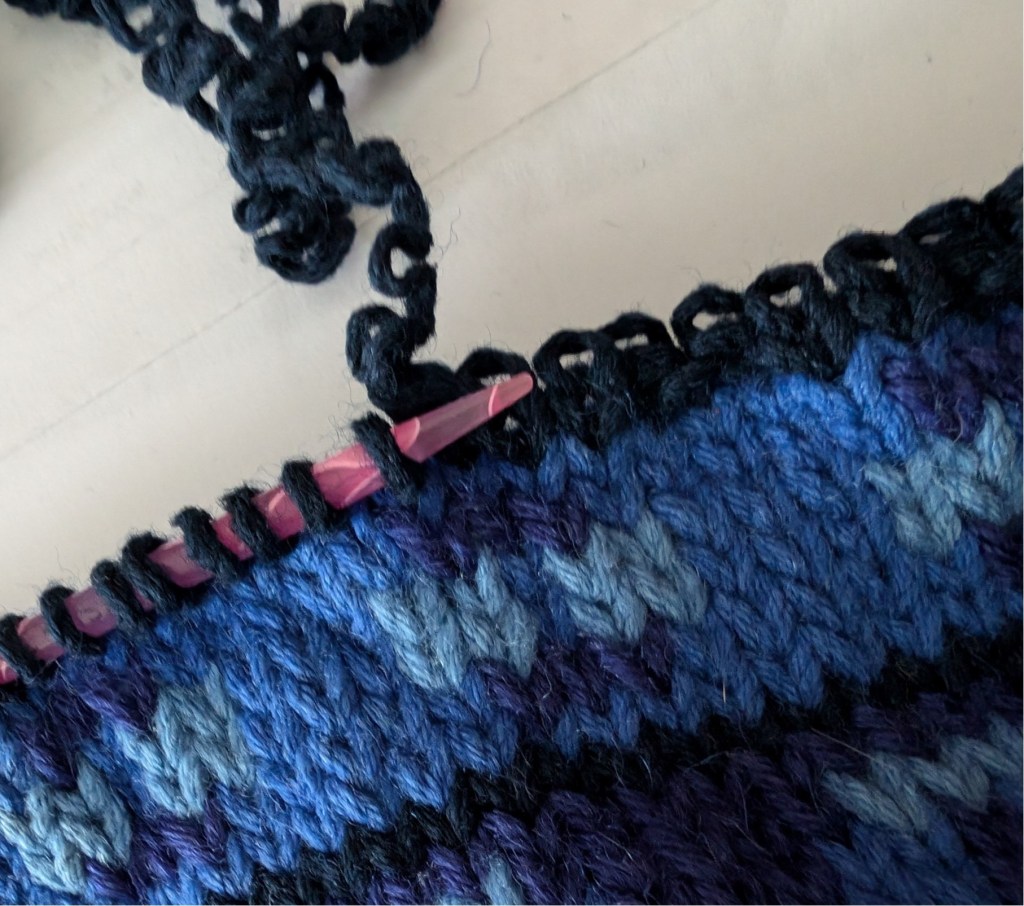
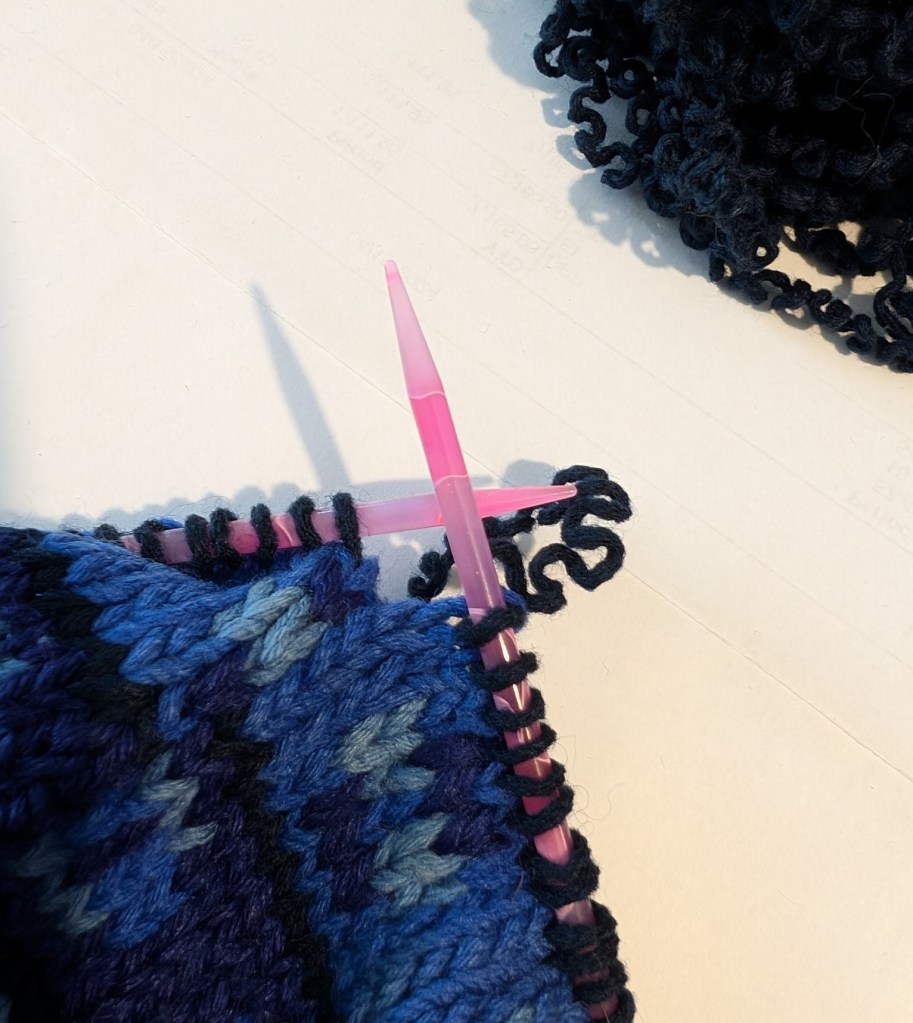
When working with an older sweater, the stitches will not usually run down the knitting in the same way as a garment that you are working. After a certain amount of time the yarn itself has been almost pressed into shape with folds and bends. You can see in the unraveled yarn and stitches at the end of the cuff (4th picture in the sequence) that the shape is set and unwilling to move. A bonus, one that makes the work you are trying to achieve a little easier.
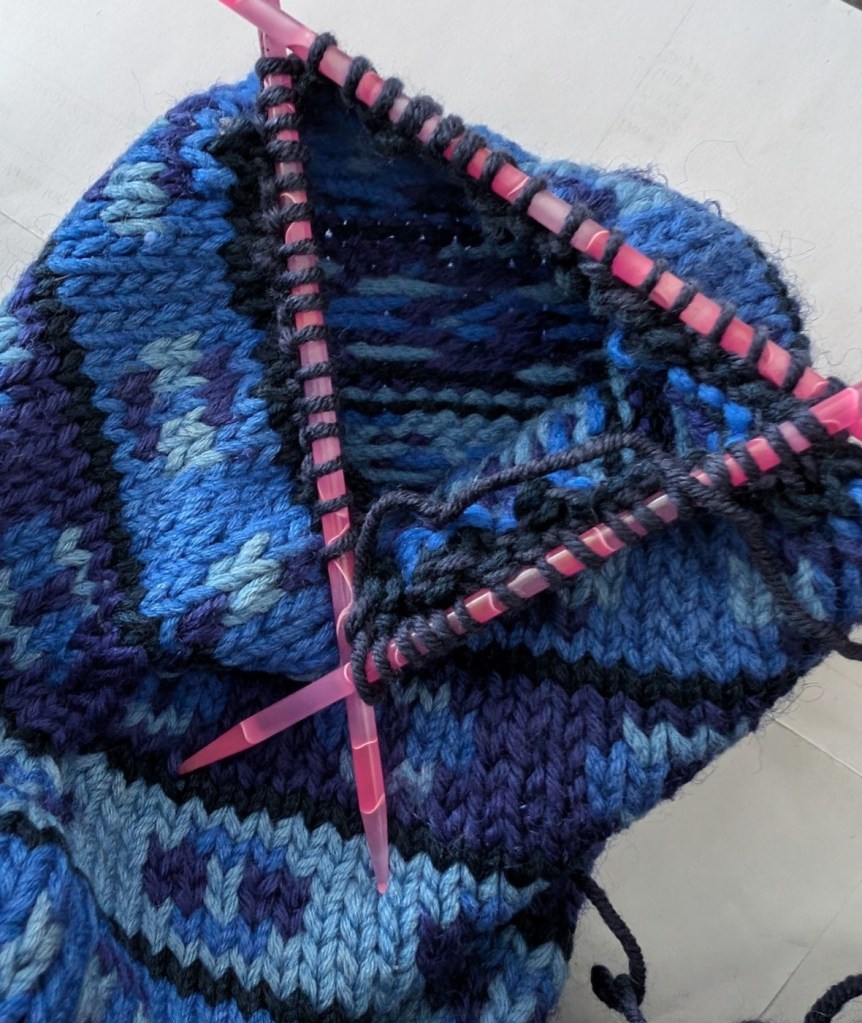
The wrist is frayed right at the beginning/end of the round. Which makes it slightly more complicated to pull back as the end has been woven in down towards the cuff.Scissors will be needed to cut the yarn every time it hits the woven in tail, Once the end of the knitting is found the knitting will pull back easily, except where the tail yarn has been woven into the fabric. Scissors were used to cut the knotted area and the wrist kept on unravelling.The end is gone and the unravelling speeds along.Once the knitting is pulled back to the sleeve, pull the next round out carefully, As you pull catch each stitch revealed with a dpn. Continue to pull back the last round, switching dpn’s as they are filled. Use 3 or 4 dpn’s to hold the stitches depending upon your comfort level with dpn use.Once all of the stitches have been picked up, cut off the old yarn leaving an 8 inch tail. Weave in the tail as you knit the first round of the new ribbed cuff.I had 68 sts on the needles but the cuff had been 48 sts. The sleeve had been reduced by 20 sts in the cuff. So I worked an extra round, reducing as I knit, to match the 48 sts, before starting the ribbing.
I am very happy with the results. The new blue cuff is not perfect, but perfect enough for a sweater that was knit in 1990, 34 years ago. The neck may be the next piece that needs replacing, I noticed some wear along the back, but that is a problem for another day!