Le Tissier Designs

Of Larks and Linnets and Flying Fingers

Tag: sweater

  • Mending 101 – Part 2

    Mending 101 – Part 2

    Mending a Ribbed Cuff – replacing the rib

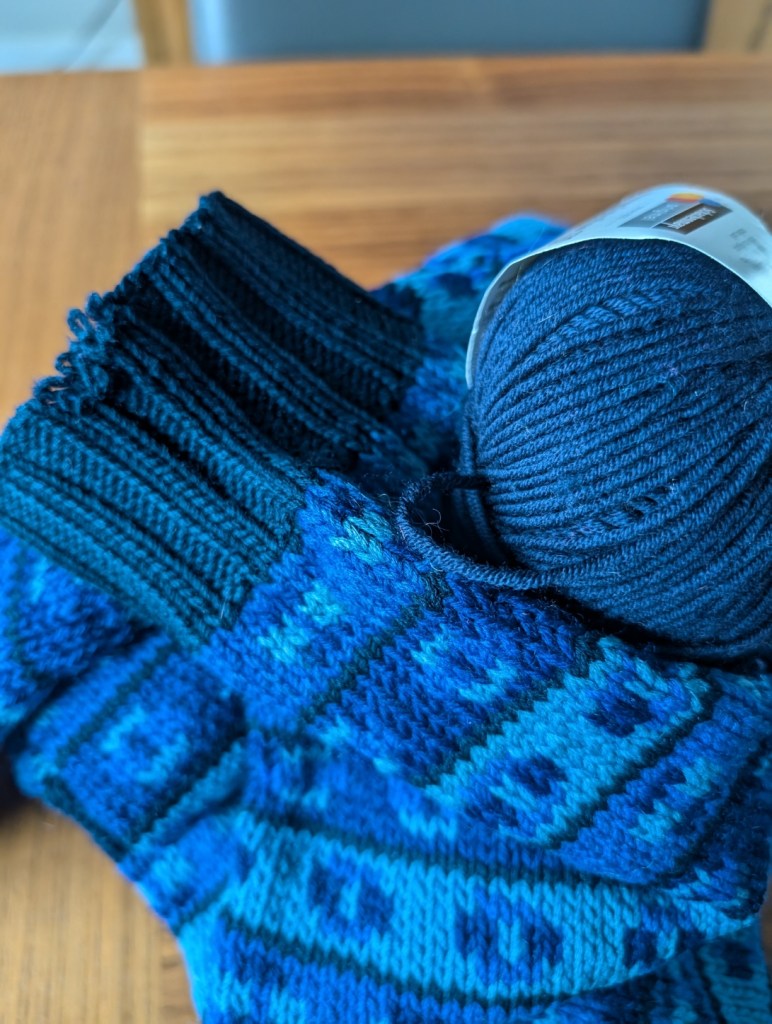
    Yesterday I mended the blue sweater cuff. It took about two and a half hours, including the knitting time. Why did I wait so long? I’ve had the yarn for close to three years! Other things kept getting in the way. And I would rather knit than mend! Wouldn’t you?

    I am working on changing that attitude within myself.
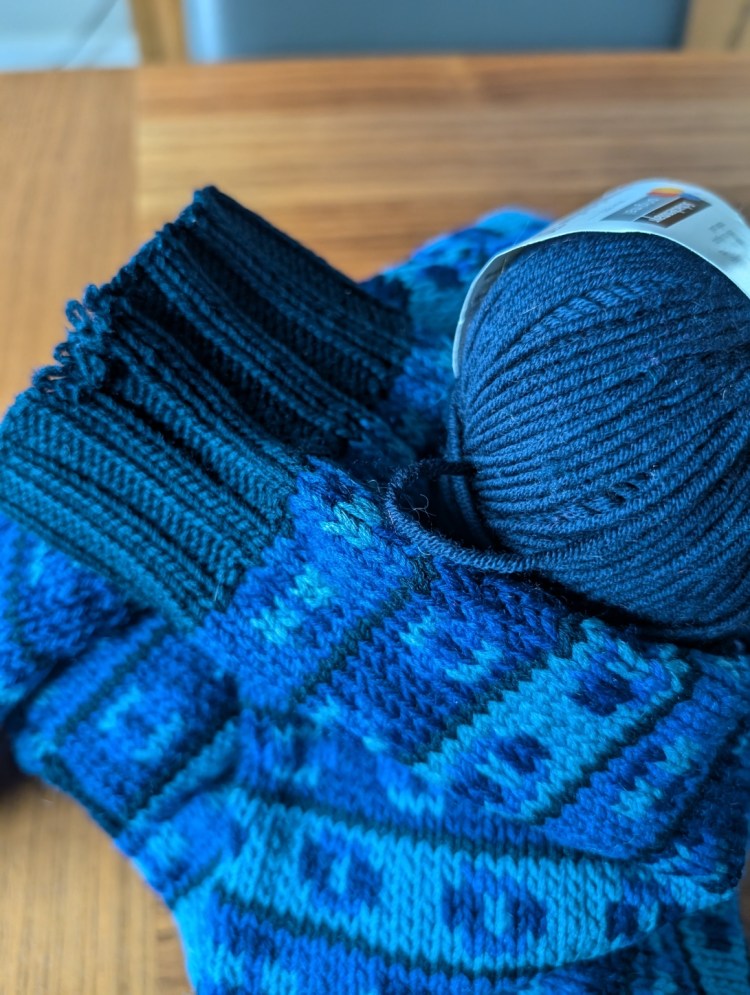
    This sweater was knit in the round. Bottom up for the body, but top down for the sleeves.

    At the time, I knew my yardage was limited and I wanted to make sure that each sleeve was the same and that the yardage went as far as possible. Top-down knitting is the best way to make that happen. It worked well for this project. I finished the sweater with only a little of the main shade of blue to spare.

    The original yarn was a dk, so I decided to work the cuff with a set of 3.5mm US #4 dpn’s.

    Top-down knitting also makes it easier to mend/replace the bits that wear out, like the sleeve cuffs. Had I knit the sleeves from the cuff up I would have had to cut the knitting at the join of the cuff and very carefully retrieve my live stitches above the cuff. That will be a demonstration for another day and a different sweater!

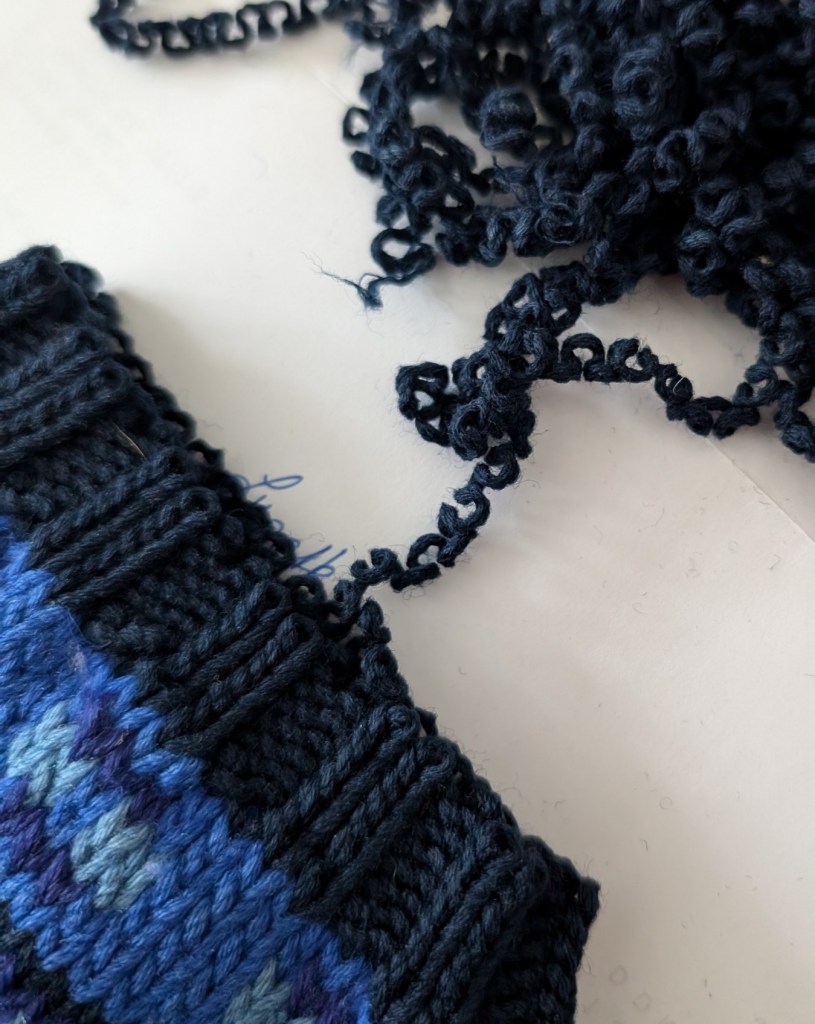
    When working with an older sweater, the stitches will not usually run down the knitting in the same way as a garment that you are working. After a certain amount of time the yarn itself has been almost pressed into shape with folds and bends. You can see in the unraveled yarn and stitches at the end of the cuff (4th picture in the sequence) that the shape is set and unwilling to move. A bonus, one that makes the work you are trying to achieve a little easier.
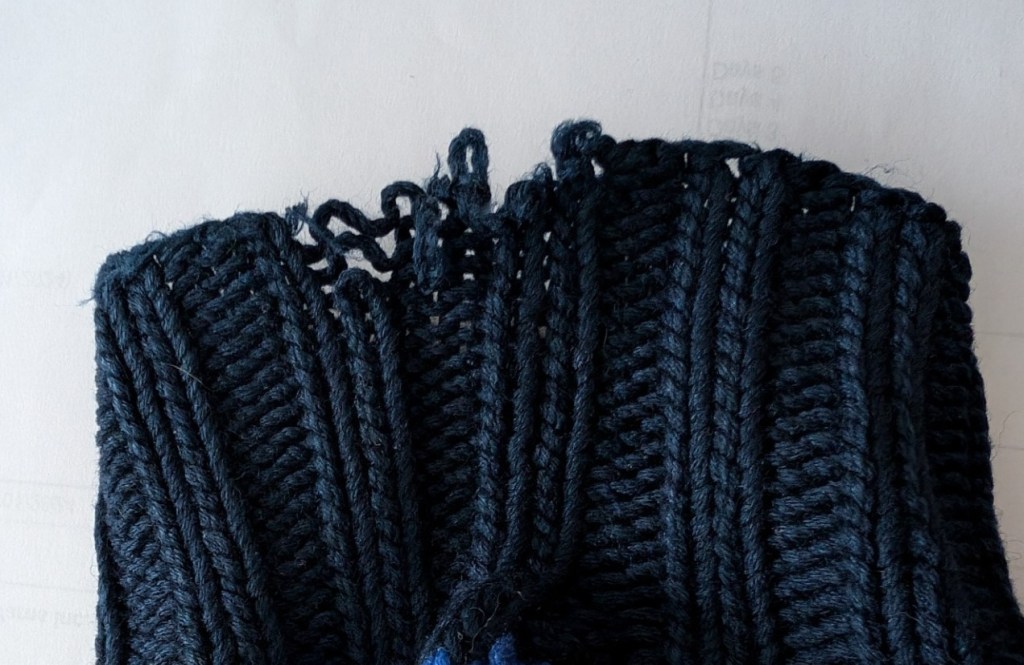
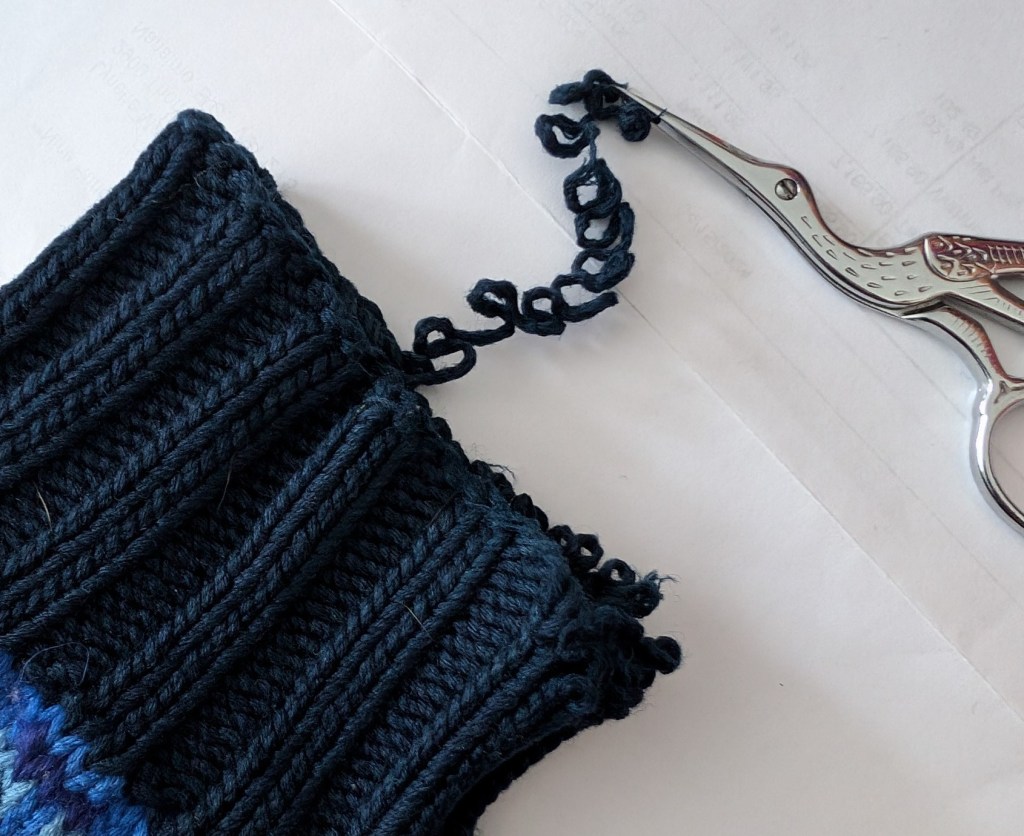
    The wrist is frayed right at the beginning/end of the round. Which makes it slightly more complicated to pull back as the end has been woven in down towards the cuff.
    Scissors will be needed to cut the yarn every time it hits the woven in tail, Once the end of the knitting is found the knitting will pull back easily, except where the tail yarn has been woven into the fabric. Scissors were used to cut the knotted area and the wrist kept on unravelling.
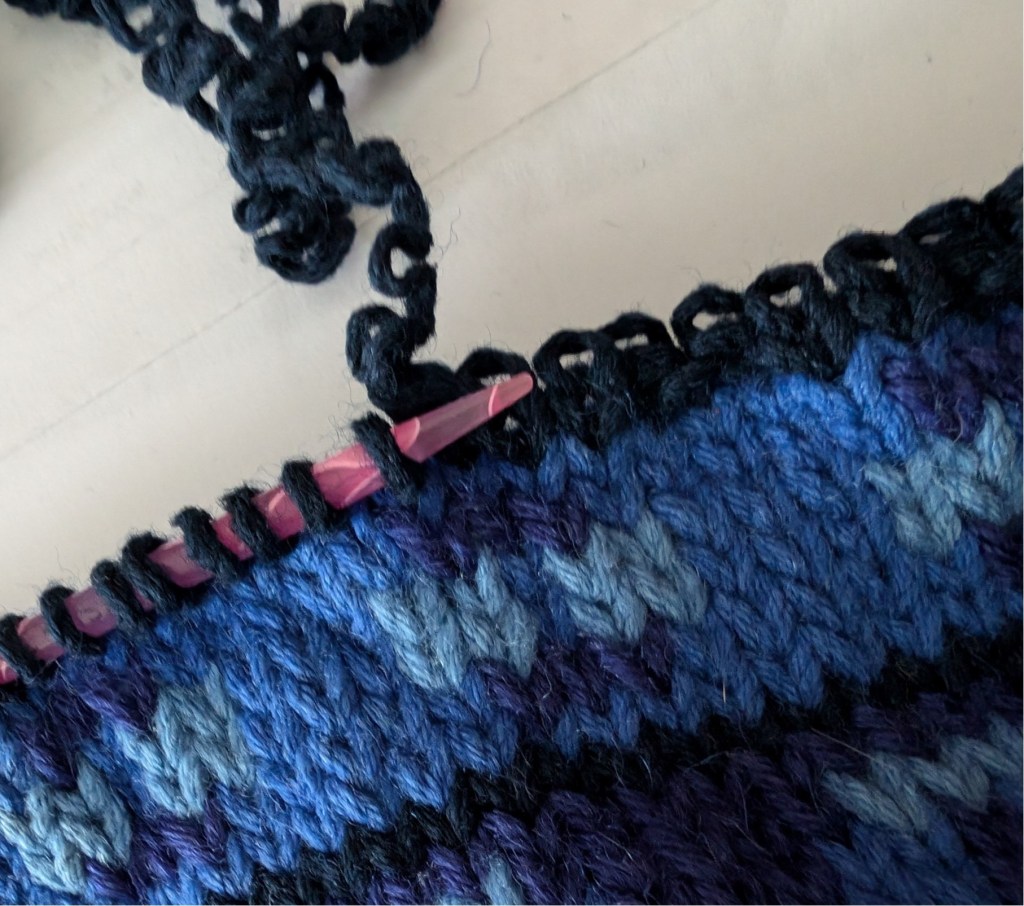
    The end is gone and the unravelling speeds along.
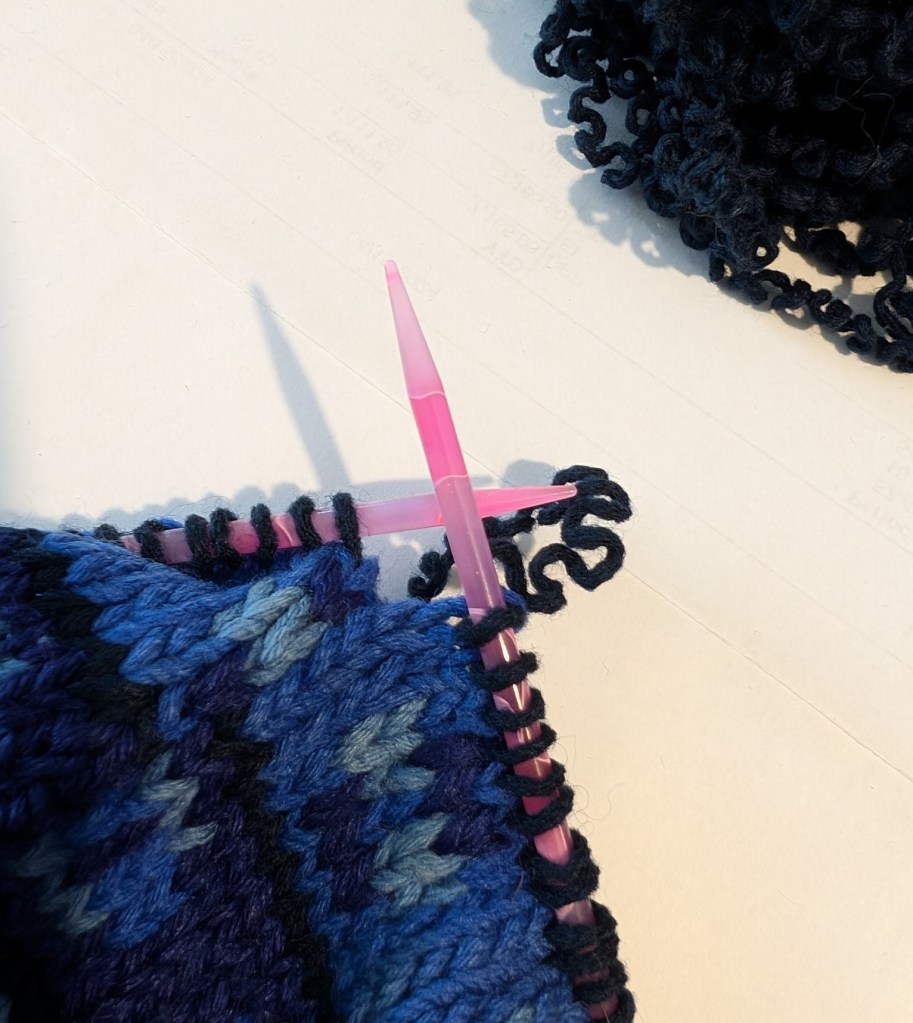
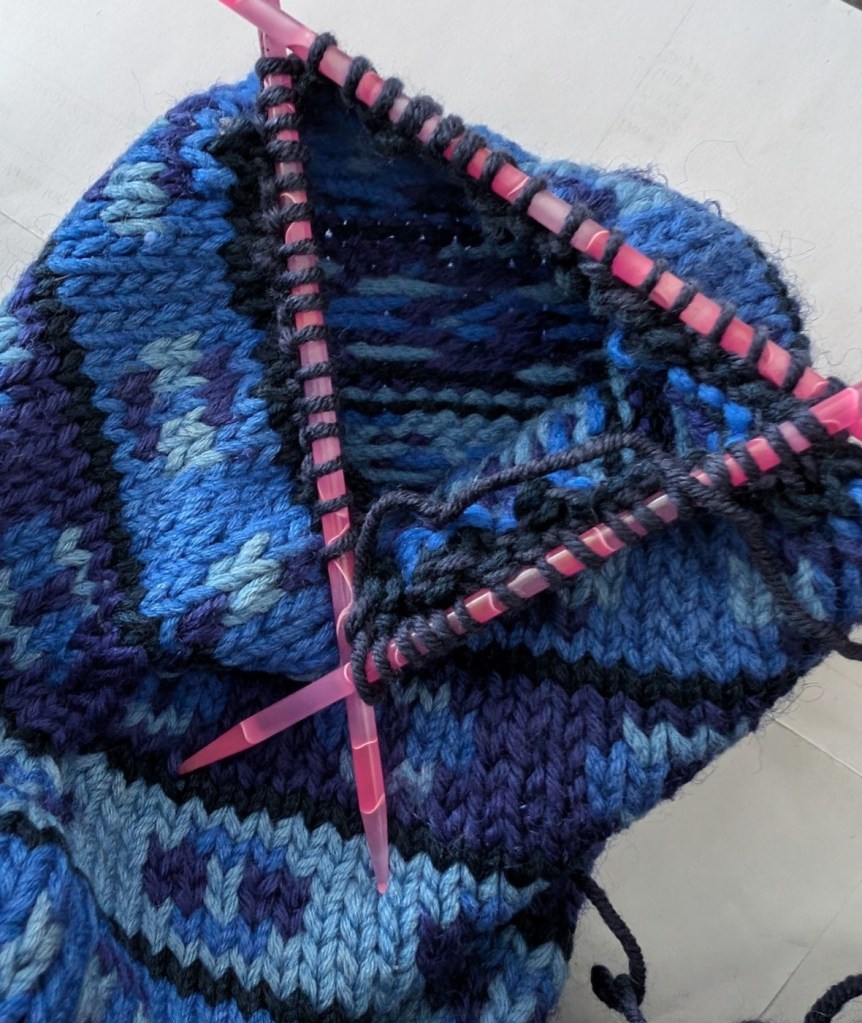
    Once the knitting is pulled back to the sleeve, pull the next round out carefully, As you pull catch each stitch revealed with a dpn. Continue to pull back the last round, switching dpn’s as they are filled. Use 3 or 4 dpn’s to hold the stitches depending upon your comfort level with dpn use.
    Once all of the stitches have been picked up, cut off the old yarn leaving an 8 inch tail. Weave in the tail as you knit the first round of the new ribbed cuff.
    I had 68 sts on the needles but the cuff had been 48 sts. The sleeve had been reduced by 20 sts in the cuff. So I worked an extra round, reducing as I knit, to match the 48 sts, before starting the ribbing.

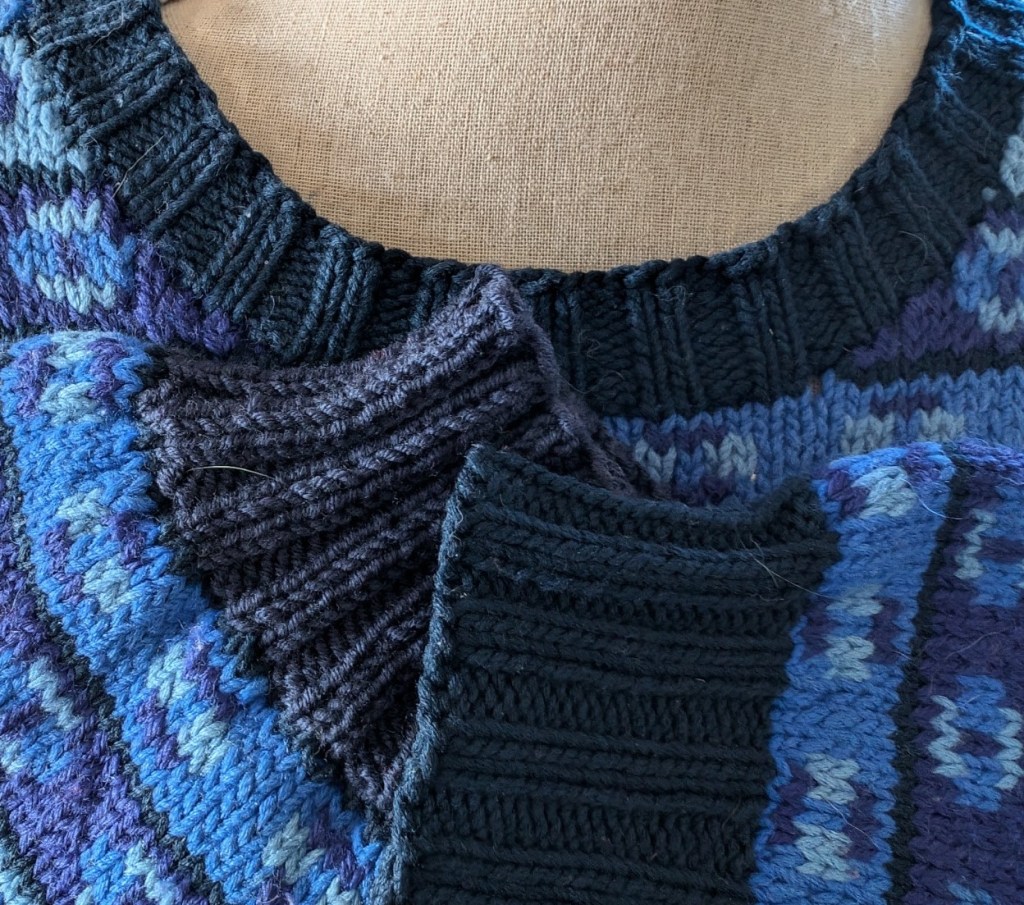
    I am very happy with the results. The new blue cuff is not perfect, but perfect enough for a sweater that was knit in 1990, 34 years ago. The neck may be the next piece that needs replacing, I noticed some wear along the back, but that is a problem for another day!
    Happy Mending

    Lynette
  • Mending 101

    Mending 101

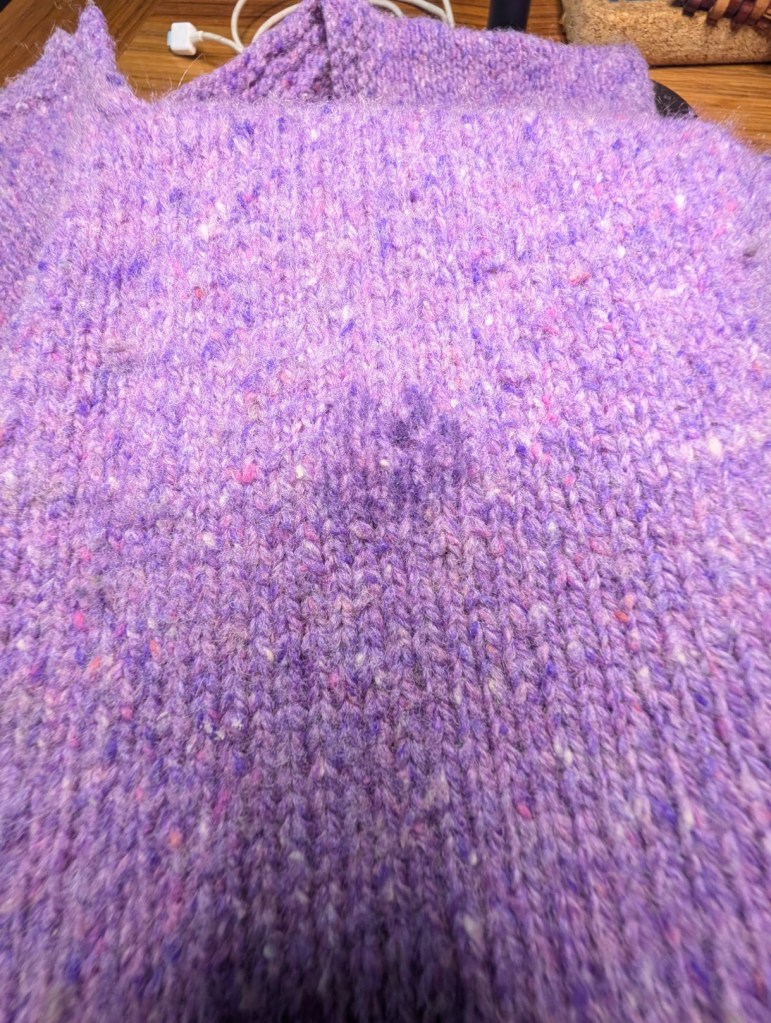
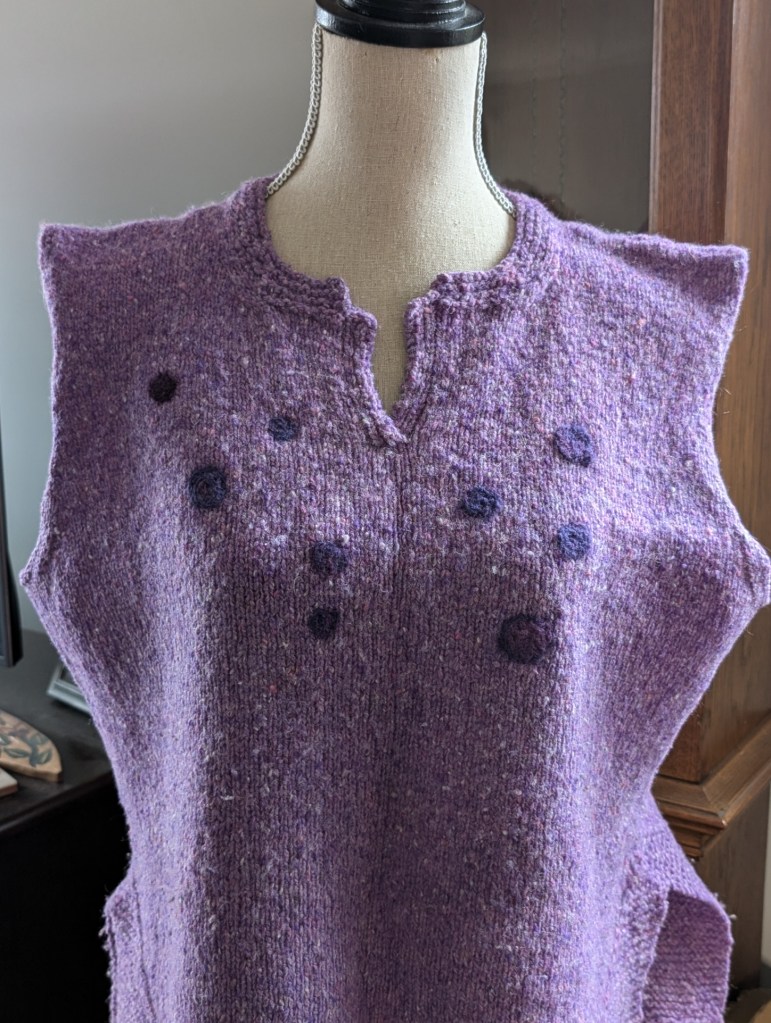
    This Fall and Winter and I am undertaking a self taught mending course. I started it yesterday by mending a few moth holes in my favourite vest and what I call my weekend sweater!

    I had hoped to work on these things in the summer for a Winter Class but the best laid plans….. So better now than not at all! See On the Mend.

    Needle Felting

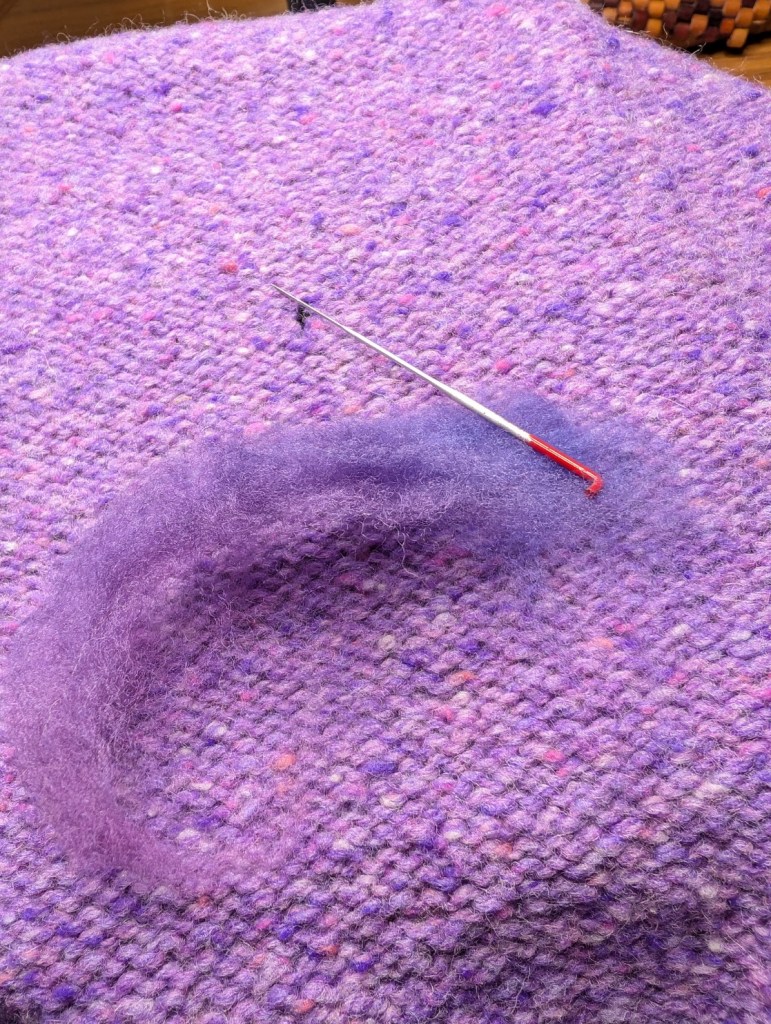
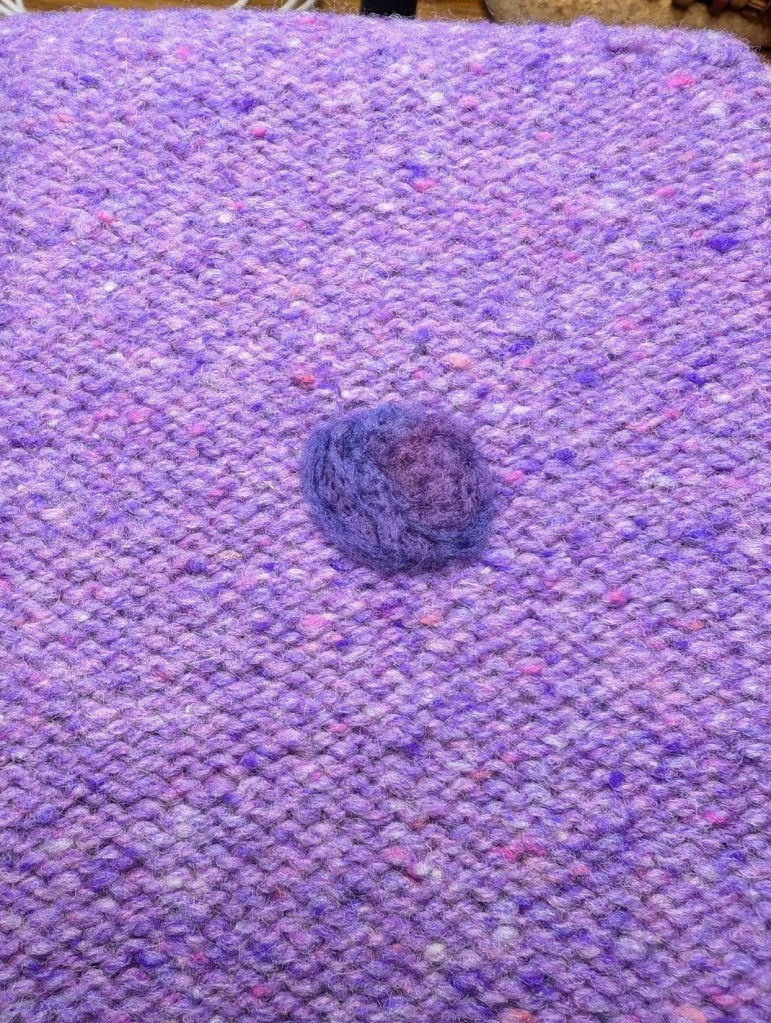
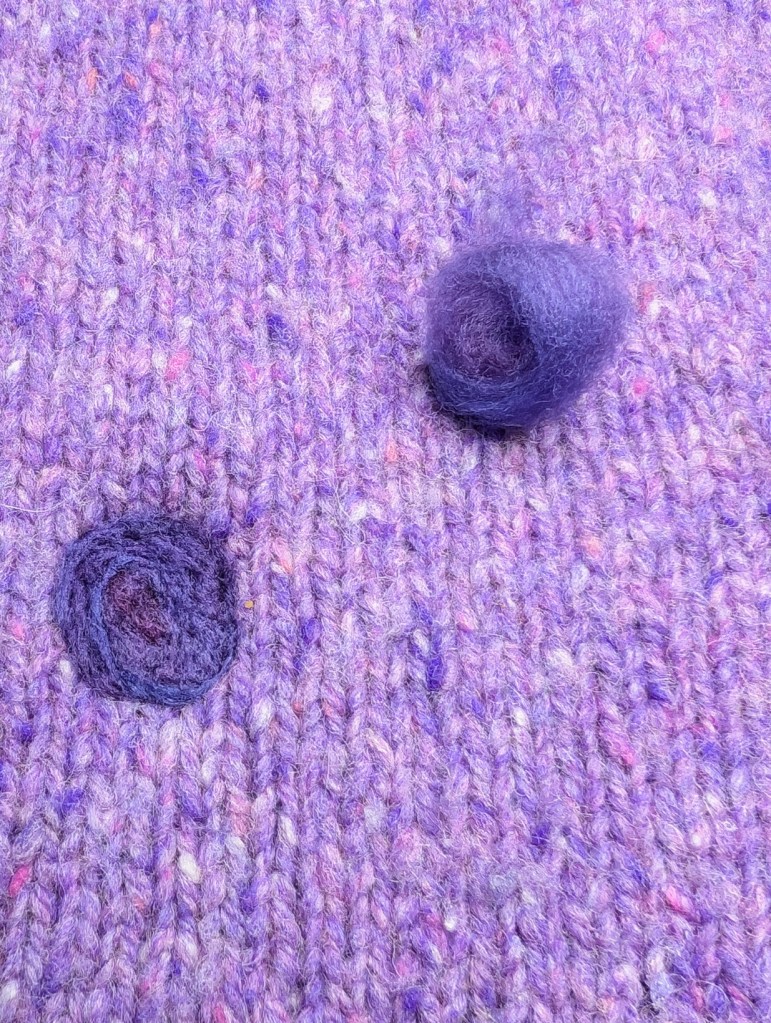
    Small holes in our knits can be repaired with a few basic needle felting tools and some fibre. I did not realize how easy this would be or I would have tried it years ago! There are some other methods of dealing with small holes, embroidery stitches offer many options! But this is easy and fast!

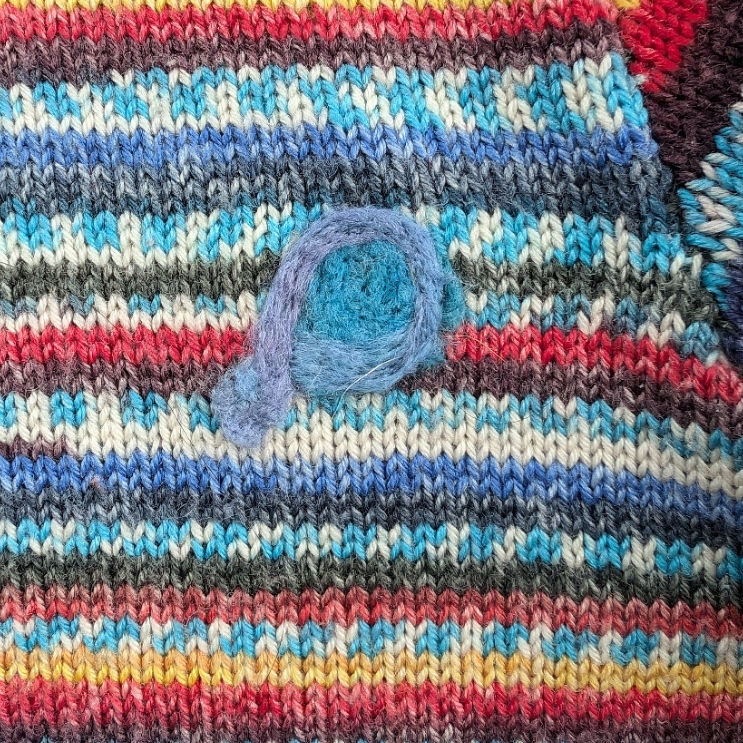
    The second sweater with a hole was a much simpler project. This sweater is what I call my weekend sweater. I throw it on over when I just need a little more warmth. It was knit with sock yarn when the patterning sock first came out, so about 24 years ago. There was only 1 hole in the back, So I filled it up with fibre and called it done!. I did play around with it a little, added a little bit of an edge and curlicue!

    I had hoped to get another sweater mend underway, this one needs a new ribbing at the wrist. The sweater is over 30 years old but still looks great, no pilling and the colours are still vibrant! Well worth repairing, especially as it’s big, boxy style is coming back.

    Several years ago I had to replace the ribbing on the other wrist, I had caught it on something sharp and that had broken the bind-off (the sleeves had been knit from the top down – best way when yardage was short). I had used up all of my remaining yarn with that repair. So finding a close colour took a while, then the yarn I found got put away in my stash, so this sweater has been waiting for about three years. You can see in the photo the colour is not perfect, but it will make the sweater wearable again, not bad for a 30+ year old sweater!

    Yesterday I put the work in and found the yarn! That took a little time, you know, the needle in the haystack approach! So after looking for the yarn, I did not have time to do the work – but this weekend it will happen!

    The original yarn was a wool from New Zealand, gorgeous blues in 4 tones. The pattern was an early Kaffe Fassett pattern in about 36 colours, so I simplified it a little!

    I have quite a few other pieces to mend and I want to try many different techniques! So my Fall knitting projects are booking up fast!

    How is your Fall planning coming along?

    Happy Knitting and Mending

    Lynette
  • Knit a Dress With Me – Update

    Knit a Dress With Me – Update

    If you are following the my design notes on Ravelry you will find this to be repetitive but if not I hope that you are enjoying the journey!

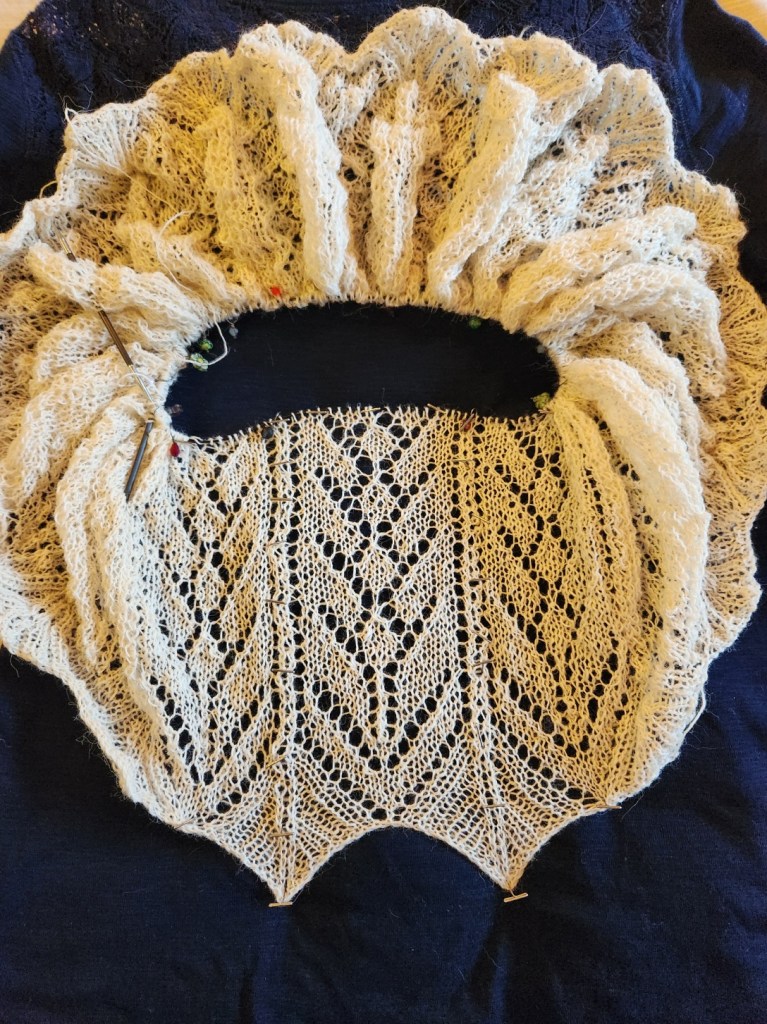
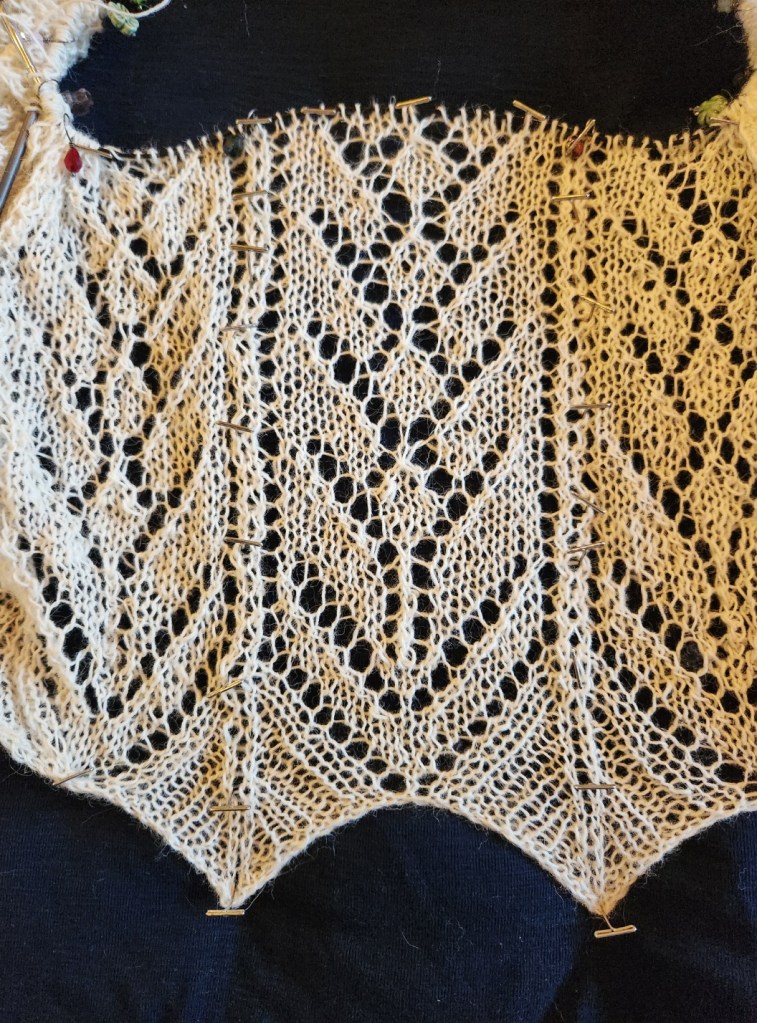
    Three rounds to go and then I start the panel shaping!

    Dry blocked I am at about 12 inches. The Panels will add approx 7 to 7.5 inches to the length – dry blocked.

    Things I am thinking about and would really appreciate feedback on.

    How closely fitting should the dress be? I am thinking fitted with about 2 inches of ease around the waist for comfort and to smooth out over a slip of some type. I have a pretty good idea of how to achieve the shaping as we get closer to the waist. Which will involve more panel shaping.

    Are you thinking of something that could be pulled over the head?

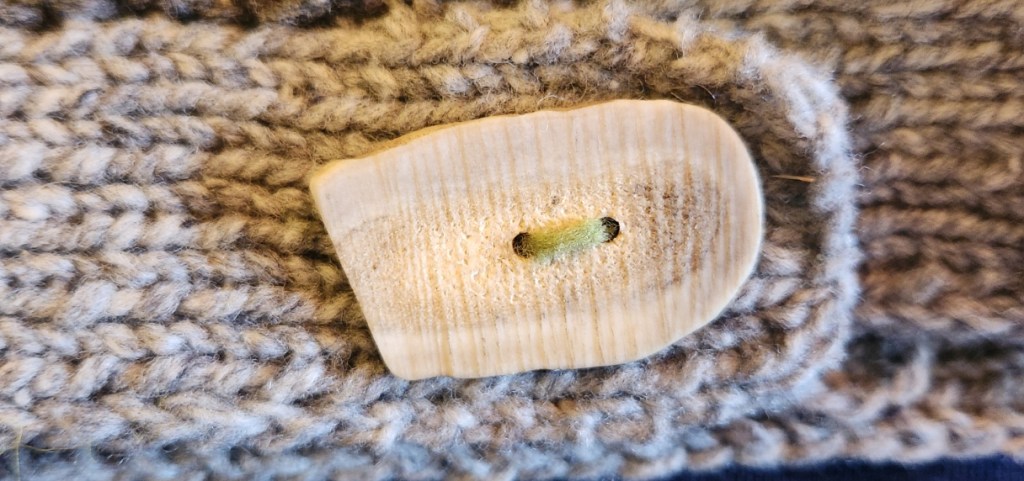
    If fitted there will need to be an opening of some type in the side seam or up the back. I am thinking side seam buttons under the arm and down past the waist – no zipper – zippers and knits are very chancy. I love the vintage feel of the side seam opening – very old fashioned dress finishing. I am not a big fan of buttons up the back – besides then so much of the dress would need to be knit flat as opposed to circularly. Though there is something about a long swath of tiny buttons up the back of a dress….

    If fitted, then after the waist area there will need to be darts. I chose the panel approach to make it easier to add waist darts if I wanted. But then will I need to add bust darts? If so, how? Short rows are the traditional way, but that would interrupt the lace pattern. I could end the lace pattern on the side of the front after the waist and just have panels in the front, but my vision is still of all over lace. Things to think about as I knit.

    If you are looking for a pullover style of dress – the option will be there and quite easy to make work – let me know.

    I am going to see how far I can get in the next week, after that I will be working on a sample and pattern for a yarn company which will slow this down for a couple of months!

    I will be changing needle size on round 15 of the decreasing chart. Just another quarter point from 3.75mm to 3.5mm (US#4).

    I am not sure when I will go to the 3.25mm. Most likely before the waist area.

    As for shaping the bodice depending upon your shape you may need bust darts or you may not – but you will need some shaping if you want it fitted – even if your bust only has a gentle curve.

    If you want a waist line and would like your dress to be a pullover style, we can add a double knit tubular channel for a belt or Gathering cord. Knit a fine belt in i-cord or 1×1 ribbing to run through the channel and we have a waistline. Alternatively we could run elastic through the channel. Anything to gather to the waist.

    For a more fitted style, then back to the buttons along the side seam. Or maybe an A-line shape with a slow, gentle line of decreasing stitches.

    But before we get there…

    At round 29, if you want a shaped waist, stop knitting. We may be adding more shaping panels. Not sure when I will be able to work those out.

    If you want a waist that is gathered into the belt or elastic, knit until your skirt is your desired length, and then wait for me to get there.

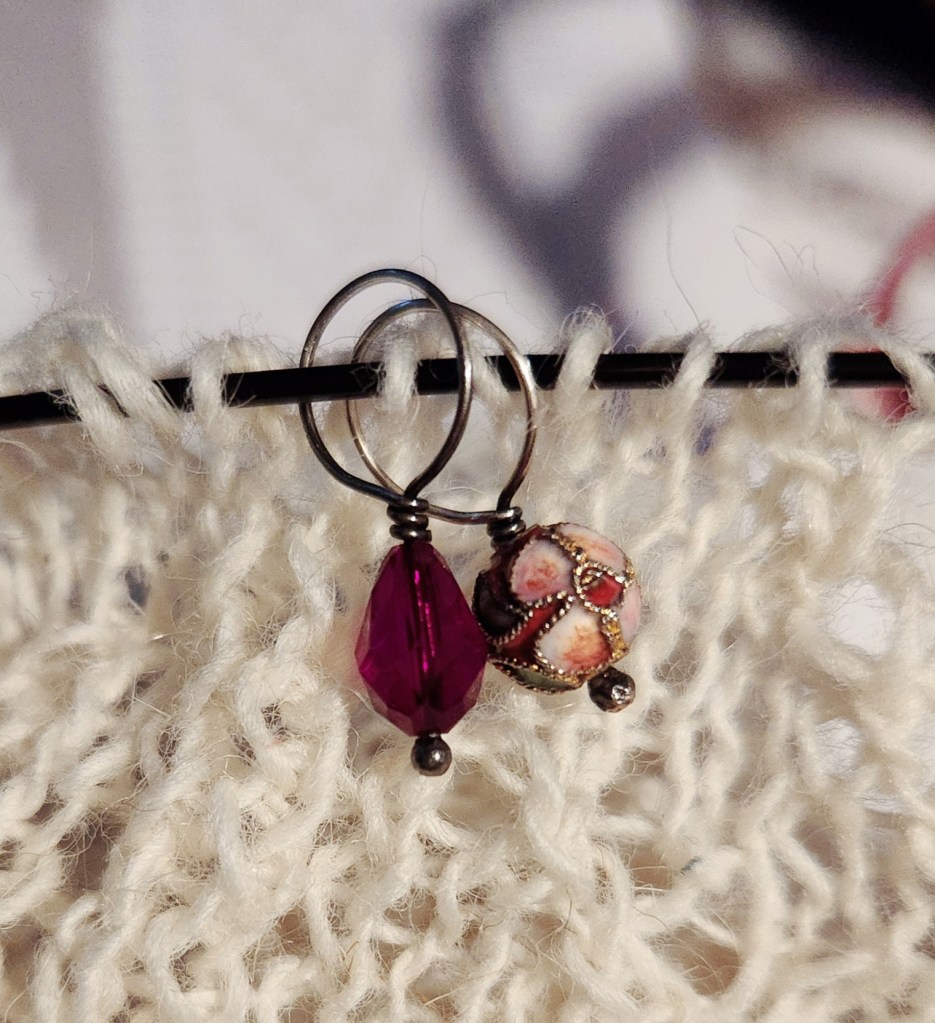
    Double markers for double tracking! I started my first shaping round!

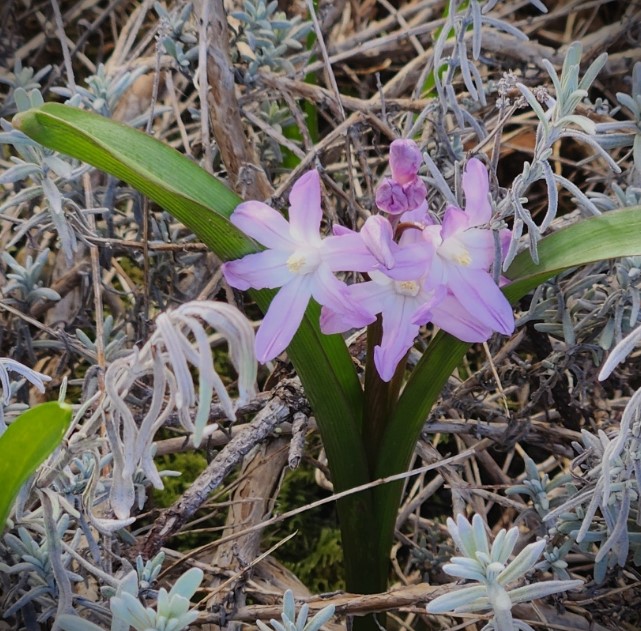
    Spring flower popping up through the Lavender!

    We are facing a glorious weekend of sunshine here! And the flowers are starting to come. The buds are on the trees and the cherry blossoms are starting to bloom! I love the colours of Spring!

    Happy Knitting

    Lynette
    The lacy tracery of branches and leaves against a blue sky! How wonderful is nature.
  • Knitting a Dress and Other Projects

    Knitting a Dress and Other Projects

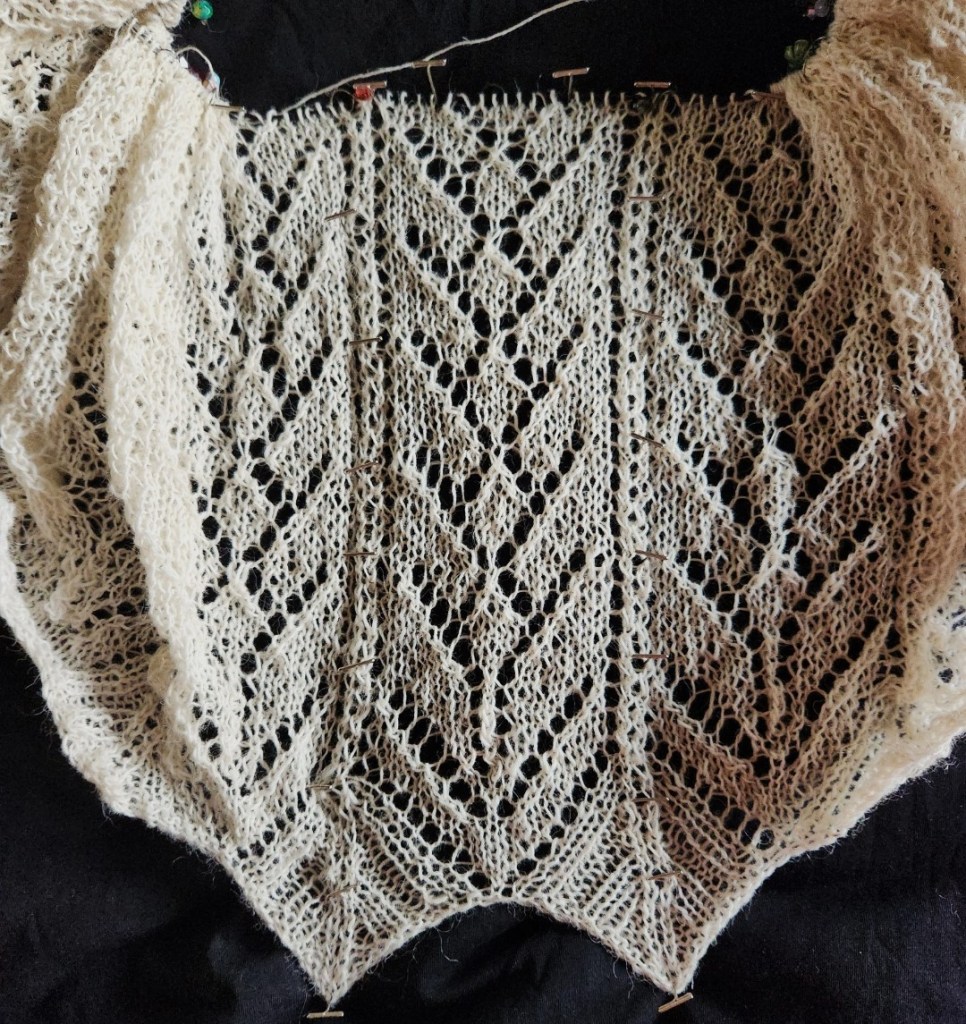
    I am now at the point where the skirt is growing, at what seems like an agonizingly slow rate. I must focus on the fact that the skirt is growing and the pattern is repeating and that is what is supposed to happen.

    I switched to a 3.75mm needle about 12 rounds ago to start the slow shaping of the skirt. I will most likely drop the needle size to 3.5mm in about 40 more rounds. So between the changing the size of the needles and shaping the panels I am hoping for a lovely, gradual shaping the skirt to the waist. At that point the needle size will be 3.25mm for the bodice of the dress.

    Dry blocked the skirt is 10 inches deep from the top of the 4th pattern repeat to the curve of the hem. The points are not included as length. I think that three more repeats will get me to the start of shaping panels (approx 15 inches) which will reduce the stitch count of the skirt. The reducing section will take about 45 rounds.

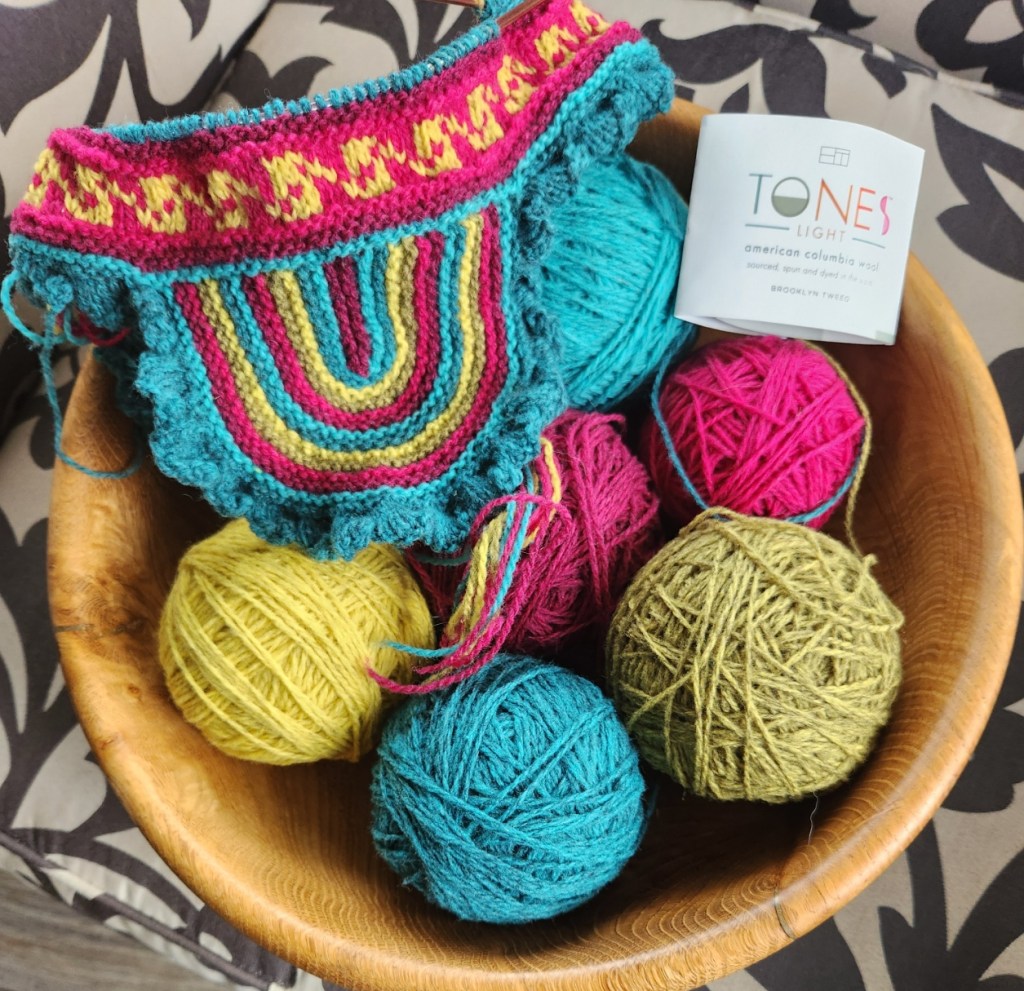
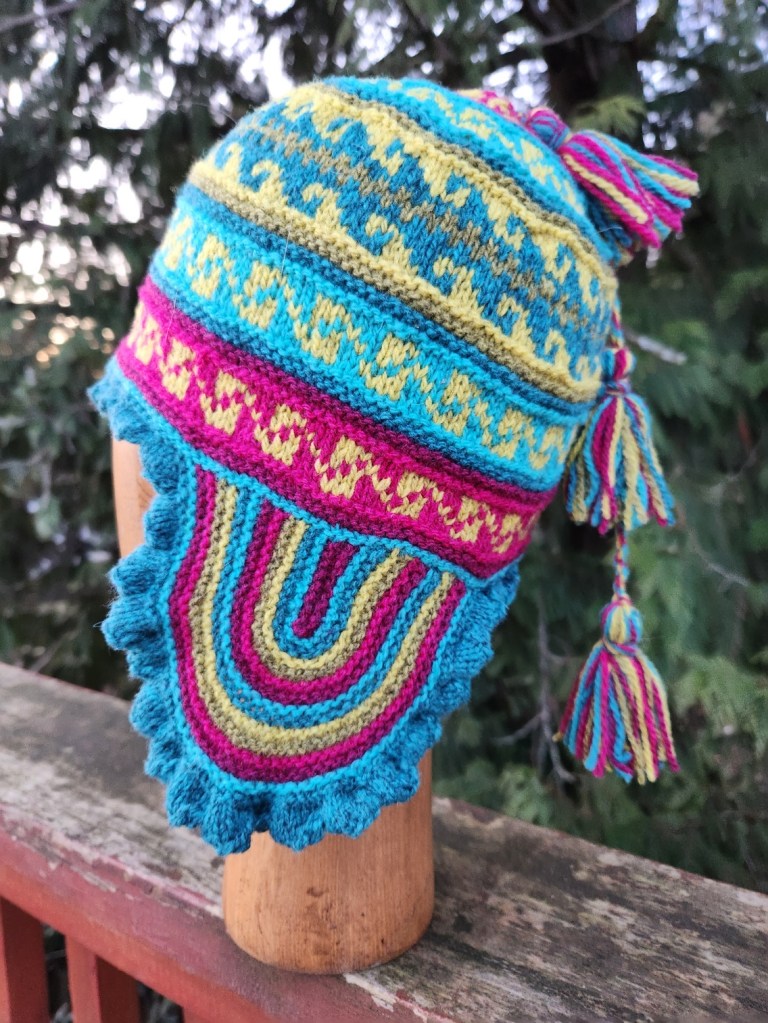
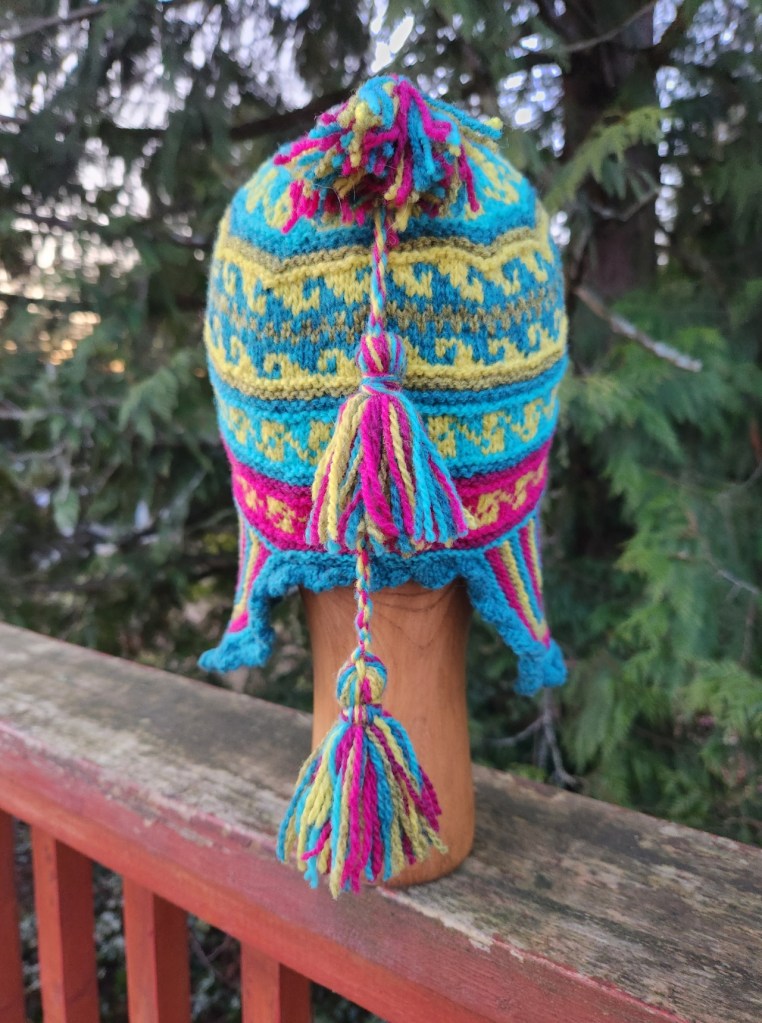
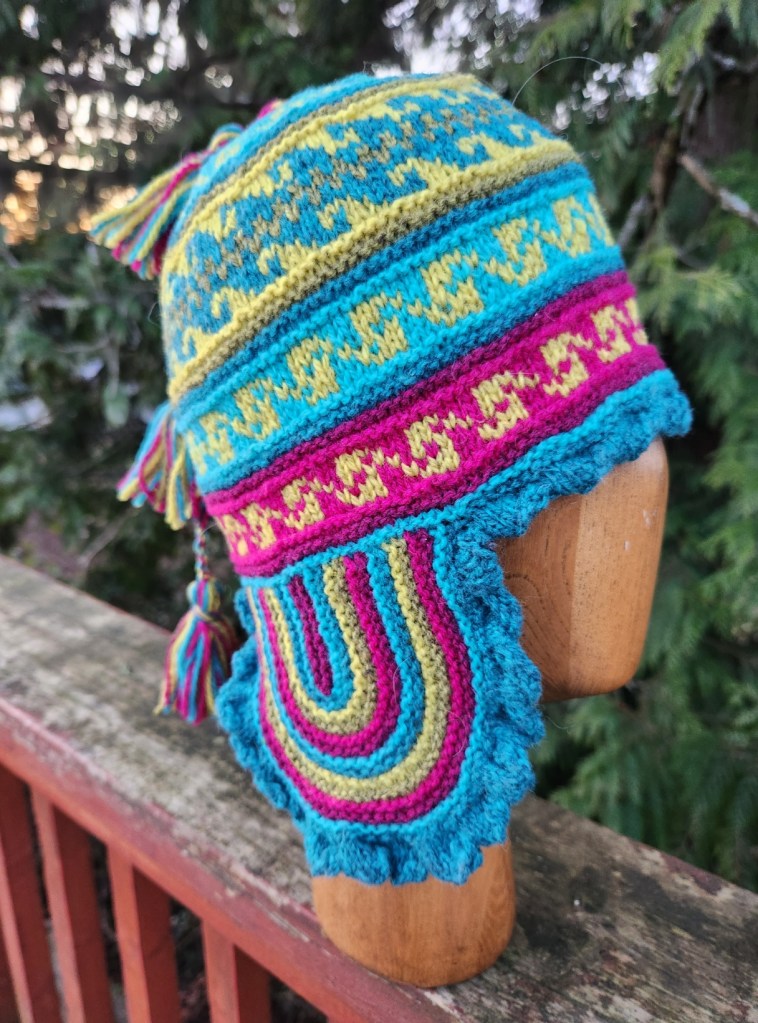
    I work at Mad About Ewe and I get to play with the yarn. We are now carrying Brooklyn Tweed Shelter and Tones Light. I have been playing.

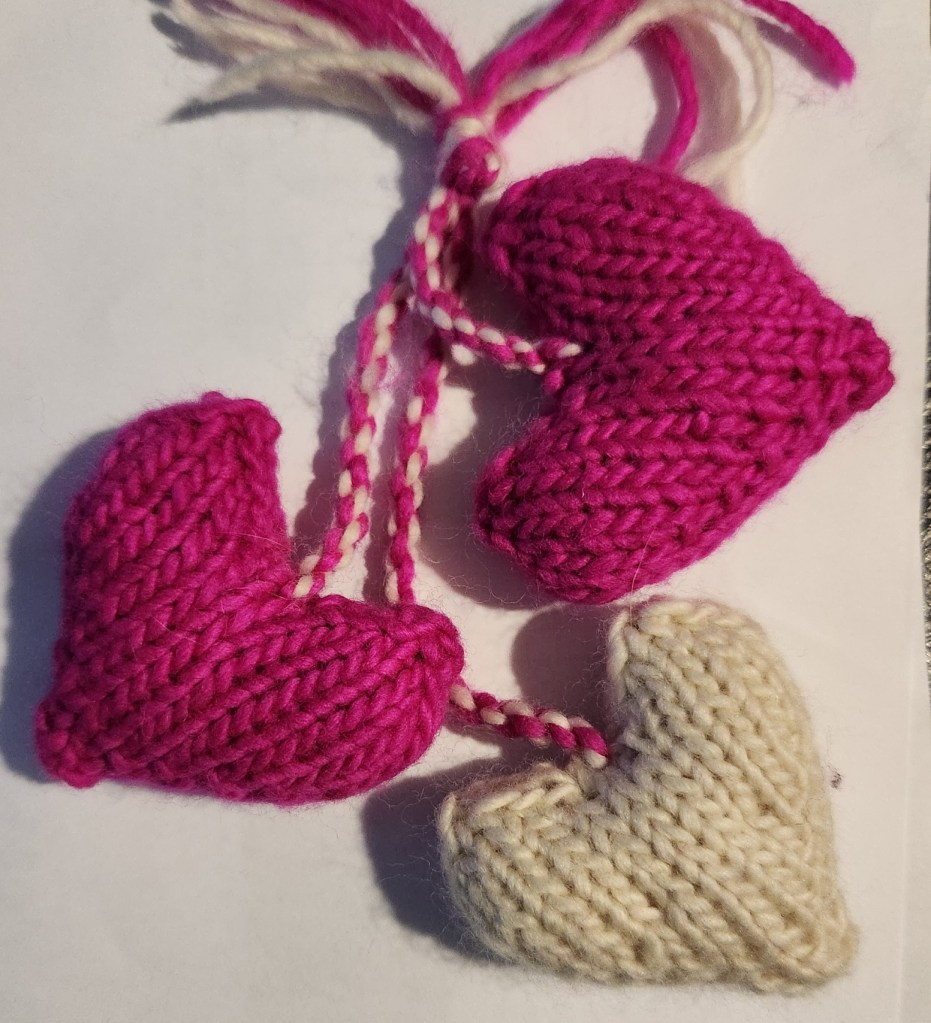
    Wait there’s more! More hats, cables and hearts; double knit fingerless mittens and just so much more to do and create!

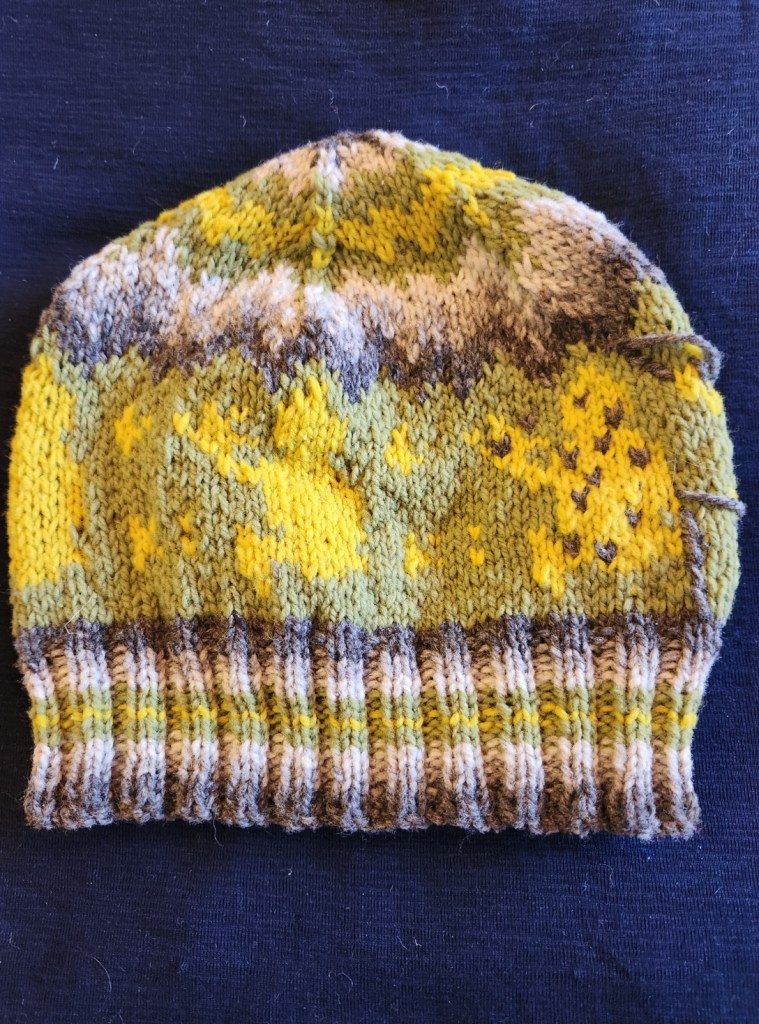
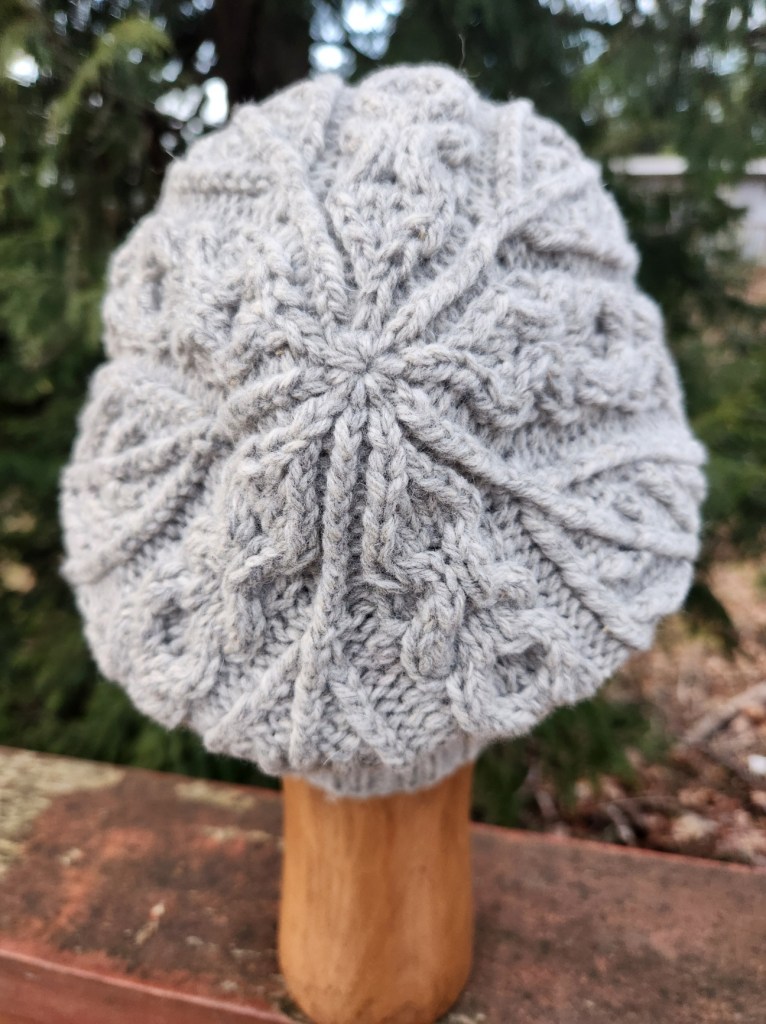
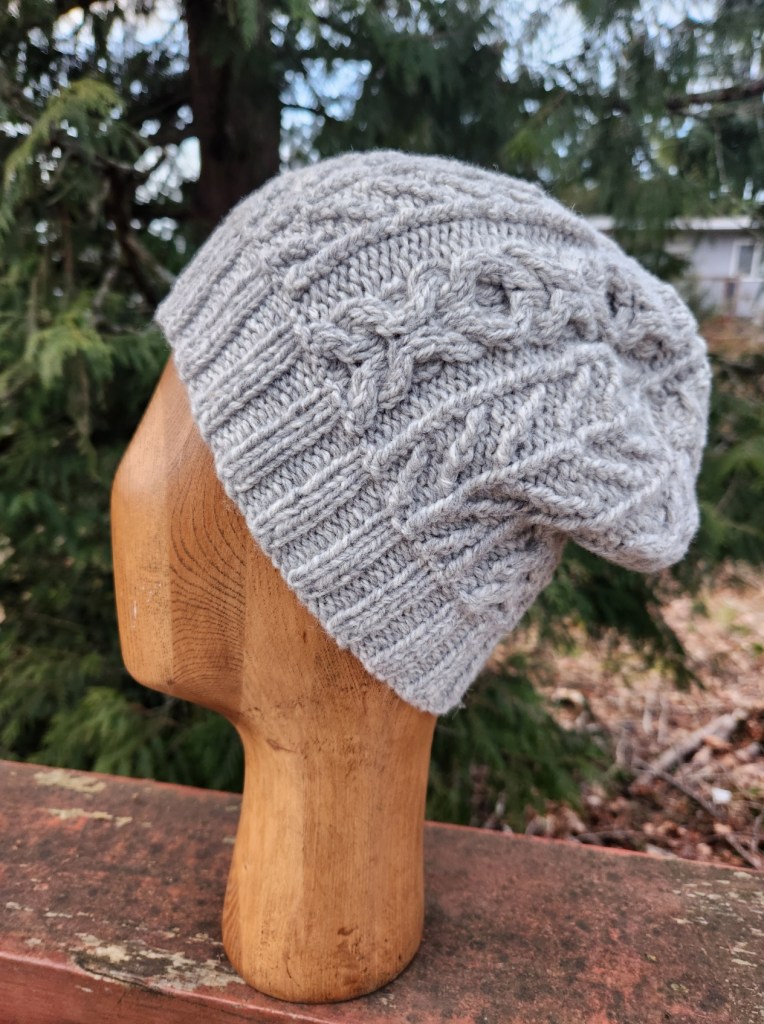
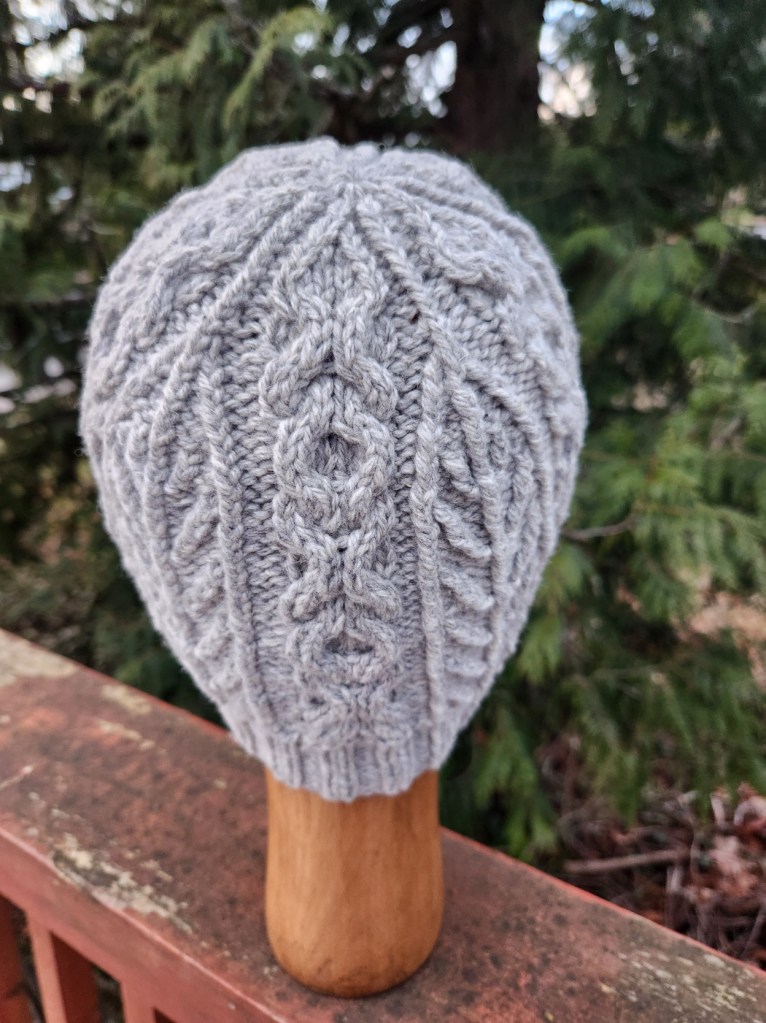
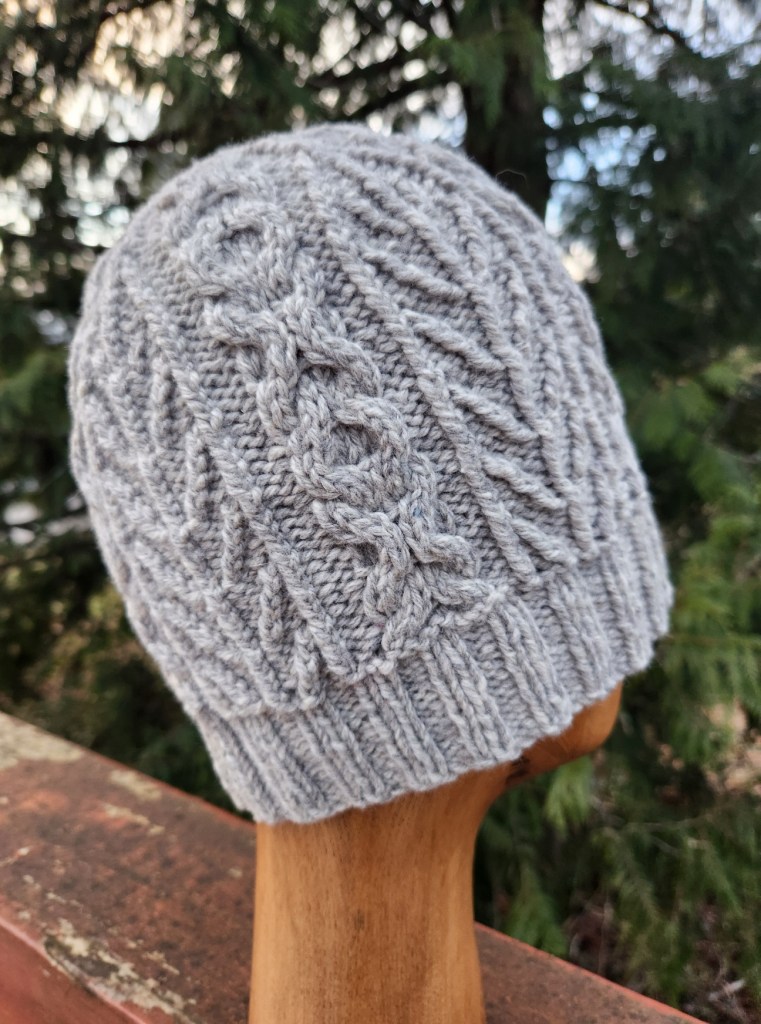
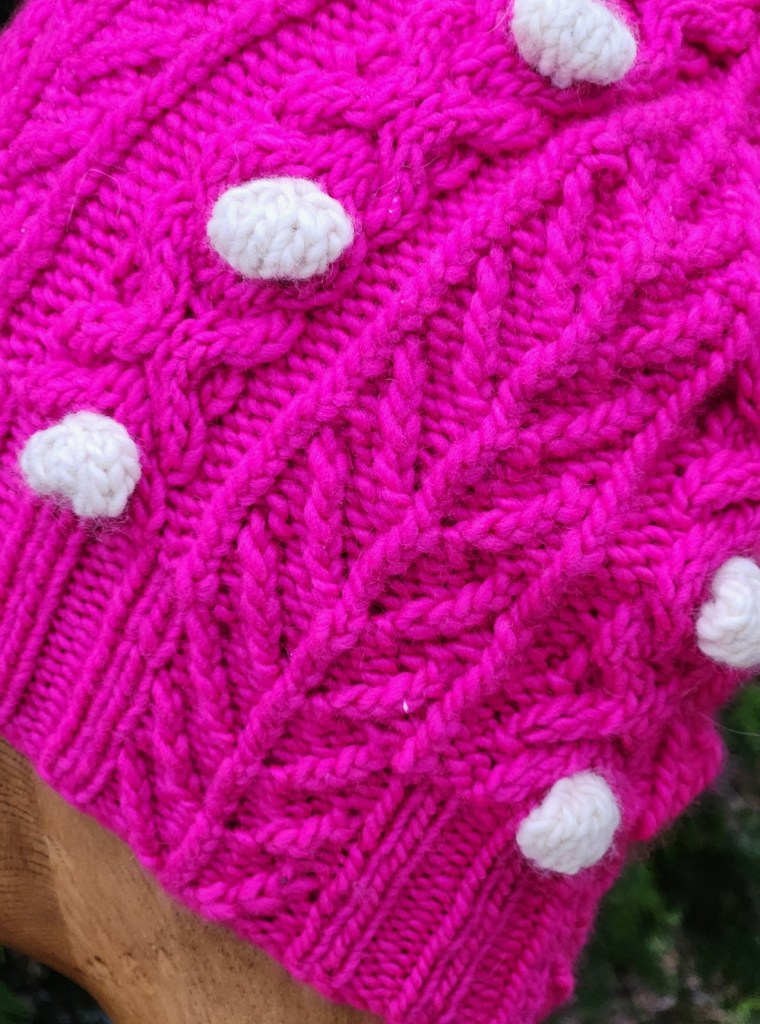
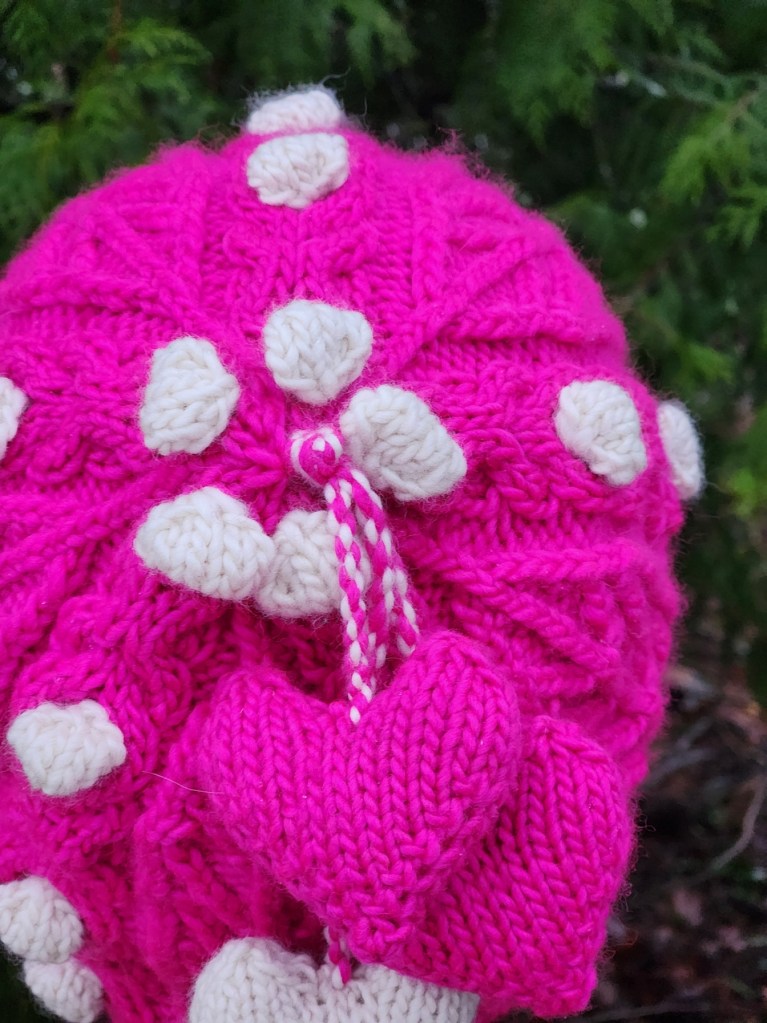
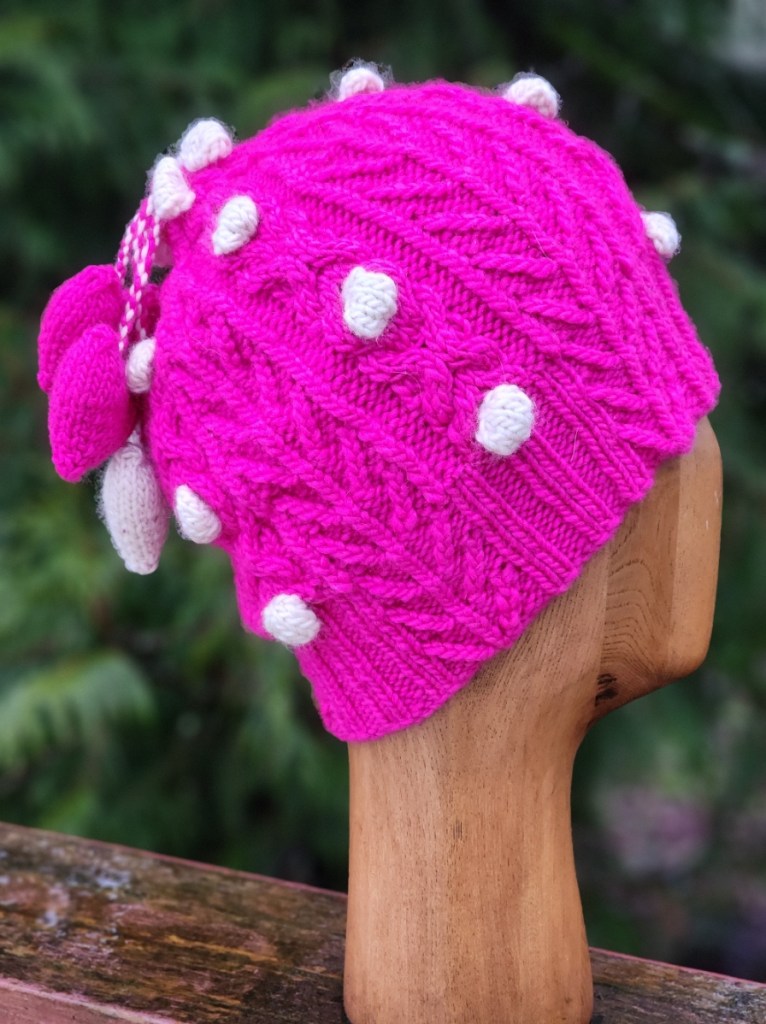
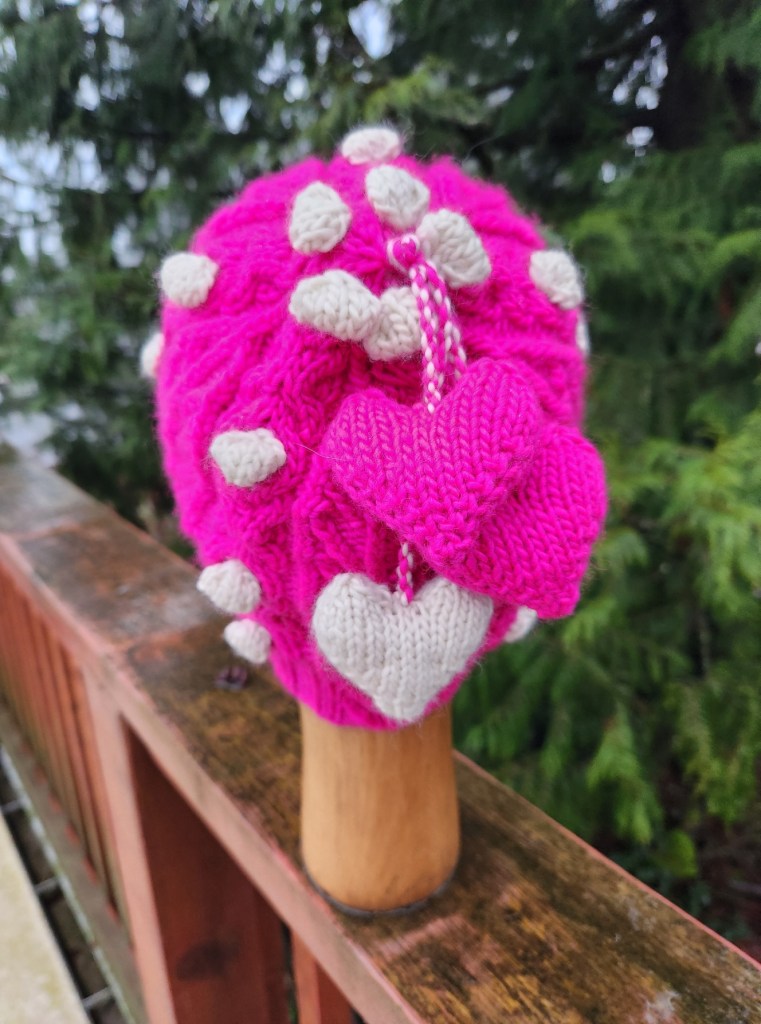
    Below is “Smitten” A cabled hat with the “hugs and kisses” cable and the tree of life pattern. Classic in Grey and no bobbles, knit Juniper Moon Santa Cruz in the Palladium colourway! And Wild in with everything – cables, bobbles and hearts, knit with Malabrigo Worsted in the natural and Very Berry colourways.

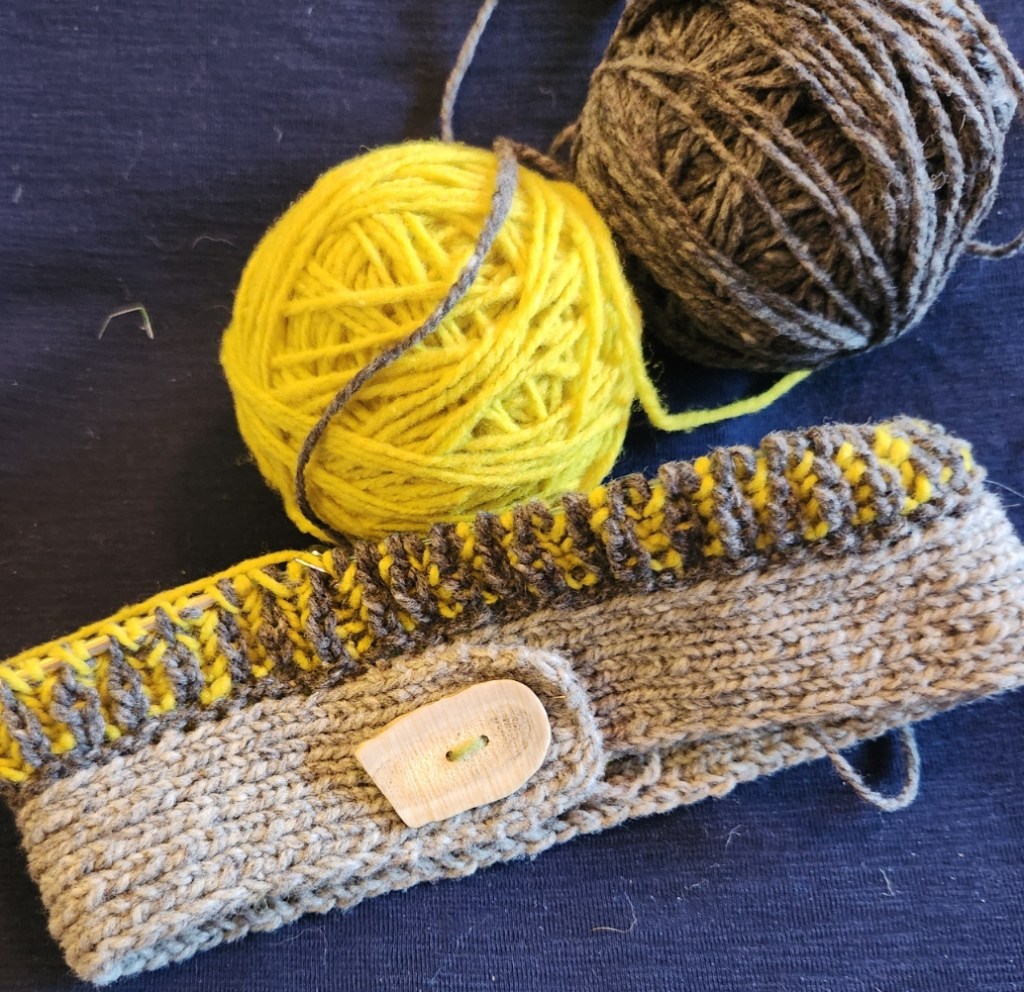
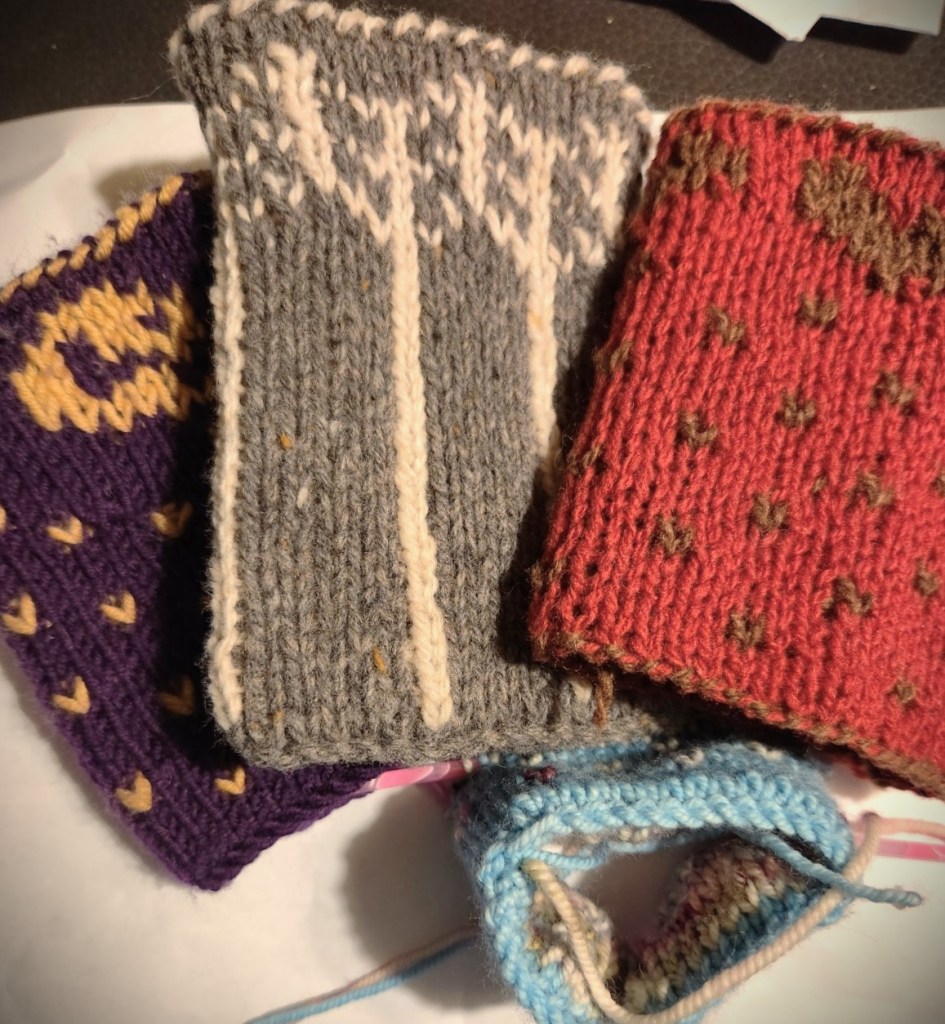
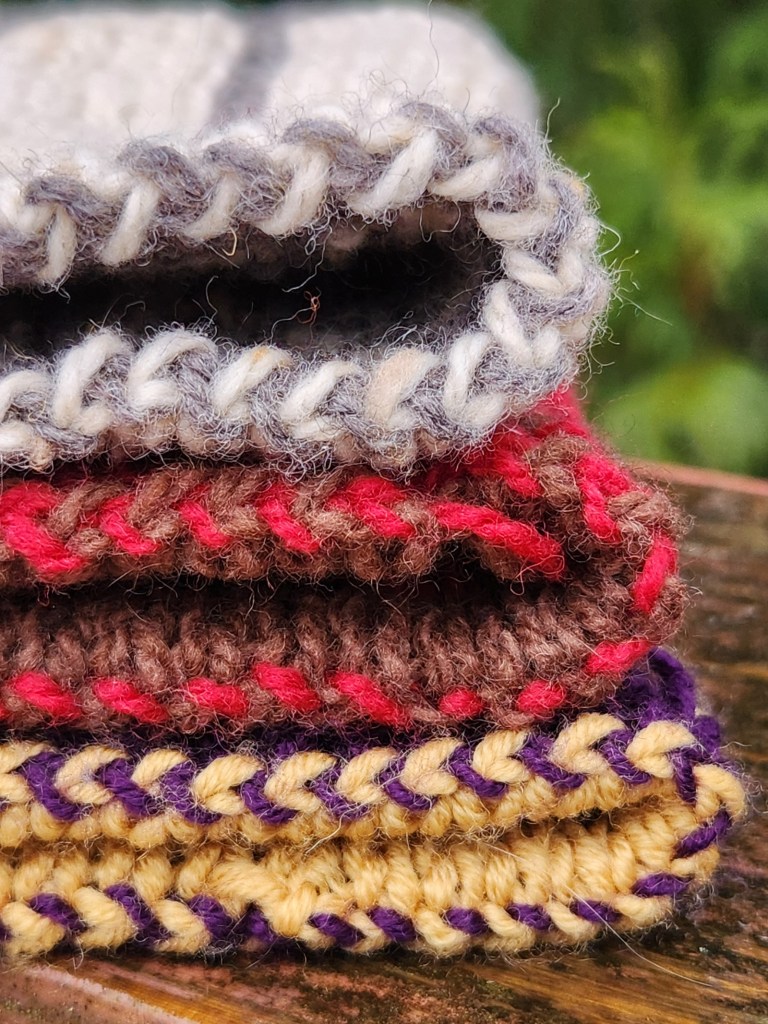
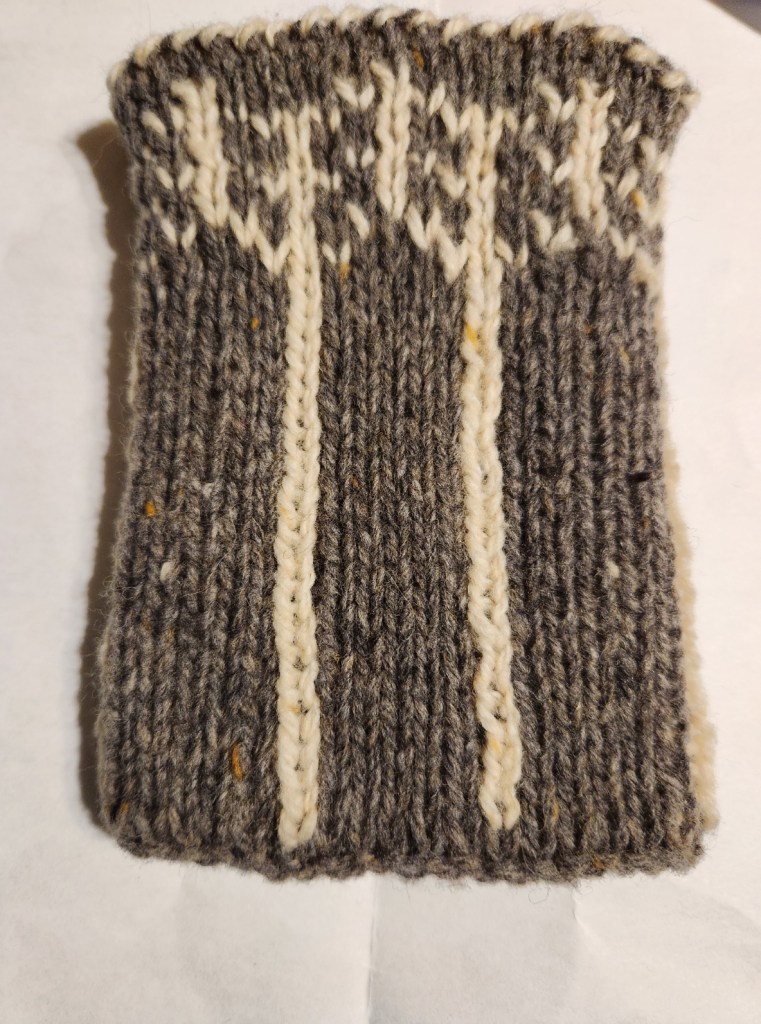
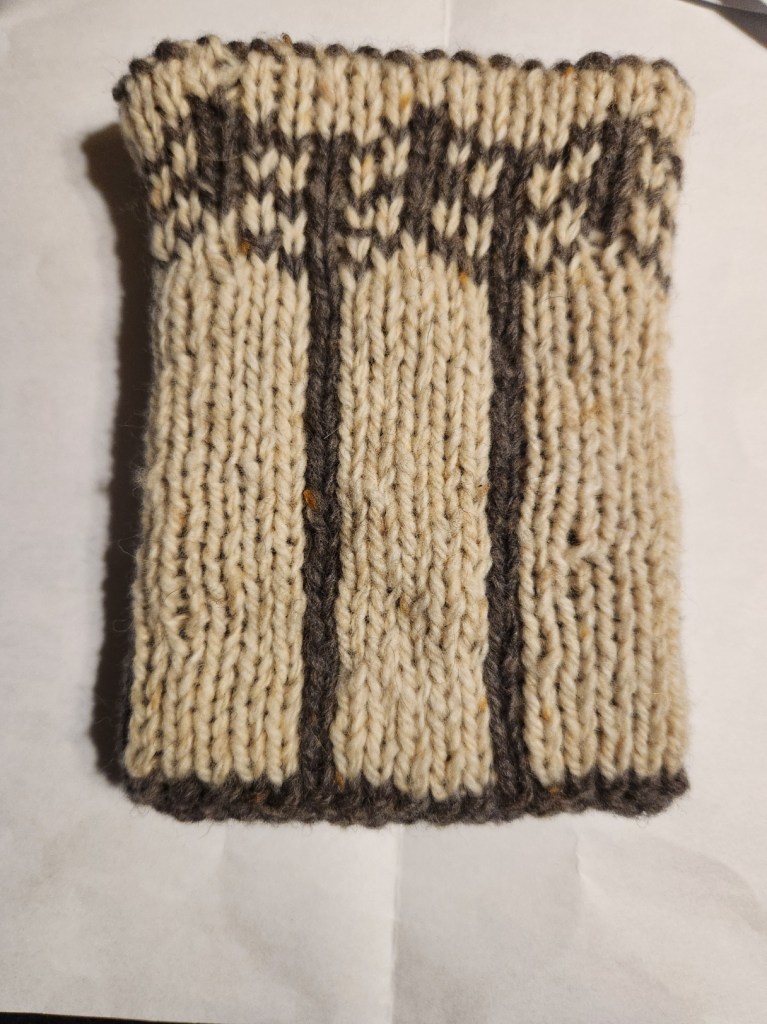
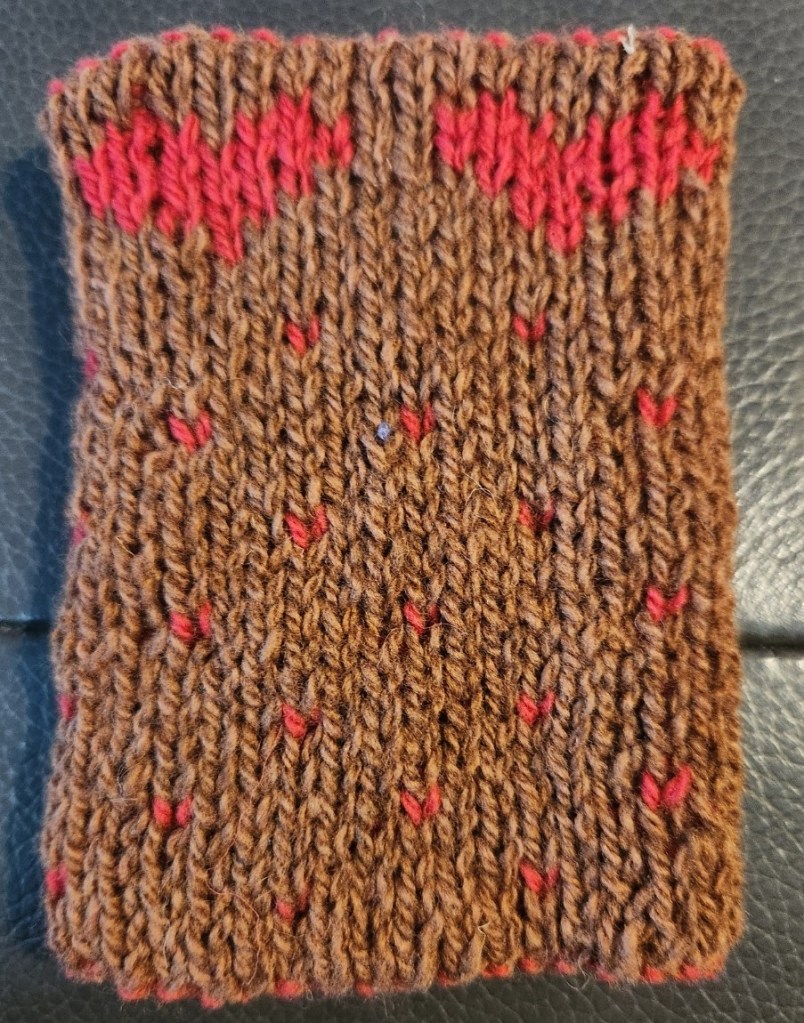
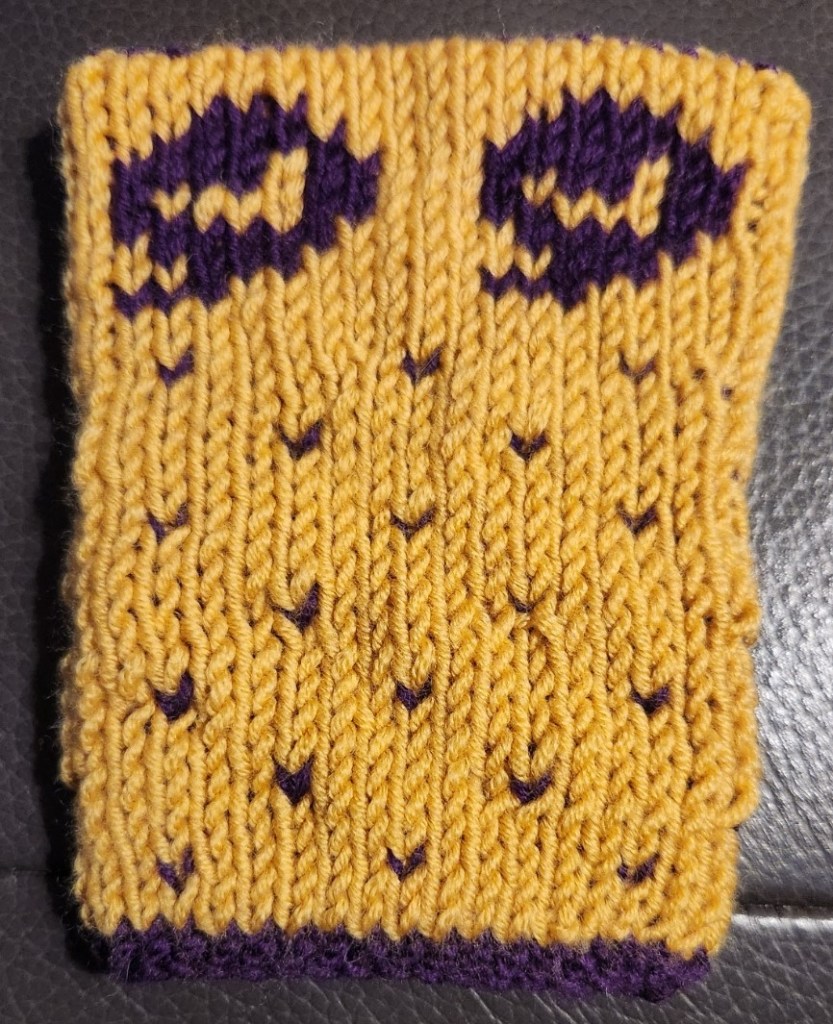
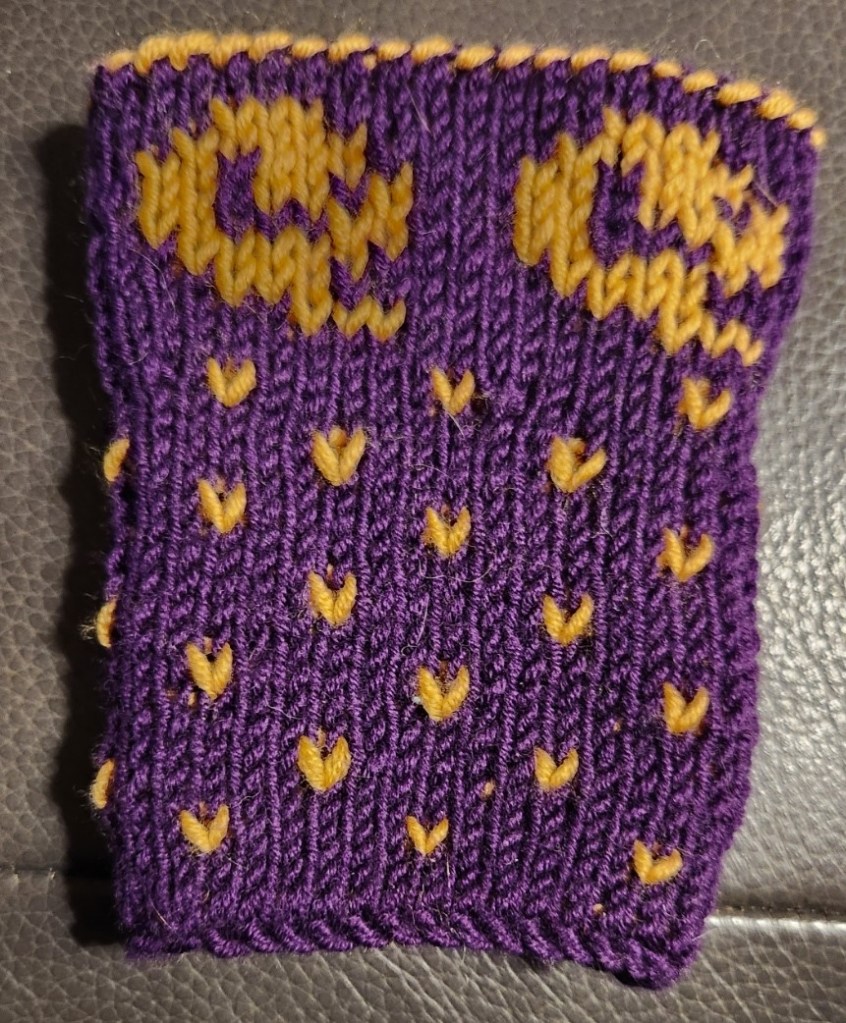
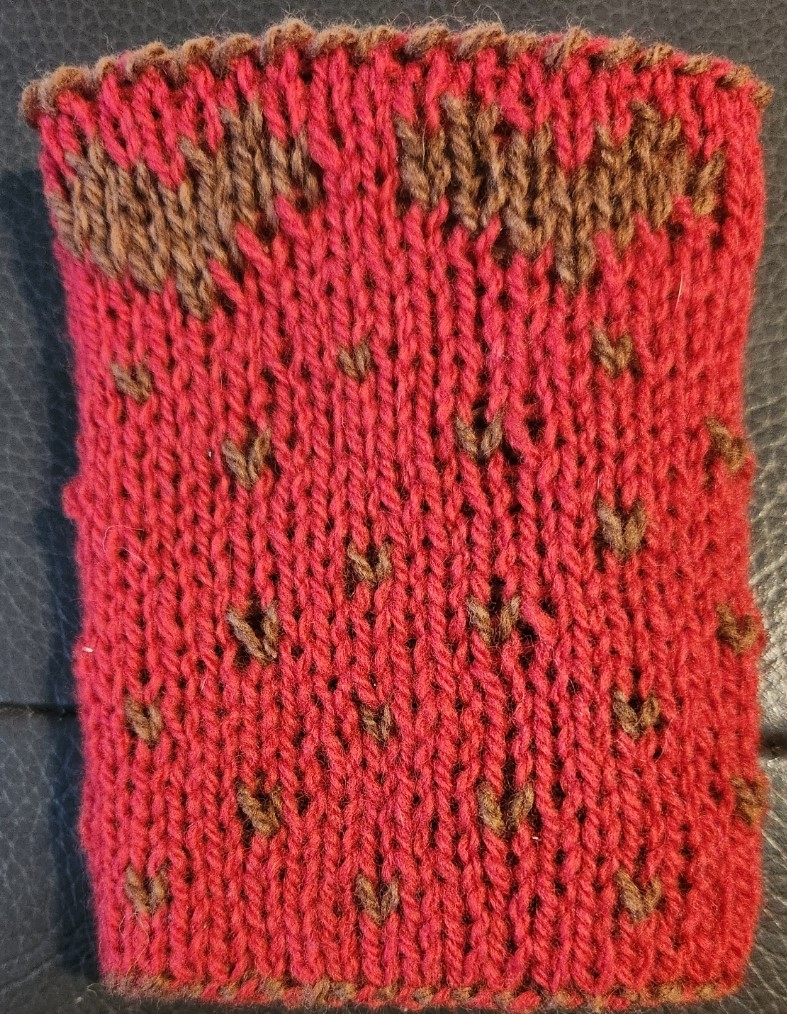
    Straight forward and cozy these double knit wristers are super cozy and super easy! These Cozy Wristers can be knit in any dk or sport weight wool that you might have to hand.

    Because they are double knit they are also totally reversible.

    I hope that your knitting adventures have been moving along with lots of colour and texture to keep your mind occupied and your hands busy!

    Happy Knitting

    Lynette