Le Tissier Designs

Of Larks and Linnets and Flying Fingers

Tag: techniques

  • Mastering Short Row Heels for Sock Knitting

    Mastering Short Row Heels for Sock Knitting

    This technique is for experienced or adventurous knitters. You will need to understand the basics of socks and also how socks fit on your feet. But mostly you will need to read carefully and be willing to pull out your knitting if at first you don’t succeed. I love learning something new. I hope that you will too!

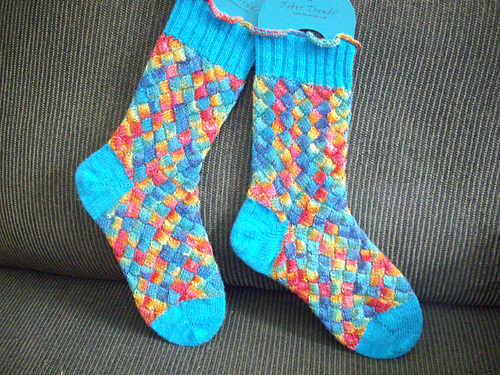
    This is an alternative to traditional heels or toe box shaping. It eliminates gusset shaping and can speed up your sock knitting. I don’t really recommend this style of heel if you have a high arch, which I do. I find it a little tight. If I do use it for myself, as I did in the Koigu Entrelac Socks above. I will add short rows to the heel box, in-between the short rows themselves, And/or make the box over more than half of the stitches.

    What I do like about these short row boxes is the Japanese style of Short Rows. The extra wraps create a solid seam that is stronger than most short-rows. Also this heel can be added to a highly patterned sock without interrupting the pattern repeats themselves. As in the Entrelac sock above.

    I love using the technique to create the toes for Toe-up socks. The look and the strength of the short rows makes for a strong well defined toe.
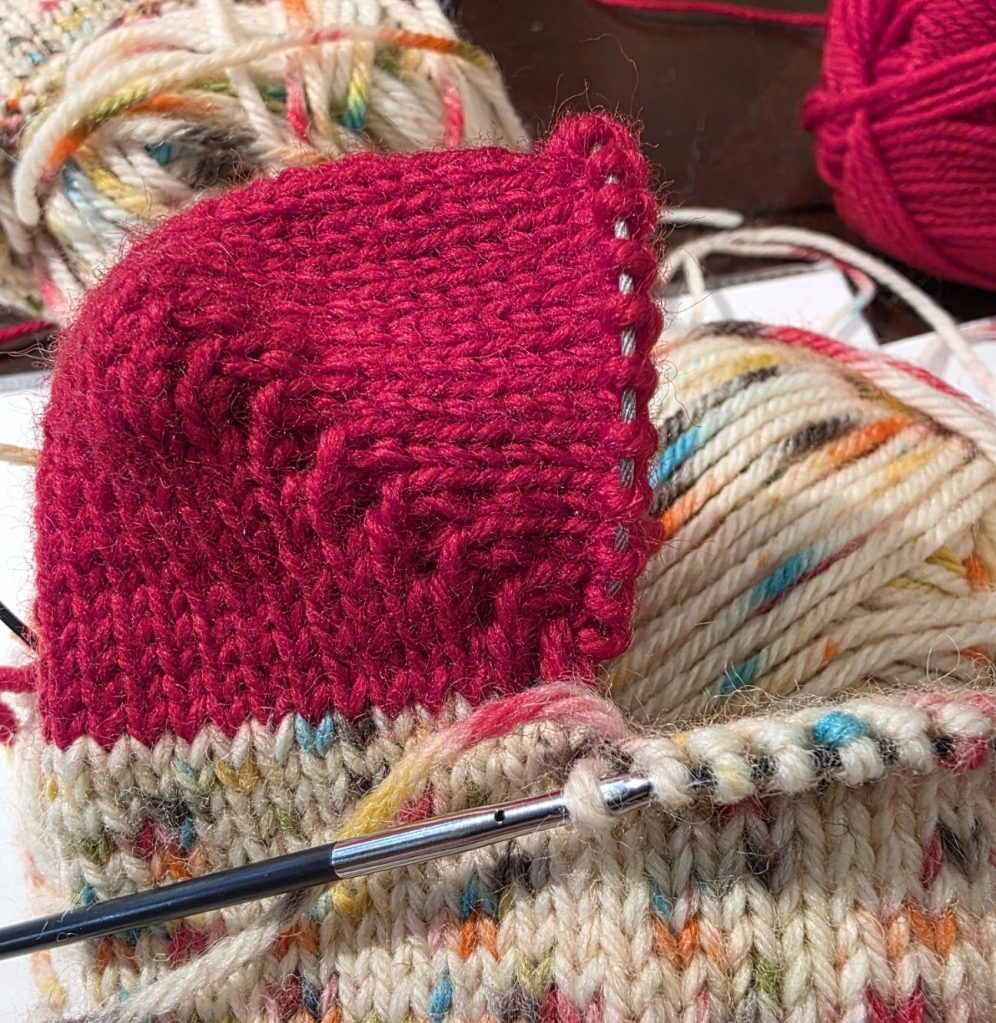
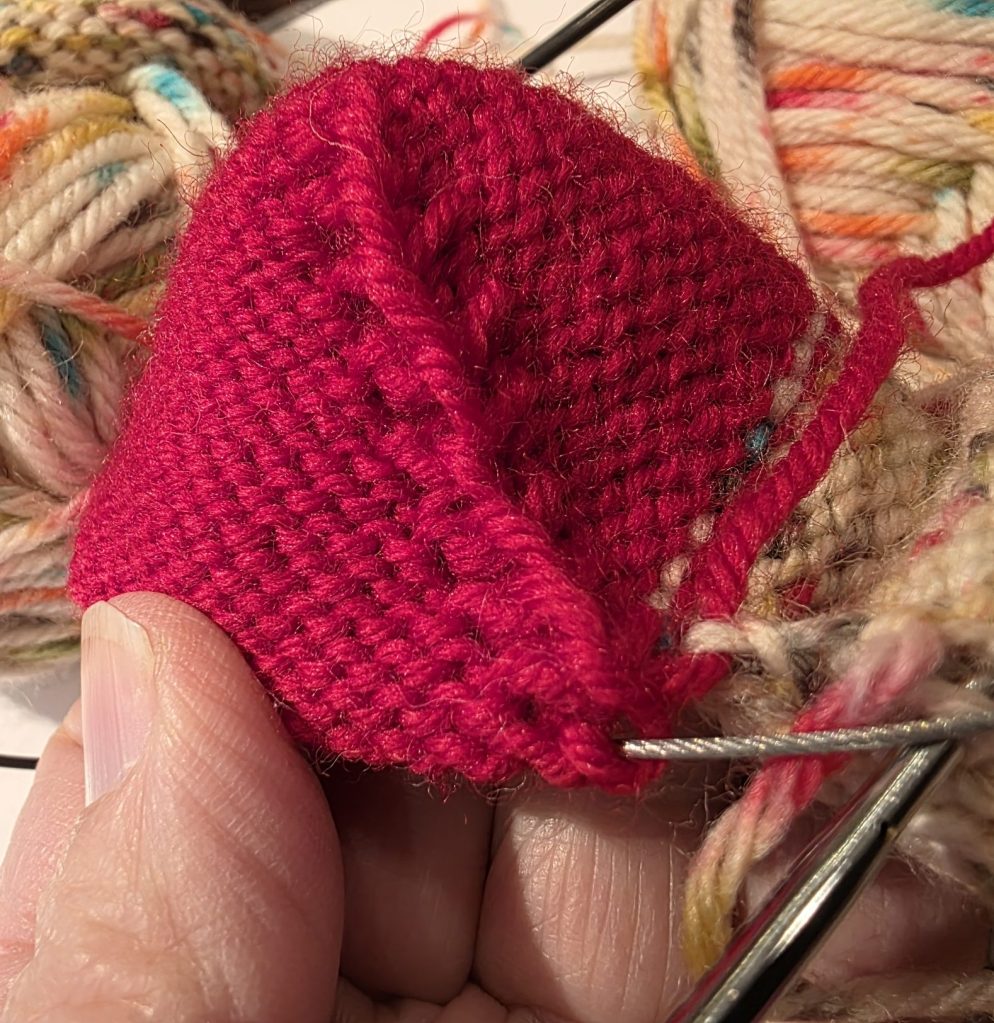
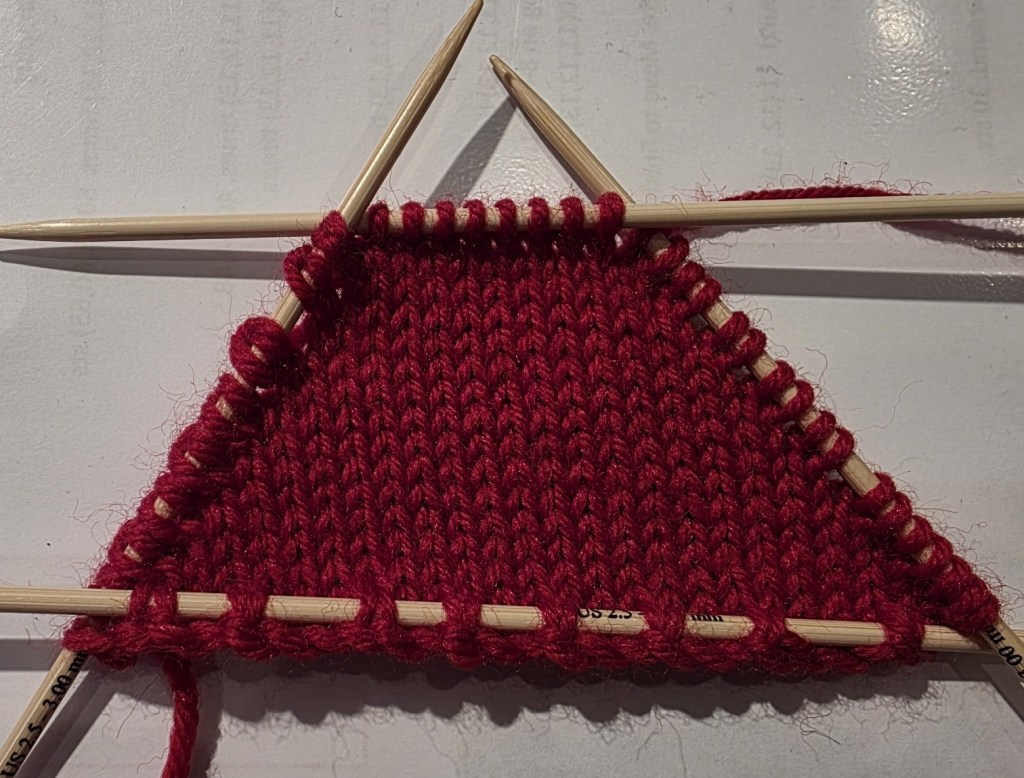
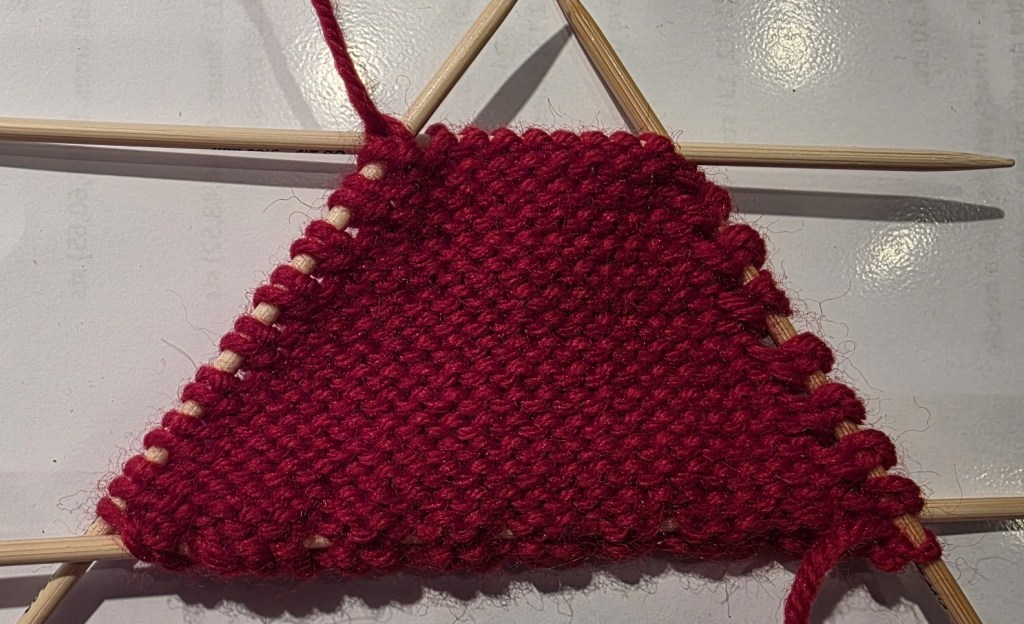
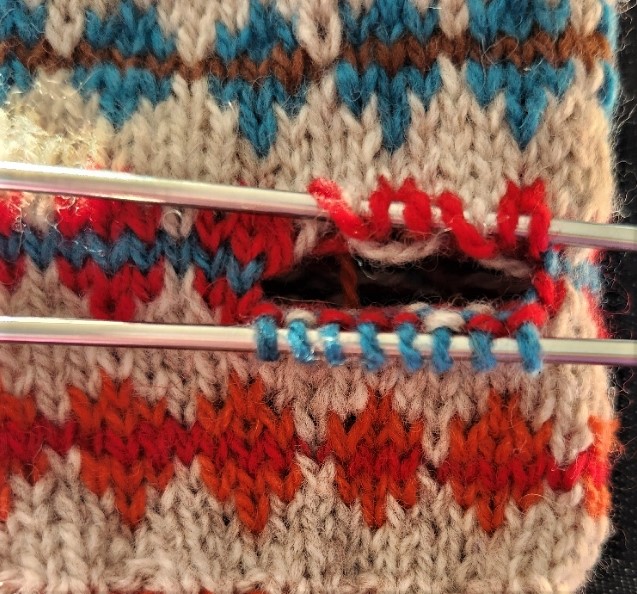
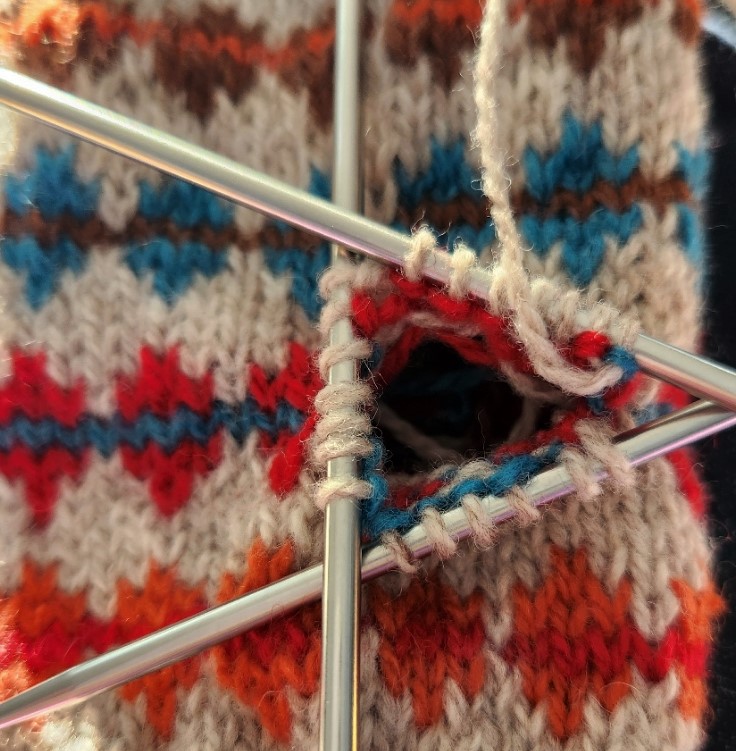
    Video of the start of the heel shaping. It shows the making of the double sts with YFs and YBs at each side of the heel box.

    Once the heel is shaped to the tip, the heels need to be shaped and joined, working down to the full stitch count. The extra loops are worked in as you go with K3tog’s and P3tog’s tbl.

    • YB – take the yarn back between the needles
    • YF – bring the yarn forward between the needles
    • Stitch mount – the way the stitch sits on the needle
    • P2tog tbl – purl 3 sts together through the back of the loops
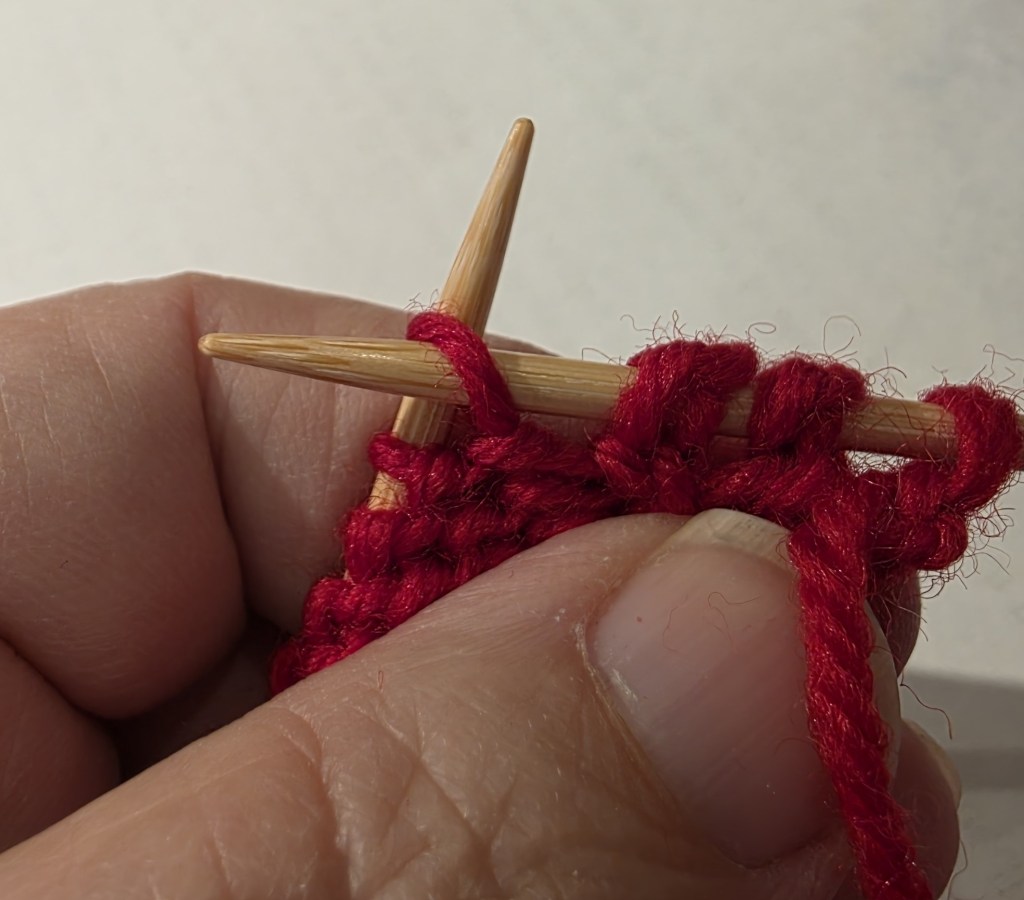
    This technique can be substituted into any sock pattern. I have included a few standard numbers to use for the heels. Remember that there is no gusset shaping. So your sock would go something like this – ribbing, leg, heel, foot, and toe.

    If you decide to try out the technique, please let me know what you think! If you have problems please also let me know. What are your favourite styles of sock making? Do you have a heel shaping or toe tip to share? What are your challenges in sock making?

    Happy Knitting

    Lynette
  • Thumbs UP!

    Thumbs UP!

    I have been knitting a lot of full mittens lately (as opposed to the fingerless variety). They seem to be my gift of choice is this year. They are fun and quick and are great vehicles for learning new techniques – they are sort of like hats that way.

    Adding the thumb is the only really fiddley bit. The most popular thumb is the fully shaped gusset with thumb. They are the classic thumb for mittens, but my favourite thumb is the afterthought thumb.

    Why the afterthought thumb? Well, it is especially great with patterned mittens, colourwork, texture or cable techniques. Why is it better? I am so happy you asked! LOL! The best and strongest reason is that an afterthought thumb (or afterthought heel) will not interrupt your patterning. Or does not require a special pattern separate from the rest of the mitten – though it can be a great vehicle for more patterning. Afterthought thumbs are usually added after the mitten body is finished and then worked in the main colour yarn in stockinette – making them an easy finish.

    How about a step-by-step tutorial?

    Technique 1

    I love this one for almost everything! But especially textural patterns in any weight. See Boldly Tweed Set.

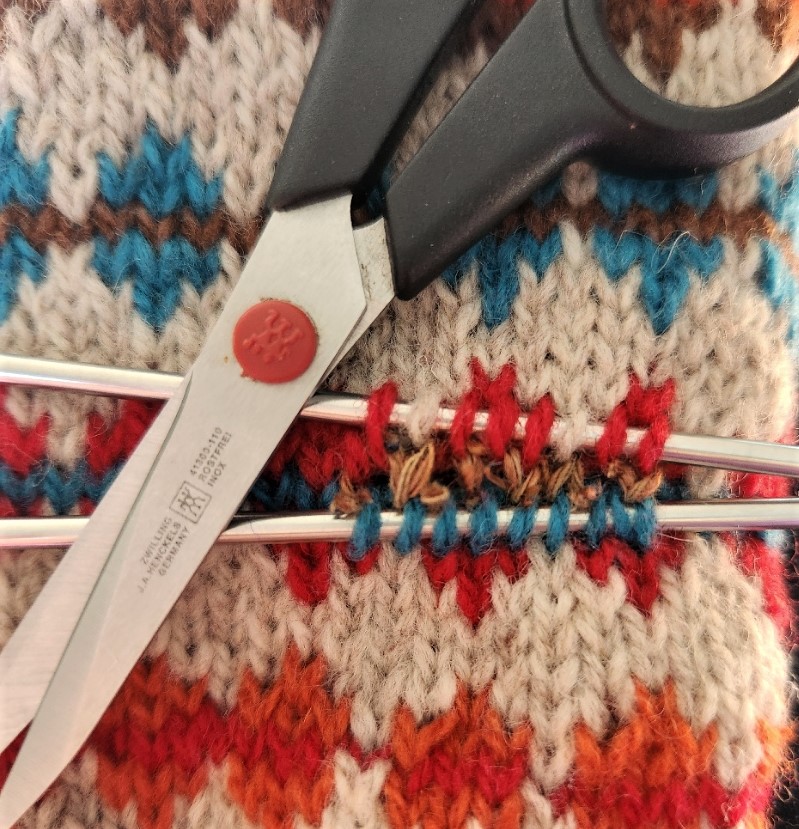
    1. first work in pattern to the thumb insertion point; drop the working yarn and pick-up a length of waste yarn and work the desired number of stitches for the thumb as per the pattern size
    2. slip the waste yarn sts from the RH needle back to the LH needle; now resume working the pattern – knitting over the waste yarn insertion – with the mitten yarn and ignore the waste yarn until the mitten body is complete.

    Work next round of thumb as follows; K2tog, knit to 1 st before next divide, SSK, K2tog, knit to 1 st before next divide, SSK – thumb is now ready to complete as pattern requires.

    Technique 2

    I use this one mostly with heavier yarns. I find it easier to work than the other method.

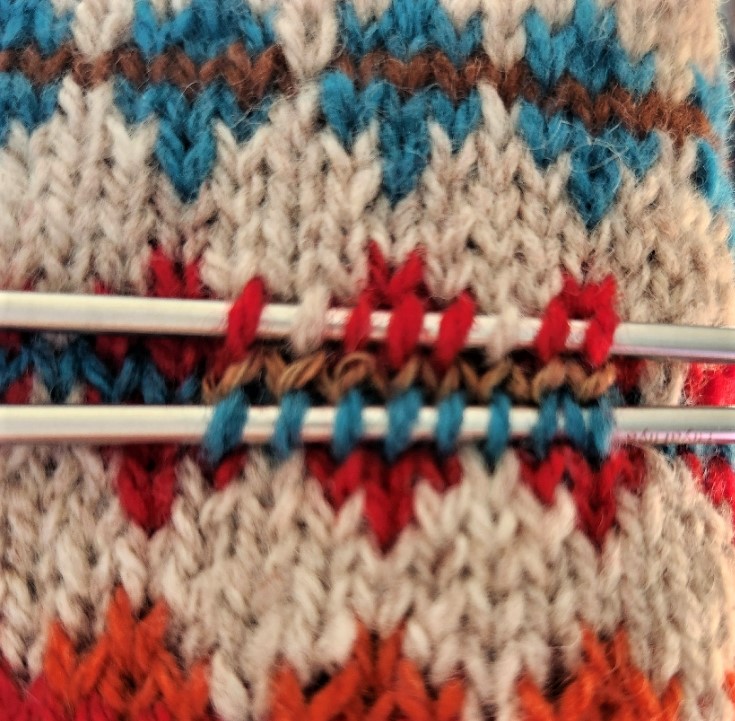
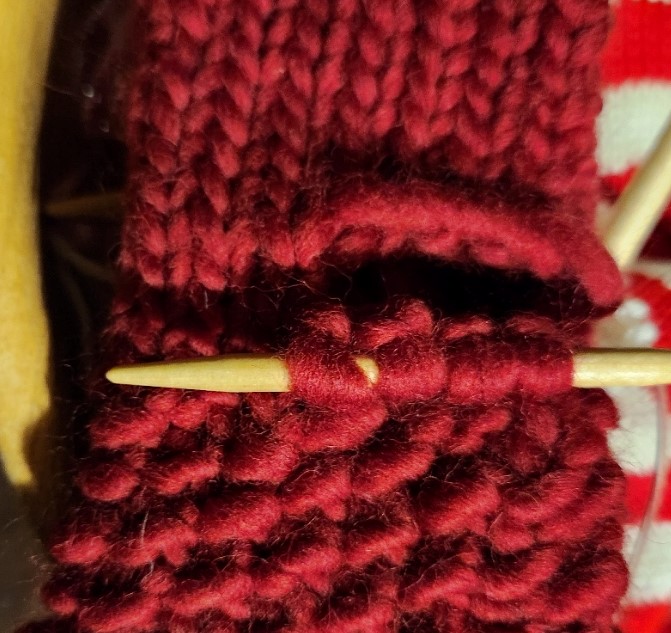
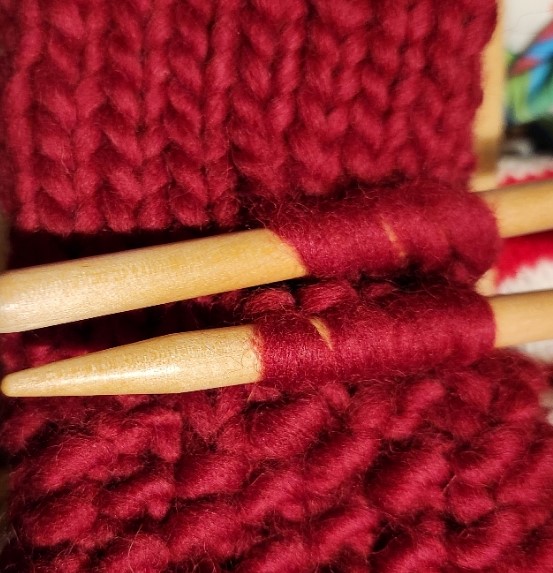
    1. Knit to thumb insertion point, place required sts onto some waste yarn (cable needle in picture – it was handy and the mittens were fast LOL!.
    2. Backwards loop same amount of sts as are on the waste yarn, continue knitting the mitten.
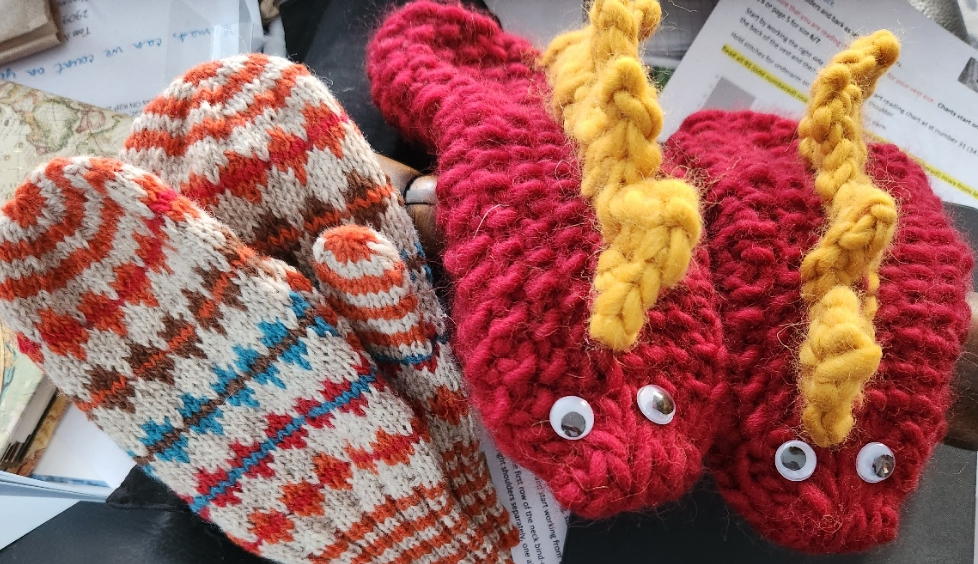
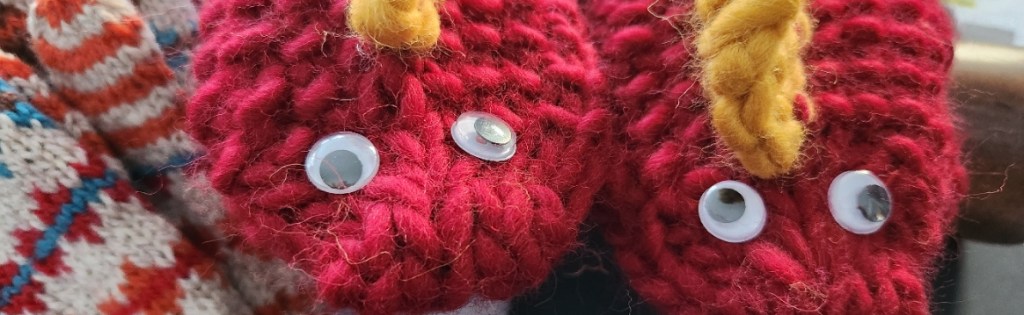
    My Grandson’s Christmas Mittens – Jester Mittens and the Monster Mittens

    There will probably be patterns for these mittens – just not sure when!

    Happy Mitten Knitting, Be Well!

    Lynette