Le Tissier Designs

Of Larks and Linnets and Flying Fingers

Category: Classes

  • Dec 1, 2024

    Dec 1, 2024

    This the beginning of the Christmas Season for many of us. Especially those of us in retail. As I work at my LYS I need to get my Christmas Mojo in place and be ready to help those who need my help, either with gifting ideas or help in sorting out problems with finishing those special things.

    I love this time of the year. It doesn’t matter what you celebrate or how you celebrate, most cultures celebrate the Winter Solstice in some way. Christmas, Hanukah, Kwanza, Soltice or Saturnalia, they are celebrations of joy and sharing! And an acknowledgement that the longest night of the year has come and gone. So every year I like to share a pattern through Ravelry or here on the blog (now that I know how! LOL!) So here is my gift to you free for the month of December and running through early January!

    I was thinking about this and realizing that for the Southern hemisphere this will the shortest night of the year! Still any excuse to celebrate is a good one!

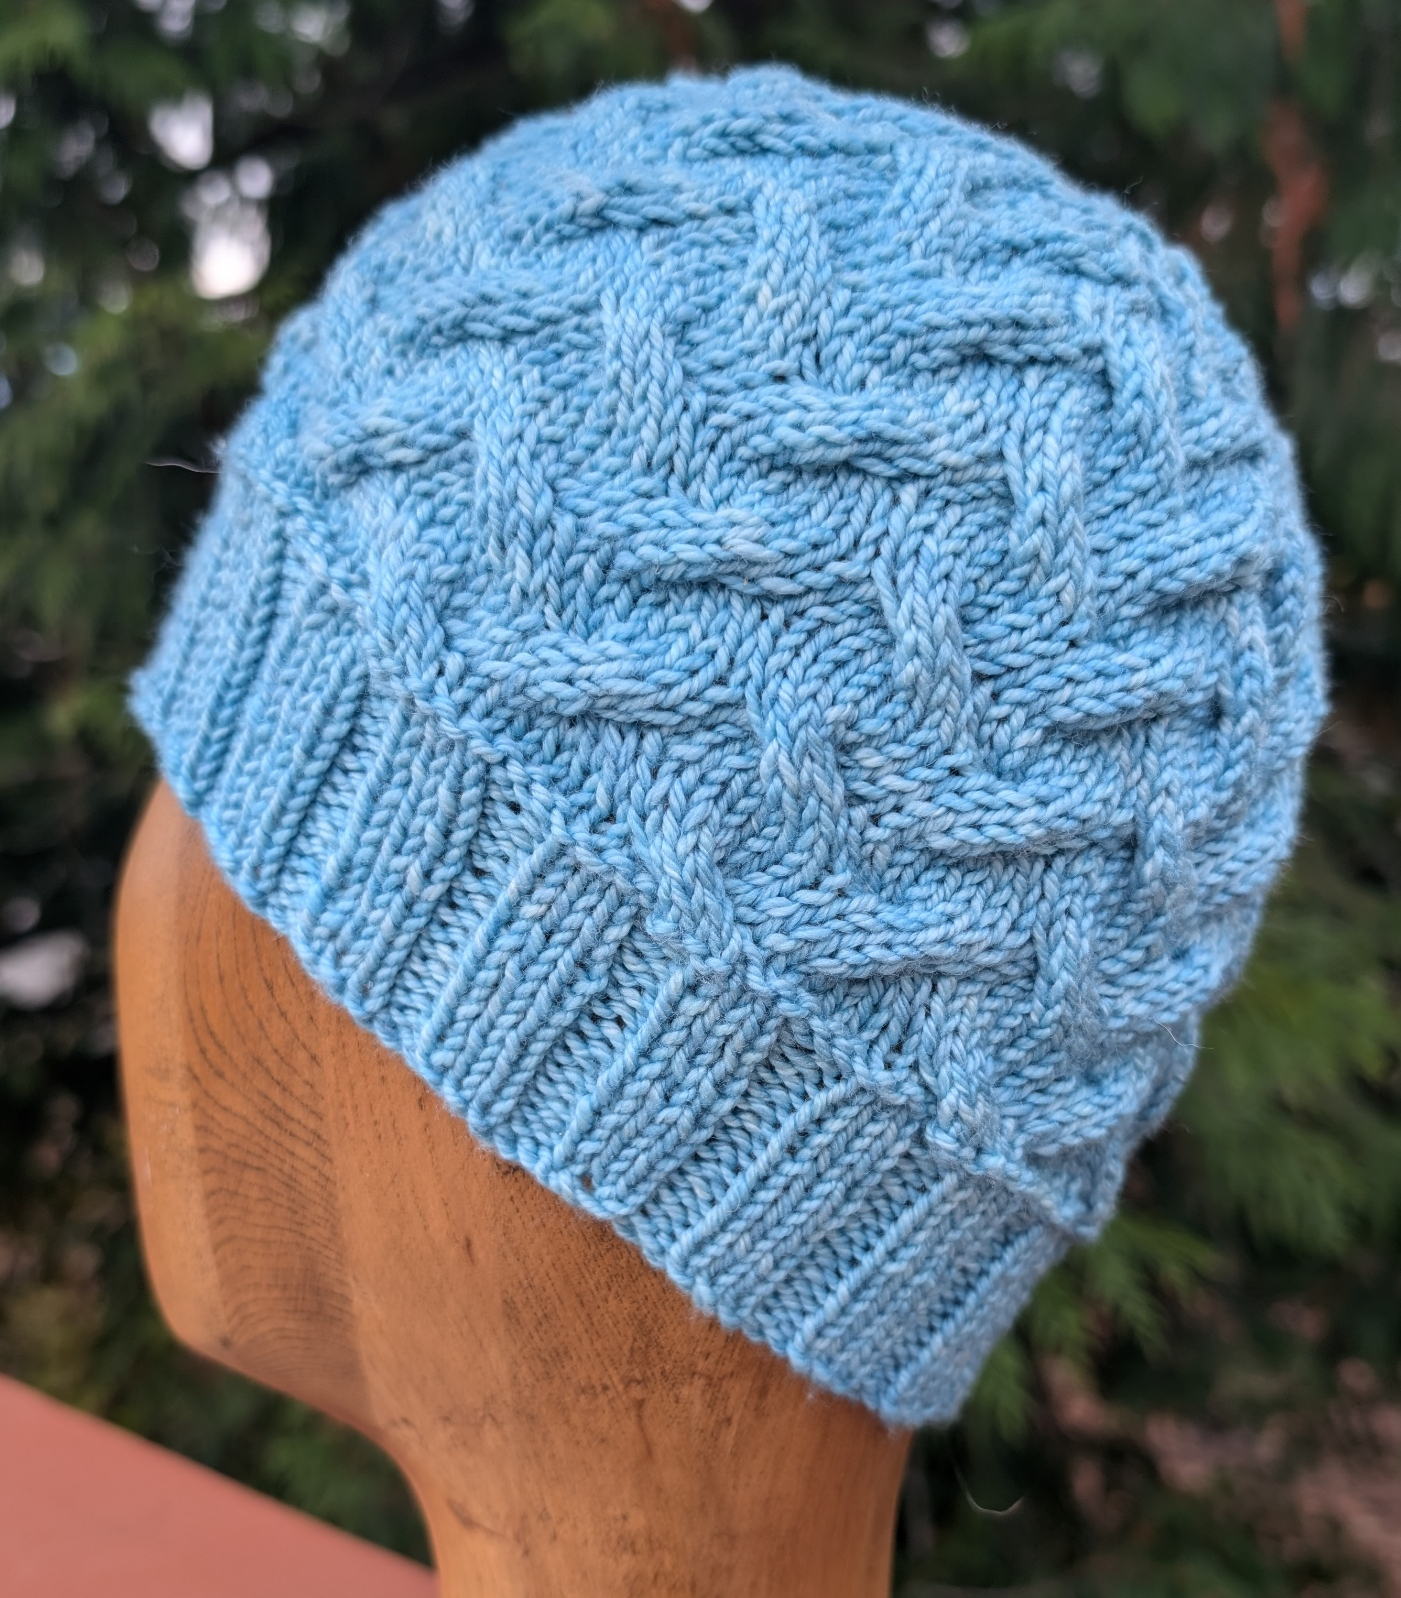
    I thing that Cyclone is a good basic hat pattern. Not too fussy, will look effective in alsomost any colour and it notes the kind of year that many of us have had! Chaotic and cyclonic. So I made it my Christmas pattern. It will be free for the month of December and going into early January.

    The stitch pattern is a fairly straight forward mosaic stitch. I love mosaic stitching because you are never working more than one colour at a time! No carries! Because of the size of the mosaic pattern there is really only one size, but notes are included to adjust the size a little up or down to accommodate larger or smaller adult/teen size heads.

    Just to be different there will be a couple of free patterns this year. I turn sixty-five this month as well. So I am going to celebrate that too! And no, retirement is not part of my plans. After all, I am already working at what I love. So, I would like offer up another pattern for free for the month!

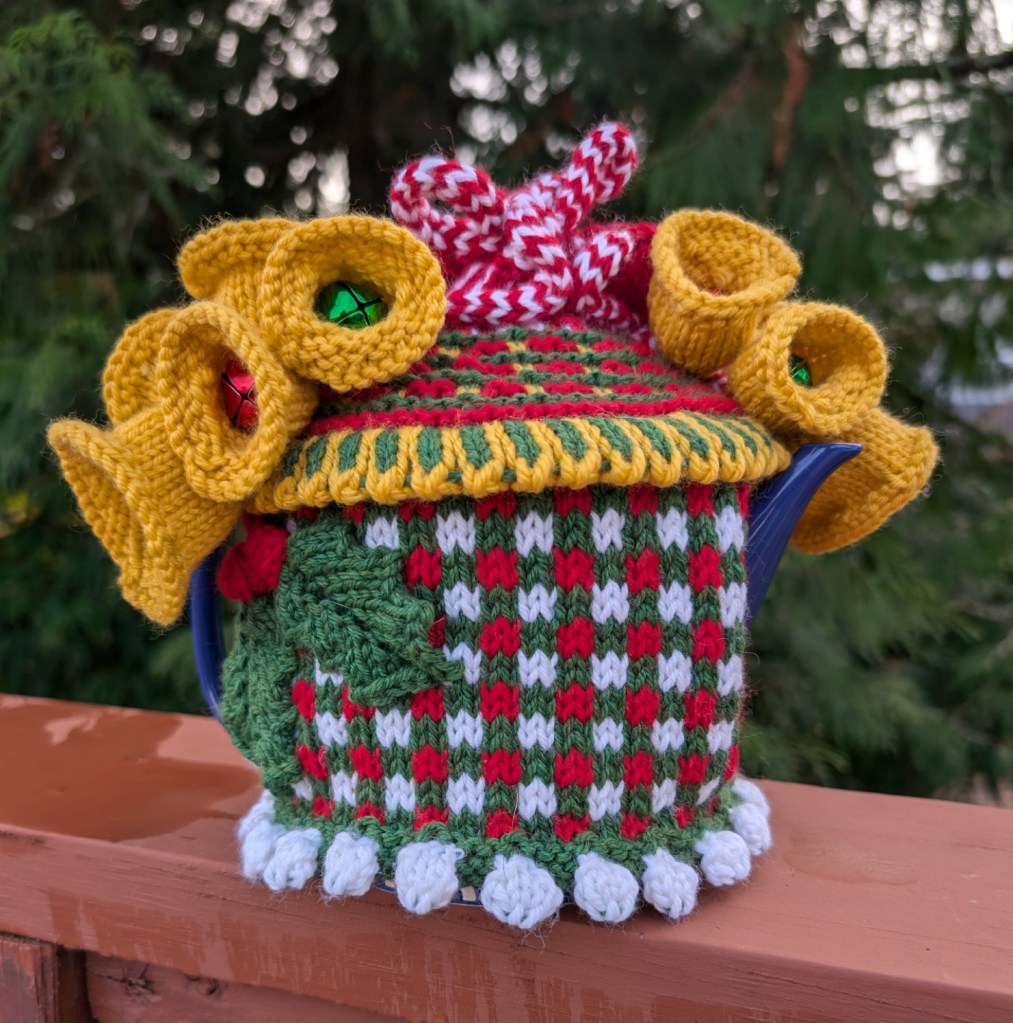
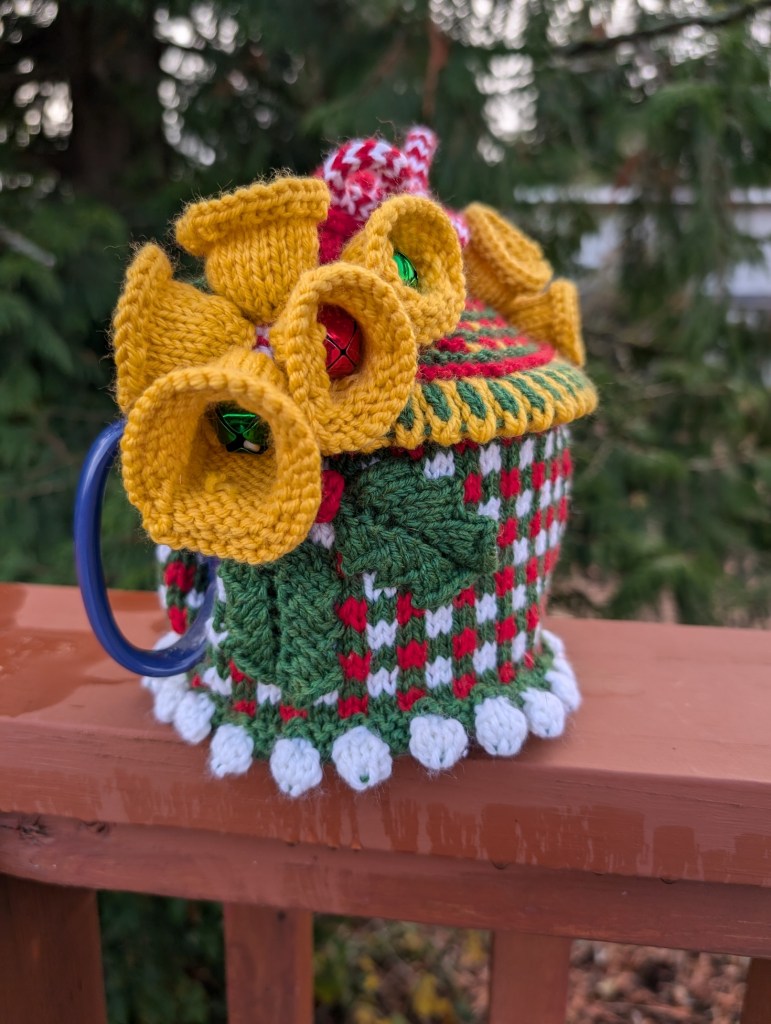
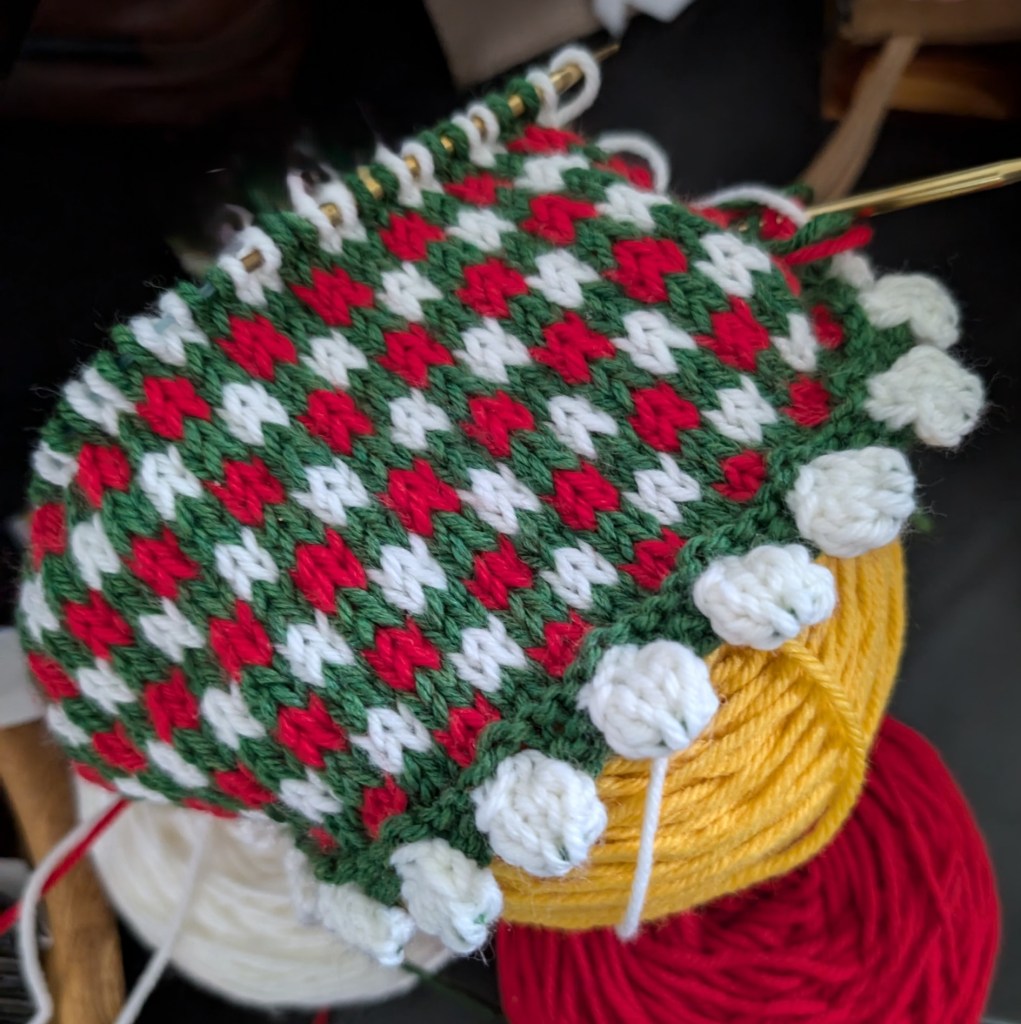
    Cozy Bells is a tea-cozy designed to celebrate Christmas every day of the Year. The bells will jingle softly as the tea is poured and your tea will remain warm for quite a white! I recommend printing this pattern in colour as there are many how to pictures to go along with the embellishing.

    Life has been rough for the bulk of the year so I am seizing this moment to share some joy! I hope that you like the patterns and will take this opportunity to try them out.

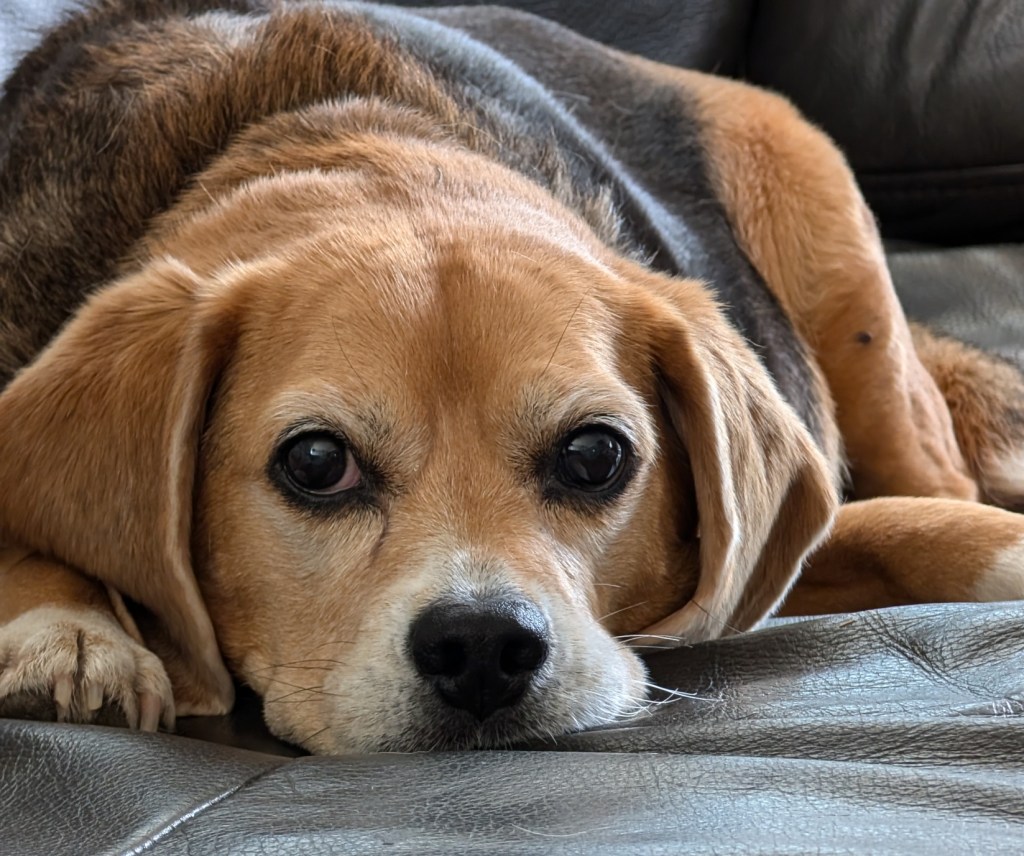
    On a sad note, Sophie, our beautiful beagle passed away last week. She was thirteen and had lived a good life. She was always happy, tail wagging at every greeting and never, ever, passed up a treat that came her way. She was loved by all who knew her and never met anyone she didn’t like. She is missed every day.
    At work we are starting to organize our ideas for next years classes. And I am going to offer up a “Year of Hats”. A series of workshops, each one about a hat, or headgear of some type. There will be different weights, different techniques and yarns to work with. Quite a few are already done. There will be a blog post, maybe next weekend, all about this project.

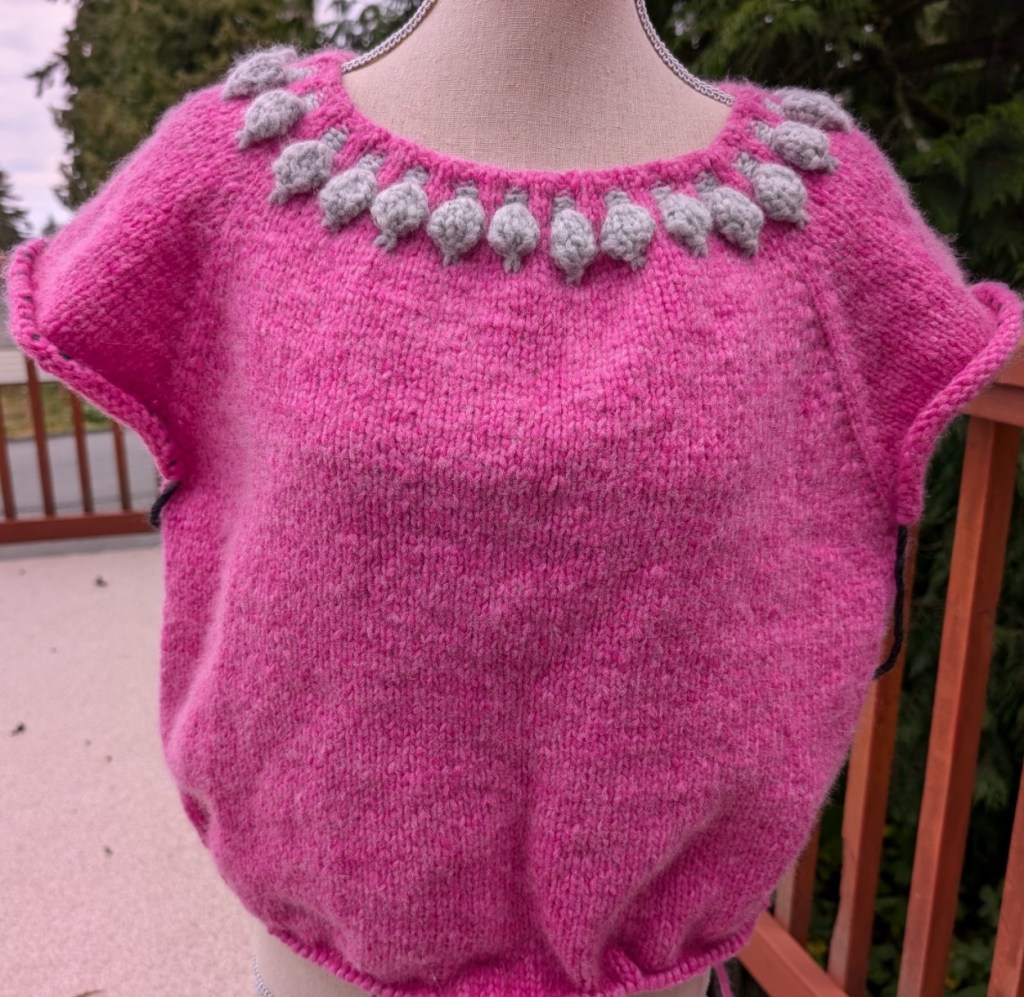
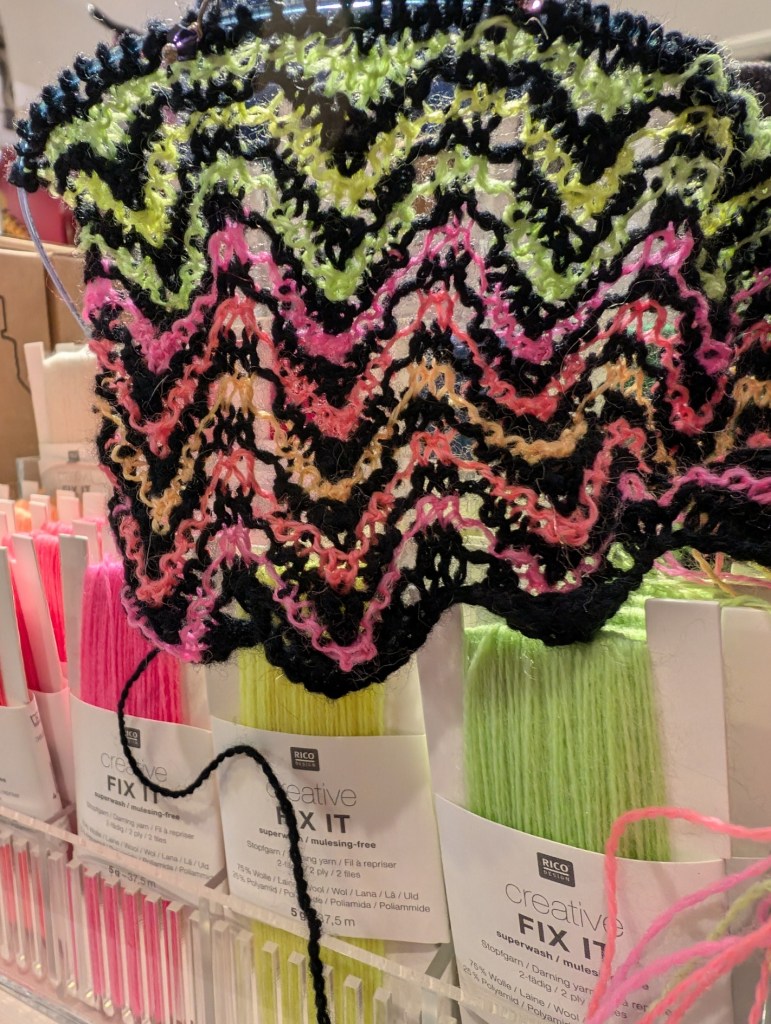
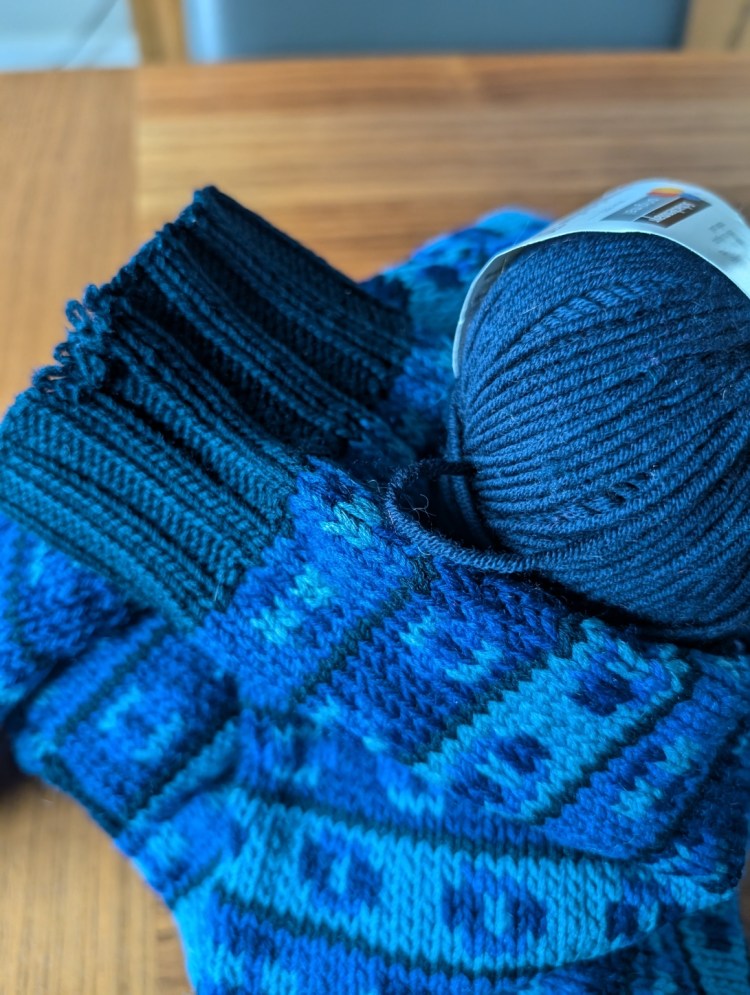
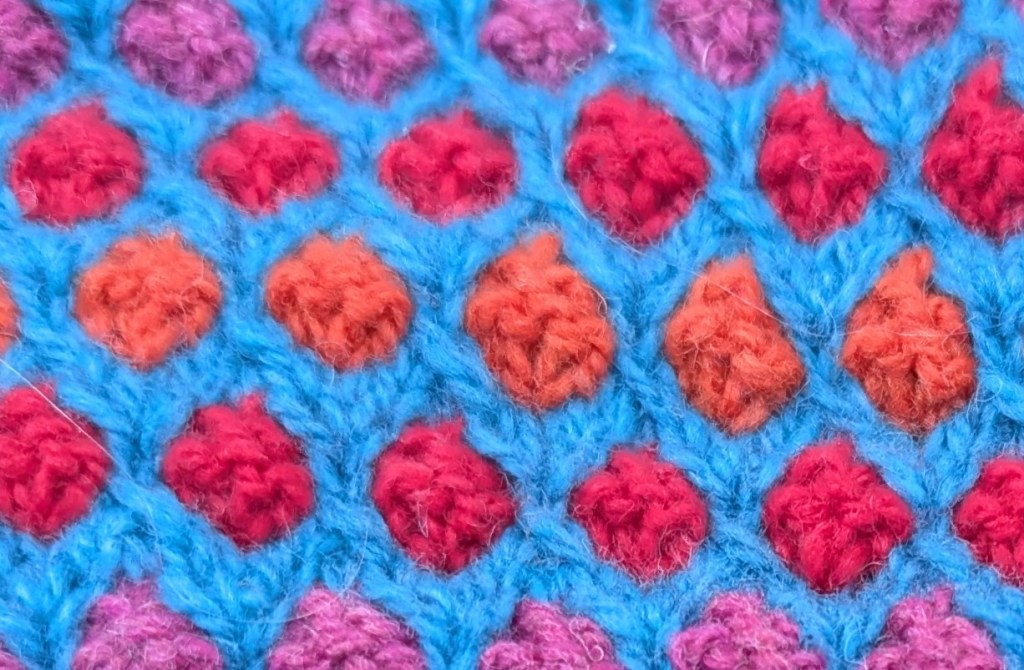
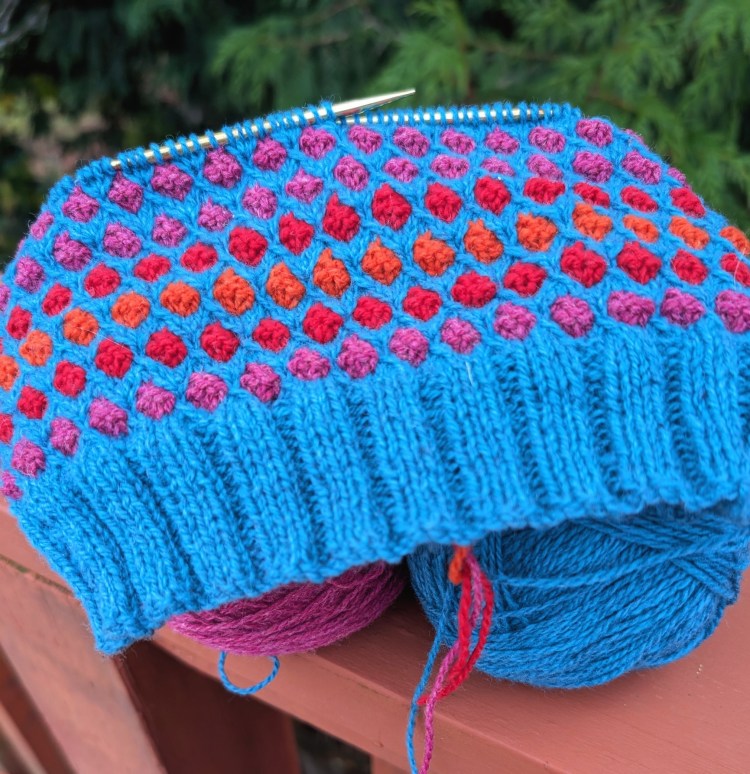
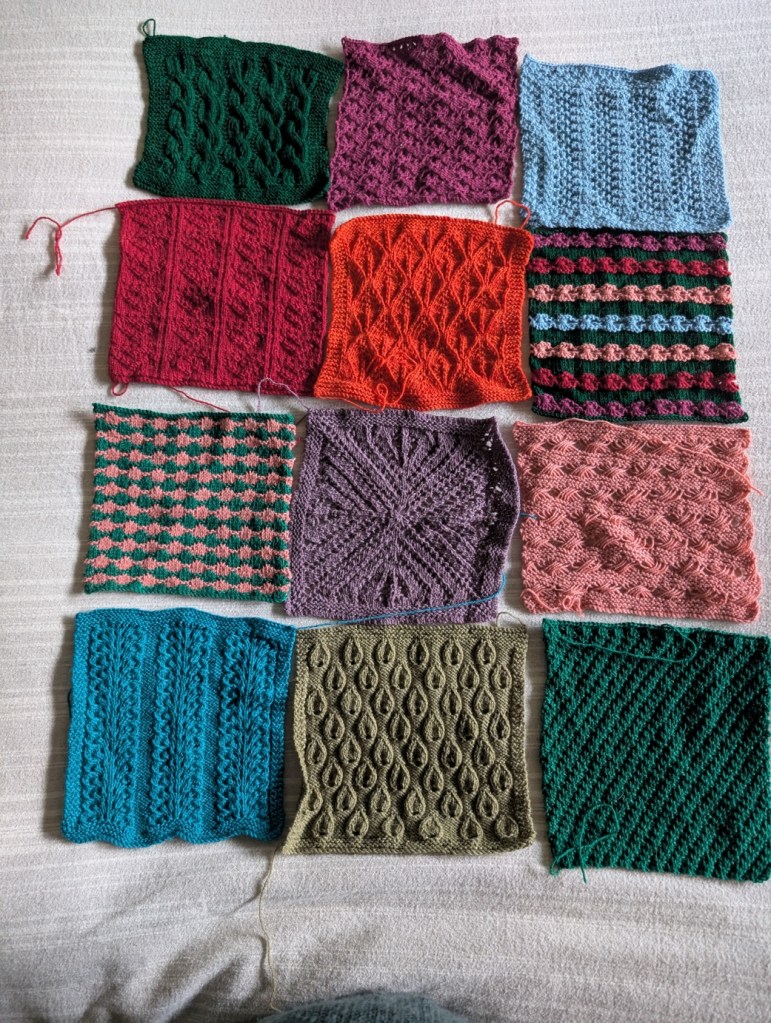
    I am really excited about the turquoise item below – the technique is colourwork slip stitching! You a never working with more than one colour! I am working with several colours of Patagonia Organic Merino. Wouldn’t it look great with the drops done in a hand-dyed yarn? What do you think?
    I am also going to resurrect a few of my older projects. Things that I really want to finish – either patterns or projects. A mixture of both! You can see that I am setting up my New Years’ resolutions as I work my way through this!
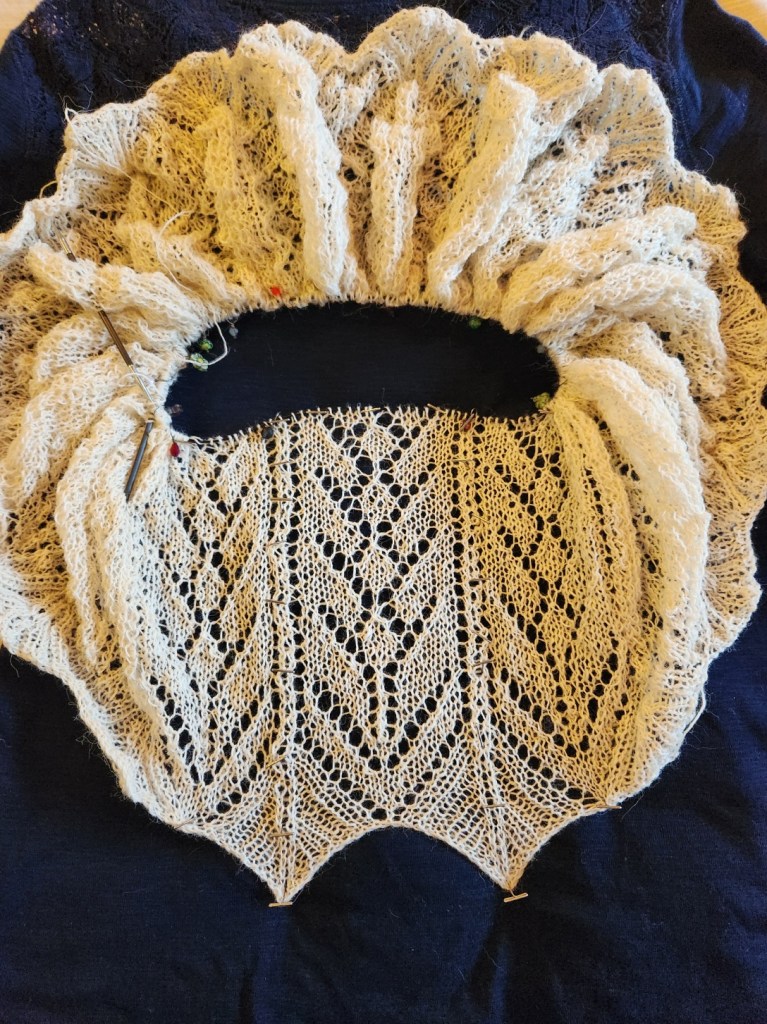
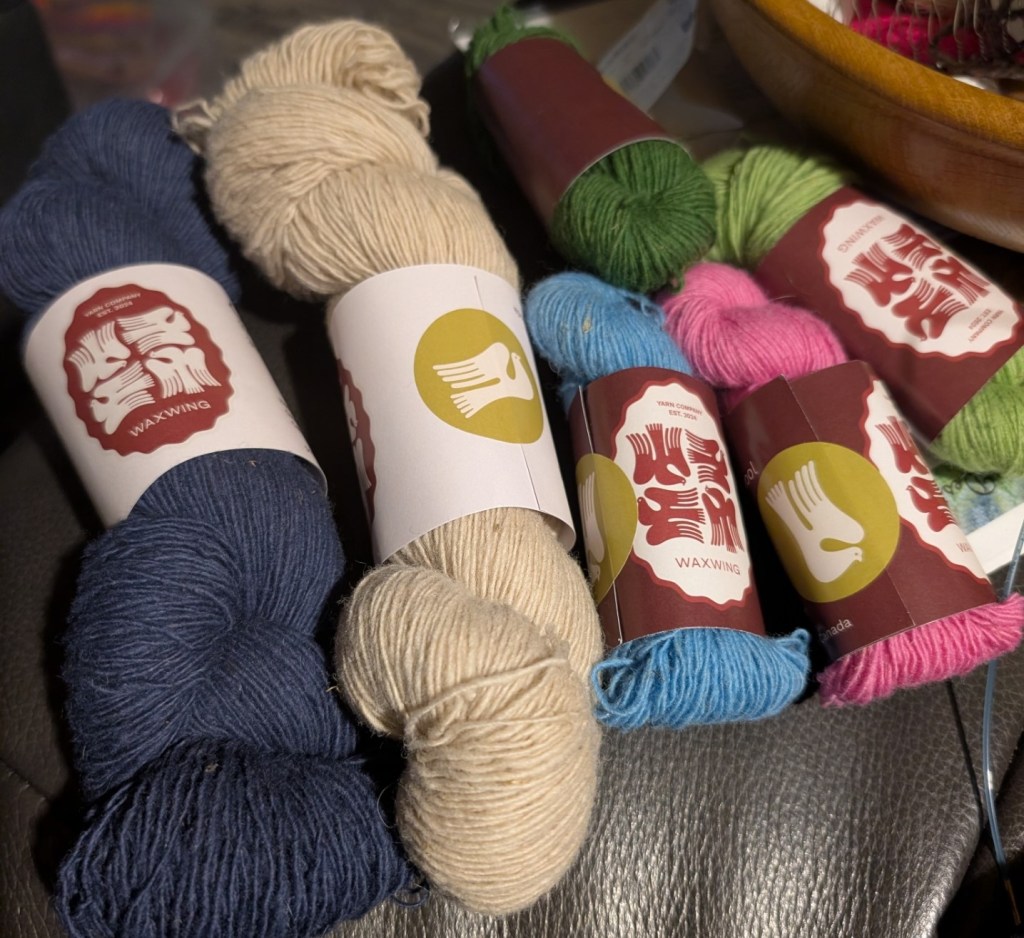
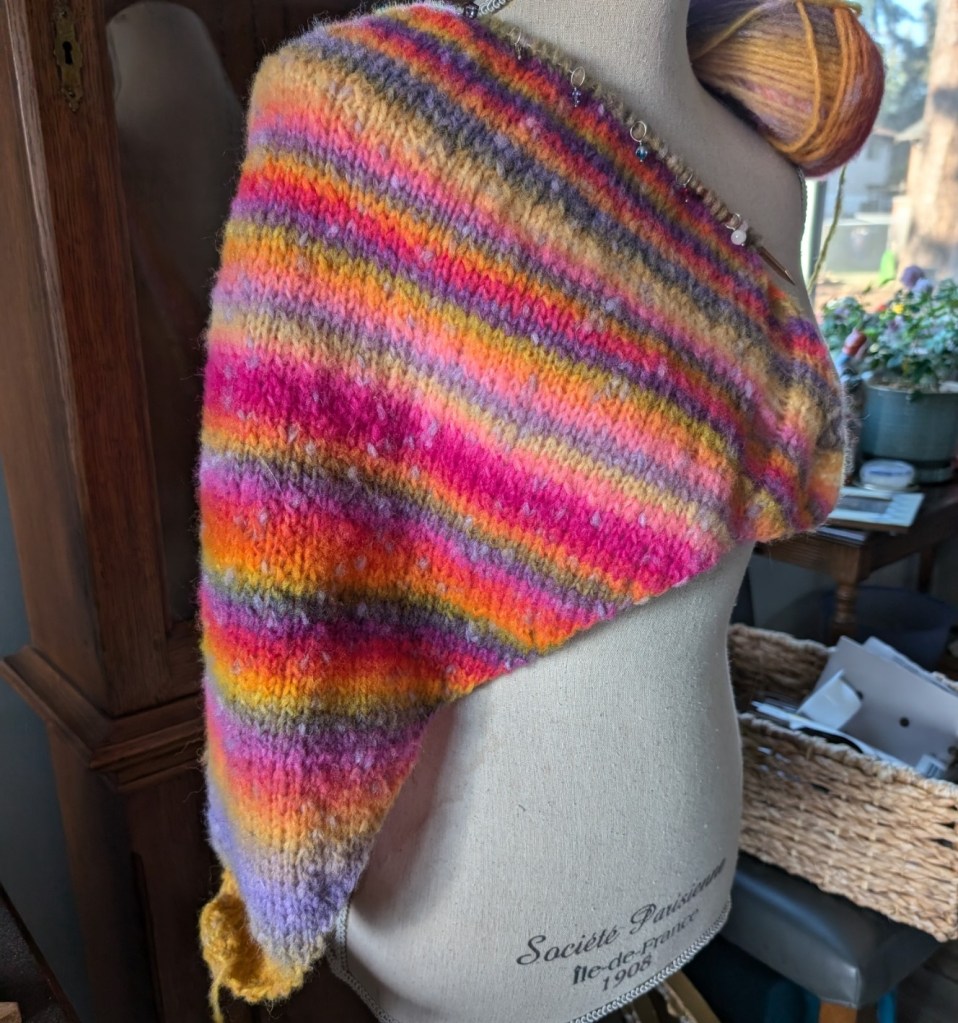
    I am playing with a new yarn – Cedre, by Waxwing Yarn Co.. This is an all Canadian endeavor. The yarns are sourced and scoured in Ontario. Then they are spun in Quebec.

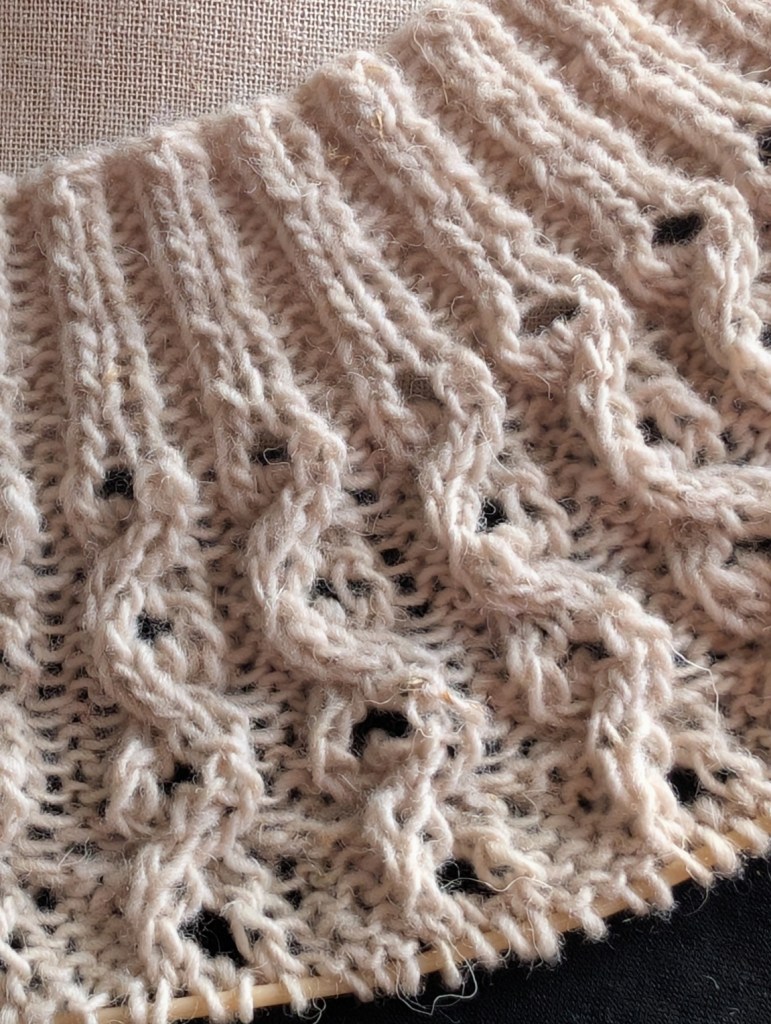
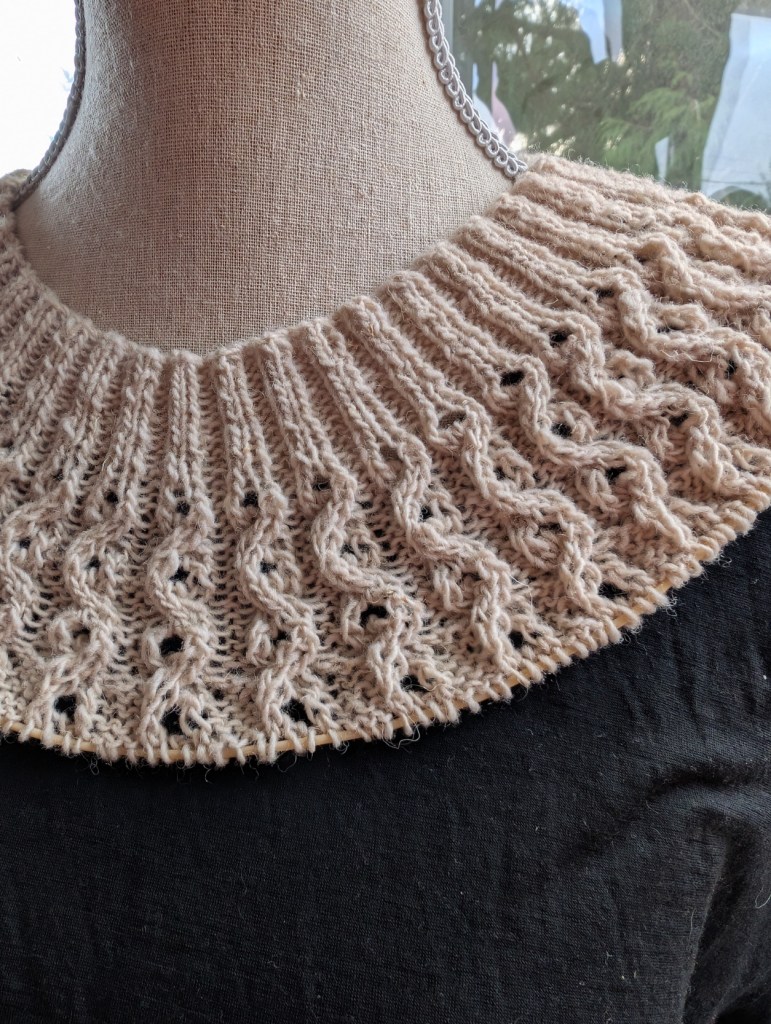
    Cedre is a woolen spun single, I would call it a solid 4-ply in weight. It has a lovely roundness to it and is very springy. I am putting it through its paces while working this mini poncho. I started with a 2.75mm and have settled on a 3.75mm for the body. The stitch definition is crisp, even at this needle size and I can hardly wait to finish this project. I want to see how it reacts to blocking.
    So, Happy December!

    Happy Knitting

    Lynette
  • Tea Cozies – my Toys

    Tea Cozies – my Toys

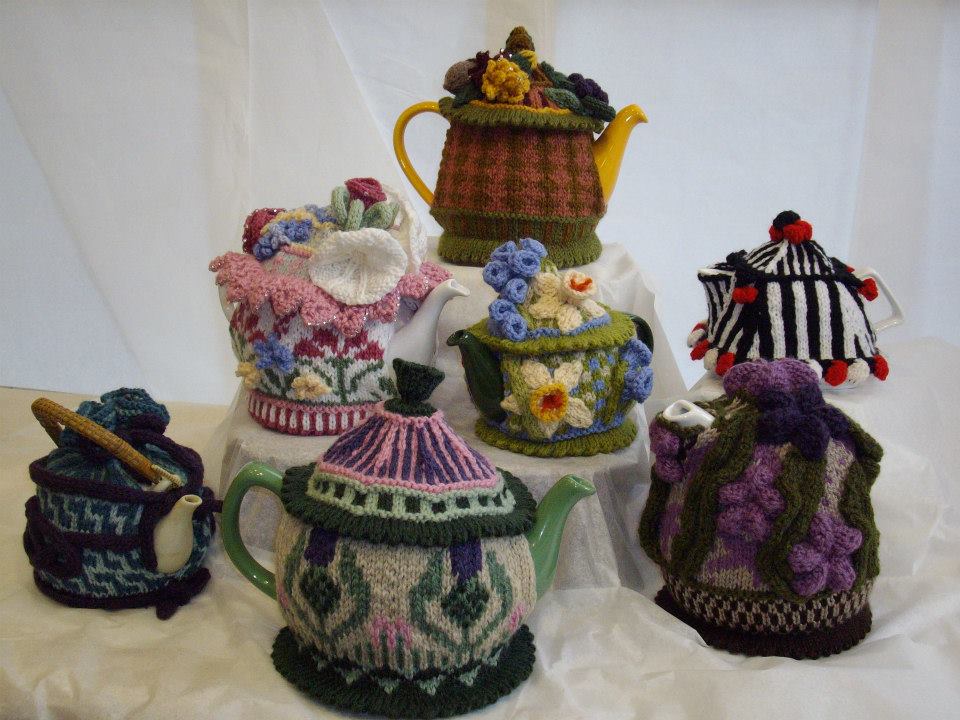
    I have been knitting Tea Cozies pretty much as long as I have been knitting. At first – they were just for me. I knit them for my pots and as gifts for friends. It wasn’t until 2009 that I posted my first cozy patterns. Victorian Cozy, Harvest Cozy, Bluebells in a Row Cozy and Thistle and Heather Cozy. They all grew out of my first retreat as the “headline” teacher.

    I think my latest cozy pattern was over 8 years ago, in 2016, Andean Dreams Cozy. So I am wayyy… overdue for a new cozy pattern. This year I am going all out. There will be two new cozy patterns and both will be released in the next couple of weeks.

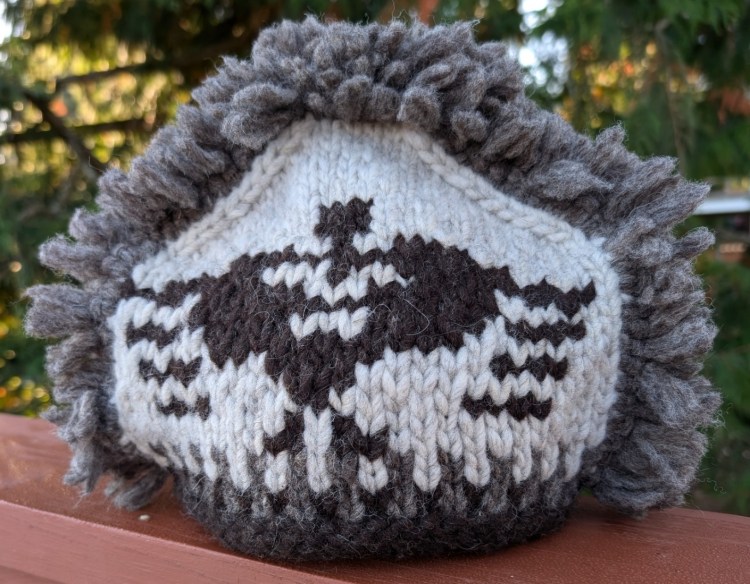
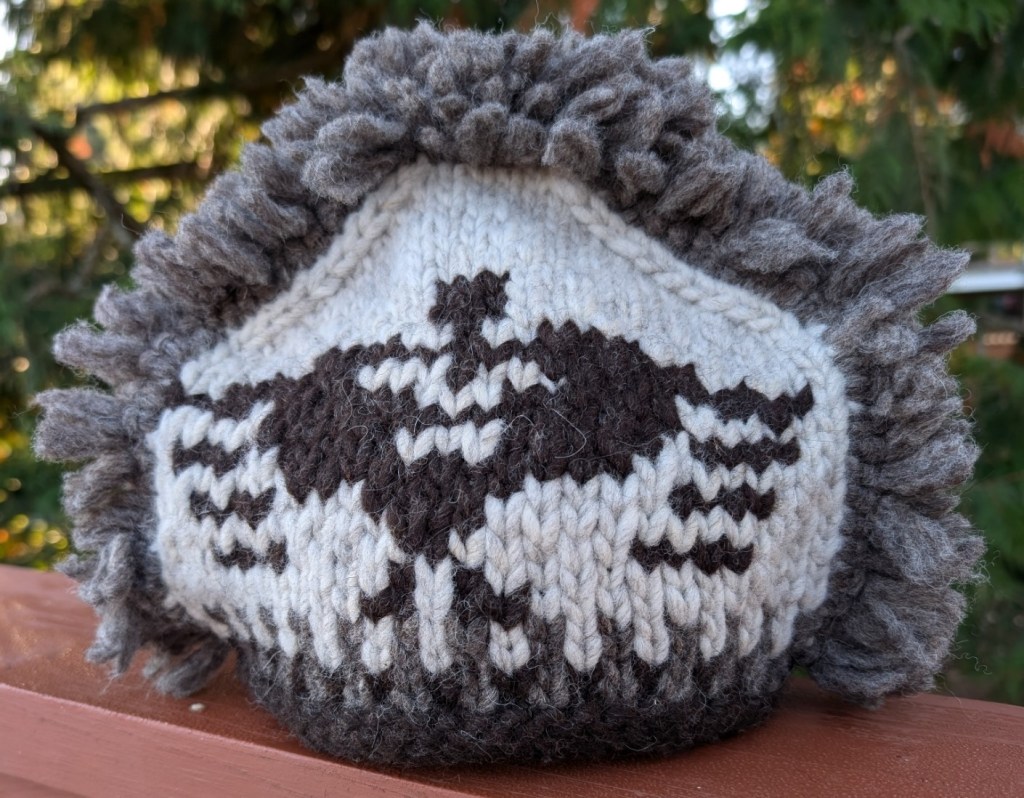
    Dancer Cozy – a Gentleman’s style cozy in a very heavy wool Prairie Wool Fusion from Custom Woolen Mills.

    Like most of my patterns it has been designed to teach a technique, in this case, West Coast stranding, in the Cowichan style of knitting. The class starts this Tuesday, Nov 5th.

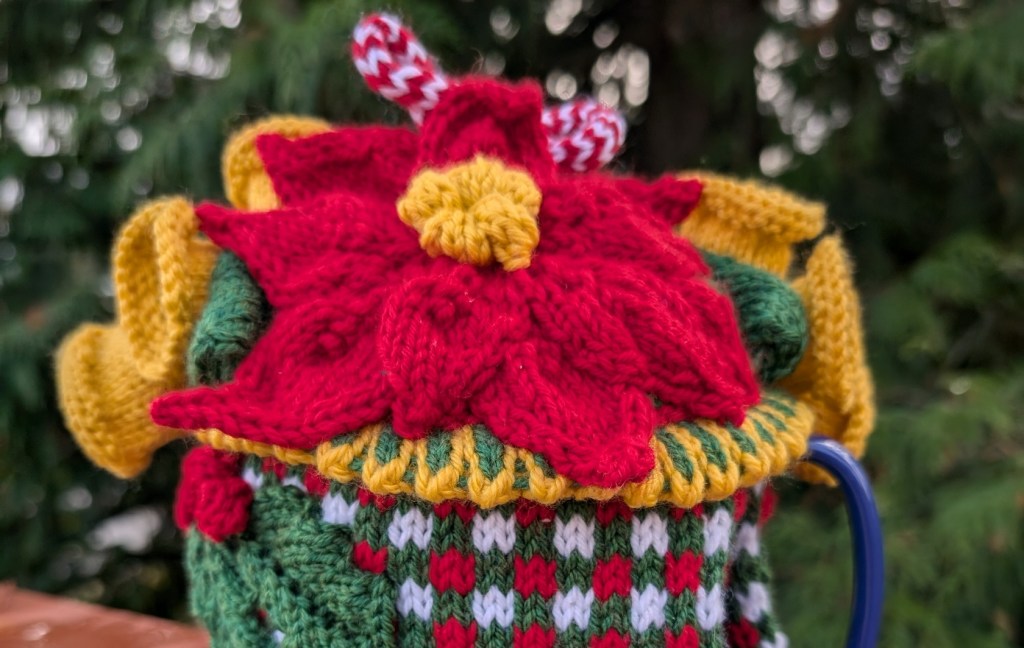
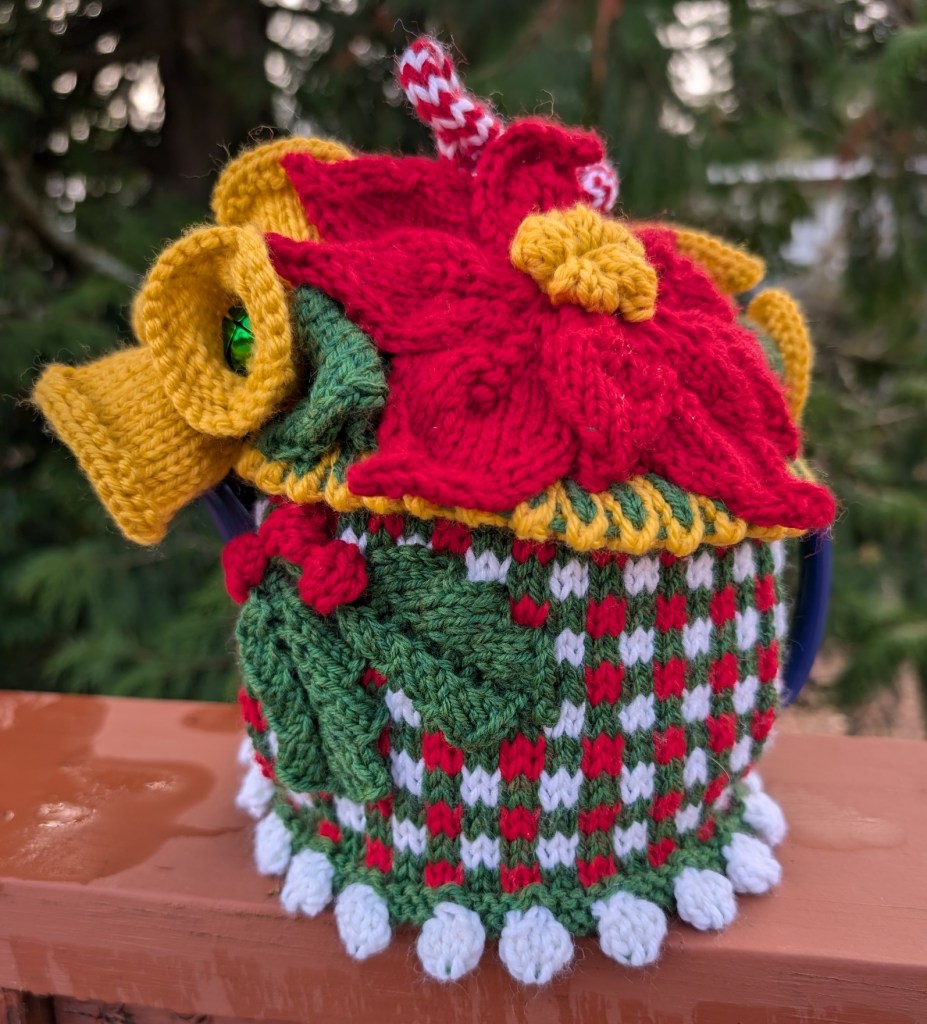
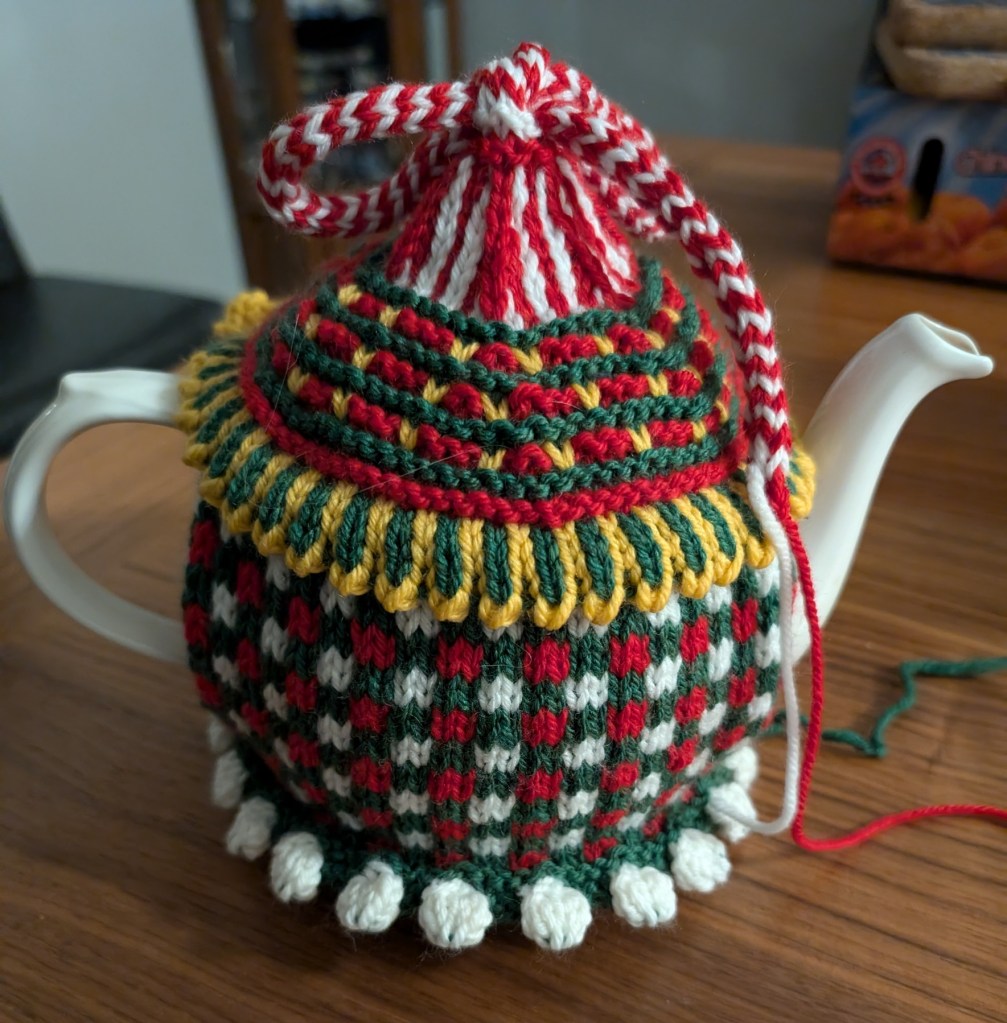
    And just because I can, and just because I think a cozy should be whimsical and more than a little over the top; I have designed a Christmas Themed Cozy. This one is also for a class, a class on knitting and attaching embellishments. There are still a couple of holly sprigs left to attach – ready for a class demonstration.

    Please note that the cozy is not bad looking without the embellishments. So if you are not a fan of embellishing the Cozy will still look great on its own! This cozy has been knit with Estelle Worsted from Estelle yarns. This class will start the Tuesday after the Dancer Cozy is done, Nov 19th.

    Cozy Bells – the latest cozy in the collection. Or it will be shortly! The bells really do take the cozy to a new level. They jingle so softly, all cozied up within the wool bell shapes. They add just the perfect festive touch.

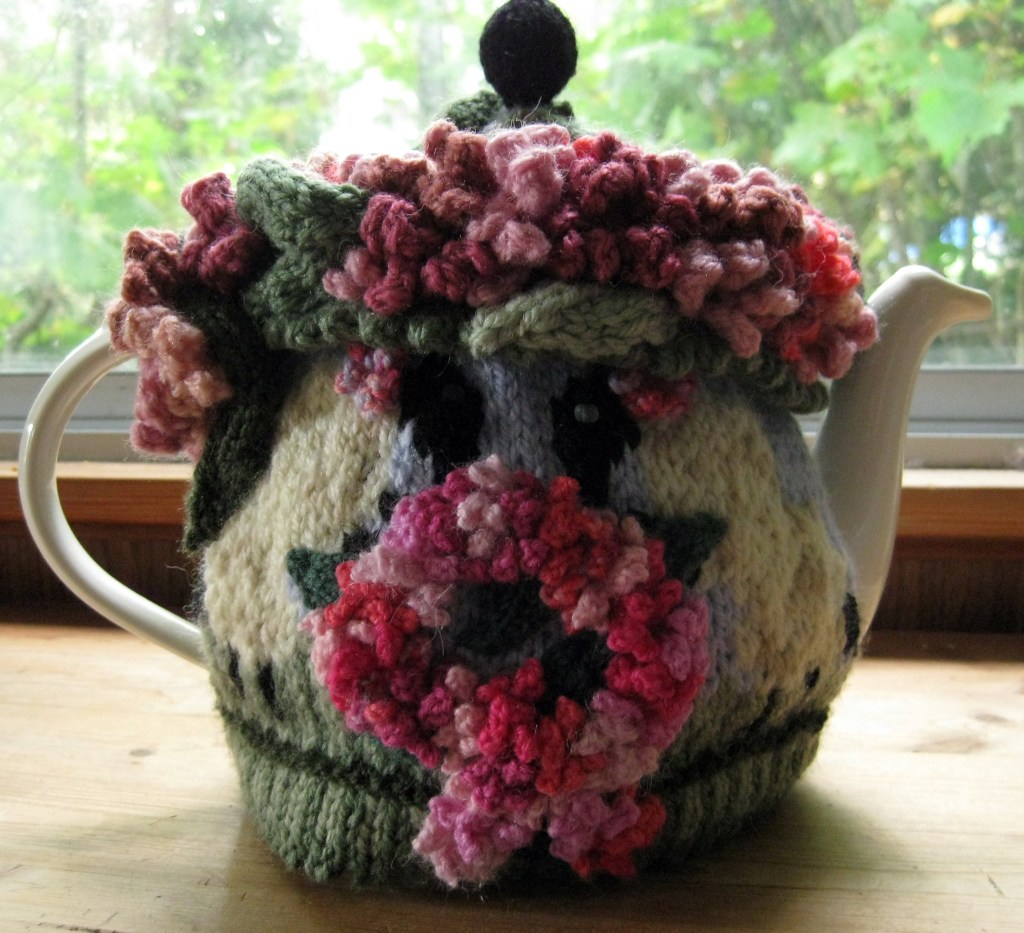
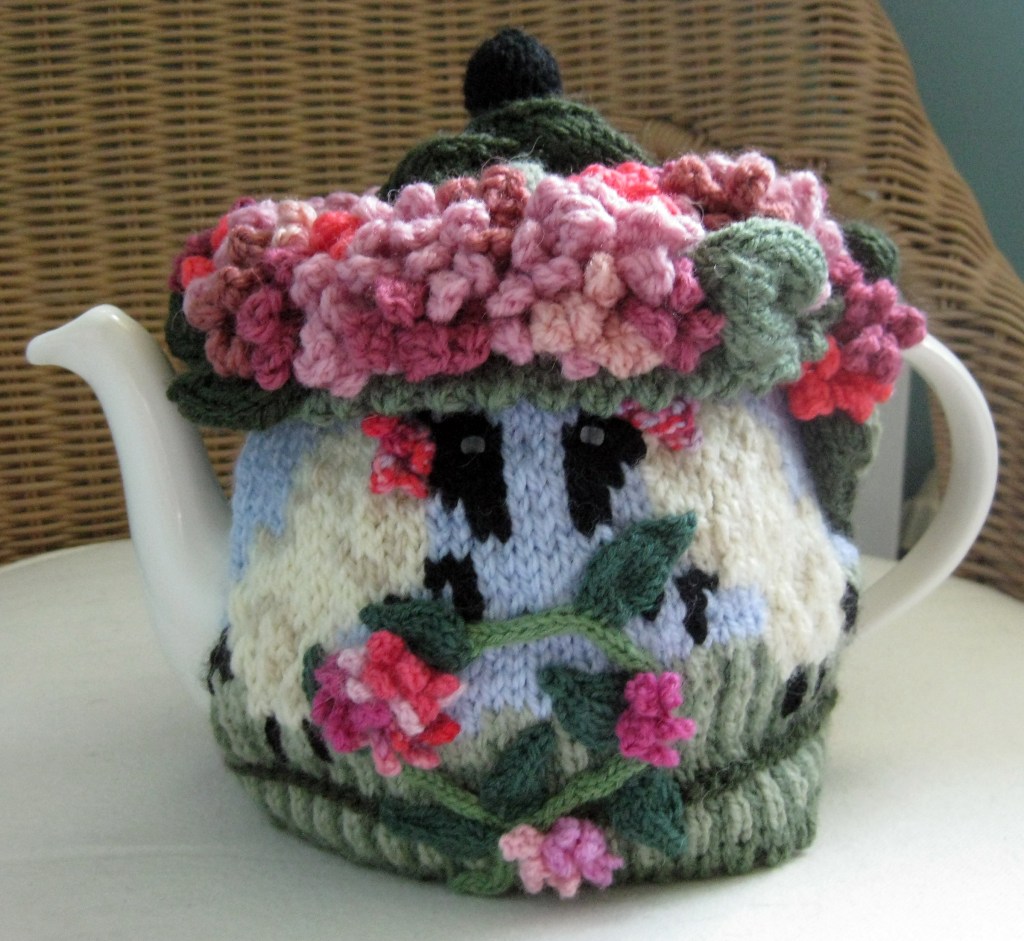
    I have often been asked which cozy pattern is my favourite. I really cannot say as it is always the one I am working on or dreaming up. I honestly love them all. The one I am most proud of though, is the cozy I created for an Australian Cancer Fundraiser. It was the same year as the Tea Cozy Retreat, 2009 – I think!

    It took a lot of time and effort. I called it Waltzing Matilda’s – Wreaths of Hope.

    When I was a child I always saw sheep dancing whenever I heard this song.

    Happy Knitting

    I hope that your tea pot is always warm and ready for your second cup!

    Lynette

  • Turbulence

    Turbulence

    OK, life here has been a bit chaotic! How about where you are at? Here are a few Sunday ramblings to share.

    I have been productive though. Jingle Gnome Chapeau and Mittens is up on Ravelry. One of my students, Christine, brought in her finished Chapeau! I love her colour choices!

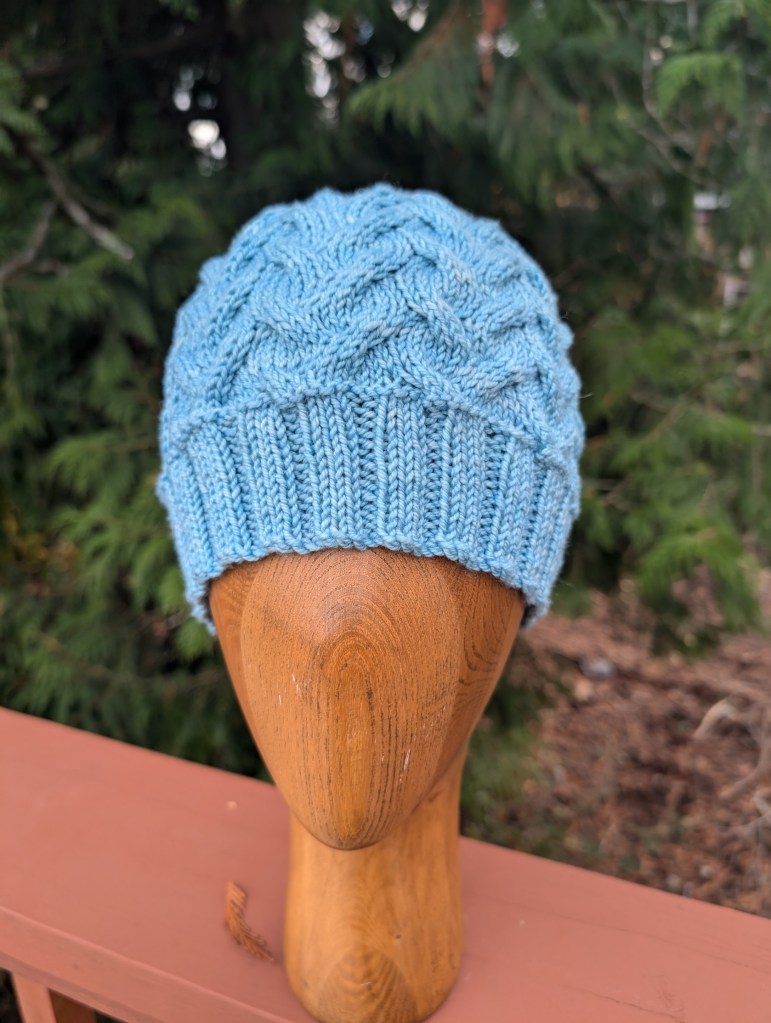
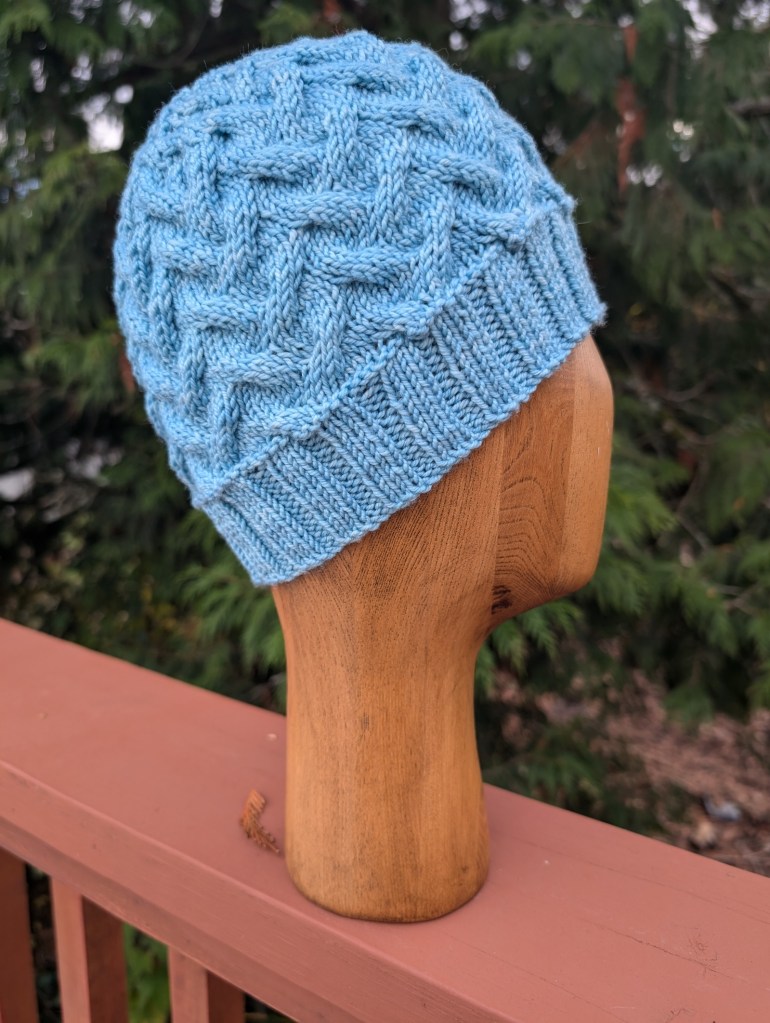
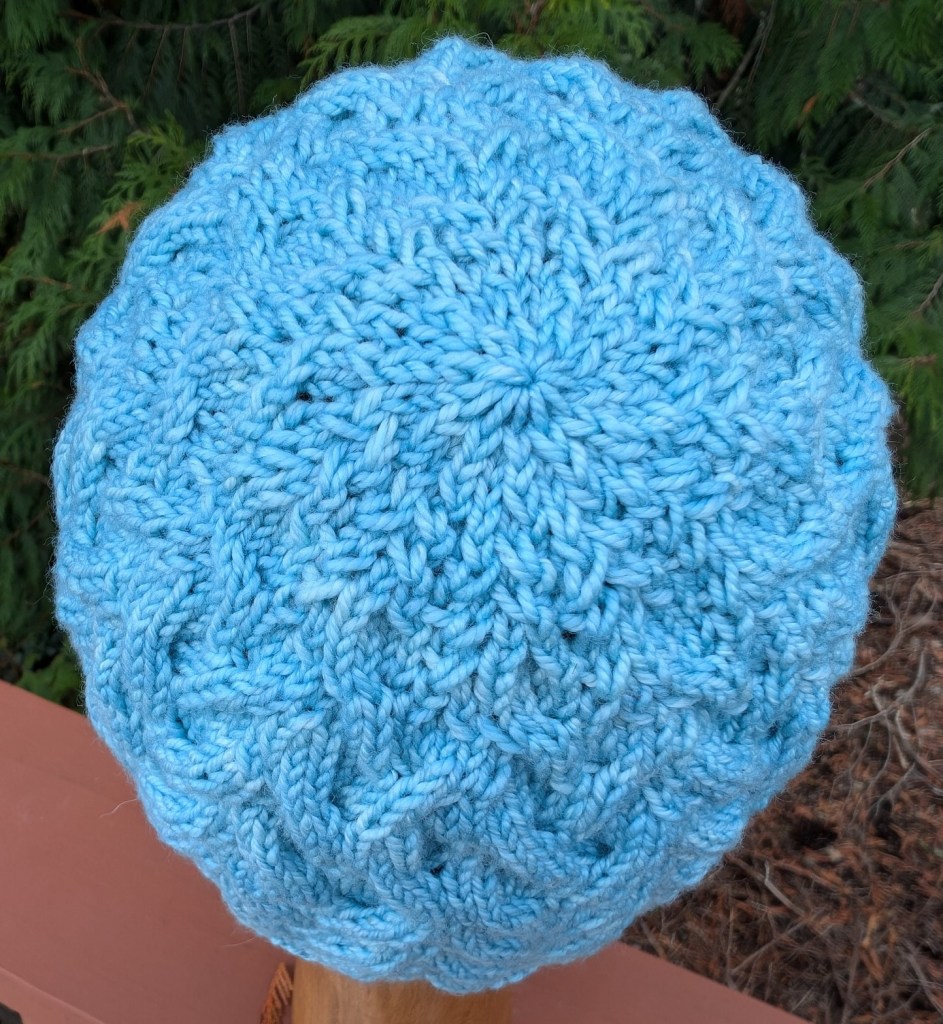
    And this morning I added the Turbulence Beanie to Ravelry. Use the code Turbulence to download the pattern for half price! The code is good until midnight October 31/24.

    It started as I was rummaging through my stash and stumbled upon this lone skein of Ancient Arts Superwash DK Merino, in the Water Lily Colourway! Apparently I needed to knit this skein, like right away! Because I could see the finished beanie, before I even started! I am really loving the results.

    I know that it is a bit early to start thinking about Christmas. But a great many knitters I know think about Christmas ALL year long! What we are going to knit and who we are going to knit for! So here I am knitting something for Christmas.

    Though it certainly doesn’t look much like Christmas right now. The skies are grey and the rain is pouring down. I have a beef soup stock simmering on the stove and I am thinking about making some shortbread cookies… So maybe it doesn’t need to look like Christmas to think Christmas thoughts!

    I working on a Christmas Tea Cozy for my last class before Christmas! I have just started the basic body. I think that it is going to be so cute! I can see it with a poinsettia and holly and berries, maybe some small ornaments on the top….

    Have you started thinking about Christmas?

    Are you a tea drinker? Maybe you need a new cozy? Maybe a Christmas Cozy? Or even a Dancer Cozy? That pattern will be coming soon! It is almost complete!

    Be Well, Knit Happy, Winter is on its way! With many knitting opportunities just starting to show on the horizon!

    Lynette

  • Jingle Gnome Chapeau Part Two

    Jingle Gnome Chapeau Part Two

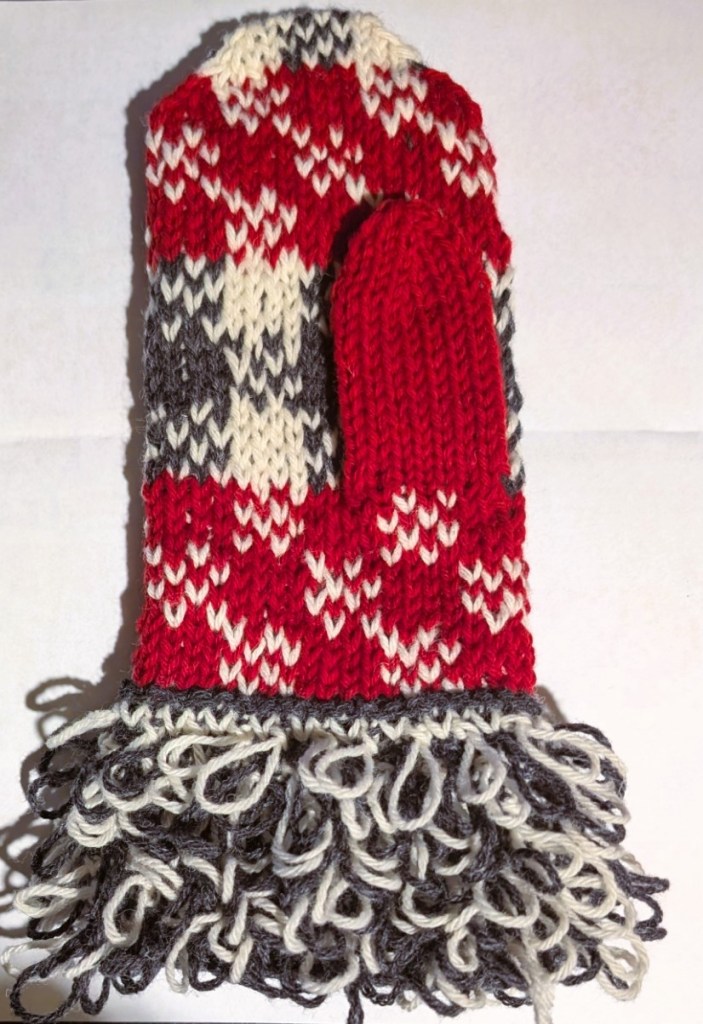
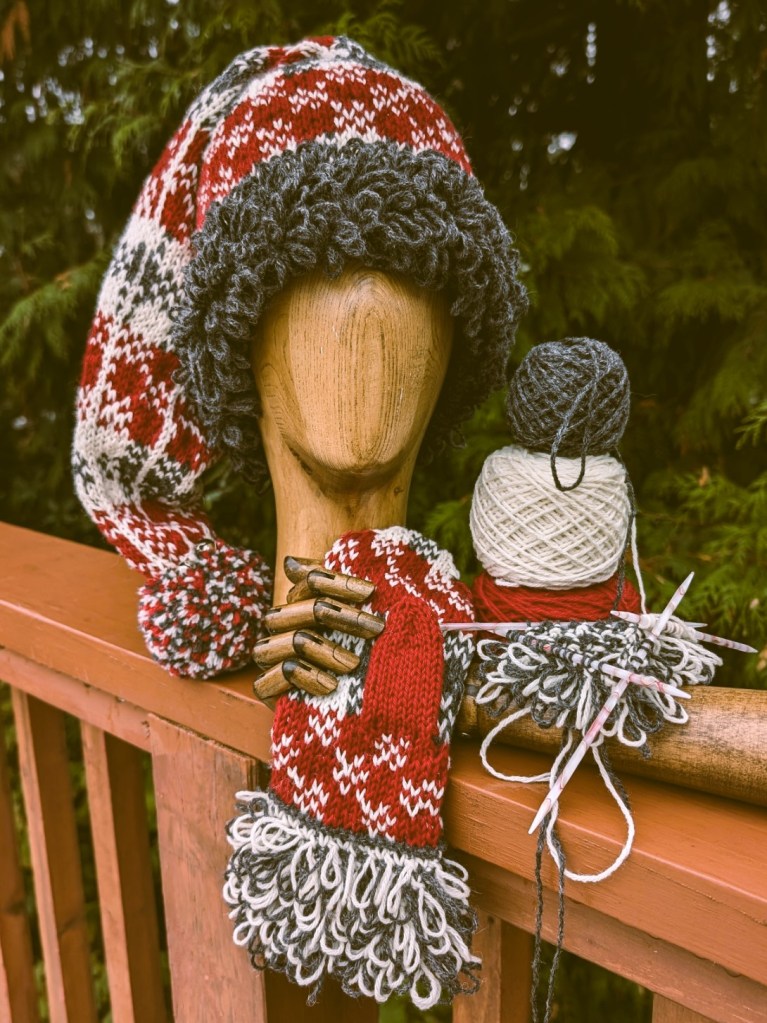
    Now that the class has started there has been a request for a mitten pattern to co-ordinate with the hat! So…

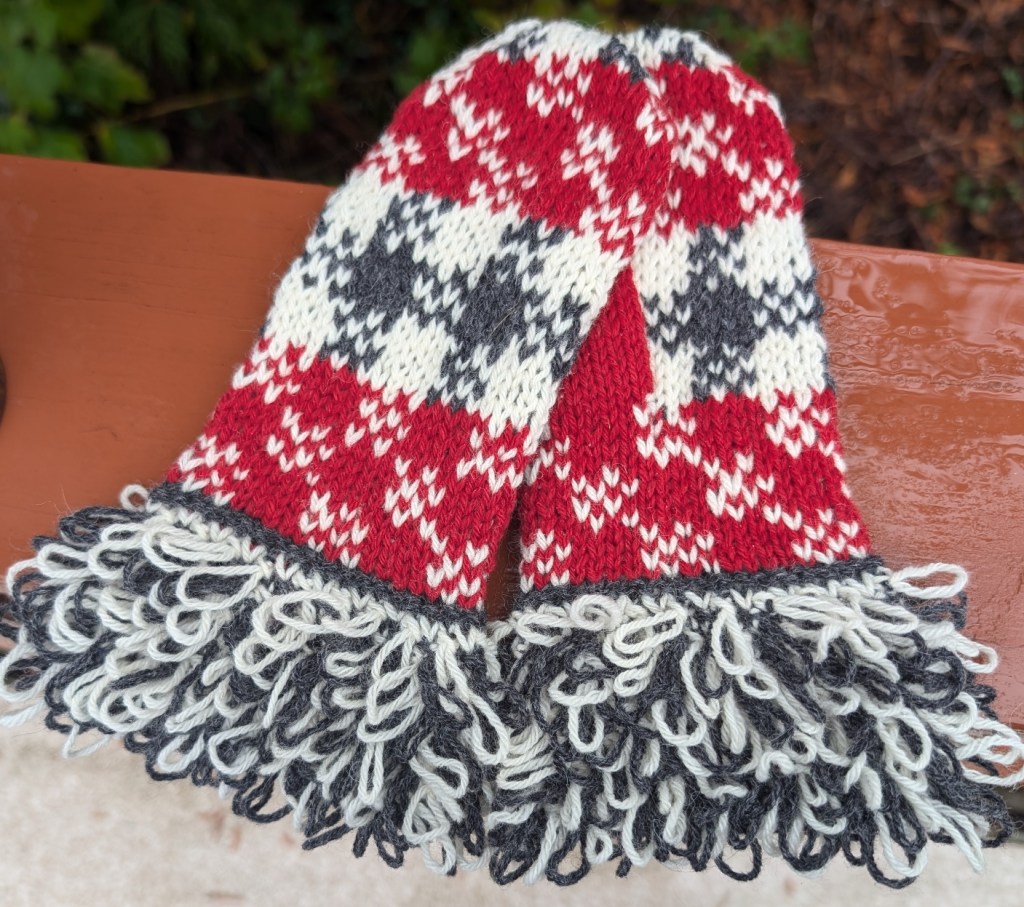
    I am knitting a pair. The first mitten is complete and the second it started! There will be two sizes of mittens, small/medium (for me) and a medium/large. I am knitting the small/medium as the sample pair. UPDATE – the second mitten is finished! They practically knit themselves!

    I decided to knit the loopy cuff with two colours, grey and white. I knew that there wasn’t enough grey for a solid cuff on both mittens, and I am still not sure that even with mixing the colours that I will have enough grey to finish the mittens. I am loving the colour mix, sometimes need is the best teacher! We will see if I have saved enough of the grey to finish the mitten without purchasing more yarn.

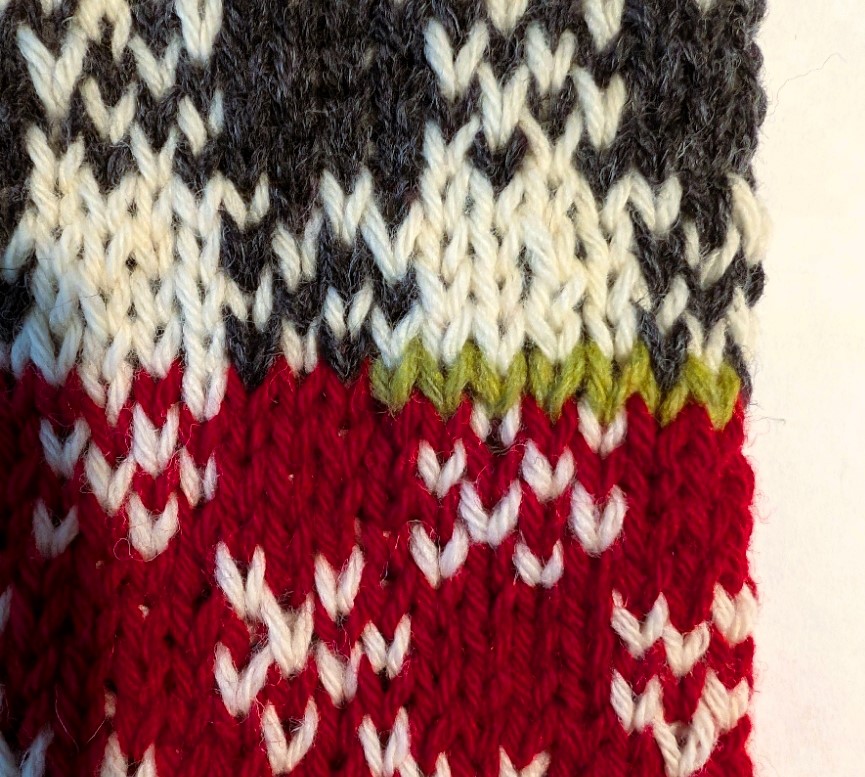
    The pattern for both hat and mittens is basically complete – it just needs some pictures and a photo tutorial for the afterthought thumb – my favourite thumb for most colourwork mittens. This thumb is easy to knit and does not interfere with the colourwork pattern.

    The pattern is available on Ravelry as the Jingle Gnome Chapeau with Bonus Mittens.

    I love the vintage filter on my computer photo editing program, it really suits the mood of the Jingle Gnome Chapeau!

    Happy Knitting!

    Lynette

  • GreenMan Update

    GreenMan Update

    Some Information on Beading

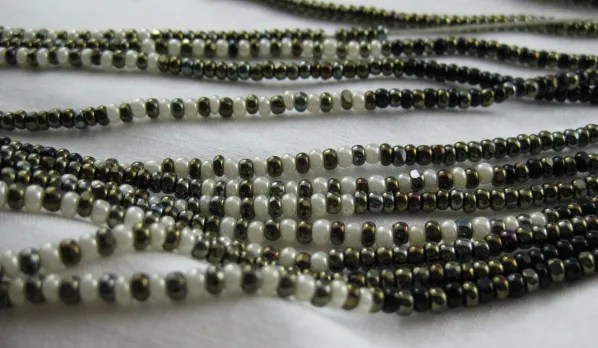
    We will mostly be using a small crochet hook to add beads to our knits but there is some optional knit in beads in the OakLeaf and Acorn Insert. This downloadable document will give you some basic information on working with beads.

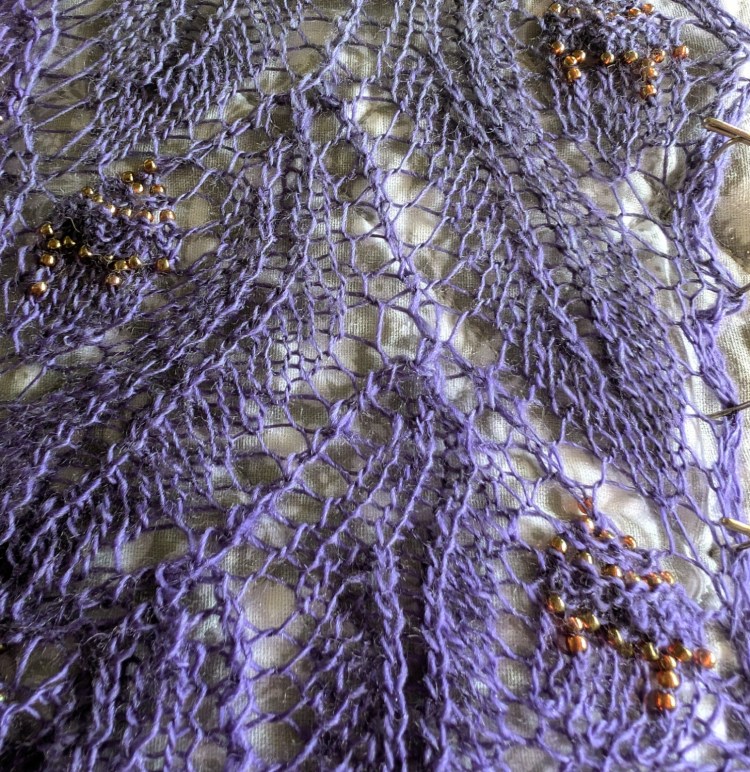
    The Oakleaf and Acorn insert employs both beads placed with a crochet hook and beads that prestrung and then knit into place. This section is still a month away but I thought that earlier is better than later.

    Happy Reading

    Lynette

  • Jingle Gnome Chapeau

    Jingle Gnome Chapeau

    Sometimes when you spend a lot of time designing “serious” knits, you know, practical but attractive, maybe someone will think that they could knit and wear it items, sometimes you just need to break out of the mold and play!

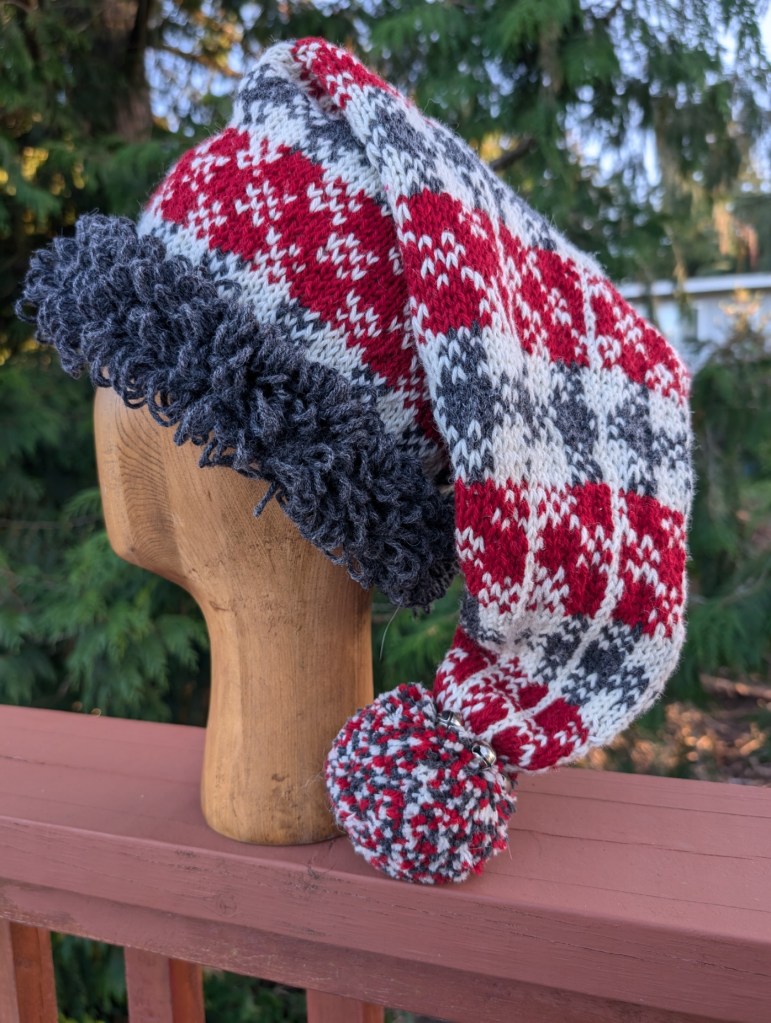
    I love Christmas – I love Gnomes – so here is a little nod to both!

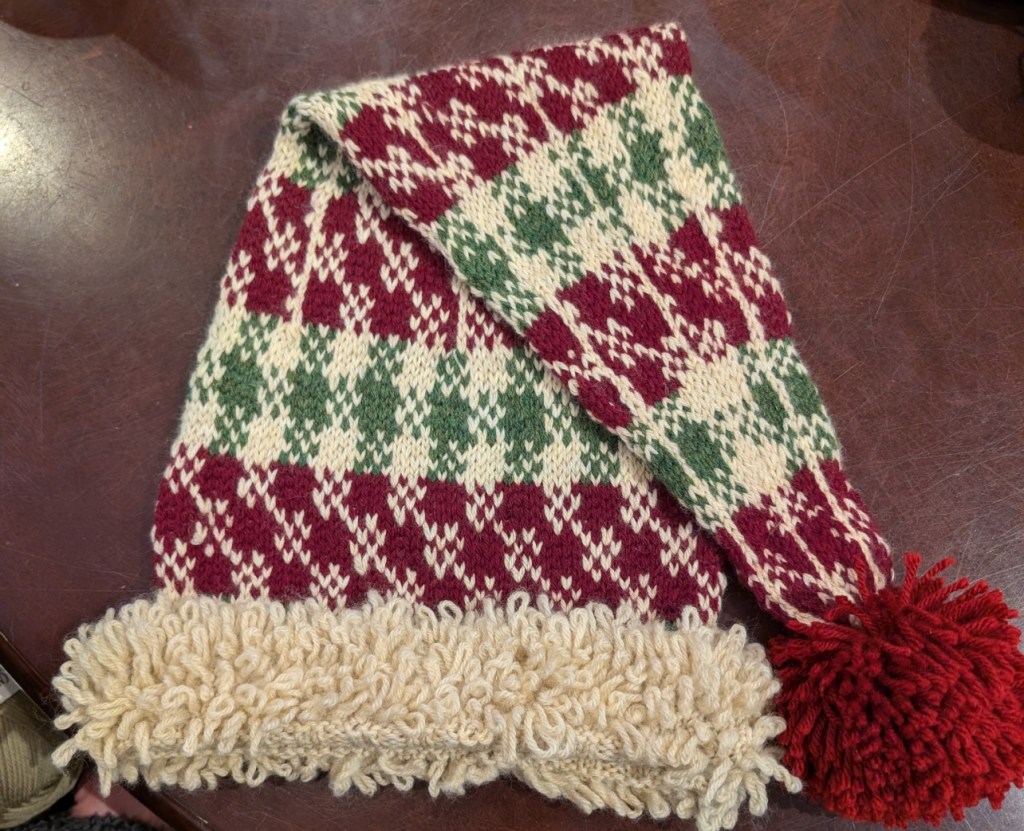
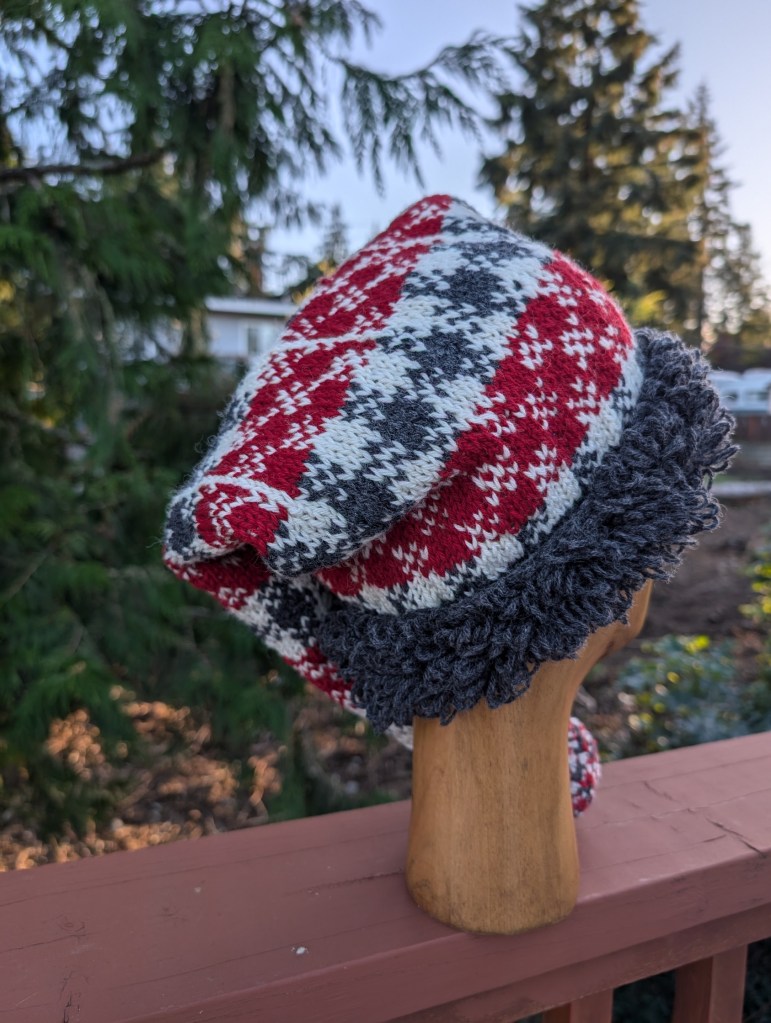
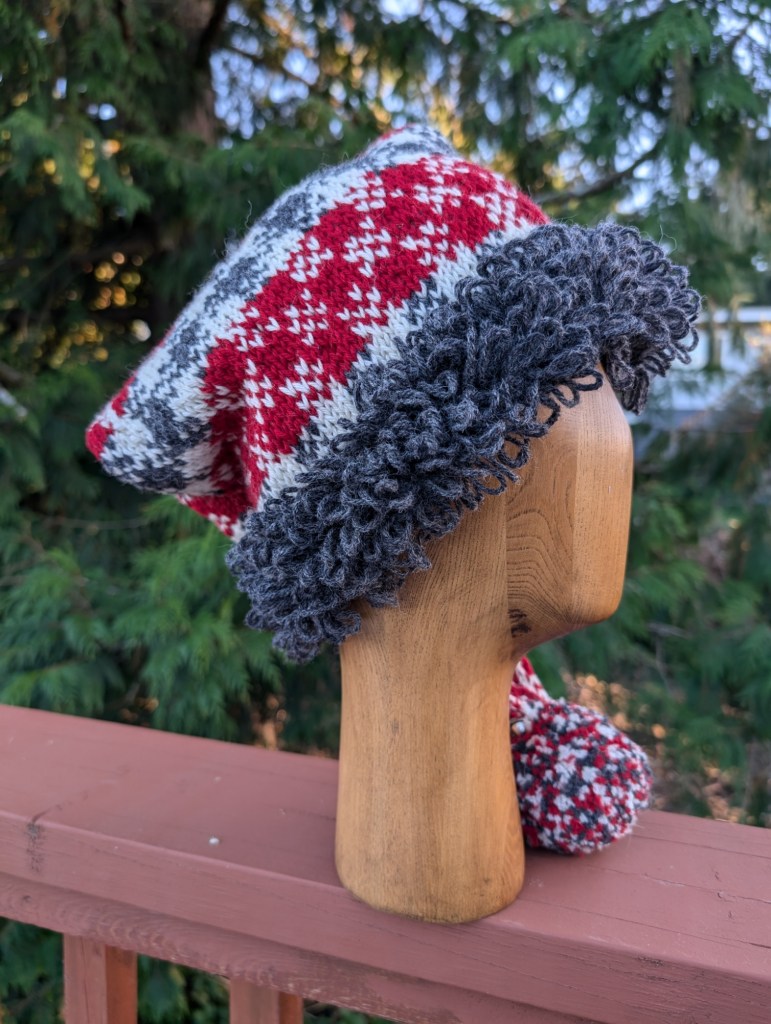
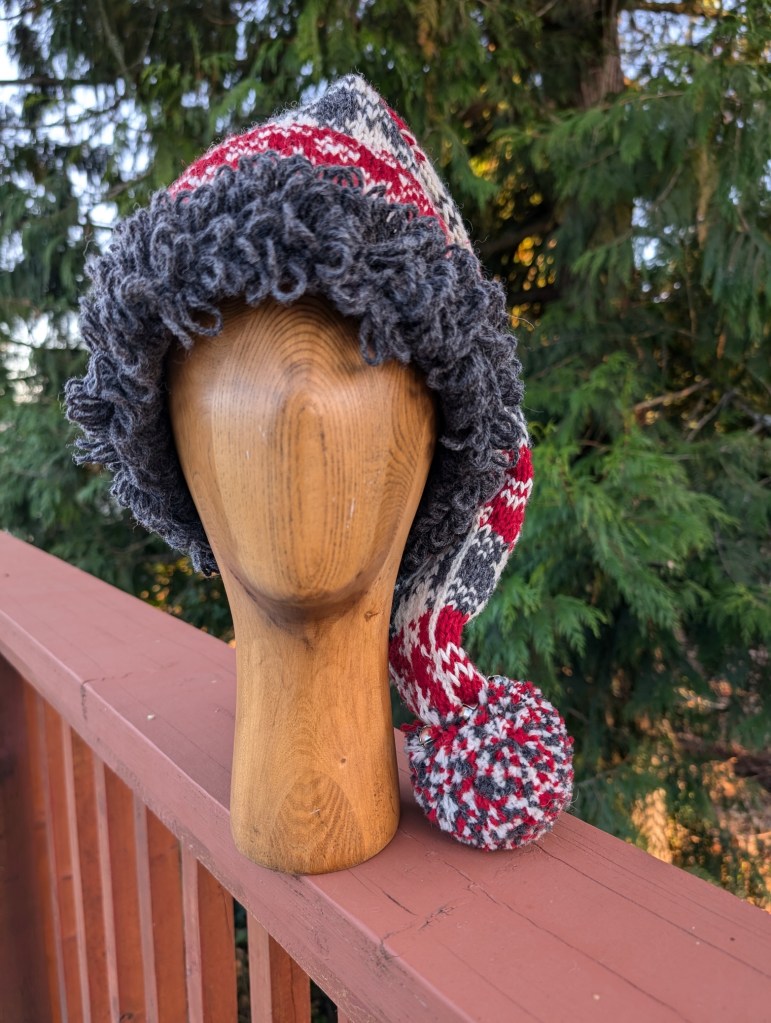
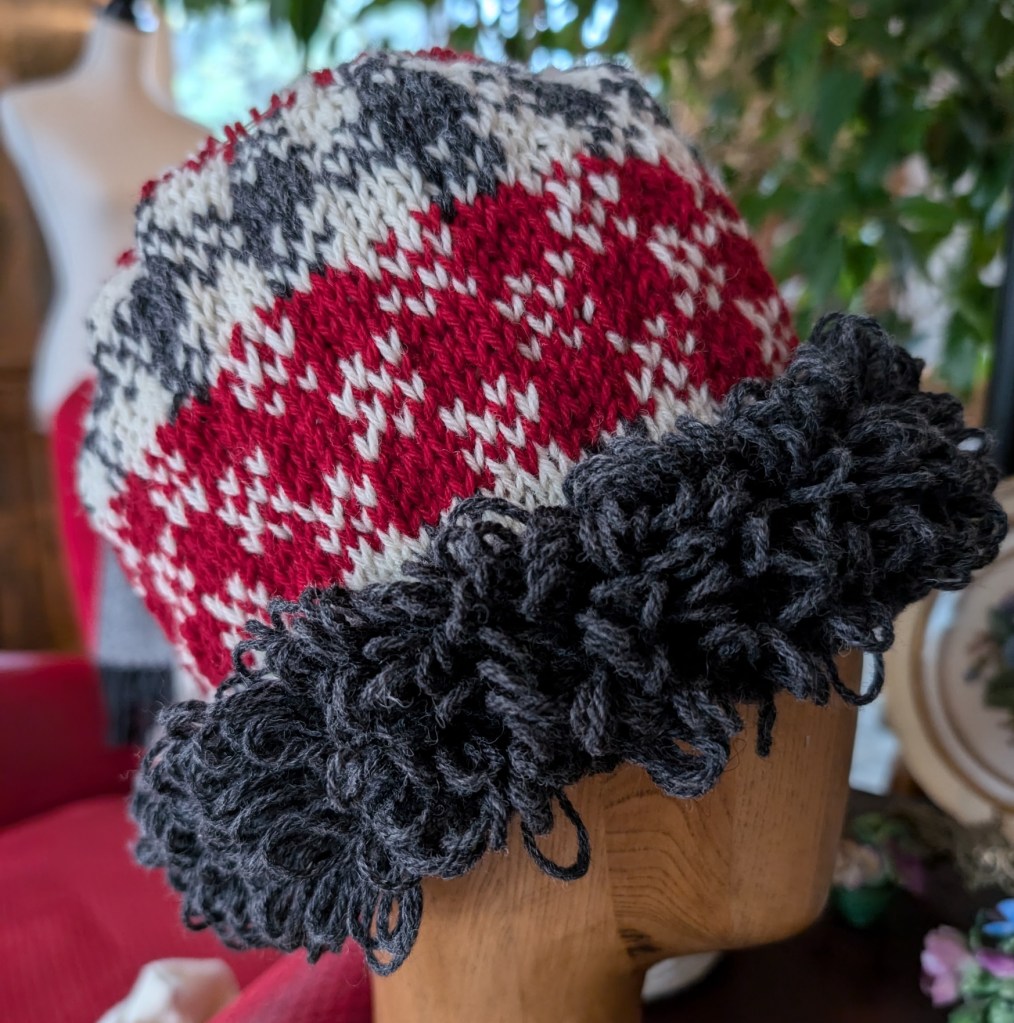
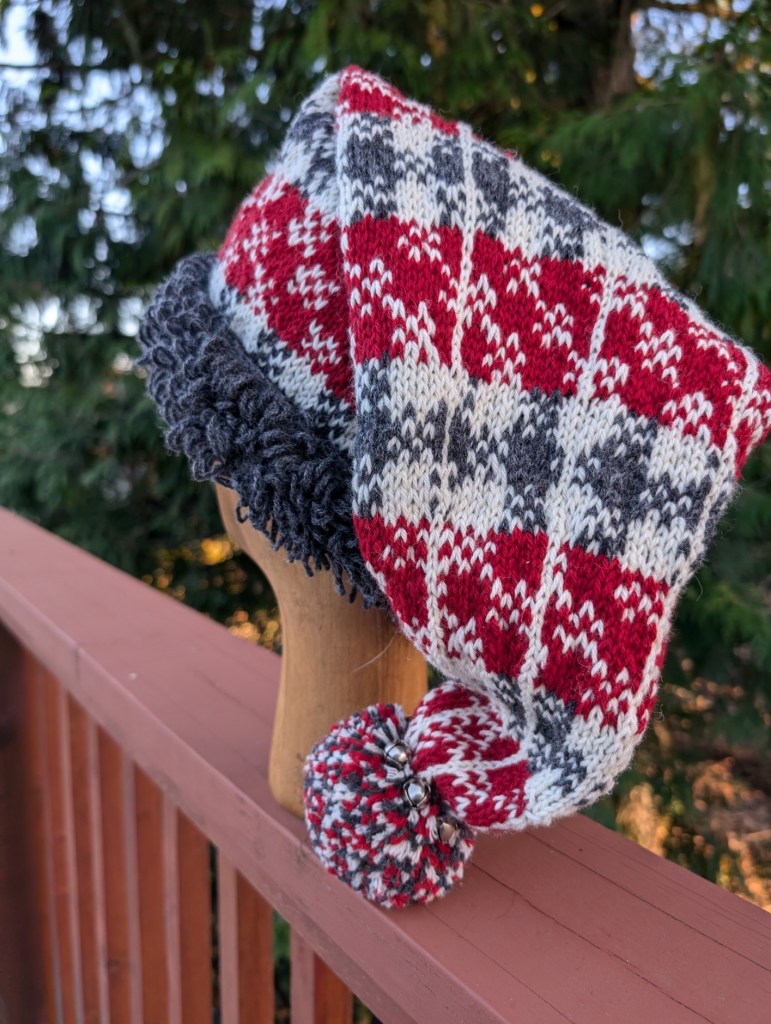
    Meet the Jingle Gnome Chapeau, designed for warmth, but with a little “fun” added! This is a sample for a class happening at Mad About Ewe Fine Yarns. It starts next week, Tues Oct 8 and runs over the next couple of weeks. Three classes in total.

    Class # 1 – How to knit loops – link to video – did you know that the loops can be cut and brushed to make a really soft “fur”?

    Class # 2 – Basic Stranding – simpler than fair-isle, much more repetitive, but great practice.

    Class #3 – How to make the perfect pompom, and some basic finishing – how to deal with ends.

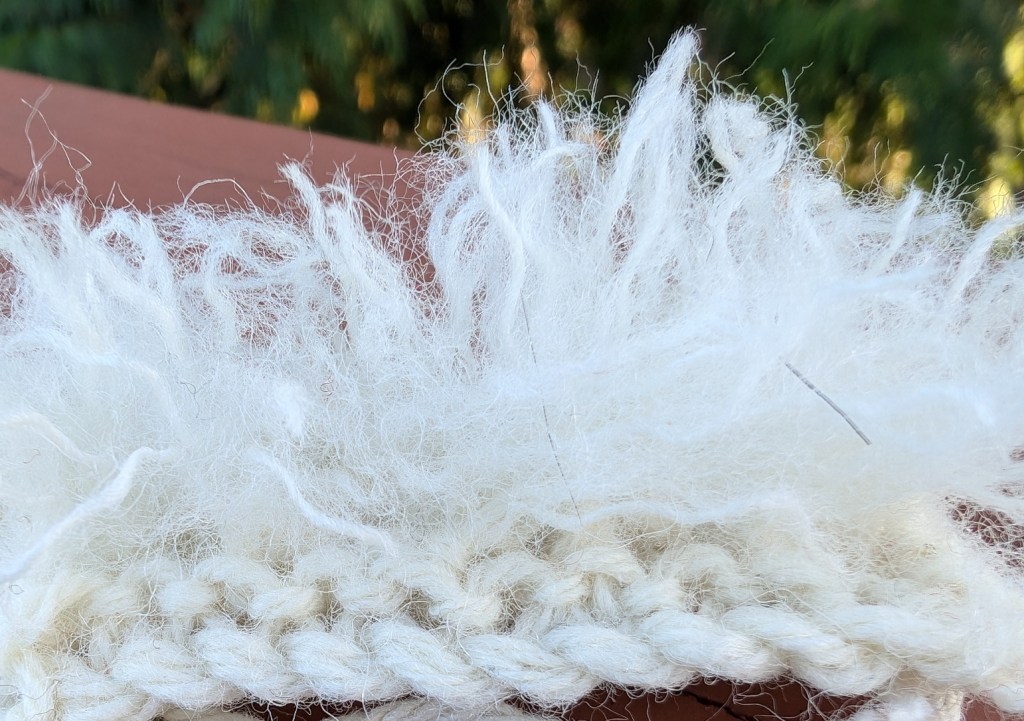
    Jingle is knit with Eco Shetland Worsted, which is a light worsted, almost a dk, but I have knit it a few time at the worsted gauge and been very happy with the results. It has great yardage, 1 skein of each colour is all that is necessary. Plus a few jingle bells and the regular notions!

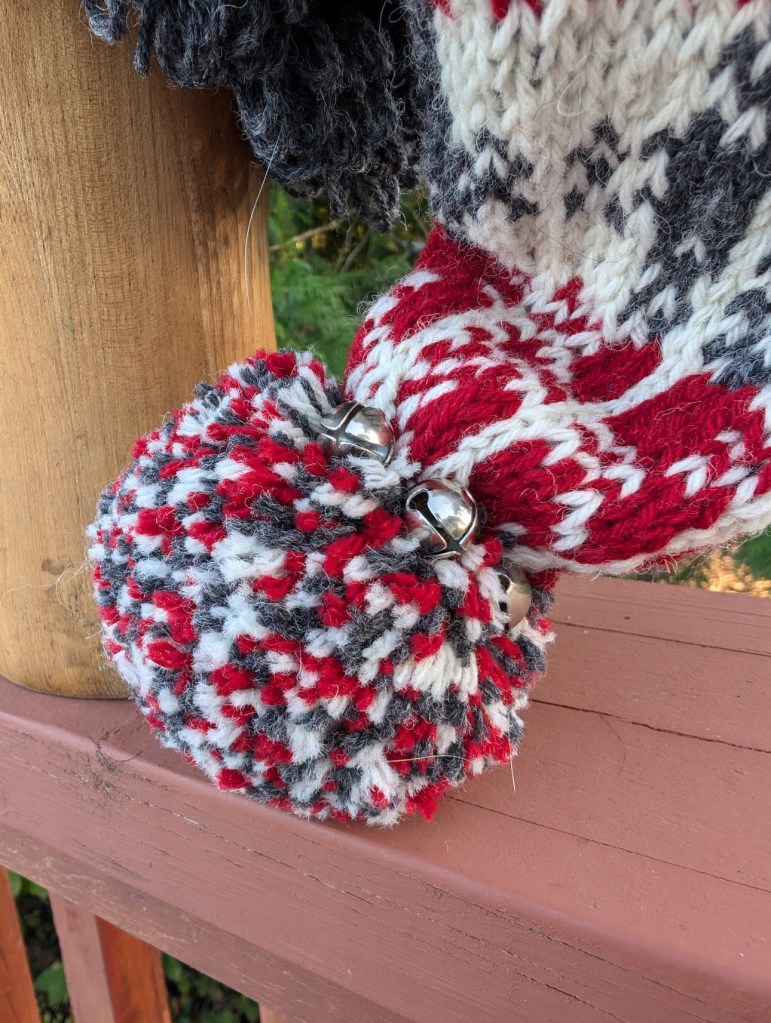
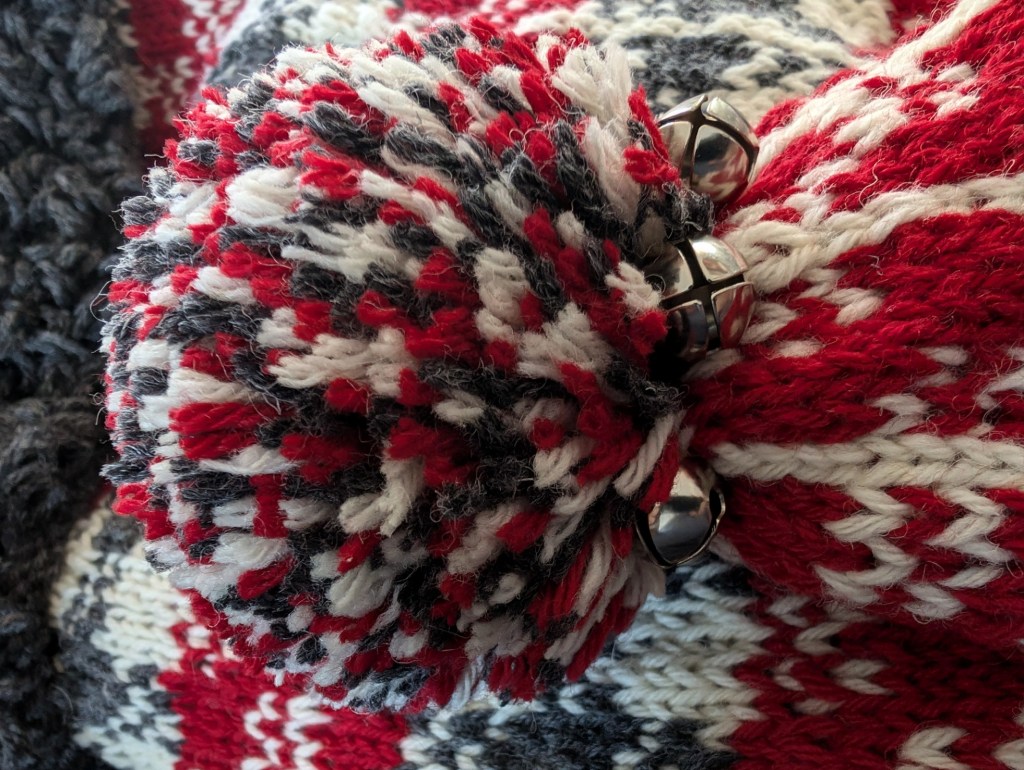
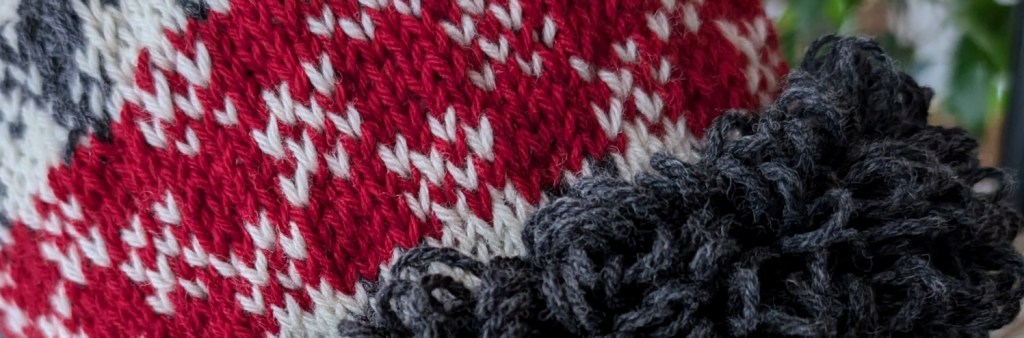
    How about that pompom, surrounded by bells? Isn’t just a dream of a finish?

    I know you want one!

    Happy Gnome “ing”

    Lynette

    PS. The pattern will be available in about 3 weeks and will include a mitten pattern to go with the Chapeau!

  • Mending 101 – Part 2

    Mending 101 – Part 2

    Mending a Ribbed Cuff – replacing the rib

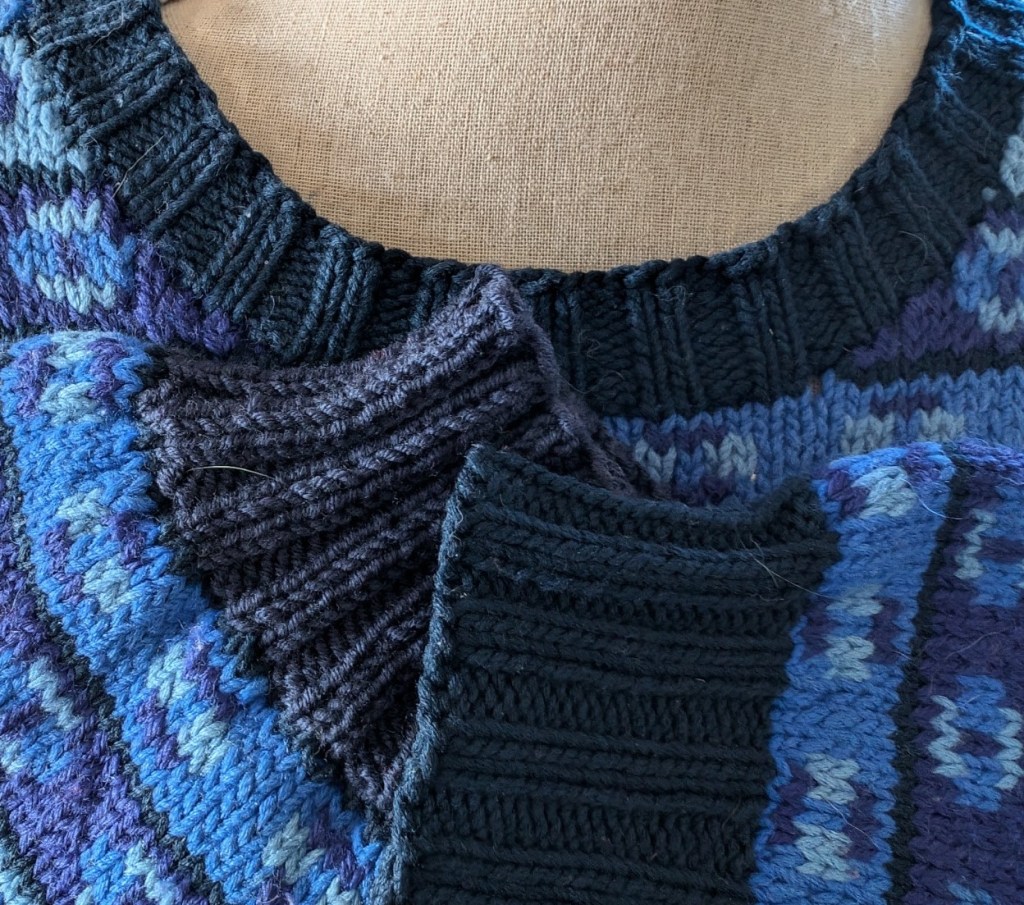
    Yesterday I mended the blue sweater cuff. It took about two and a half hours, including the knitting time. Why did I wait so long? I’ve had the yarn for close to three years! Other things kept getting in the way. And I would rather knit than mend! Wouldn’t you?

    I am working on changing that attitude within myself.

    This sweater was knit in the round. Bottom up for the body, but top down for the sleeves.

    At the time, I knew my yardage was limited and I wanted to make sure that each sleeve was the same and that the yardage went as far as possible. Top-down knitting is the best way to make that happen. It worked well for this project. I finished the sweater with only a little of the main shade of blue to spare.

    The original yarn was a dk, so I decided to work the cuff with a set of 3.5mm US #4 dpn’s.

    Top-down knitting also makes it easier to mend/replace the bits that wear out, like the sleeve cuffs. Had I knit the sleeves from the cuff up I would have had to cut the knitting at the join of the cuff and very carefully retrieve my live stitches above the cuff. That will be a demonstration for another day and a different sweater!

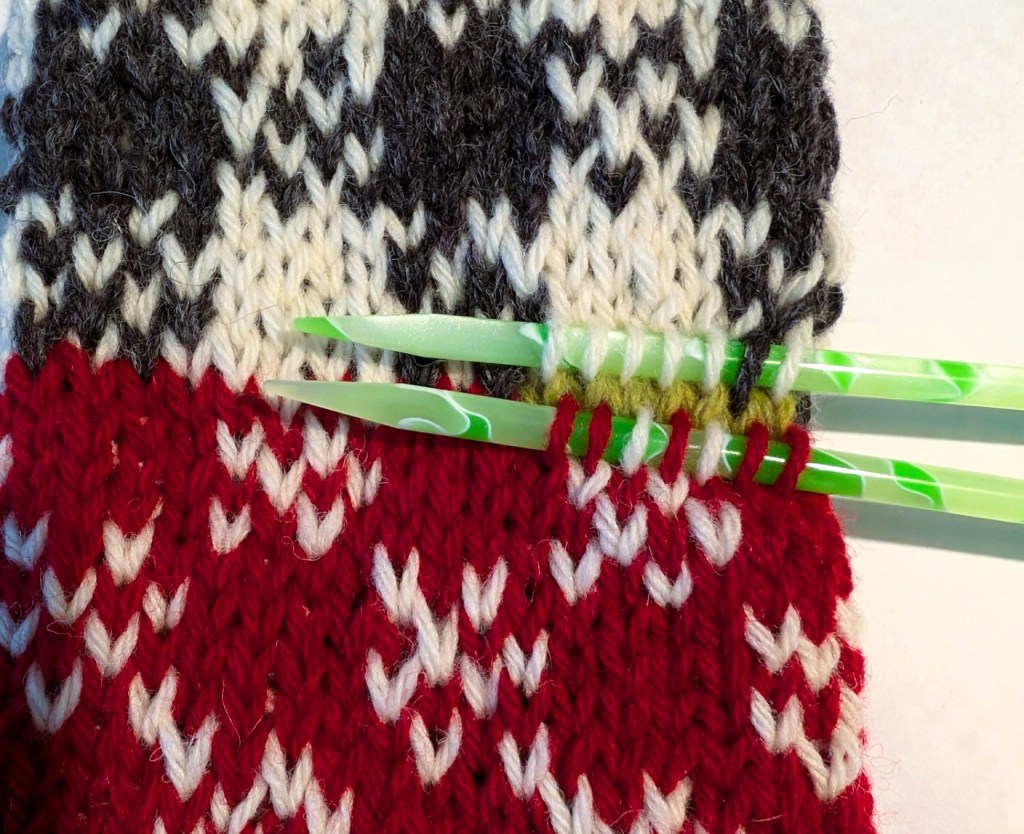
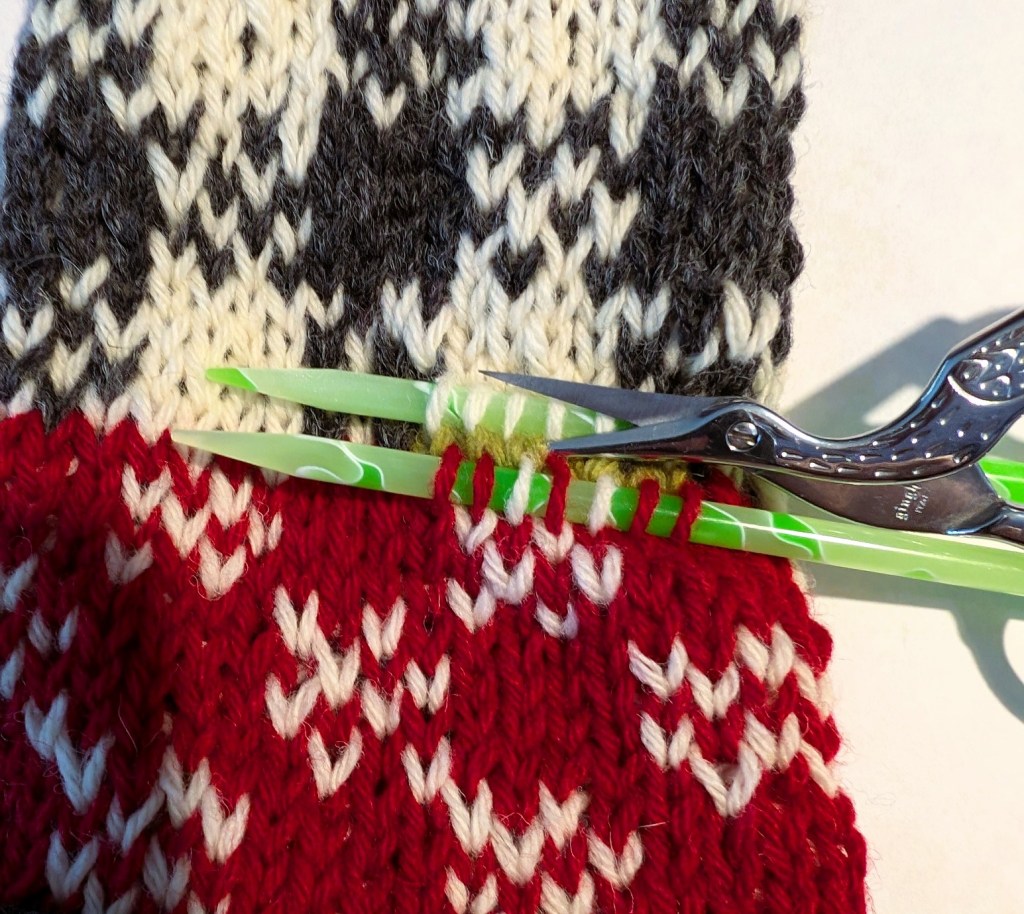
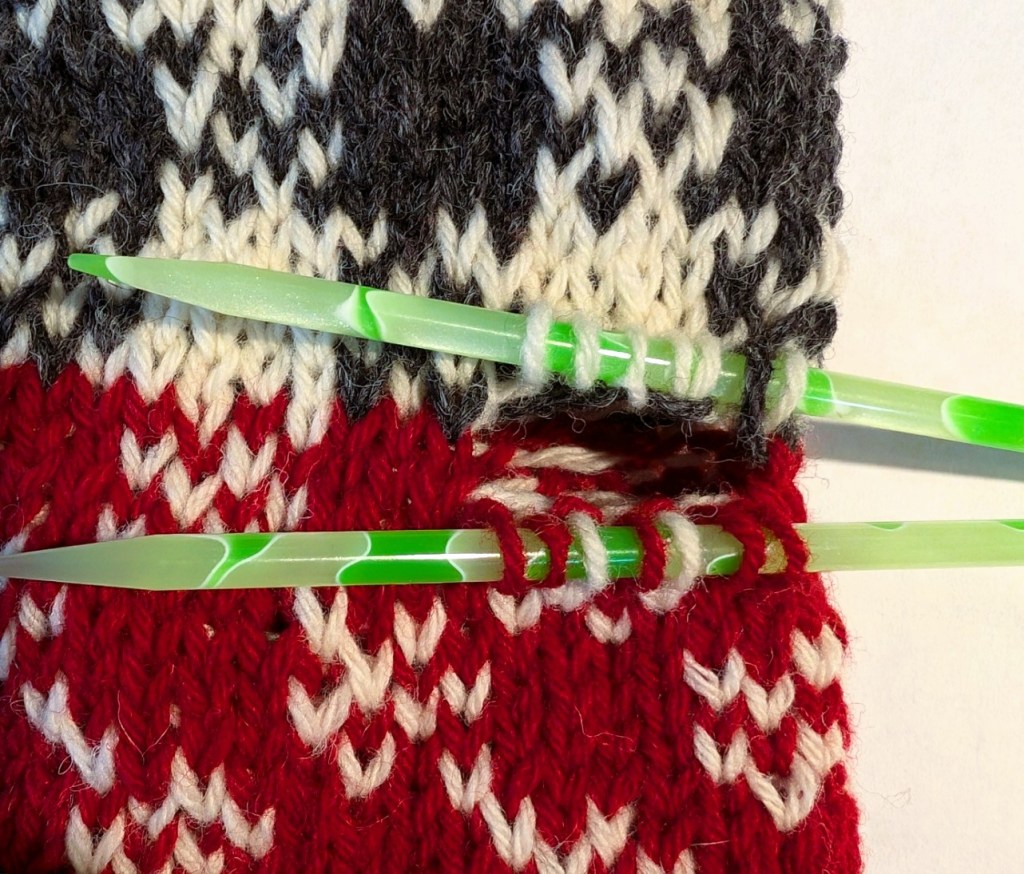
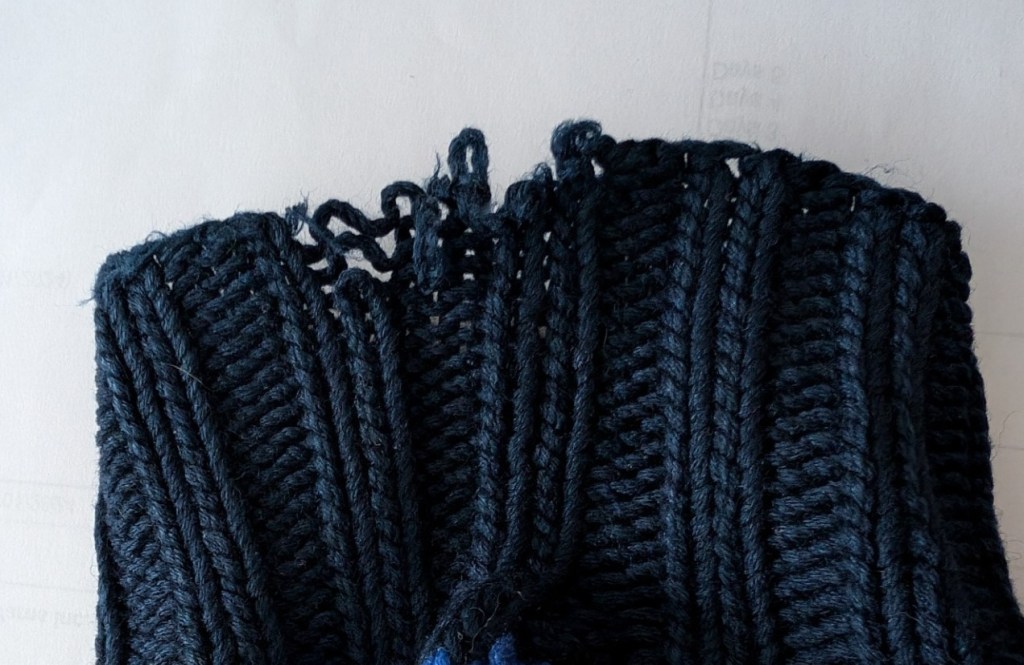
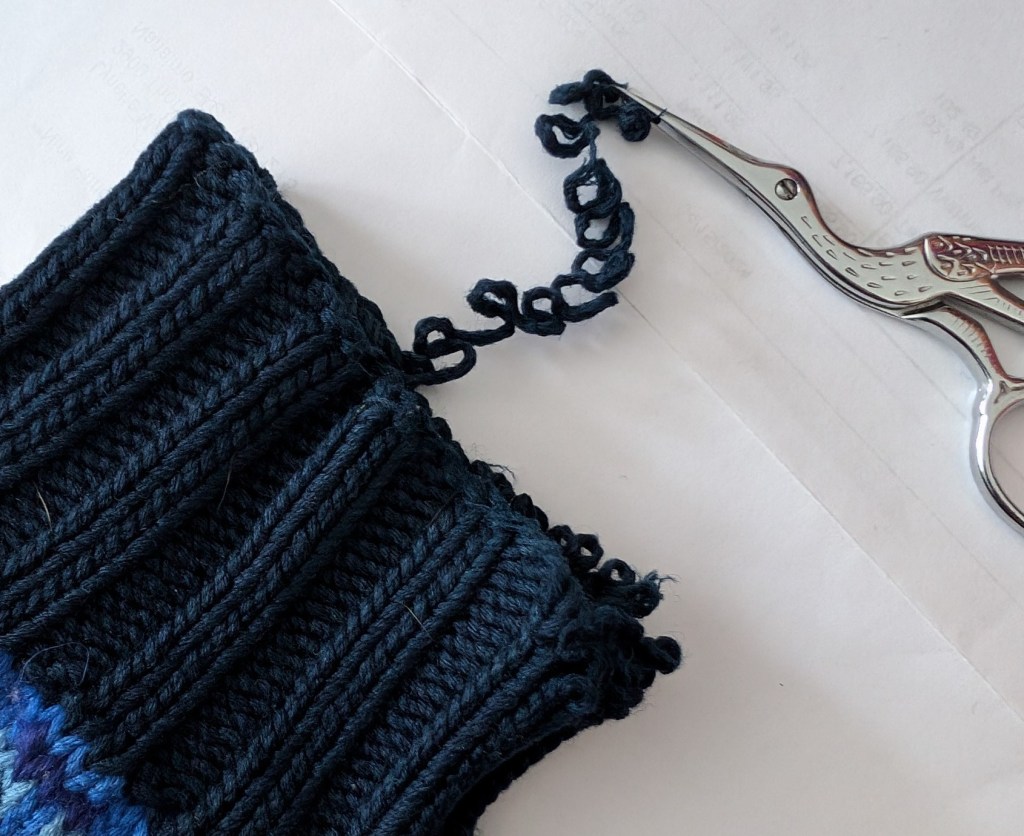
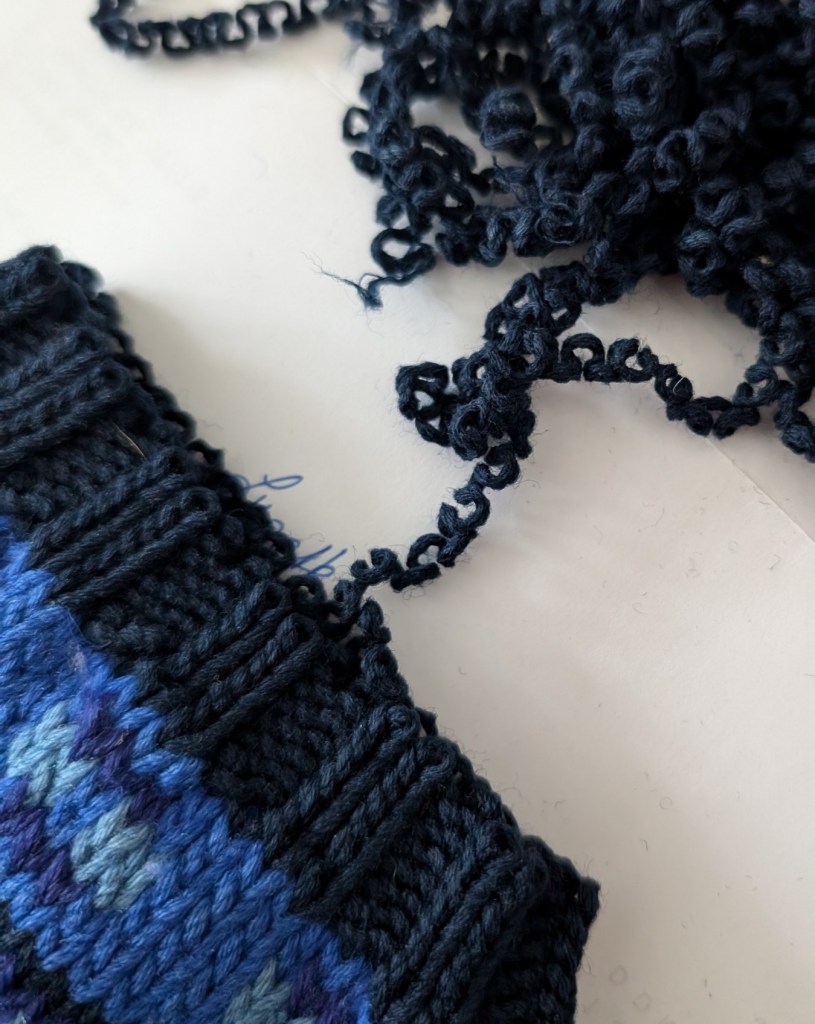
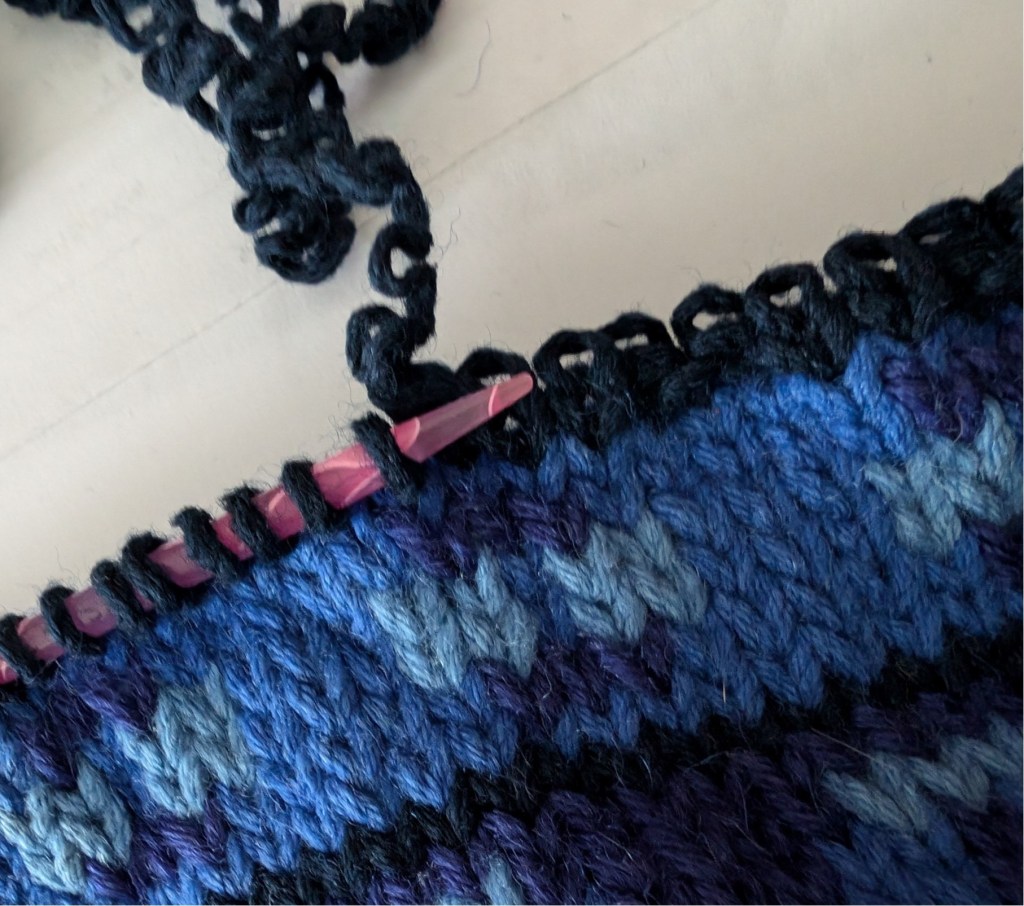
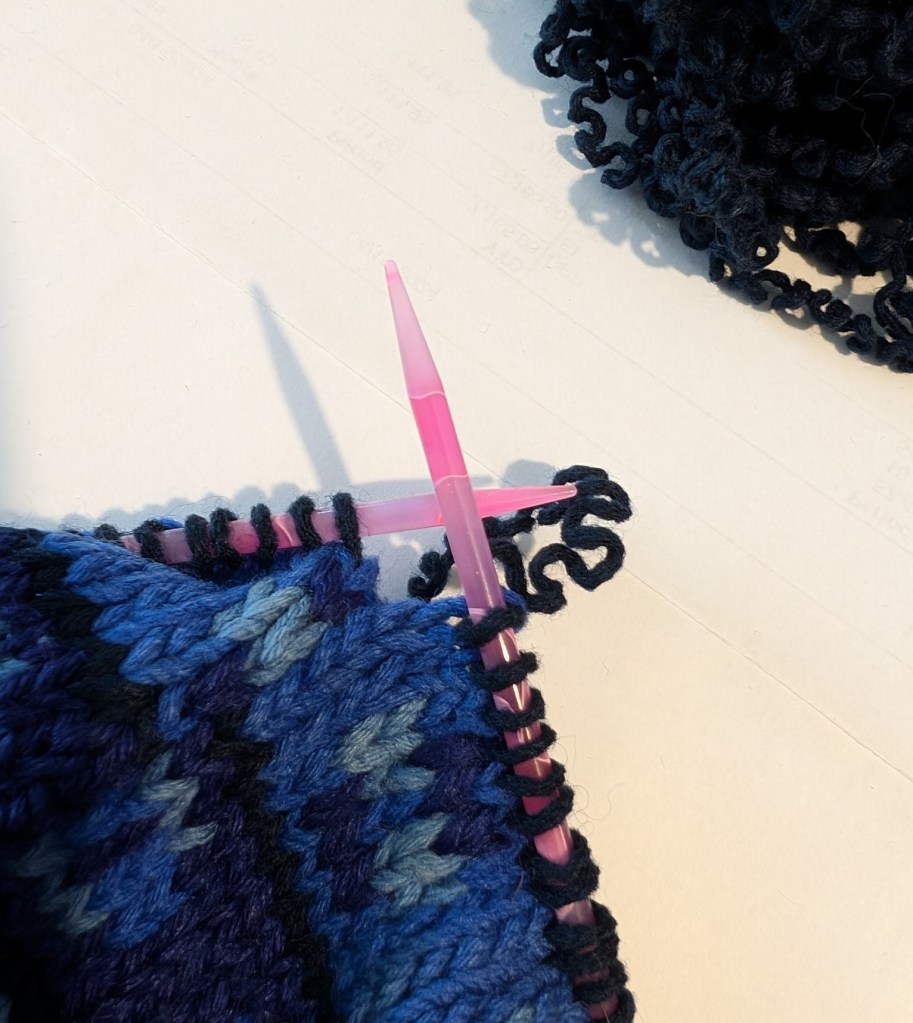
    When working with an older sweater, the stitches will not usually run down the knitting in the same way as a garment that you are working. After a certain amount of time the yarn itself has been almost pressed into shape with folds and bends. You can see in the unraveled yarn and stitches at the end of the cuff (4th picture in the sequence) that the shape is set and unwilling to move. A bonus, one that makes the work you are trying to achieve a little easier.

    The wrist is frayed right at the beginning/end of the round. Which makes it slightly more complicated to pull back as the end has been woven in down towards the cuff.
    Scissors will be needed to cut the yarn every time it hits the woven in tail, Once the end of the knitting is found the knitting will pull back easily, except where the tail yarn has been woven into the fabric. Scissors were used to cut the knotted area and the wrist kept on unravelling.
    The end is gone and the unravelling speeds along.
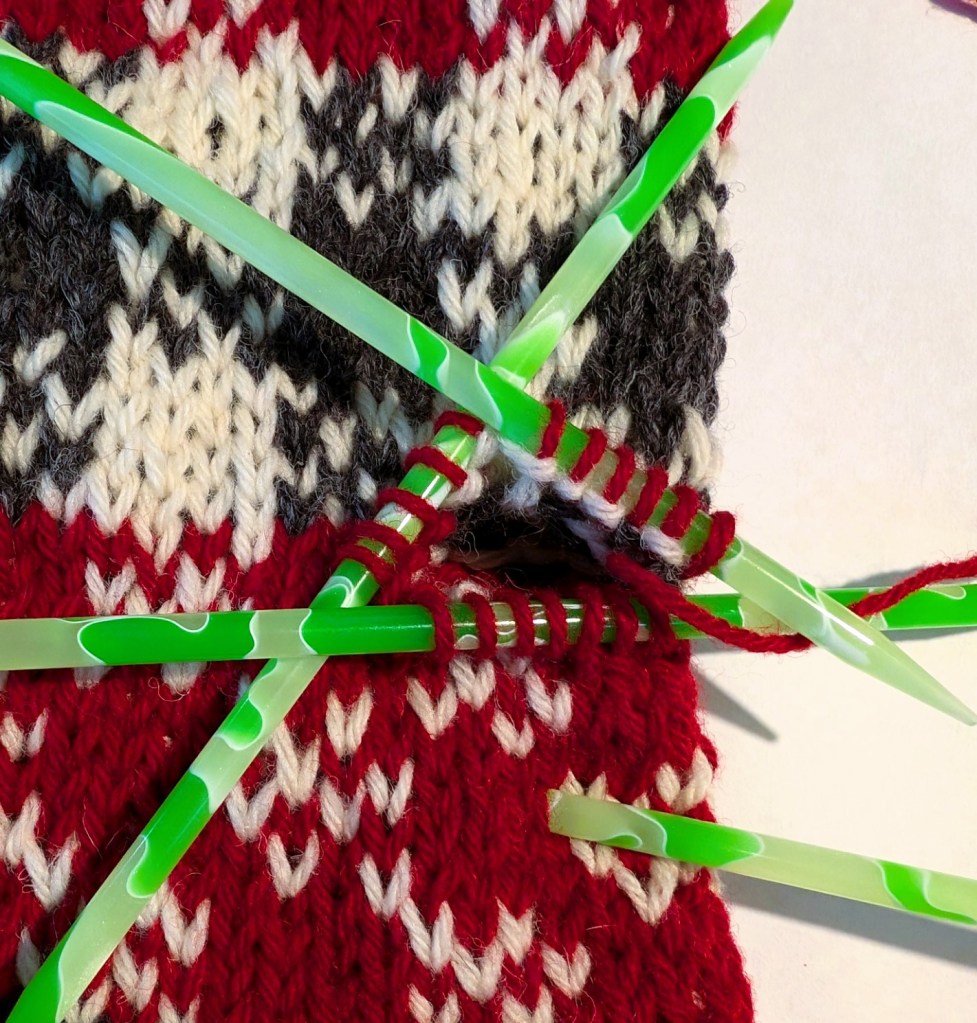
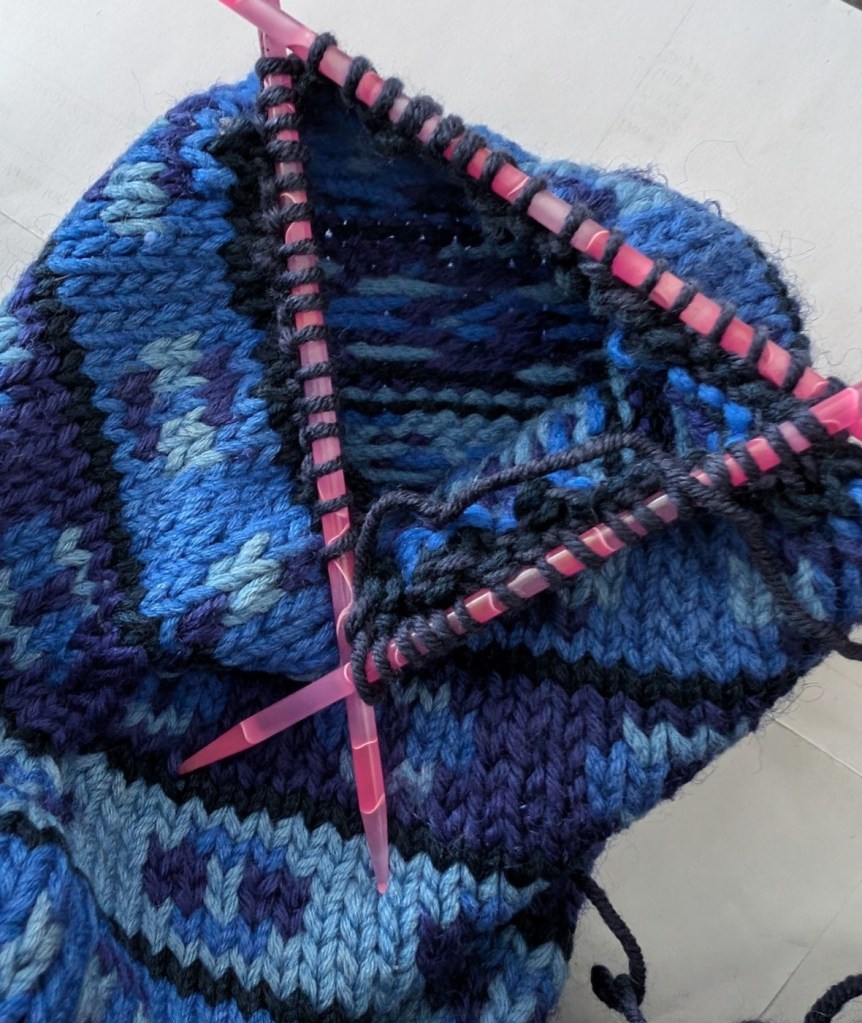
    Once the knitting is pulled back to the sleeve, pull the next round out carefully, As you pull catch each stitch revealed with a dpn. Continue to pull back the last round, switching dpn’s as they are filled. Use 3 or 4 dpn’s to hold the stitches depending upon your comfort level with dpn use.
    Once all of the stitches have been picked up, cut off the old yarn leaving an 8 inch tail. Weave in the tail as you knit the first round of the new ribbed cuff.
    I had 68 sts on the needles but the cuff had been 48 sts. The sleeve had been reduced by 20 sts in the cuff. So I worked an extra round, reducing as I knit, to match the 48 sts, before starting the ribbing.

    I am very happy with the results. The new blue cuff is not perfect, but perfect enough for a sweater that was knit in 1990, 34 years ago. The neck may be the next piece that needs replacing, I noticed some wear along the back, but that is a problem for another day!

    Happy Mending

    Lynette

  • Just Another Day….

    Just Another Day….

    … In Paradise

    I woke up to the most glorious sunrise. The living room was glowing orange as the light poured in the windows. When I went out onto the deck – the run was rising in front of me and there was a rainbow forming behind me. So awe inspiring.

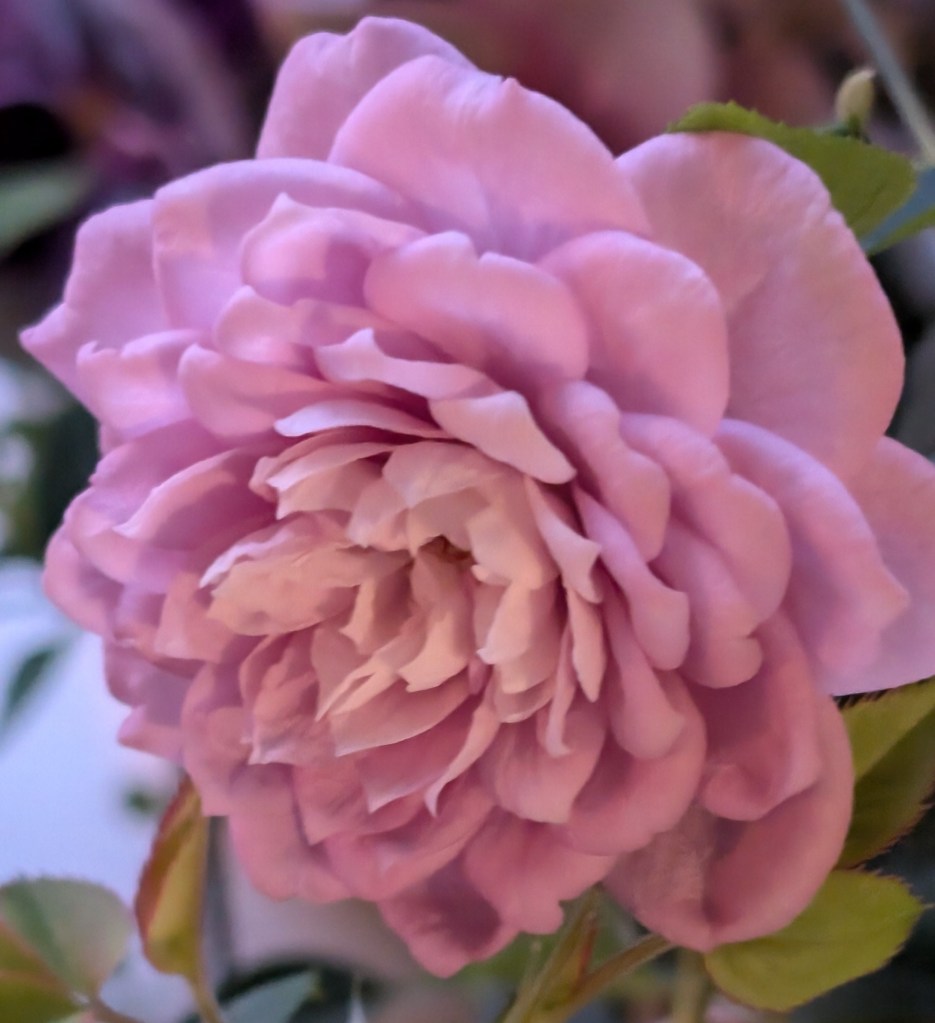
    The Mini Rose also produced a new bloom this morning that is absolutely perfect. The Hibiscus plant has several new buds, so many beautiful flowers. Just an amazing start to the day.

    Knitting et al.

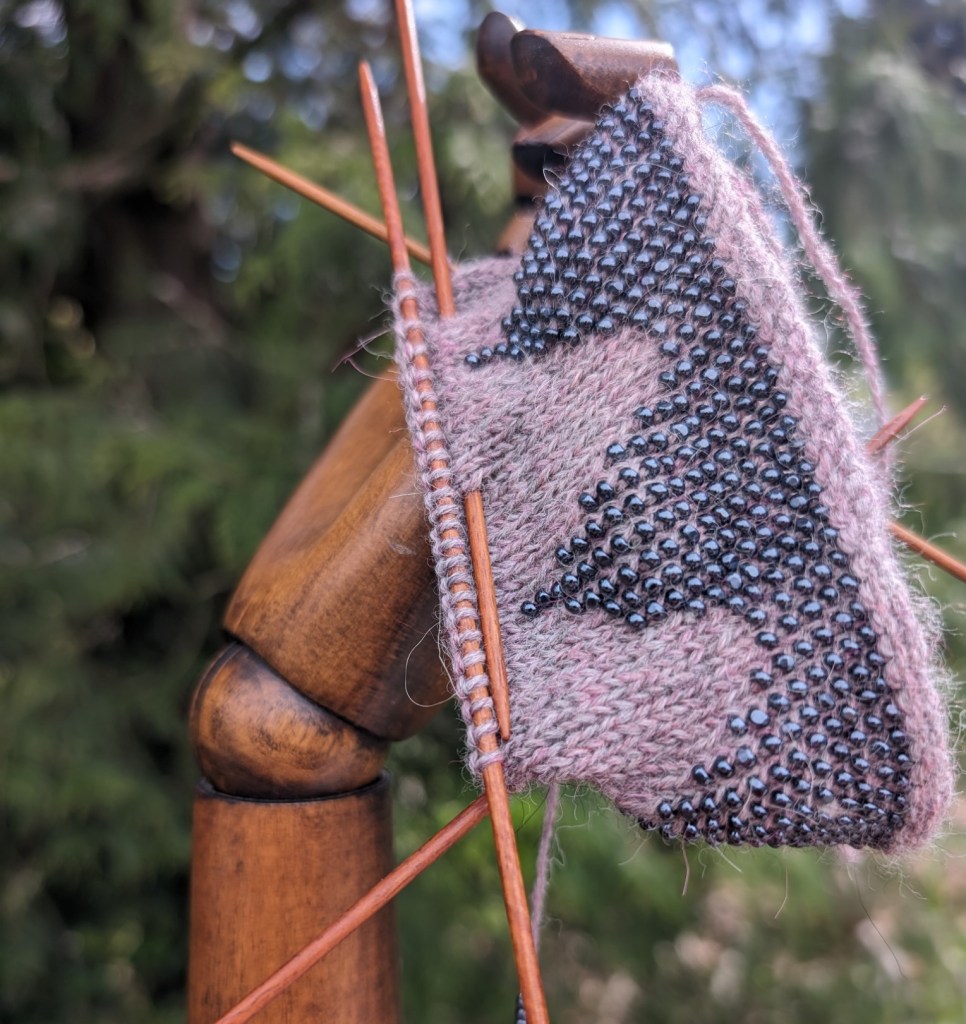
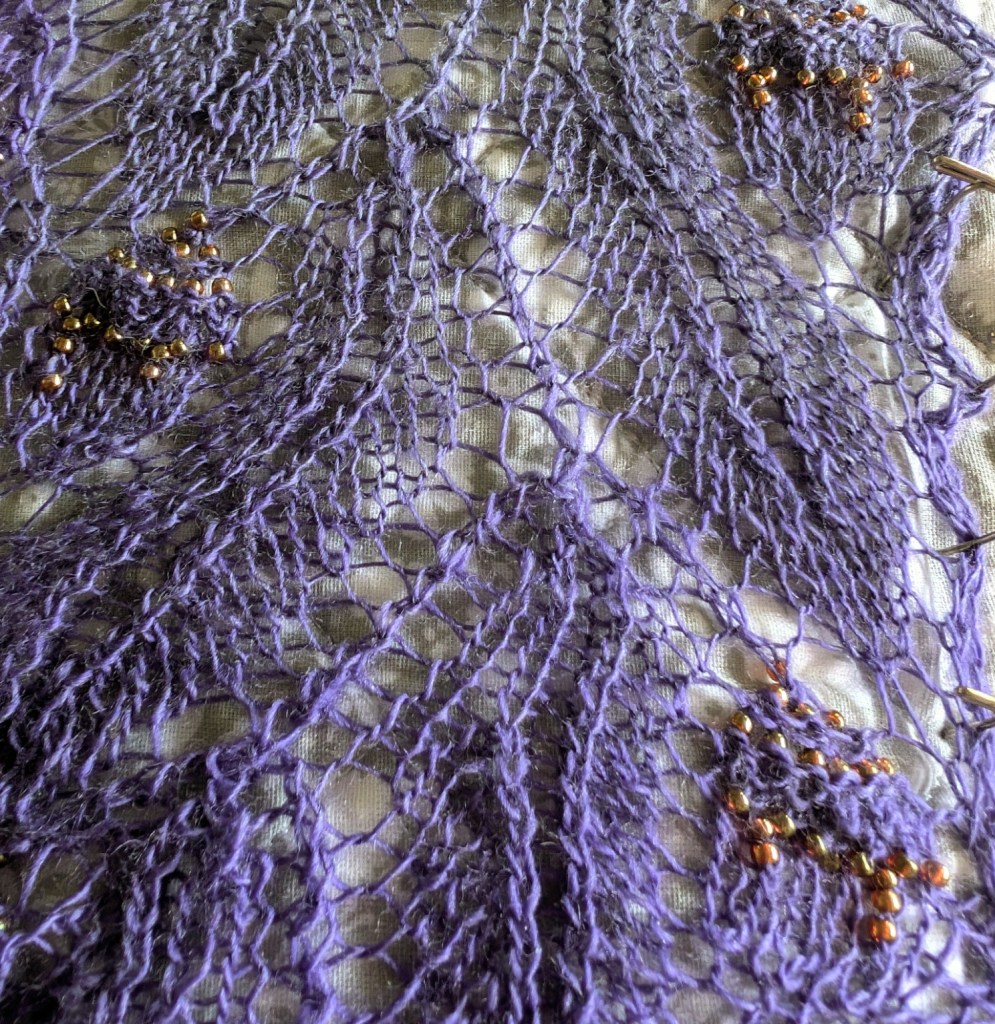
    The GreenMan Shawl is progressing nicely. I am about 20% into the Oakleaf and Acorn insert and I am very pleased with the effect of the beads on the knitting.

    I have started another shawl for myself. I didn’t really intend on this one. I am not even designing it. If you are old enough you will remember or will have knit a Clapotis shawl. I am more than old enough.

    Clapotis can be considered one of the first viral patterns on Ravelry and has over 24000 projects listed. It was designed to be knit with some of the glorious hand dyed yarns that were appearing at that time. It has just been re-released on Ravelry as Clapotis 24. There is an accompanying KAL that features lots of yarny prizes.

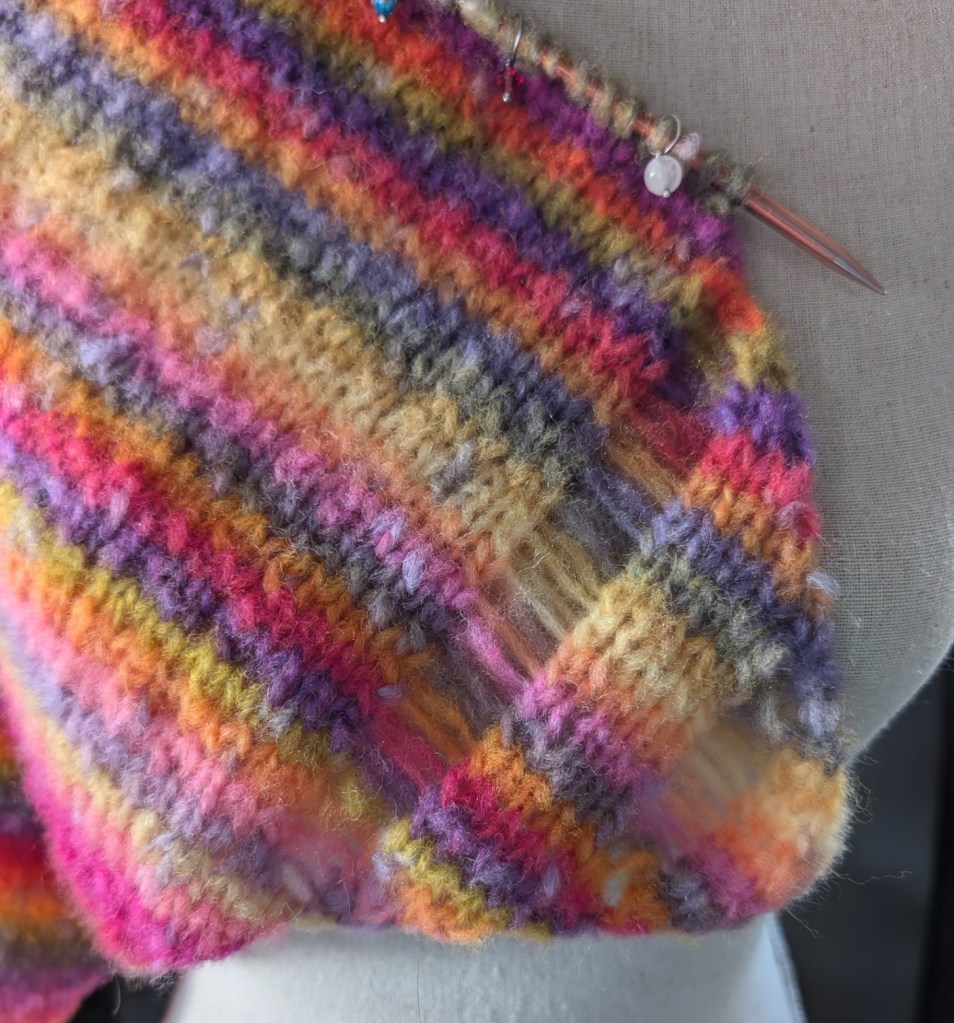
    I didn’t knit it the first time around, so I am giving it a go with some yarn from my stash. Not hand dyed, but striping and lively, and I was not having any luck designing a sweater for myself with it. I had already ripped back a couple of attempts. The yarn is Lang Cloud Tweed.

    Clapotis is designed for a worsted/aran weight yarn (I keep seeing it in some Rios), but is very easy to adjust for almost any weight! The knitting is basic, stockinette on a diagonal, but the addition of the dropped line of stitches keeps it interesting.

    Have you knit a Clapotis?

    I am also working on another class project. Remember the loopy st? Meet the Jingle Gnome Chapeau. Still under construction, but already looking like a little bit of rustic “happy”! The class will feature the loop stitch, basic stranded knitting and how to make the perfect pompom! I am working with the Eco Shetland Worsted by Estelle. It is yarn that I really like to work with and gives me great results.

    I hope that you have a wonderful day. Mine is off to a great start!

    Happy Knitting

    Lynette
  • Circular Cast-ons

    Circular Cast-ons

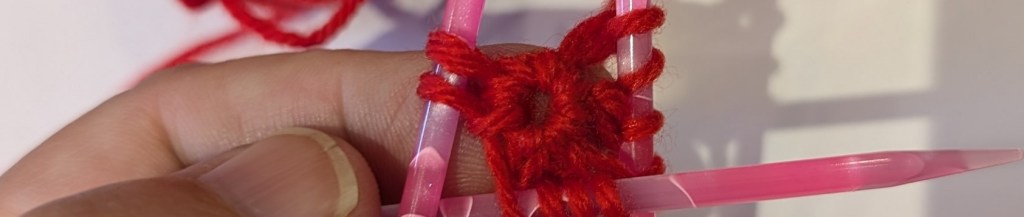
    My favourite cast-on is the Emily Ocker Cast-on, also called the German Pinhole Cast-on.

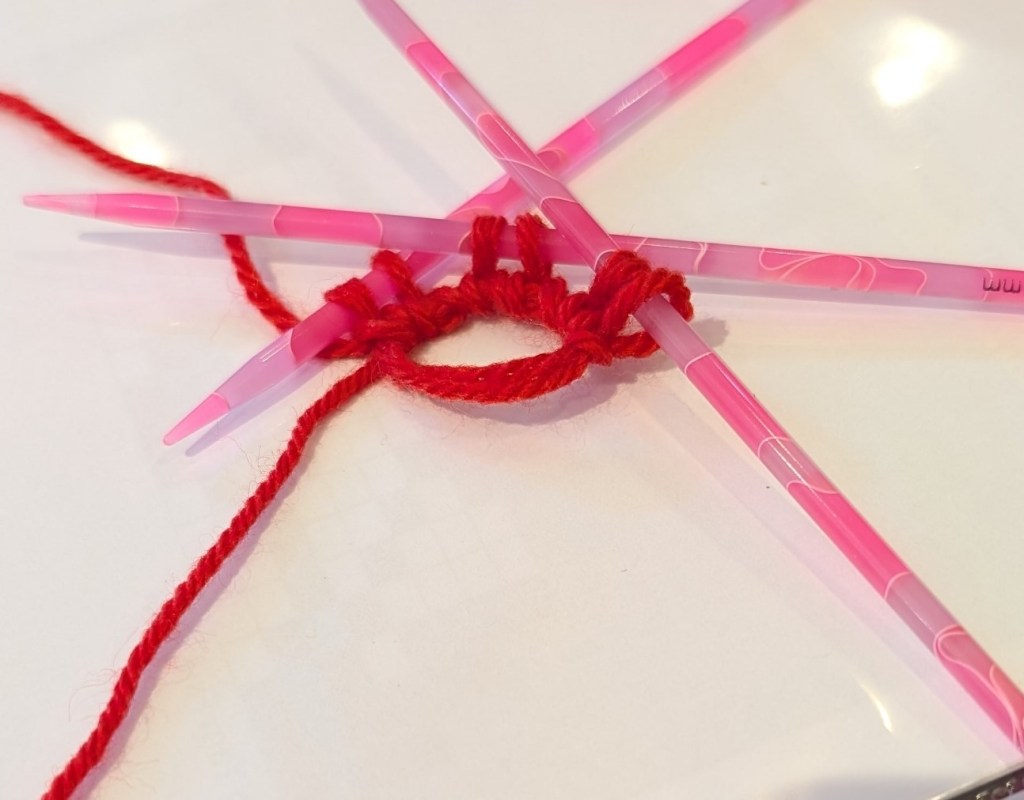
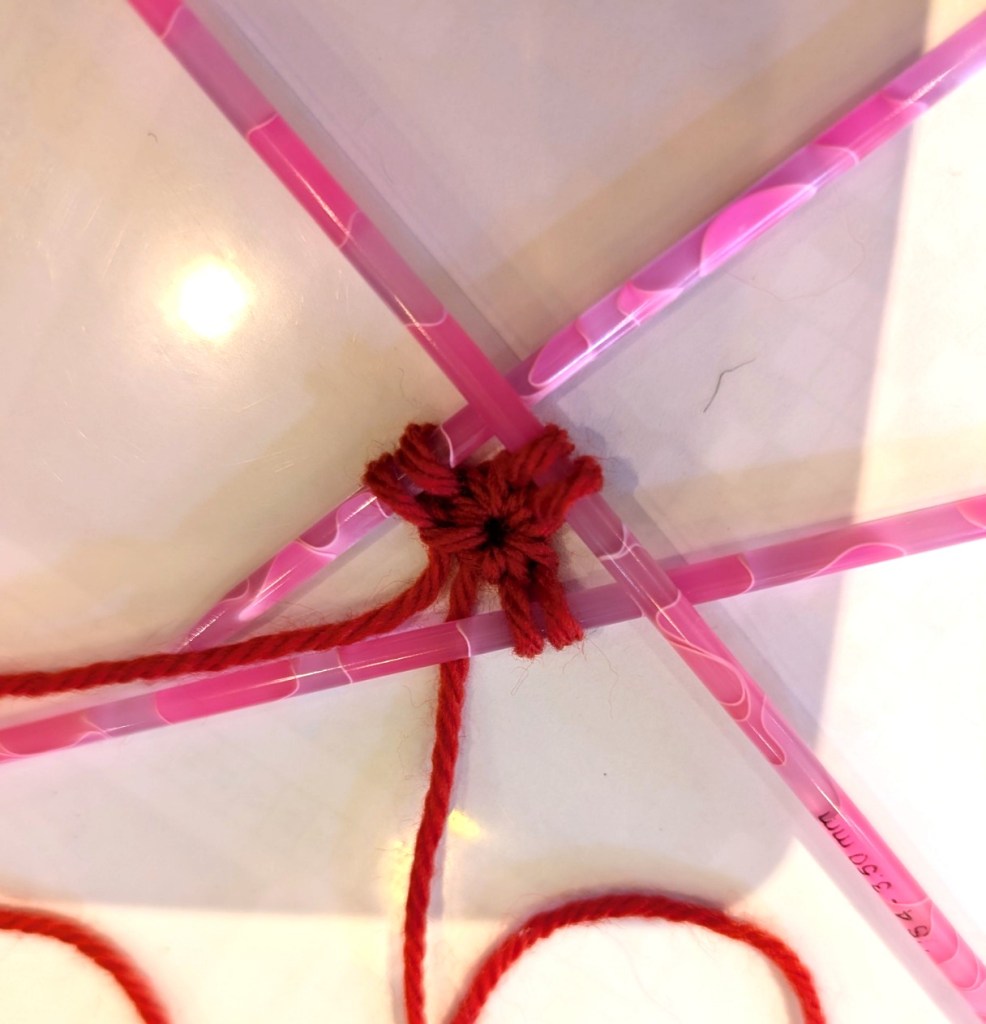
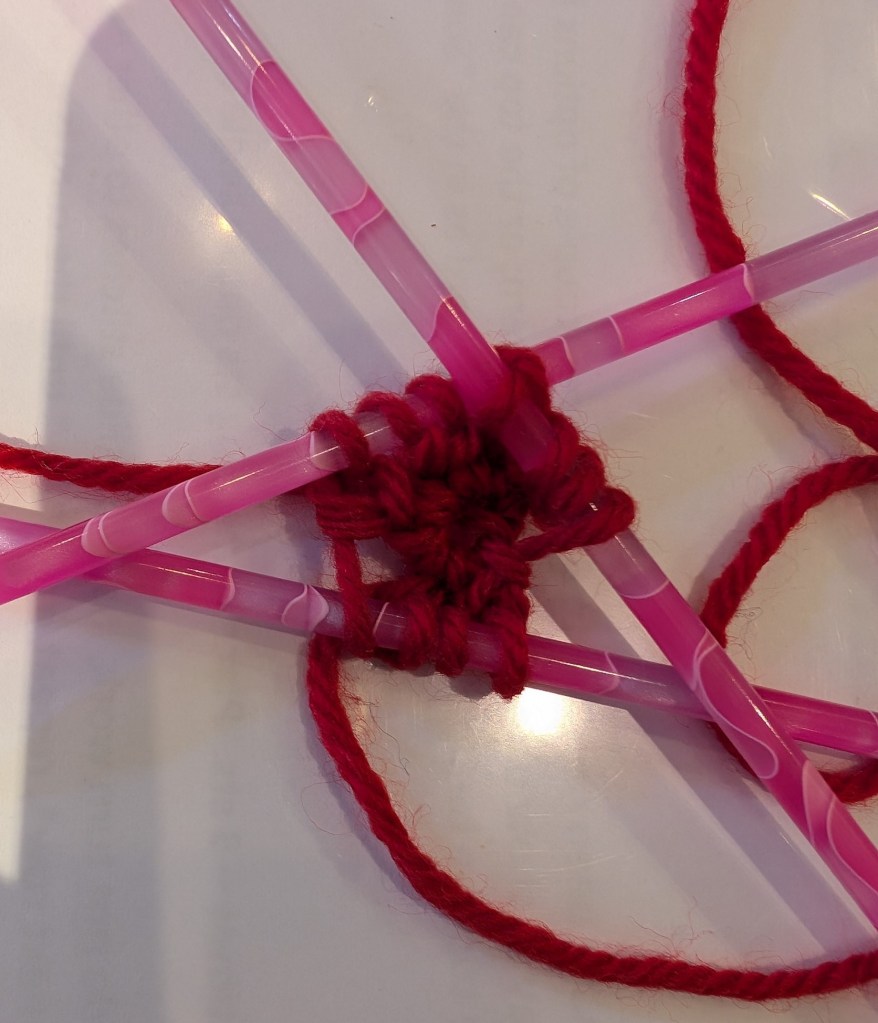
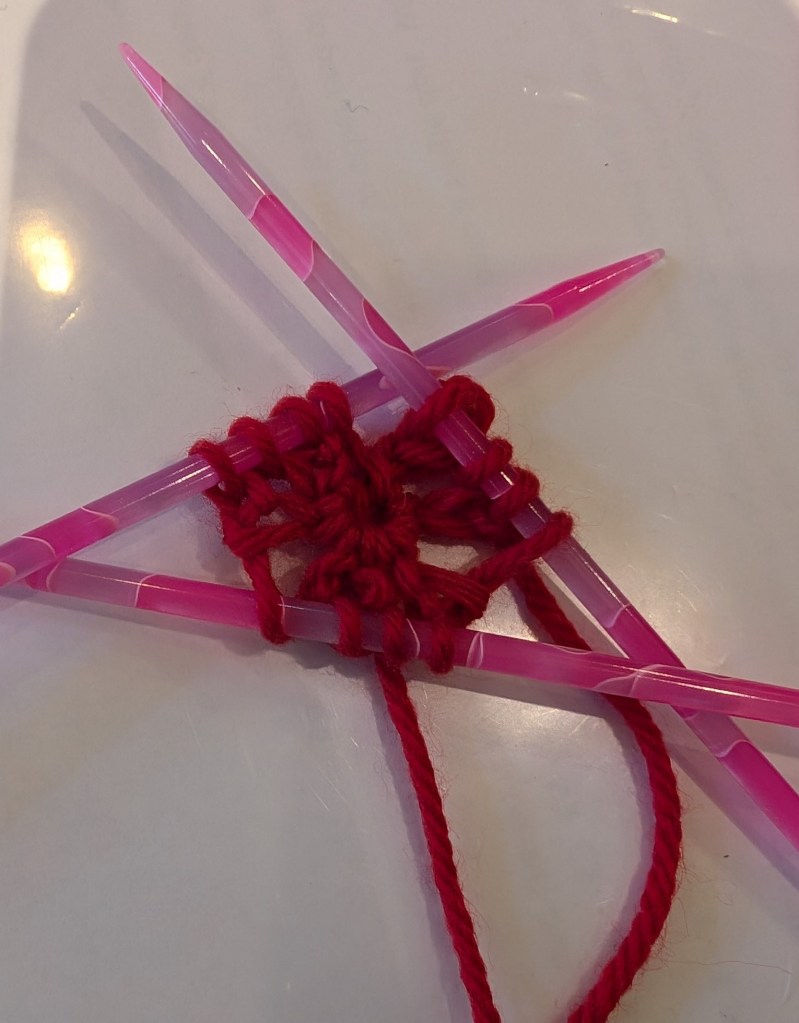
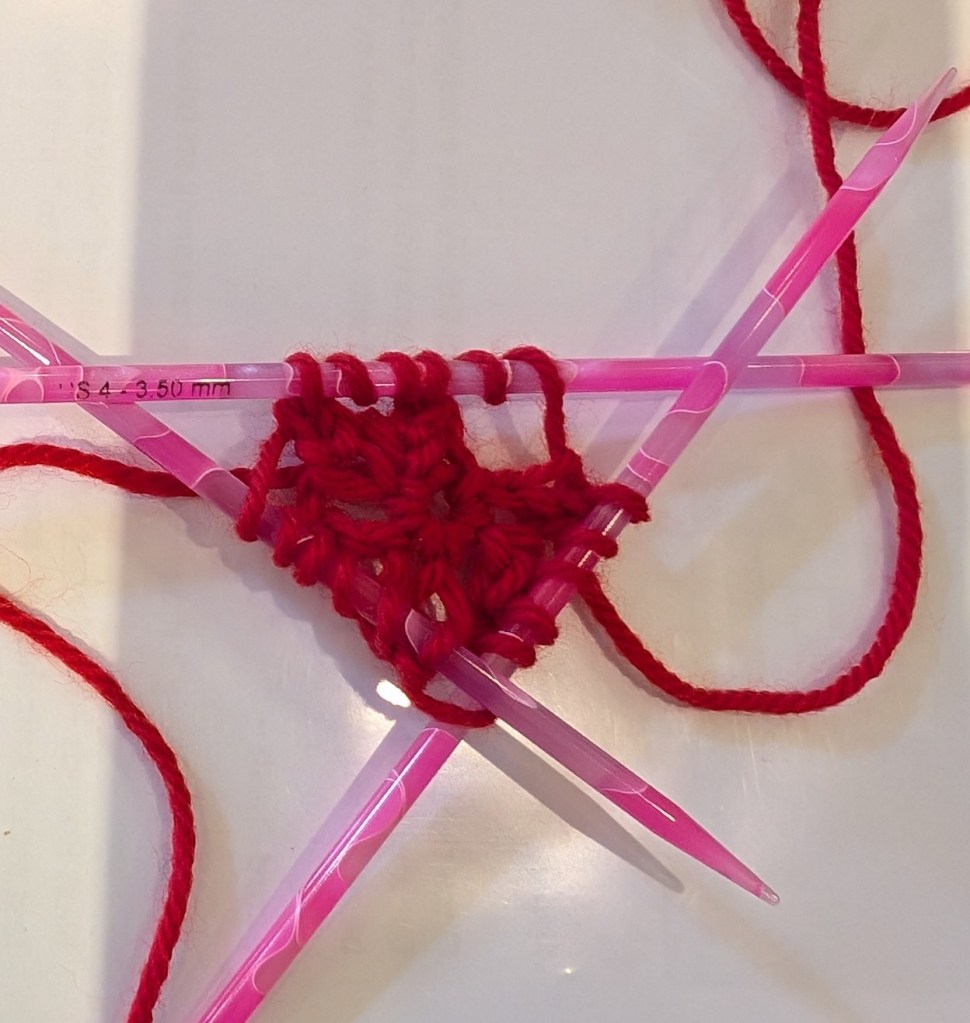
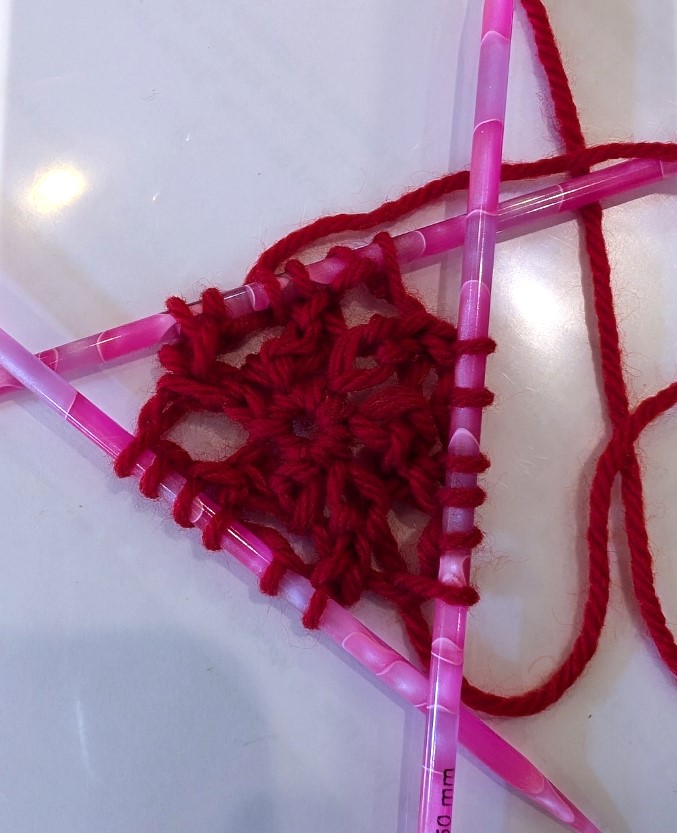
    Do to technical difficulties I am going submit a short video and then a series of photo’s on how to start the GreenMan Shawl.

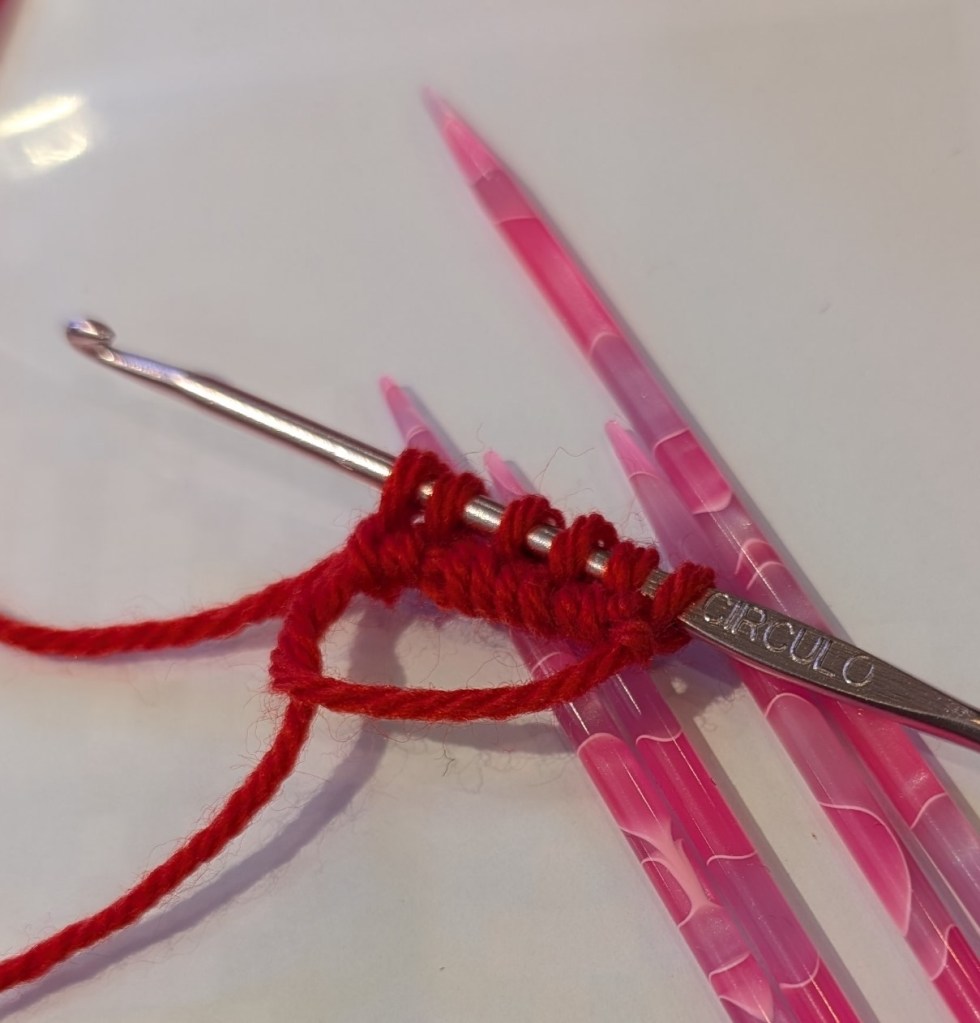
    Tools that will make the cast-on easier; a straight crochet hook or a hook/point tool, it simplifies the moving of the sts from the hook to the needles. Wooden or other lightweight dpn’s, they are a little sticky and very light, metal needles are usually quite heavy and slide out far too quickly.

    If you have never held a crochet hook I can recommend a simple cast-on;

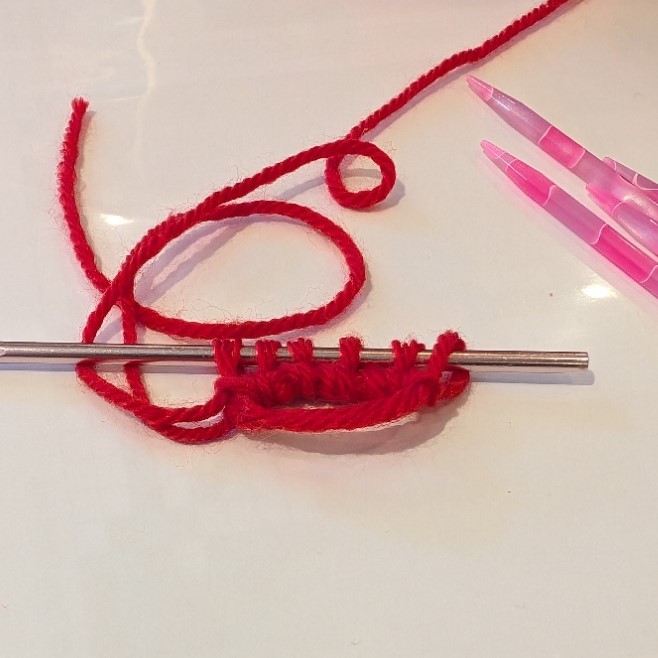
    Cast-on 6 sts to a single dpn, transfer the sts as the photo tutorial below, join into a round and start to work the shawl. The center of the shawl will not be as neat to begin with but when finishing your shawl the tail can be used to gather up and gently close the hole in the center.

    In the video you will see the yarn, tail to the right and underneath the working end of the yarn. There is no sound, but the written description is below the video.

    Please note: I am not a confident crocheter and you will see that in the video. But that does not mean I can’t fumble my way through a single crochet.

    Emily Ocker Cast-on also called German Pinhole Cast-on

    Grasp the ring where the yarn crosses

    • with your hook go through the ring and hook a loop of the working yarn
    • pull through the ring
    • hook the working yarn again and pull through the loop already on hook.
    • I single crochet is on the loop

    Repeat from the top five more times until there are 6 loops on the hook.

    Below is the step by step set-up and first rounds of the shawl.

    Once you reach this point the needles will start to co-operate and the knitting will go more smoothly.

    I hope that this helps you start your shawl.

    I am hoping to make the video as promised with sound and moving pictures – perhaps tomorrow. Getting my tools to co-operate has been a challenge.

    Happy Knitting

    Lynette
  • East Coast – Twillingate Thrummed Headband

    East Coast – Twillingate Thrummed Headband

    I don’t like to wear hats. It takes a really cold day before I plop a hat on my head. I don’t like the look of myself in a hat. Very few have suited me.

    But I like cold ears even less.

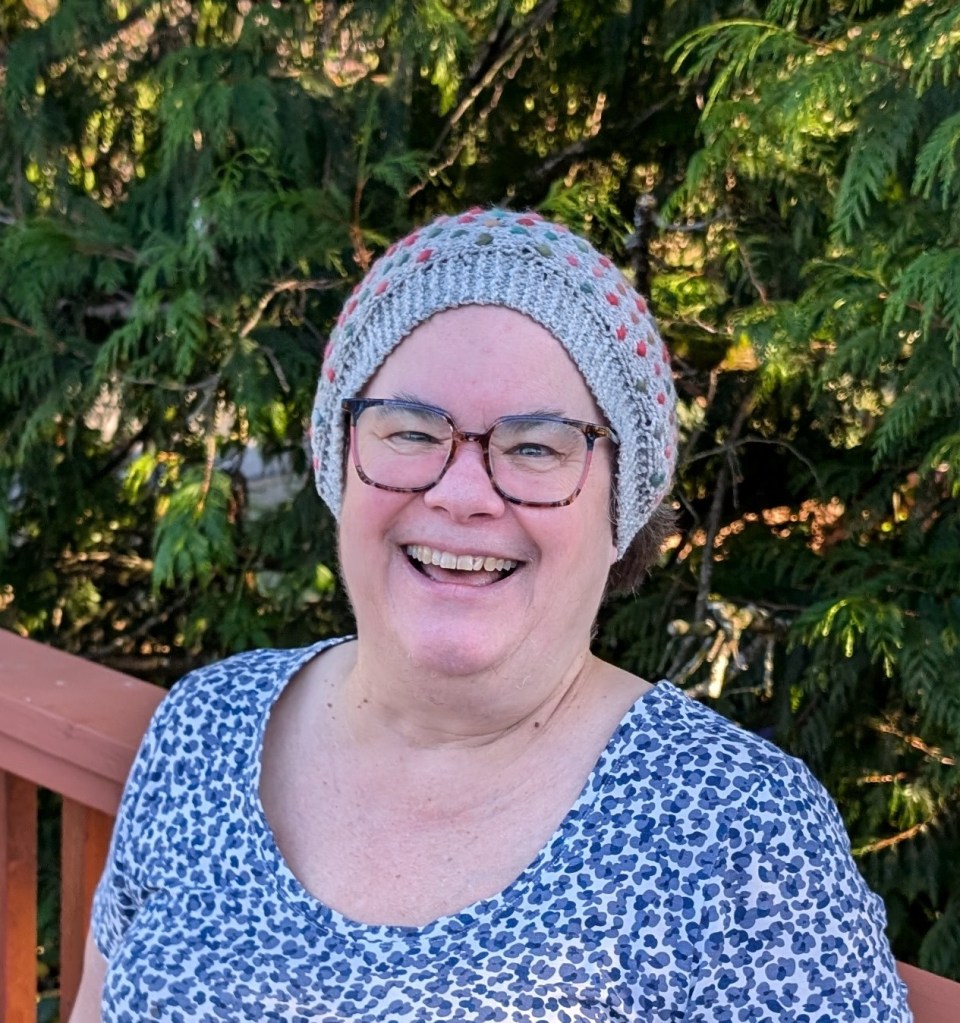
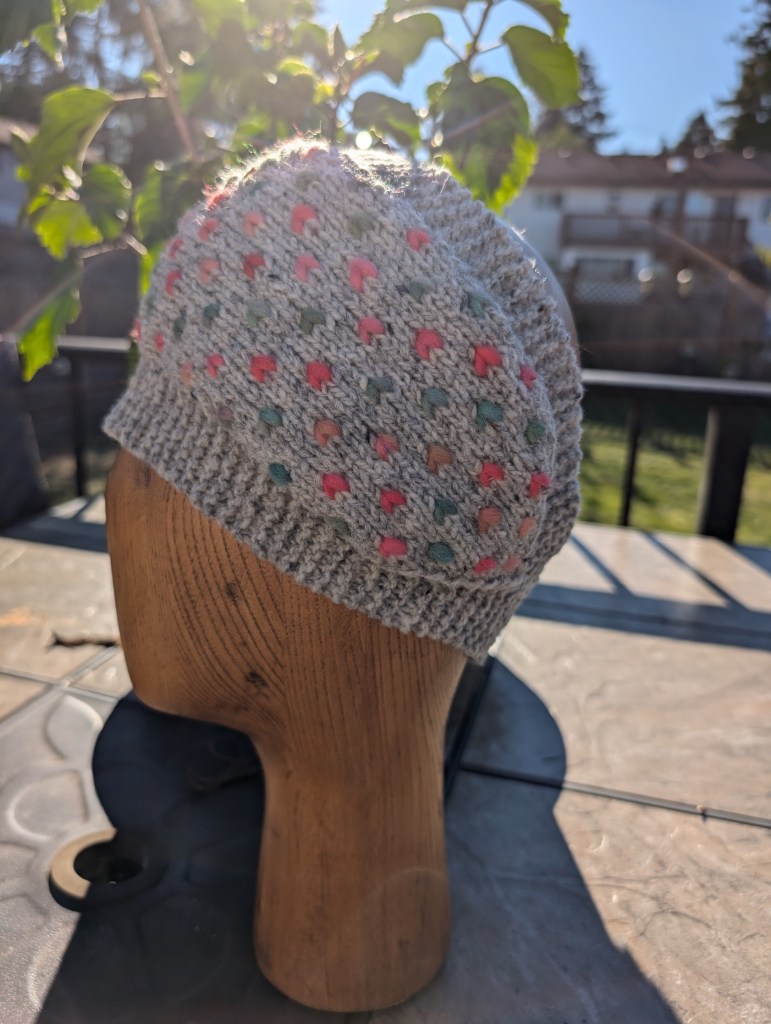
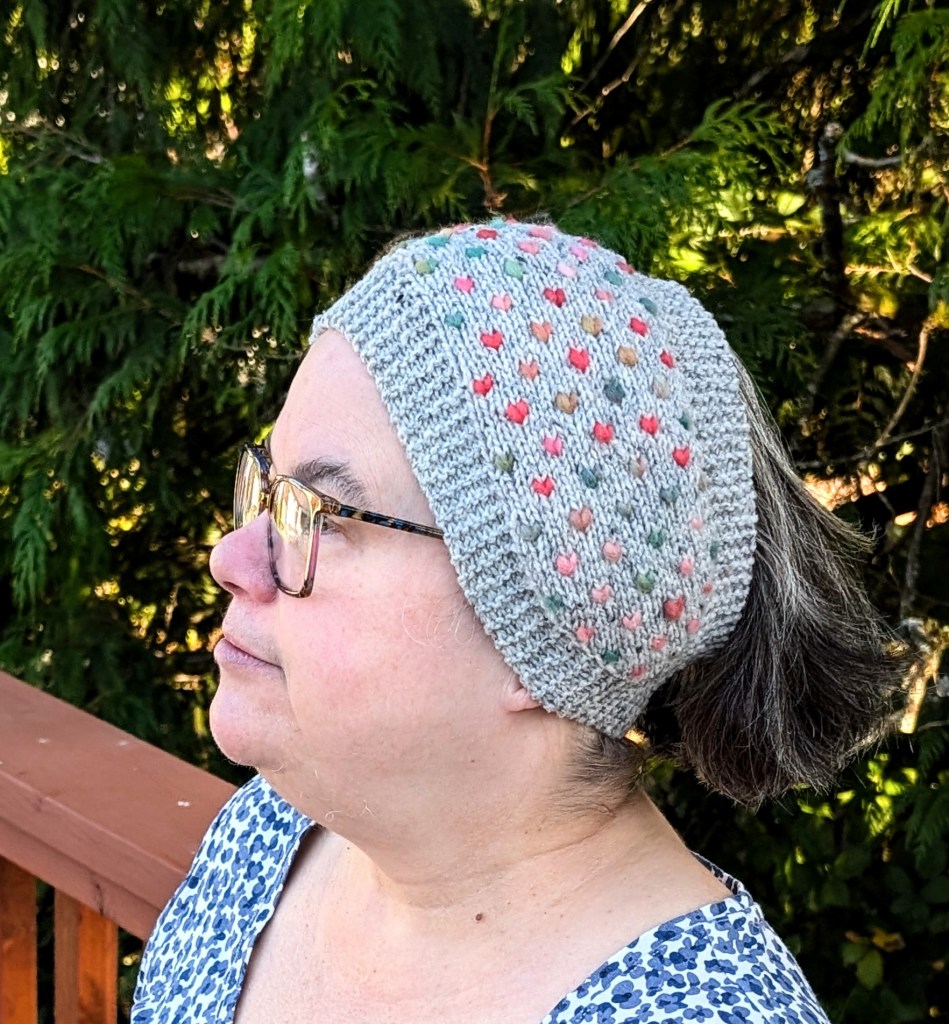
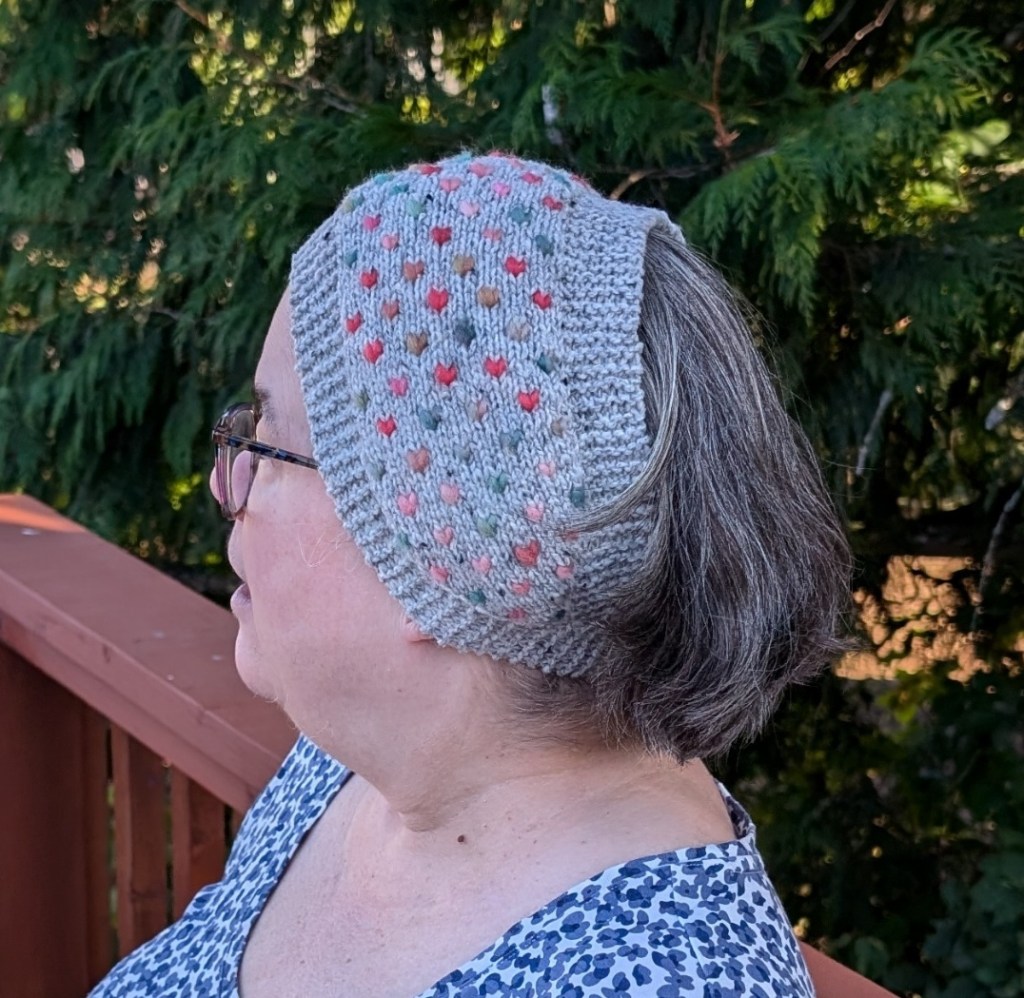
    So, I finished up the Thrummed Headband for myself. I now consider myself officially ready for Fall and Winter. I have a new sweater… and a hat. Maybe I should make some fingerless mittens in the same colours as the headband? A light grey pair, with multicoloured dots. Ok, almost ready for Winter!

    If you want to knit a Thrummed Headband for yourself click here.

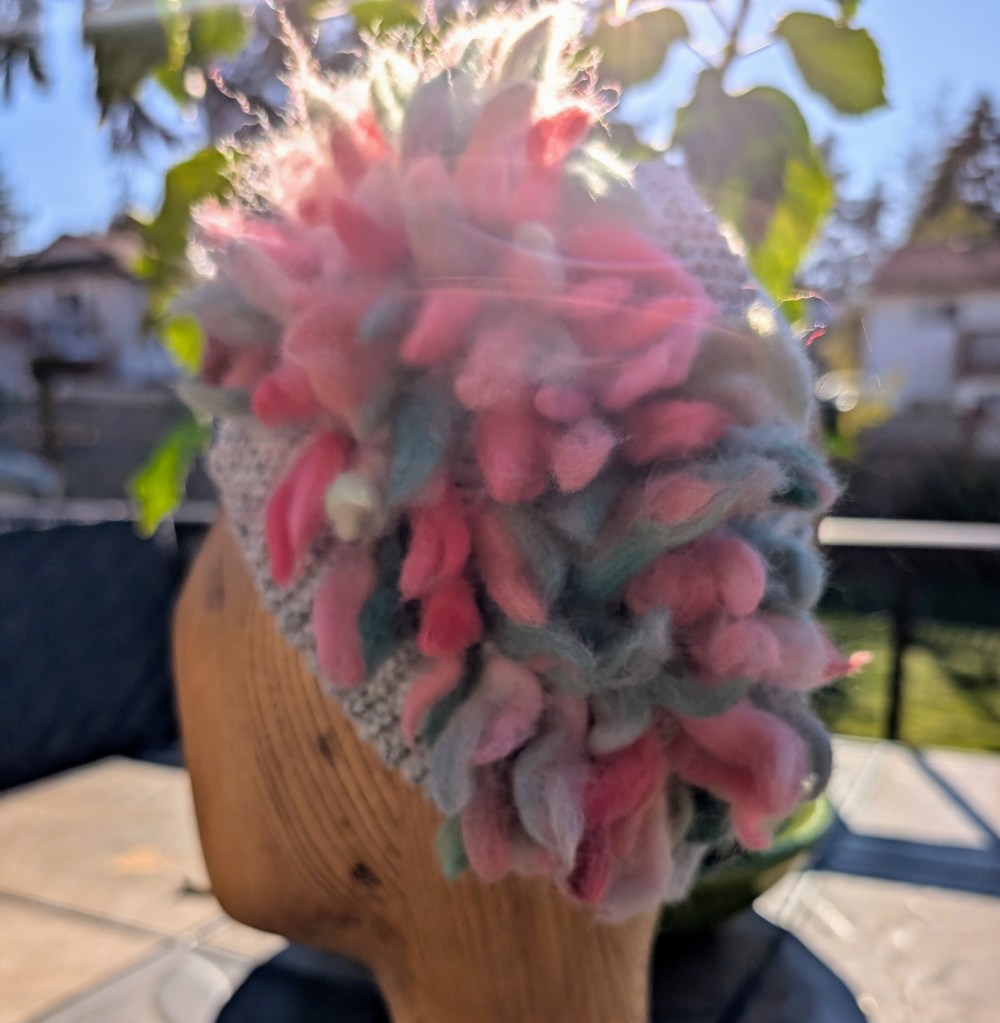
    The thrumming really intrigues me. It is easy to do and adds an extra layer of warmth. I am thinking that I may need to make myself a puffy vest, double layered with thrums in between. Would you wear something like that?

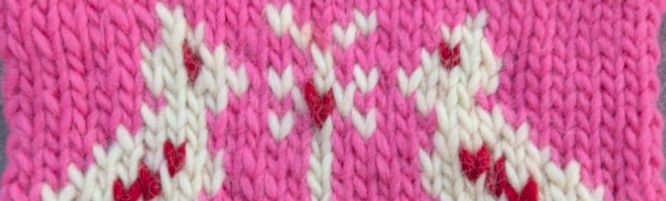
    Yesterday I also knit up a swatch from the Eco Scandinavian Chunky I bought myself last week (for another sweater). I want this sweater to be very colourful and in the Muhu style. This style is from Estonia and features a lot of natural patterns, birds, bees and animals in very bright, not so natural colours. The patterns will be much larger and definitely very visible.

    I love my swatch, but I think I need to add some green and maybe some black to make the other brights pop!

    Happy Knitting!

    Lynette
    PS – I am getting so excited! The GreenMan KAL starts next week! In between my other knitting I have been slowly working away at each section of the shawl. It is looking just as I imagined!