Le Tissier Designs

Of Larks and Linnets and Flying Fingers

Category: Classes

  • Working on the Fall

    Working on the Fall

    Really it is still Summer, but the evenings have a little chill and it gets dark just that much earlier, letting us know that Summer is on the way out! So I am working on stuff for the Fall, both personally and professionally!

    Part of my job description is teaching. I teach people how to knit, how to knit better, how to execute specific skills that you, the student, may want to add to your repertoire. It is one of the more challenging aspects of my job. Just figuring out what to teach and how to present the goals.

    Professional Projects

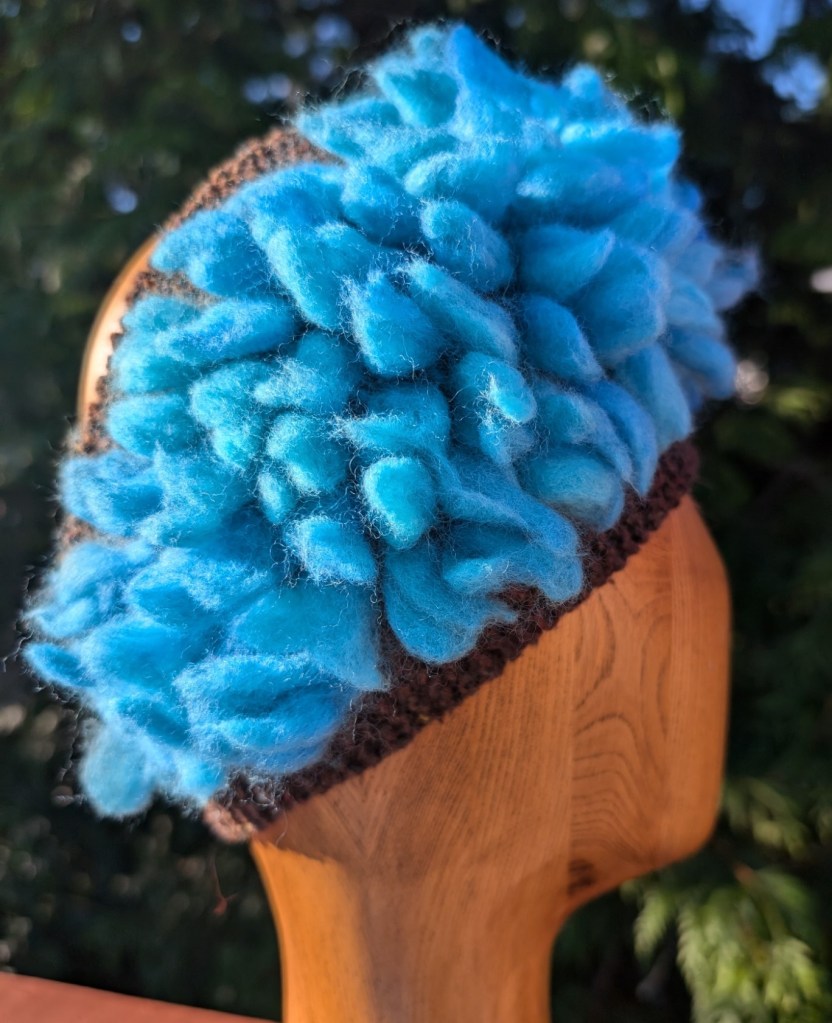
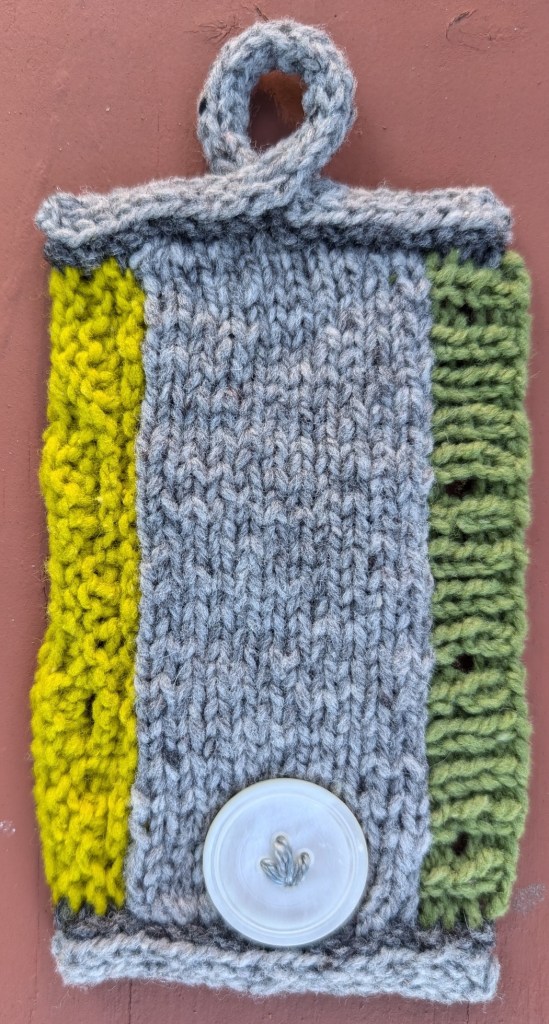
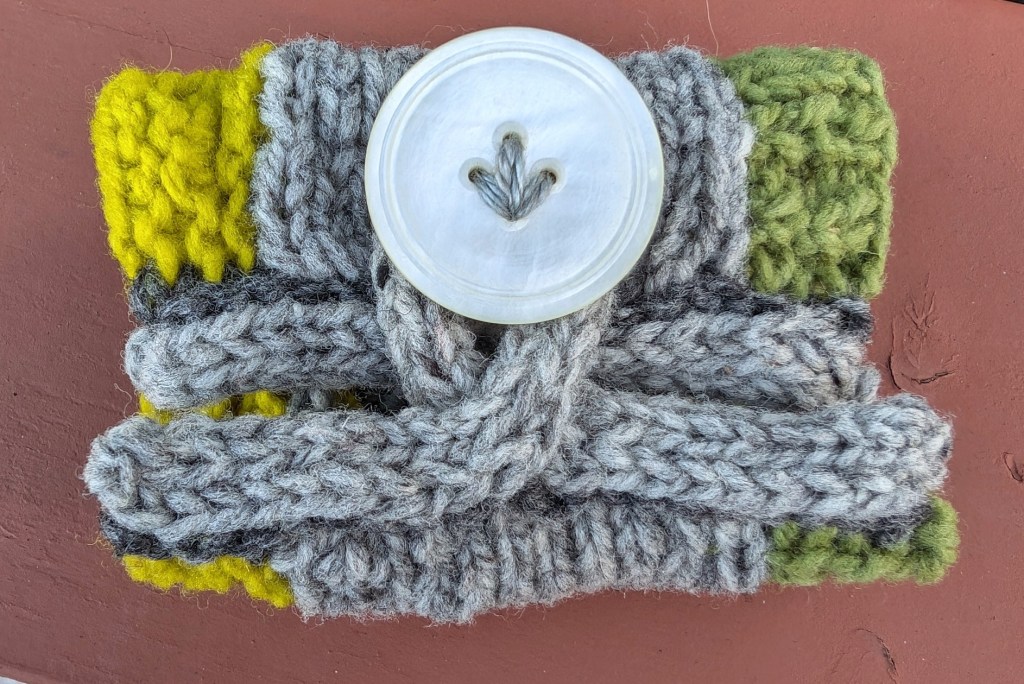
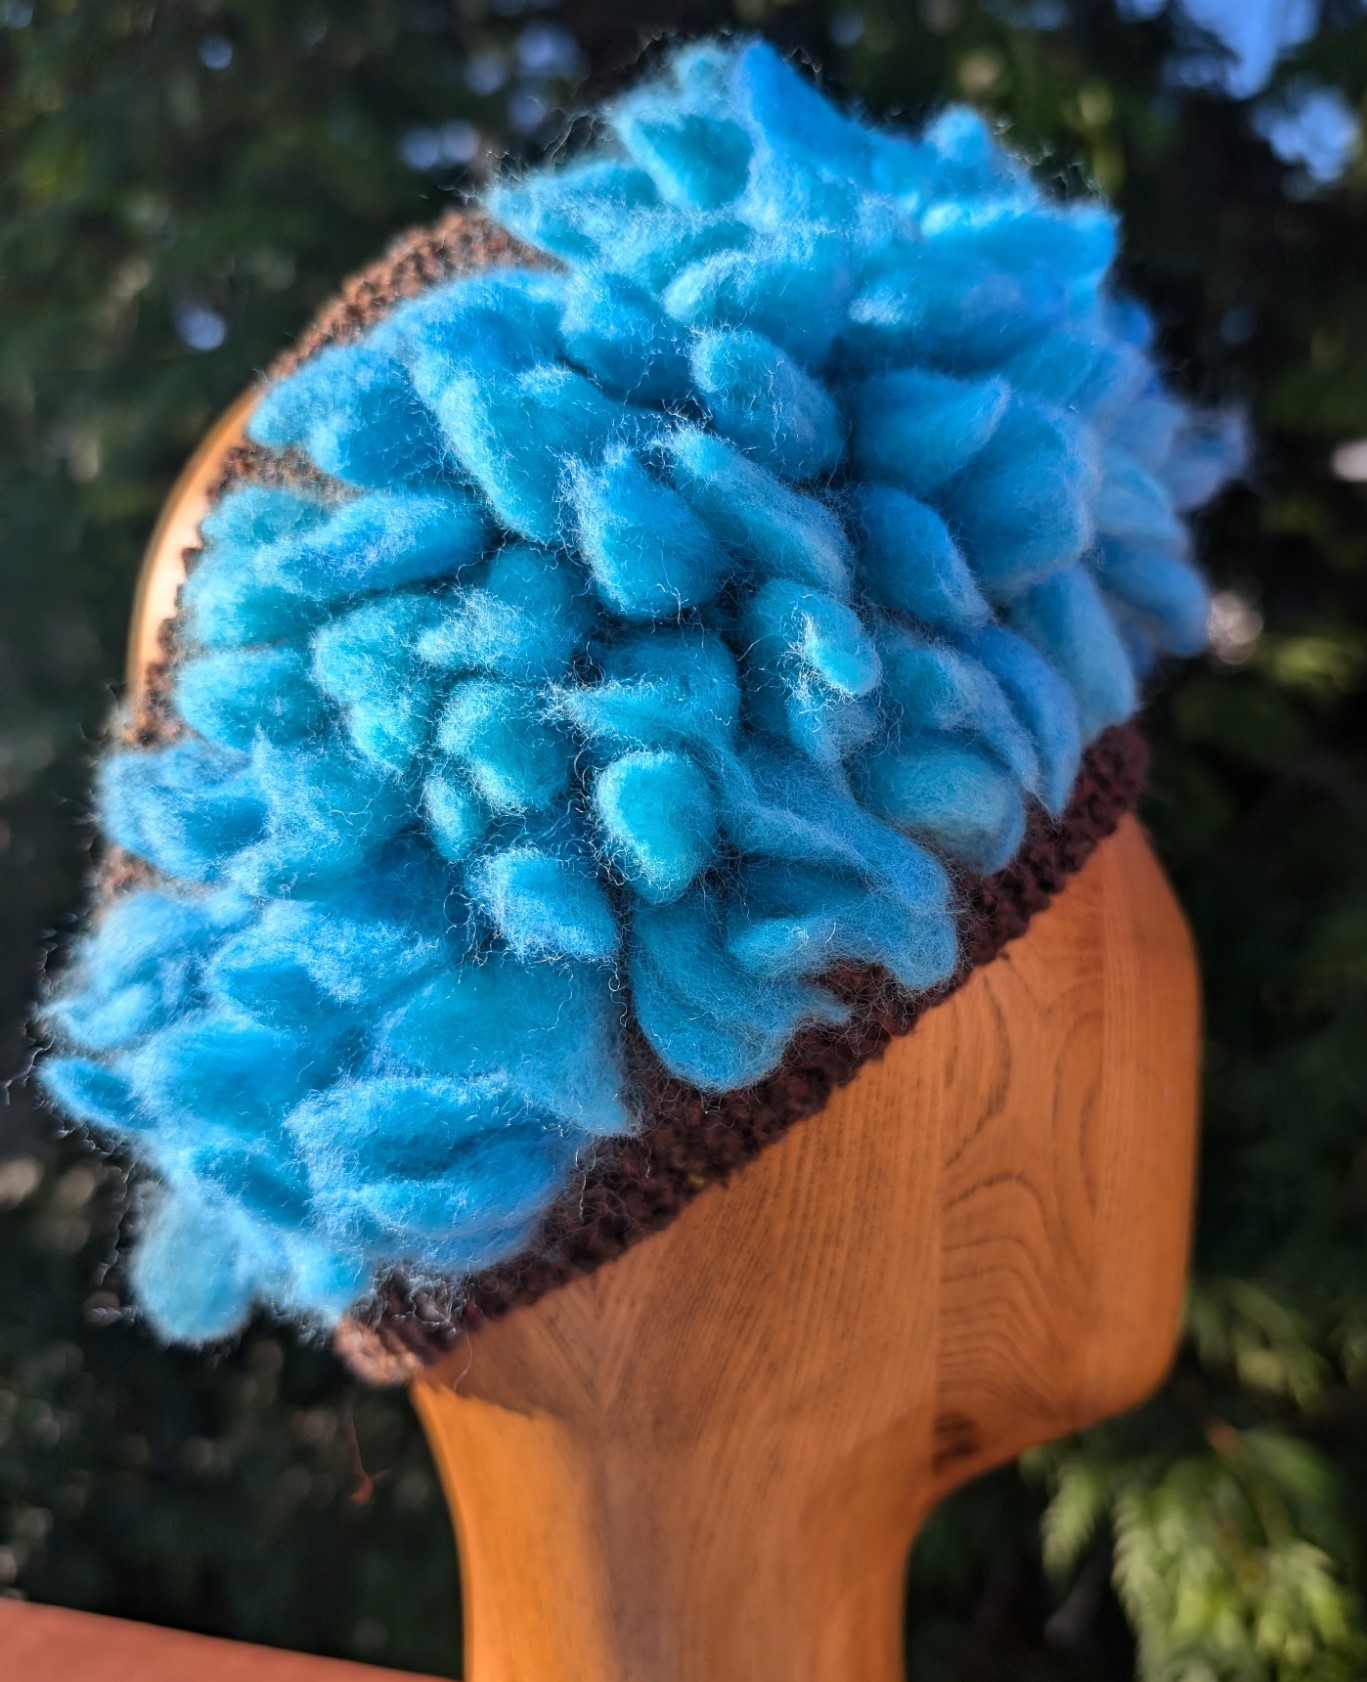
    This fall has started with a successful Thrumming class and a not successful cables class. Perhaps the project wasn’t interesting enough or perhaps those who wanted to learn were looking for something more traditionally shaped. I will still write up the pattern later in the fall as I really do like it a lot! The thrumming headband will be out later this week.
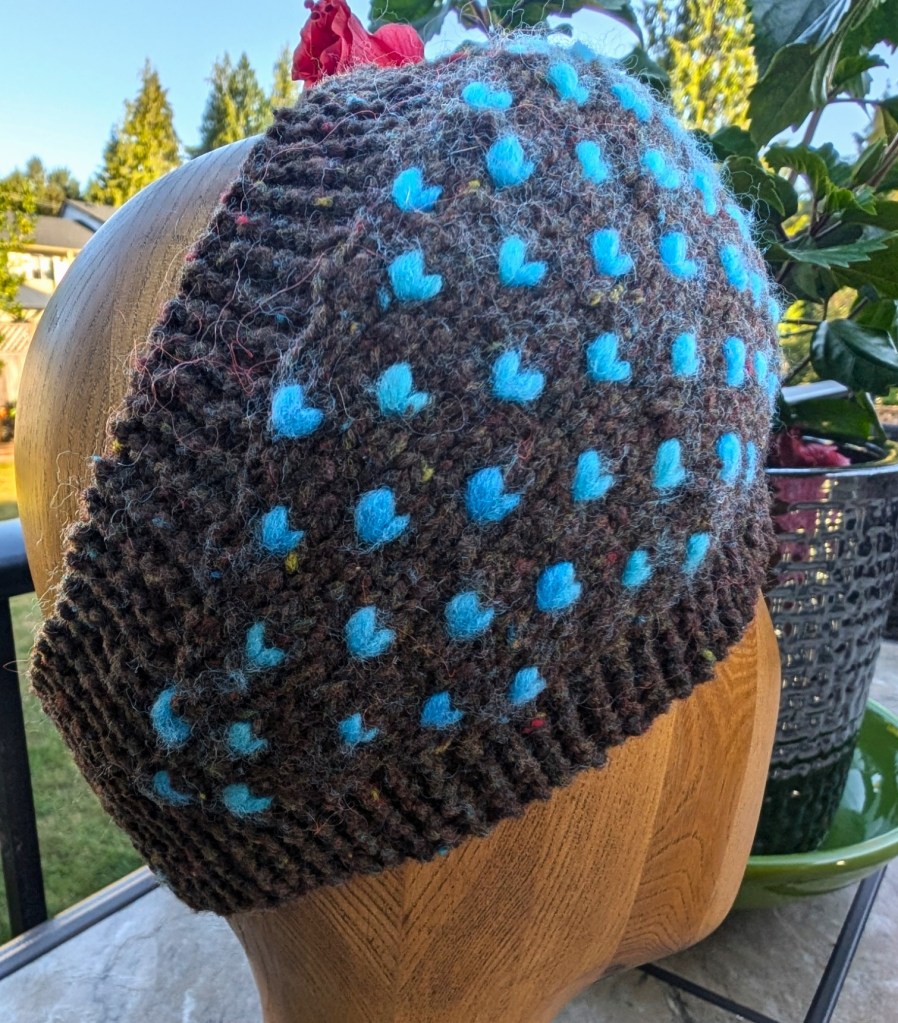
    Right now I am working on a 3 part series on finishing for knits. This is loosely based on a Fear of Finishing Workshop that we at Mad About Ewe Fine Yarns ran for years. It was our most popular workshop – Tons of information presented in a six hour workshop. Everyone went home dazed and confused. So this time, it is three, four hour workshops, with time in between so there is time for everything to sink in!

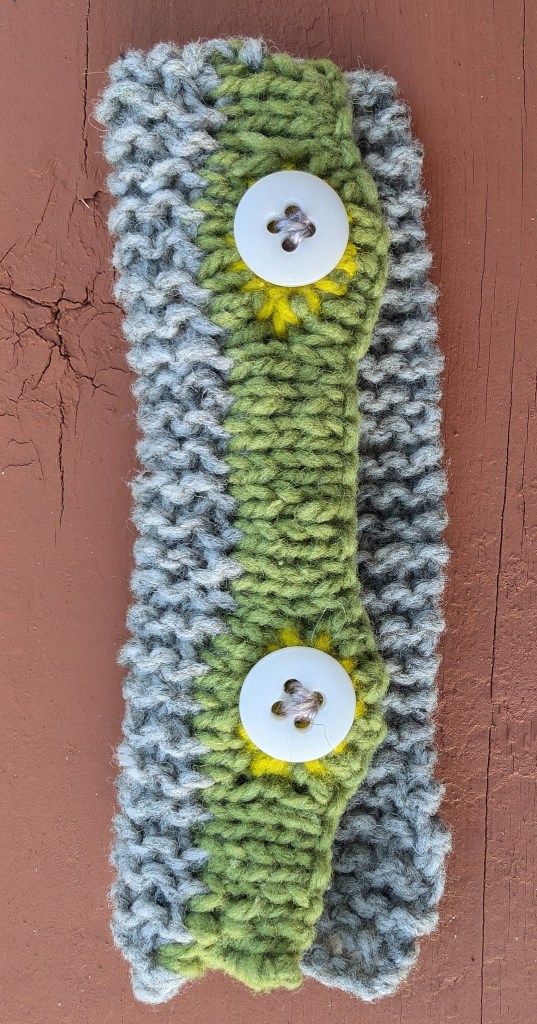
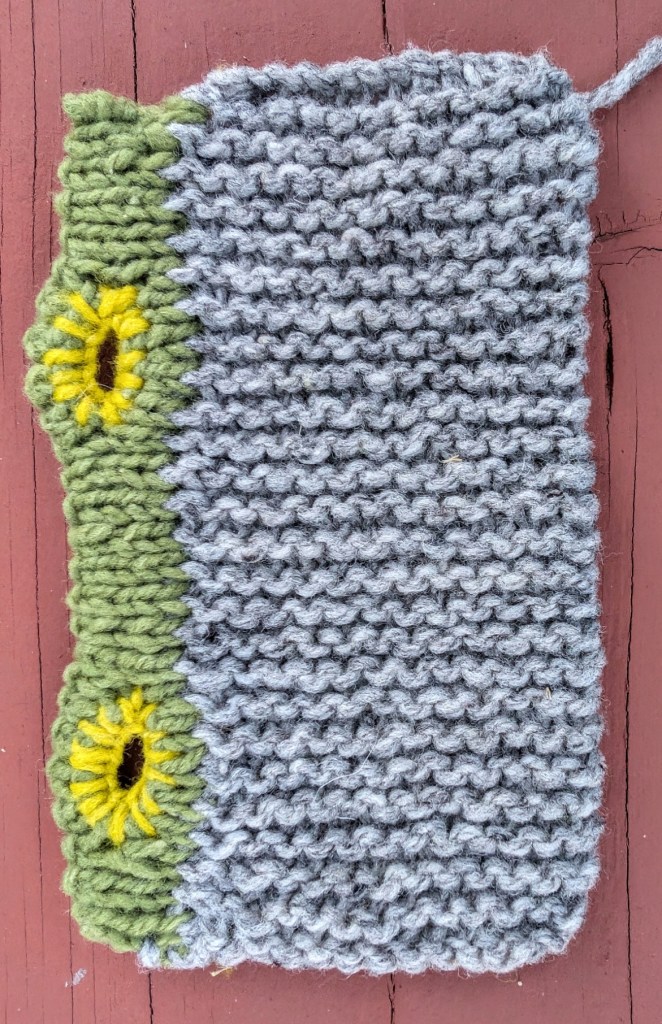
    Part 1 – Button Holes and Button Bands. This will be an in depth look at how to pick-up stitches to create button bands. We will look at ratios and gauge, at button holes large and small, how to sew on buttons, and we will start to look at I-cord. This class is already more than half full and I think that the new format is going to work really well.
    Part 2 – Seams – I think that says it all. We will look at ratios – ratios are very important to all aspects of finishing. There will be 8 seams built off of the swatches. Seams will include; grafting, 3 styles of mattress stitch, 2 styles of 3-needle bind-off. One unique seam and I am still looking for the last option. There may be some finishing techniques as well.
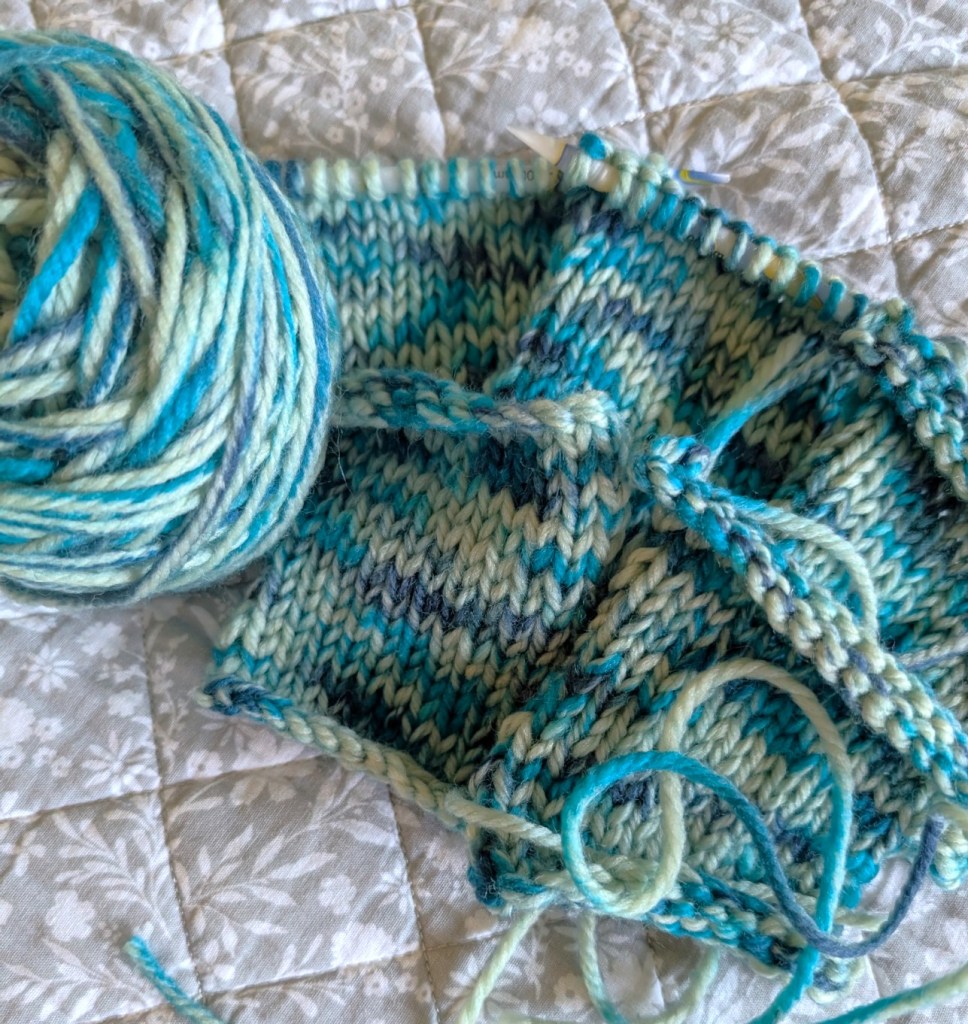
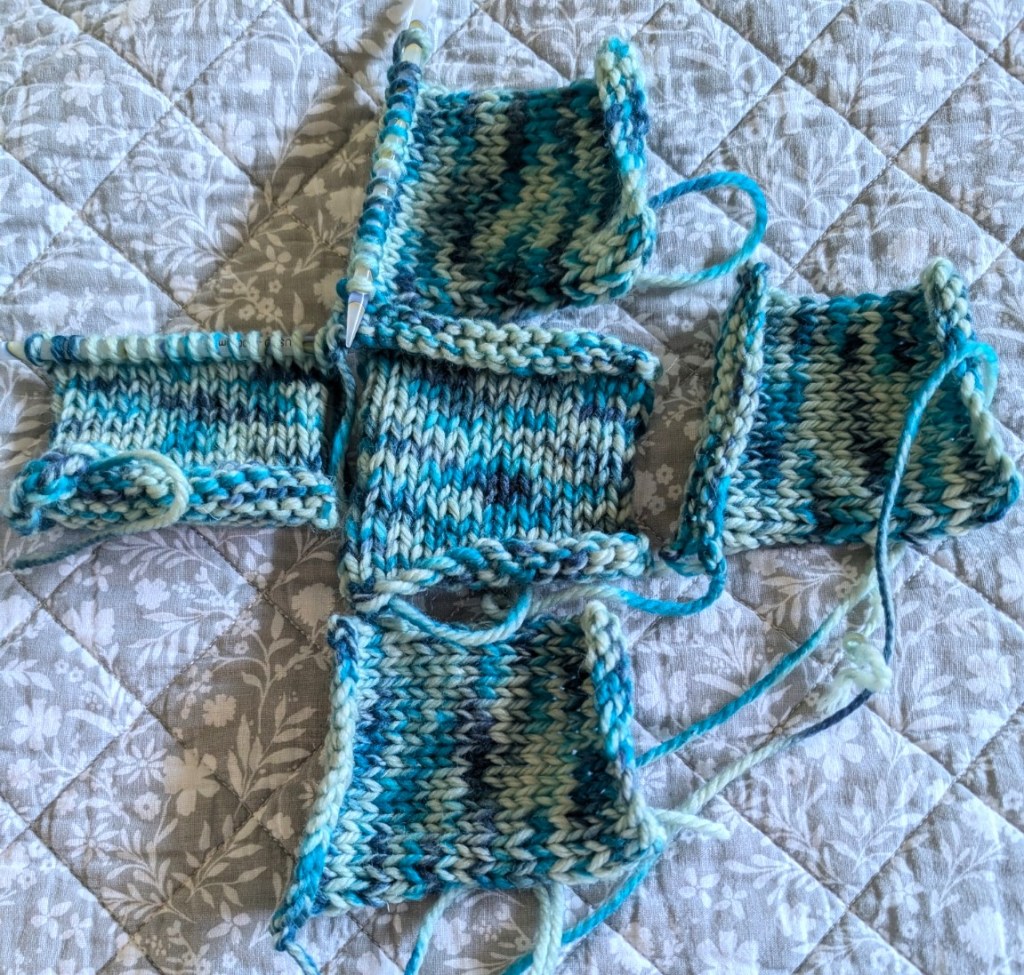
    Part 3 – Everything Else! You know, how to lengthen or shorten our knits. How to add anything after your knitting is finished. Ie Heels to tubes, afterthought pockets. Maybe some dimensional embellishments. Things to consider before we start knitting as well. Swatches, how to make and use them before we start knitting. The best place to work shaping. How to work a short-rows. All of those extra things. Which really aren’t that extra.

    Every workshop will include homework beforehand of some kind. Mostly some swatches, something to practice all of the new techniques on!

    Personal Projects
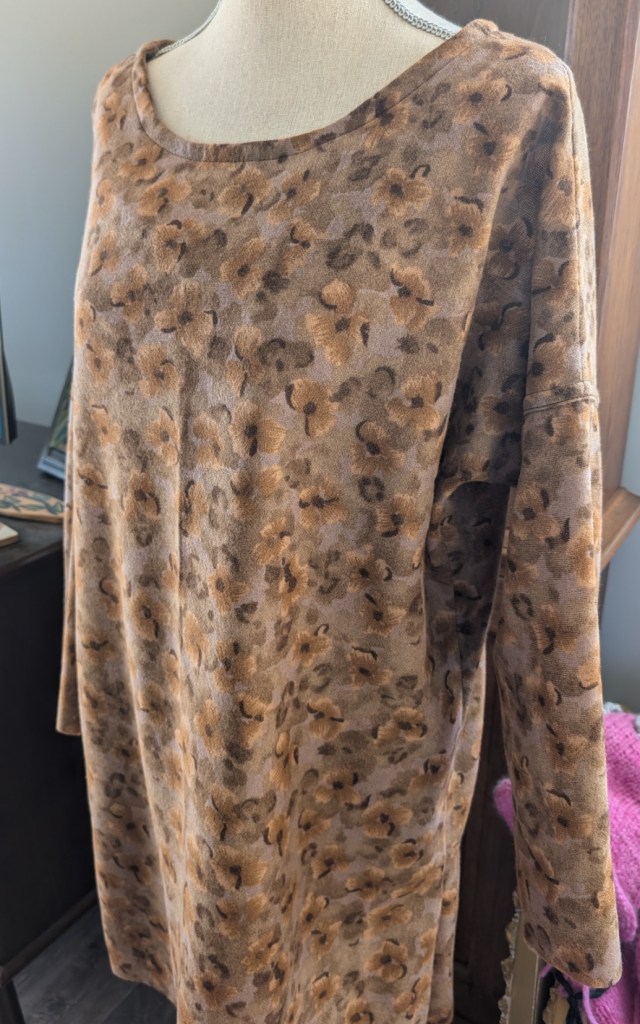
    Yesterday I cut out a blouse and a pair of pants for myself. Though apparently I made the blouse for my daughter. I missed a couple of key measures. I am really thrilled with the finishing. French seams and fine finishing on a napped wool flannel fabric. My daughter is thrilled.

    I hope that the pants turn out a little better as I know I am the only one who will want to wear them!
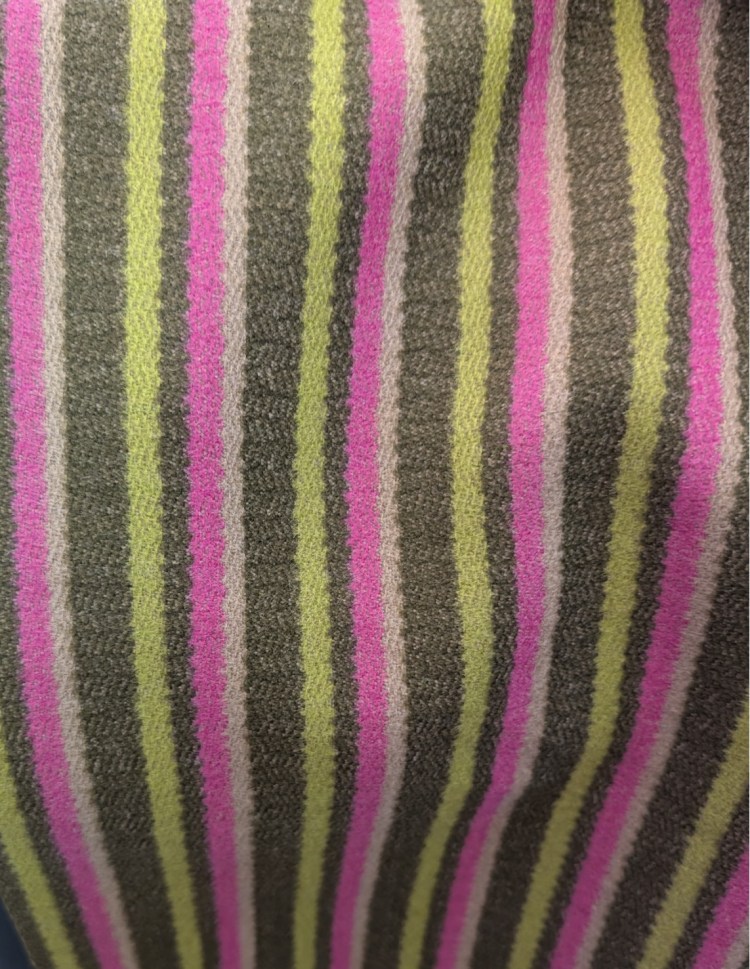
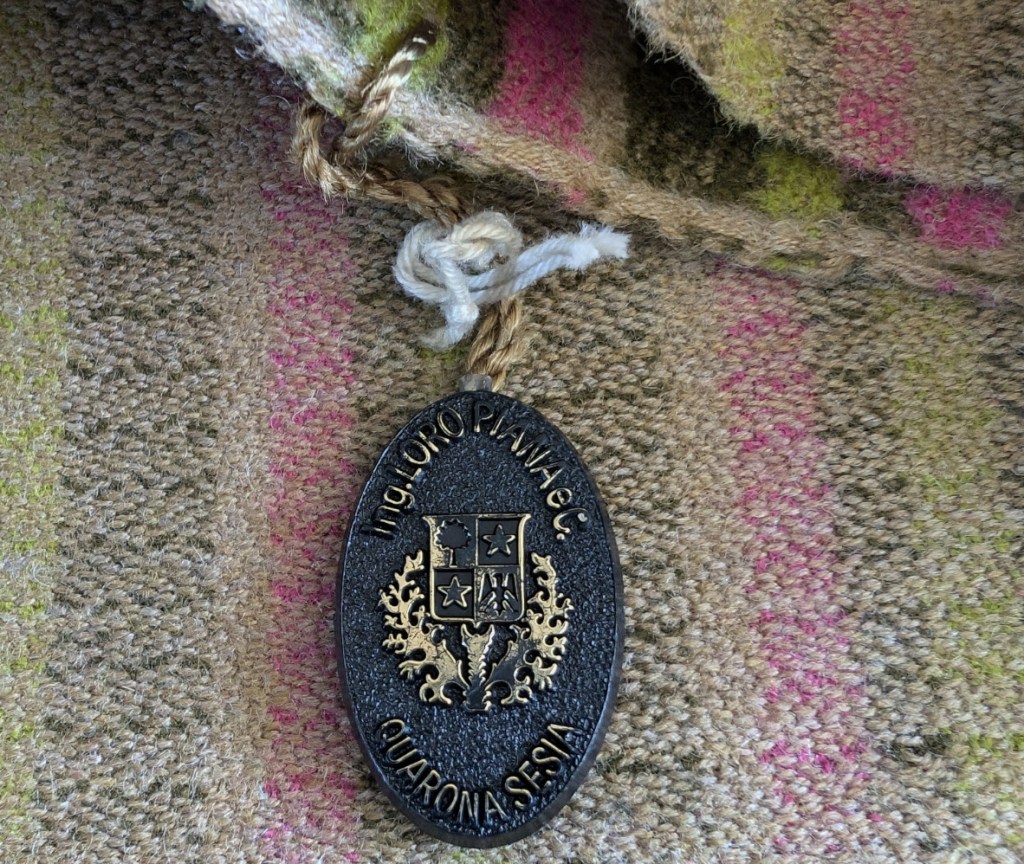
    Italian wool woven fabric. I am planning pleats in the front and maybe a button fly instead of a zipper. Those colours!

    When I was much younger I collected coins. Old Canadian and English pennies and coins from when we went to Malaysia. When I was a teenager my father gave me his coin collection. I

    As a collection it was very informal. It consisted of an old plastic tub of coins most of them from Panama and Peru. Most from the late 1950’s, from when he was in the Navy and his ship cruised those waters. I had put away my coin collection by then and wasn’t actively collecting, so I put the tub with my collection and proceeded to spend the next 50 years carrying the collection around with me.
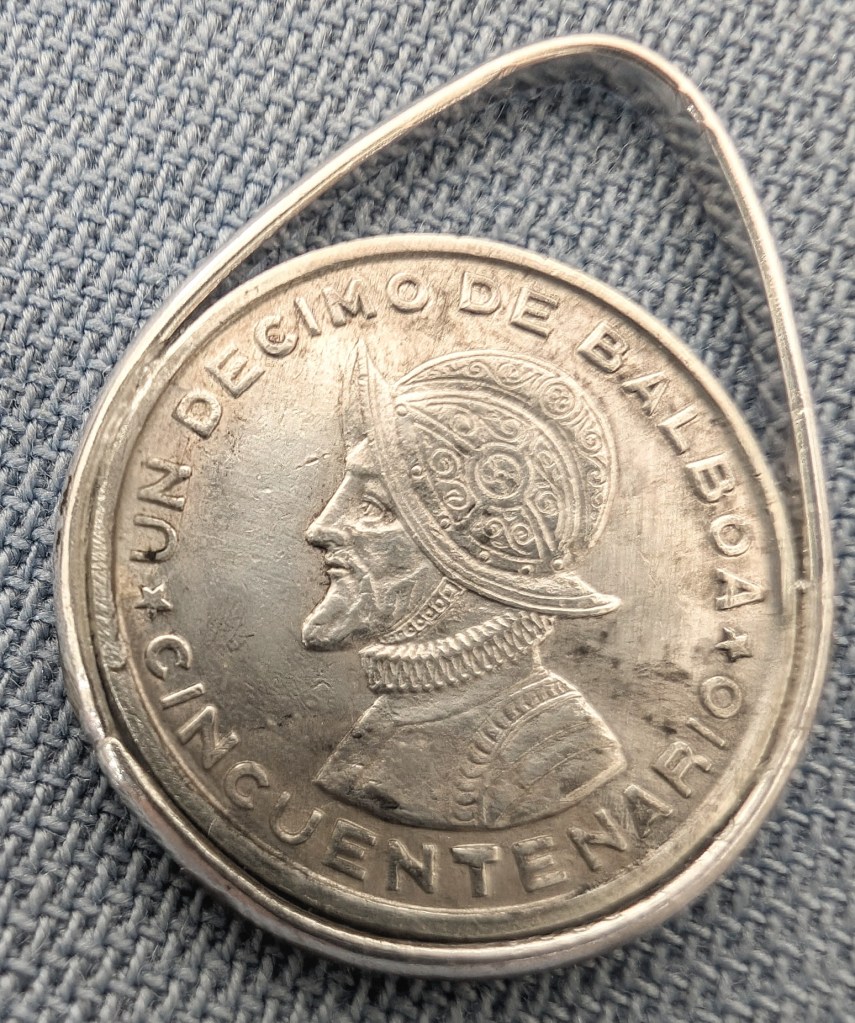
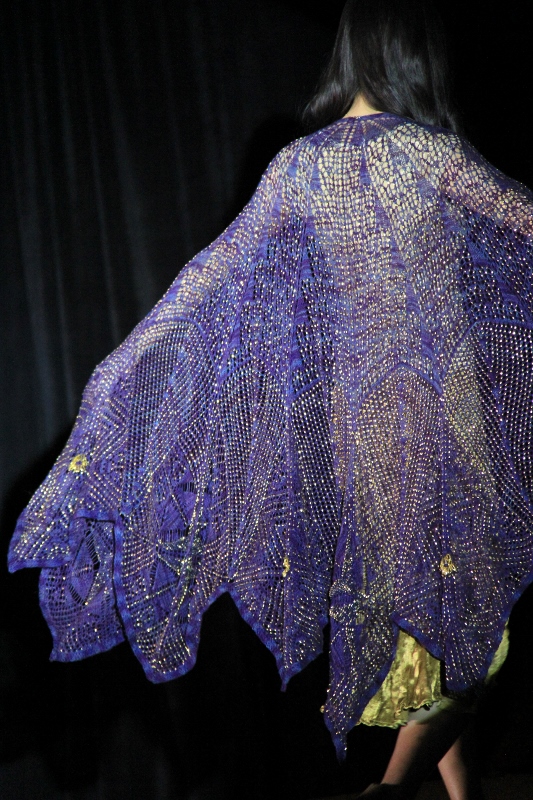
    A few months after my father passed away I hauled out that old tub and looked again at those coins. In the collection were about 30 old silver coins, all the same size and all from the Republic De Panama. I started to think of what those coins could become. I wanted to use them as embellishments on a shawl, So, I took the coins to my Silversmith friend Joan and left it with her.

    I think that this will be an interesting way of creating a unique piece of knitting while honouring my memories of my father.

    The Shetland Project

    Remember this one? Well it was put on hold while I waited for the book and then it arrived and needed to be examined for new ideas. Which I really couldn’t find. I was in an odd headspace I think. I was looking at my knitting, on the 1.75mm US #00 needles, and thinking it was too loose. I had to get my head around that. So, yesterday I also ripped out my little bit of knitting and put away the the 1.75mm needles and pulled out the 1.0mm US #00000 needles and cringed. I have never, ever, knit with anything that small. So sometime in the next week I will be casting on a new project.
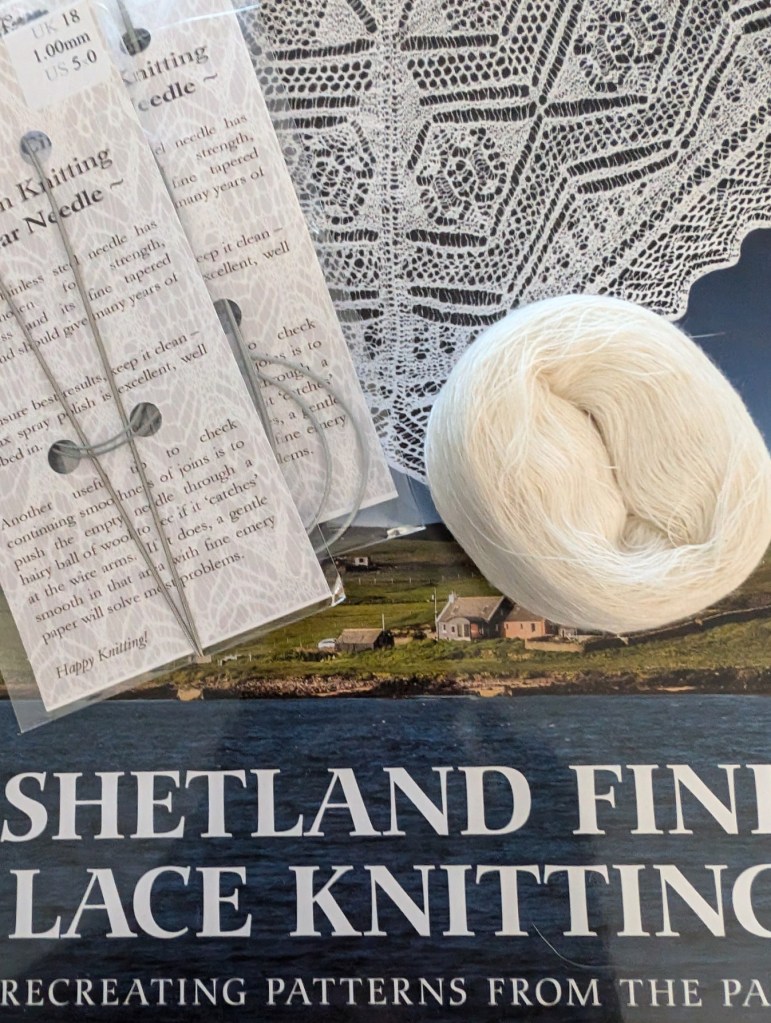
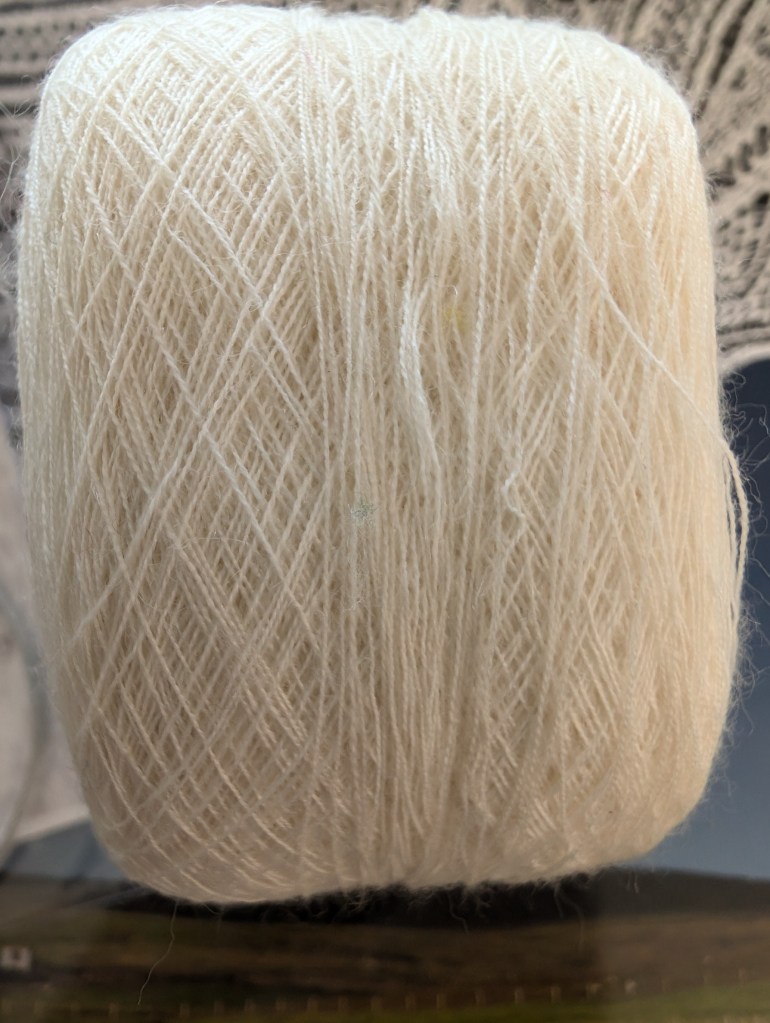
    Still trying to get my head around that as well. Do I order more yarn, or do I design a smaller project. Still thinking on it!

    Knit Dress with Me

    This one has been on hiatus for a while, but I am planning on picking it up at the end of the month. I am not far off the waist and I am hoping to reach the shoulders around Christmas.
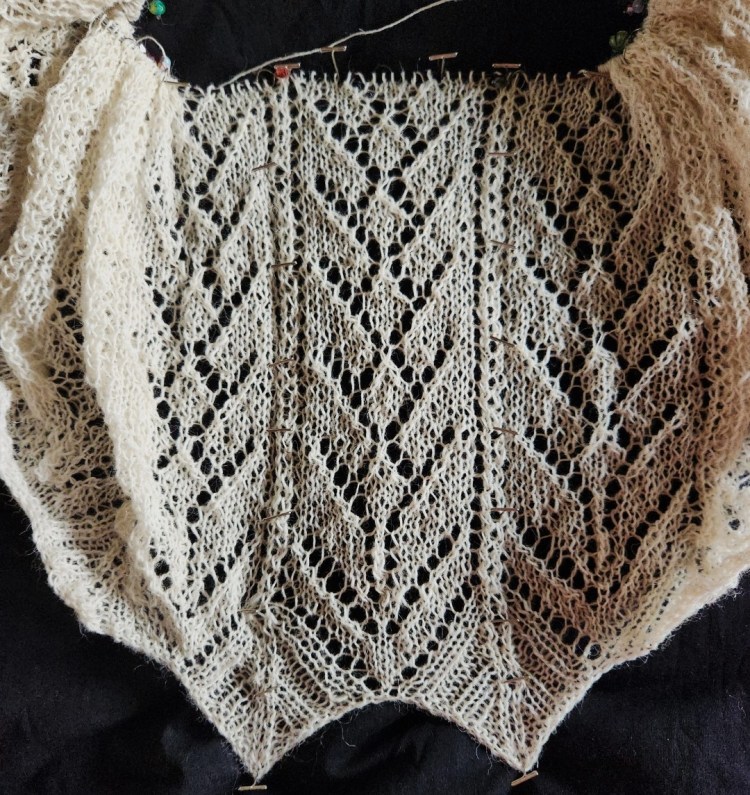
    There are other projects in the background and more classes to share, but that can be for another day!

    Happy Knitting

    Lynette
  • Progress

    Progress

    On to the next section! Acorns and Oak Leaves!

    I hope that you have a wonderful day!

    Lynette

  • East Coast Thrumming

    East Coast Thrumming


    What is Thrumming?

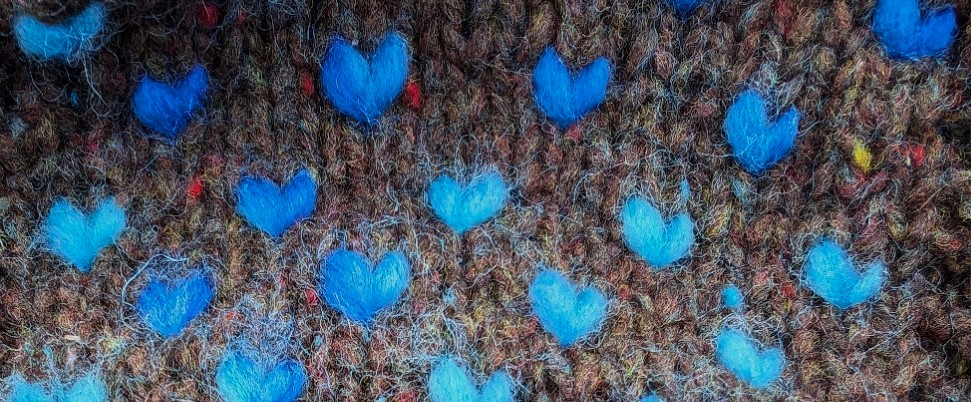
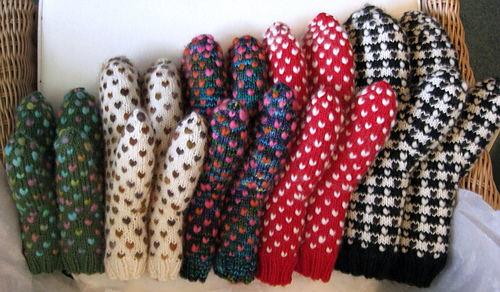
    Thrumming was born in Newfoundland, off the east coast of Canada.  It is a technique for adding a layer of wool
    roving to create a very warm and almost totally wind and waterproof mitten.  Pieces of roving are knit in to
    individual stitches with the extra length of the roving remaining inside.  With wear, these rovings’ felt, creating the
    barrier needed to protect hands from the icy winds.

    It is really important to note that thrumming works best when knit with non-superwash wool and non-superwash sliver. The scale on the surface of both fibers work together to bond and keep the fibres from separating.

    Thrumming in action

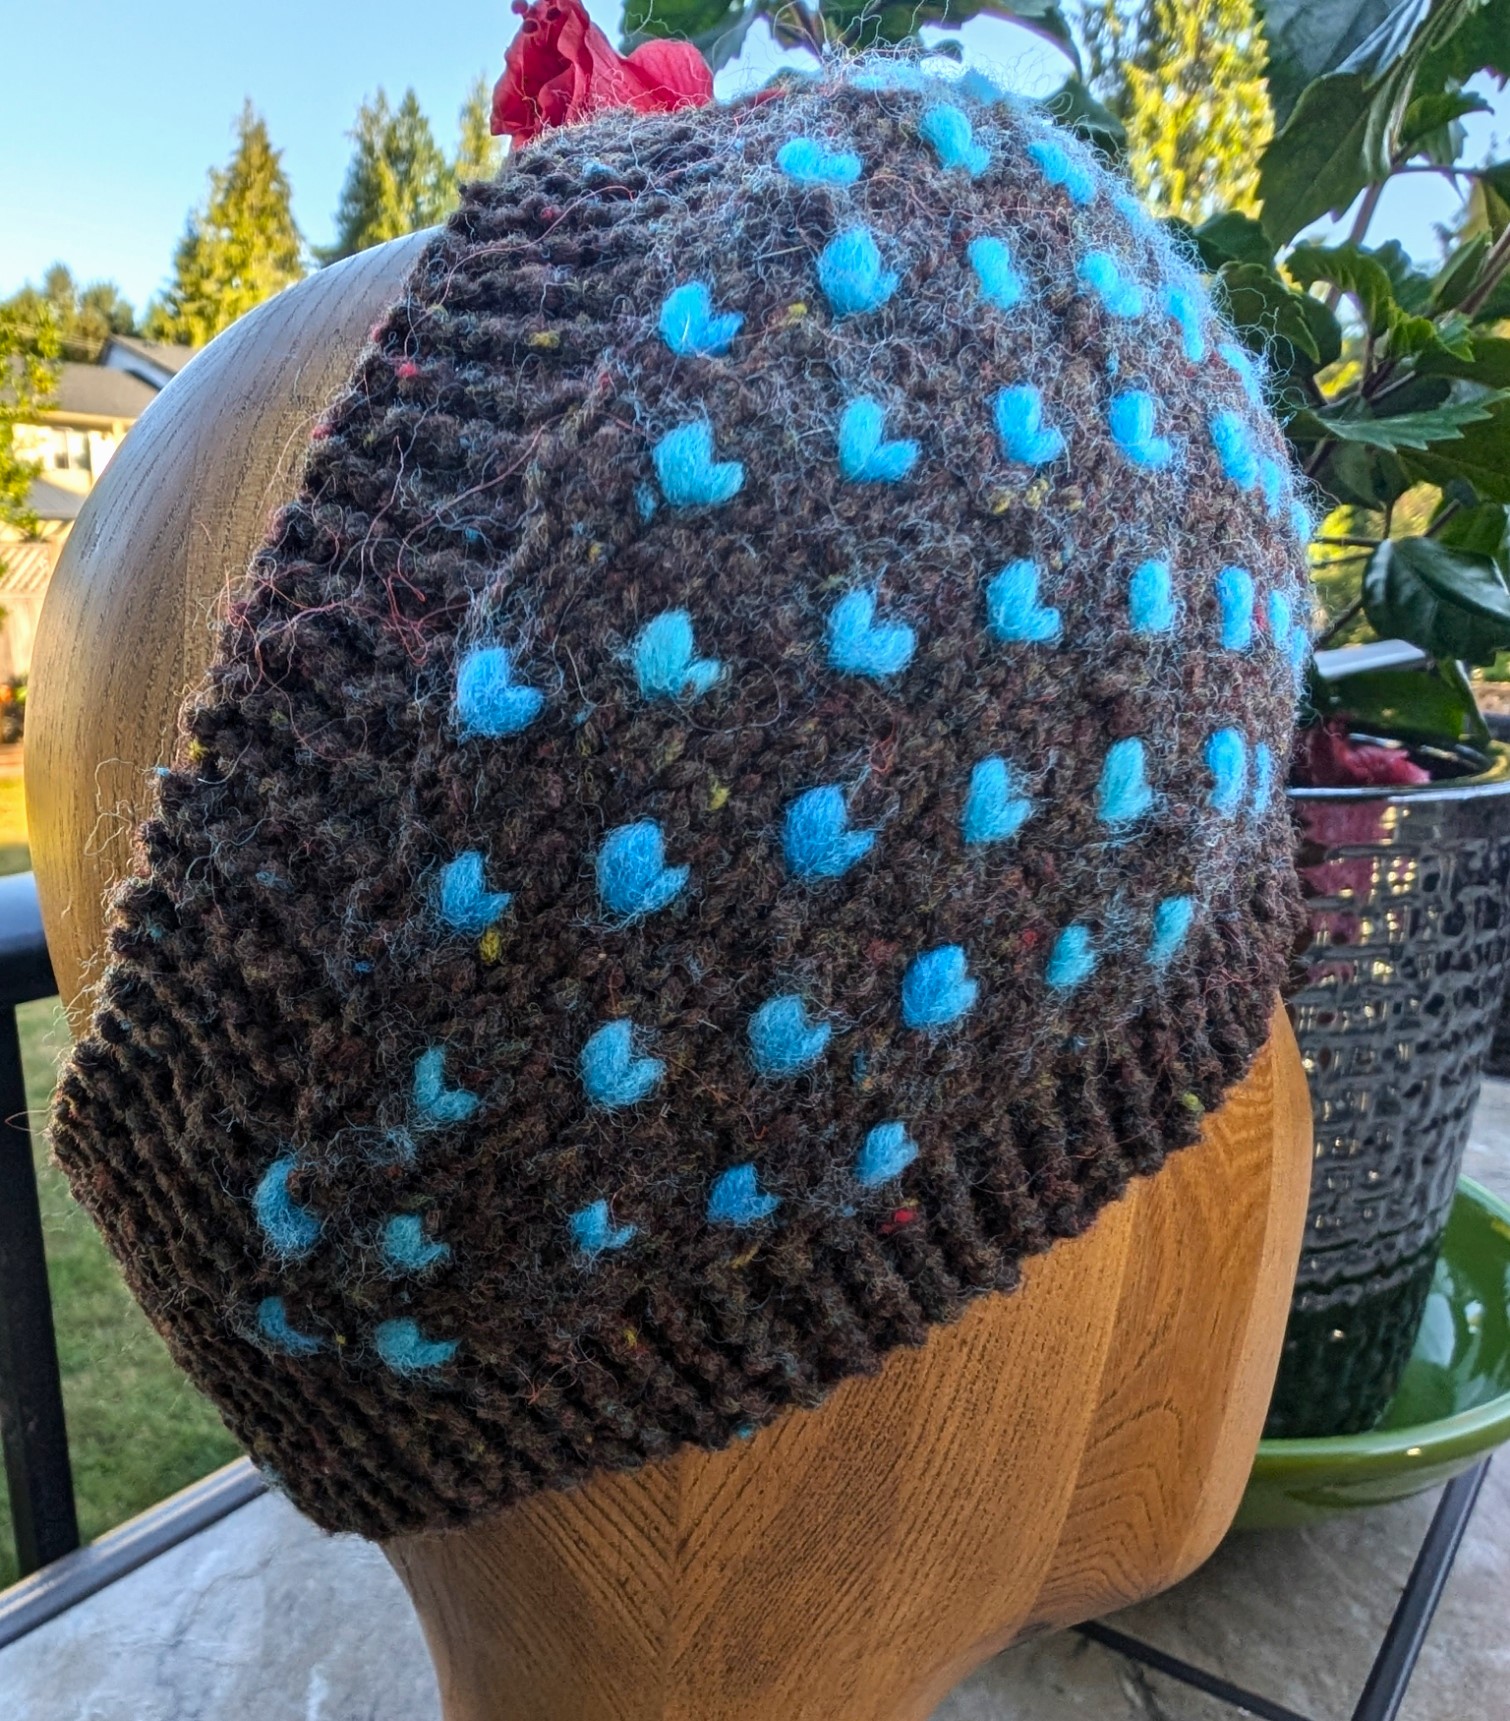
    Thrumming can be used for items other than mittens as well. Hat, slippers or a headband (which I am currently designing). And I am thinking of designing a vest. A double sided, thrummed vest would be perfect for our climate.

    Happy Thrumming

    Lynette

  • What’s Now? What’s Next?

    What’s Now? What’s Next?

    Tomorrow we are going to Surrey (across the big water). The World Men’s Fastball Championships are there. So we are going for a day of ball! I am going to be knitting as well as watching and there is nothing like Ferry travel to enhance one’s knitting time!

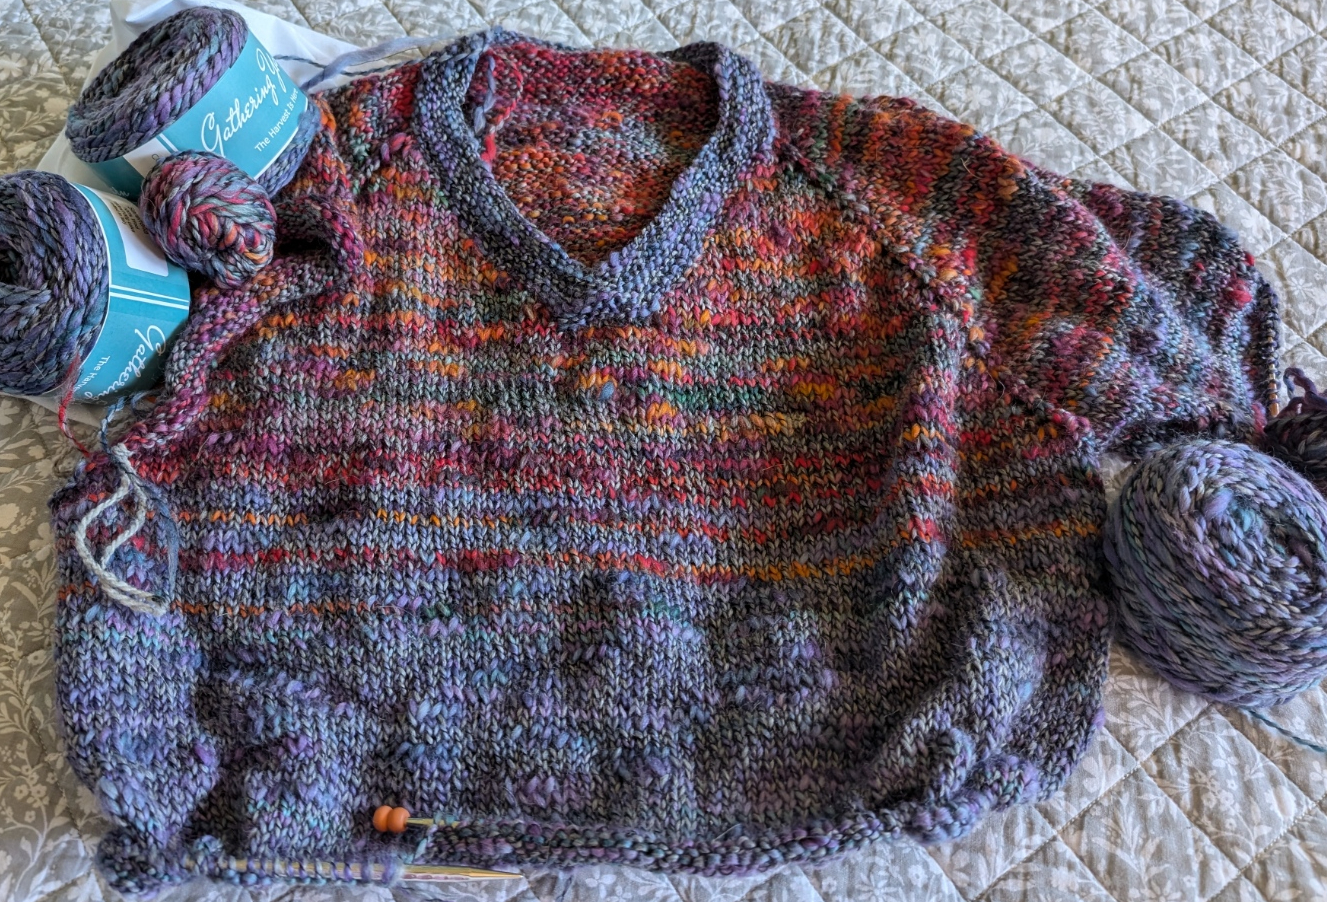
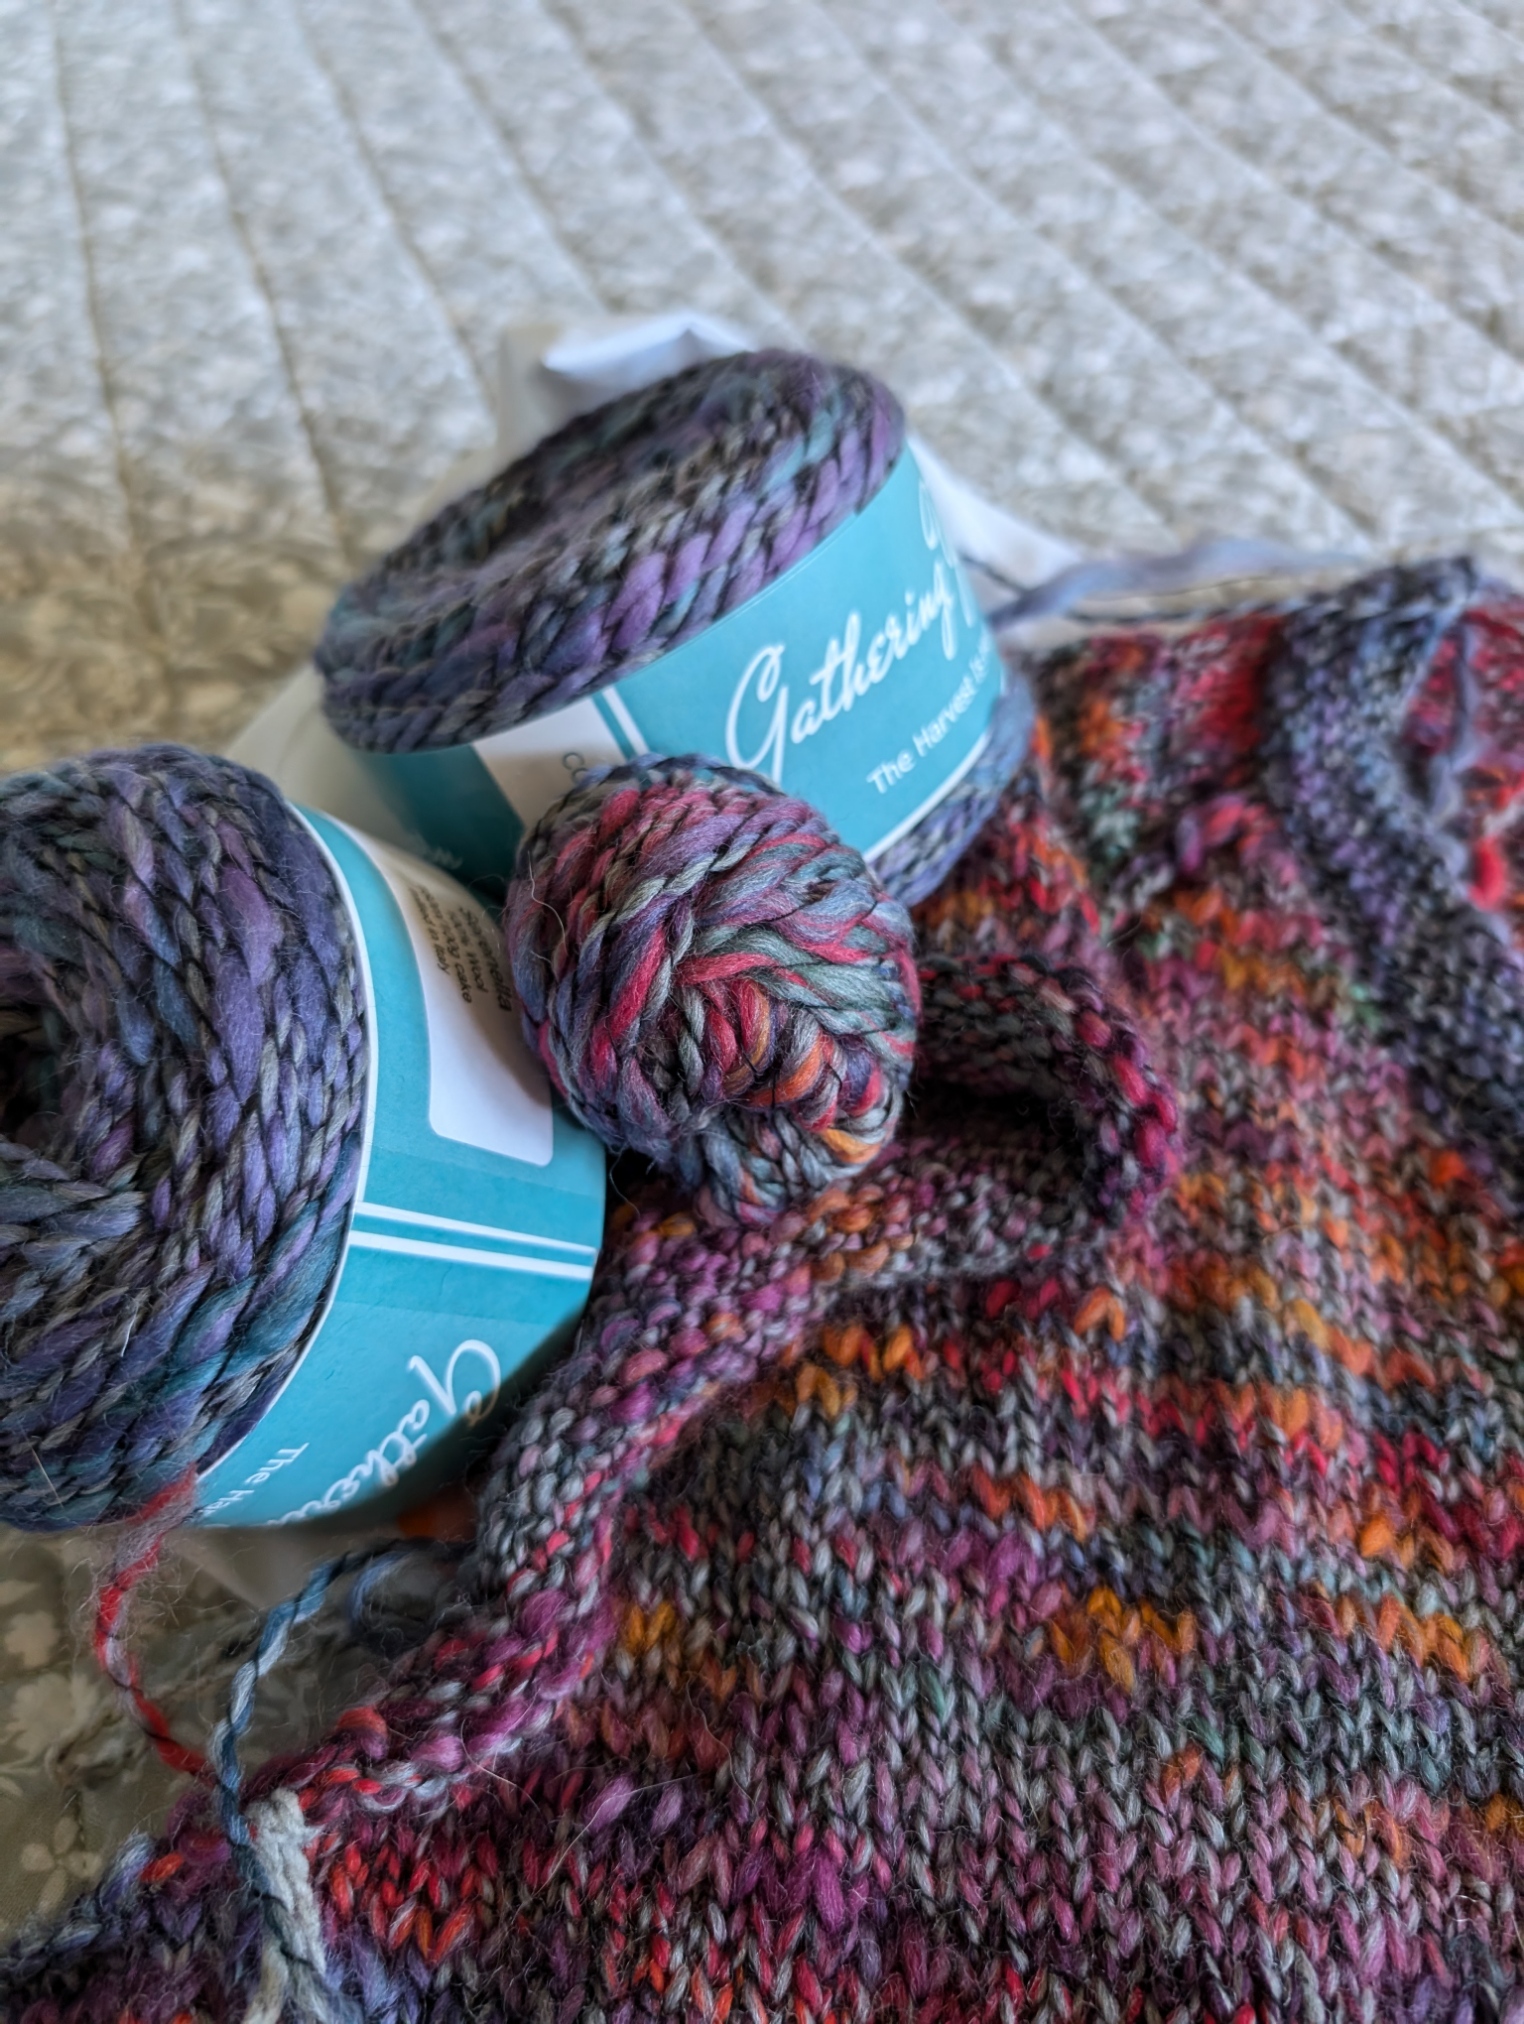
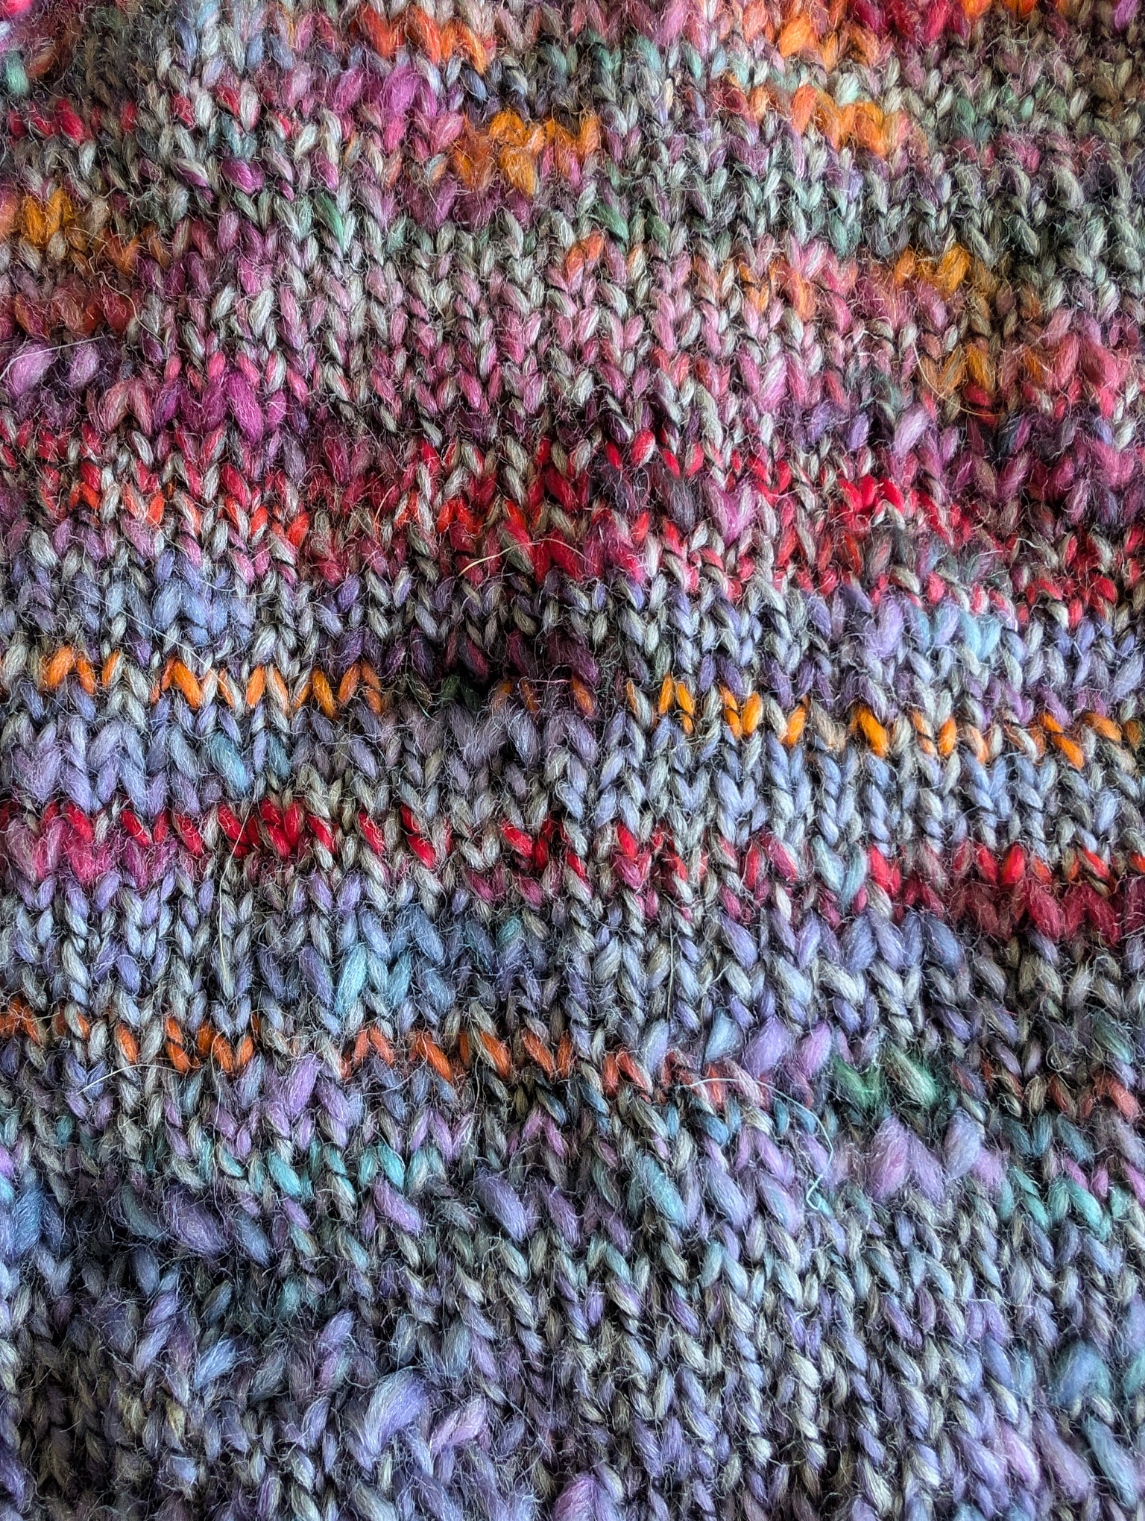
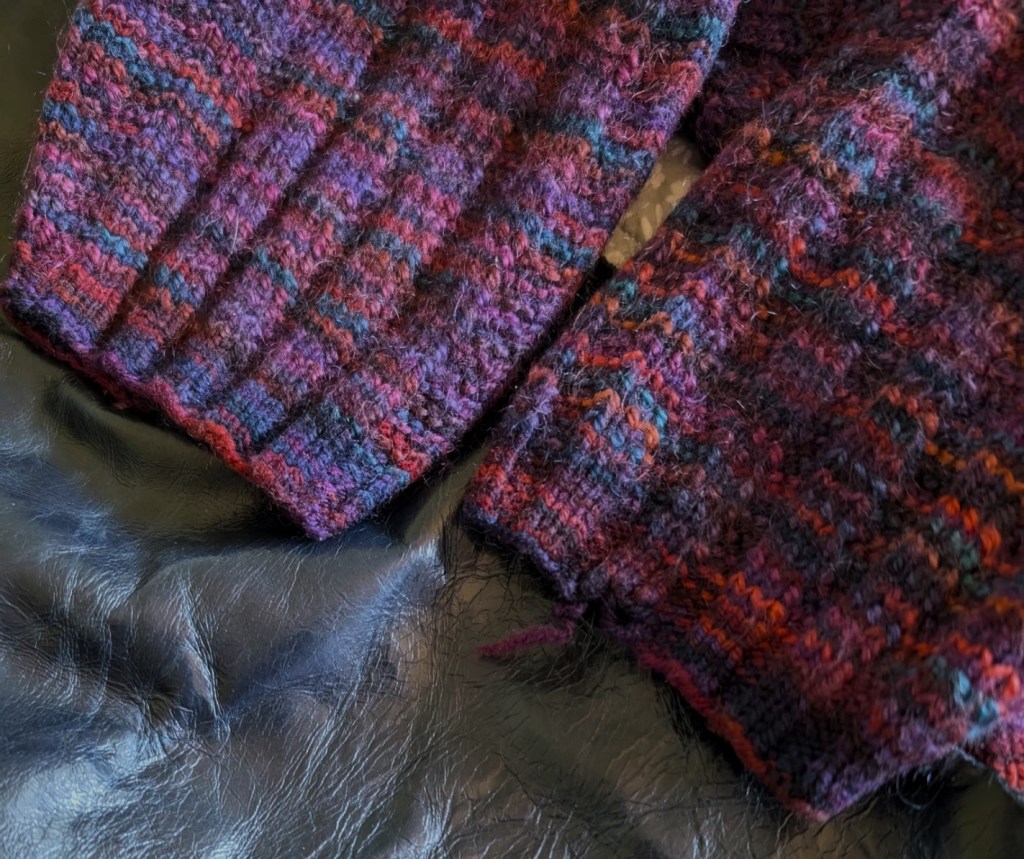
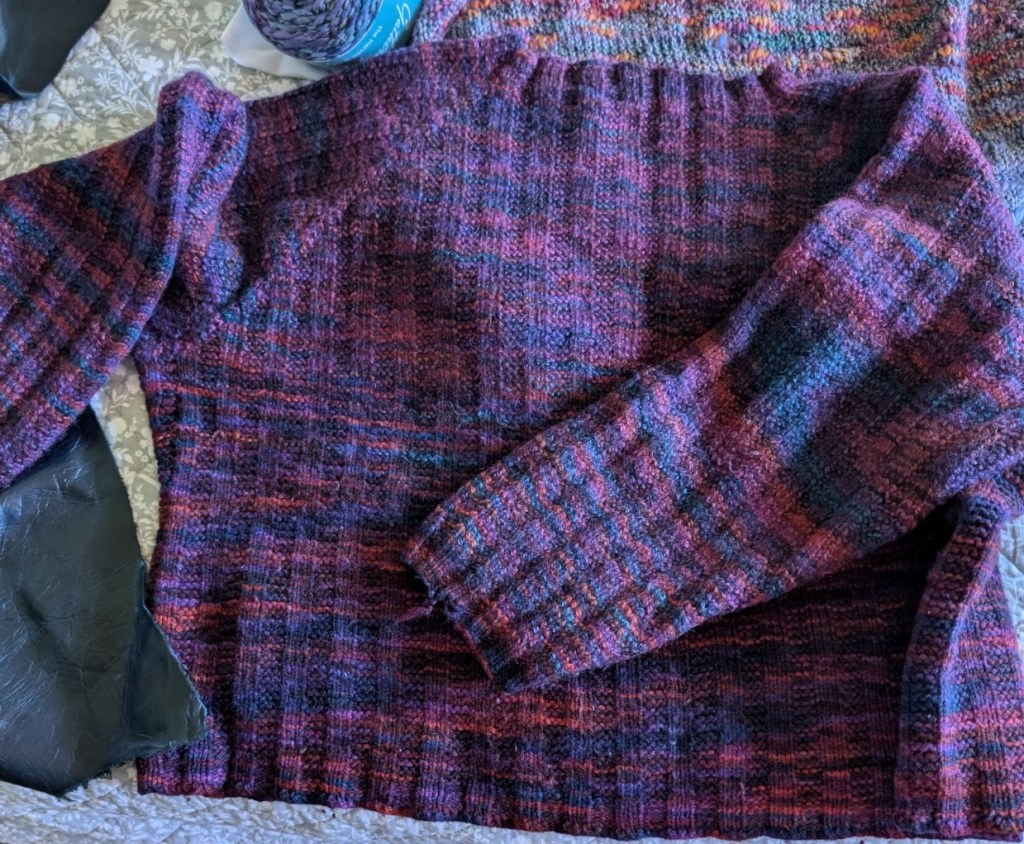
    I will be taking a half knit sweater for myself. I started it a couple of years ago with some beautiful Italian Wool from Gathering Yarns. Just a basic top-down v-neck and since the yarn was limited I had to get creative with the colours. Just some simple striping but it is very effective with the slightly varigated colours.

    It is such a rich yarn, full of texture and the two colours are blending beautifully.

    Why wasn’t it finished a while ago? Well, one time when I tidied, the project went in one place and the yarn went in another. I would find one and never the other. So this time when I found the extra yarn I put in on my desk, after I had cleaned it up and had a clear surface! Remember that big clean up? Yesterday I stumbled across the project! A match! And it is so close, arms and maybe a third of a body and it is chunky!

    Looking for the next project? I seem to be in constant search lately. I have several projects on the go. My main focus is the Greenman Shawl and it is really taking over. I am already planning the next section. But I do need to look to my classes for work as well. What is your next project?

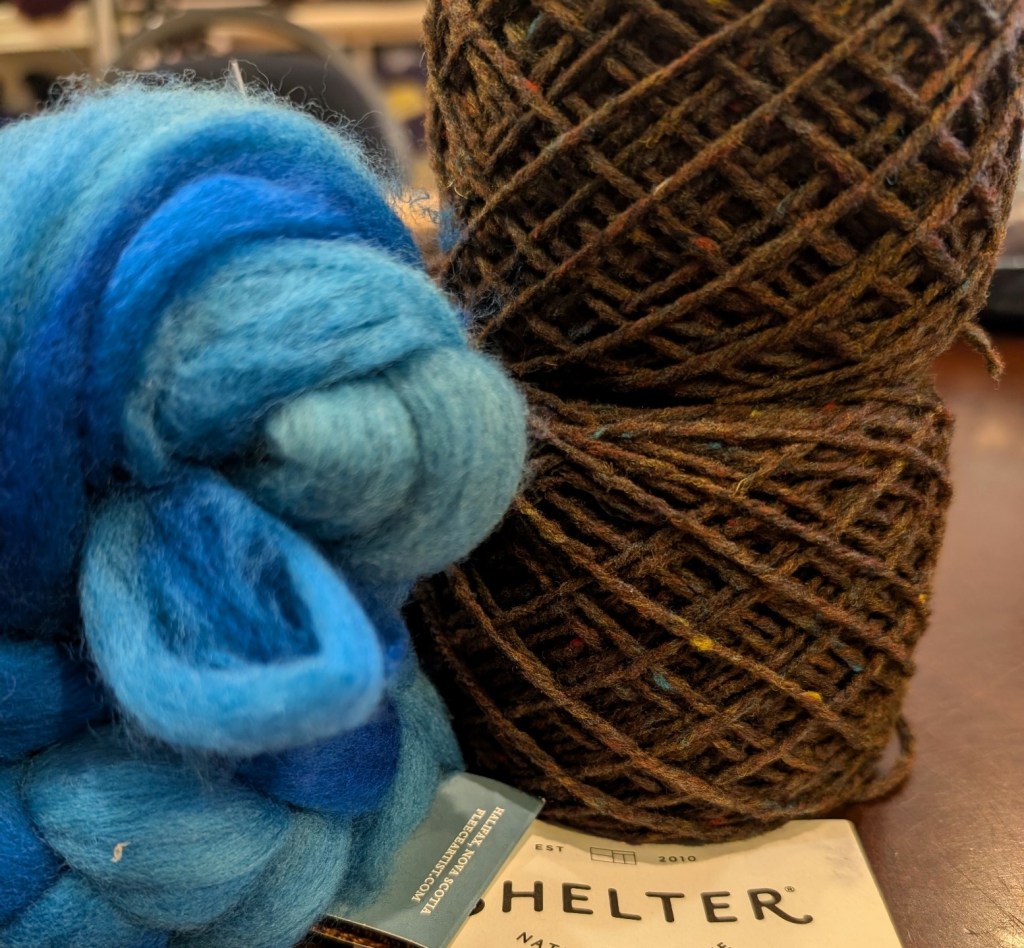
    I am working on the thrummed mittens to go with the headband. I do enjoy thrumming such a relaxing way of working in colour. And I love the wool I am using, Shelter, by Brooklyn Tweed.

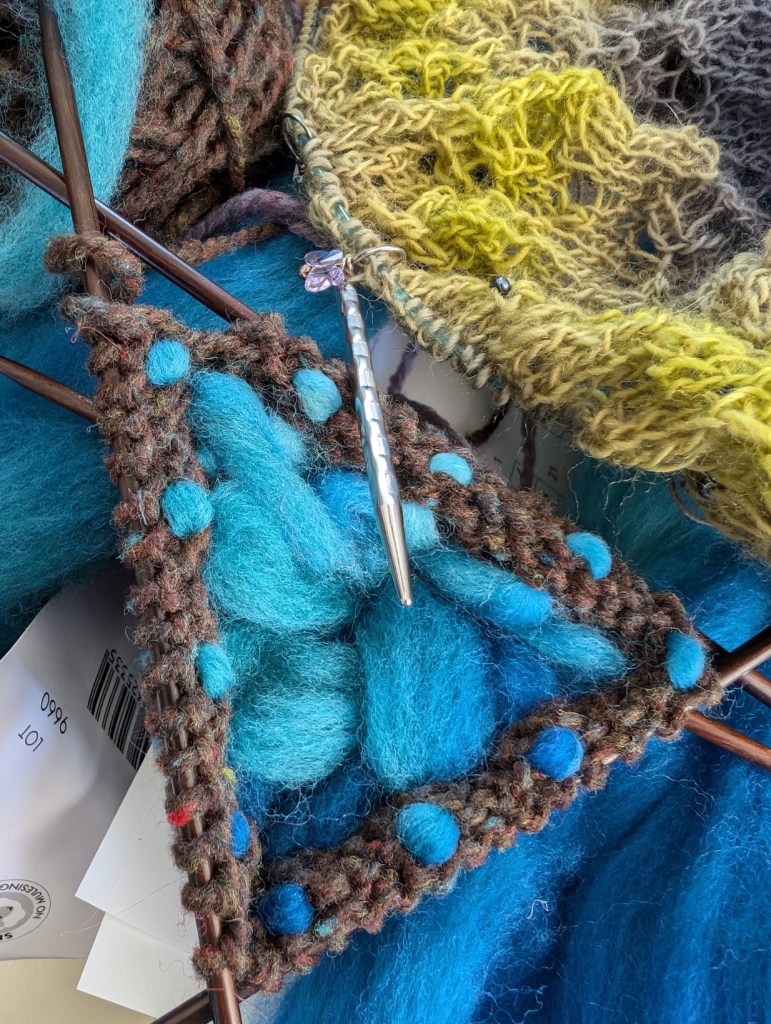
    Look deep into my mitten. Doesn’t it look warm and cozy?

    And for something new I am going to try to finish off the sleeves of an old sweater. Knit with Mountain colours hand dyed Weavers Wool it is gorgeous. It is now slightly felted and starting to wear at the end of the sleeves. So I am going use an old English (or European Technique of finishing things that wear with leather. I found an absolutely stunning piece of leather from Gala Fabrics last time I was there. It is a glorious shade of blue and is perfect!

    Has anyone tried this technique? Any tips!?

    I hope that you are having a great day!

    Happy Knitting

    Lynette
  • Class Samples

    Class Samples

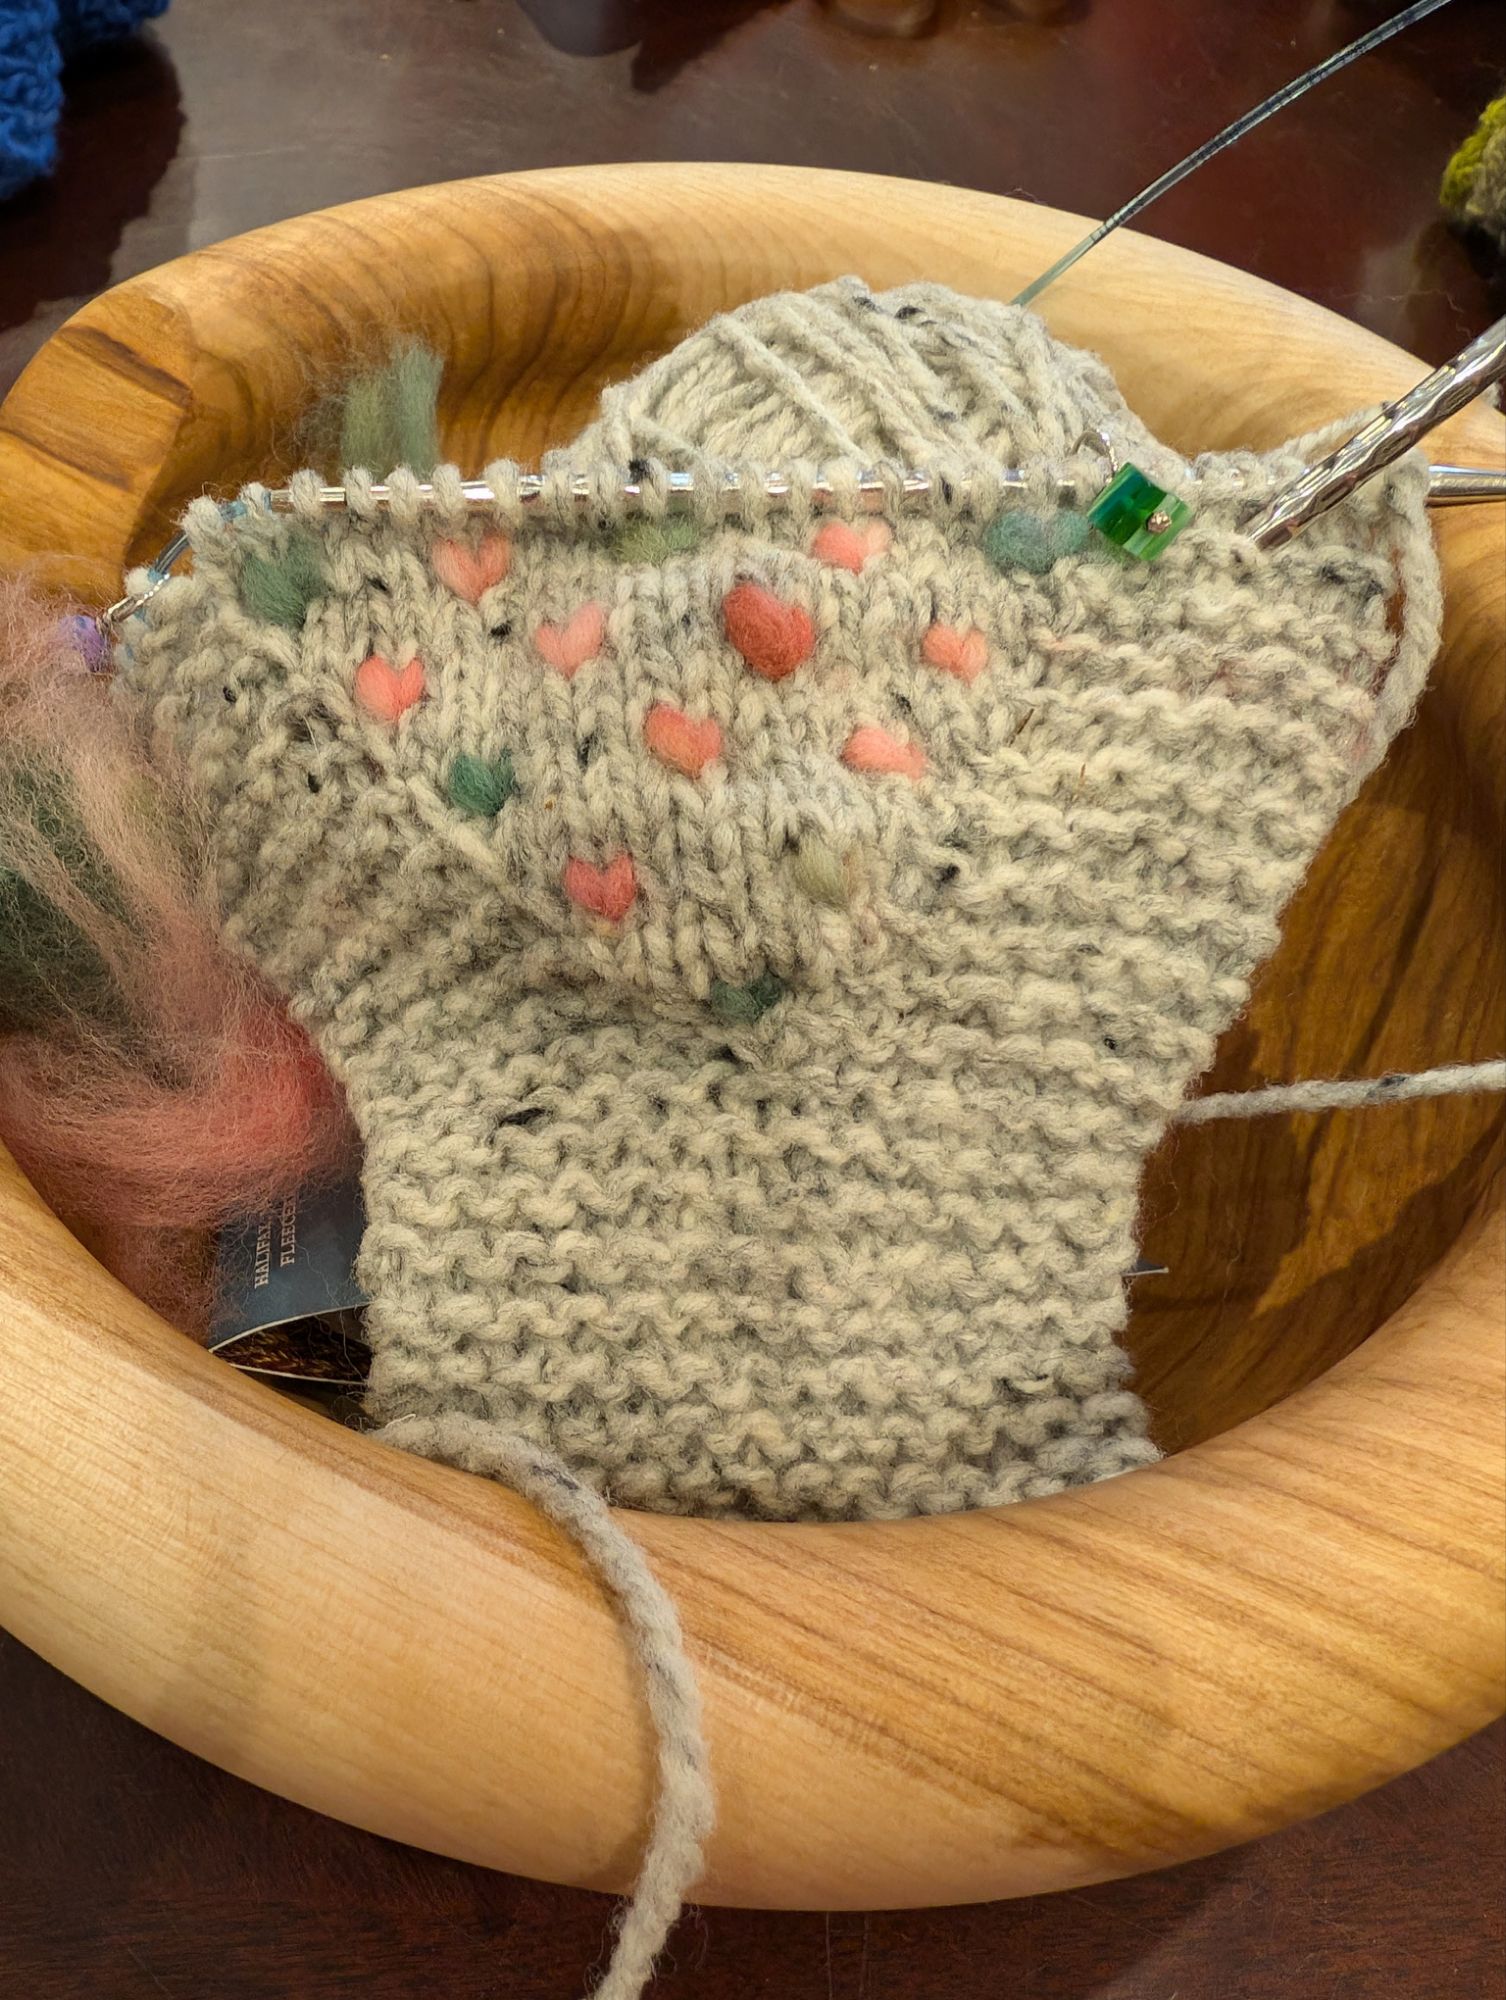
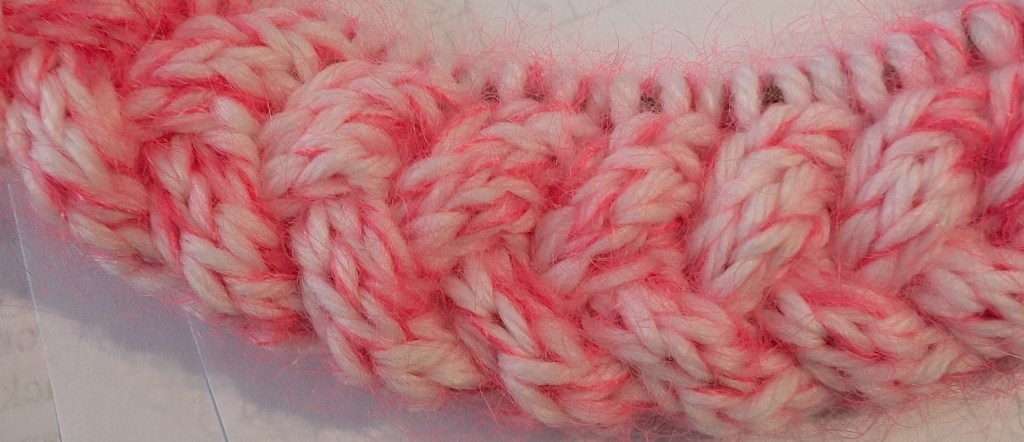
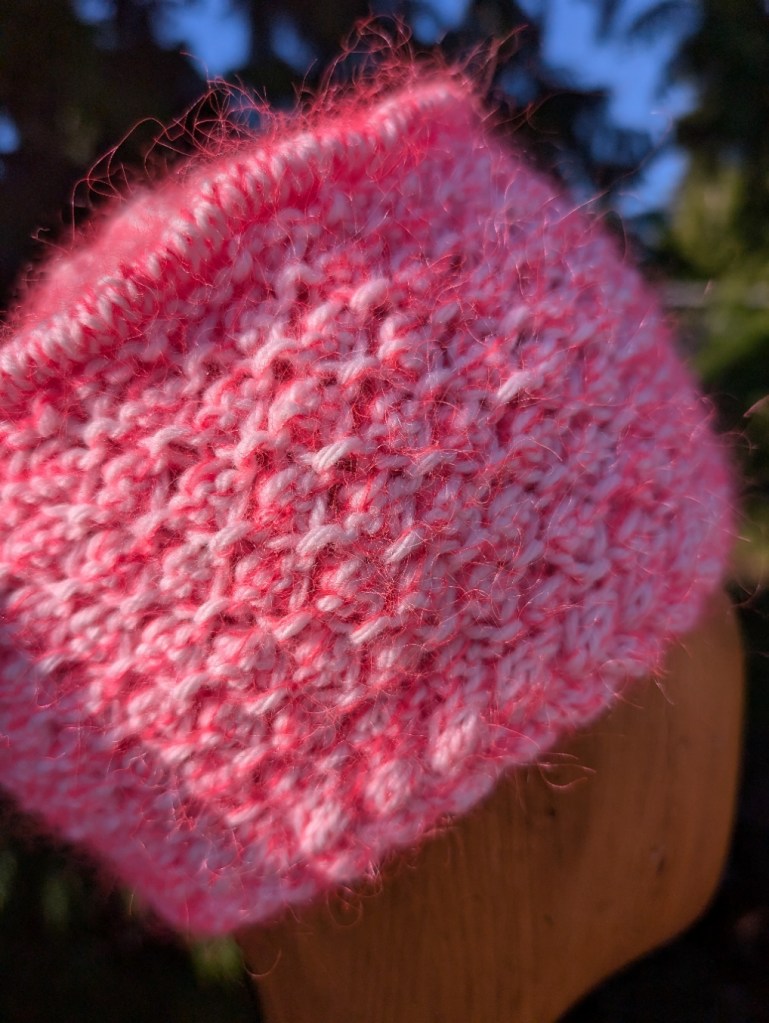
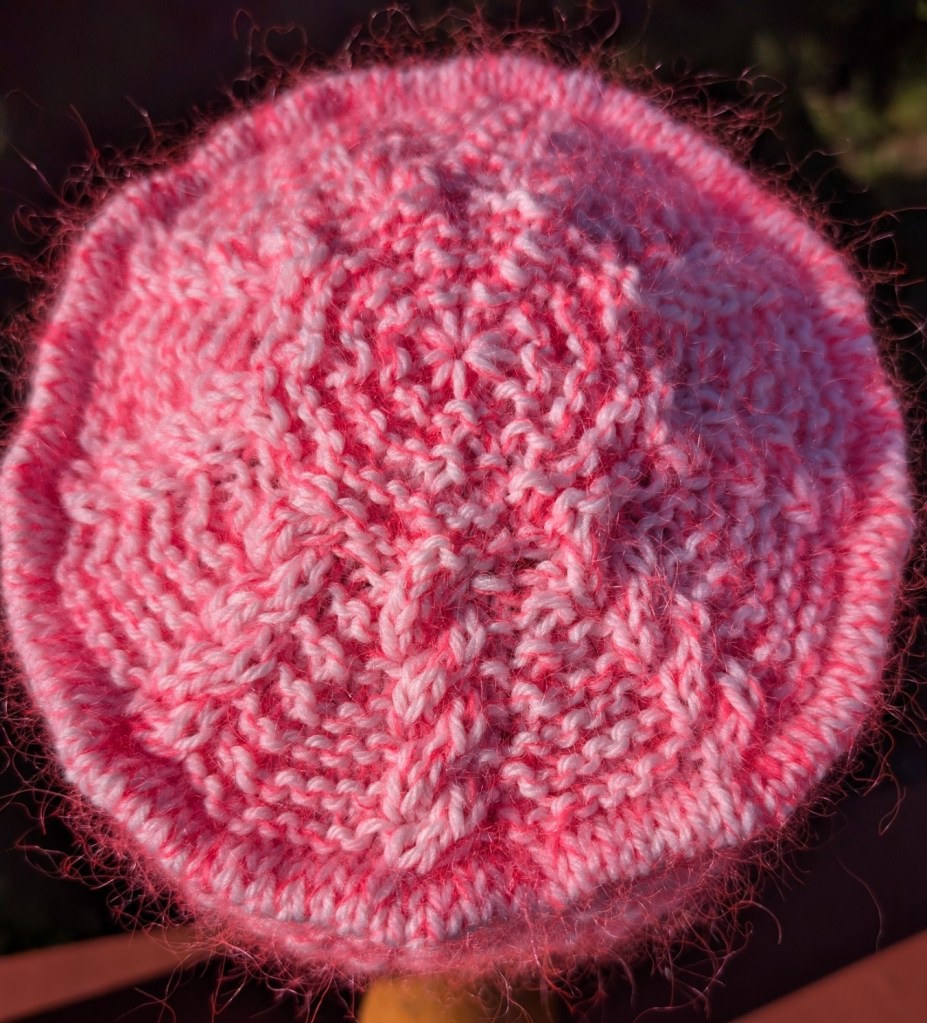
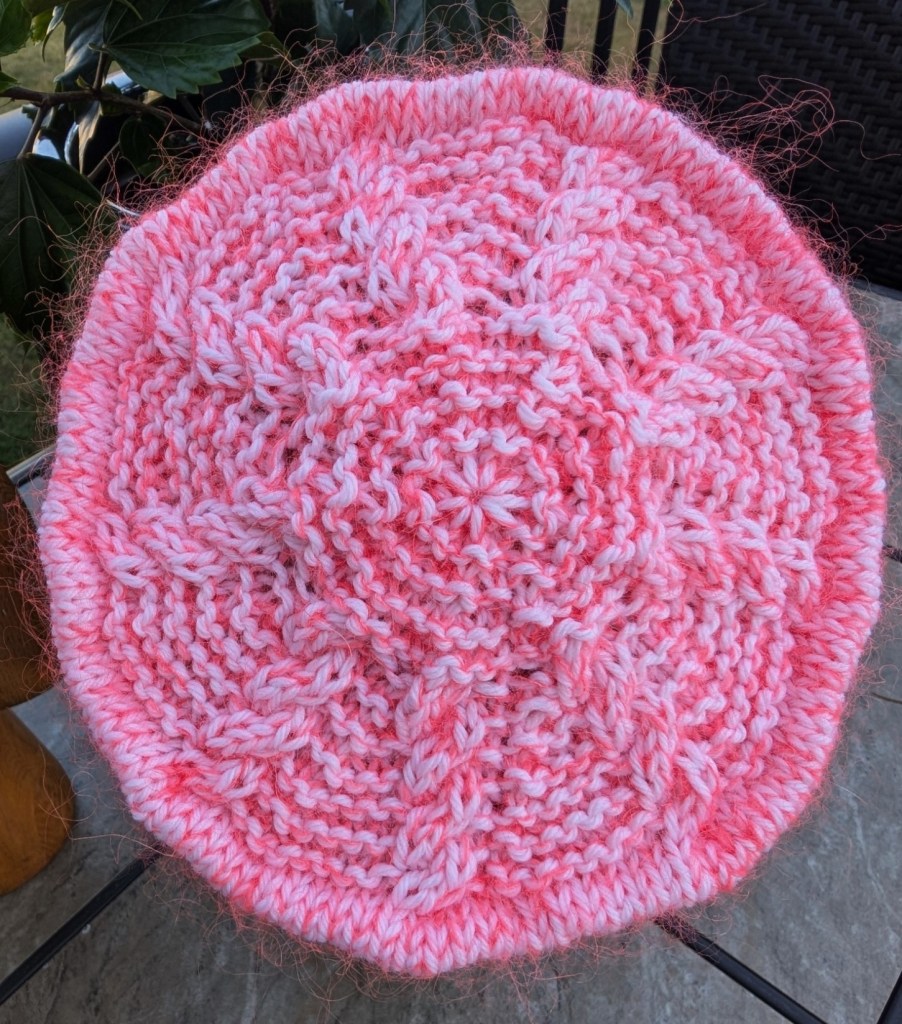
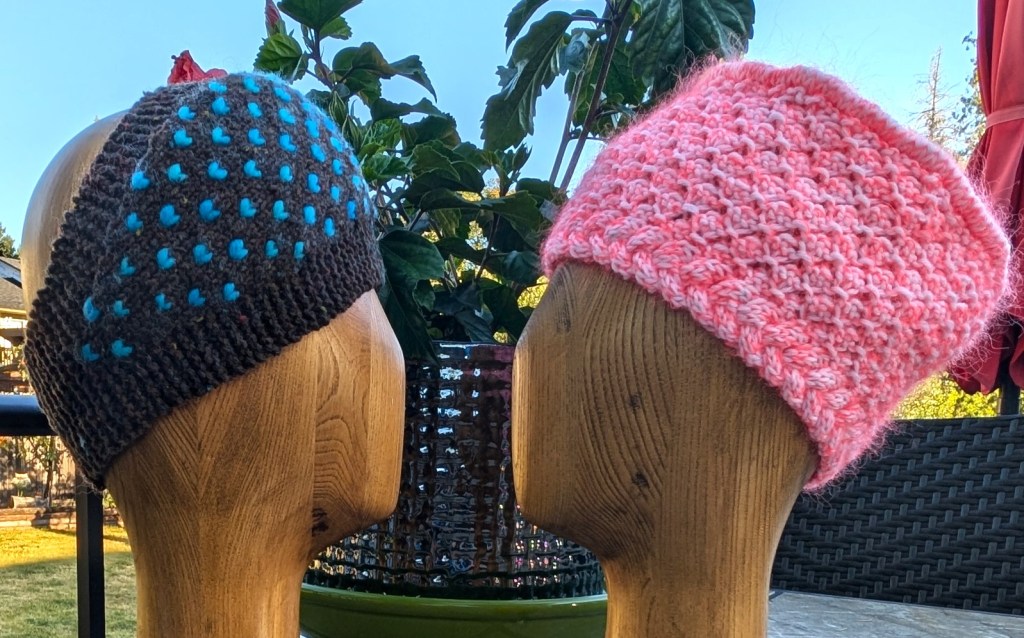
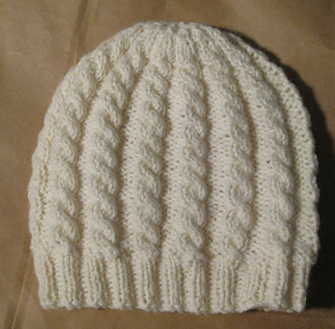
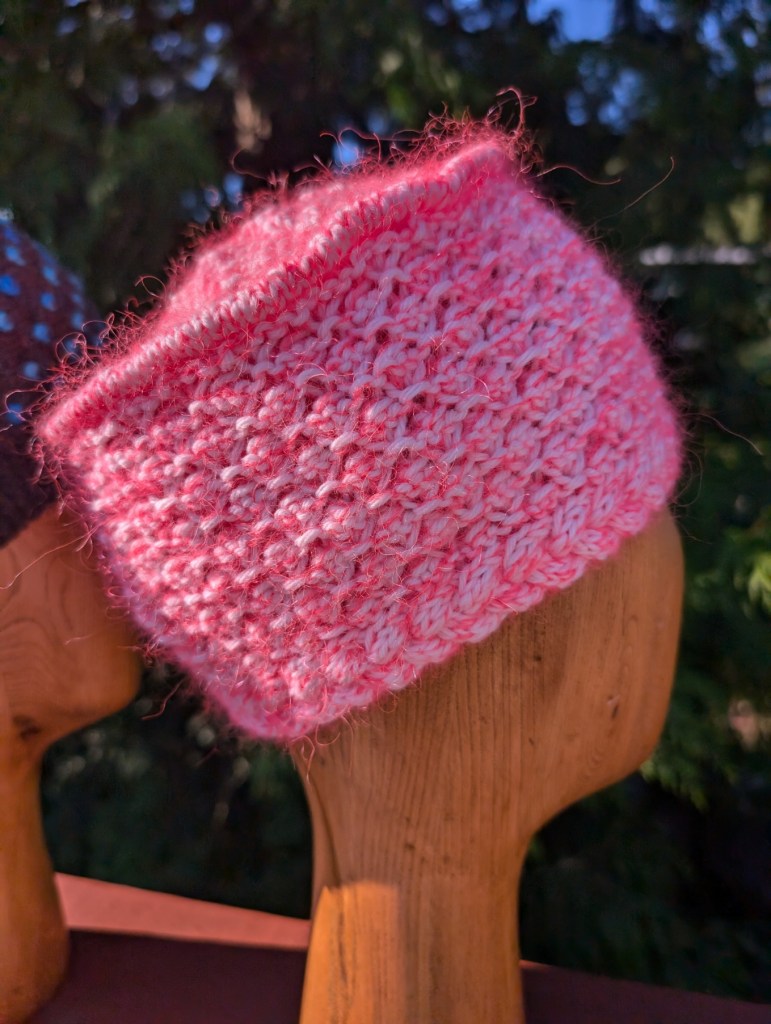
    I have finished two of the class samples. Still at least three more to go! I am happy with the results so far! They include a thrummed headband and a cabled pillbox style hat. I took the pictures in different lighting conditions, just to see how the colours would change.

    I have no name for the headband pattern, but the pillbox is going to be called Candy Cables – just something about the colour. The white base with the glowing peach mohair looks like candy to me. Check out the mohair halo – so pretty!

    I hope that you have a great day!

    Happy Viewing!

    Lynette

  • Fall Classes – Working on Samples and Dreaming up Ideas!

    Fall Classes – Working on Samples and Dreaming up Ideas!

    First up – Thrumming

    Have you ever made thrummed mittens? Or slippers? Well I am working on a Thrummed Headband. It has an easy shape and will be easy to learn the technique so that you could make mittens or slippers if you wished!

    2) Cables

    A simple cable hat?

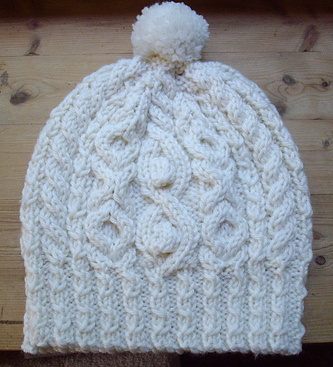
    Or maybe a not so simple cable hat?

    How about a reversible cable scarf? As you can see this idea is still in the very early stages!

    3) Maybe something more long term, with once a month meeting/classes.

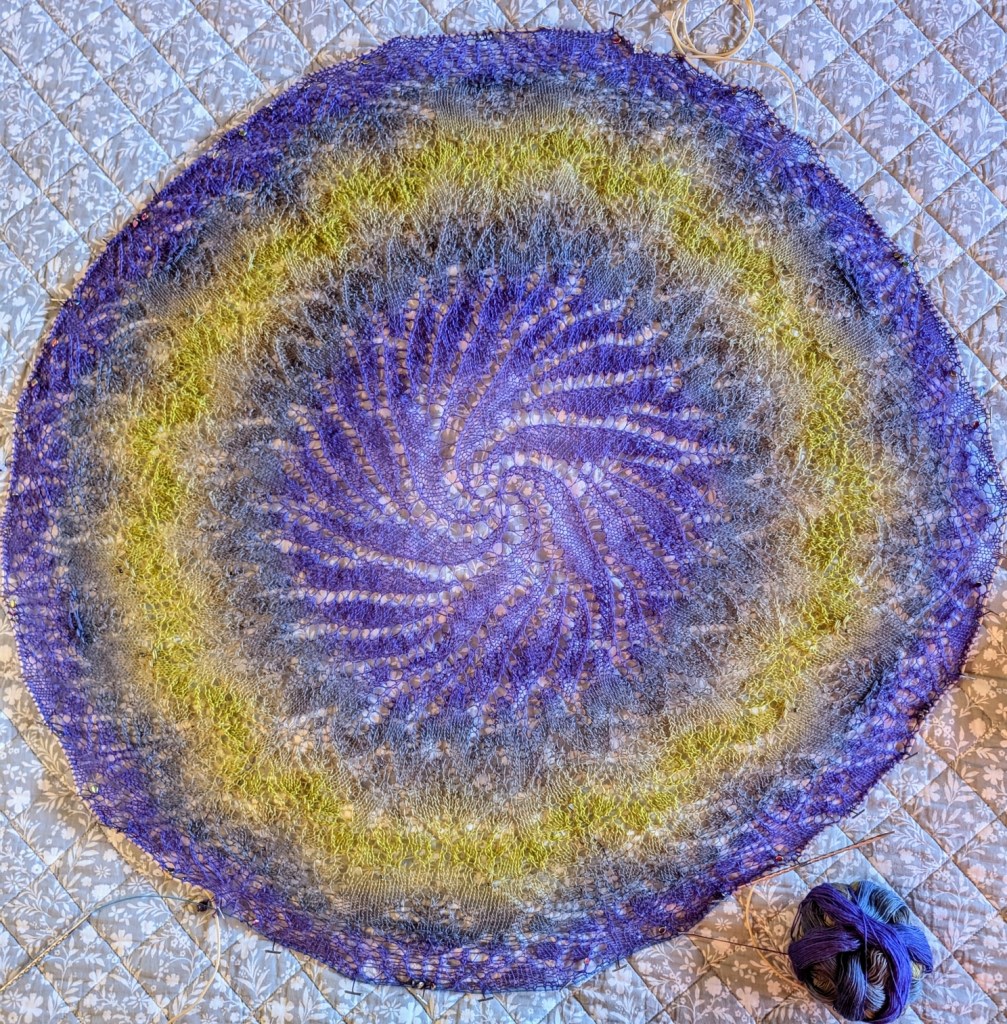
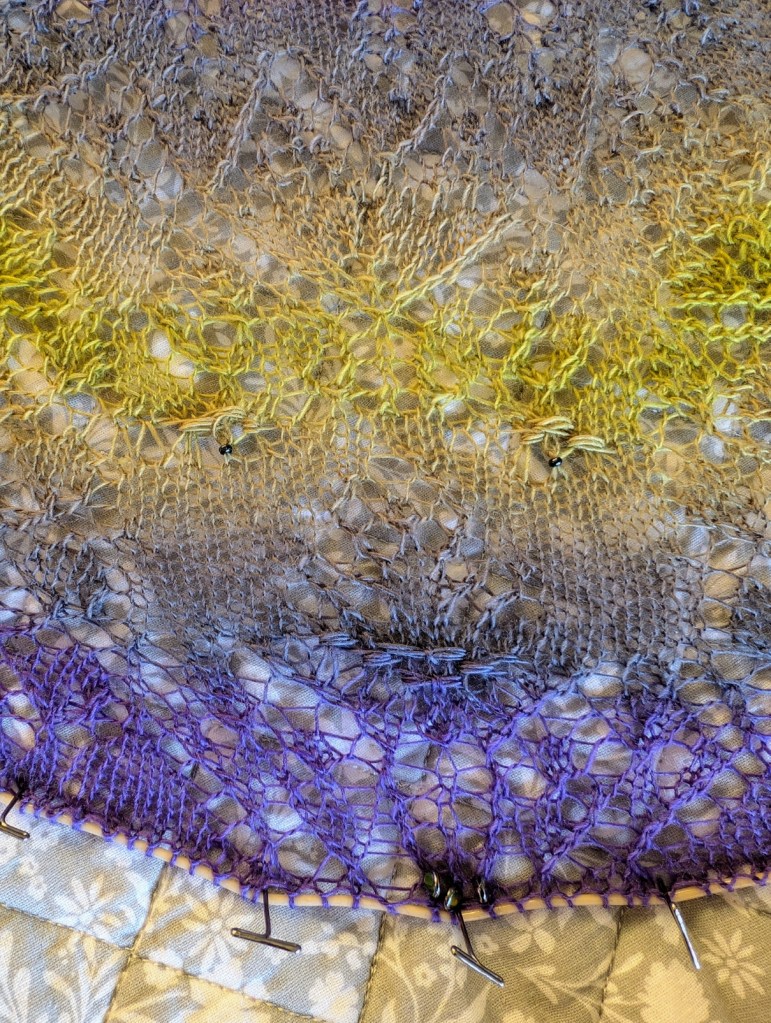
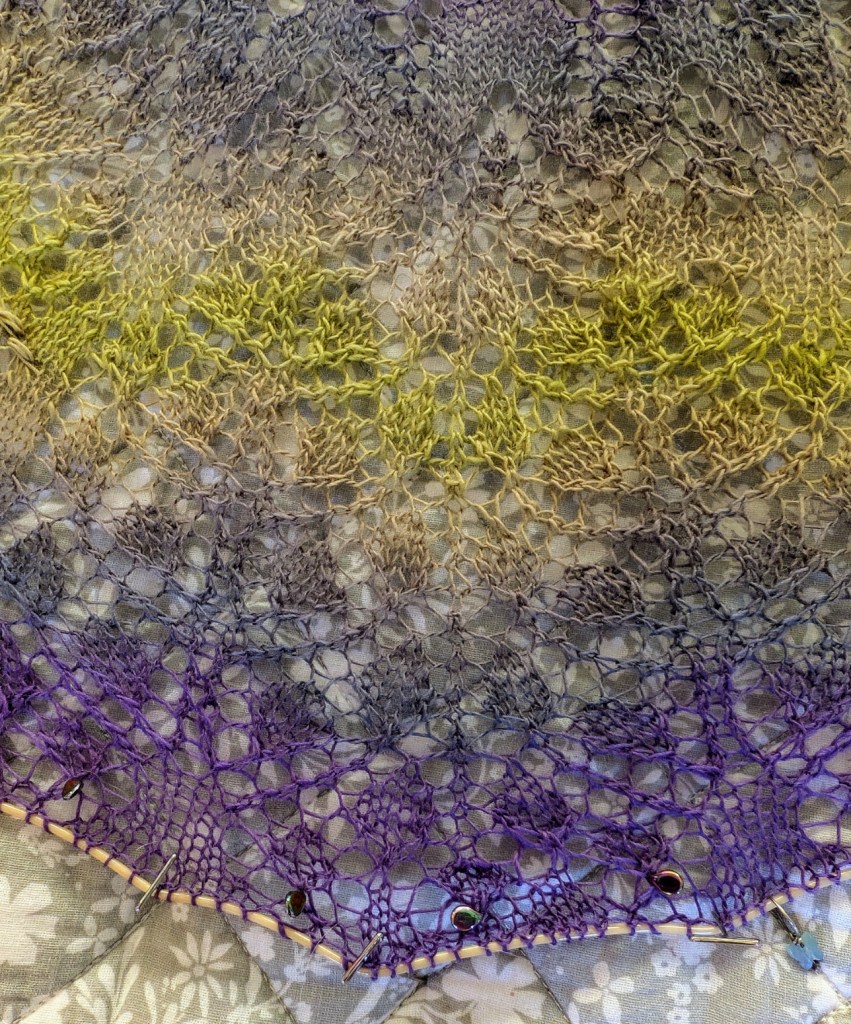
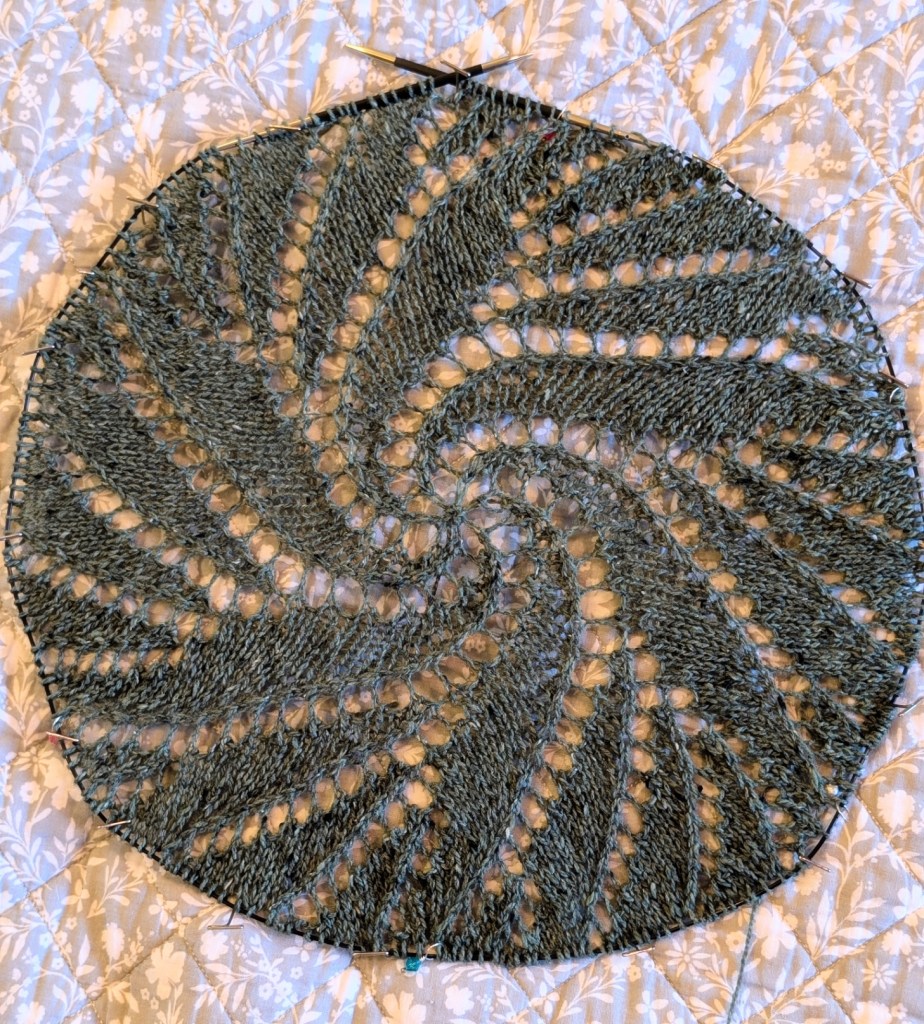
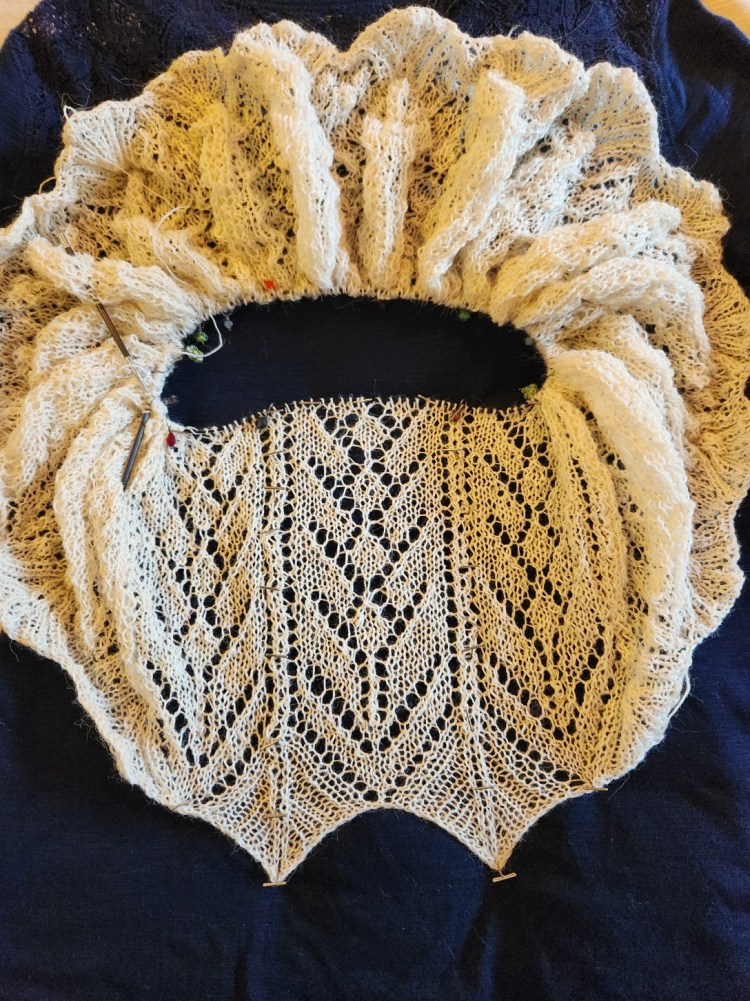
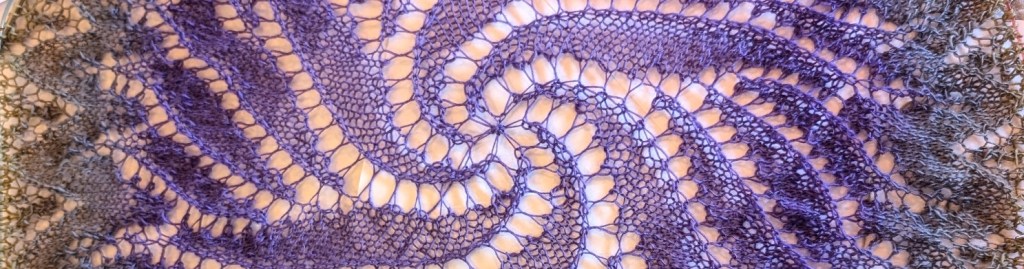
    I am planning a Knit-a-Long. KAL for short. The Green Man KAL. This will be a lace shawl for the more advanced knitter. It could be knit in a fingering or lace weight yarn, knitters choice and there will be how to video’s attached for those who don’t live in the area and in person classes for those who do. Techniques we will cover include circular cast-ons, adding beads (if desired), three dimensional embellishing, some interesting lace techniques and finishing with knitted on edging. Sample below is knit with Schoppell Zauber Lace 100. Right now I am working on the chart for the the Green Man and will share updates as that comes together.

    4) Of course I will run the Fear of Finishing Workshop – an in depth look at some basic and not so basic finishing techniques. Including the best start to create the best finishes and things the pattern always forget to tell you.

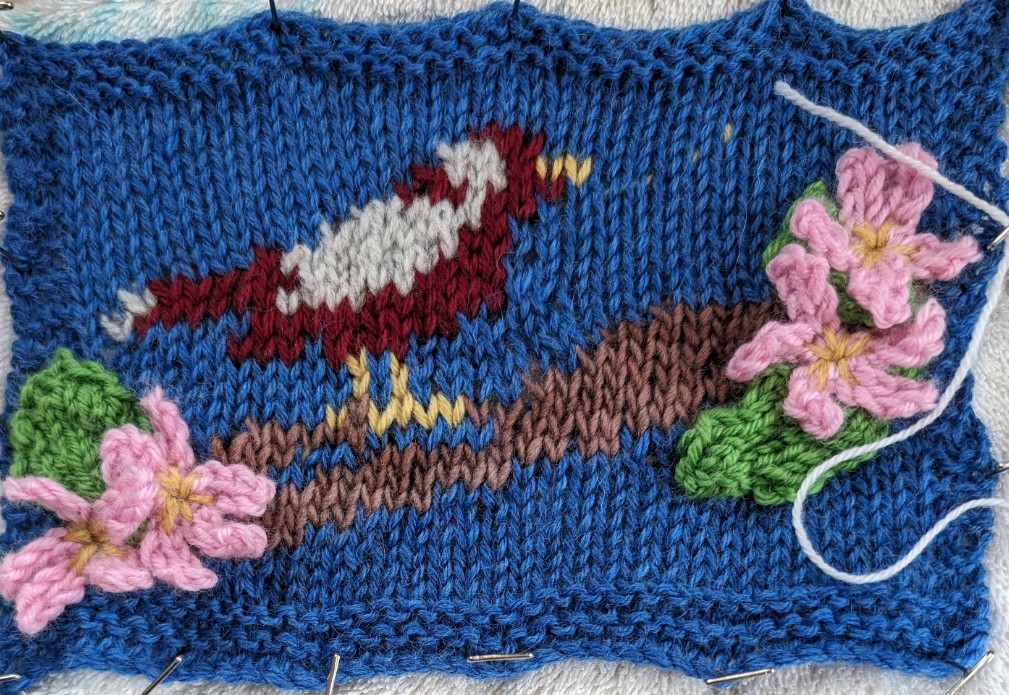
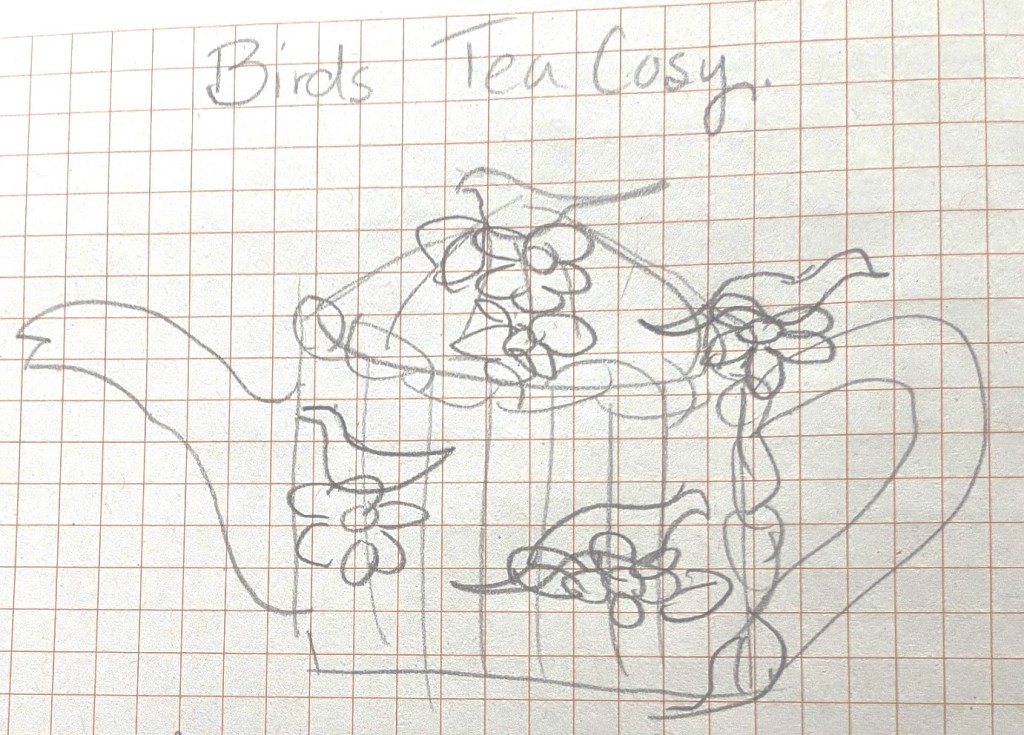
    5) I am thinking of a designing a new tea cozy this fall. Something with birds I think!

    6) A class on mending is in the works as well! Darning socks, fixing holes with some creative mends and swiss darning the old fashioned way!

    I am also looking for new ideas. What do you want to learn? Can I teach it in a class or does it need a workshop? I could teach something in Mosaic Stitch, or maybe Twinned Knitting? Some simple fair-isle mittens or cowl for gifts?

    What style of project would you like to see? A simple shape to show up the new technique, a pillow perhaps, maybe bolster style with knitted on fringe for finishing. Or a new hat, a pillbox or cloche style, something a little different from your basic beanie.

    I am off to dream up and then knit up some new samples. I hope that you have a dreamy week as well!

    Be Well and Happy Knitting

    Lynette
  • I-cord Bind-off

    I-cord Bind-off

    Companion video for the Beach Bucket hat pattern.

    An i-cord bind-off creates a very defined edge with almost no give. It is perfect for adding stability any edge that needs a little extra something to keep everything together. It is also a very strong edge and was often used in traditional sweaters, such as Fishermen Ganseys, at shoulder joins to help those seams keep their shape.

    In the Beach Bucket pattern I am using the I-cord bind-off in a contrasting colour to both highlight the edge and define its shape.

    The video will give you an understanding of how to create the I-cord to start the bind-off and the basic steps of the bind-off.

    Happy learning, happy knitting!

    Lynette
  • I DID it!

    I DID it!

    I have cleaned and organized everything. OK – everything might be a bit over the top but I have accomplished a few very necessary jobs!

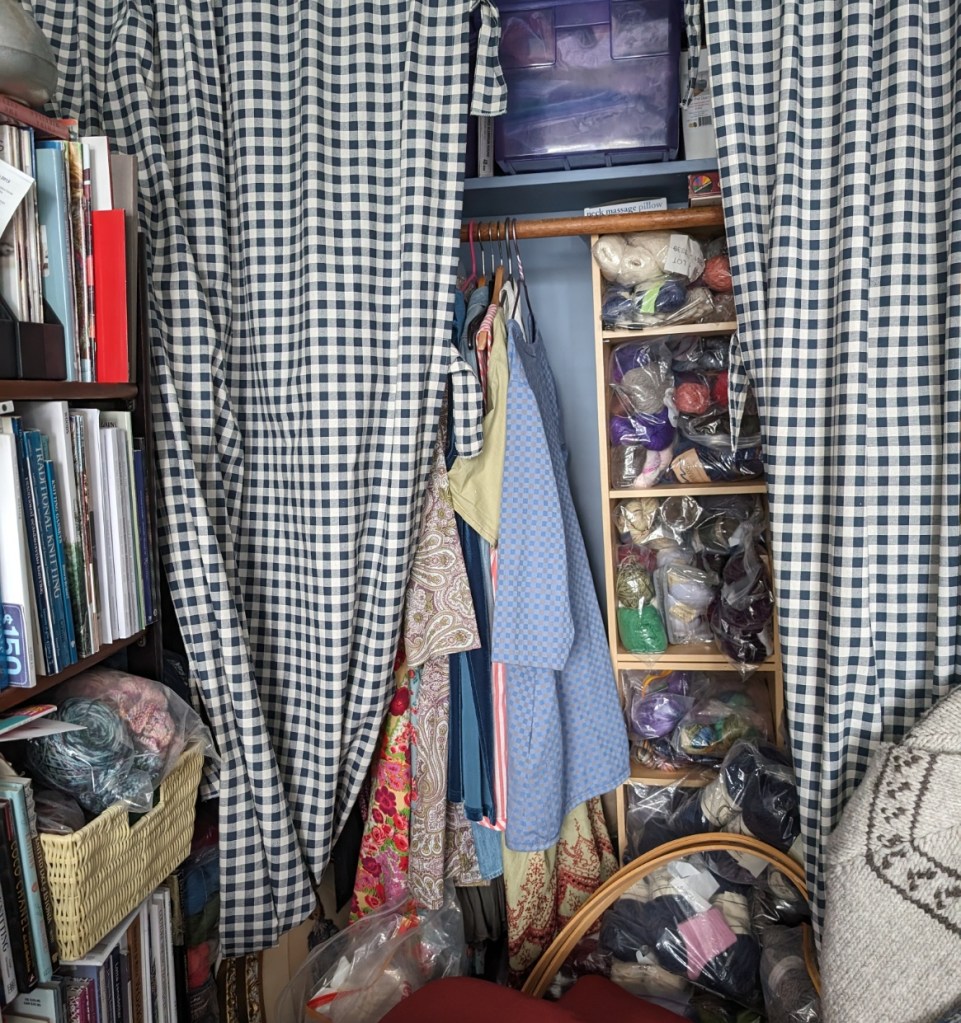
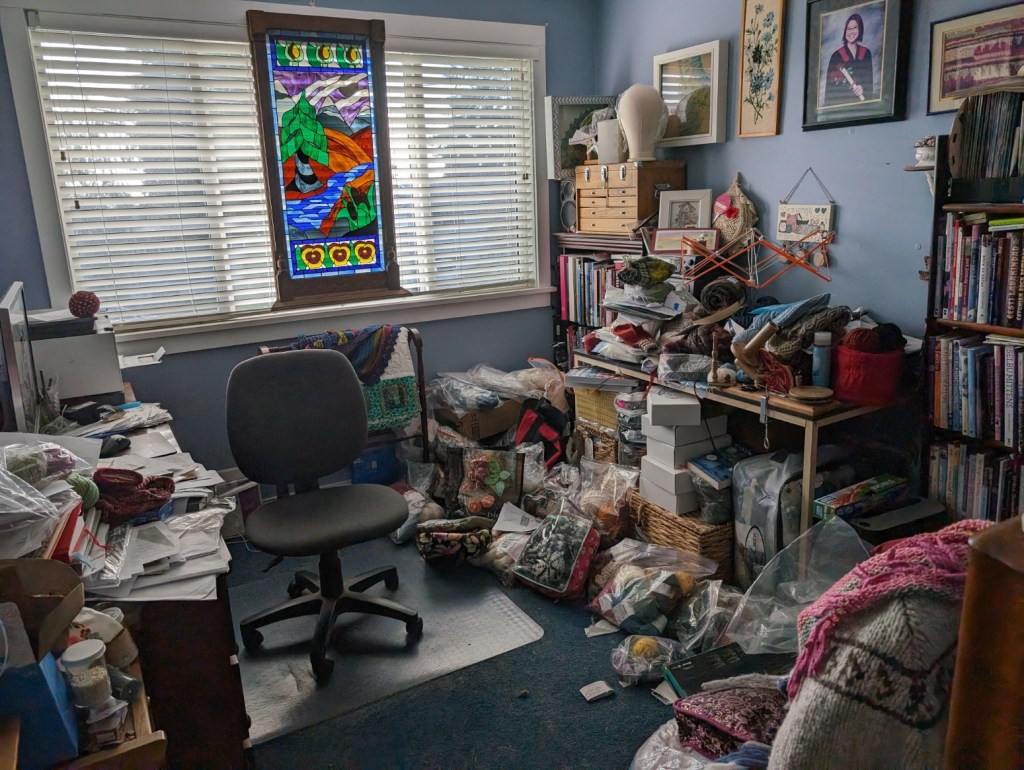
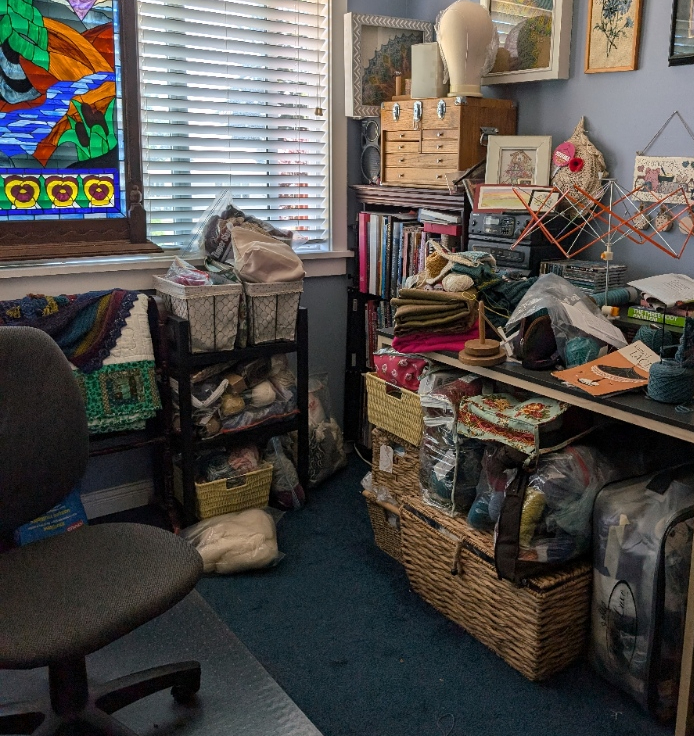
    I have unearthed my computer desk and my yarn winding station. My stash has been realigned and in some cases reassigned to different locations. I have filed away multiple stacks of papers ie. trashed or recycled them. There is still one stack of papers left to organize into different files. That will wait until next weekend.

    You can see that it is a bit of mess.

    As I dug in, I got a little distracted along the way…. knit a thing…. wound some yarn.

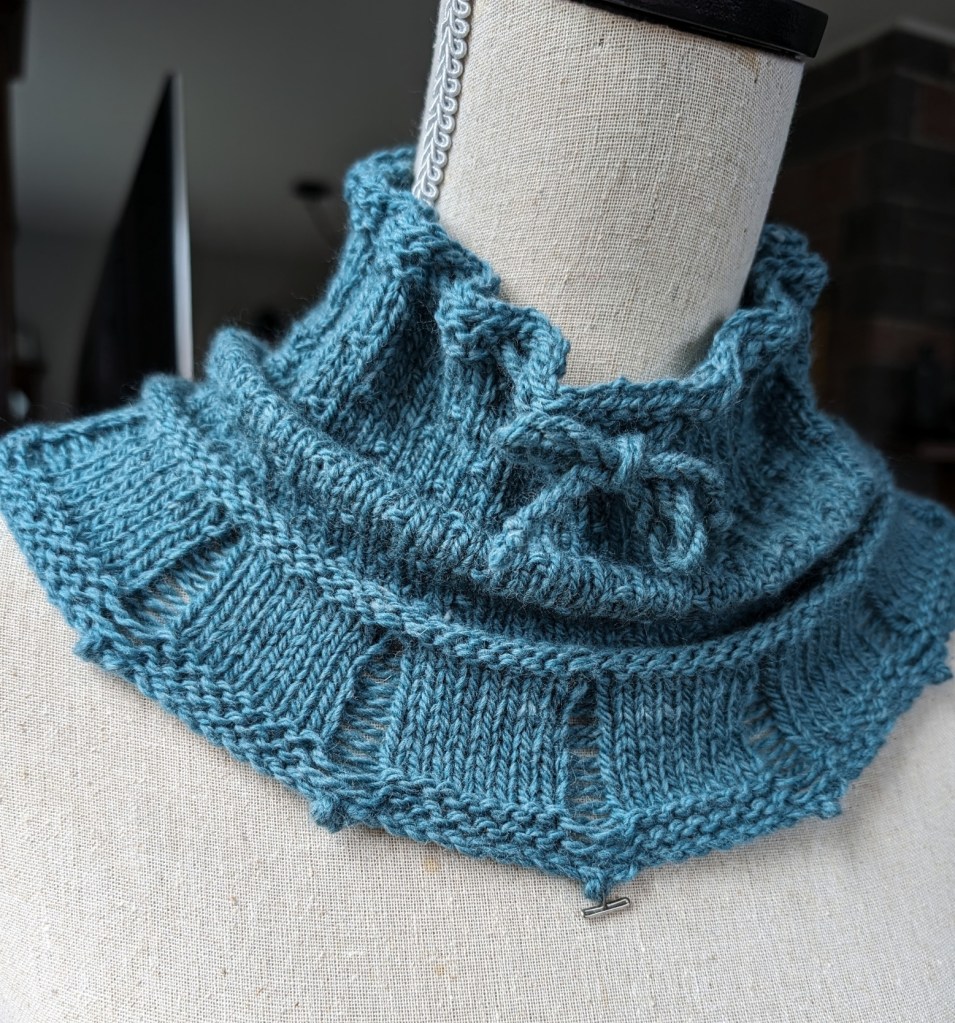
    The little cowl is a test knit of a new yarn that is coming to Mad About Ewe. And I love it! 70% Superfine Merino (non superwash) and 30% Yak, this DK weight yarn is supersoft, bouncy and easy to work with. I think I may need a new sweater. The Funnel Cowl and Mitts are complete. Click here to link to the pattern on Ravelry.

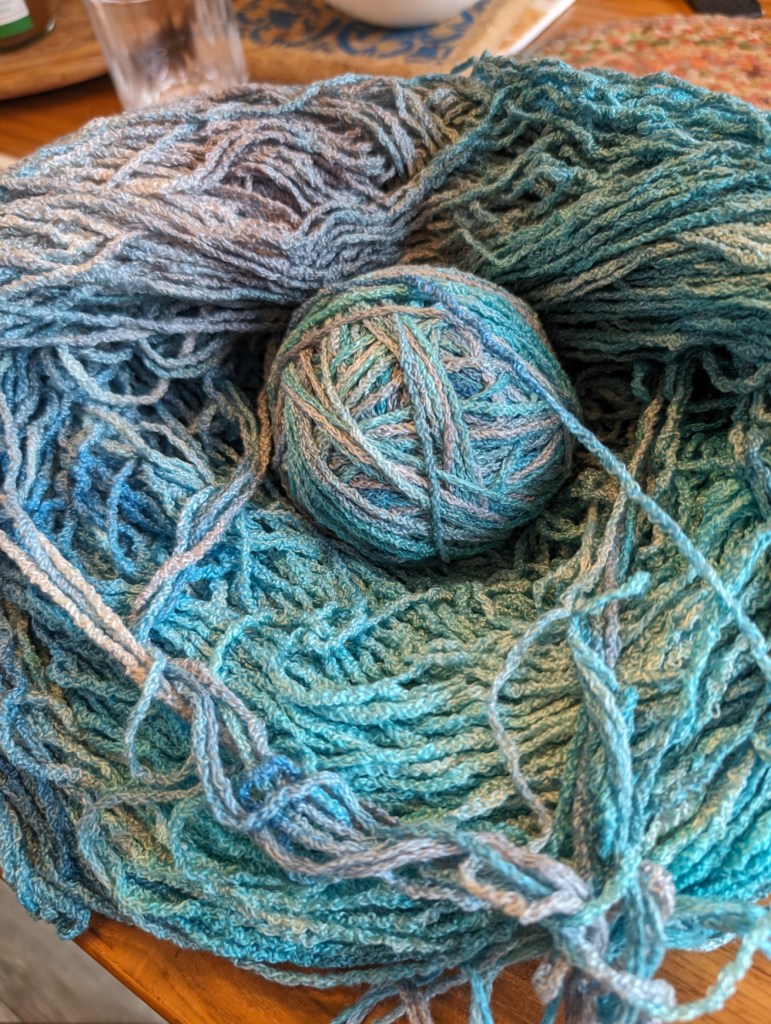
    The yarn being wound is Chantal, a special hand dyed silk from Fleece Artist, Iceberg colourway. It was one of the yarns from their 25th Anniversary celebration in 2013. This huge hank weighs in at 350 grams, 700 yds and should knit to about 18 sts in 4 inches. I am close to half way now and it has no knots so far. Because it is silk and is stretchy it has to be hand-wound and it is a bit of a mess from being in the cupboard for so long. So it may take a couple of days.

    I hung a few pictures that have been gracing the cupboard floors. That felt good. Everyday I have been trying to do one more thing that would get me closer to my goal.

    There have been a few distractions through the week but after each one, I got back on track and kept on working. I started this project last Wednesday and it is still not quite done. It most likely will never be “done”. I really don’t work too well in a tidy space, but now the chaos is a little more tamed and much closer to “done” than it has been in a while.

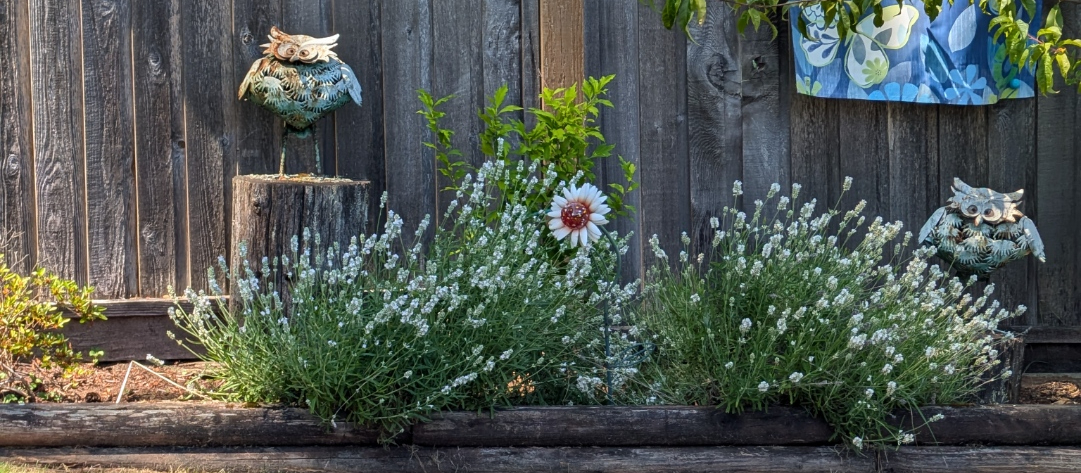
    My White Lavender it in full bloom.

    I started this post over a month ago. So much has happened creatively in that month. Was it tied in to the cleaning? Maybe, so lets see….

    I have submitted ideas for patterns to three companies – Laine, Birlinn Yarns and Ancient Arts. Laine and Birlinn were not interested in my ideas and I won’t hear from Ancient Arts for a couple of weeks. My “secret” project is complete and gone! As soon as I can I will share – I was very pleased with the results!

    On the up side of submitting ideas to magazines and being rejected, I now have lots of ideas to pull from if and when I am looking for something to knit! I know we can’t like all the things and if my ideas don’t fit their vision they usually work well for mine!

    Fall KAL – The Greenman KAL

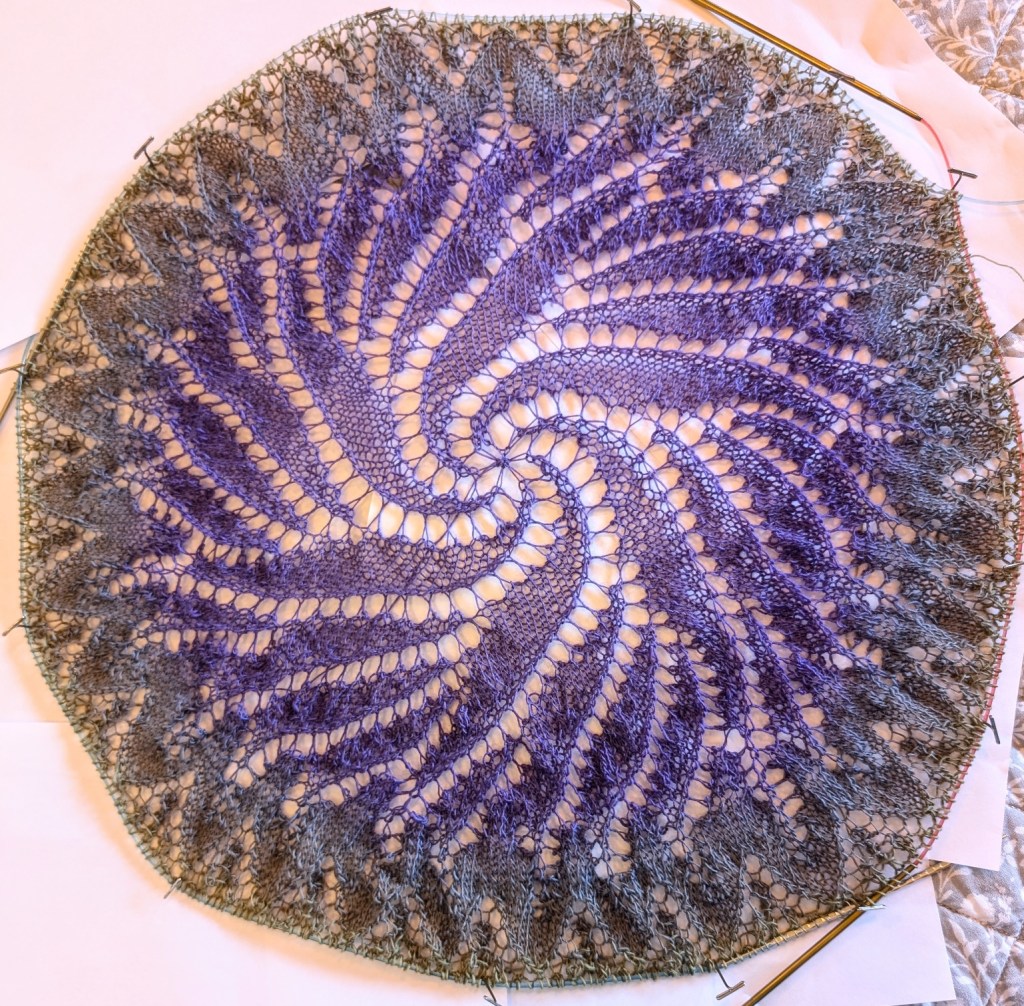
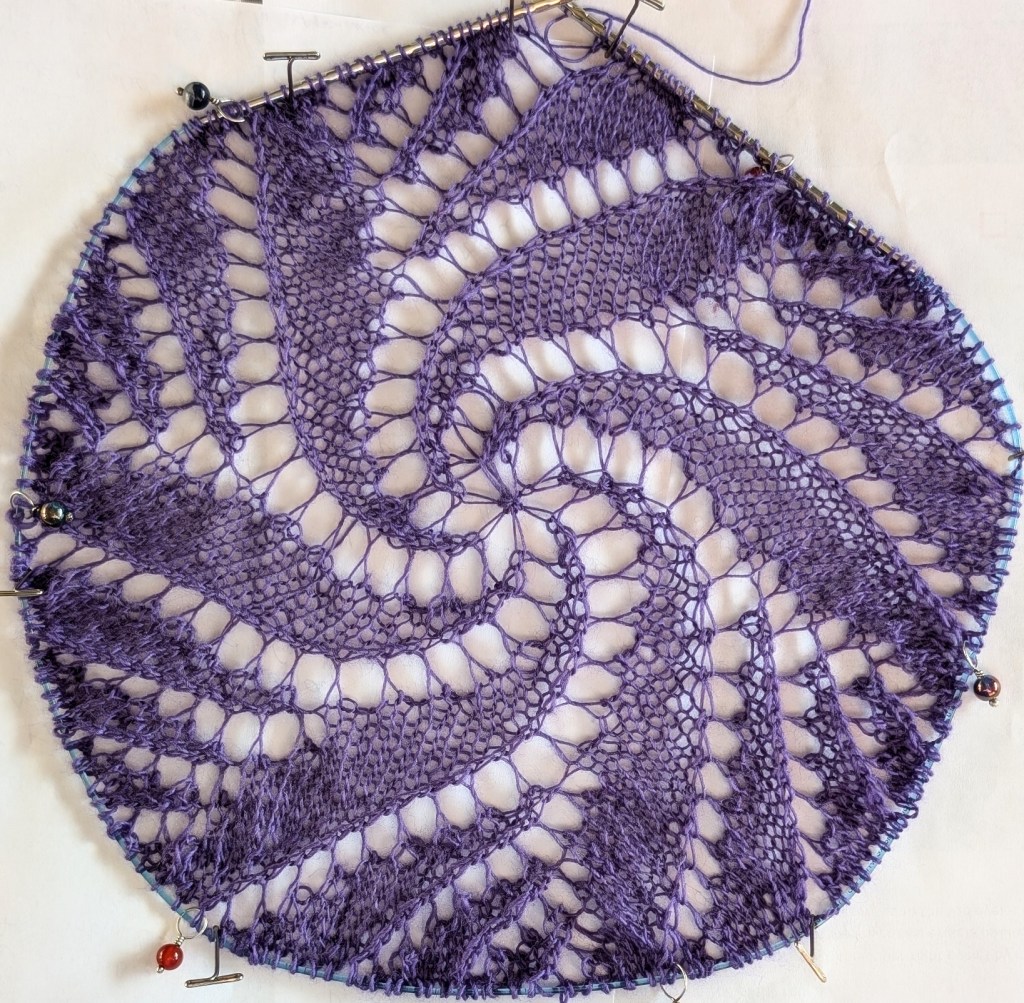
    I am working on a new shawl pattern. You may have noticed the two “swirl” centers I have started. They are the center of the Greenman Shawl. I hope to have the idea all pulled together in the next month, so please keep it in mind.

    I am working one in Schoppel Zauber Lace Ball 100 (currently purple, but it is a striping yarn so that will change). It is a lace weight.

    The Green version is knit with Queensland Collection Kathmandu Fingering.

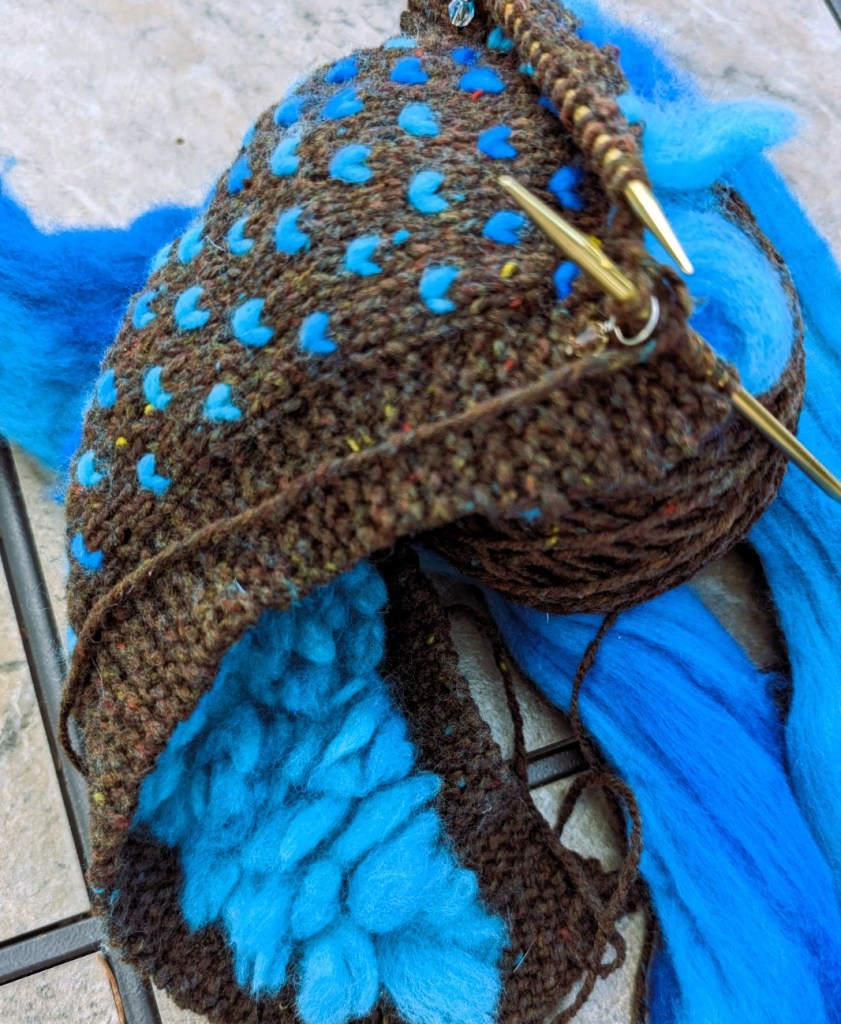
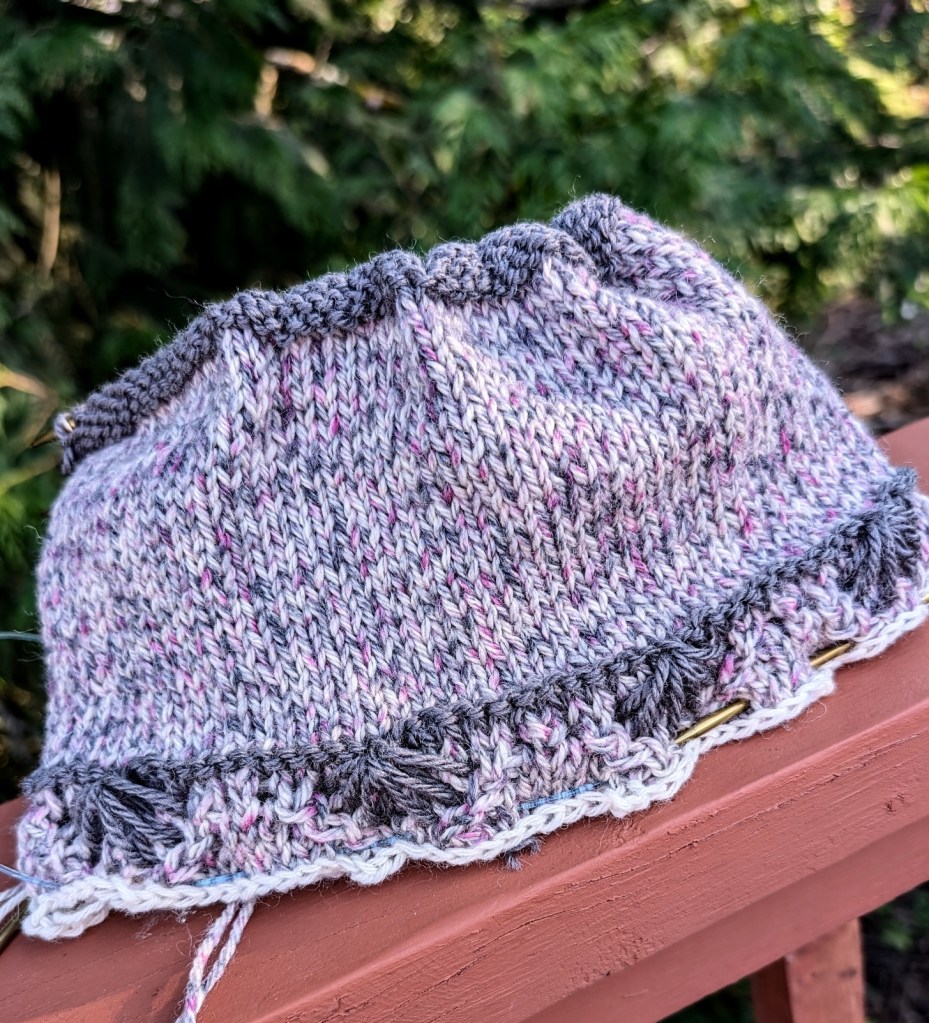
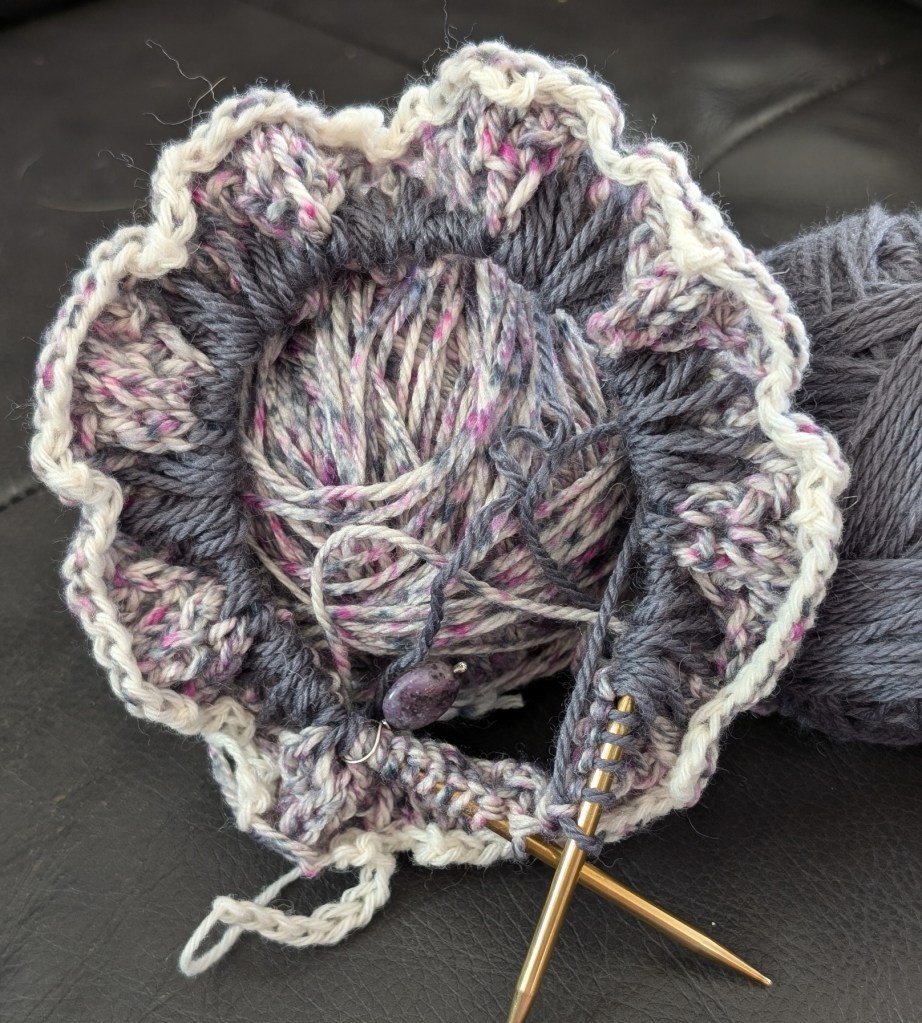
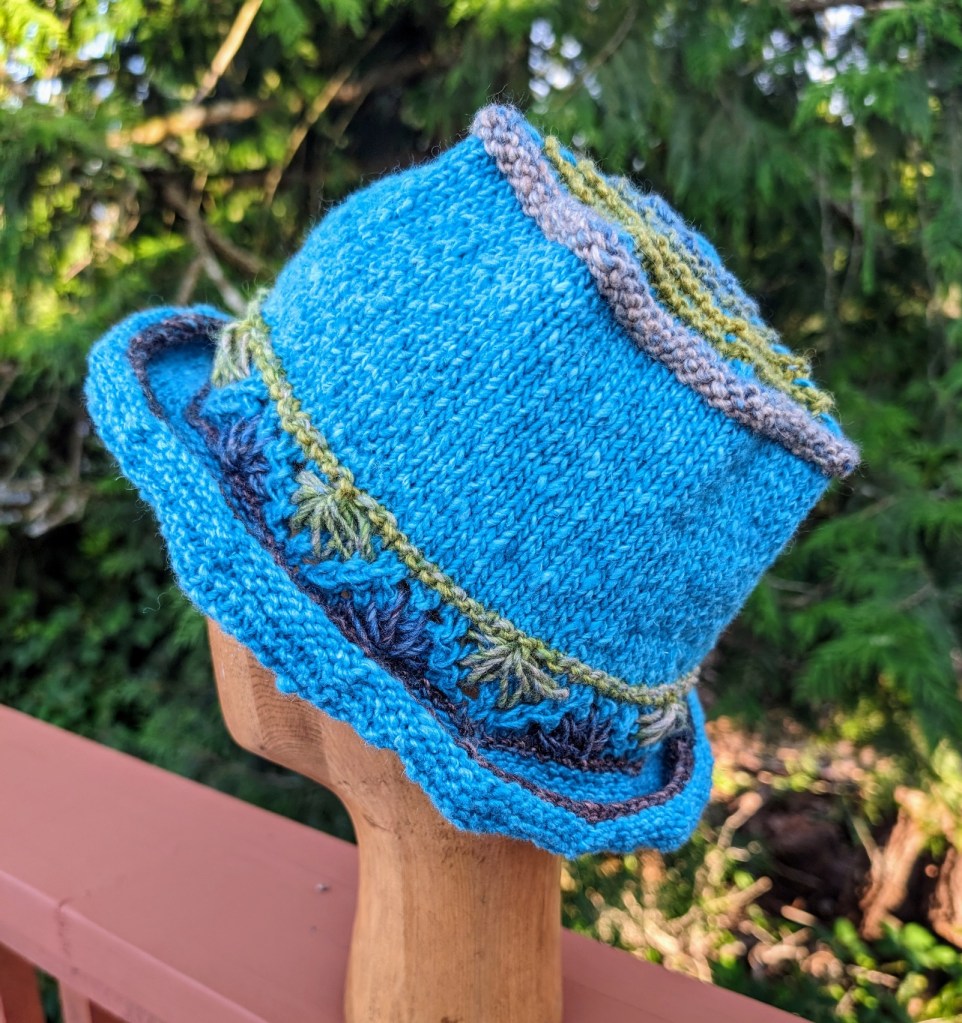
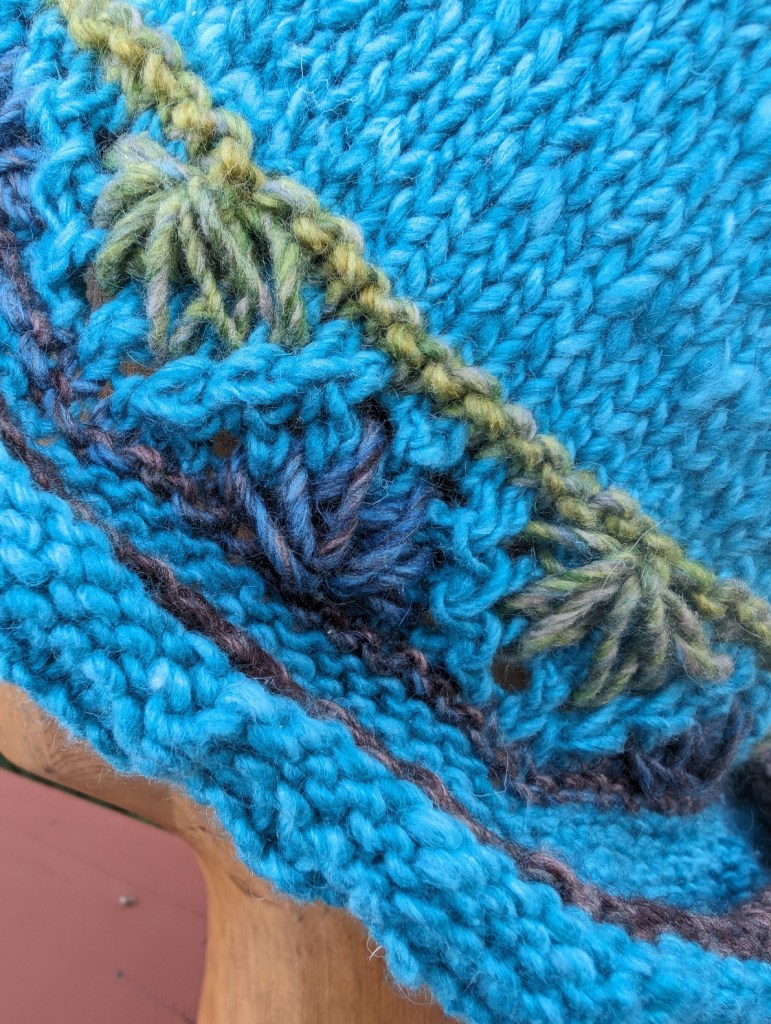
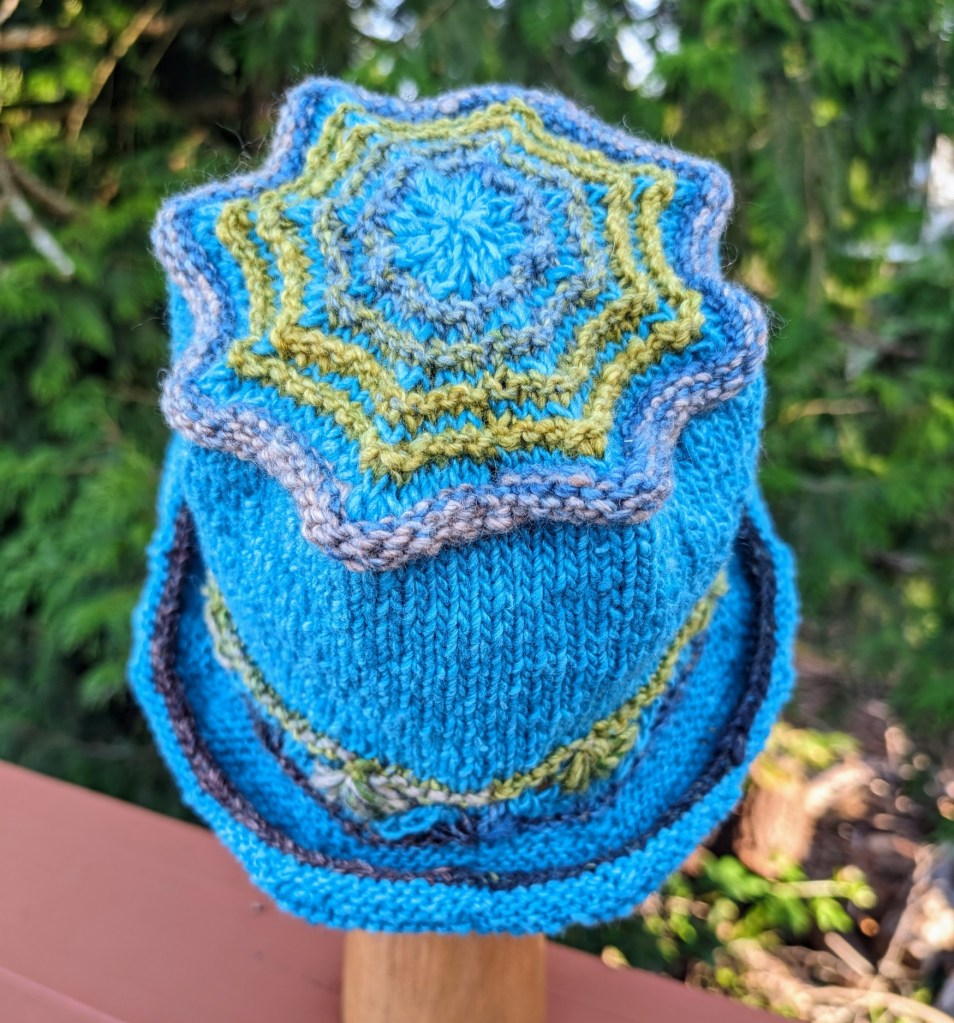
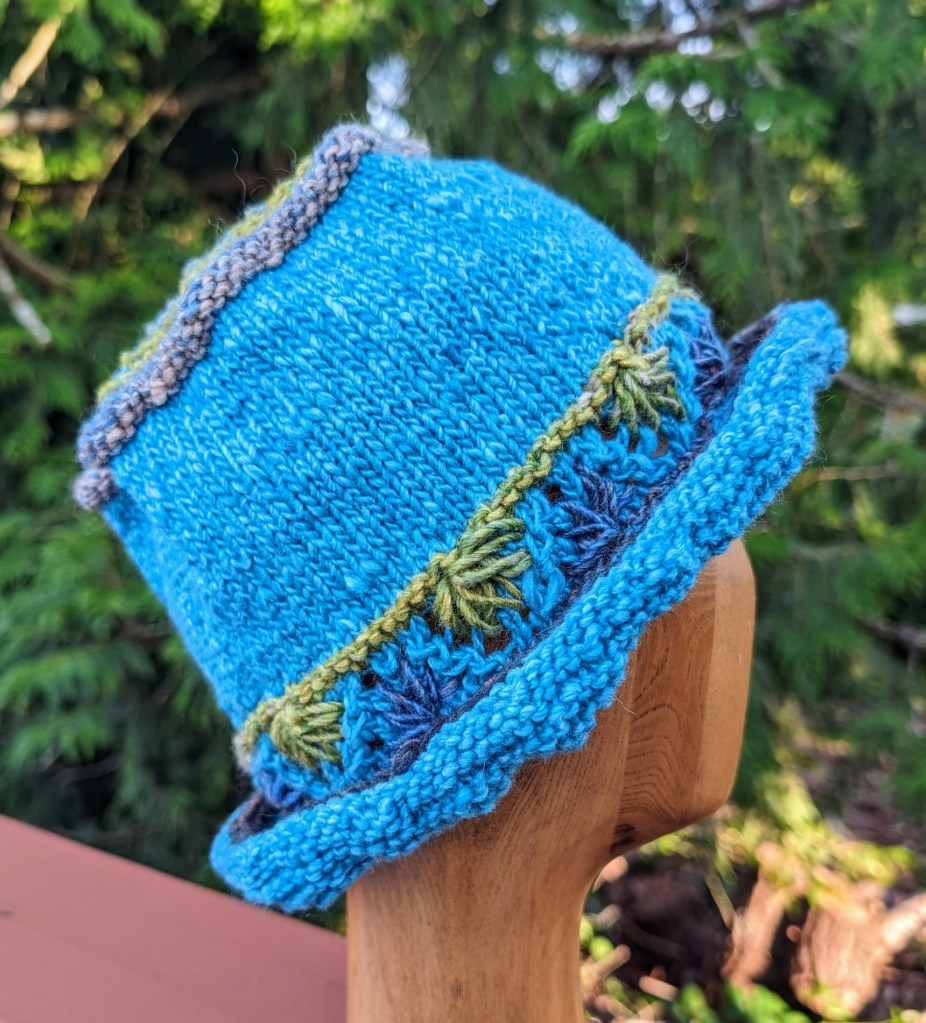
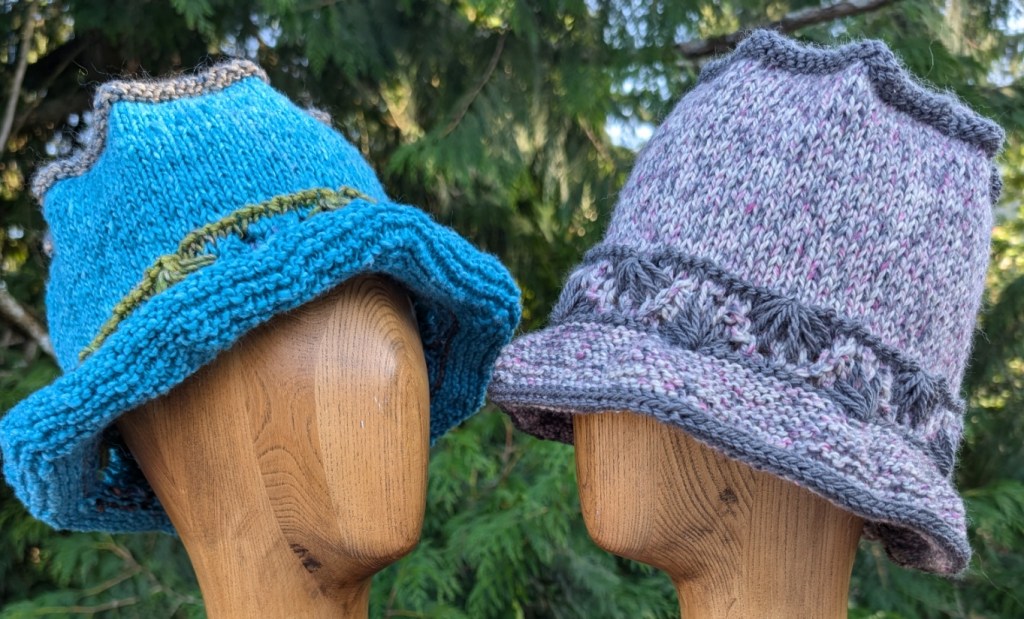
    I am teaching a new technique at work right now. Dip Stitches, as in stitches that are created by dipping down into your knitting and pulling up loops of contrast colour to create almost an embroidery look! Meet Beach Bucket, soon to be released on Ravelry – most likely next weekend! The turquoise version is knit with Noro Kashirukuru and Silk Garden for the detail yarn. The grey version is knit with West Yorkshire Spinners The Croft Shetland Tweed in pink tweed with grey. It is not complete yet. I am using it for demonstrating techniques in the class.

    I have started a couple of sweaters for myself – we will see how those go – they almost never get done as I get too distracted by other knits!

    knit a dress with me – update

    I am planning on picking up the dress again in September. Right now it is too hot to knit with double layer Lopi Einband on my lap! I have been thinking and planning how to proceed. I noticed that a few others look like they are interested! Looking forward to picking it up again.

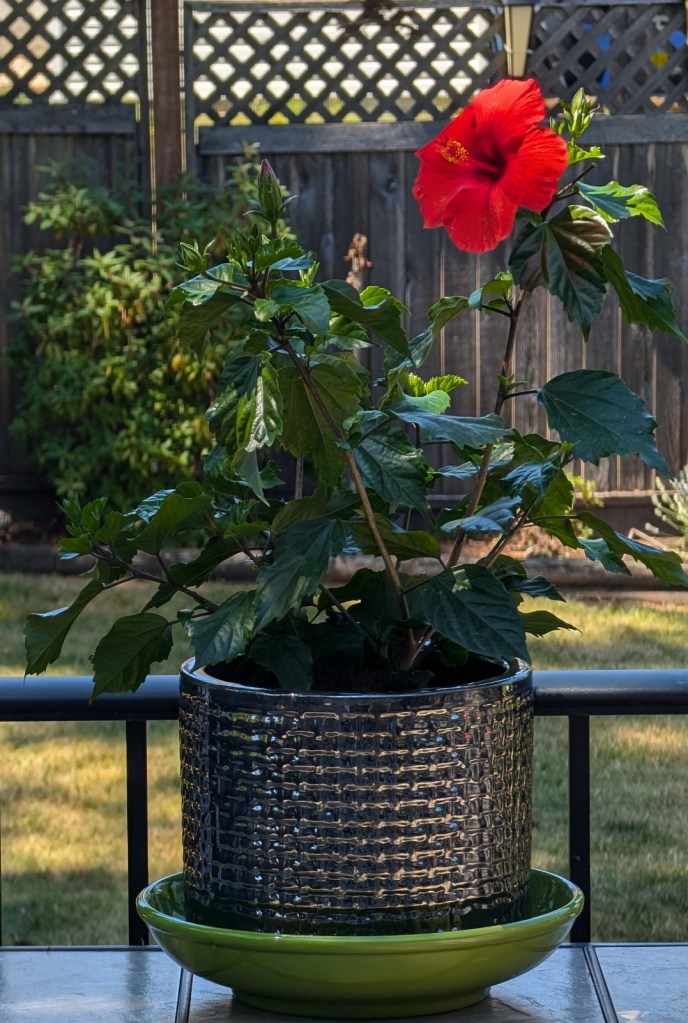
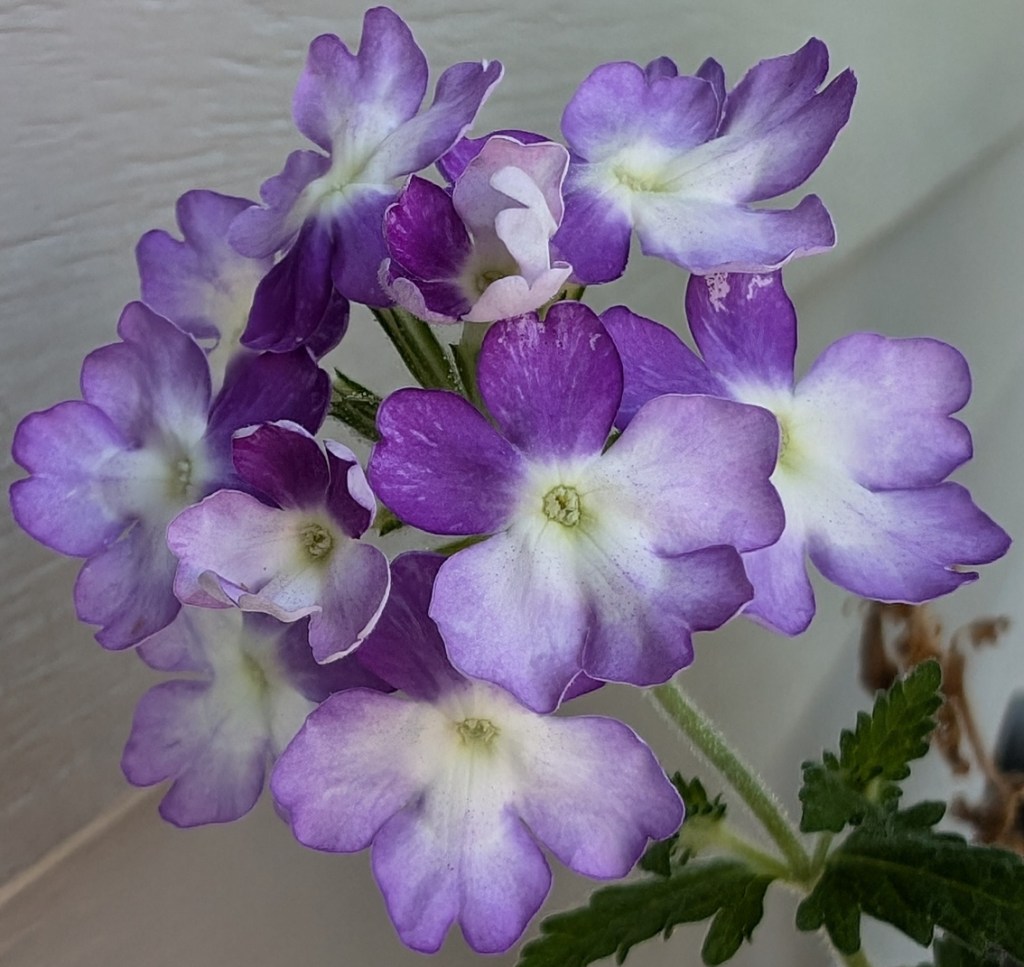
    I lived in Malaysia when I was much younger and I have many fond memories of the people and the country. One of my favourite memories is the hedges of Hibiscus flowers, such beautiful blooms. So every now and then I try to keep a plant alive with varying levels of success. This is this years attempt!

    I hope that your Summer is going well. Mine is certainly going by very quickly! Lots of ideas and never enough time to knit them all!

    So Be Well and Knit Happy!

    Lynette
  • Beach Bucket – Dip Stitch

    Beach Bucket – Dip Stitch

    Today is the first day of the Beach Bucket class. The focus of the class is the Dip Stitch. A very cool technique of adding extra depth of texture and colour. So yesterday Ray took a little video of how do work the stitch.

    The original sample was knit with Noro yarns. Those bright colours remind me of a tropical beach bucket. This new sample is knit with West Yorkshire Spinners The Croft Shetland Tweed. More a north coast beach bucket! LOL!

    There are a few other interesting techniques used in this pattern; provisional cast-on, knitted in fold, and I-cord bind-off.

    The Beach Bucket pattern will be available around the 20th.

    I hope that you have a great day!

    Lynette
  • Bead Knits

    Bead Knits

    On the subject of beads….

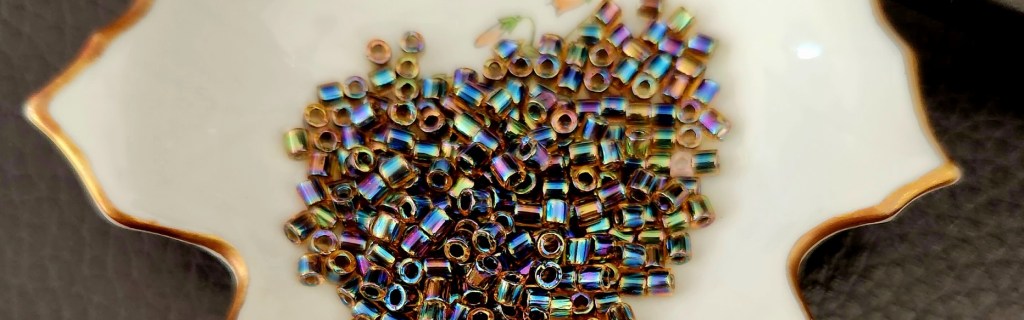
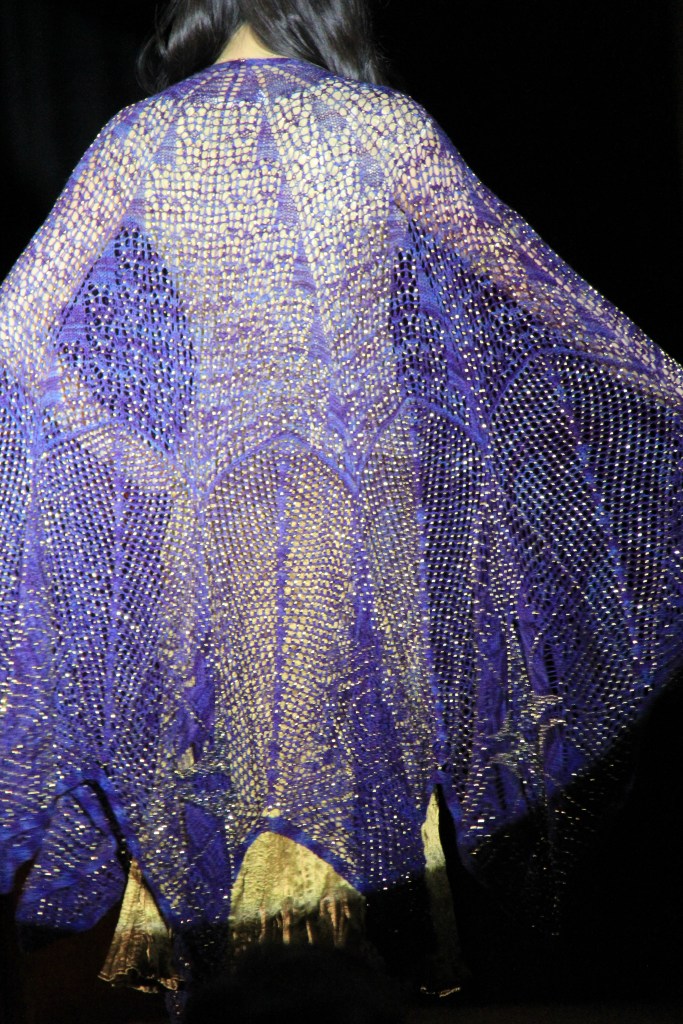
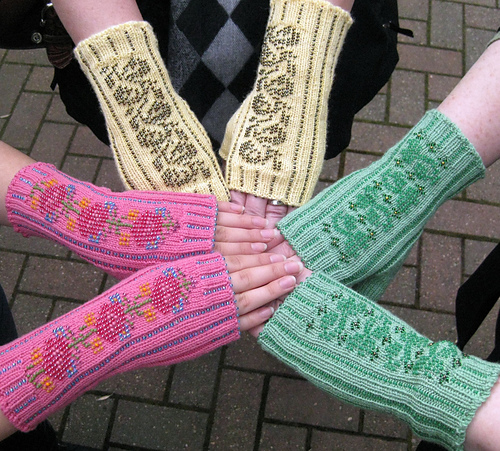
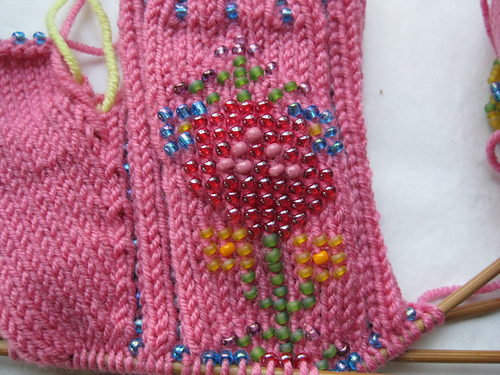
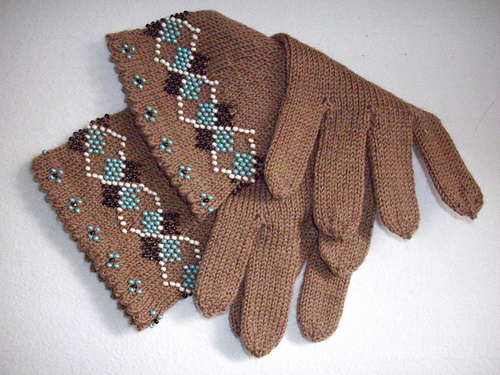
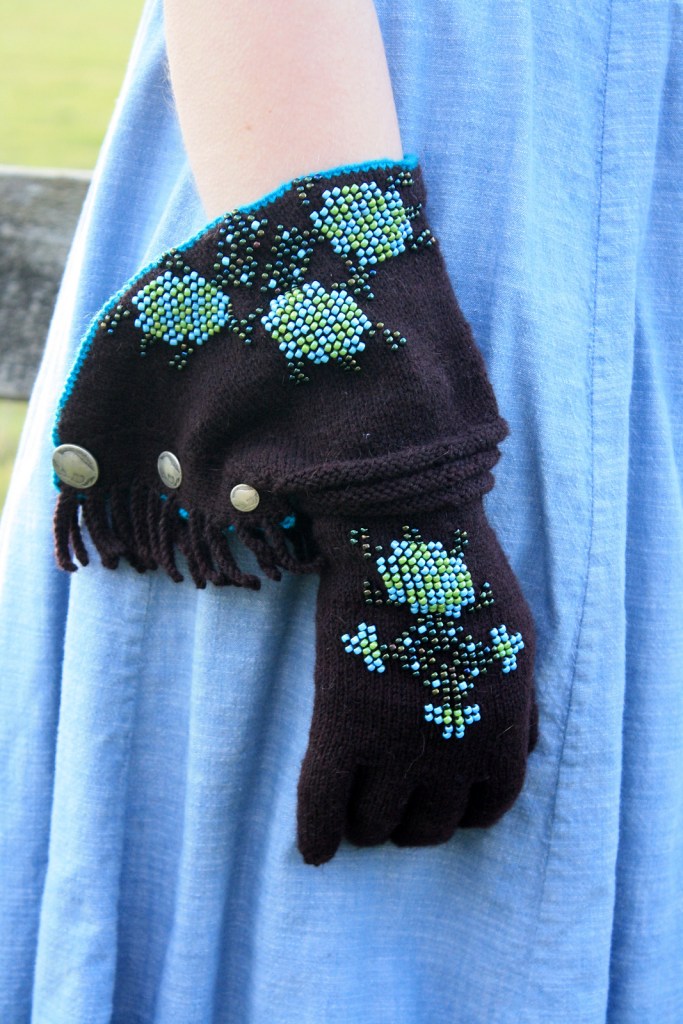
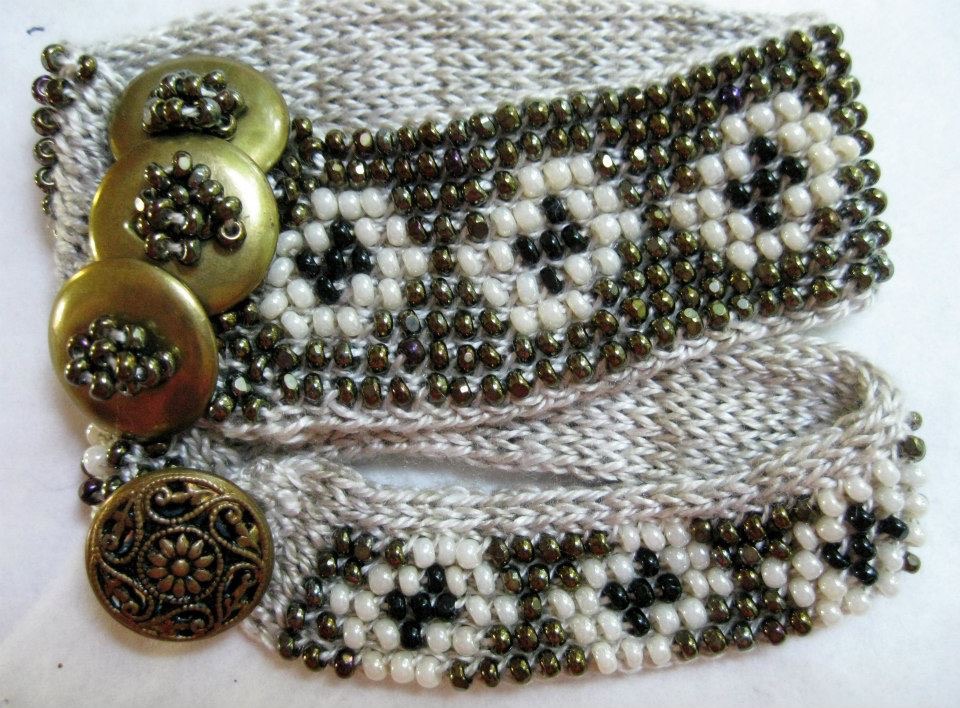
    It can be said with some authority that I am more than a little obsessed with beads and the many possibilities they offer for embellishment on our knits. It is more than a pity that our society really isn’t so much into the glittering styles of the past! I would so rock those days!

    Knitting with beads – There are several methods for placing a bead onto knitted fabric: between the stitches, on one arm of the stitch or on both arms of the stitch. Some methods require that the beads be strung on the knitting yarn before knitting. Some are placed on the stitch as it is knit and others are added after the work is finished. The size of bead will determine whether it can be placed on the stitch or whether it needs a separate strand. If you are planning to use thousands of beads on a project, do work a sampler first to determine the most efficient method of working the beads. When stringing beads make sure that there are no knots in the yarn.
    Traditional bead knitting -The bead is placed on one arm of the stitch. All beads need to be pre-strung and if using multiple colours they need to be pre-strung in reverse order.

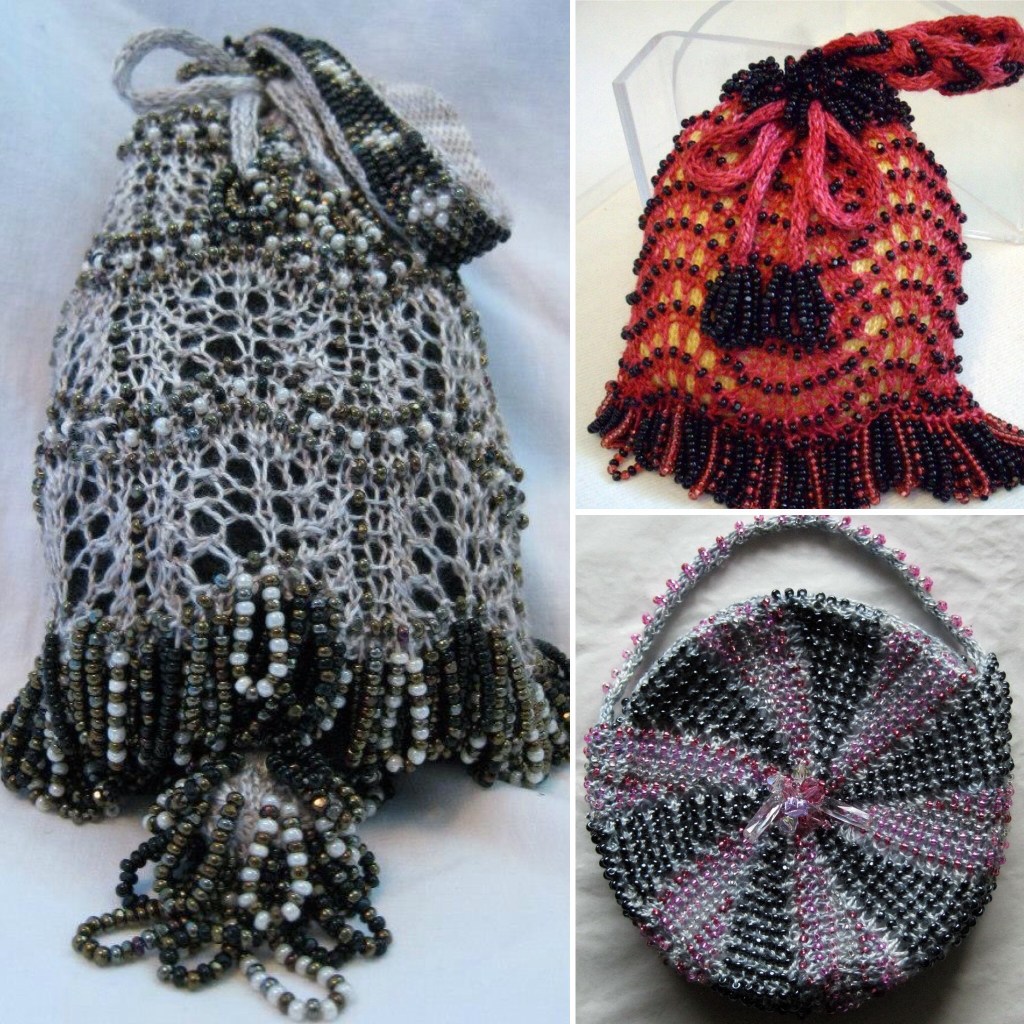
    A bead is placed on an arm of each stitch, as you are knitting through the back of the loop. This style of knitting will have a tendency to bias. This is not a problem if the fabric is knit circularly. (Which is the only way I will tackle it!) Most Victorian purses were worked circularly and the biasing was not readily noticeable. The other advantage of working circularly is that you do not need to work a purl stitch through the back (try purling through the back of a loop and placing a bead at the same time!) Bead knitting used to be worked with small (think micro) seed beads and silk or cotton thread and very fine steel needles. There are still knitters who work in this way.

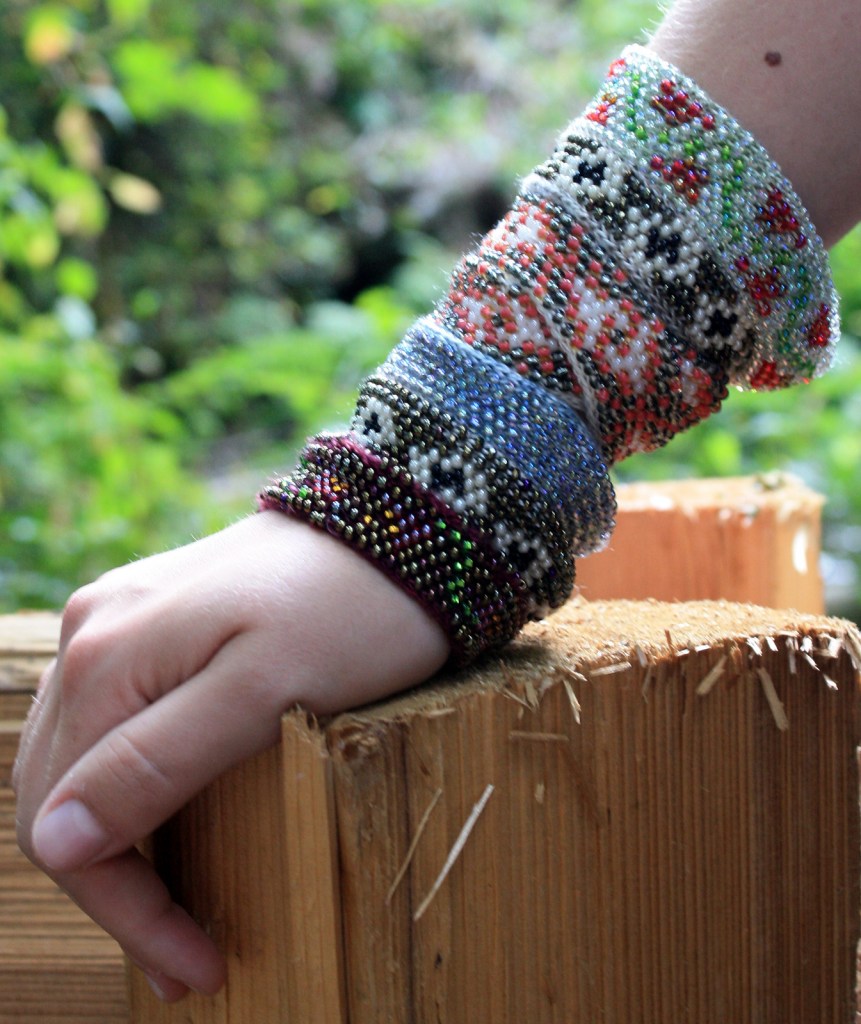
    I work bead knitting with small beads (not micro) and fine yarns – lace or fingering weight yarns (not threads) and small needles, anything from 2.0mm US#0 to 2.75mm US 2. I haven’t done any bead knitting for quite a while. I have taught both styles of bead knitting but always had a hard time convincing others that working traditional bead knitting was worth the effort!

    I still use a lot of beads in my knitting but they are mostly placed with a small crochet hook, and not always pre-strung as in traditional bead knitting.

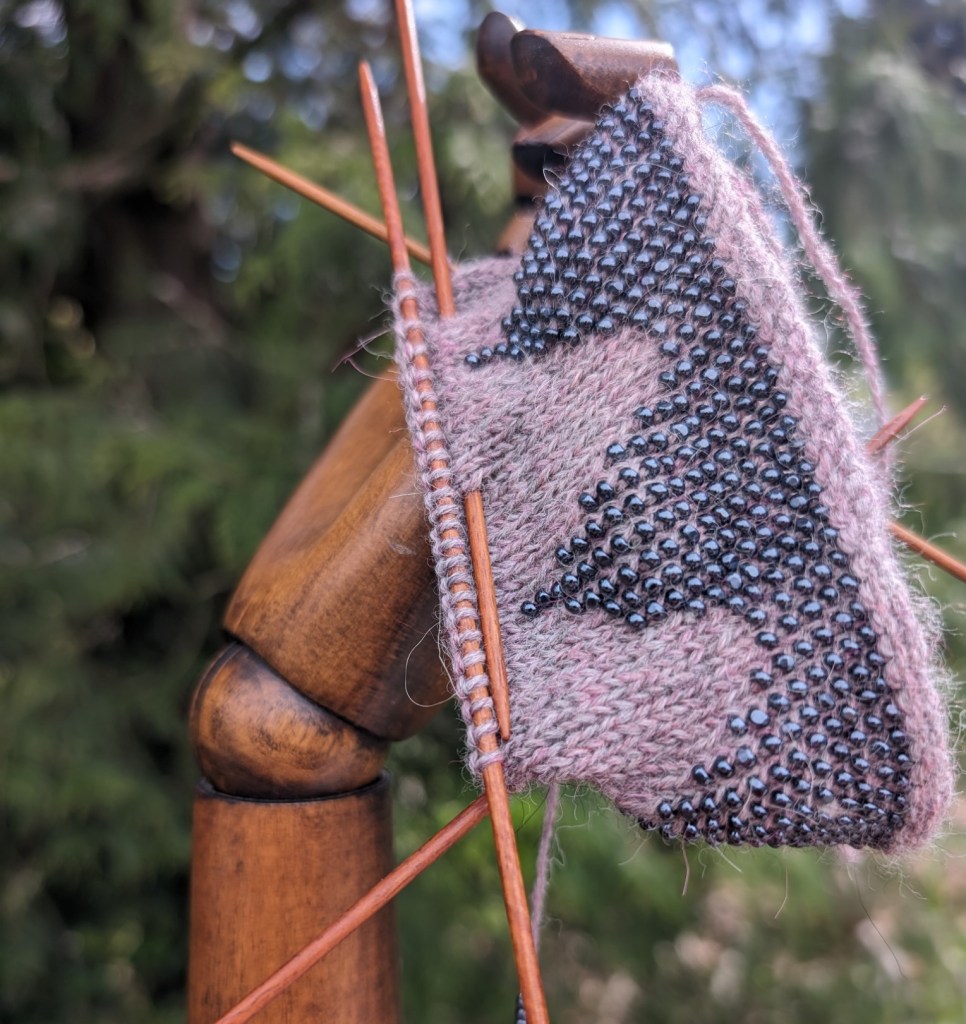
    So, when I decided to knit a pair of gloves with some beautiful new yarn I also decided to knit myself a beautiful bead knit edge for those new gloves.

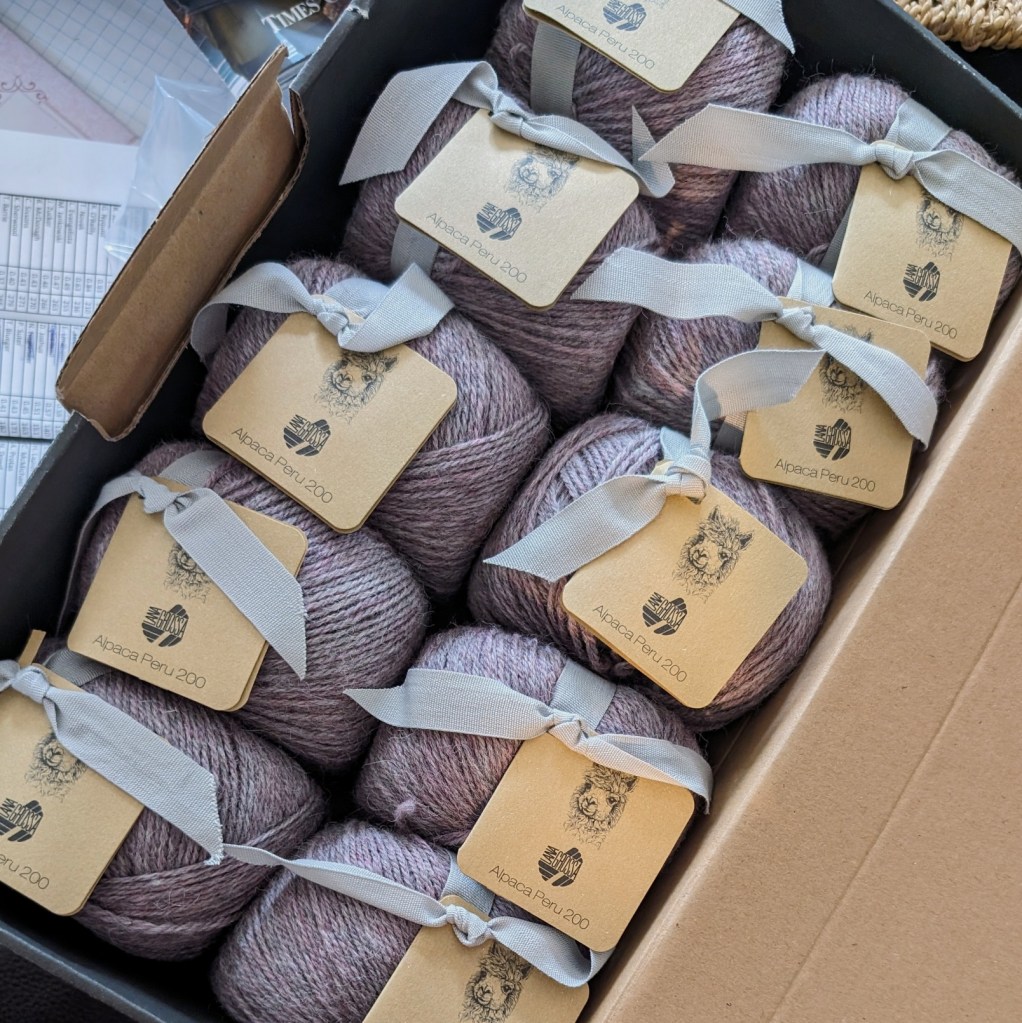
    Beautiful Alpaca fingering weight yarn – a soft pinky/lavender grey melange.

    I am seeing a short beaded gauntlet with either short finger gloves or mitts! But maybe I won’t be able to resist the lure of a proper pair of gloves! These gloves are my “swatch” for the yarn. From this I can learn about the yarns strength, how or if it has a “halo”. How much will it stretch (alpaca has no memory – so if it stretches it won’t go back). And I have something useful at the end of the knit. Many of my hats are gauge swatches. A trick that Elizabeth Zimmermann suggests as a means to learn your yarn and create something useful at the same time!

    The yarn is a breeze to knit with. And yes, there is a lovely halo. The yarn is also handling the weight of the beads without too much obvious stretch. So I will continue on, and isn’t it a beautiful colour?

    I was wondering if anyone would be interested in a workshop this summer to learn how to bead knit…. I would love to lead you down the garden path and introduce you to another side of working with beads and knitting!?

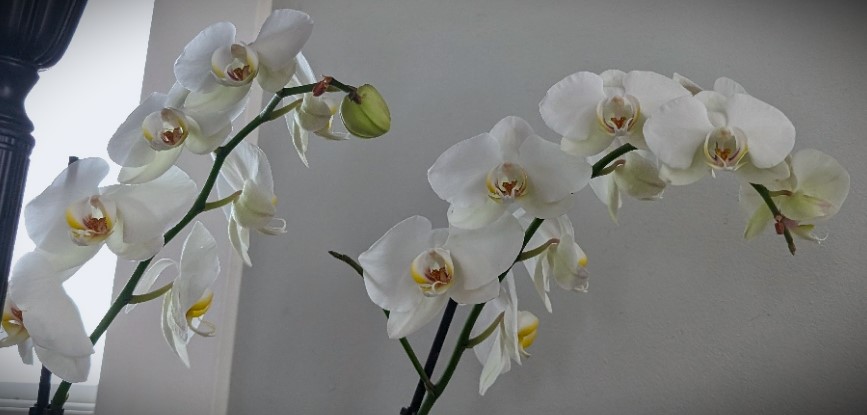
    Check out the Orchid! It is still kicking and has opened some new blossoms!

    Happy Knitting!

    Lynette