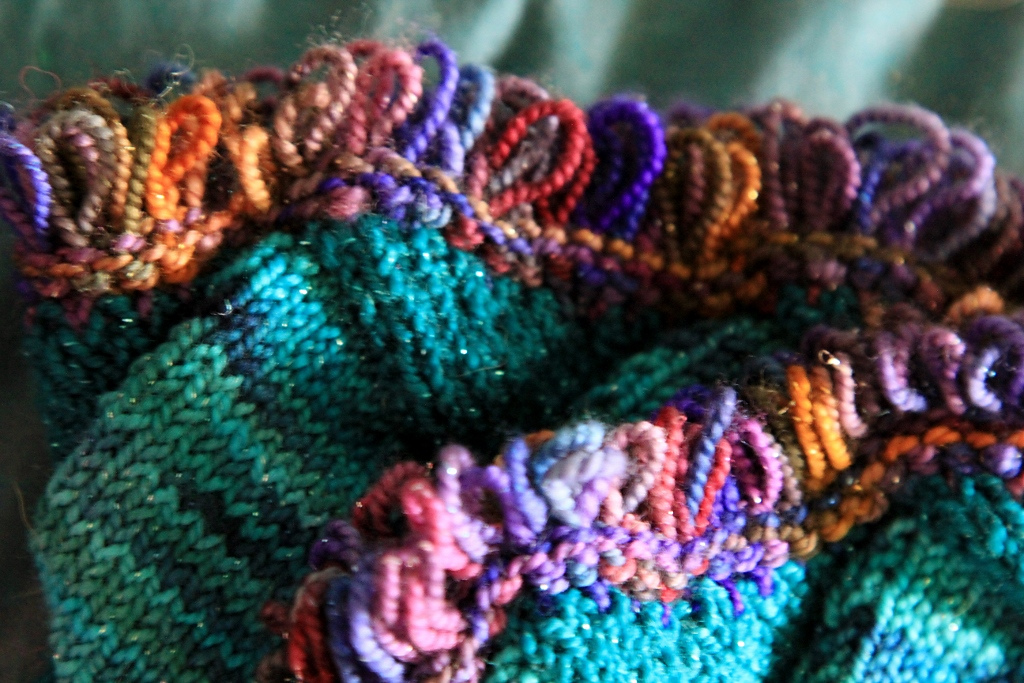
Le Tissier Designs

Of Larks and Linnets and Flying Fingers

Category: creativity

  • A Day to Dye

    A Day to Dye

    I haven’t dyed any yarn in a while. And I have had a particular project in mind for a while. I am thinking of teaching the moebius cast-on again, but I want to keep the knitting simple, a textured yarn with great coloures seemed to be the best way to go! So I am going to while away the day preparing for and then starting the project. First to dye the yarn.

    The Yarn

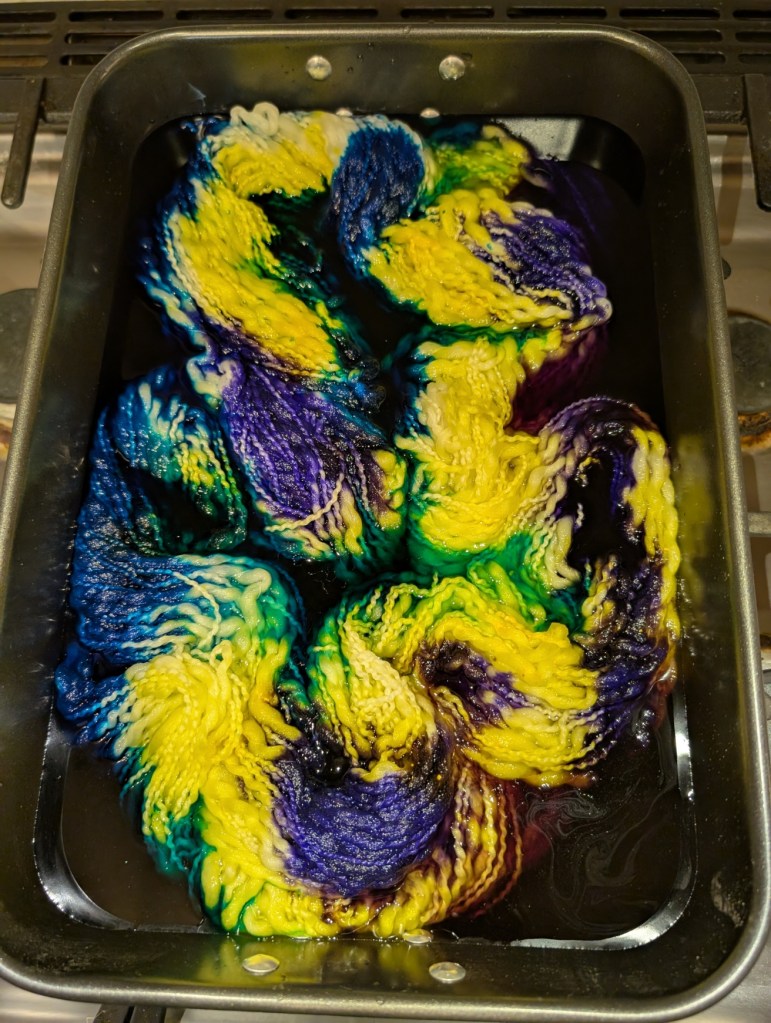
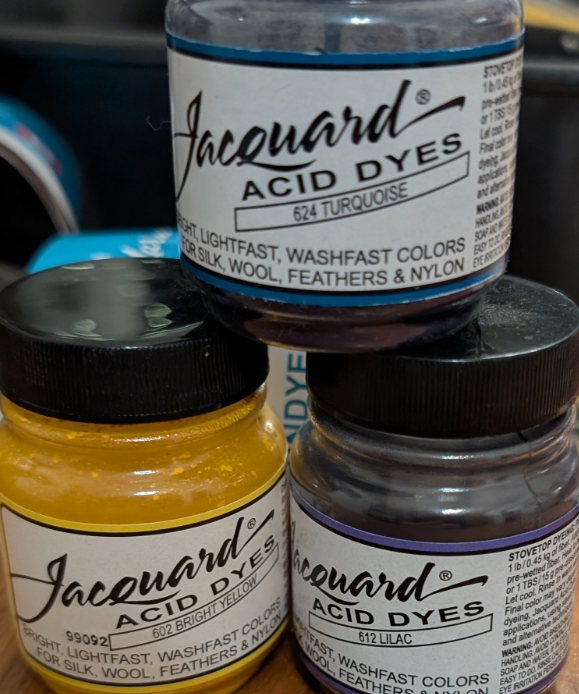
    I got the yarn prepped and dyed before breakfast. Right now it is drying. The yarn is Popcorn by Gathering Yarn. It is a 93% merino, 7% nylon blend chunky yarn – 100m per 100grs, highly textured and very soft. My dyeing tools are pretty rudimentary, a heavy steel pan, not to big – I generally don’t try to dye more than 2 or 3 skeins at a time, stainless steel tongs and bowl for presoaking the yarn and basic white vinegar to help set the colours. The dyes are Jacquard in bright yellow, lilac and turquoise.
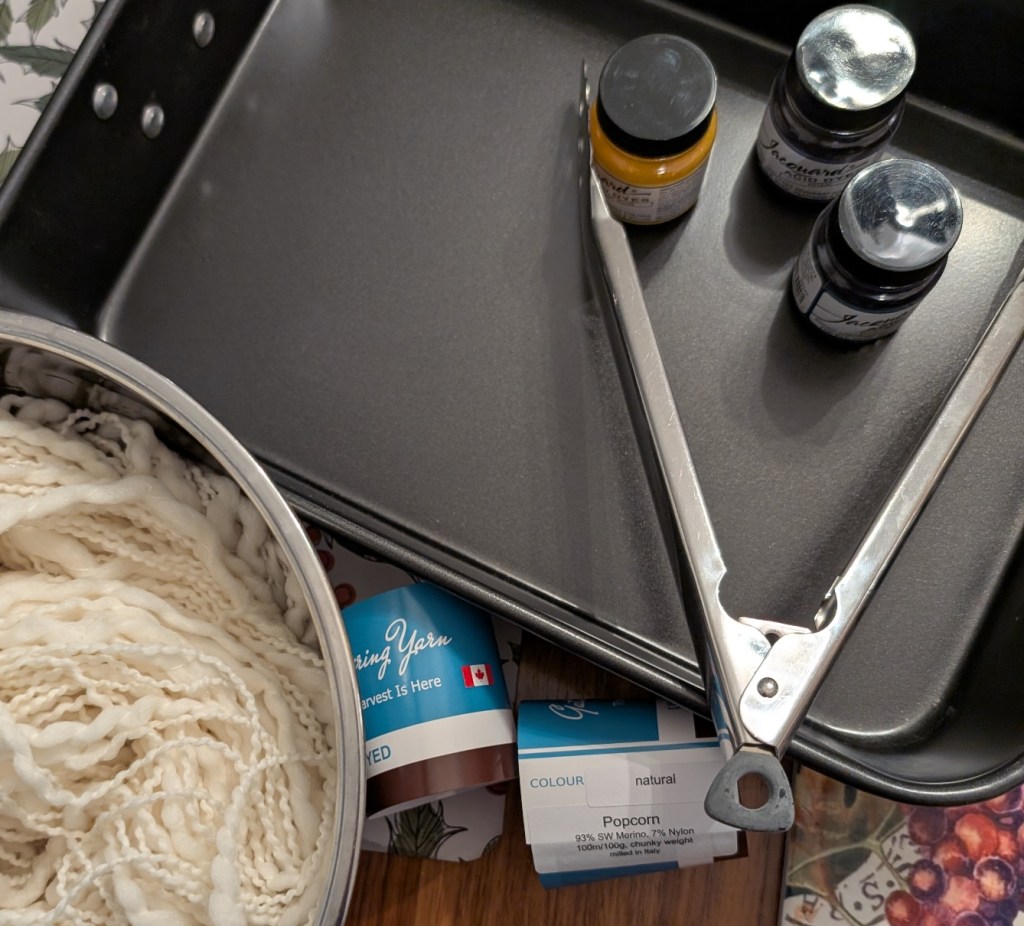
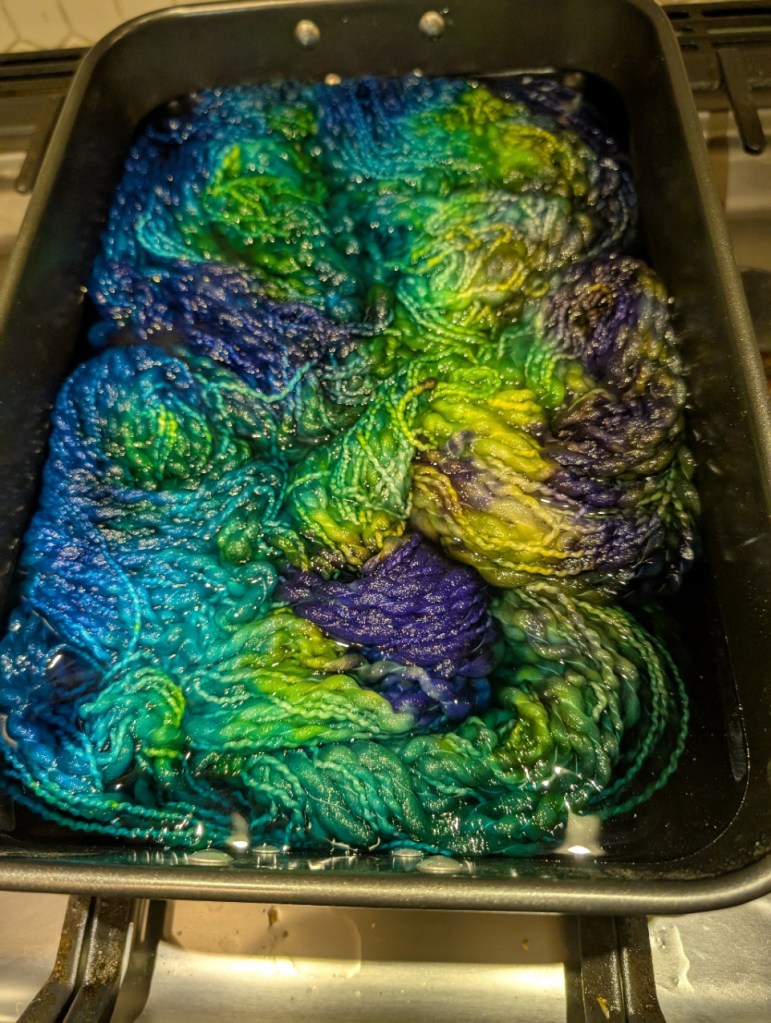
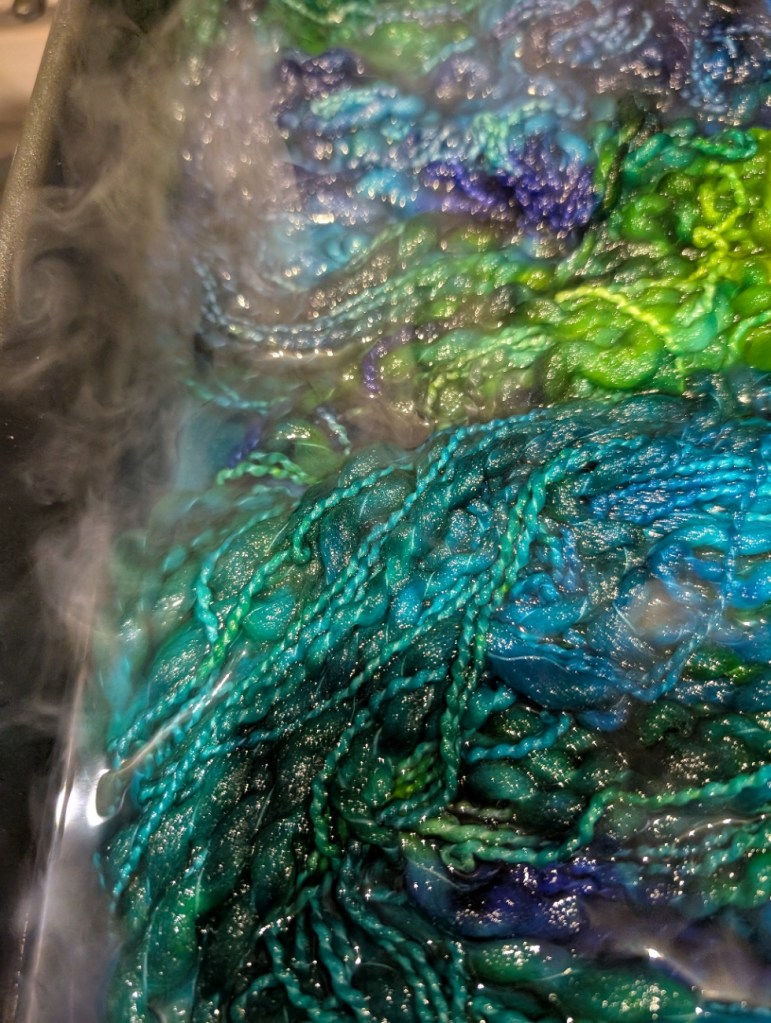
    I love to watch the yarn change as the dyes are absorbed into the yarn. My stove has the perfect center element, long and narrow, it works perfectly as a low heat source for the dyepan.
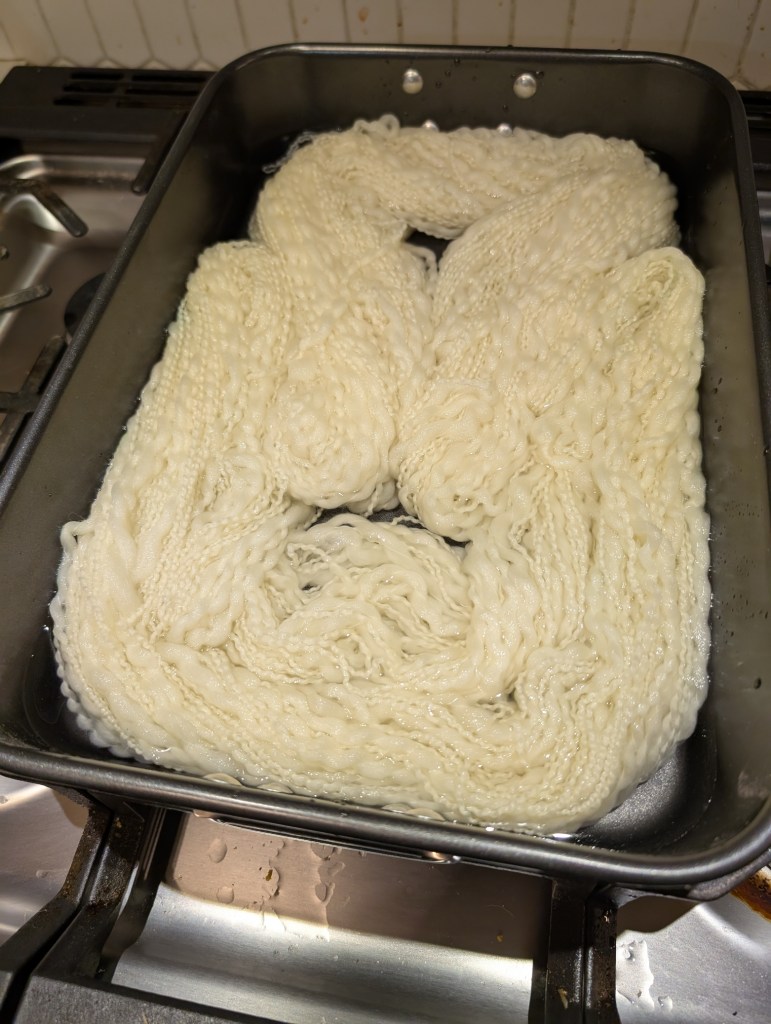
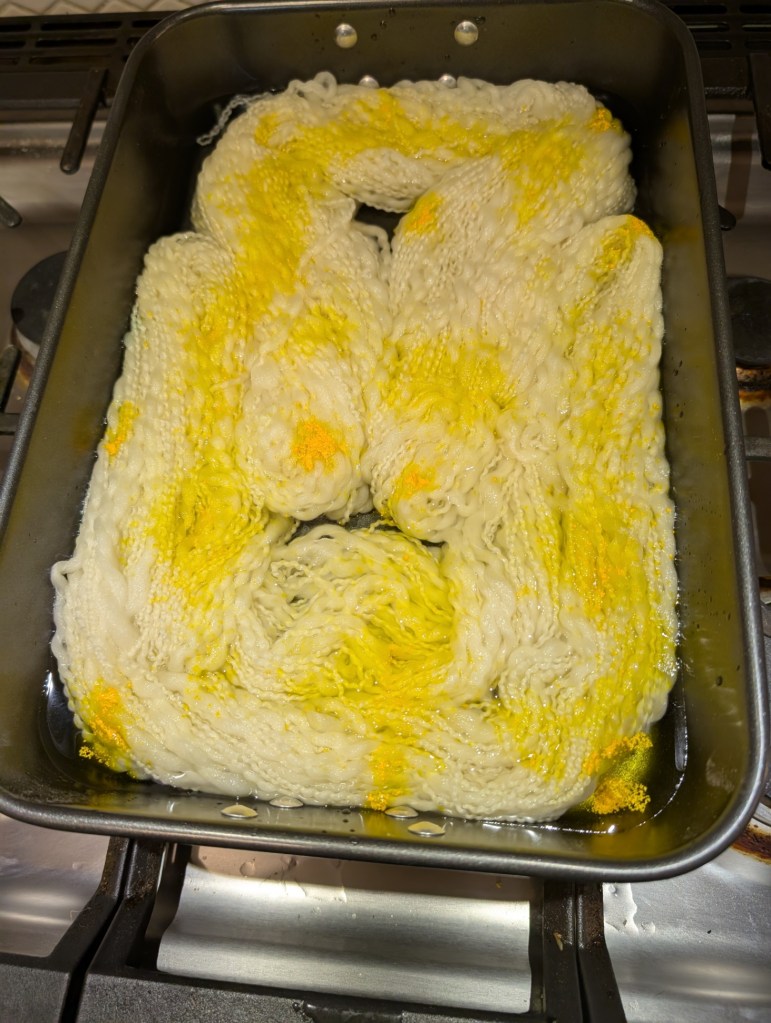
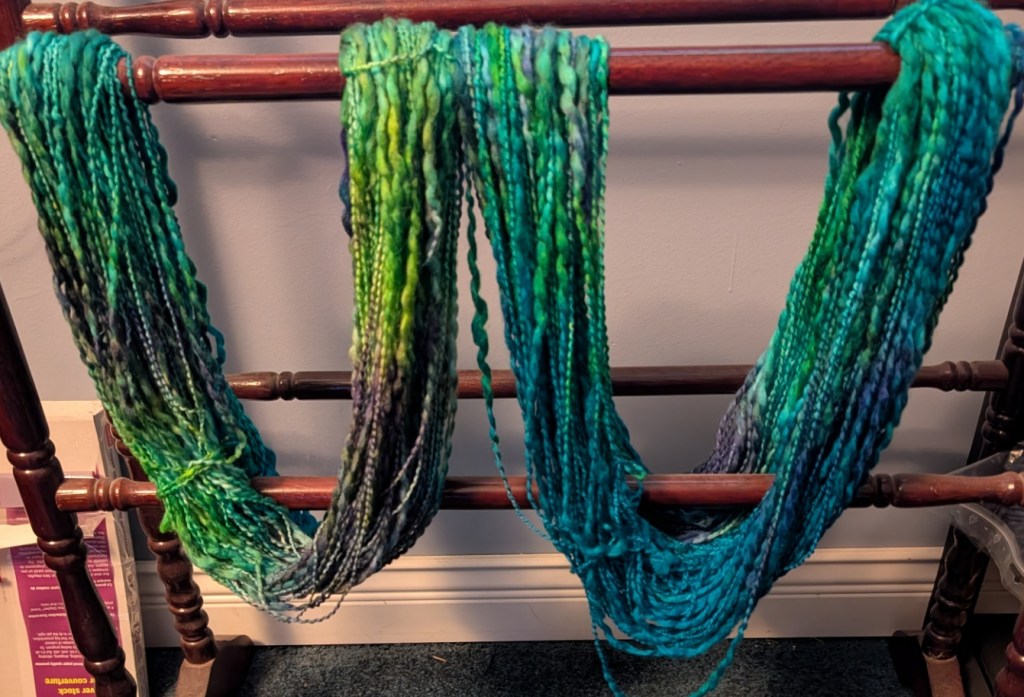
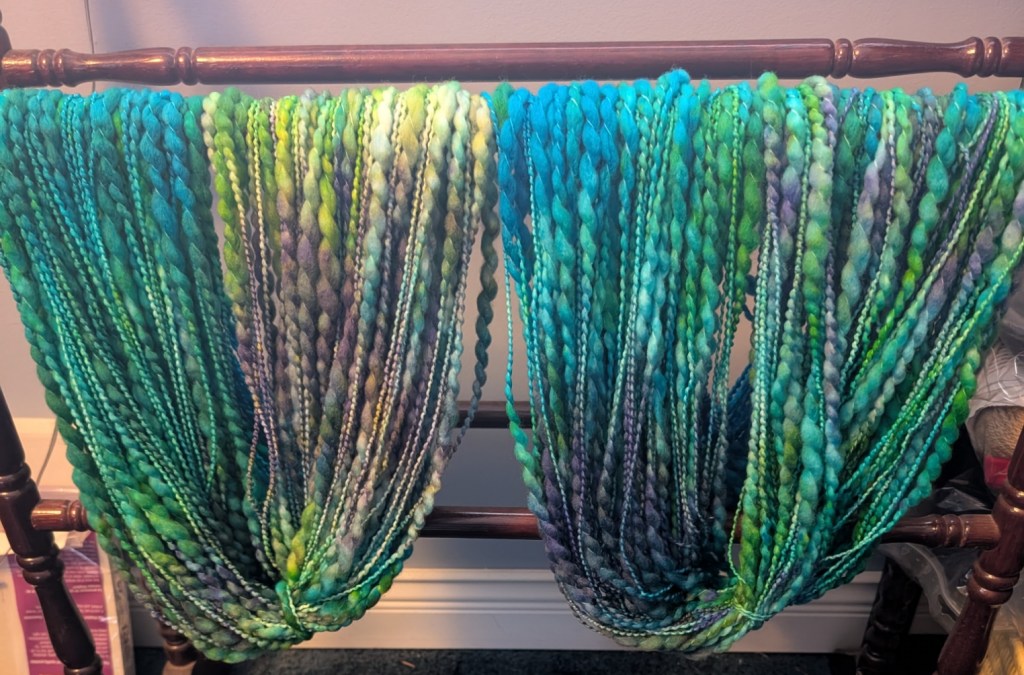
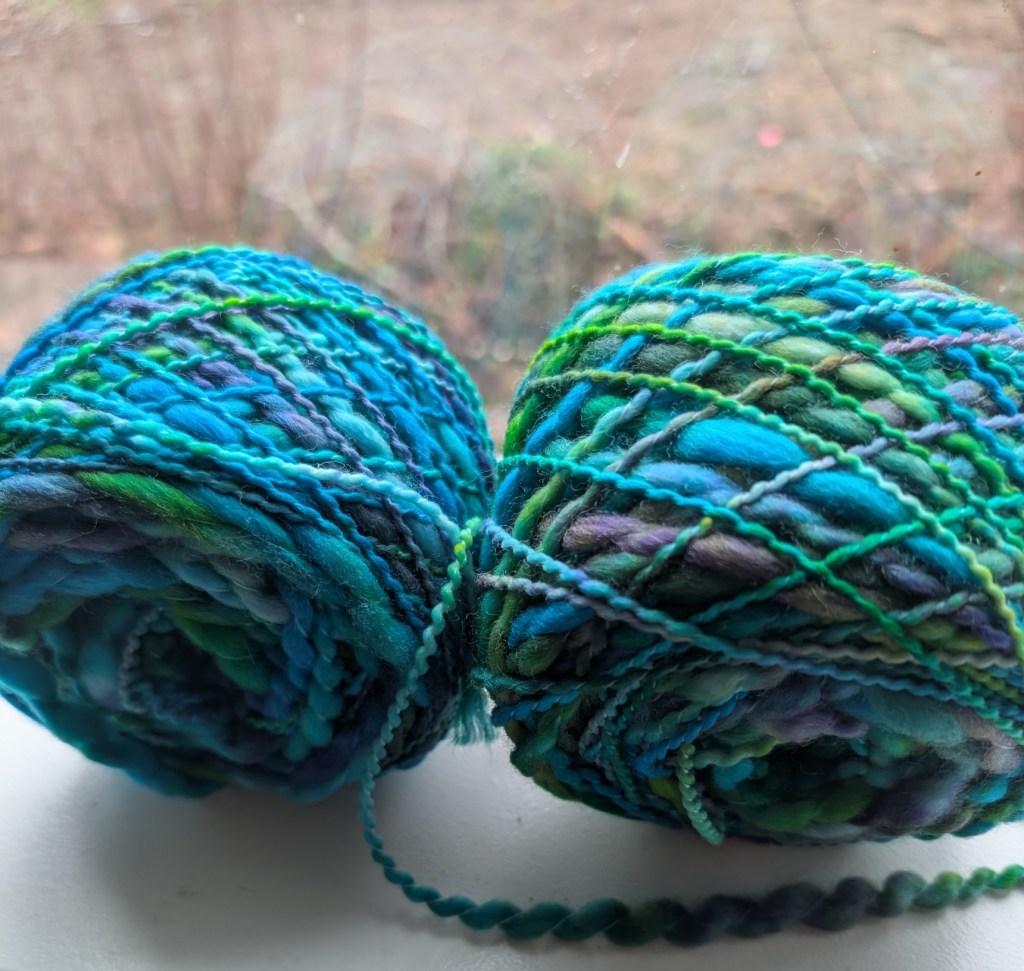
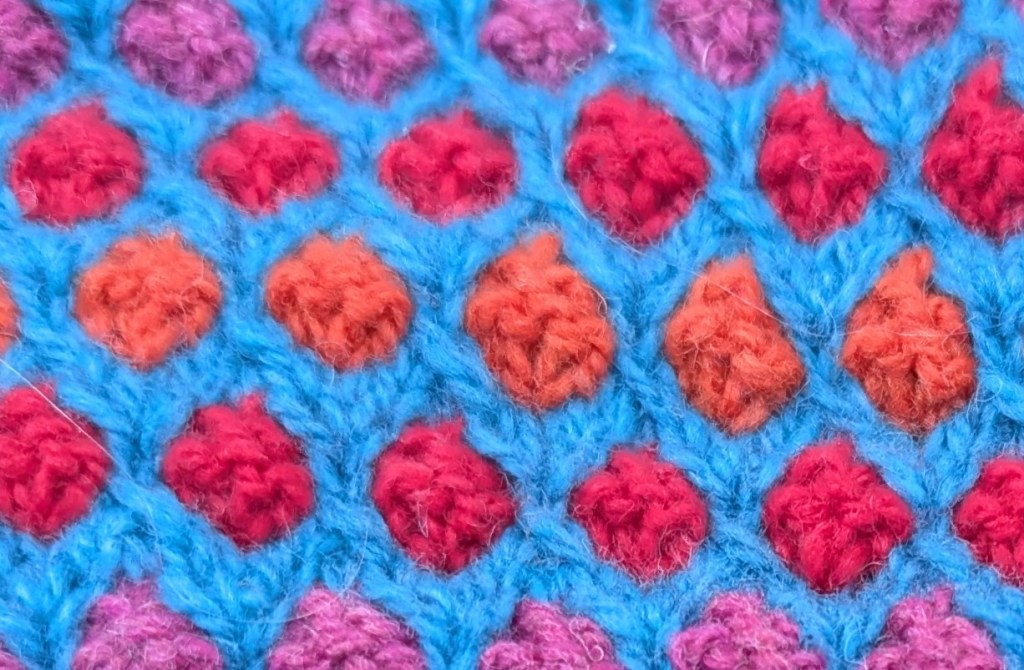
    As you can see there are a lot of changes as the dyeing progresses! I am quite pleased with the final effect. It is easy to see that I am not a professional dyer, but I still get results that I can work with. These two skeins are a little different, but if I alternate the rows – which I will most definitely do – I should get a good result.

    The first picture is the yarn when wet. The second is the yarn when almost dry. You can see how different the skeins are.
    The Project

    I haven’t knit a moebius in a while. You know that a moebius one of those never ending circles that mathematicians and scientists just love. It is a mathematical concept discovered in the late 1800’s by two scientists working independently of each other.  Like the wheel, like knitting, it was it’s time to be discovered.
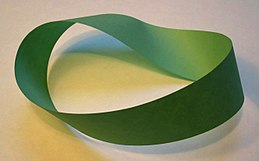
    Beside the text, is a Möbius strip made with a piece of paper and tape. If an ant were to crawl along the length of this strip, it would return to its starting point having traversed the entire length of the strip (on both sides of the original paper) without ever crossing an edge.  Wikipedia

    Knitters love them too, especially Cat Bordi, her moebius cast-on has really added something to the knitting lexicon.
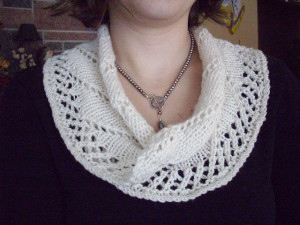
    The first project I knit using the moebius cast-on was the free pattern Grace Cowl. I was hooked. Since then I have designed a few moebius patterns. And I think it is time to create another pattern, something simple, something for teaching the technique to knitters who love to play and learn a new cast-on.

    The moebius cast-on is a center line cast-on. This means that once the cast-on and first round are knit you will then be knitting in two directions.

    The Moebius cast-on resembles a modified provisional cast-on; but is not provisional and becomes the two center rounds of your garment.  Like some cast-on’s, provisional or otherwise this cast-on is “un-tensioned” and requires patience for the first half of the round of knitting – the second half of the round is easy.  From the Moebius cast-on, like any other cast-on, a knitter can knit almost any kind of stitch and create a unique garment.

    Be prepared – each half of the curve is the mirror image of the other half.  For example; if every round after the cast-on is knit, one half of the moebius will appear as stockinet and the other half as reverse stockinet.  Because of this a reversible stitch is recommended for those knitters who want both sides to be visually the same.
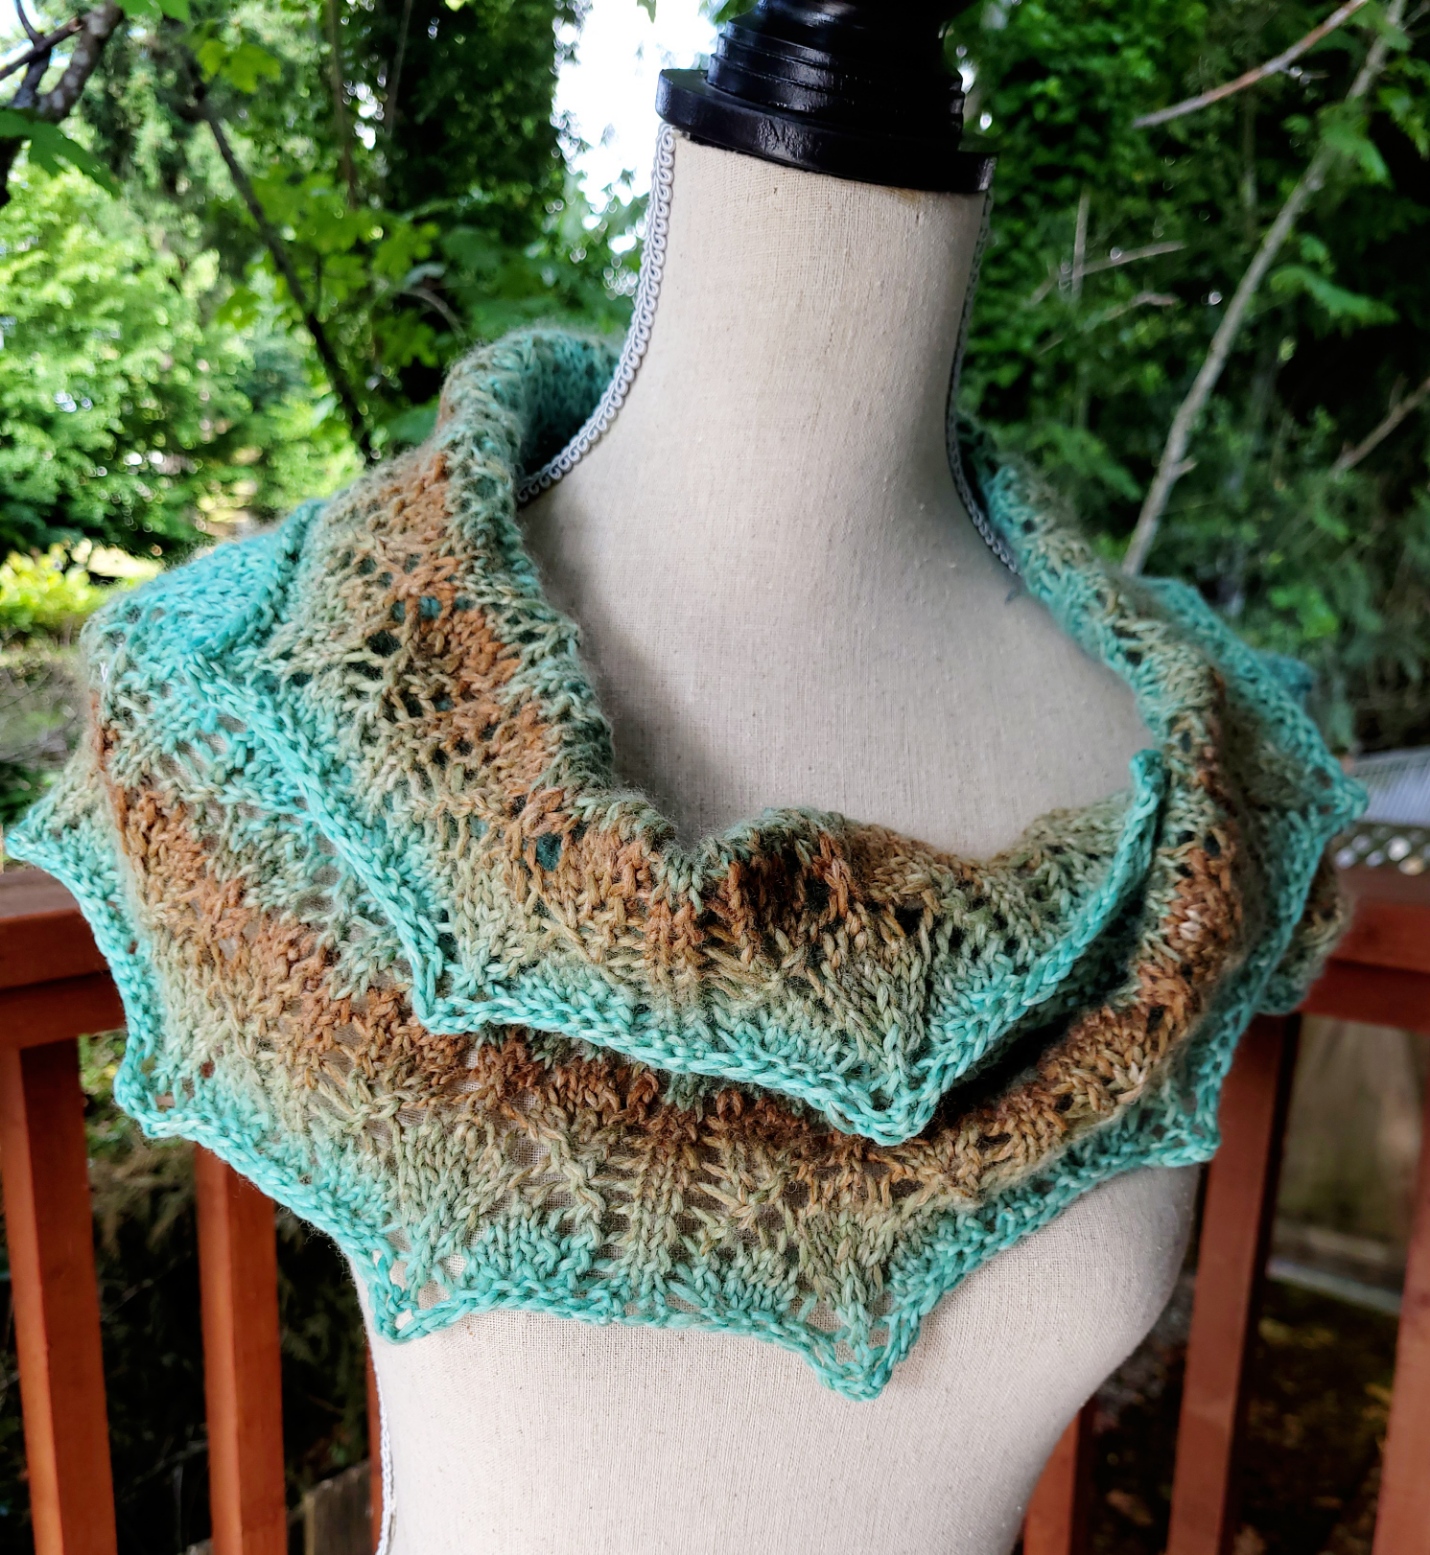
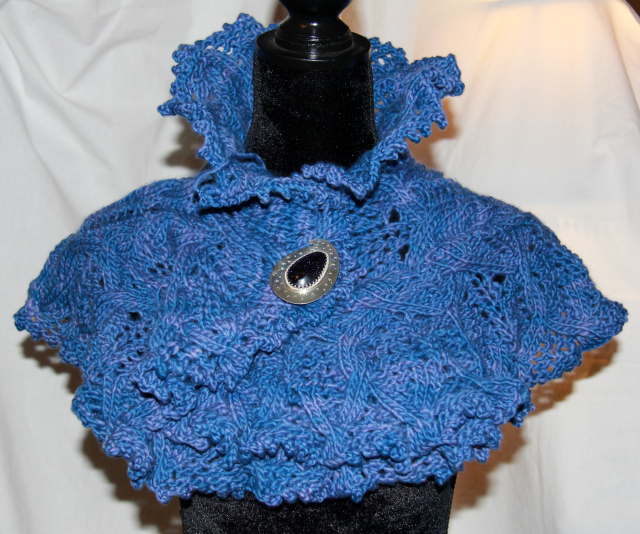
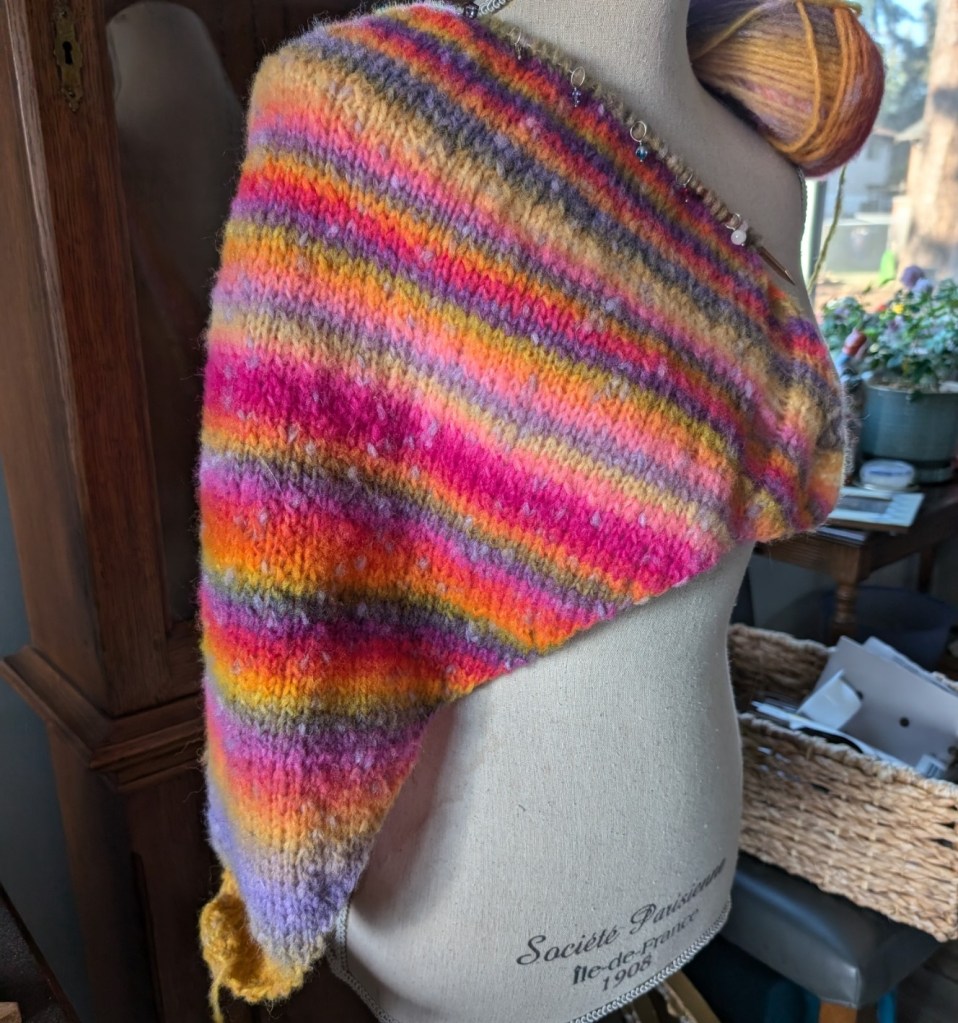
    Popcorn is a lovely textured yarn and with being hand-dyed will knit up in a wonderful moebius without to much effort beyond knit and purl textures. I am thinking of a simple seed stitch alternating with some garter st bands. Time to try the cast-on with the dyed yarns.

    The skeins definitely will need to be alternated! But aren’t they pretty! It was hard to find some natural light to really show you the colours, today is definitely grey. The dining room window sill did the job!
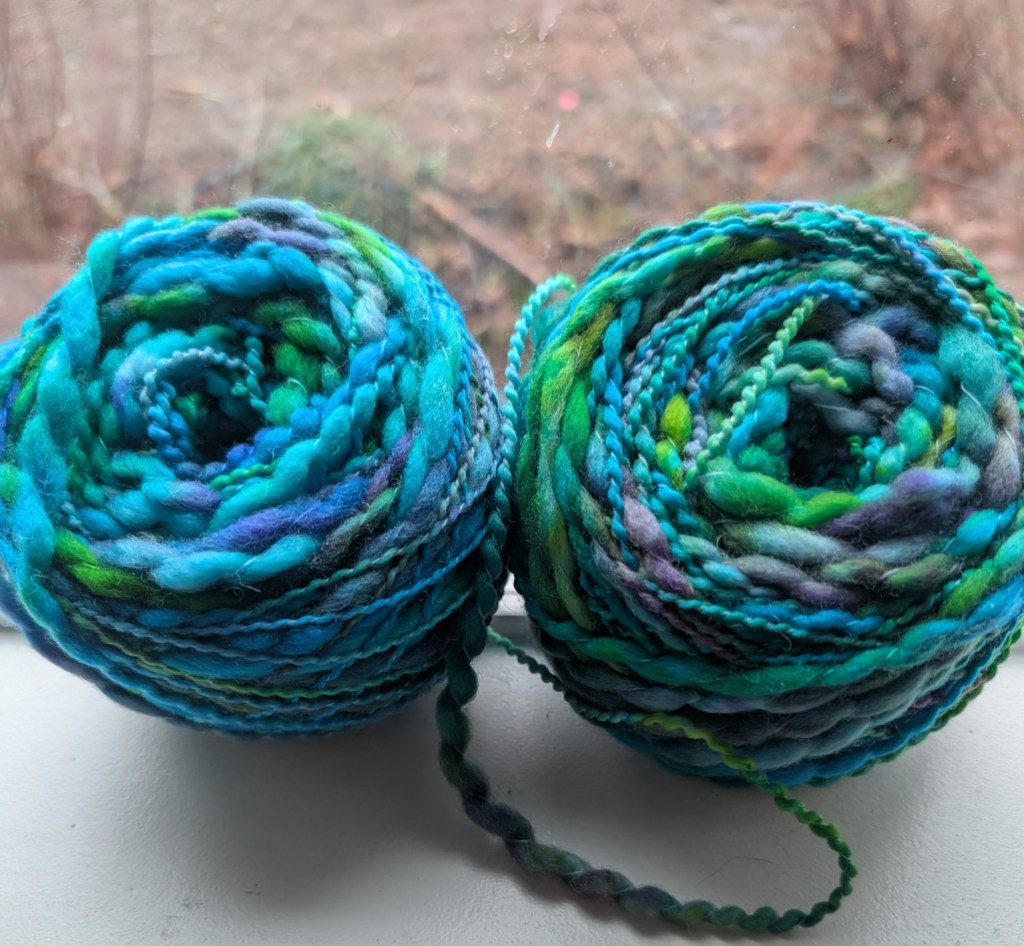
    I couldn’t find my Addi circ needle, 8mm, US 11, 120cm or 47 in long, my preferred needles for this technique, so I am using an old Crystal Palace bamboo circ, 55 inches long. The cord is a little stiffer than I like to use. But everything else is buried behind other stuff until the Christmas Decorations are taken down and everything put away!

    The Knitting

    Supplies – 8.0mm circ needle, 55 inches long, 200m chunky yarn, BORM and halfway point marker
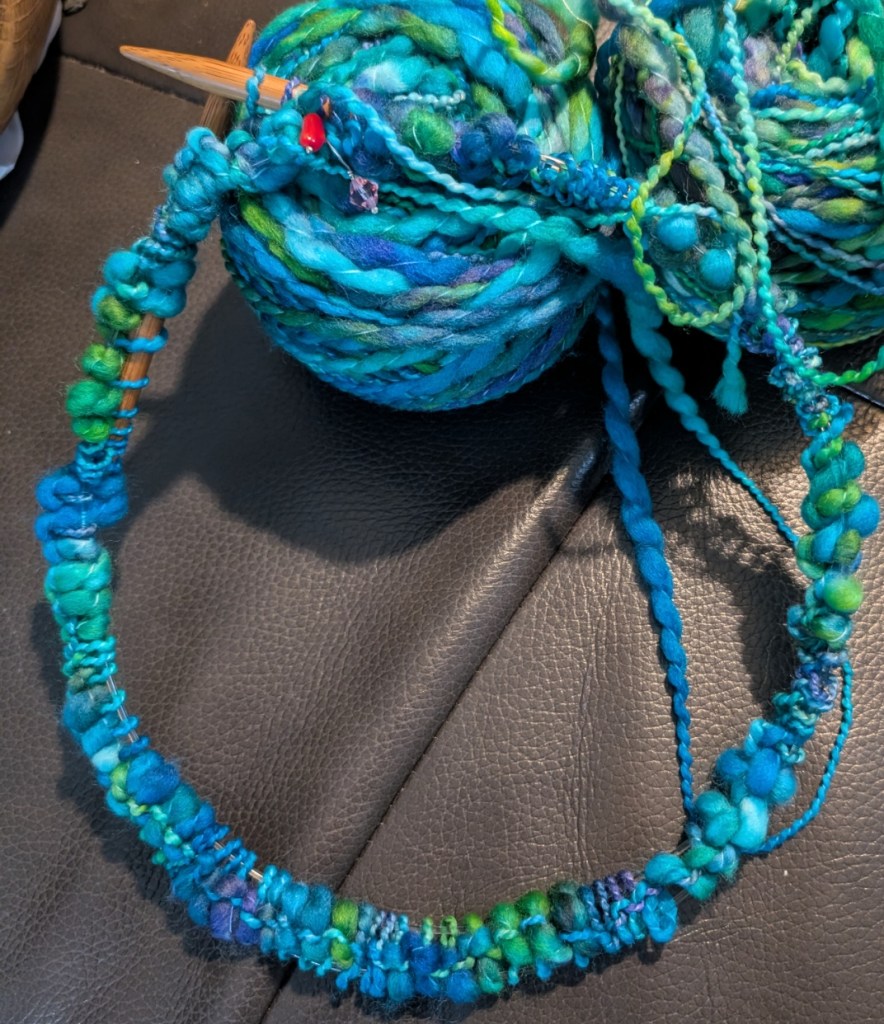
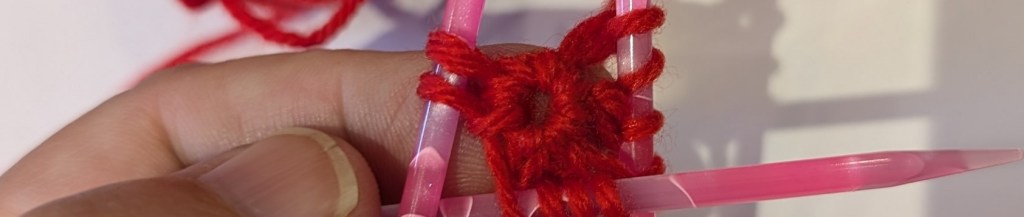
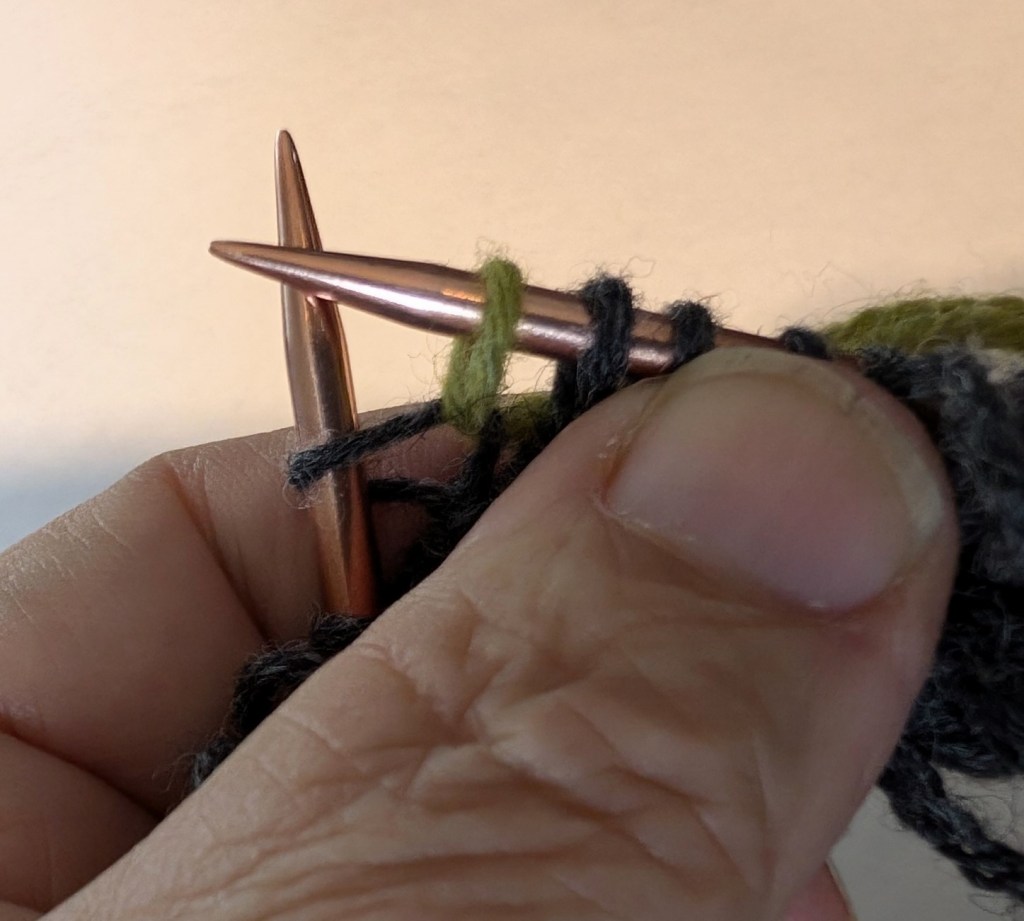
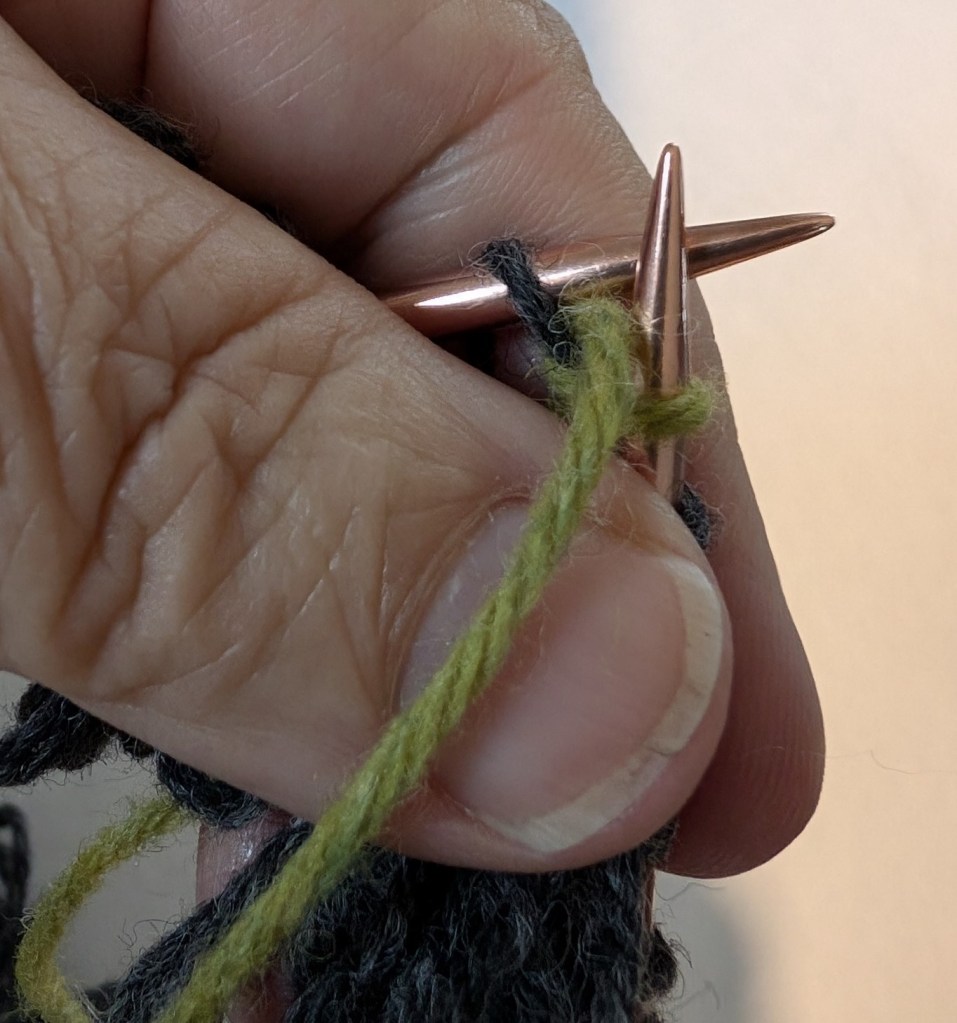
    The most difficult part of moebius knitting is the cast-on and the first half round of the knitting. The cast-on is a unique one, almost provisional, one that creates an upper and lower row of stitches.

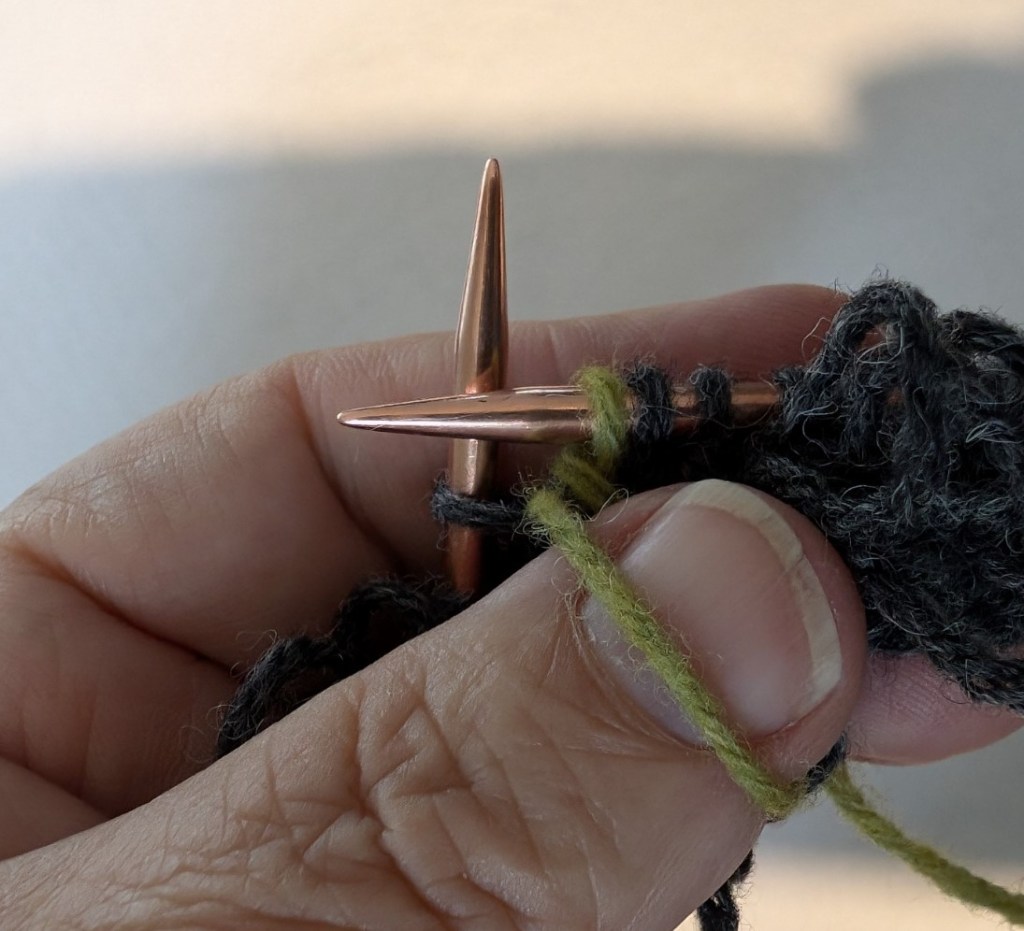
    This cast-on has no tension and the stitches love to leapfrog over each other for the first half of the round. After the first half is knit the stitches will behave themselves.

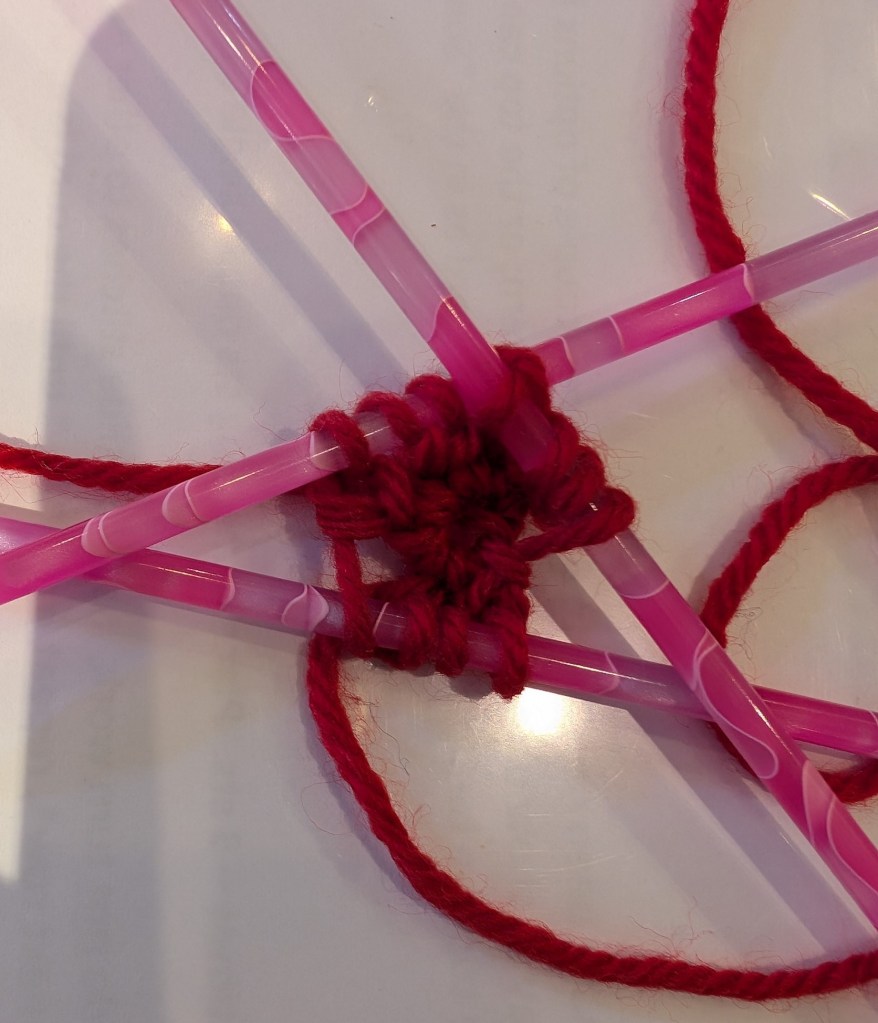
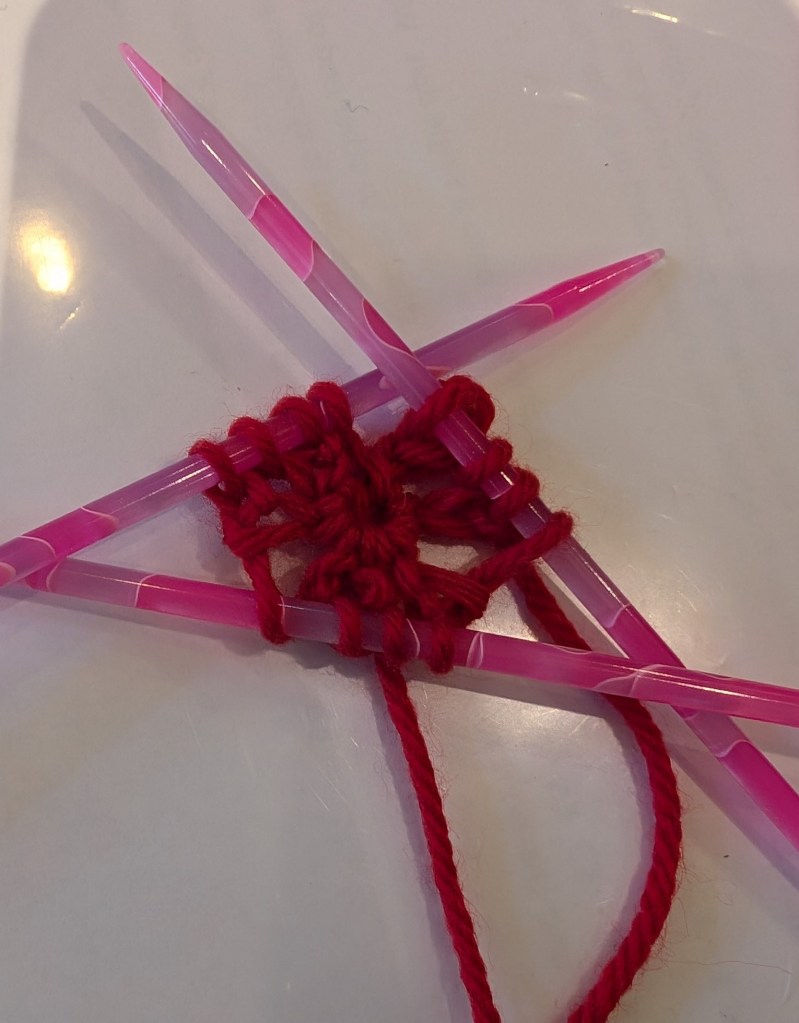
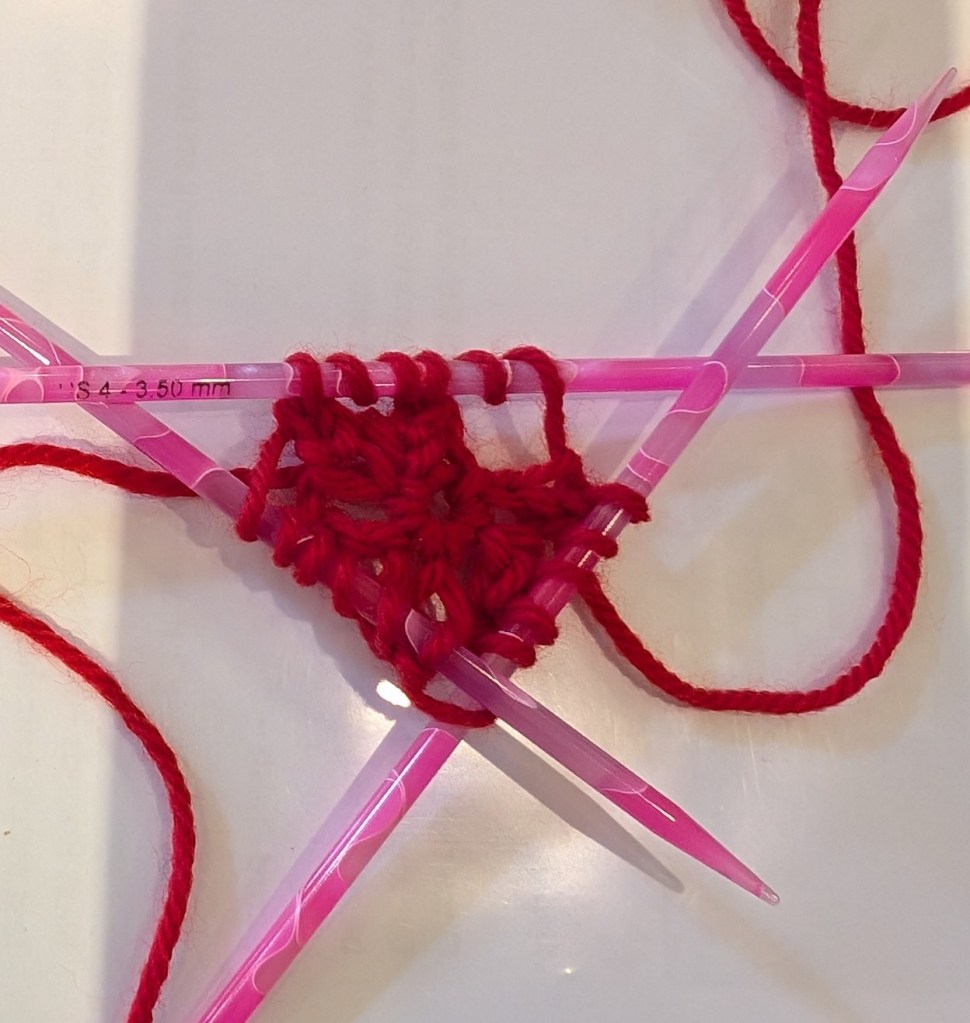
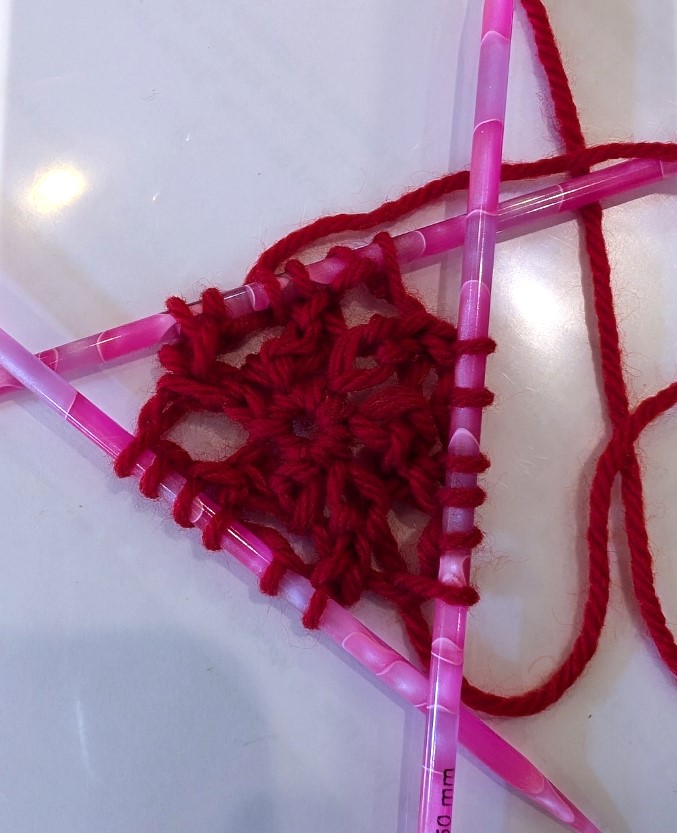
    Picture – cast-on and first half round complete

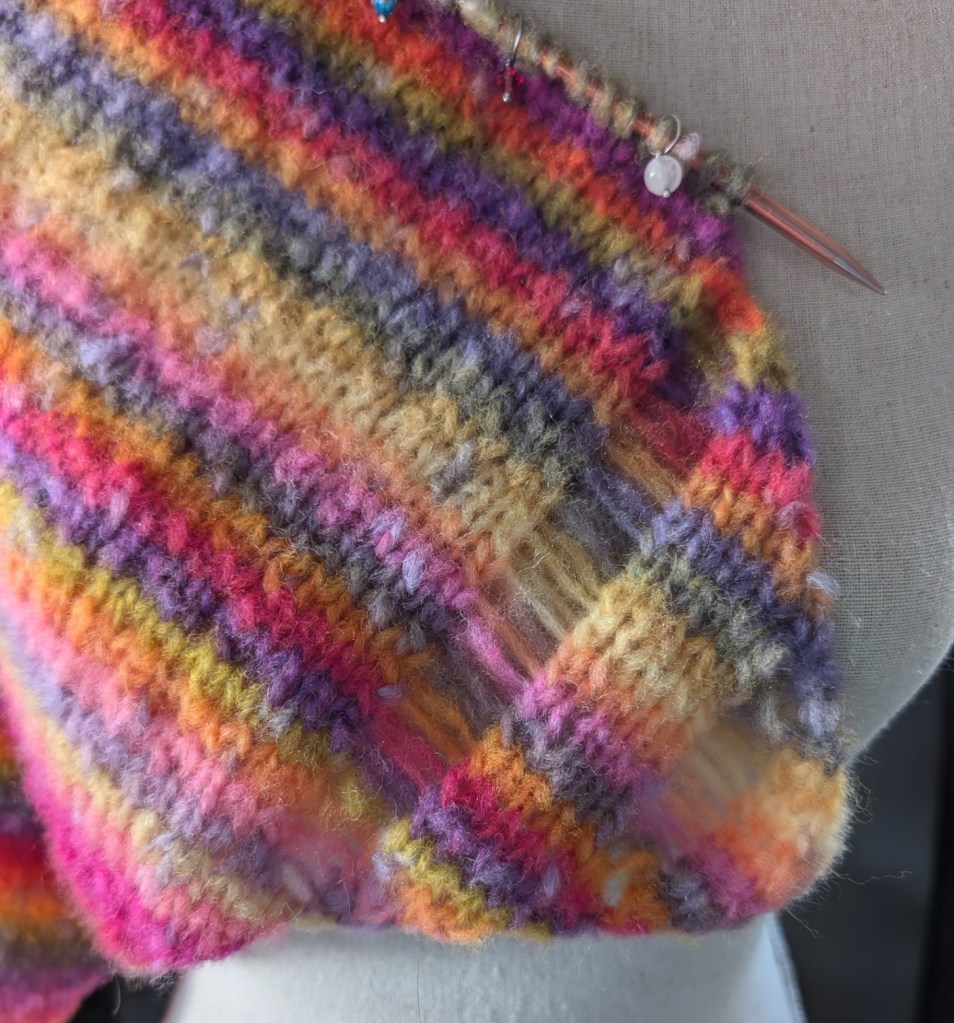
    Once the first half is knit everything knits as normal except for the fact that you are knitting away from the center. As you get further and further from the center you can see the cords separating and the knitting getting wider. It is so magical!
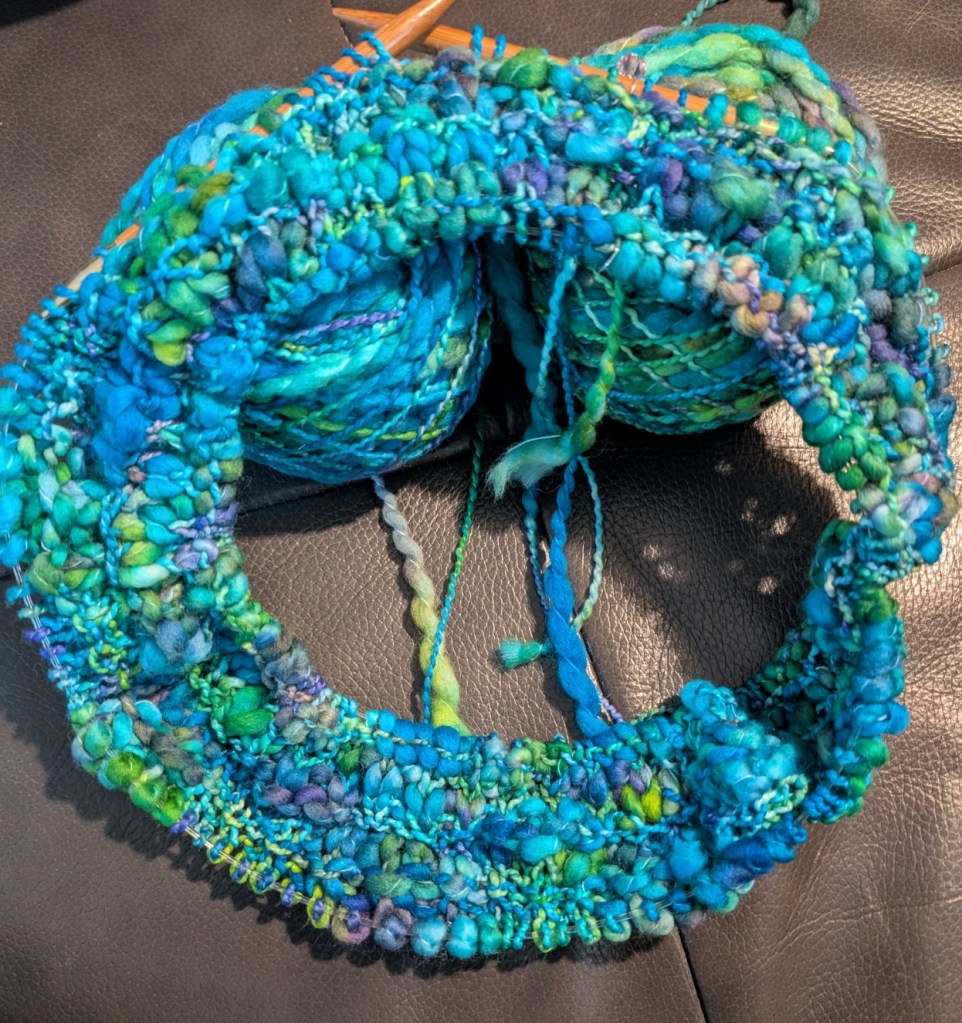
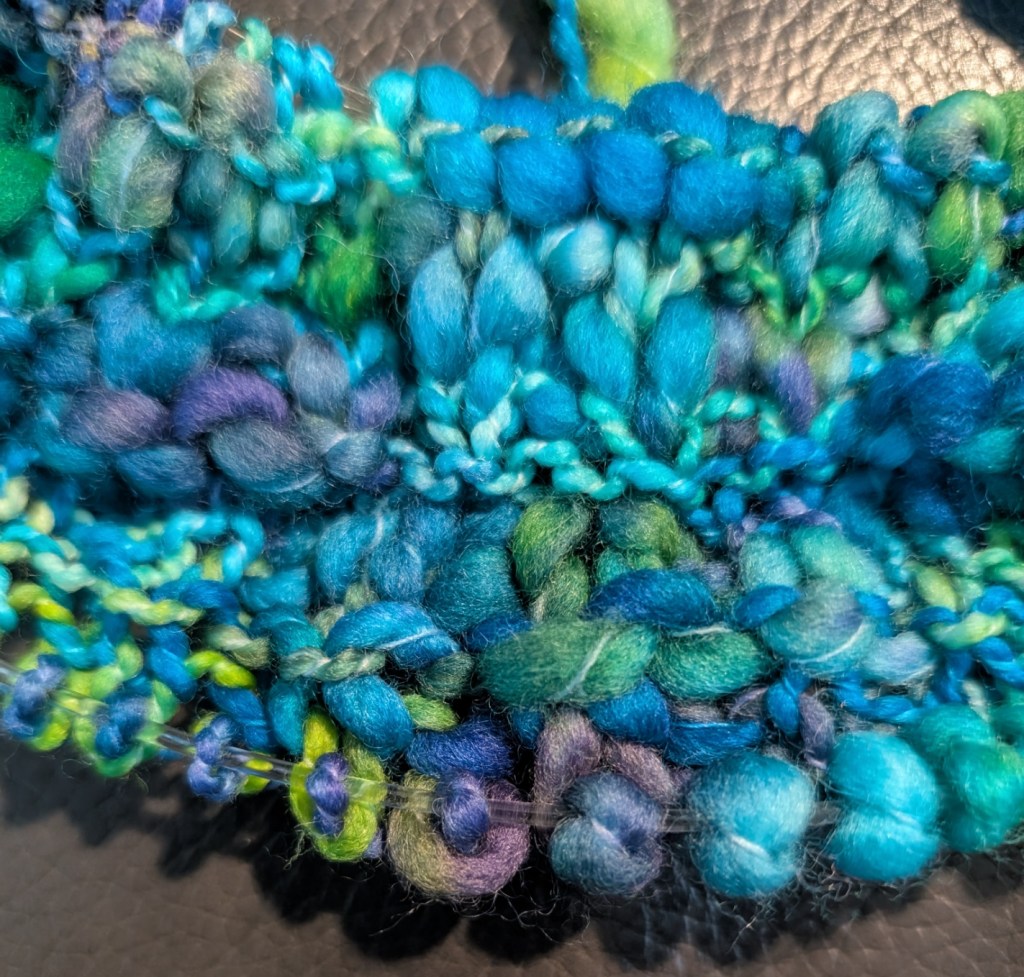
    Time to give my hands a break and do something different! But not for long! This is building up fast and I really want to see it complete!

    Happy Knitting

    Lynette
  • Dec 1, 2024

    Dec 1, 2024

    This the beginning of the Christmas Season for many of us. Especially those of us in retail. As I work at my LYS I need to get my Christmas Mojo in place and be ready to help those who need my help, either with gifting ideas or help in sorting out problems with finishing those special things.

    I love this time of the year. It doesn’t matter what you celebrate or how you celebrate, most cultures celebrate the Winter Solstice in some way. Christmas, Hanukah, Kwanza, Soltice or Saturnalia, they are celebrations of joy and sharing! And an acknowledgement that the longest night of the year has come and gone. So every year I like to share a pattern through Ravelry or here on the blog (now that I know how! LOL!) So here is my gift to you free for the month of December and running through early January!

    I was thinking about this and realizing that for the Southern hemisphere this will the shortest night of the year! Still any excuse to celebrate is a good one!

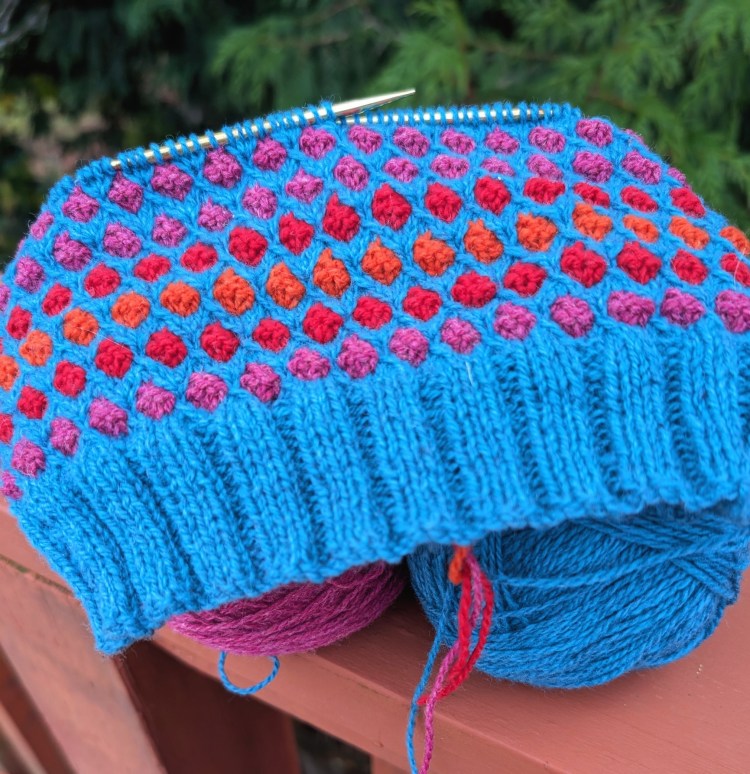
    I thing that Cyclone is a good basic hat pattern. Not too fussy, will look effective in alsomost any colour and it notes the kind of year that many of us have had! Chaotic and cyclonic. So I made it my Christmas pattern. It will be free for the month of December and going into early January.

    The stitch pattern is a fairly straight forward mosaic stitch. I love mosaic stitching because you are never working more than one colour at a time! No carries! Because of the size of the mosaic pattern there is really only one size, but notes are included to adjust the size a little up or down to accommodate larger or smaller adult/teen size heads.

    Just to be different there will be a couple of free patterns this year. I turn sixty-five this month as well. So I am going to celebrate that too! And no, retirement is not part of my plans. After all, I am already working at what I love. So, I would like offer up another pattern for free for the month!

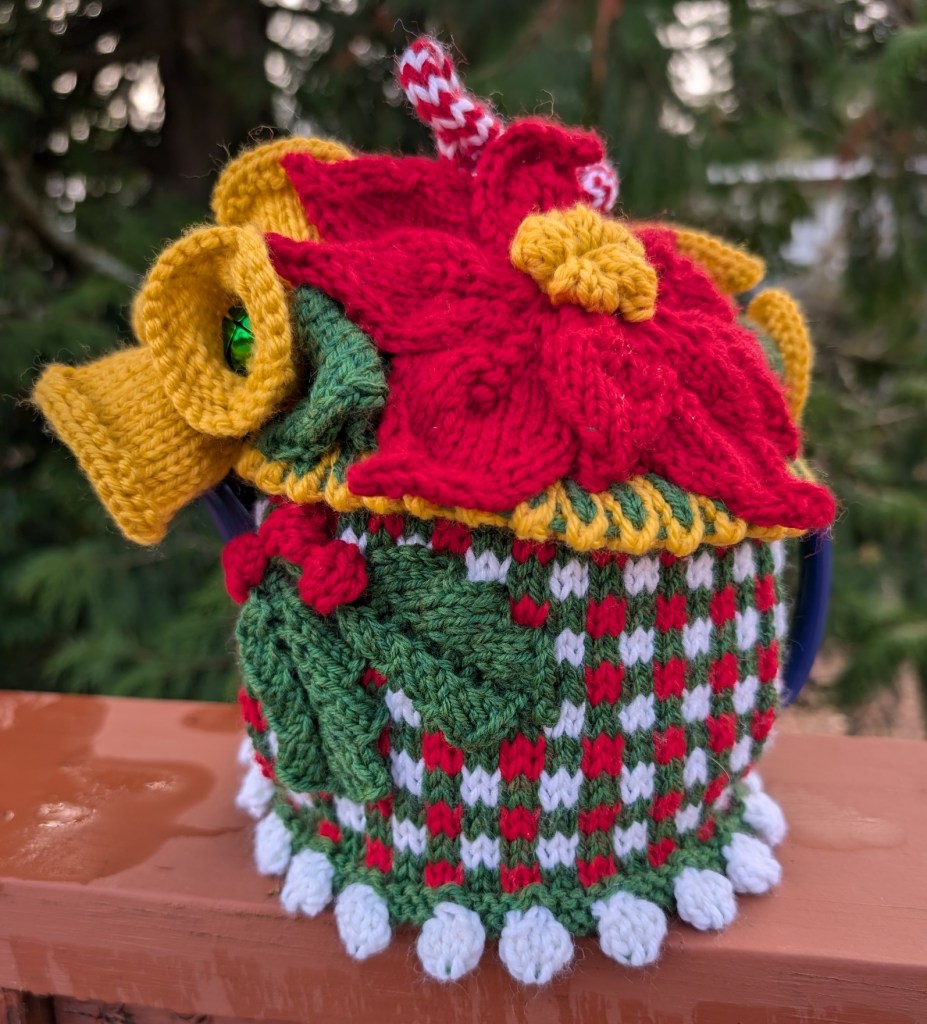
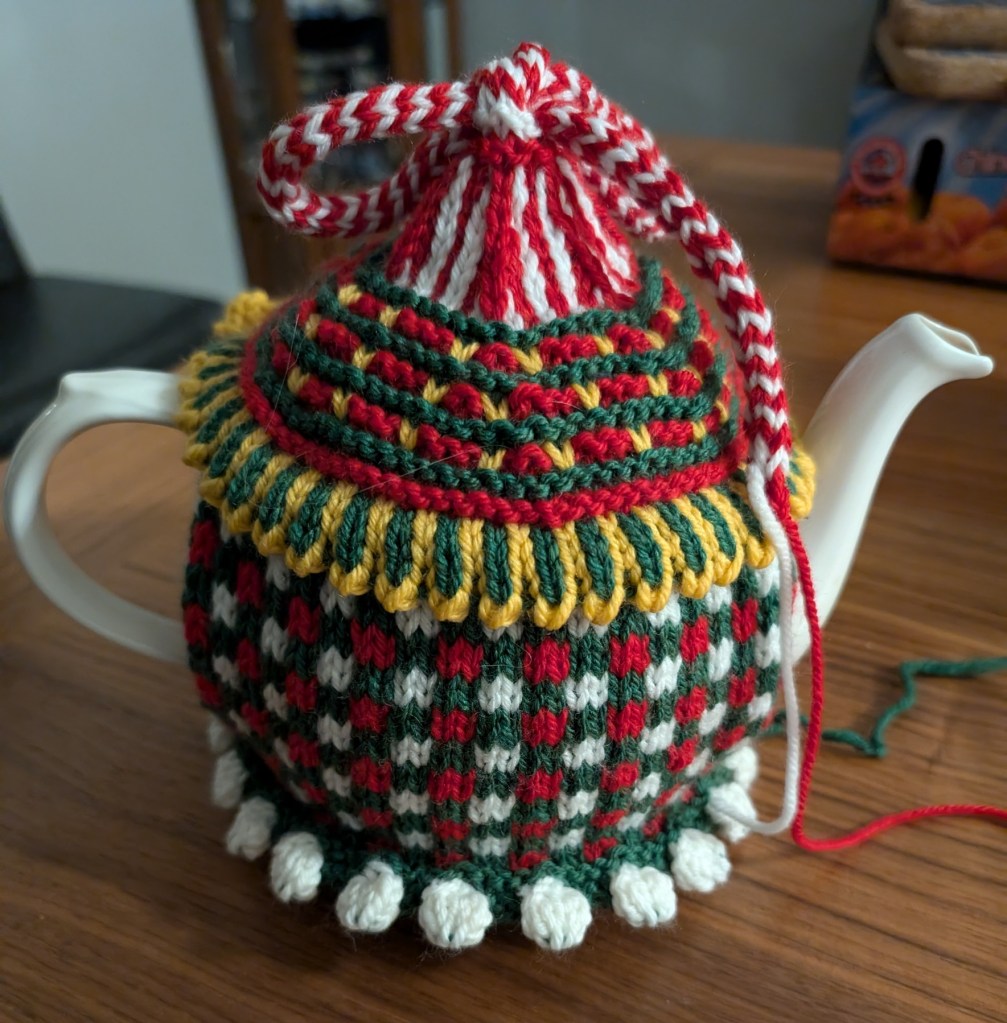
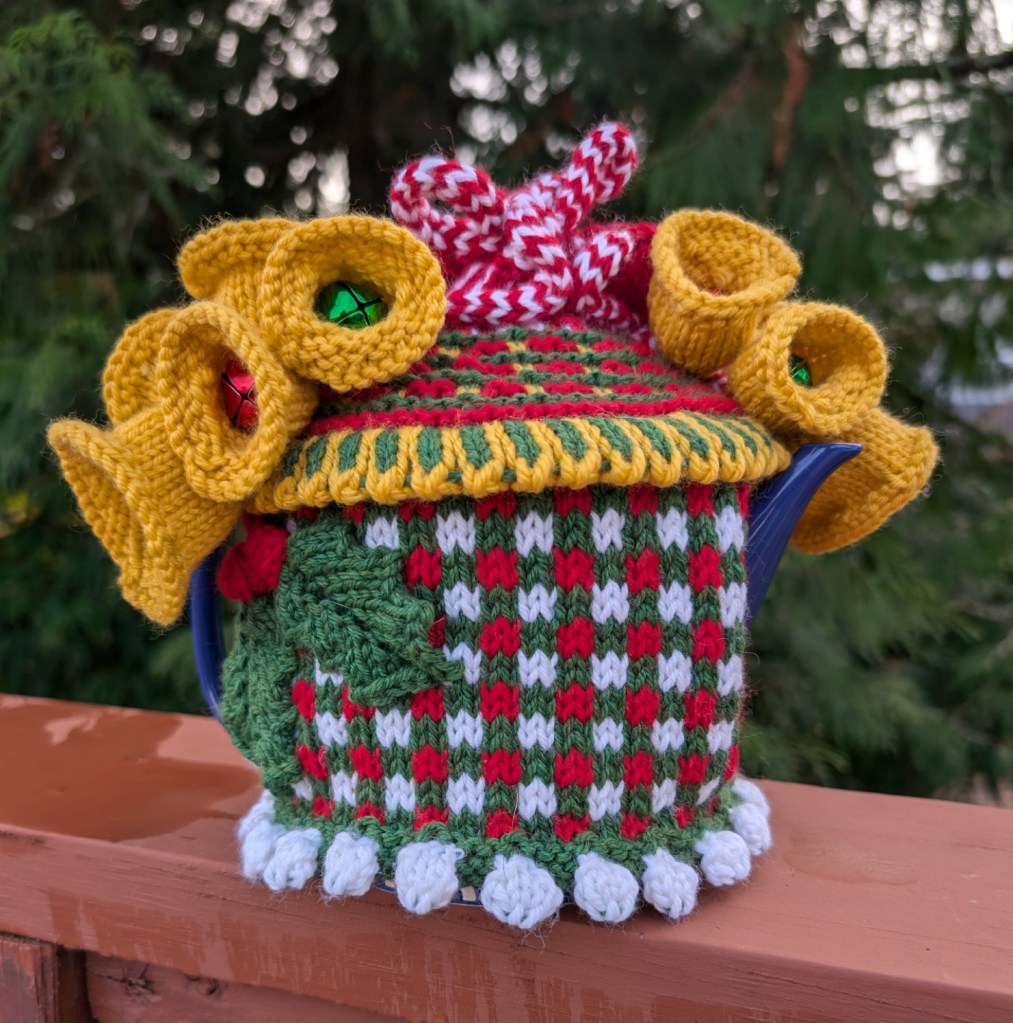
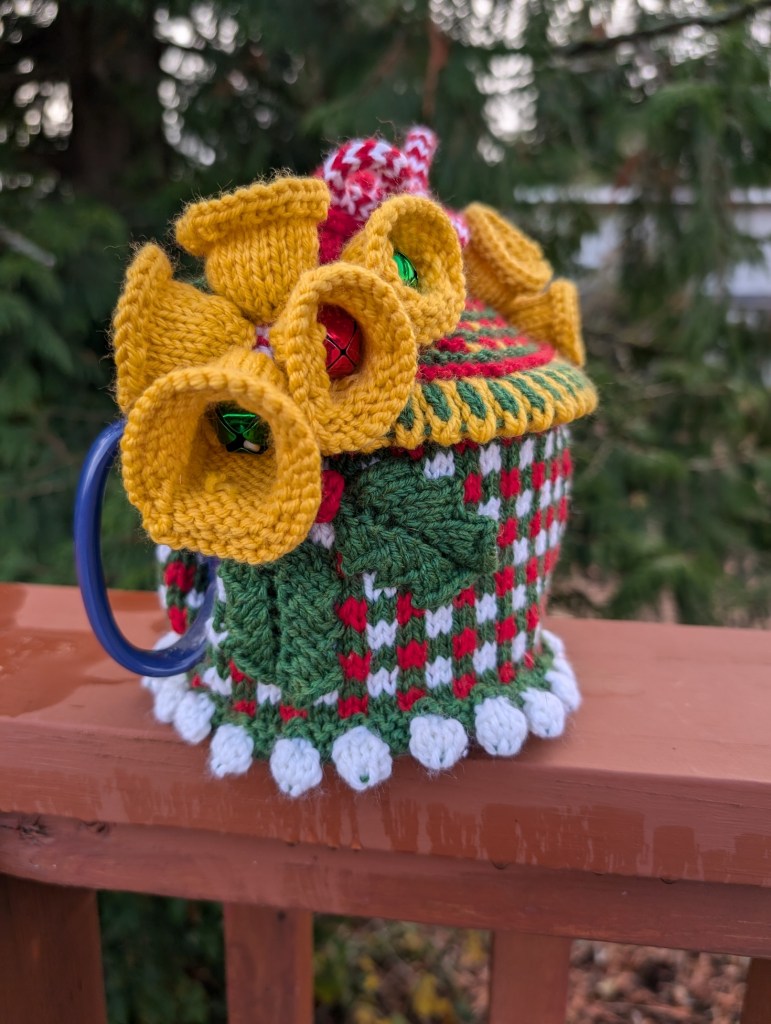
    Cozy Bells is a tea-cozy designed to celebrate Christmas every day of the Year. The bells will jingle softly as the tea is poured and your tea will remain warm for quite a white! I recommend printing this pattern in colour as there are many how to pictures to go along with the embellishing.

    Life has been rough for the bulk of the year so I am seizing this moment to share some joy! I hope that you like the patterns and will take this opportunity to try them out.

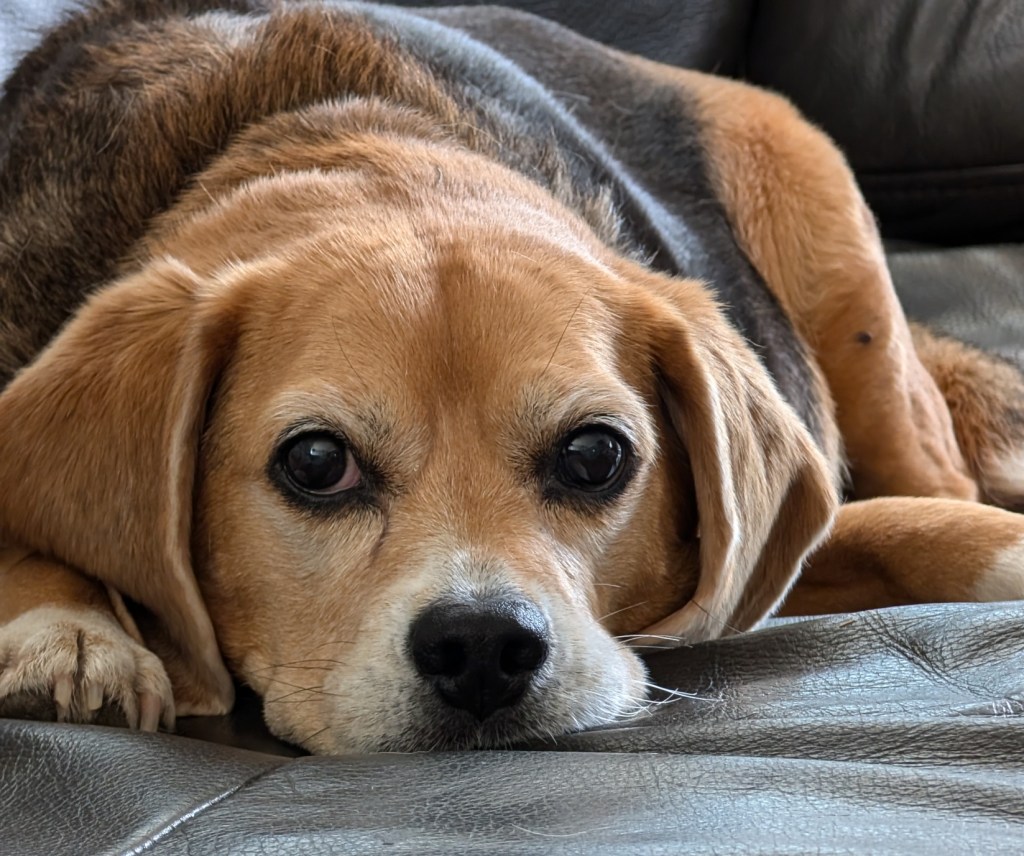
    On a sad note, Sophie, our beautiful beagle passed away last week. She was thirteen and had lived a good life. She was always happy, tail wagging at every greeting and never, ever, passed up a treat that came her way. She was loved by all who knew her and never met anyone she didn’t like. She is missed every day.

    At work we are starting to organize our ideas for next years classes. And I am going to offer up a “Year of Hats”. A series of workshops, each one about a hat, or headgear of some type. There will be different weights, different techniques and yarns to work with. Quite a few are already done. There will be a blog post, maybe next weekend, all about this project.

    I am really excited about the turquoise item below – the technique is colourwork slip stitching! You a never working with more than one colour! I am working with several colours of Patagonia Organic Merino. Wouldn’t it look great with the drops done in a hand-dyed yarn? What do you think?

    I am also going to resurrect a few of my older projects. Things that I really want to finish – either patterns or projects. A mixture of both! You can see that I am setting up my New Years’ resolutions as I work my way through this!

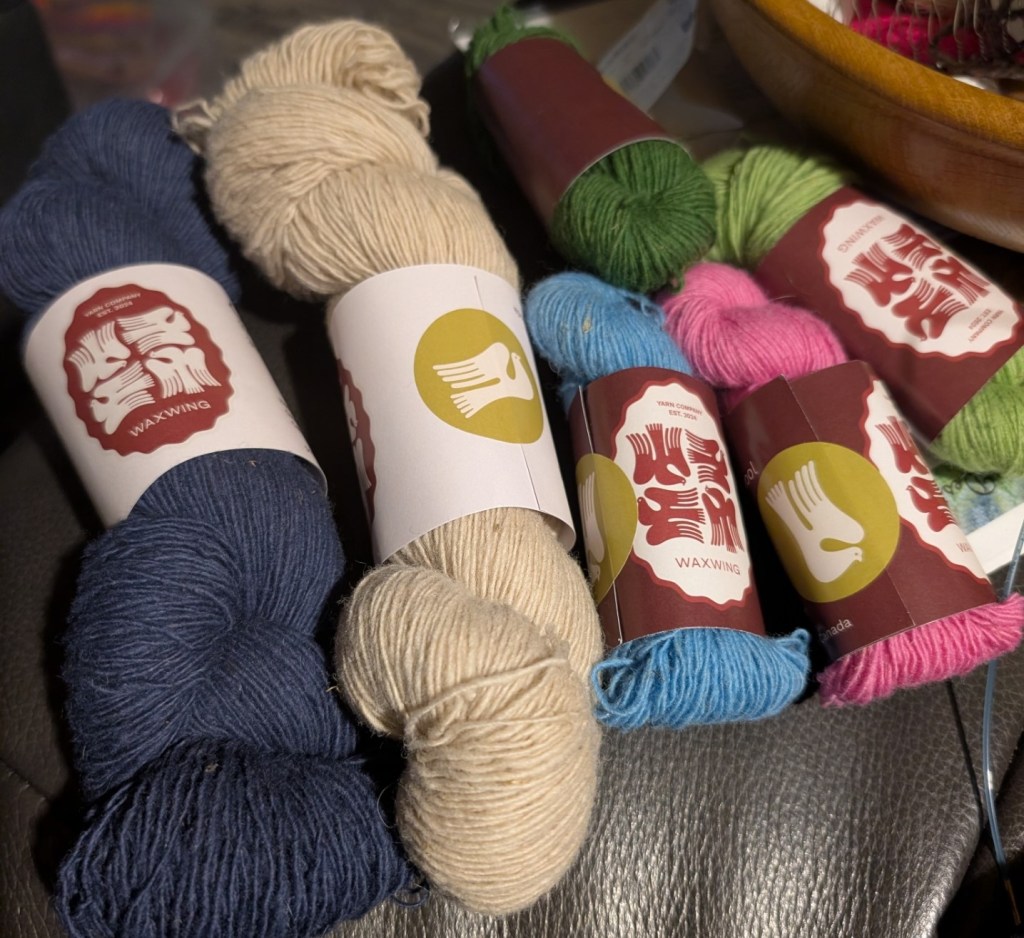
    I am playing with a new yarn – Cedre, by Waxwing Yarn Co.. This is an all Canadian endeavor. The yarns are sourced and scoured in Ontario. Then they are spun in Quebec.

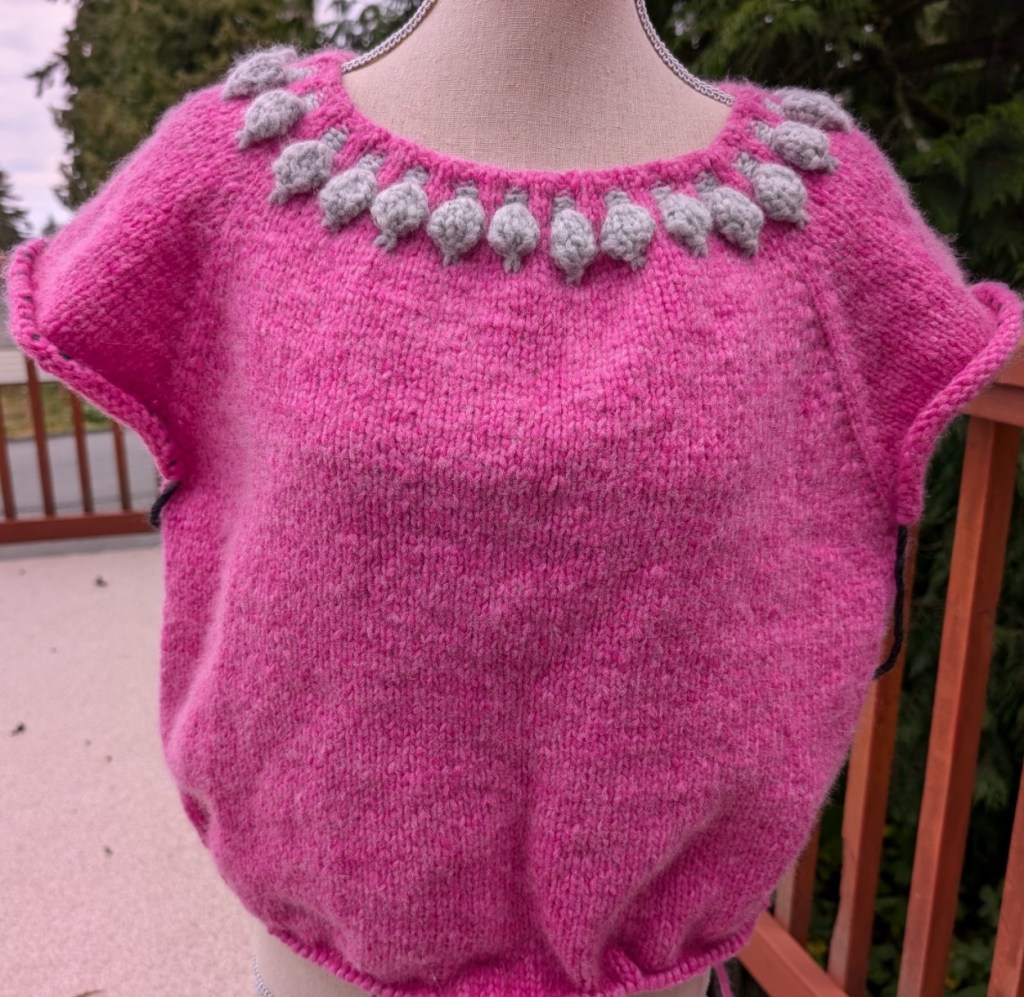
    Cedre is a woolen spun single, I would call it a solid 4-ply in weight. It has a lovely roundness to it and is very springy. I am putting it through its paces while working this mini poncho. I started with a 2.75mm and have settled on a 3.75mm for the body. The stitch definition is crisp, even at this needle size and I can hardly wait to finish this project. I want to see how it reacts to blocking.

    So, Happy December!

    Happy Knitting

    Lynette
  • Long Weekend – Colours of the Fall

    Long Weekend – Colours of the Fall

    It was a very productive, very busy long weekend here. We were Grand-dog sitting and I was working on a pattern. We binged some tv and generally had a quiet weekend.

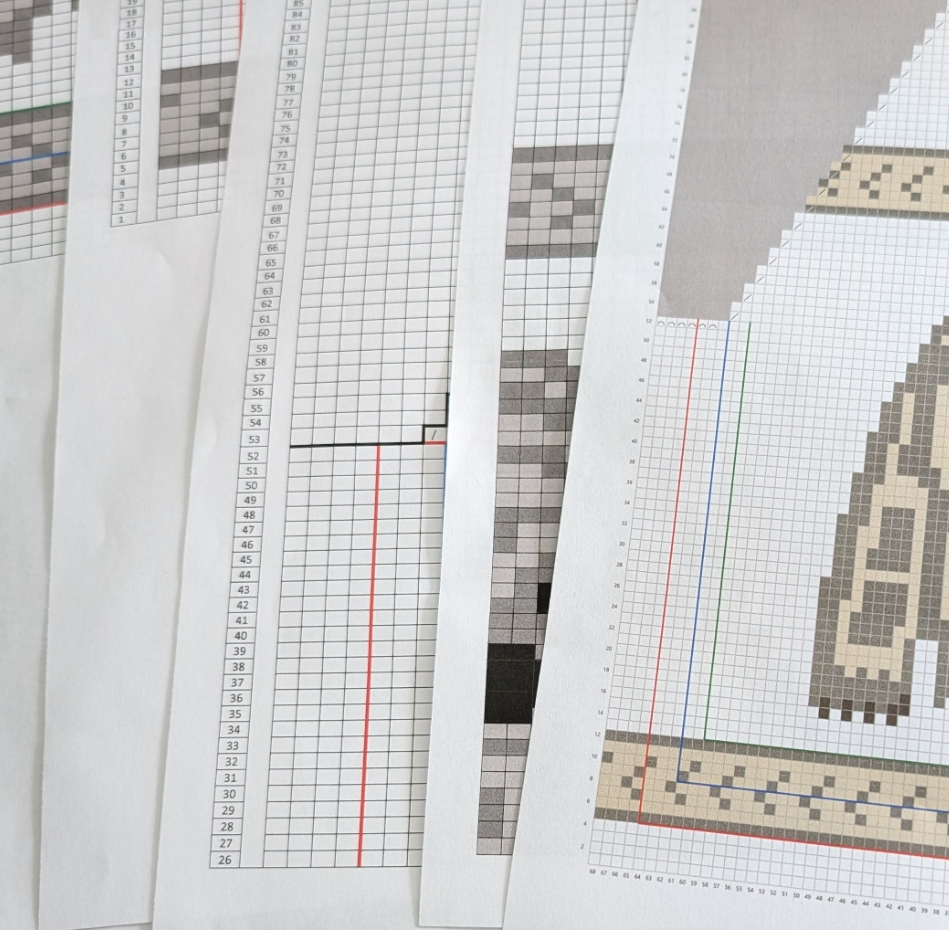
    In the past I created the charts for my patterns with the Word program on my computer. I beat it into submission (maybe it beat me into submission! LOL! ) and learned how to create charts for cables and colourwork. I considered it an Ok system, not perfect, but serviceable!

    A few years ago I discovered Stitchmastery and It is much more than serviceable! Stitchmastery is a software tool for designers that allows the designer to create beautiful charts. The learning curve was a bit of a challenge at first. It still is, but I am learning more about what Stitchmastery can do every time I use it!

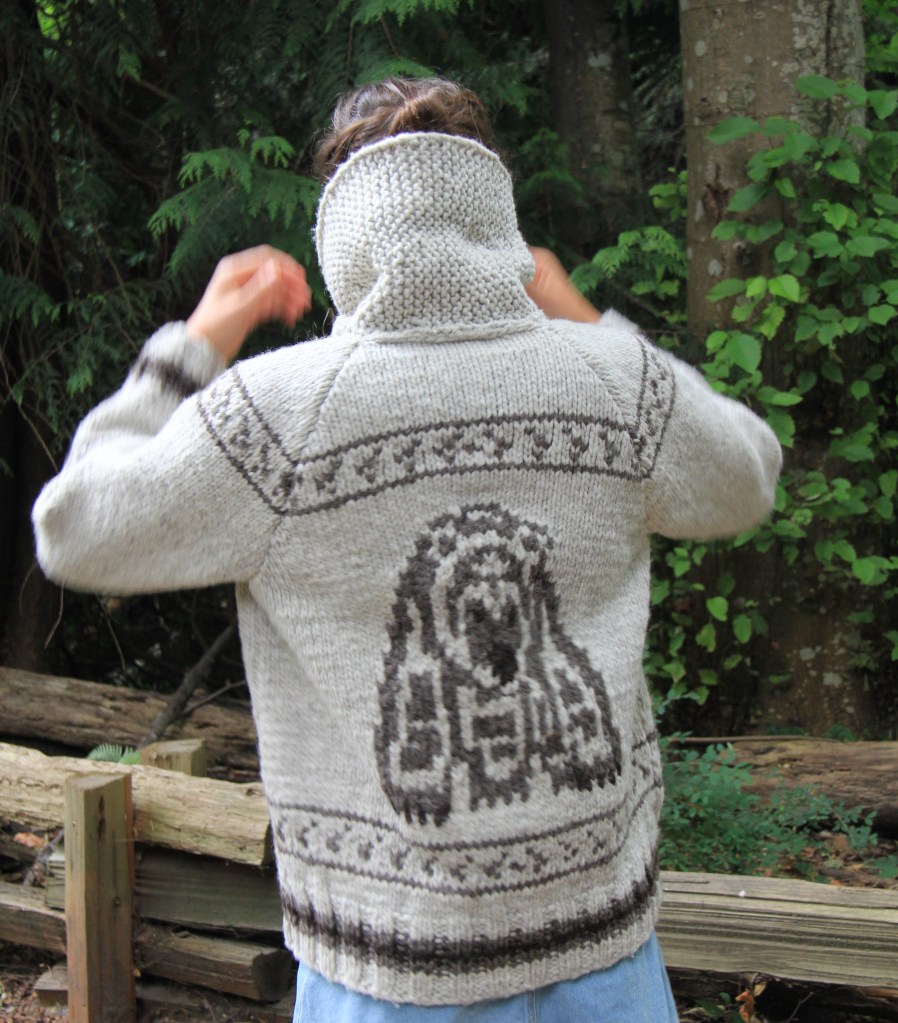
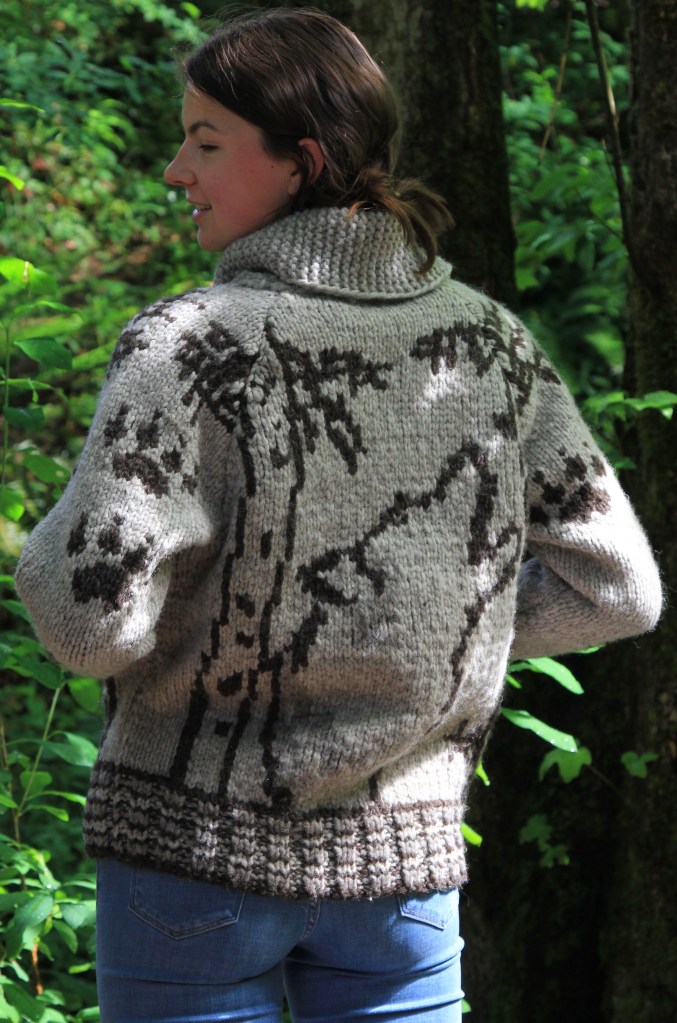
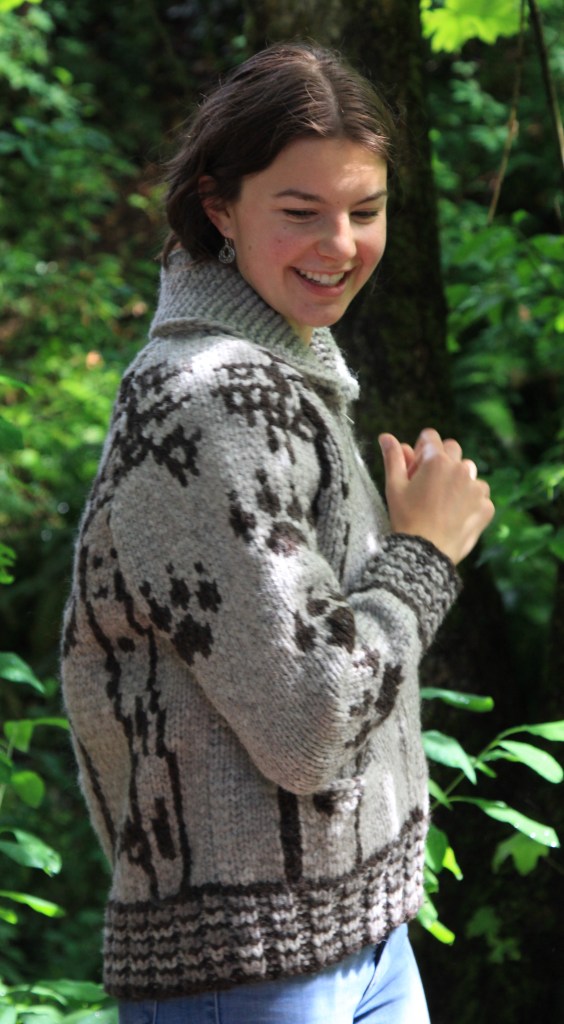
    So this weekend i decided to work on a set of charts for my next release in my Salish Sea Collection, Spirit Bear! The transfer is going along fabulously. I took the biggest chart, the back, it required 4 pages to create with word and took it down to one page using Stitchmastery! I was so thrilled with those results! The rest of the pattern will go much faster as I learned all the shortcuts as I worked on the back chart!

    Maybe I will finish the rest of the charts for Spirit Bear off this coming weekend!

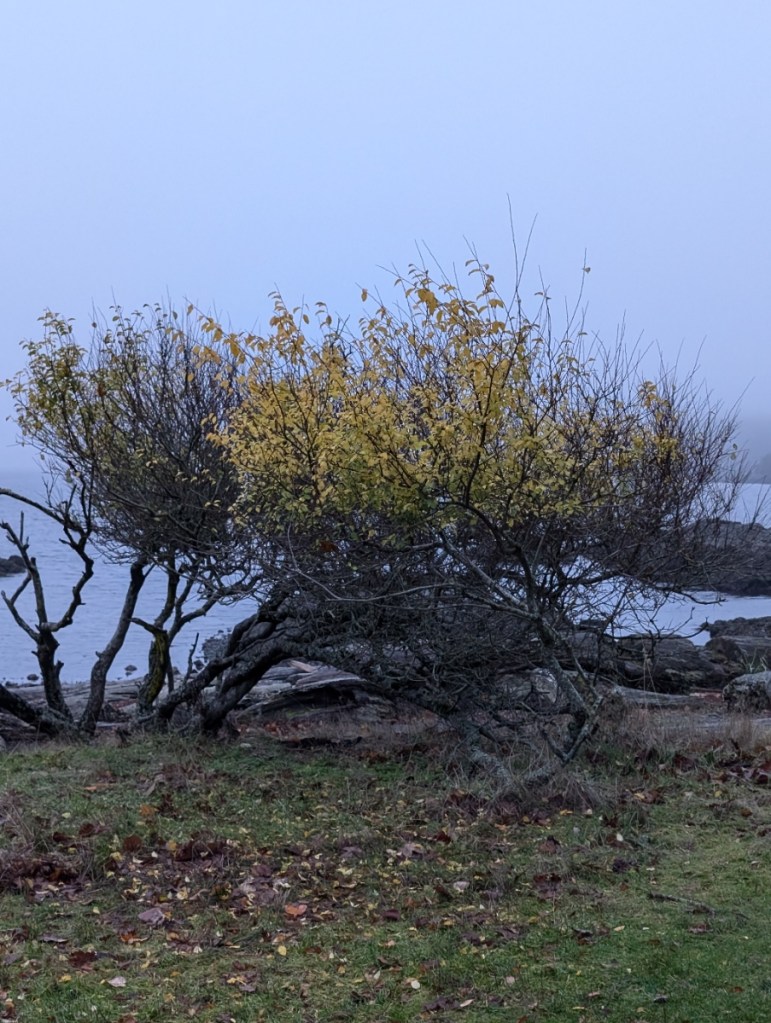
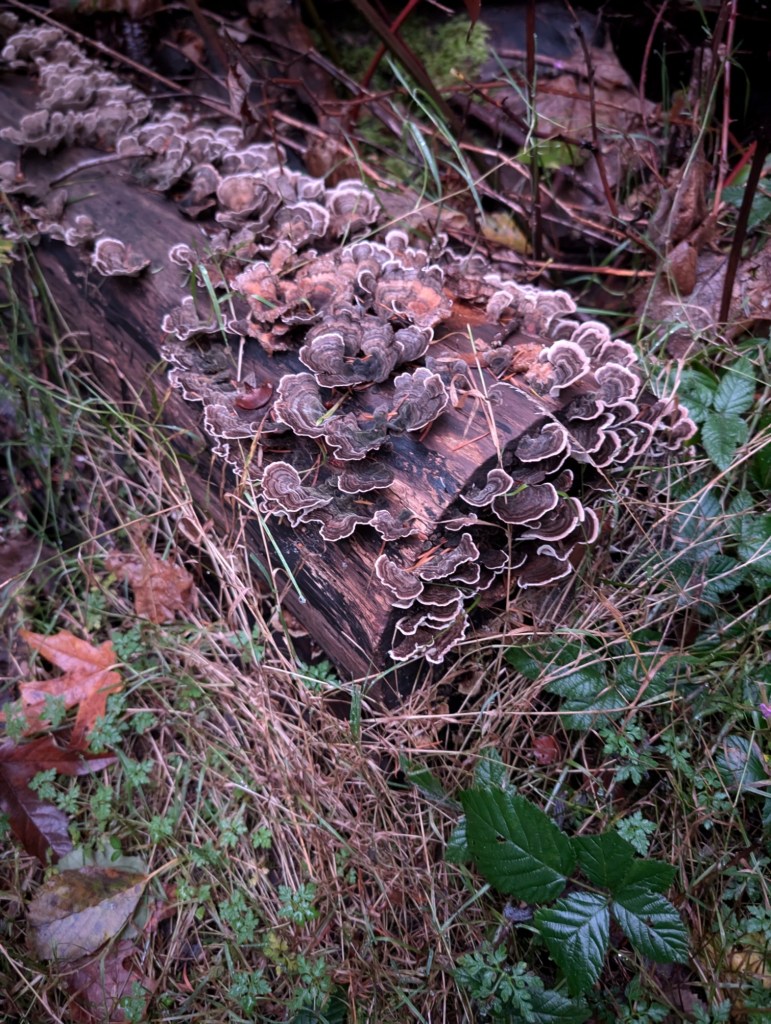
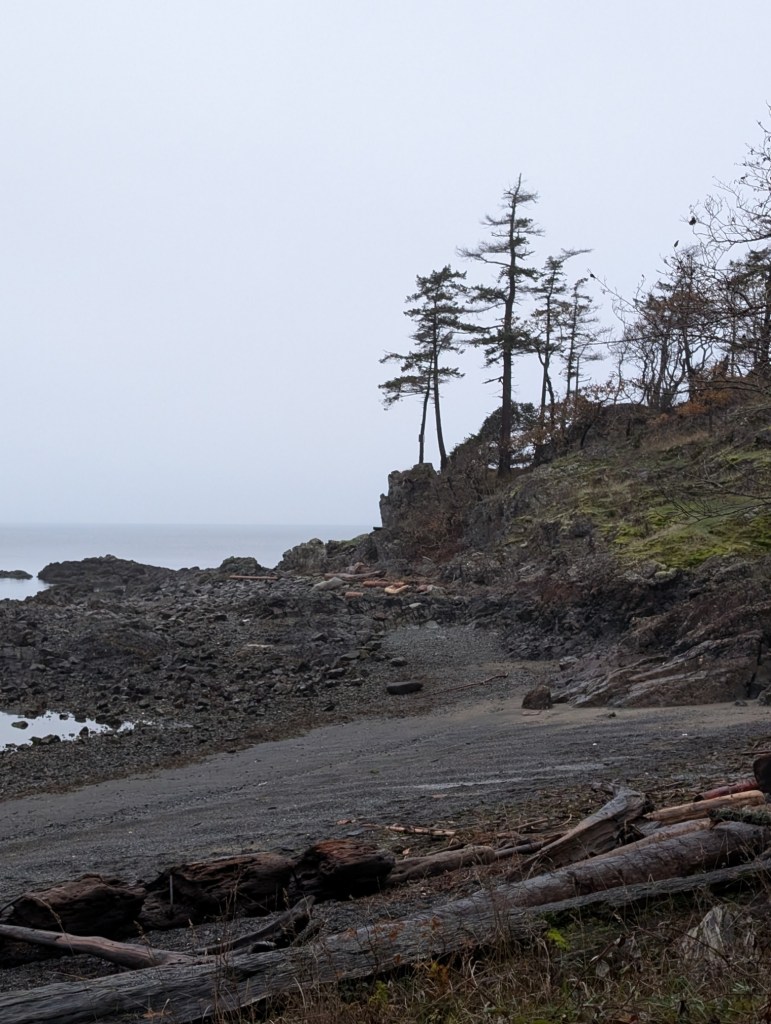
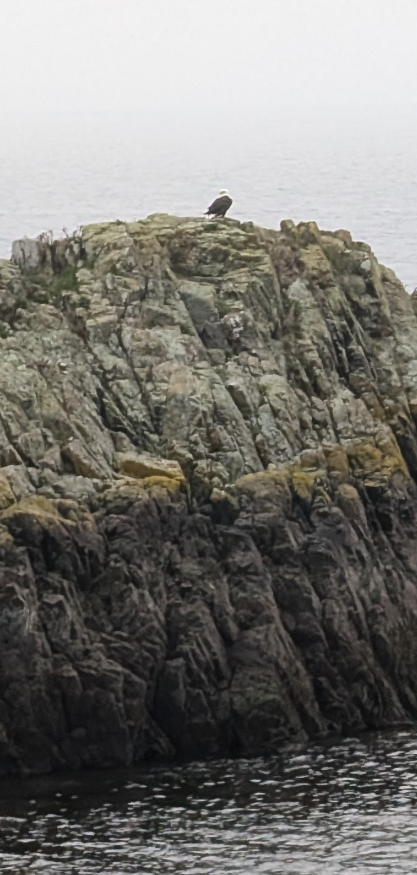
    We walked the dogs, Sophie, our 13 year old beagle and Alfie, my daughters 3 year old, at a beach every morning this weekend, Piper’s Lagoon, Neck Point and Departure Bay beach. Every morning was glorious – grey and foggy and sometimes even a little wet! The tide was out and that gave the dogs so much beach to run on every morning. It was a great start for them and for Tom and I.

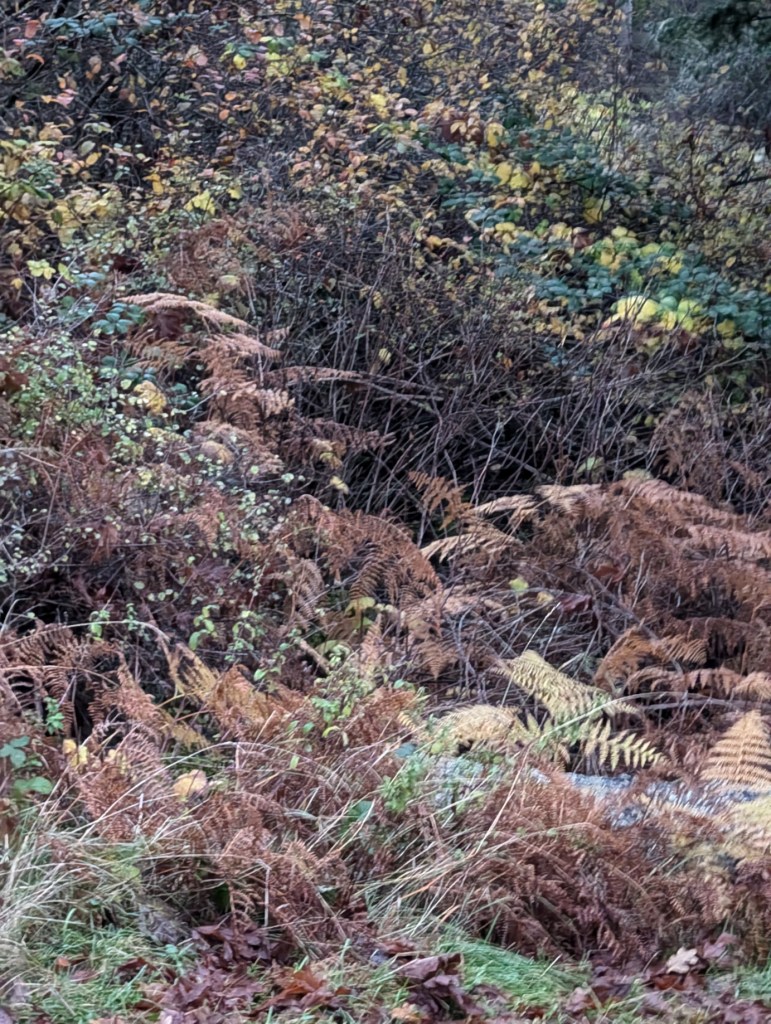
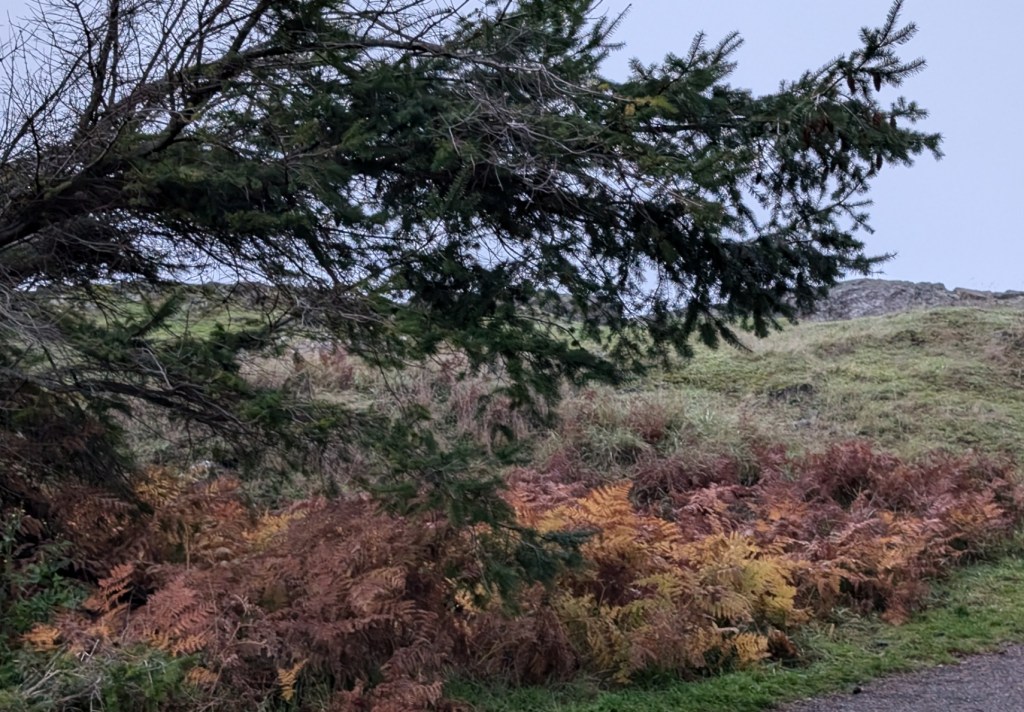
    Check out my walk around Neck Point on Sunday, always one of my favourites. We were there around 7:00am. See the beauty of the fog, the soft greys of the sky and the colours of the foliage. See how calm the sea was. It was a beautiful morning.

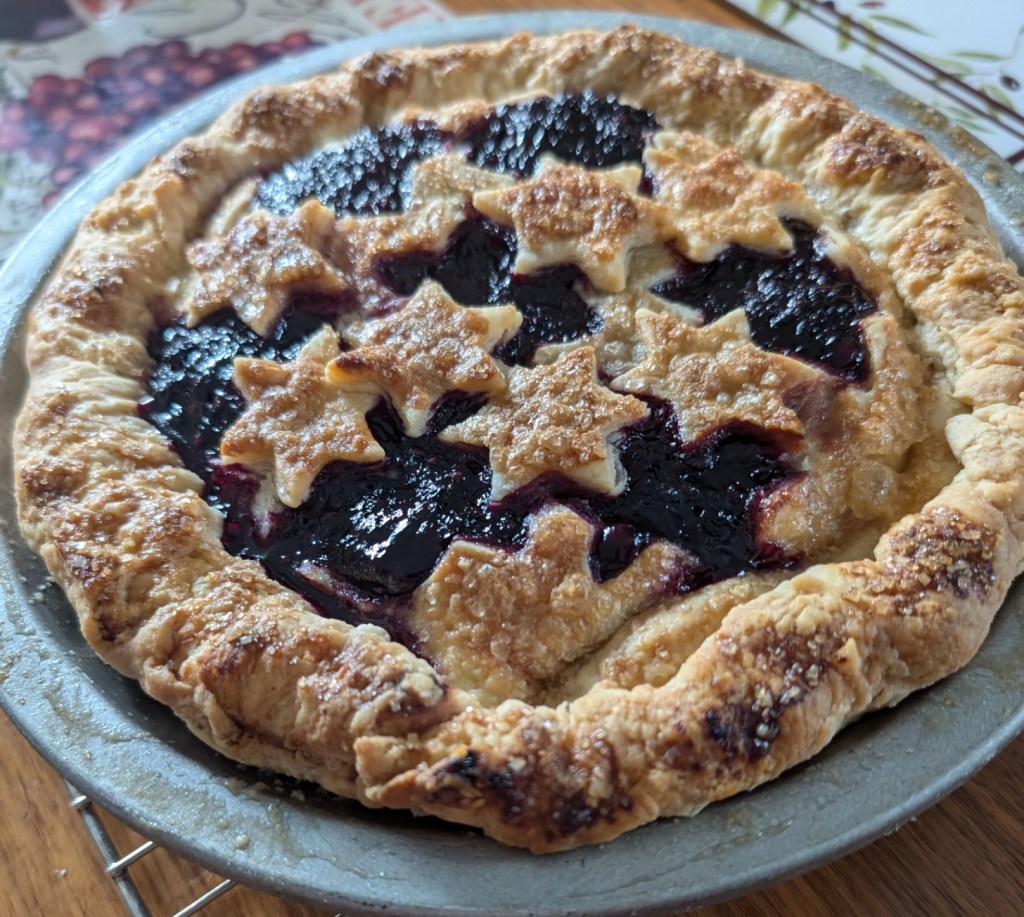
    On Monday I made a blackberry pie with some frozen berries. It was like a little bit of Summer had come for a visit!

    We still have five batches of berries frozen for pie. It will keep the Winter at bay.

    How as your long weekend? Was it productive? Or was it lazy? It is sometimes hard to decide which is best!

    Happy Knitting

    Lynette
  • Tea Cozies – my Toys

    Tea Cozies – my Toys

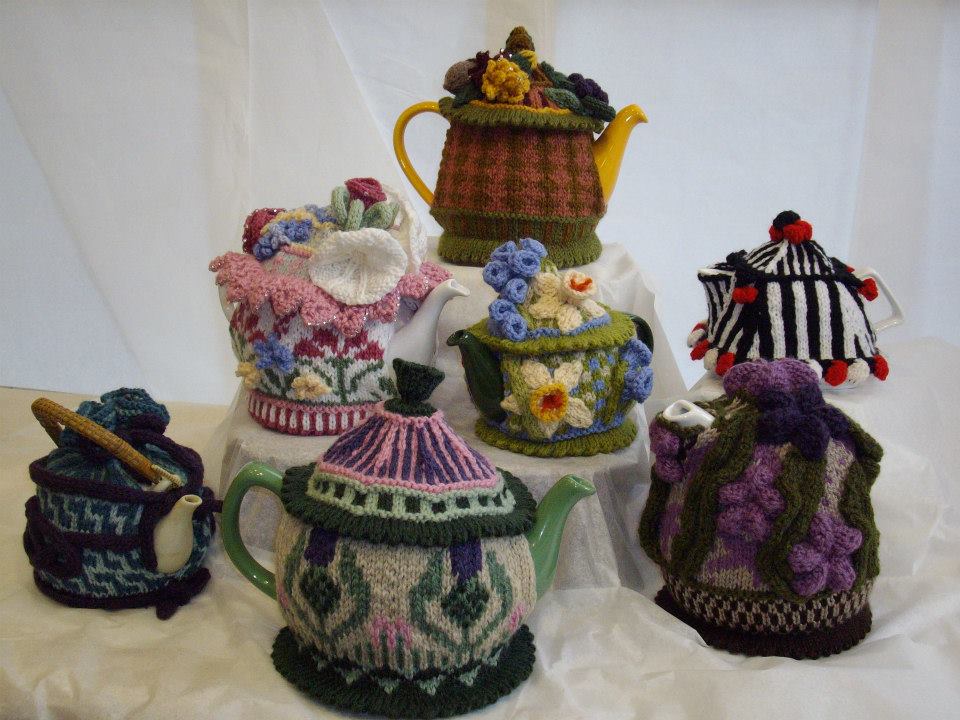
    I have been knitting Tea Cozies pretty much as long as I have been knitting. At first – they were just for me. I knit them for my pots and as gifts for friends. It wasn’t until 2009 that I posted my first cozy patterns. Victorian Cozy, Harvest Cozy, Bluebells in a Row Cozy and Thistle and Heather Cozy. They all grew out of my first retreat as the “headline” teacher.

    I think my latest cozy pattern was over 8 years ago, in 2016, Andean Dreams Cozy. So I am wayyy… overdue for a new cozy pattern. This year I am going all out. There will be two new cozy patterns and both will be released in the next couple of weeks.

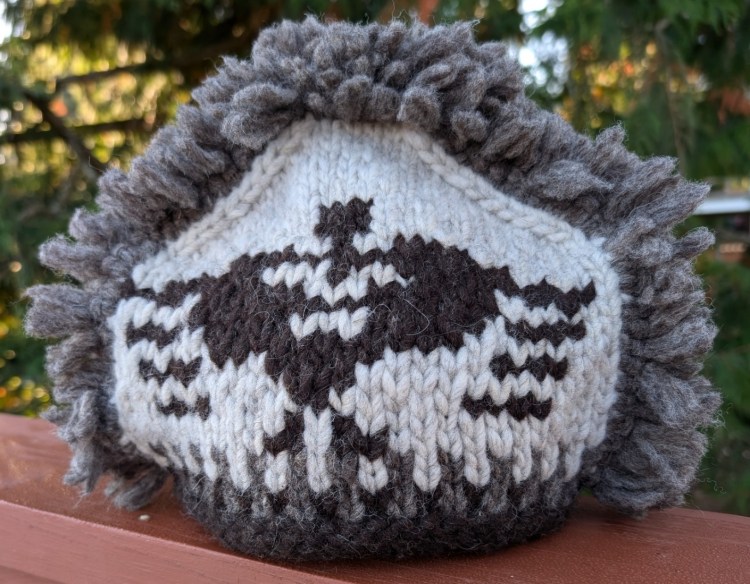
    Dancer Cozy – a Gentleman’s style cozy in a very heavy wool Prairie Wool Fusion from Custom Woolen Mills.

    Like most of my patterns it has been designed to teach a technique, in this case, West Coast stranding, in the Cowichan style of knitting. The class starts this Tuesday, Nov 5th.

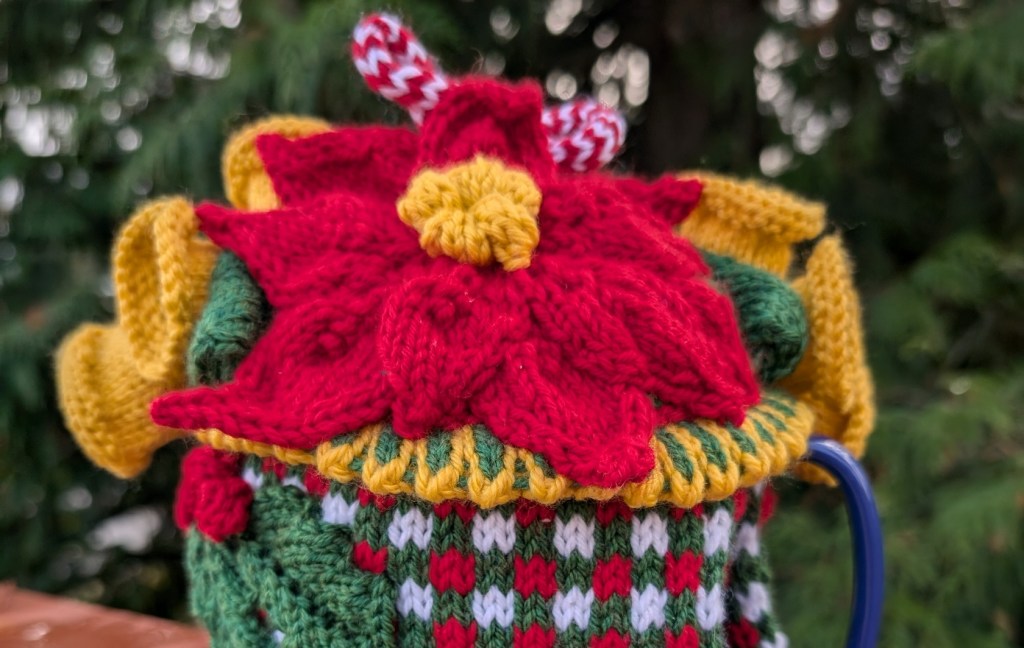
    And just because I can, and just because I think a cozy should be whimsical and more than a little over the top; I have designed a Christmas Themed Cozy. This one is also for a class, a class on knitting and attaching embellishments. There are still a couple of holly sprigs left to attach – ready for a class demonstration.

    Please note that the cozy is not bad looking without the embellishments. So if you are not a fan of embellishing the Cozy will still look great on its own! This cozy has been knit with Estelle Worsted from Estelle yarns. This class will start the Tuesday after the Dancer Cozy is done, Nov 19th.

    Cozy Bells – the latest cozy in the collection. Or it will be shortly! The bells really do take the cozy to a new level. They jingle so softly, all cozied up within the wool bell shapes. They add just the perfect festive touch.

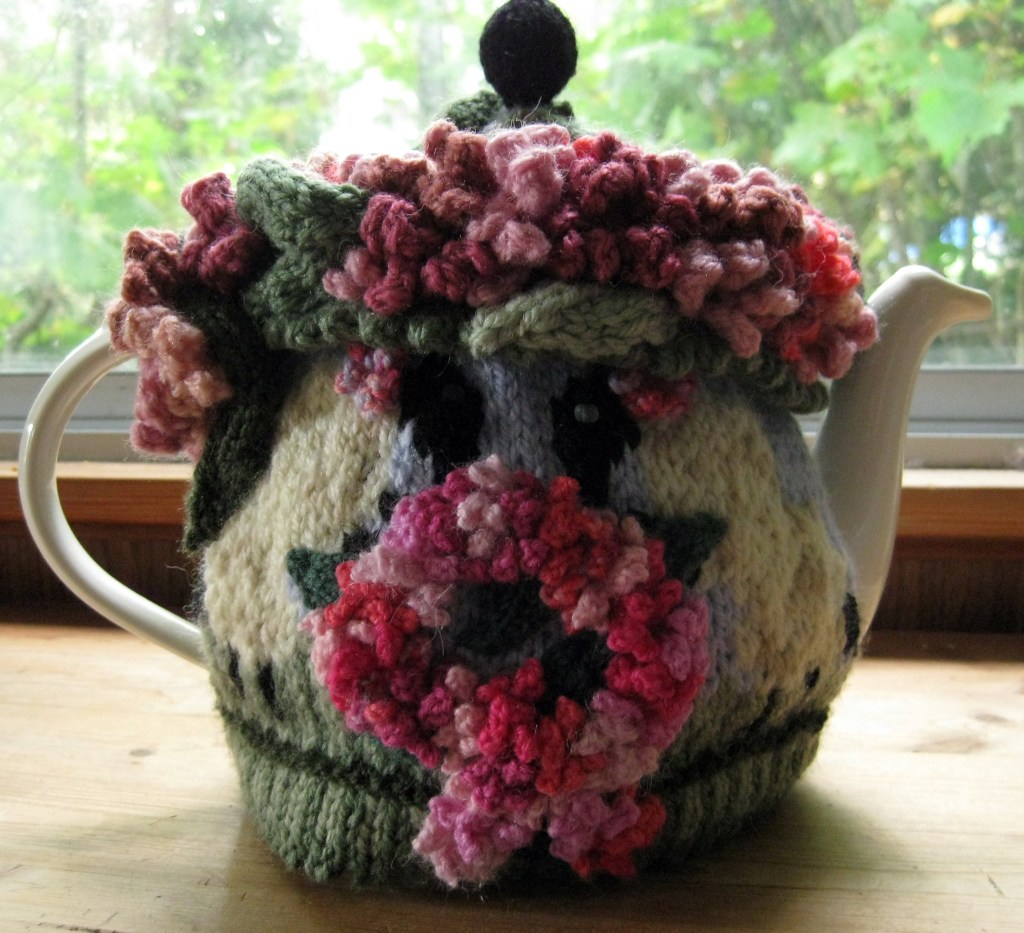
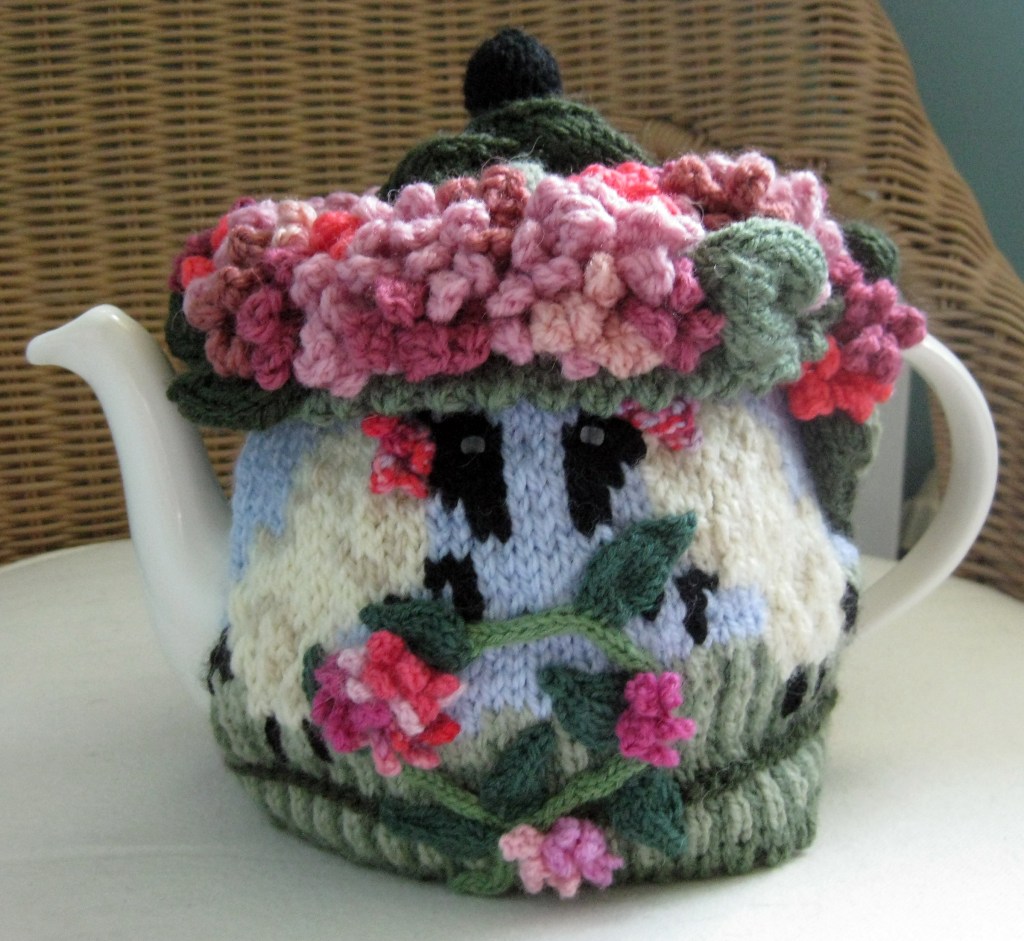
    I have often been asked which cozy pattern is my favourite. I really cannot say as it is always the one I am working on or dreaming up. I honestly love them all. The one I am most proud of though, is the cozy I created for an Australian Cancer Fundraiser. It was the same year as the Tea Cozy Retreat, 2009 – I think!

    It took a lot of time and effort. I called it Waltzing Matilda’s – Wreaths of Hope.

    When I was a child I always saw sheep dancing whenever I heard this song.

    Happy Knitting

    I hope that your tea pot is always warm and ready for your second cup!

    Lynette

  • Another Possible Class Project

    Another Possible Class Project

    Would you like to learn how to knit a tea cozy like this?

    I love to knit tea cozies.

    This is a different yarn from the usual. Ray Gentleman, whom I work with, challenged, suggested, put an idea out there about creating a West Coast Cozy with the Prairie Sea Fusion from Custom Woolen Mills.

    The idea stuck in my head and I had to knit it out!

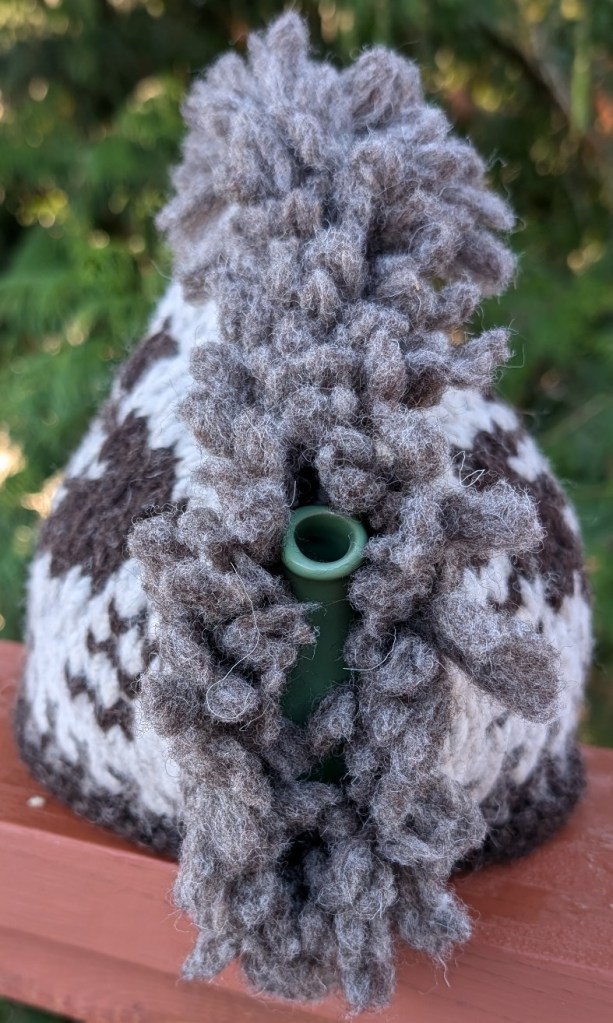
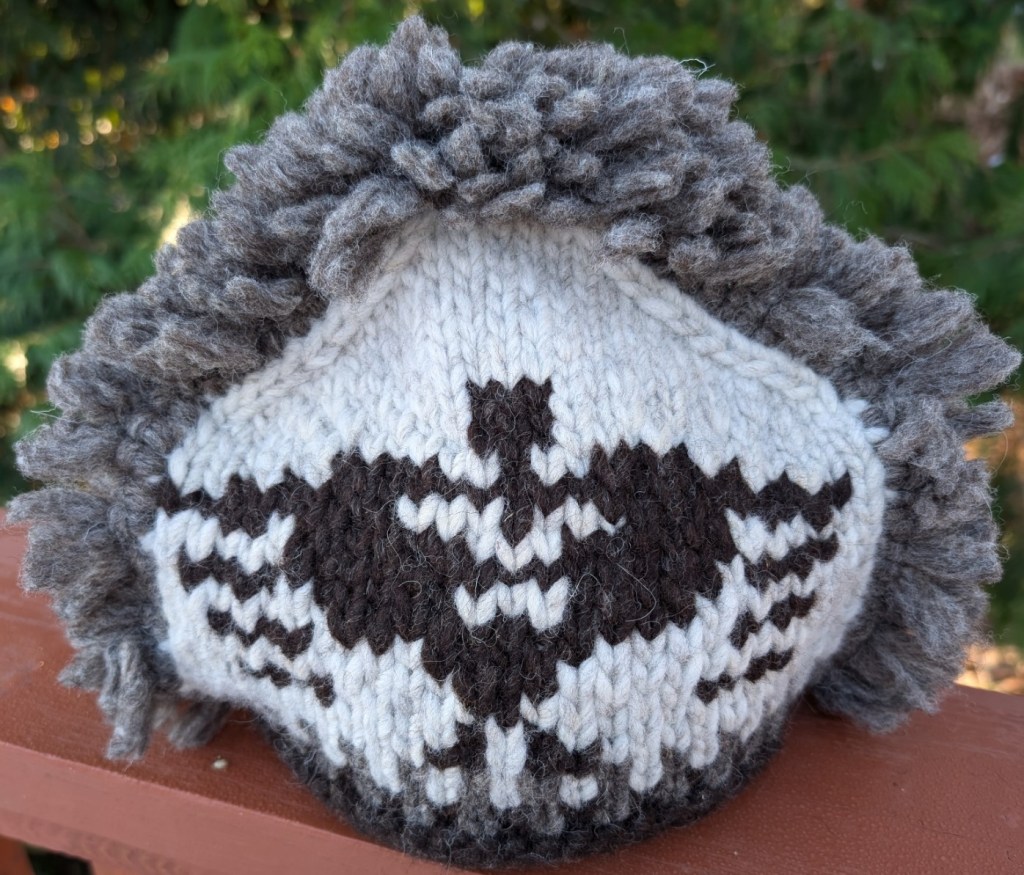
    So, if you take the class you will make this charmer of a cozy. You will also learn how to strand the yarn in the proper way for a West Coast knit. Oh and look at that fringe! Learn how to finish the cozy with the fringe on top…

    This is The Dancer Cozy. I am quite enamoured with it.

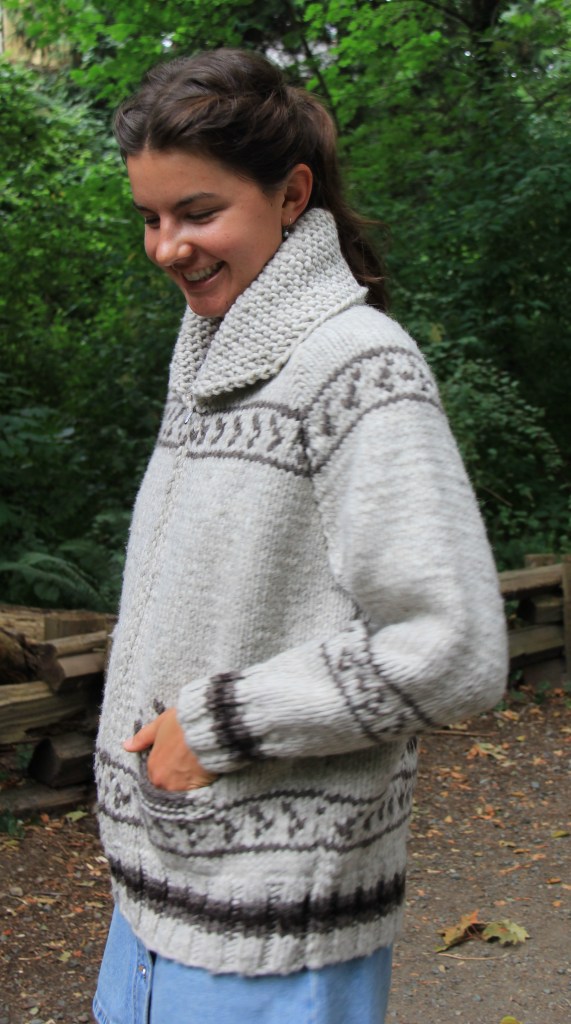
    A few years ago I started designing with the Cowichan style of wools. Nowadays that includes Briggs and Little Country Roving, Prairie Wool and Prairie Sea Fusion by Custom Woolen Mills. At the store we were always being asked for the Cowichan patterns, which were really the old White Buffalo and Mary Maxim patterns, not the true West Coast patterns. Those are the intellectual property of the original knitters.

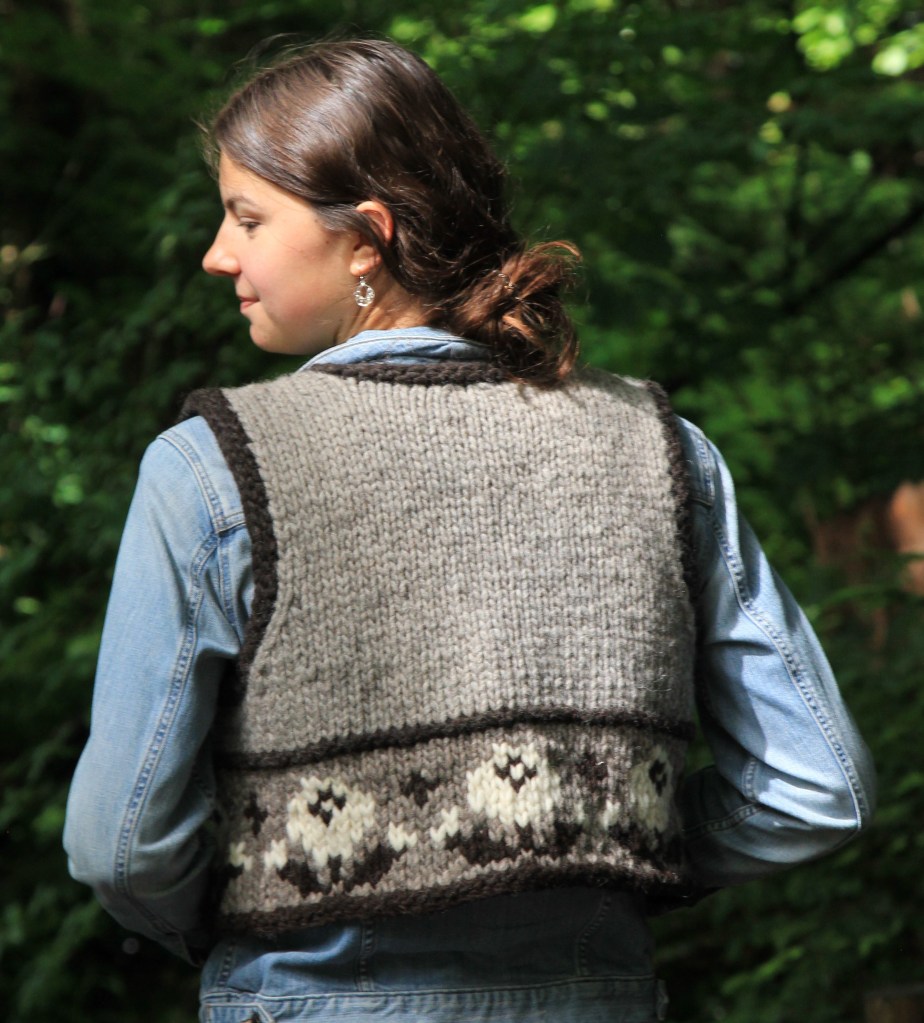
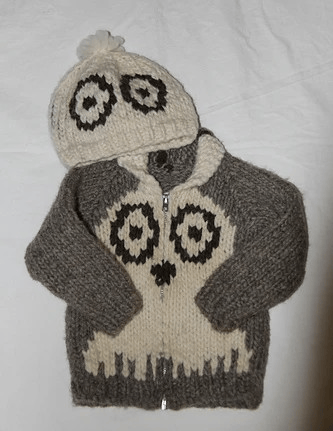
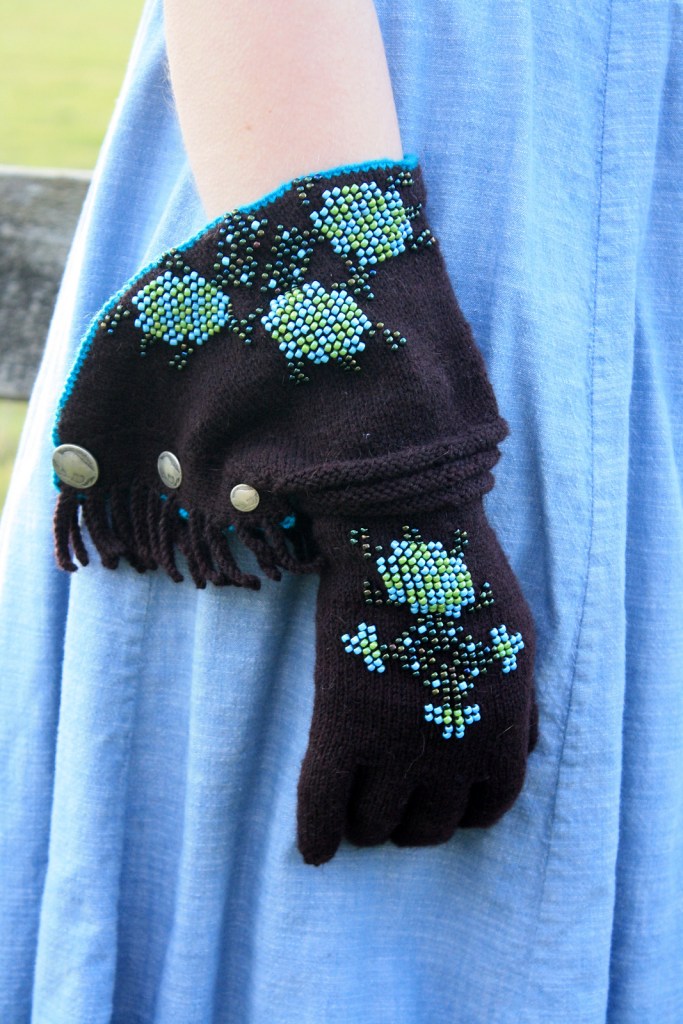
    I try to create patterns respectful of the past and the present motifs of the West Coast. They reflect my lifetime of living, mostly on the Coast but also in northern Canada and Malaysia. The OOkpik childs set is based on a childhood memory, a small stuffed snowy owl that my father had given me, named OOkpik. I designed and knit that set for my Grandson. The Standing Tall Gauntlets are based on memories of the gauntlets I wore when living in Northern Manitoba. You needed that extra heavy layer over the basic mittens or gloves – it was cold up there!

    The Dancer Cozy reminds of both the Button Blanket dances of the West Coast and the Shadow Puppets of the Malaysian Peninsula. The shapes are both stylized and simplified, taken right down to suggestion and imagination.

    The Spirit Bear will be my next sweater pattern release in the Salish Sea Collection.

    So much inspiration, never enough time! I love where I live!

    Happy Thanksgiving!

    Lynette

  • Cranberry Sauce anyone?

    Cranberry Sauce anyone?

    This upcoming weekend is Canadian Thanksgiving and we celebrate it in our home with family and friends and of course, Turkey and all the trimmings. I am getting a bit of a head start today by making the Cranberry Sauce.

    I make a big batch because I always need to send some home with a couple of the guests. The recipe is very easy to half if you only need a small batch. This one makes about 8 cups of sauce.

    • 8 cups of cranberries – the local Yellowpoint Cranberries are fabulous
    • zest of 2 oranges
    • 1 and 1/2 cups of water
    • juice of 2 oranges
    • 2 cups of sugar

    Throw it all into a large pot and bring to a boil. Cook for about 10 – 12 minutes. I like lumpy sauce – lots of cranberry chunks so if you like it a little smoother, cook a little longer.

    Once the pot is off the stove, add 3 tablespoons of Grand Marnier or Triple Sec. Stir into the sauce and then pour into bottles. You can seal them if you like. I usually just pop them into the back of the fridge once they are cooled.

    The house smells so good as the sauce cooks.

    Such a lovely colour.

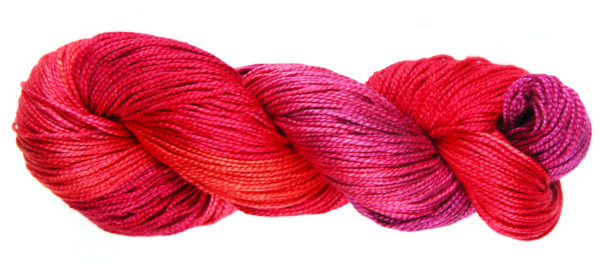
    One of the things I love about this recipe is the colour of the berries mixed with the colour of the peel as it is cooking! It reminds me of one of my favourite Handmaiden colourways – Sangria. The header above is a photo of yarn from Handmaiden dyed with Sangria. Even when I cook I am thinking about yarn! LOL!

    Happy Day!

    Lynette

  • Long Weekend Musings – on Procrastination

    Long Weekend Musings – on Procrastination

    Ok, even writing this is procrastination. I know it, but sometimes it helps to procrastinate, I am mulling over stuff in the back of my brain as I do other things. Things that are not necessarily the things I am supposed to do!

    But I did accomplish quite a few objectives as I procrastinated.

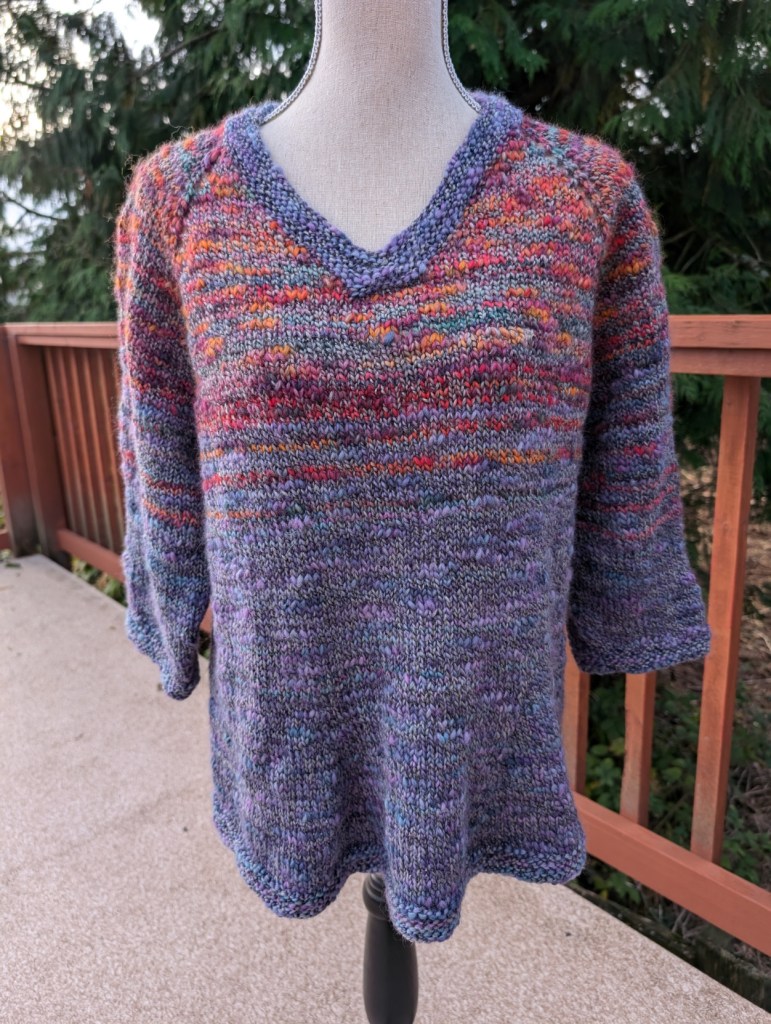
    • I wove in the ends of my Sunrise Sweater and then steam blocked it! I love my new steamer. It is hand held and is made by Rowenta and works like a hot damn. Much better than wet blocking for sweaters and small swatches.
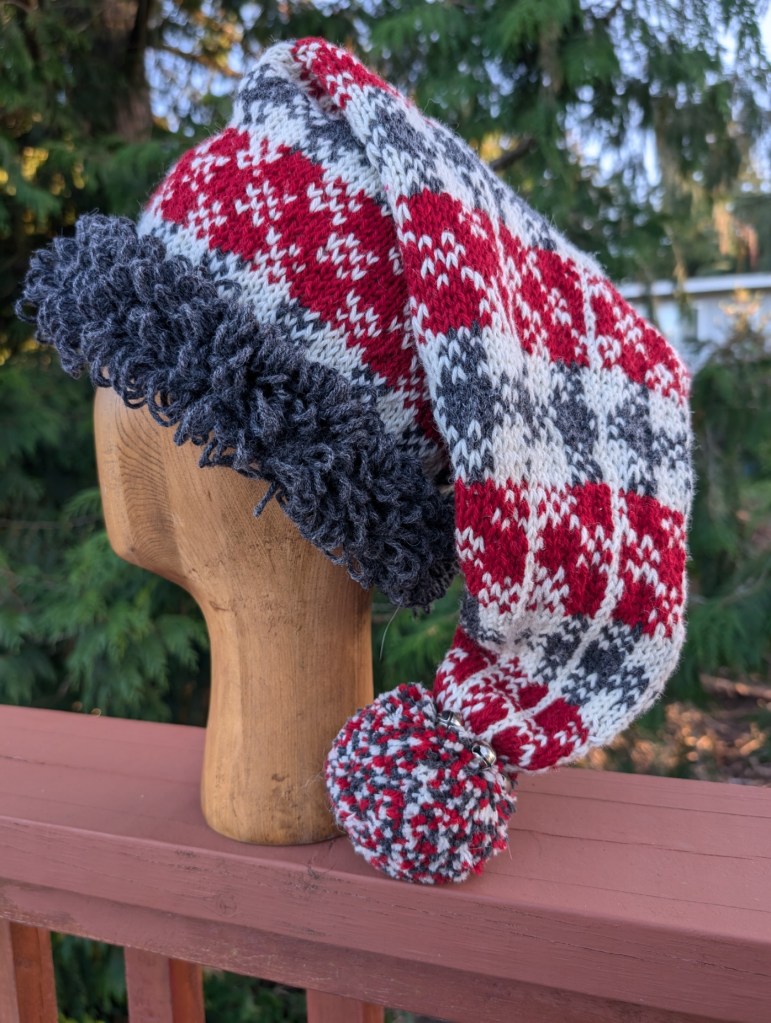
    • I did all of the finishing work on the Jingle Gnome Chapeau. And blogged about it.
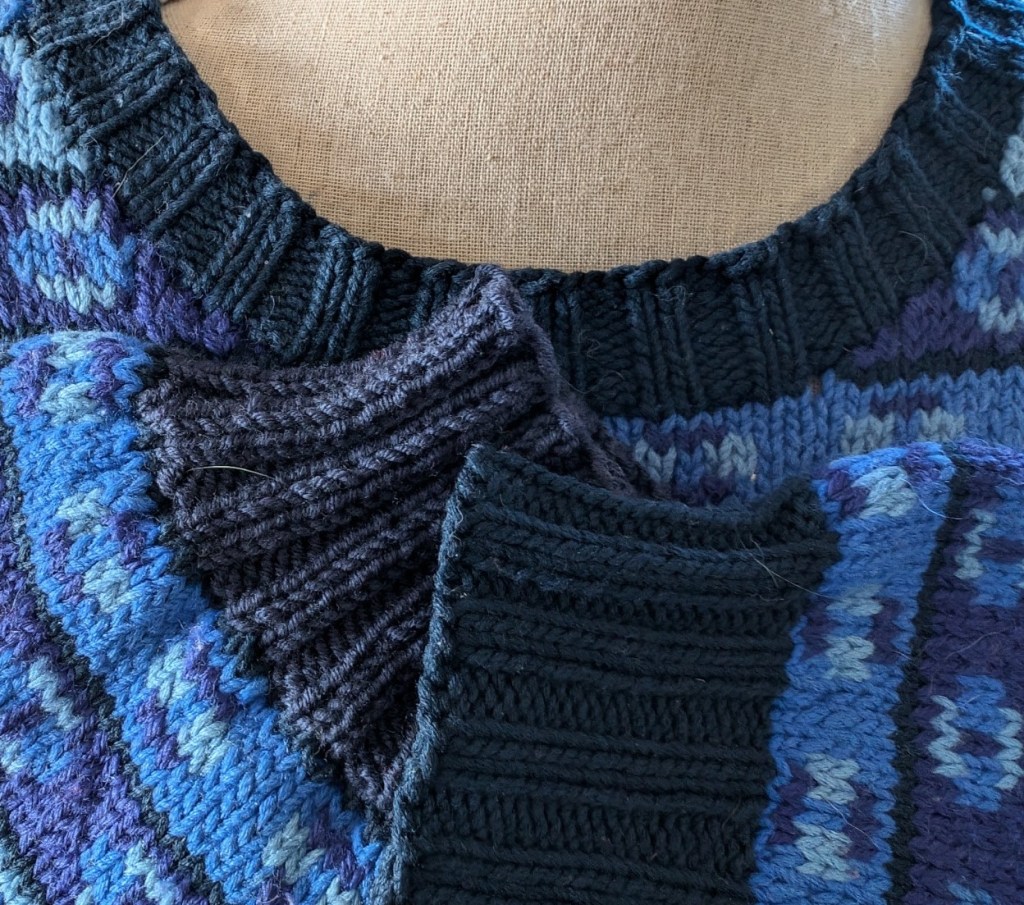
    • I replaced a cuff on one of my oldest sweaters. And blogged about it.
    • I am about the half way point of my Clapotis shawl. I work on it in the evenings when I am too tired for anything that requires concentration.
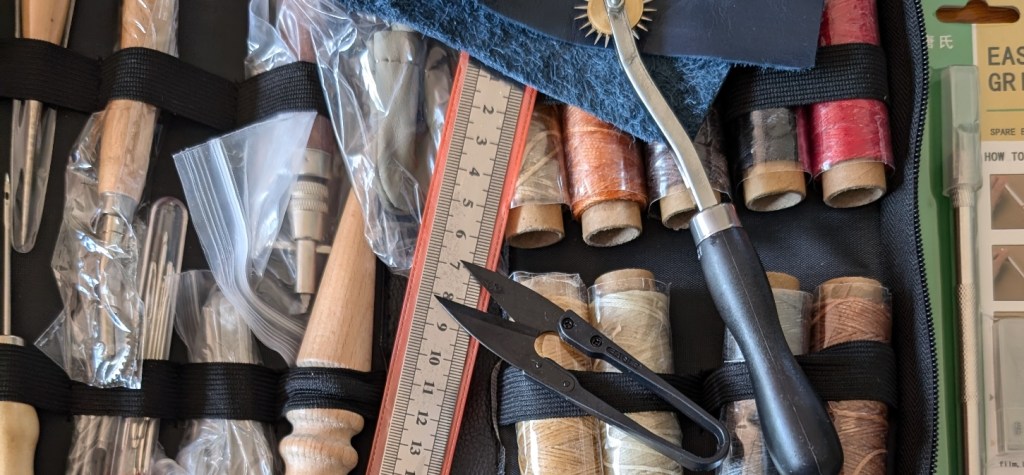
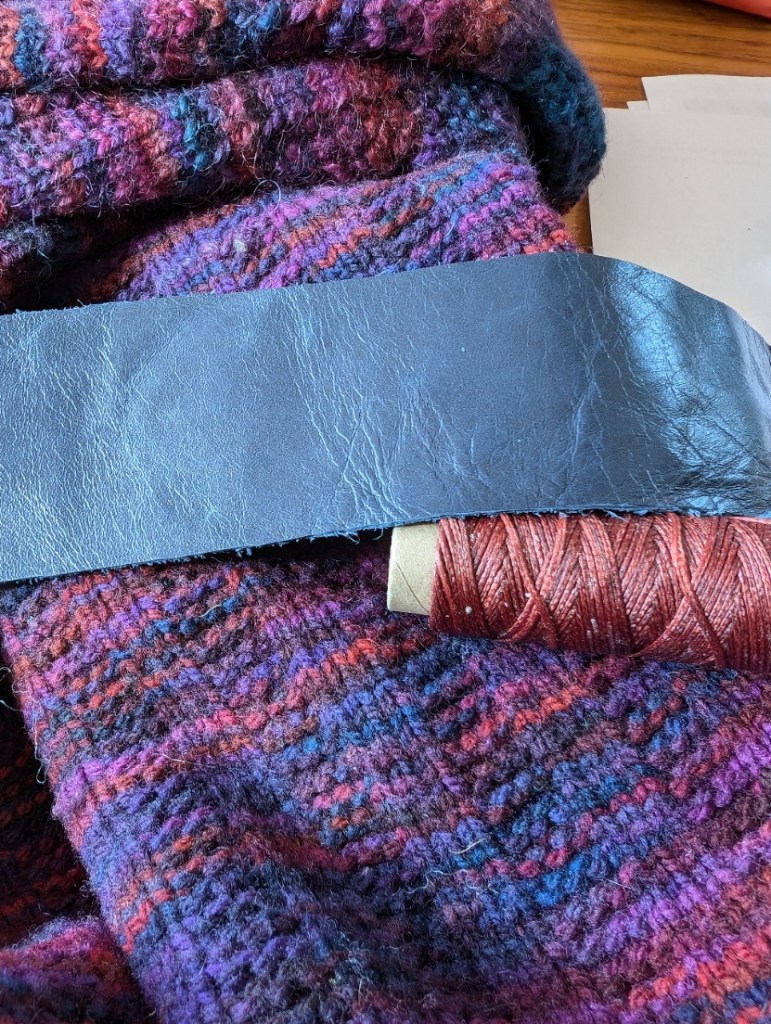
    • I am crap at leather work – there is a lot I need to learn before I can actually sew the leather wrist bindings to my sweater.

    What am I procrastinating. My GreenMan Shawl, another sweater for myself, more class projects and samples and dealing with life in general. So maybe it is not so much procrastination as it is keeping myself too busy to concentrate on everything I have set for myself, or everything that I am trying to deal with emotionally. As I list them I am realizing that most of these things are self imposed, not really have to do – just expectation that I will do. Why? Because I always have. It is how I cope. I cope by being busy.

    I once told my boss that I knit my emotions into my projects. It has been a hard year, lots of emotions, and apparently lots of projects. Hence many opportunities for procrastination.

    I have always been a procrastinator. I work best with that little bit of pressure of time and deadlines. While at University I would do lots of research for projects, notes, cards, organizational lines of inquiry and lots of reading. Then I would stop, put away the work until about a week before the due date and then start writing. And it would always work, the ideas had coalesced while I “procrastinated” and worked on other projects.

    It does not always work so well on tangible things, that can have tangible issues that require lots of time to fix. Though as a designer for Vogue Knitting, with their tight deadlines and sometimes challenging ideas… it worked. I loved working under that kind of pressure and producing things that I wasn’t quite sure (at first) that I could do. No time there for procrastination. I put what learned working for Vogue into practice when I designed for other companies, Buffalo Wool co. and Juniper Moon Farm for example.

    So sometimes I feel the need to create that kind of pressure for myself, to push that time barrier into working as a creative pressure. So procrastination in and of itself is not necessarily a bad thing, though it can be if practiced improperly.

    When procrastination is used as a tool to improve an outcome by first, recognizing the weakness, and then utilizing the weakness, making it work for you, not against you. Is that a form of justification? Probably. But we all have justifications for our actions, especially when they can be self destructive if practiced improperly!

    Thoughts? Opinions? Are you procrastination by reading this? If so, I won’t tell! I am procrastinating myself! LOL!

    Happy Procrastinating

    Lynette

  • Just Another Day….

    Just Another Day….

    … In Paradise

    I woke up to the most glorious sunrise. The living room was glowing orange as the light poured in the windows. When I went out onto the deck – the run was rising in front of me and there was a rainbow forming behind me. So awe inspiring.

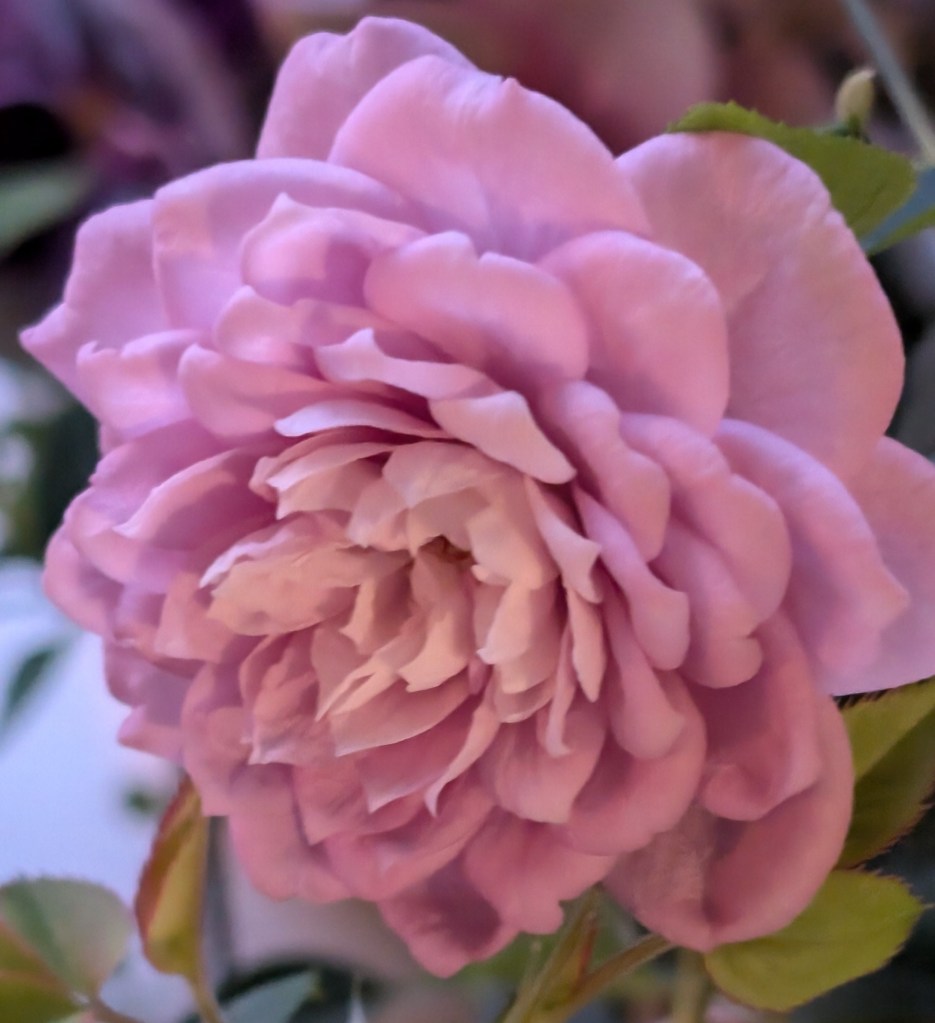
    The Mini Rose also produced a new bloom this morning that is absolutely perfect. The Hibiscus plant has several new buds, so many beautiful flowers. Just an amazing start to the day.

    Knitting et al.

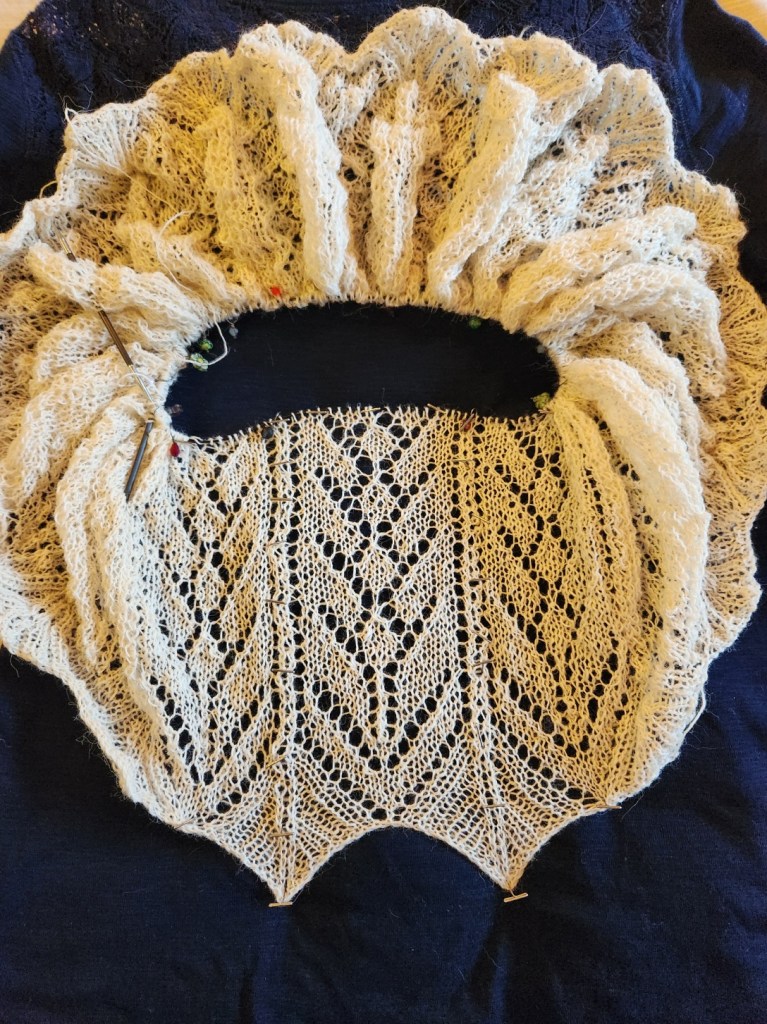
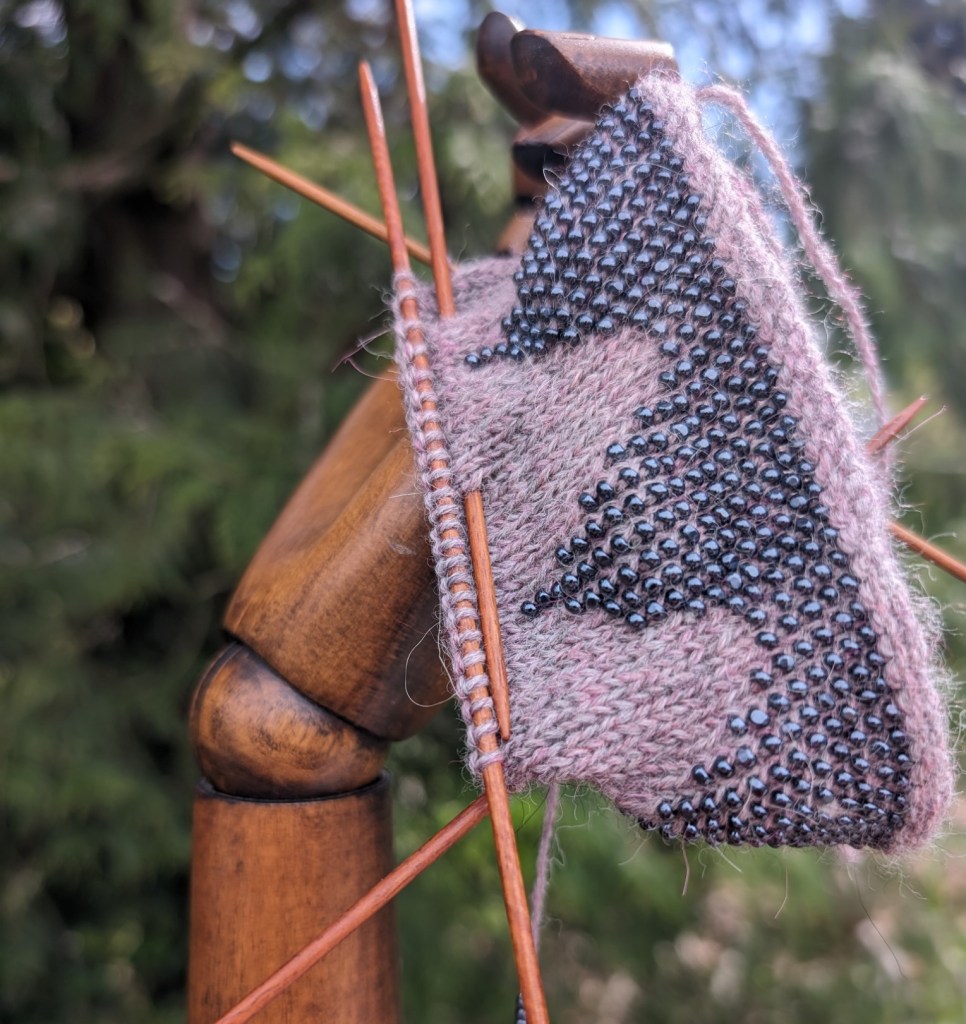
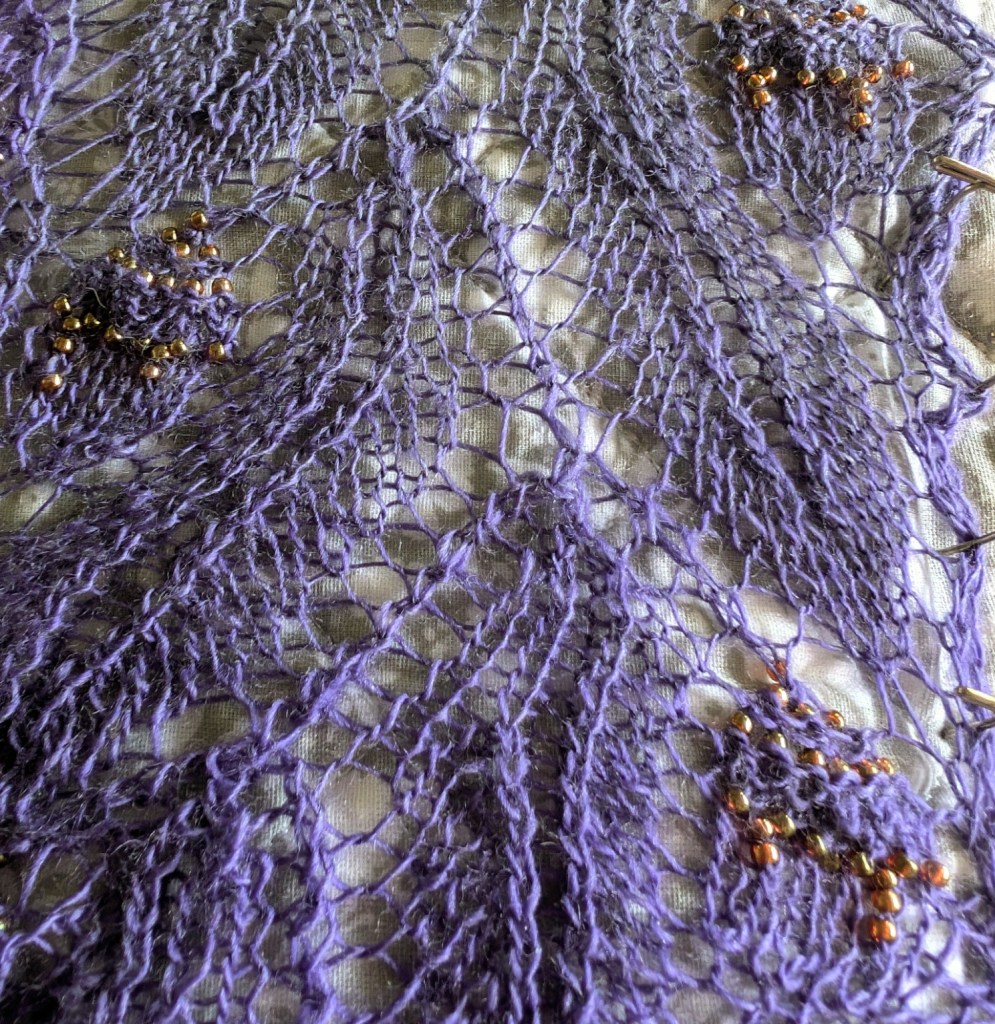
    The GreenMan Shawl is progressing nicely. I am about 20% into the Oakleaf and Acorn insert and I am very pleased with the effect of the beads on the knitting.

    I have started another shawl for myself. I didn’t really intend on this one. I am not even designing it. If you are old enough you will remember or will have knit a Clapotis shawl. I am more than old enough.

    Clapotis can be considered one of the first viral patterns on Ravelry and has over 24000 projects listed. It was designed to be knit with some of the glorious hand dyed yarns that were appearing at that time. It has just been re-released on Ravelry as Clapotis 24. There is an accompanying KAL that features lots of yarny prizes.

    I didn’t knit it the first time around, so I am giving it a go with some yarn from my stash. Not hand dyed, but striping and lively, and I was not having any luck designing a sweater for myself with it. I had already ripped back a couple of attempts. The yarn is Lang Cloud Tweed.

    Clapotis is designed for a worsted/aran weight yarn (I keep seeing it in some Rios), but is very easy to adjust for almost any weight! The knitting is basic, stockinette on a diagonal, but the addition of the dropped line of stitches keeps it interesting.

    Have you knit a Clapotis?

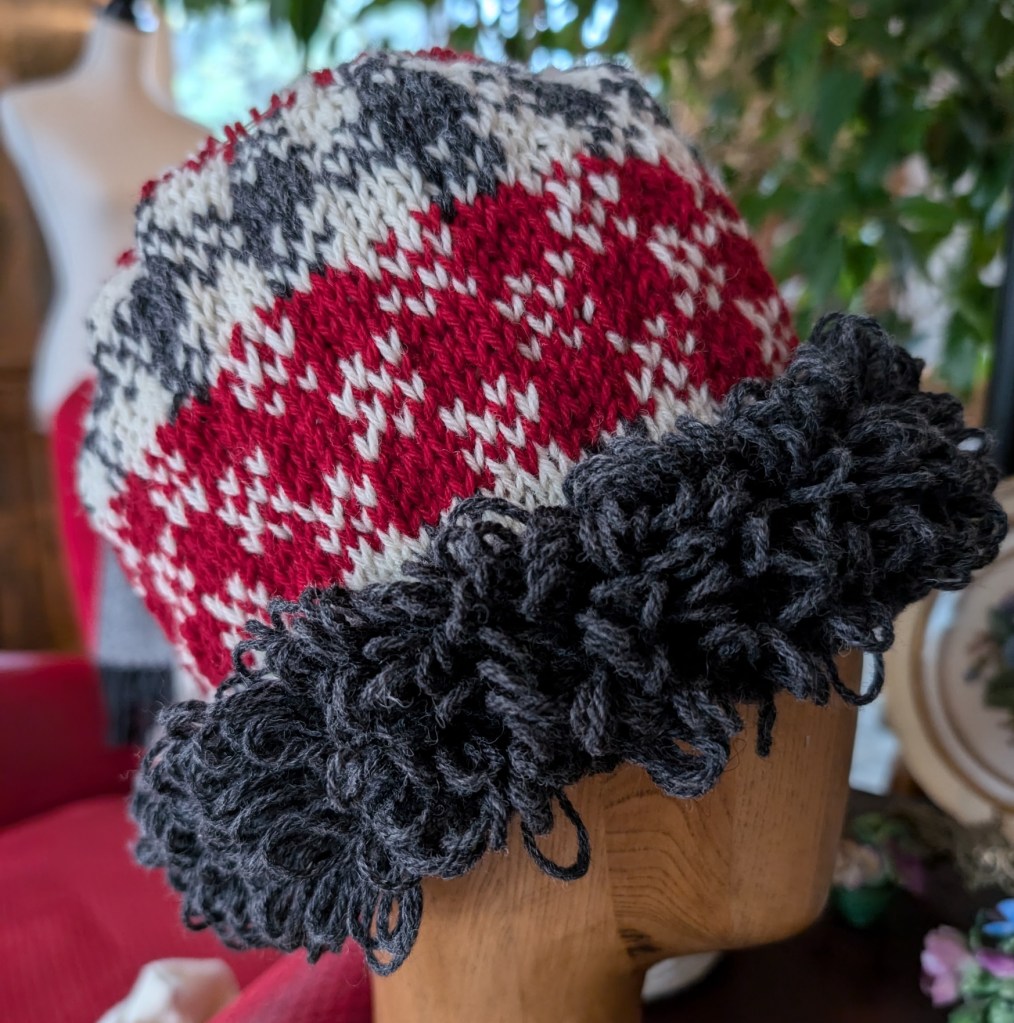
    I am also working on another class project. Remember the loopy st? Meet the Jingle Gnome Chapeau. Still under construction, but already looking like a little bit of rustic “happy”! The class will feature the loop stitch, basic stranded knitting and how to make the perfect pompom! I am working with the Eco Shetland Worsted by Estelle. It is yarn that I really like to work with and gives me great results.

    I hope that you have a wonderful day. Mine is off to a great start!

    Happy Knitting

    Lynette
  • Circular Cast-ons

    Circular Cast-ons

    My favourite cast-on is the Emily Ocker Cast-on, also called the German Pinhole Cast-on.

    Do to technical difficulties I am going submit a short video and then a series of photo’s on how to start the GreenMan Shawl.

    Tools that will make the cast-on easier; a straight crochet hook or a hook/point tool, it simplifies the moving of the sts from the hook to the needles. Wooden or other lightweight dpn’s, they are a little sticky and very light, metal needles are usually quite heavy and slide out far too quickly.

    If you have never held a crochet hook I can recommend a simple cast-on;

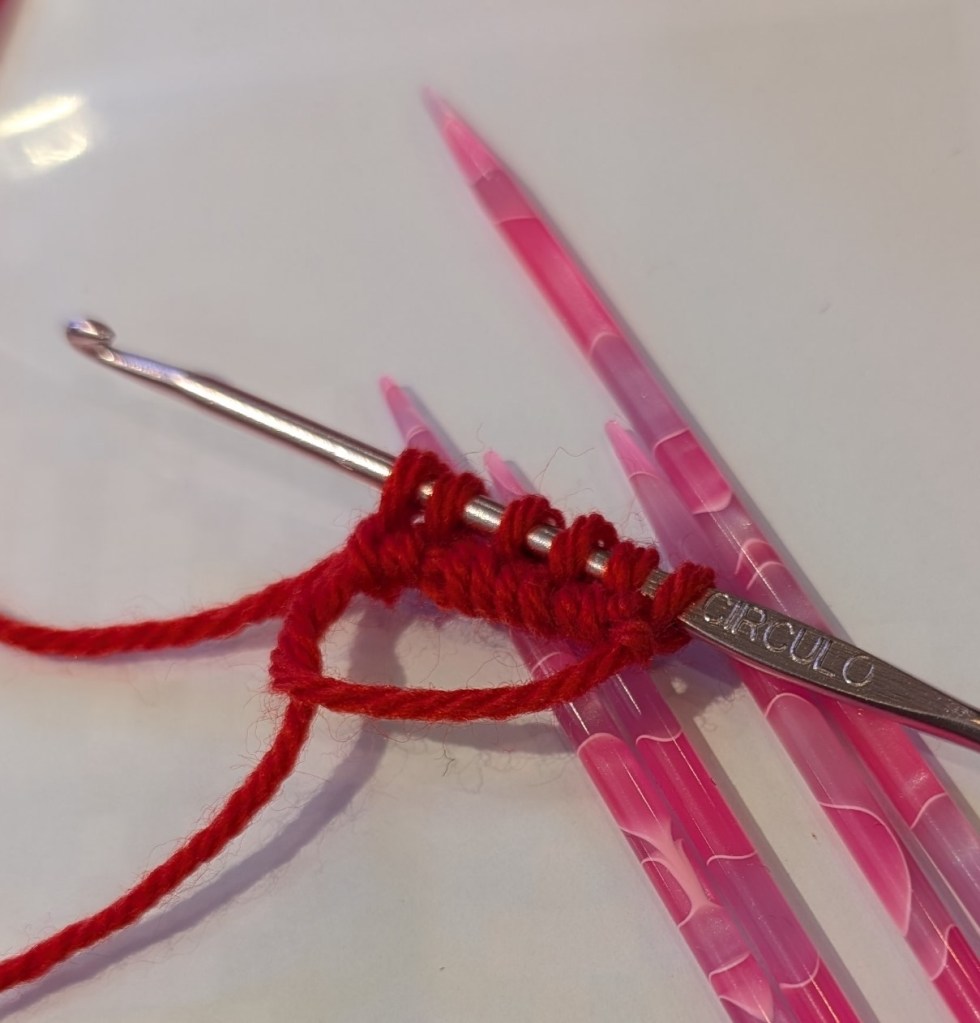
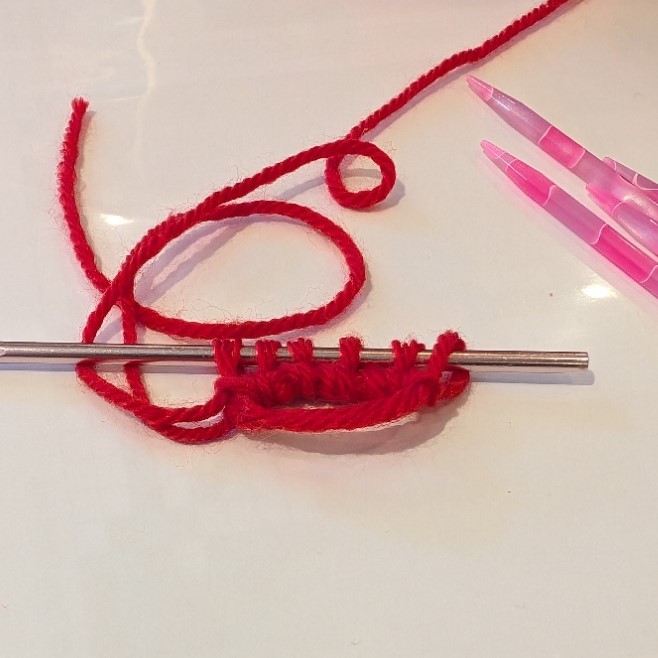
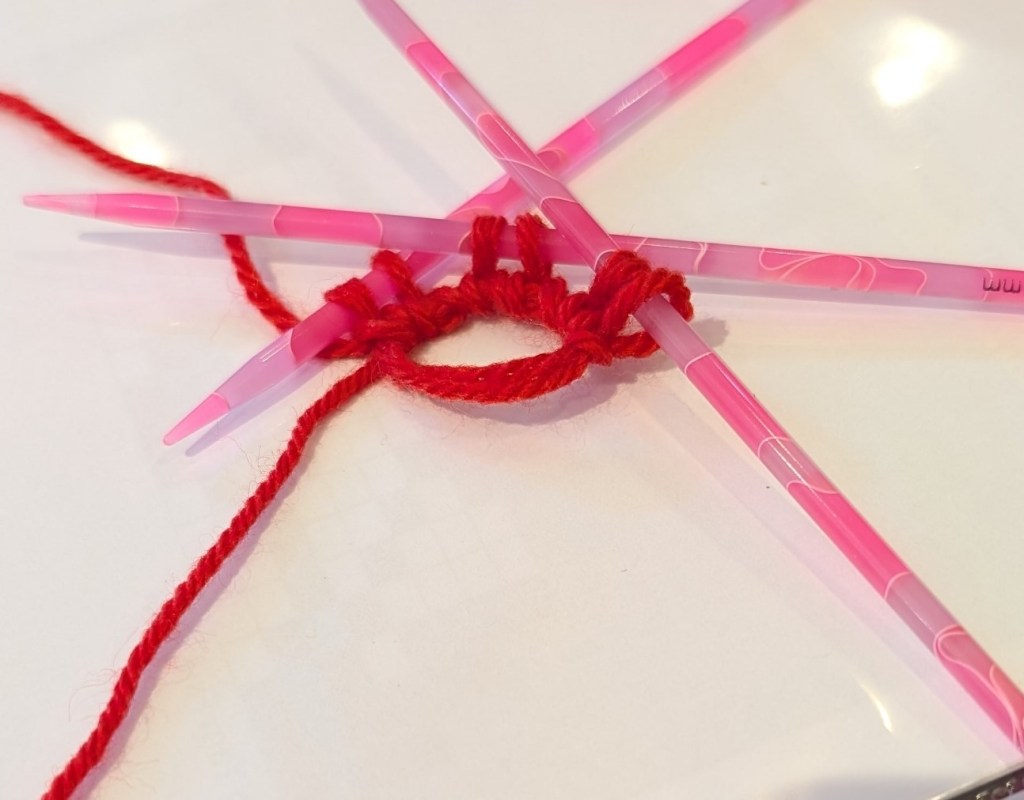
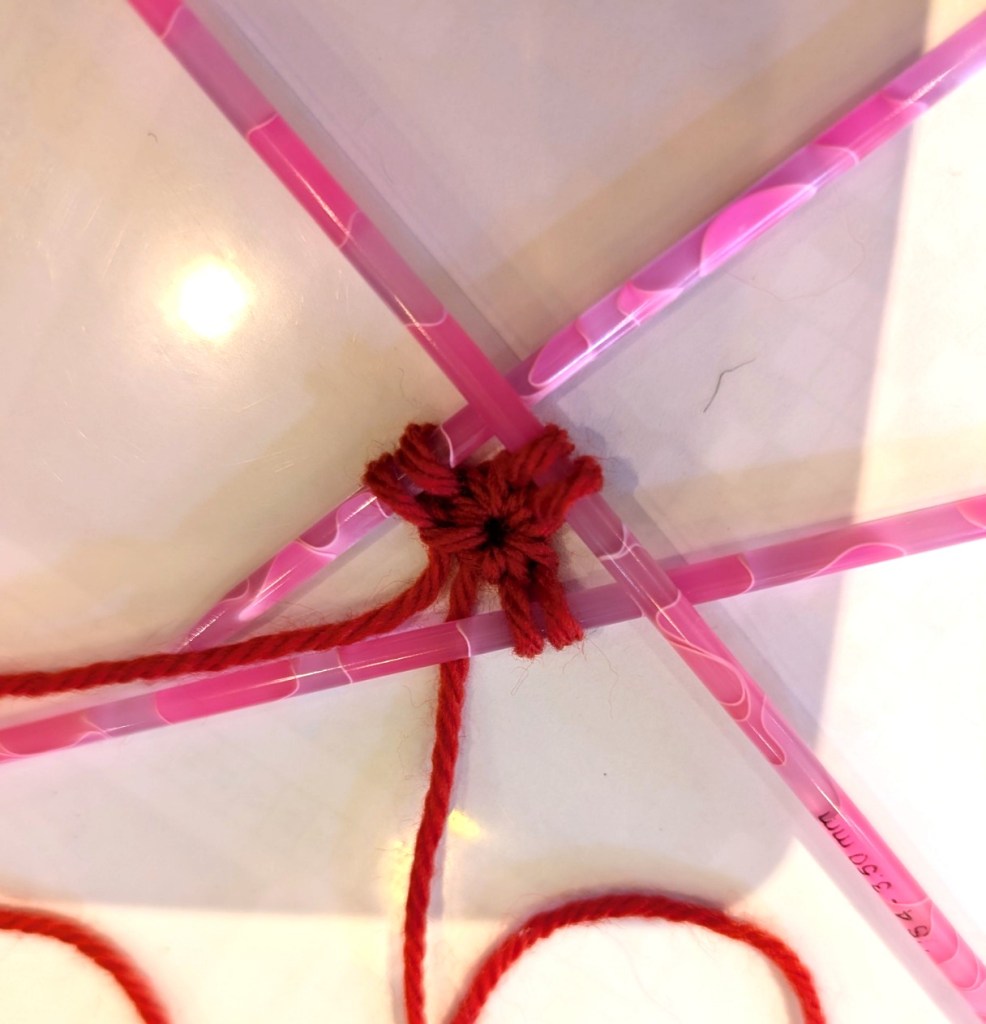
    Cast-on 6 sts to a single dpn, transfer the sts as the photo tutorial below, join into a round and start to work the shawl. The center of the shawl will not be as neat to begin with but when finishing your shawl the tail can be used to gather up and gently close the hole in the center.

    In the video you will see the yarn, tail to the right and underneath the working end of the yarn. There is no sound, but the written description is below the video.

    Please note: I am not a confident crocheter and you will see that in the video. But that does not mean I can’t fumble my way through a single crochet.

    Emily Ocker Cast-on also called German Pinhole Cast-on

    Grasp the ring where the yarn crosses

    • with your hook go through the ring and hook a loop of the working yarn
    • pull through the ring
    • hook the working yarn again and pull through the loop already on hook.
    • I single crochet is on the loop

    Repeat from the top five more times until there are 6 loops on the hook.

    Below is the step by step set-up and first rounds of the shawl.

    Once you reach this point the needles will start to co-operate and the knitting will go more smoothly.

    I hope that this helps you start your shawl.

    I am hoping to make the video as promised with sound and moving pictures – perhaps tomorrow. Getting my tools to co-operate has been a challenge.

    Happy Knitting

    Lynette
  • Play Time

    Play Time

    Christmas is Coming

    Have you noticed that we knitters, and almost all crafters, start thinking of Christmas a lot earlier Than other people? I think that we need to as most of our gifts take time, sometimes a lot of time to create.

    So today I am sharing a fun technique – Loop Knitting – a little playful technique to add to your skills for the upcoming knitting blitz!

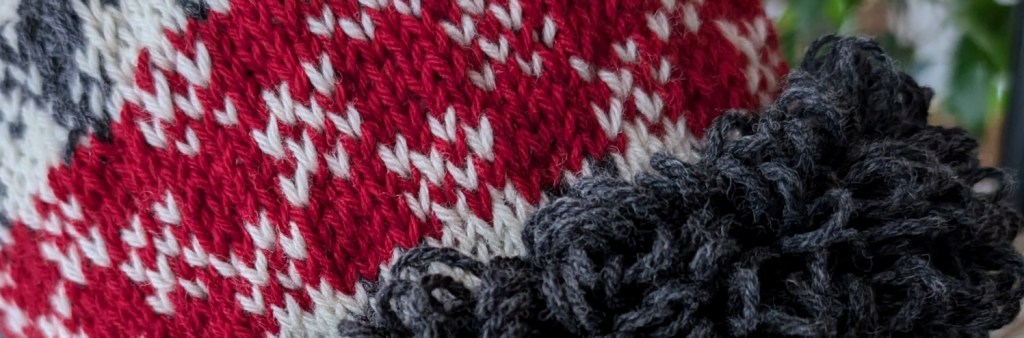
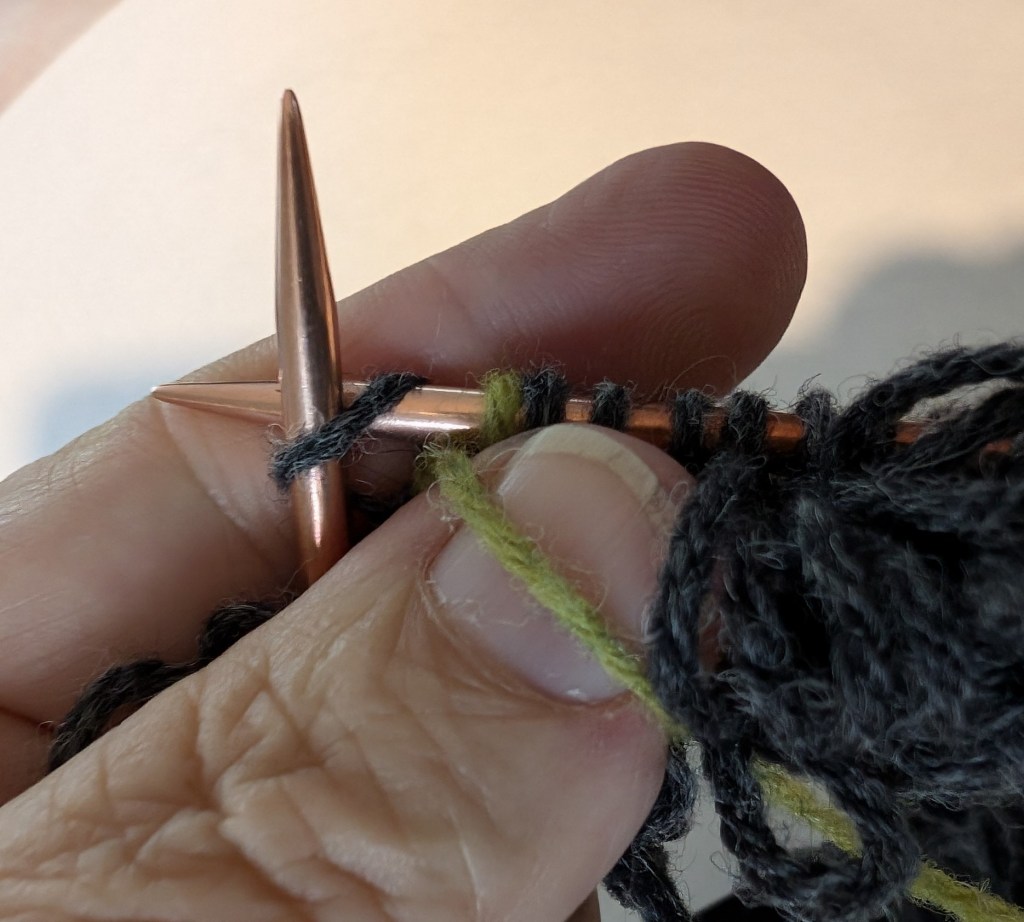
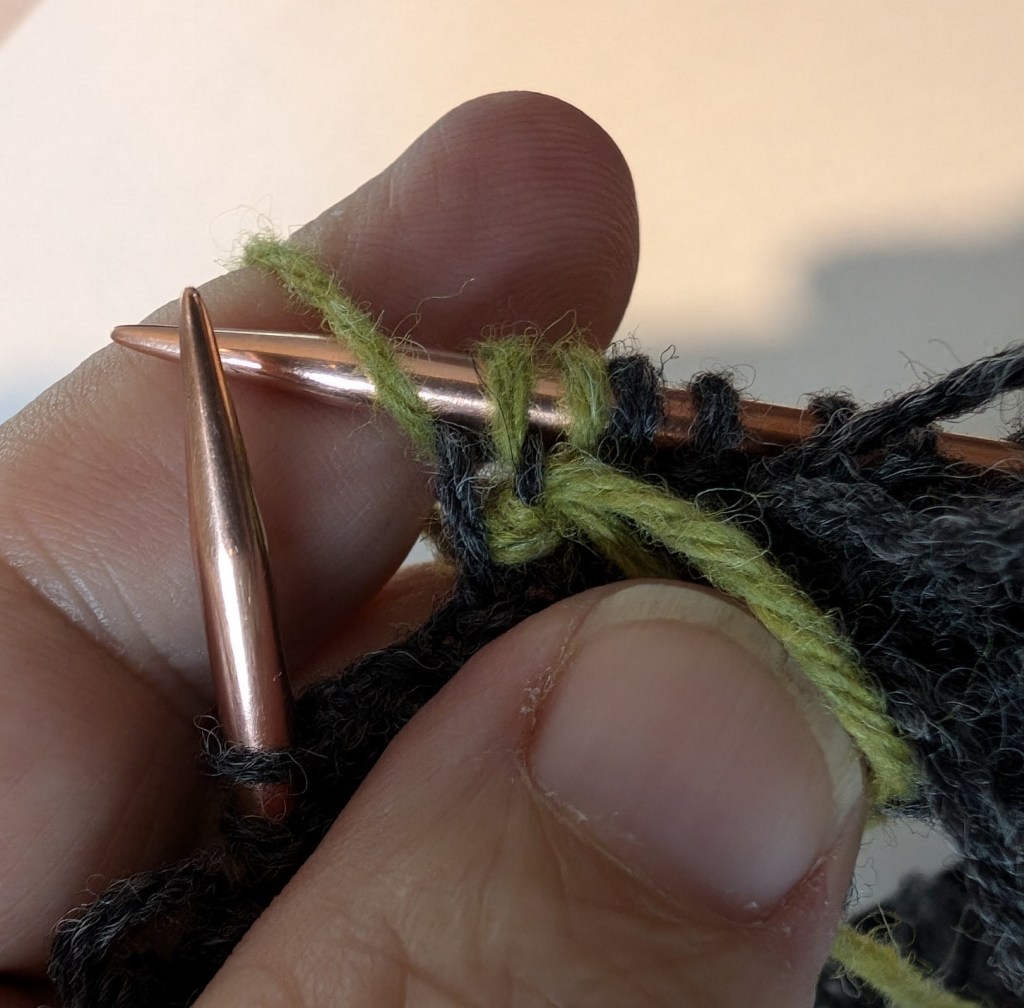
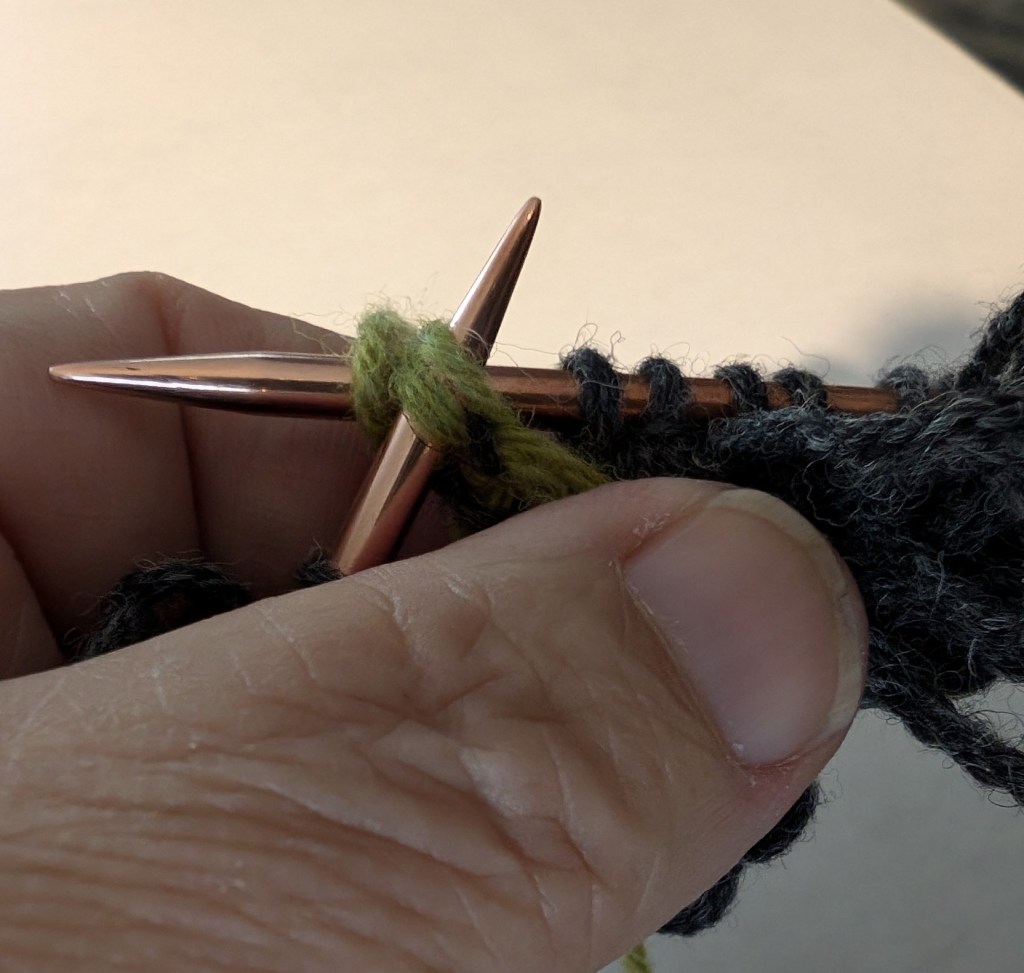
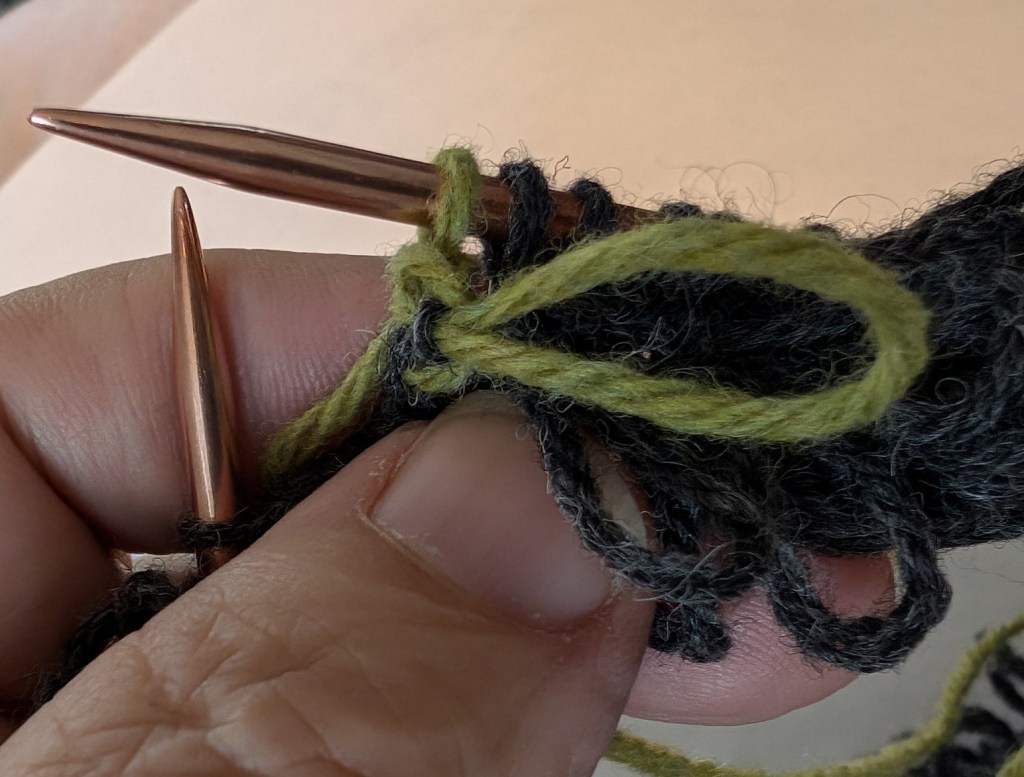
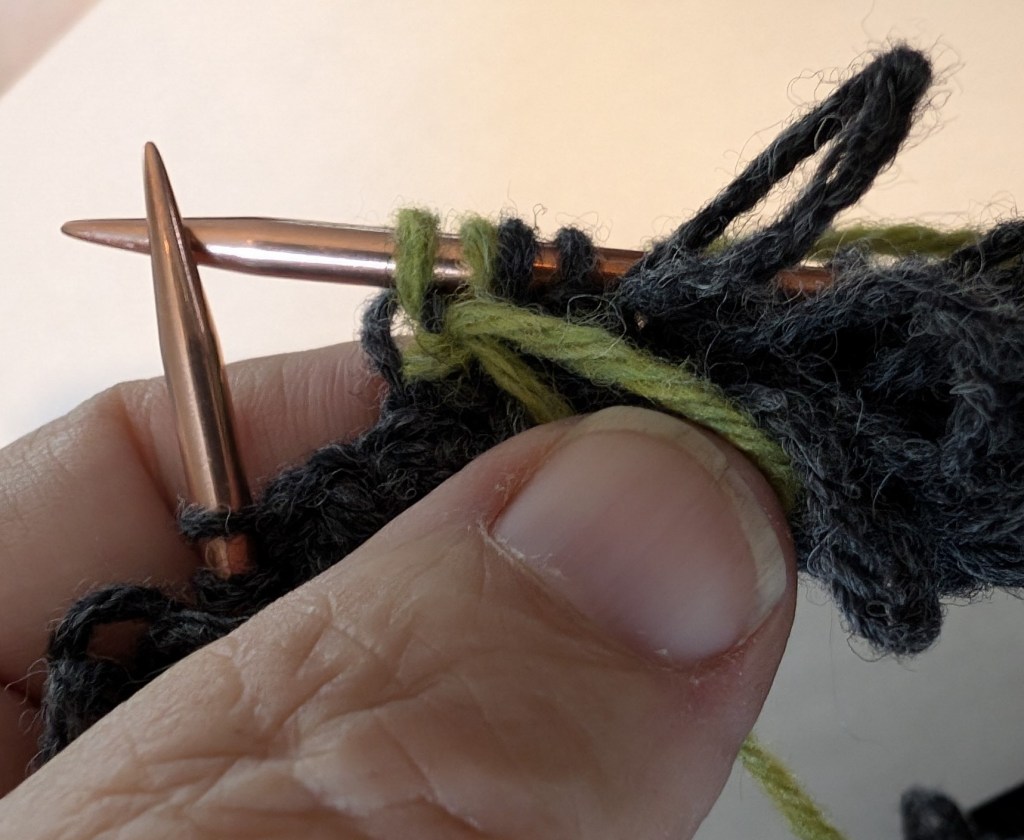
    Loop knitting is basically making a series of knotted loops on the right side of the knitting. These loops can be made and left as loops, my current thought, or they can be made, cut open and brushed up to look like fur, a thought under consideration! Loops are not a quick technique, but the results are worth the effort.

    Loops need to made on the RS of the knitting surface. If you are knitting back and forth the loops can be make every other row. When working in the round as I am, the loops can be worked on every round. I want a fairly thick, loopy surface.

    The loops can be made in every stitch for a very full look. I am making my loops every other stitch and off setting them on every other row, for a medium thick appearance.

    Loop knitting is playful and offers some interesting options for hatbands and mitten cuffs. Right now I am working on a hatband. I am planning to knit a swatch and cut and brush out the loops – I am really intrigued by the concept of being able to create the look of “faux fur”!
    When starting loop knitting the going will be slow at first. It may take a round or two to develop a rhythm, but each successive round gets quicker than the one before!
    I know that this technique would work well for toy knitting. Remember Lamb Chop? I have made a few things over the years with loops on the edges. I think I will try a few more.

    I hope that you feel inspired to give loop knitting a try!

    Happy Knitting

    Lynette