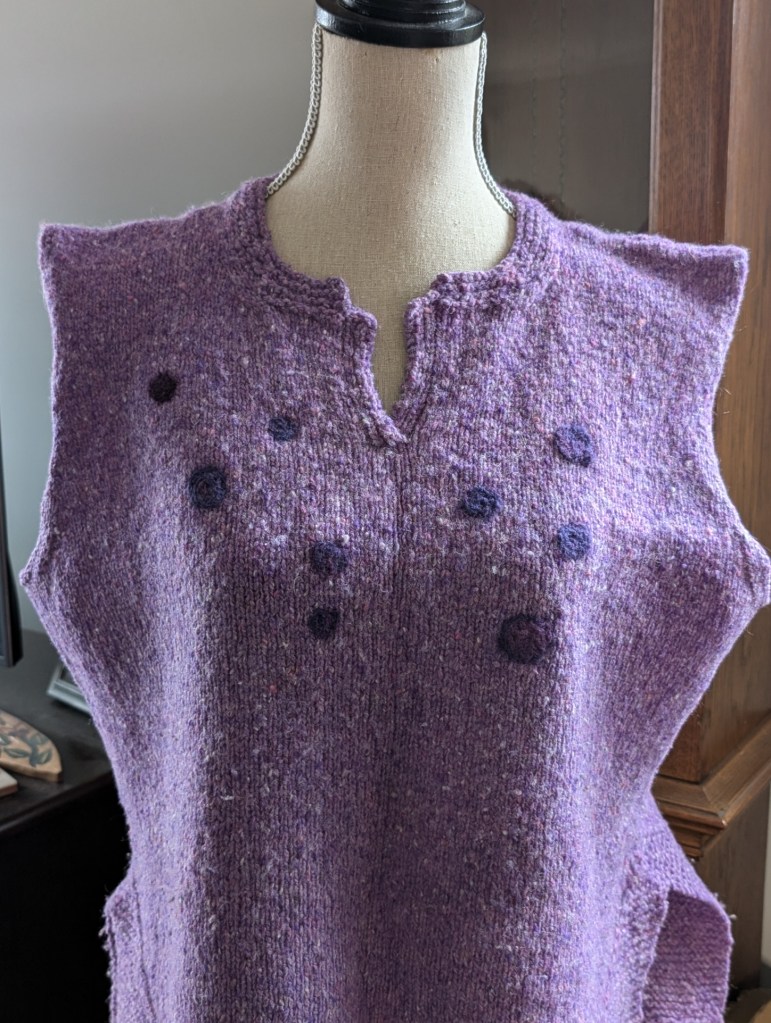
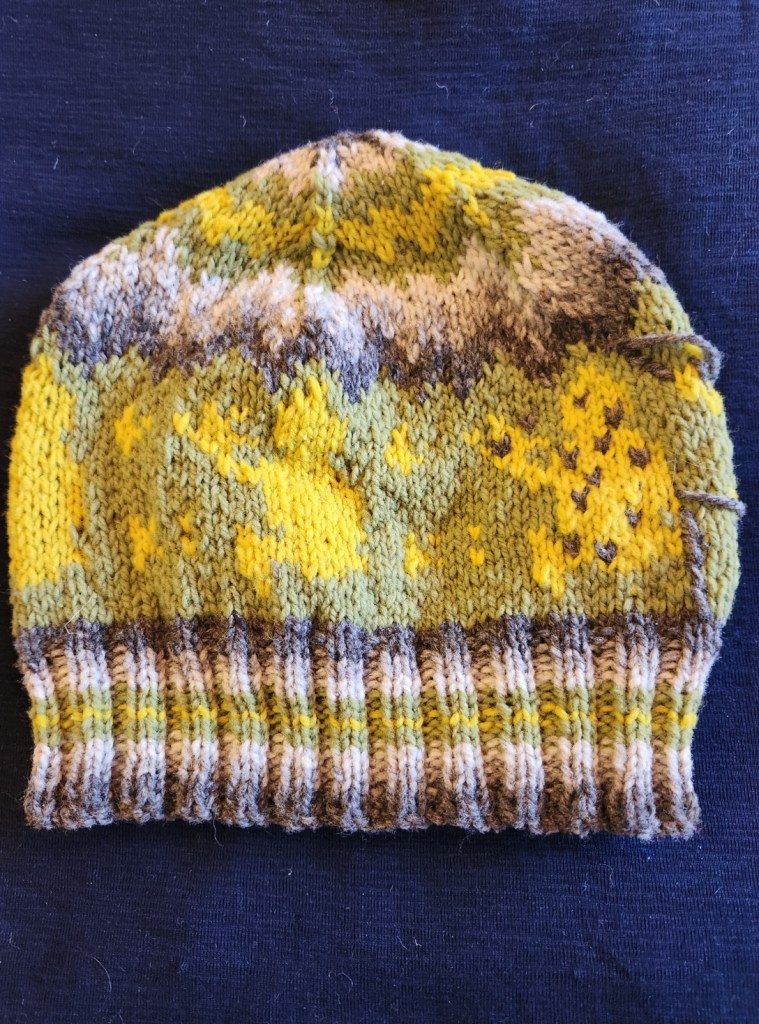
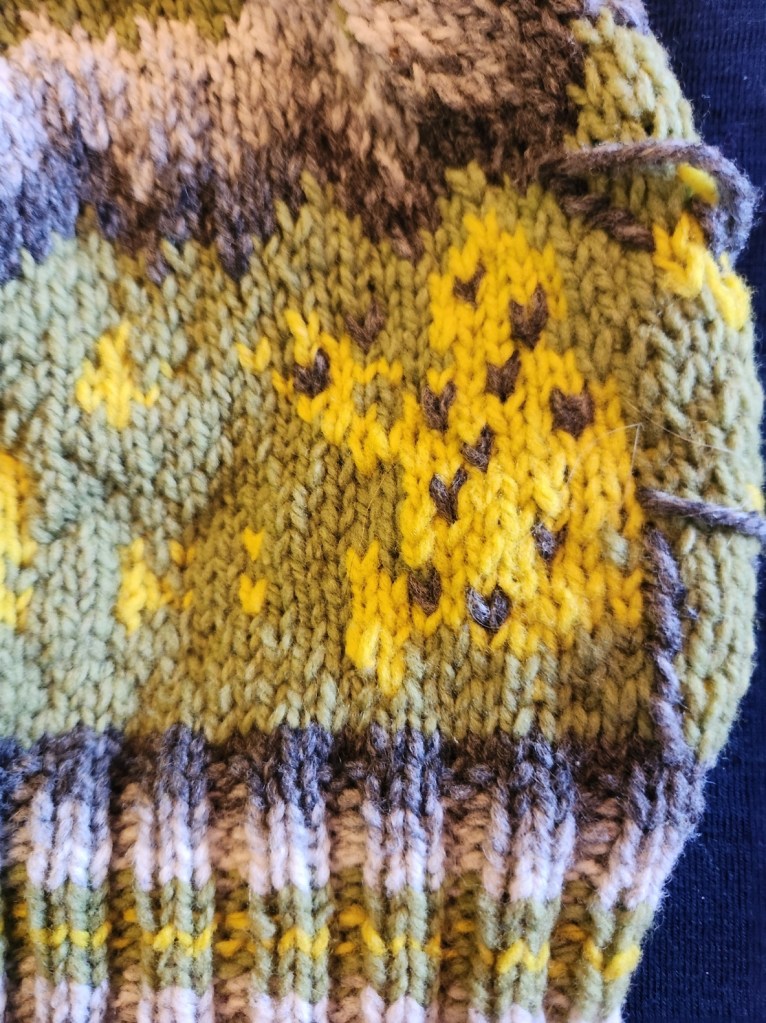
This Fall and Winter and I am undertaking a self taught mending course. I started it yesterday by mending a few moth holes in my favourite vest and what I call my weekend sweater!
I had hoped to work on these things in the summer for a Winter Class but the best laid plans….. So better now than not at all! See On the Mend.
Needle Felting
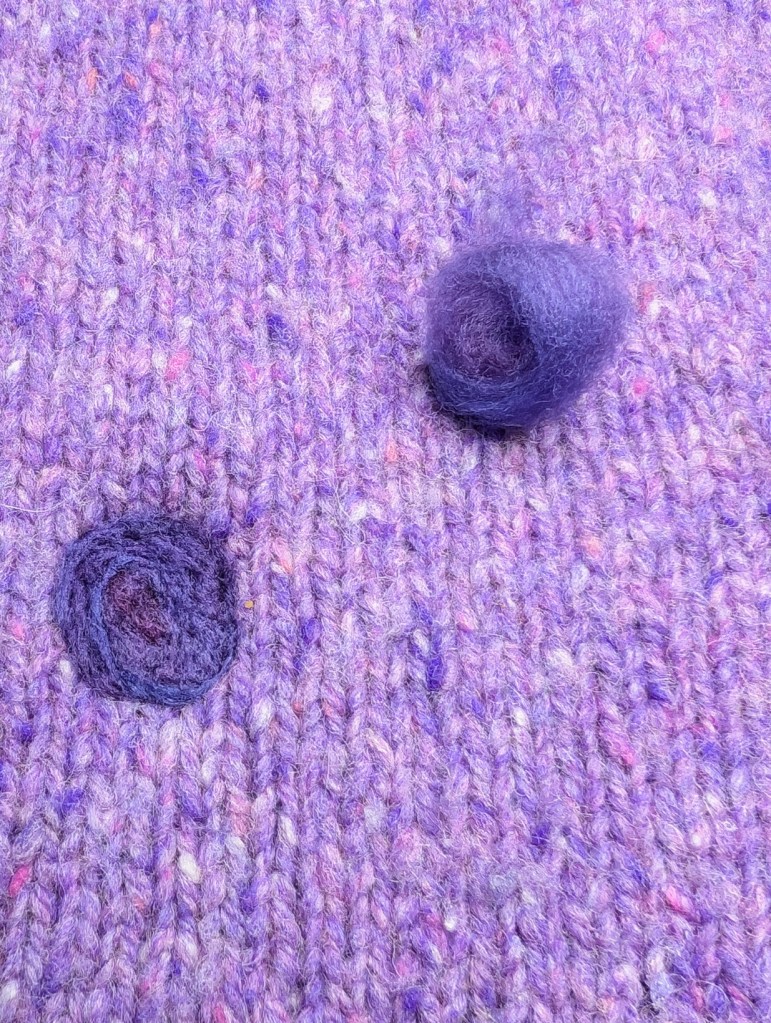
Small holes in our knits can be repaired with a few basic needle felting tools and some fibre. I did not realize how easy this would be or I would have tried it years ago! There are some other methods of dealing with small holes, embroidery stitches offer many options! But this is easy and fast!
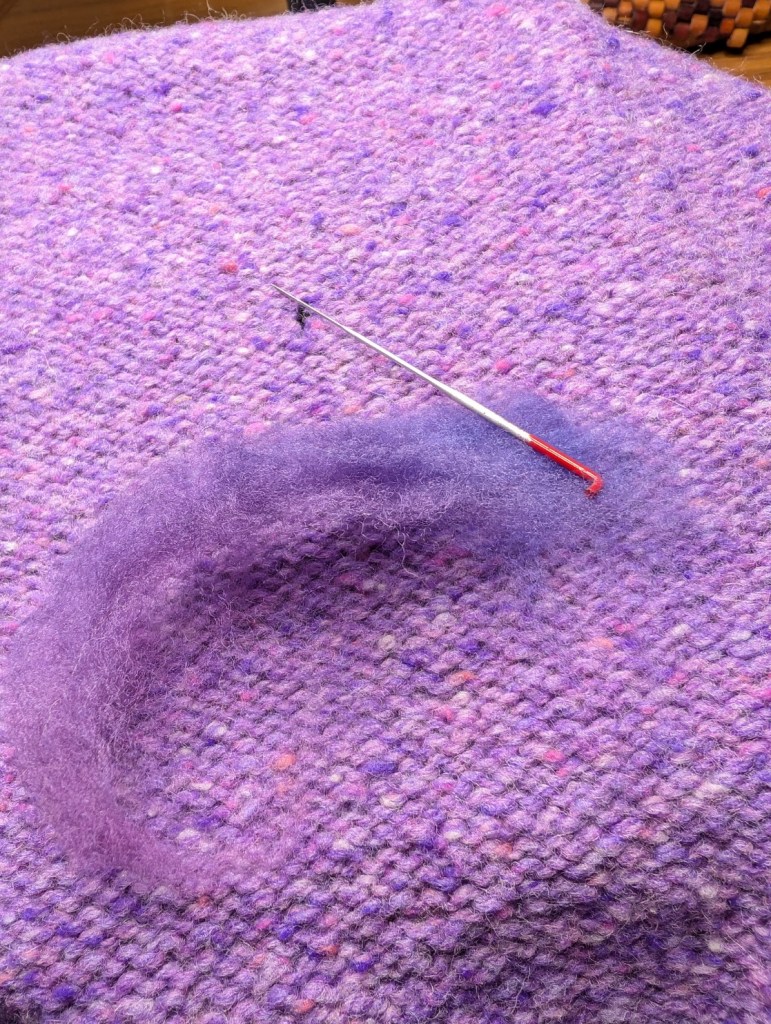
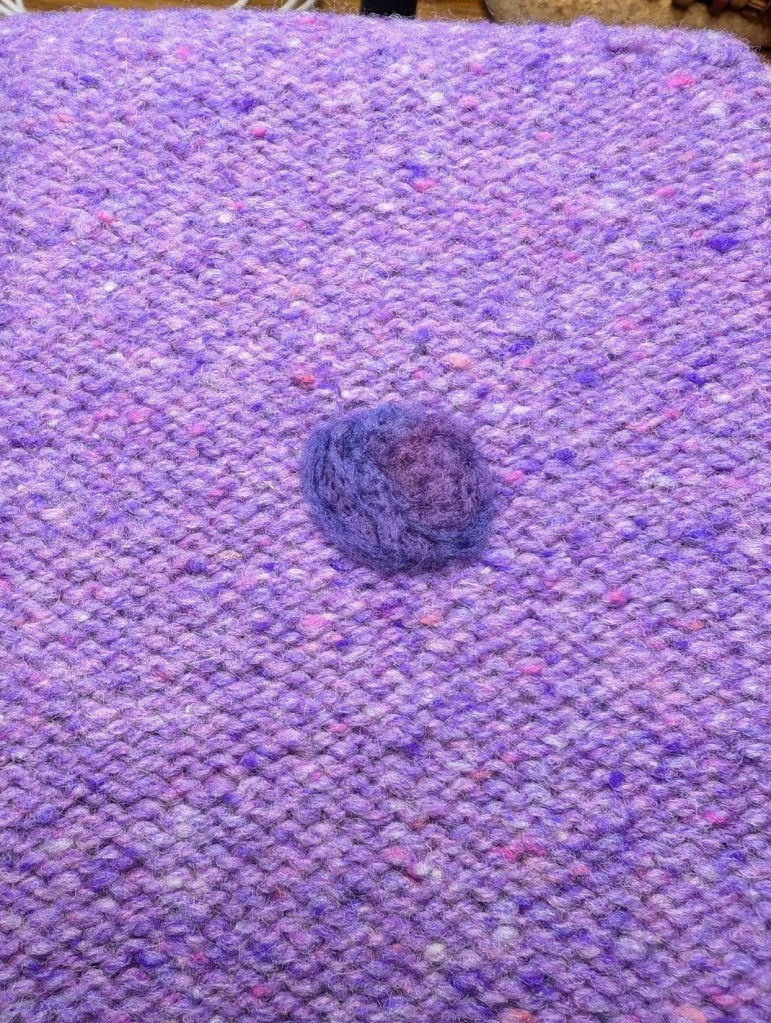
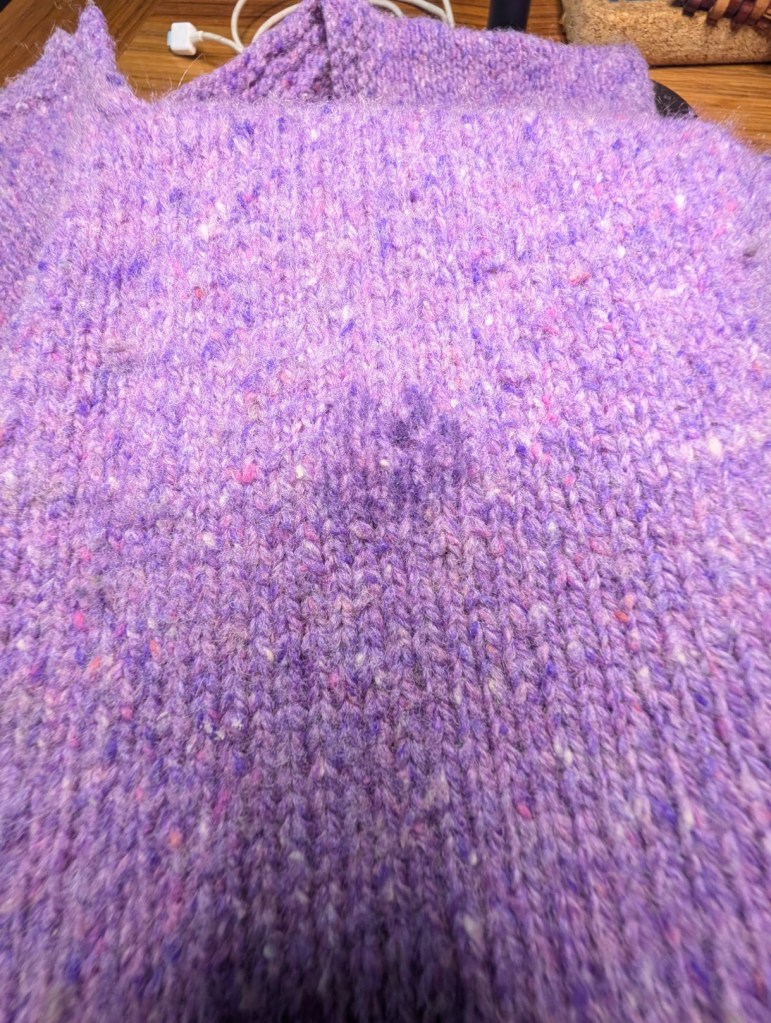
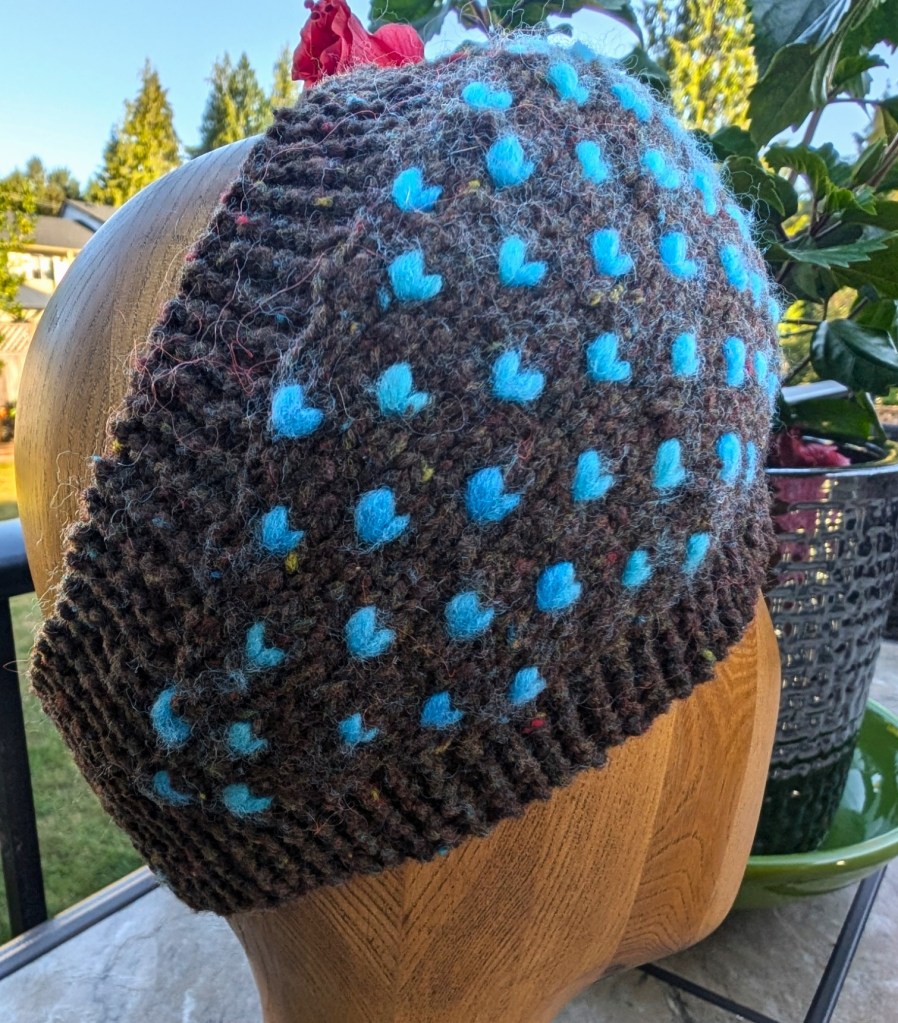
All you need is holes, a needle felting needle, fibre and a sponge (which is underneath the hole). I started in the back to give the hole backing. I did not need to do this. Just felting from the front works fine.Back is finished.Front after the back was done, You can see the shading of the fibre after has been needle felted through the knit. So I felted again on top of this fibre. My hole is a little on the stiff side with two sides needle felted.One dot looked foolish, so I added a few more spots.You can see that this has been folded for quite a while! Needs a wash and then it will be ready to be worn again!
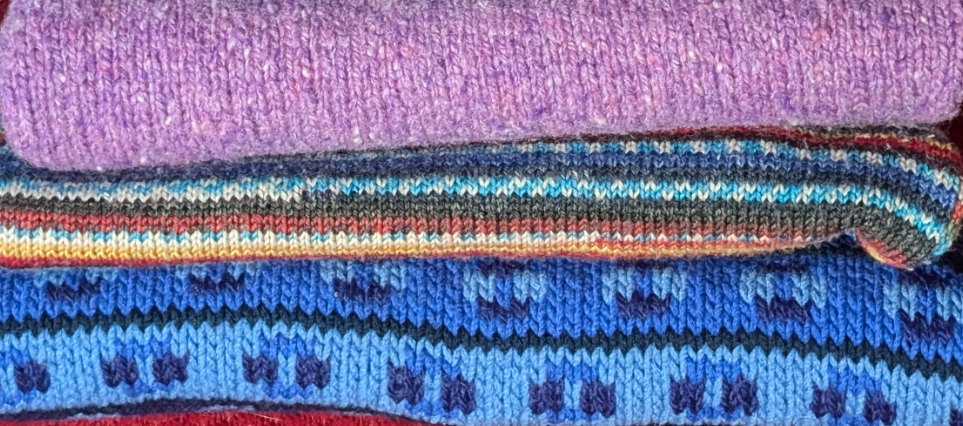
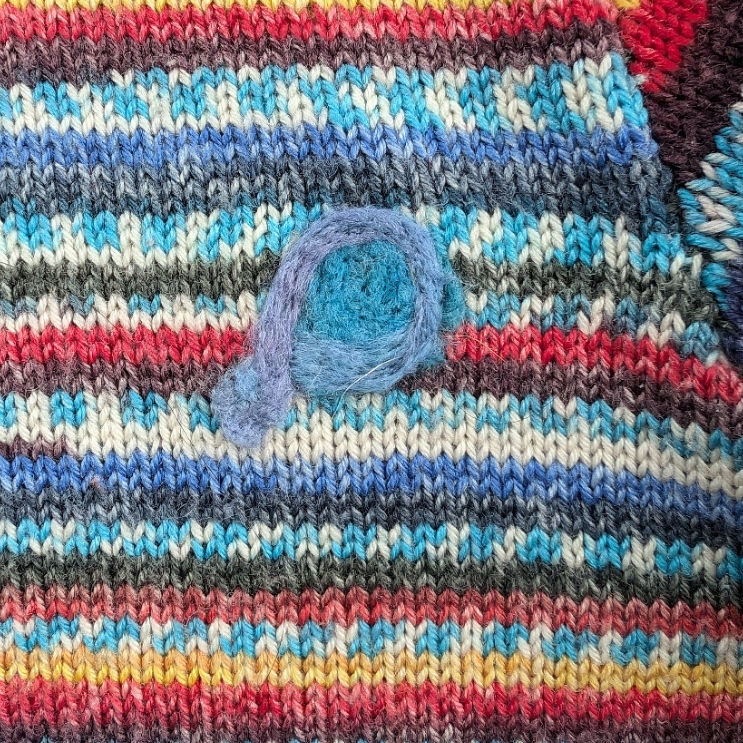
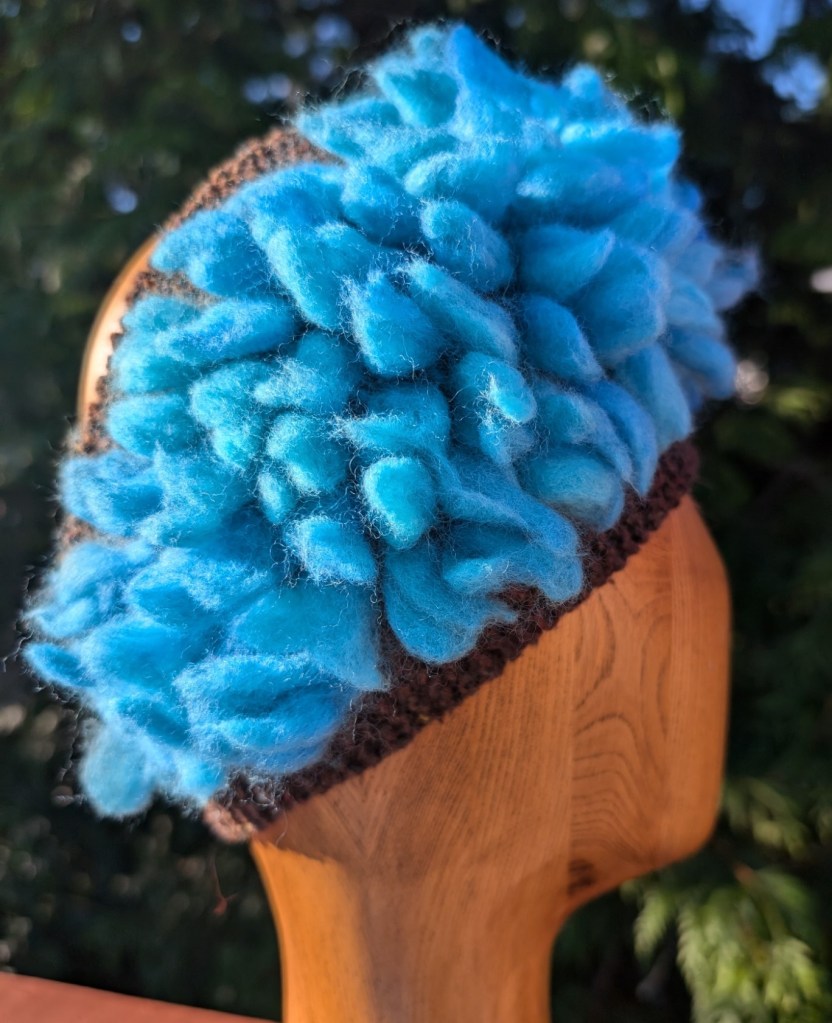
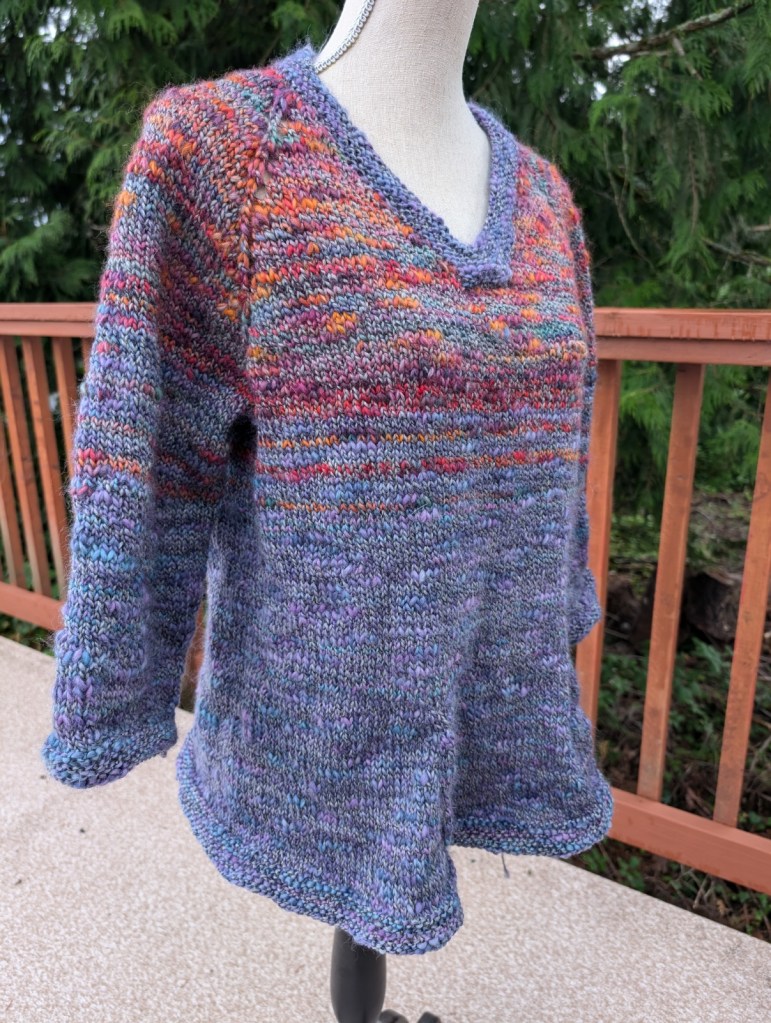
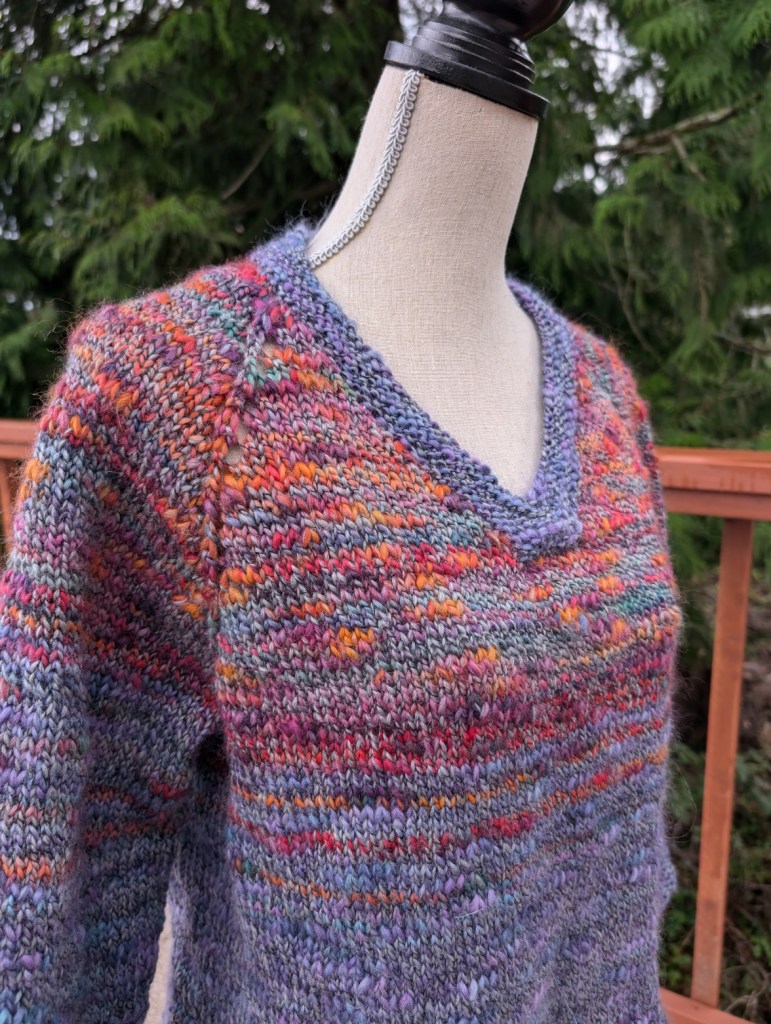
The second sweater with a hole was a much simpler project. This sweater is what I call my weekend sweater. I throw it on over when I just need a little more warmth. It was knit with sock yarn when the patterning sock first came out, so about 24 years ago. There was only 1 hole in the back, So I filled it up with fibre and called it done!. I did play around with it a little, added a little bit of an edge and curlicue!
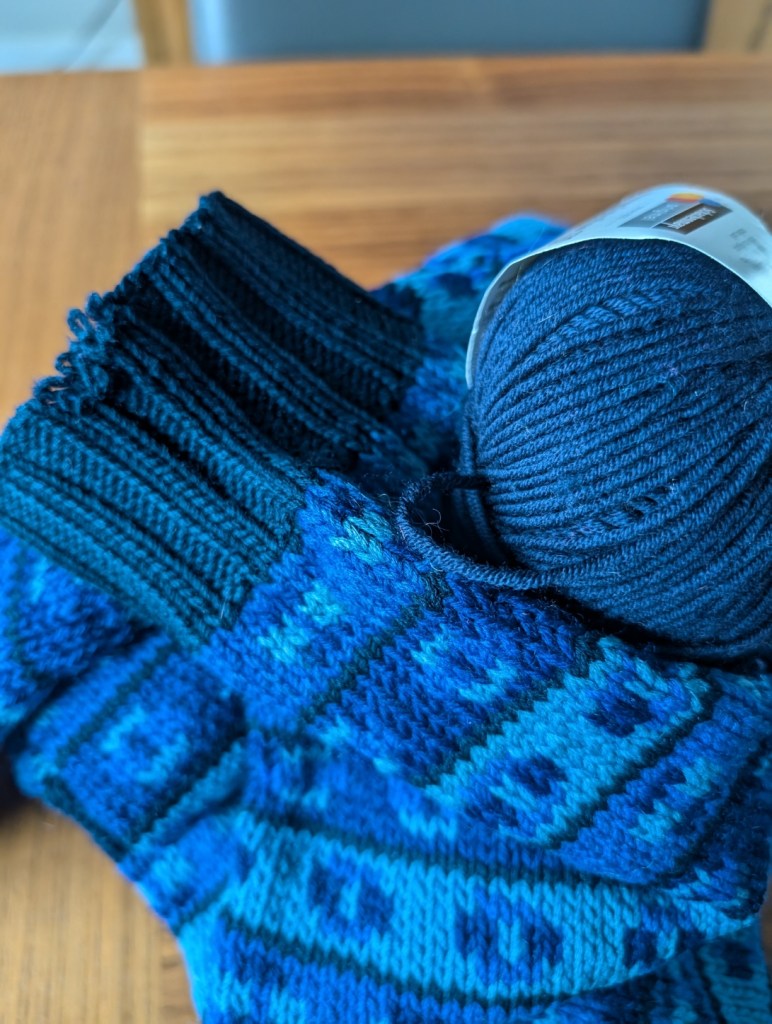
I had hoped to get another sweater mend underway, this one needs a new ribbing at the wrist. The sweater is over 30 years old but still looks great, no pilling and the colours are still vibrant! Well worth repairing, especially as it’s big, boxy style is coming back.
Several years ago I had to replace the ribbing on the other wrist, I had caught it on something sharp and that had broken the bind-off (the sleeves had been knit from the top down – best way when yardage was short). I had used up all of my remaining yarn with that repair. So finding a close colour took a while, then the yarn I found got put away in my stash, so this sweater has been waiting for about three years. You can see in the photo the colour is not perfect, but it will make the sweater wearable again, not bad for a 30+ year old sweater!
Yesterday I put the work in and found the yarn! That took a little time, you know, the needle in the haystack approach! So after looking for the yarn, I did not have time to do the work – but this weekend it will happen!
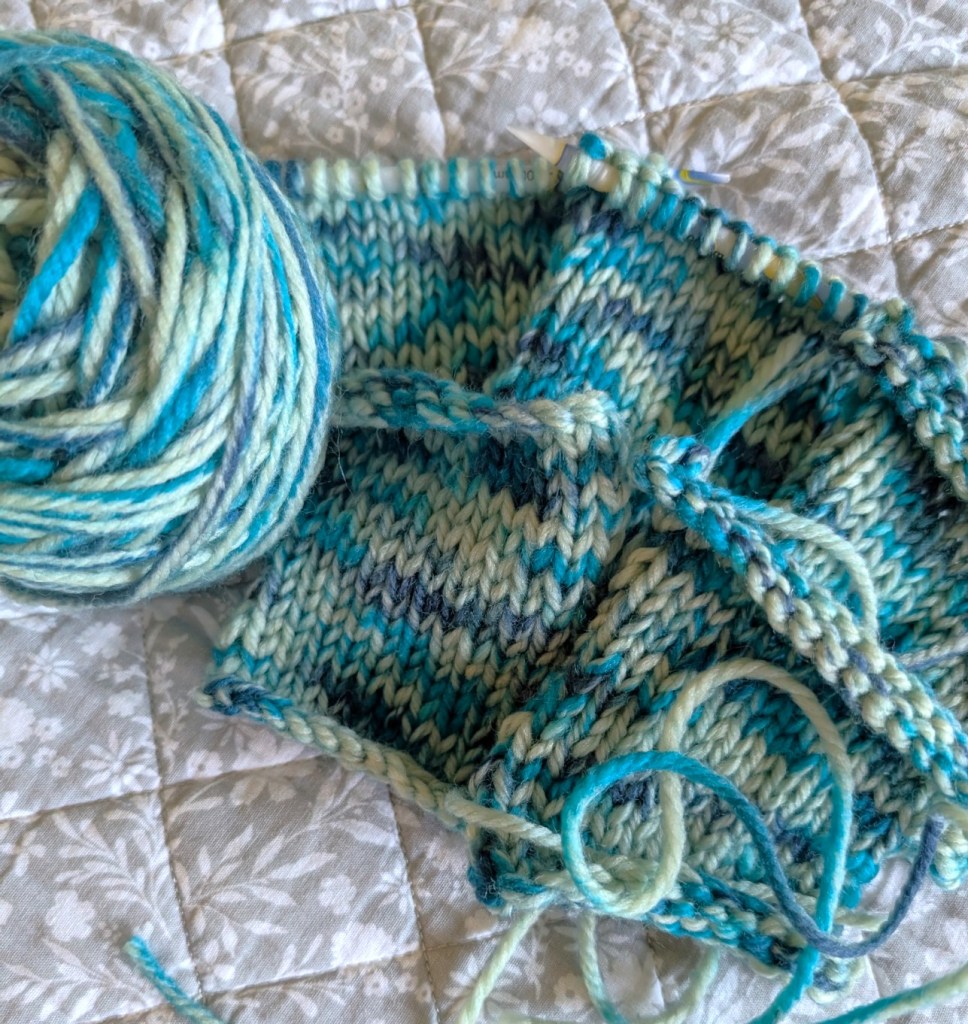
The original yarn was a wool from New Zealand, gorgeous blues in 4 tones. The pattern was an early Kaffe Fassett pattern in about 36 colours, so I simplified it a little!
I have quite a few other pieces to mend and I want to try many different techniques! So my Fall knitting projects are booking up fast!
Really it is still Summer, but the evenings have a little chill and it gets dark just that much earlier, letting us know that Summer is on the way out! So I am working on stuff for the Fall, both personally and professionally!
Part of my job description is teaching. I teach people how to knit, how to knit better, how to execute specific skills that you, the student, may want to add to your repertoire. It is one of the more challenging aspects of my job. Just figuring out what to teach and how to present the goals.
Professional Projects
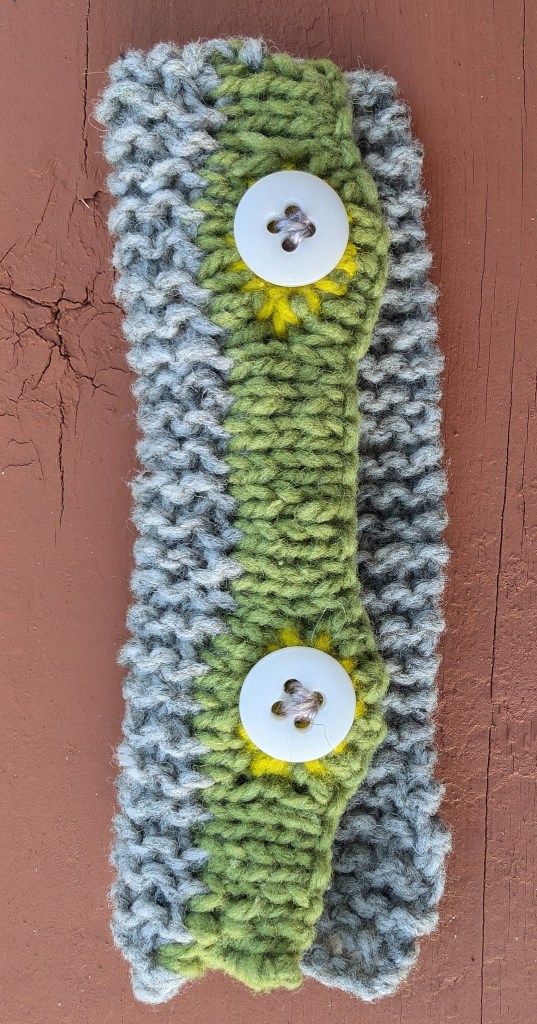
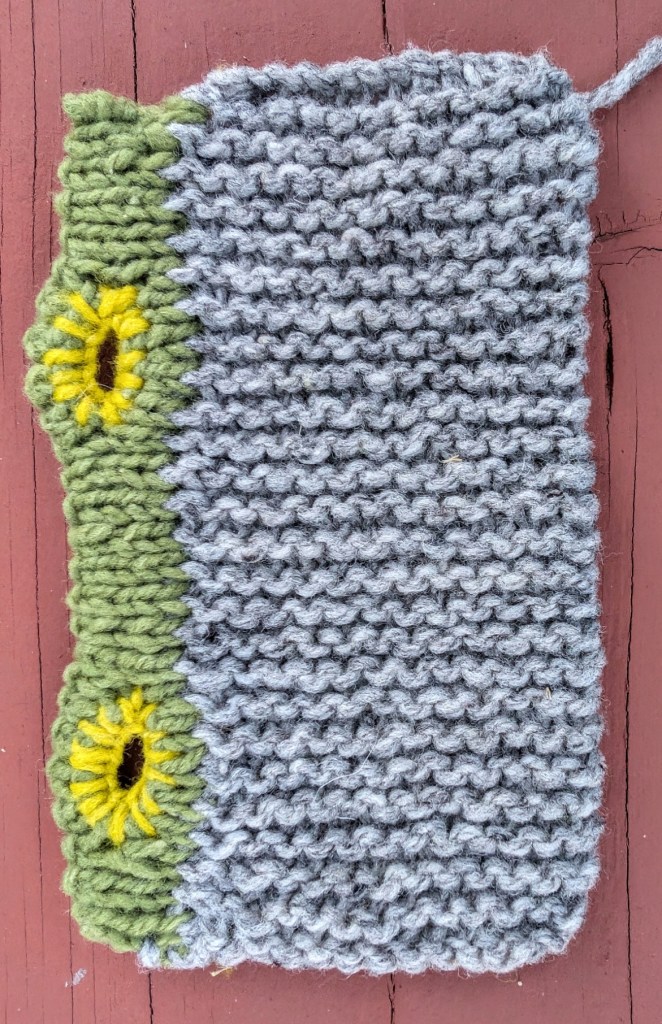
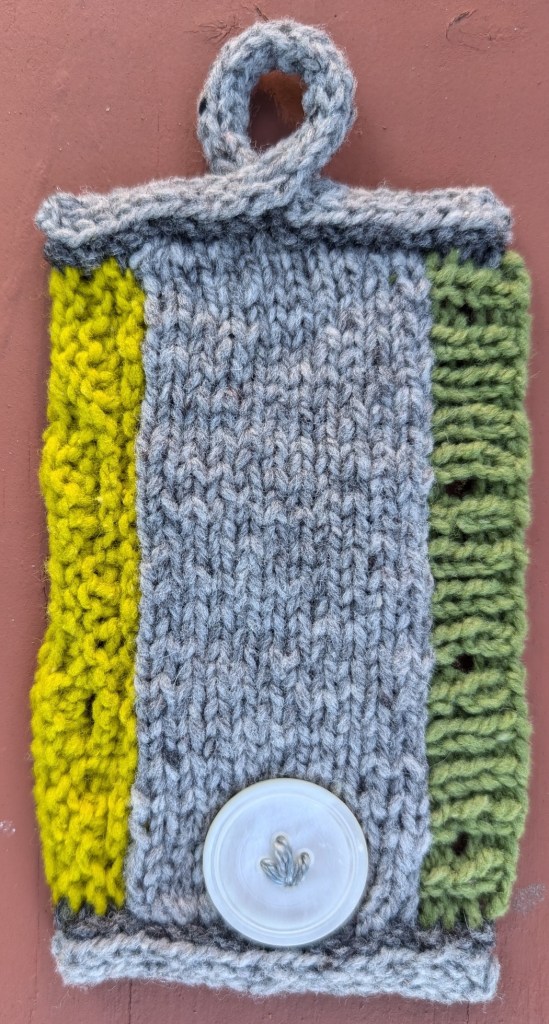
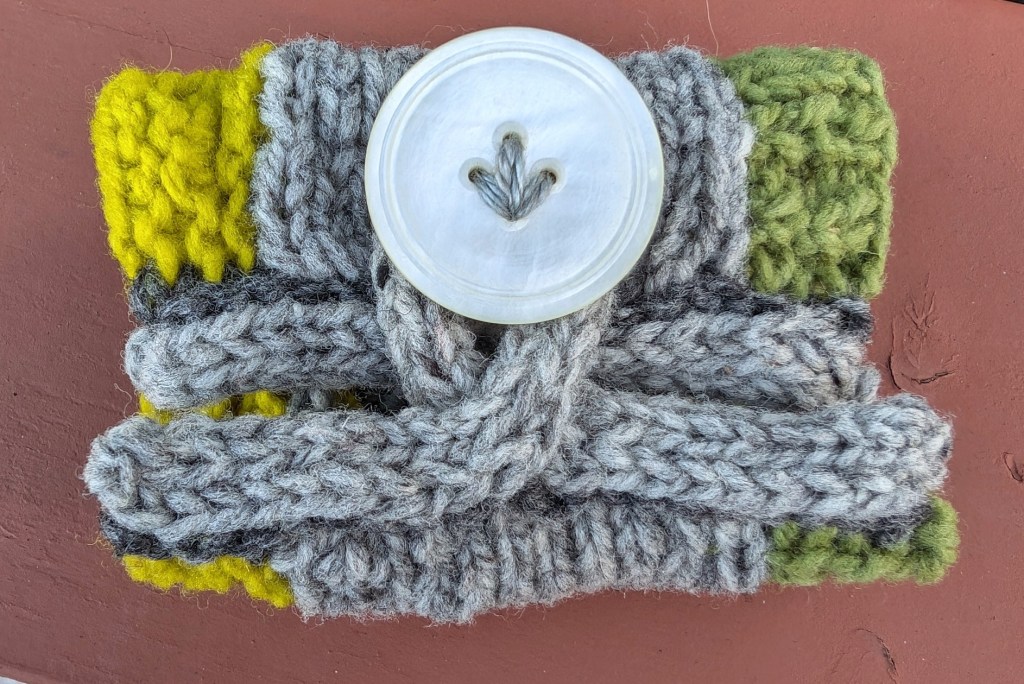
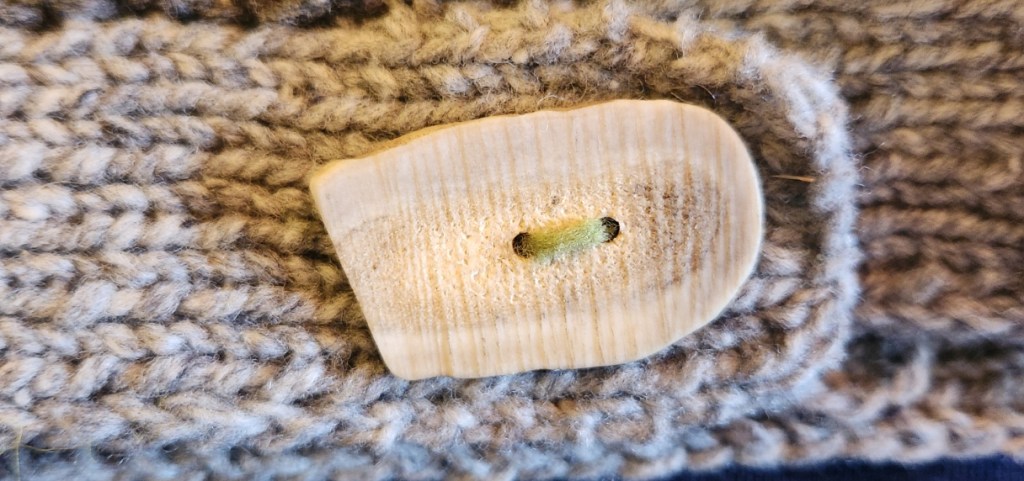
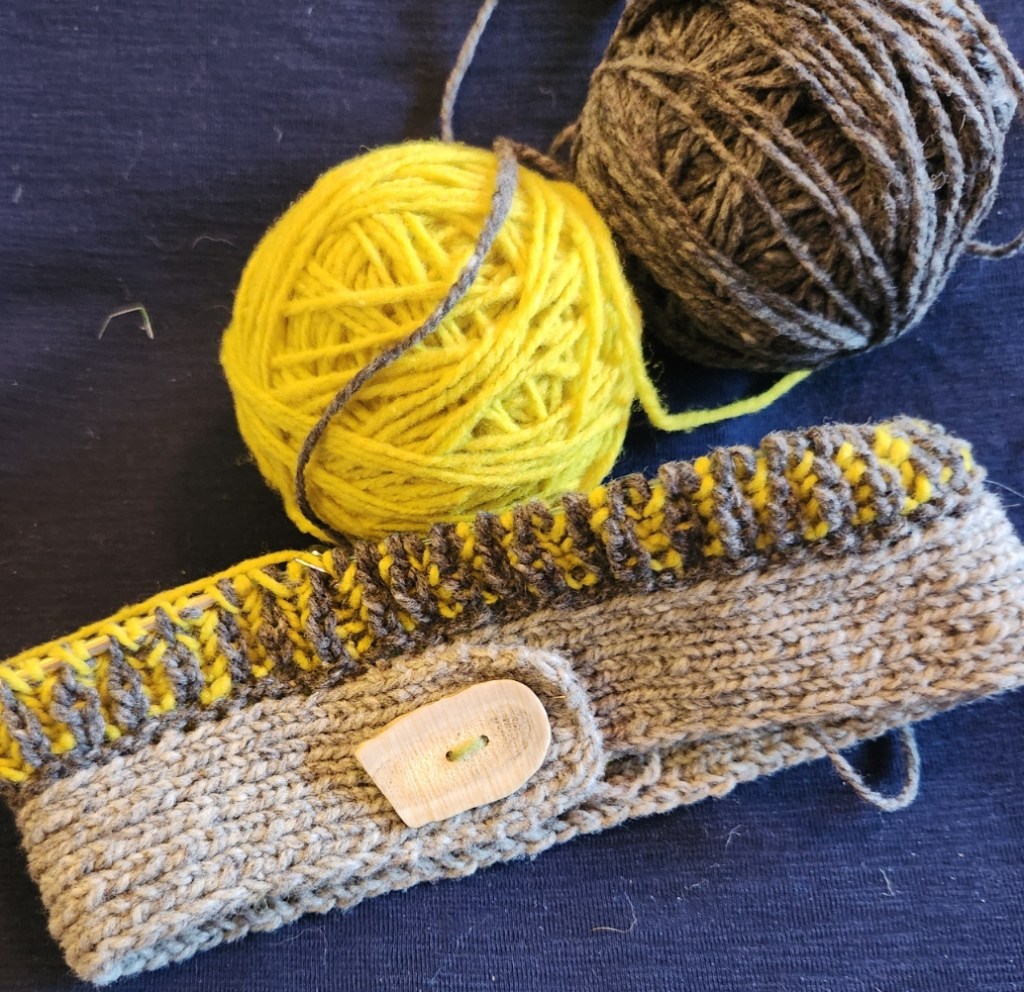
This fall has started with a successful Thrumming class and a not successful cables class. Perhaps the project wasn’t interesting enough or perhaps those who wanted to learn were looking for something more traditionally shaped. I will still write up the pattern later in the fall as I really do like it a lot! The thrumming headband will be out later this week.
This one didn’t work.
Right now I am working on a 3 part series on finishing for knits. This is loosely based on a Fear of Finishing Workshop that we at Mad About Ewe Fine Yarns ran for years. It was our most popular workshop – Tons of information presented in a six hour workshop. Everyone went home dazed and confused. So this time, it is three, four hour workshops, with time in between so there is time for everything to sink in!
Part 1 – Button Holes and Button Bands. This will be an in depth look at how to pick-up stitches to create button bands. We will look at ratios and gauge, at button holes large and small, how to sew on buttons, and we will start to look at I-cord. This class is already more than half full and I think that the new format is going to work really well.
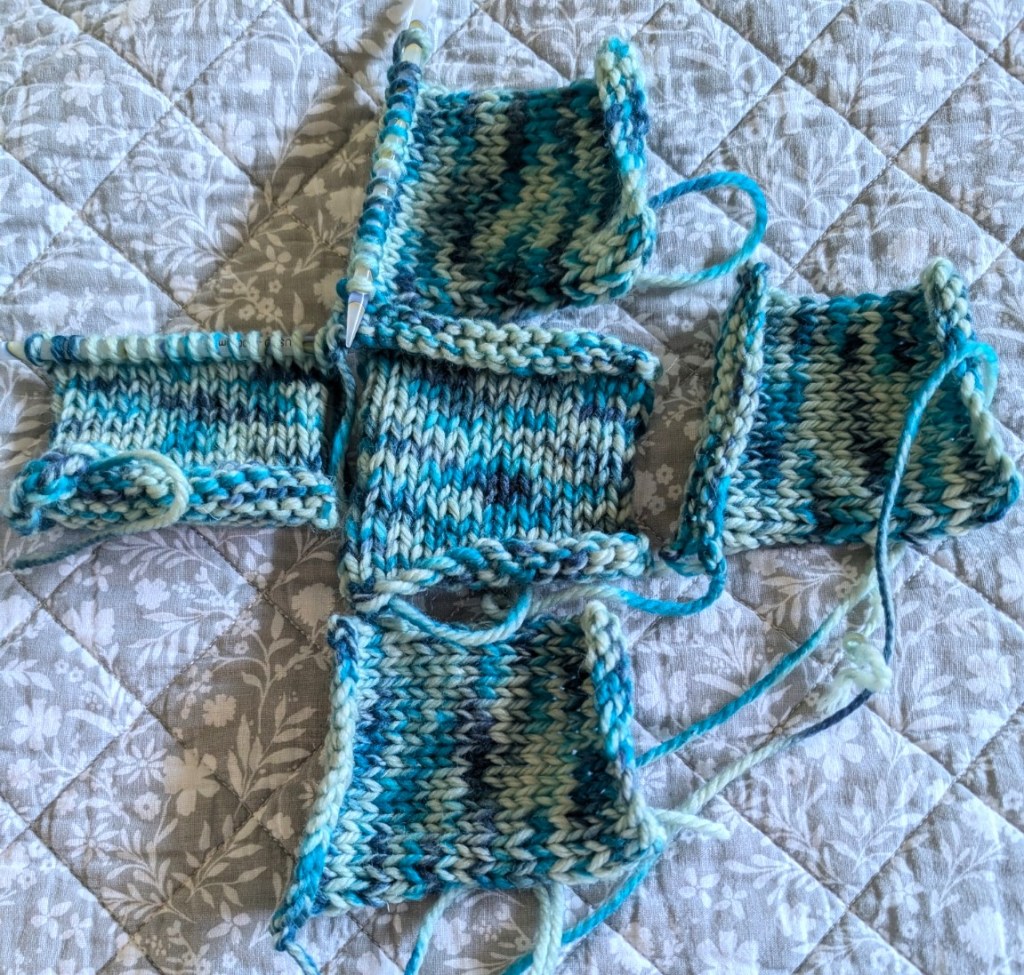
Part 2 – Seams – I think that says it all. We will look at ratios – ratios are very important to all aspects of finishing. There will be 8 seams built off of the swatches. Seams will include; grafting, 3 styles of mattress stitch, 2 styles of 3-needle bind-off. One unique seam and I am still looking for the last option. There may be some finishing techniques as well.
Part 3 – Everything Else! You know, how to lengthen or shorten our knits. How to add anything after your knitting is finished. Ie Heels to tubes, afterthought pockets. Maybe some dimensional embellishments. Things to consider before we start knitting as well. Swatches, how to make and use them before we start knitting. The best place to work shaping. How to work a short-rows. All of those extra things. Which really aren’t that extra.
Every workshop will include homework beforehand of some kind. Mostly some swatches, something to practice all of the new techniques on!
Personal Projects
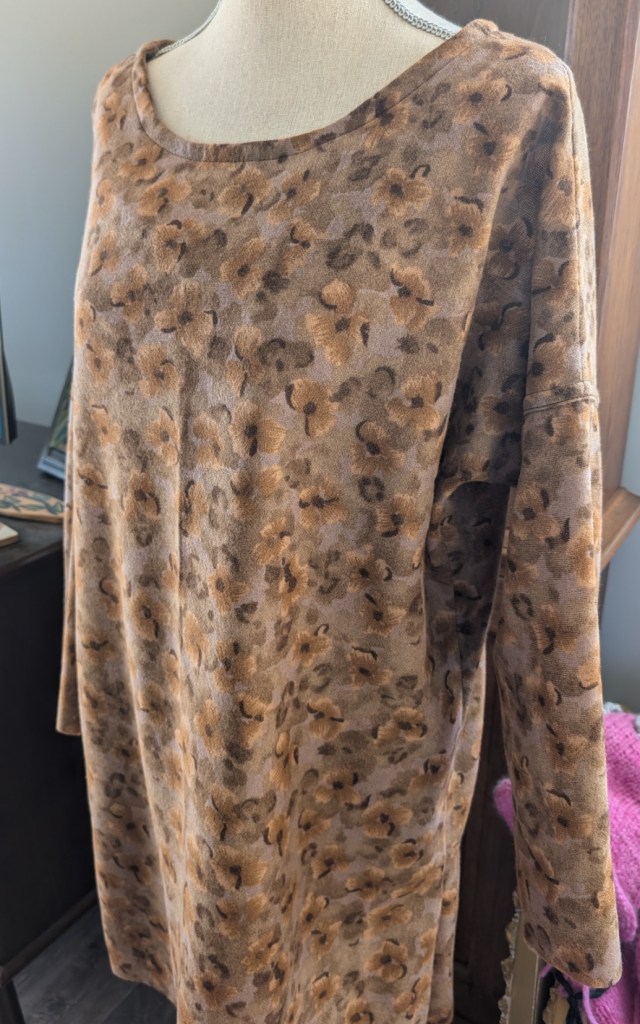
Yesterday I cut out a blouse and a pair of pants for myself. Though apparently I made the blouse for my daughter. I missed a couple of key measures. I am really thrilled with the finishing. French seams and fine finishing on a napped wool flannel fabric. My daughter is thrilled.
I hope that the pants turn out a little better as I know I am the only one who will want to wear them!
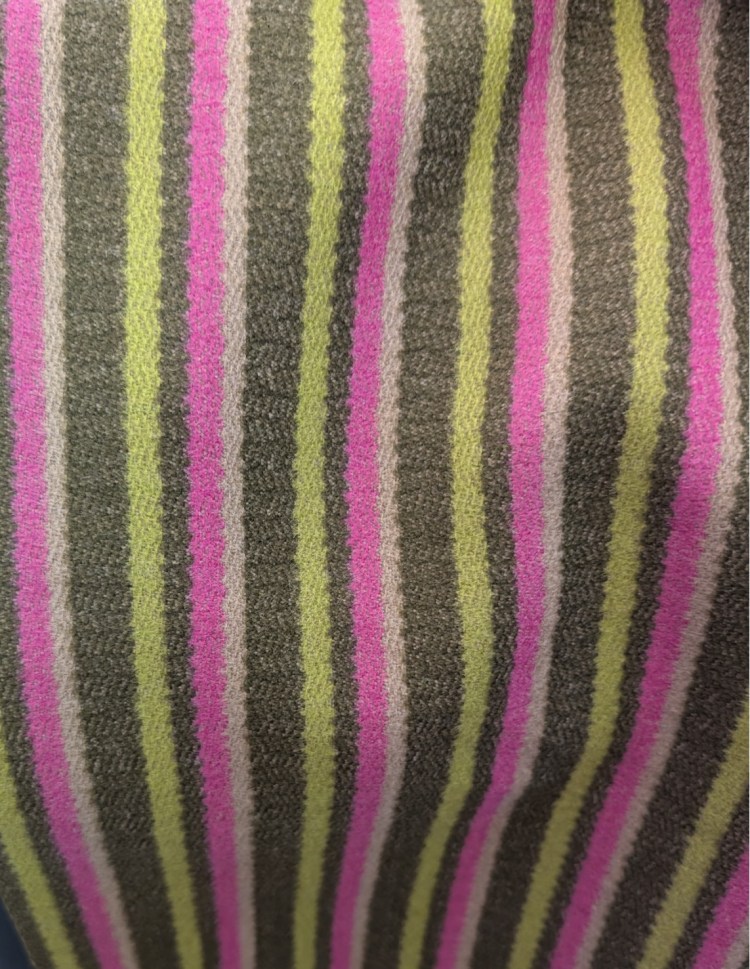
Italian wool woven fabric. I am planning pleats in the front and maybe a button fly instead of a zipper. Those colours!
When I was much younger I collected coins. Old Canadian and English pennies and coins from when we went to Malaysia. When I was a teenager my father gave me his coin collection. I
As a collection it was very informal. It consisted of an old plastic tub of coins most of them from Panama and Peru. Most from the late 1950’s, from when he was in the Navy and his ship cruised those waters. I had put away my coin collection by then and wasn’t actively collecting, so I put the tub with my collection and proceeded to spend the next 50 years carrying the collection around with me.
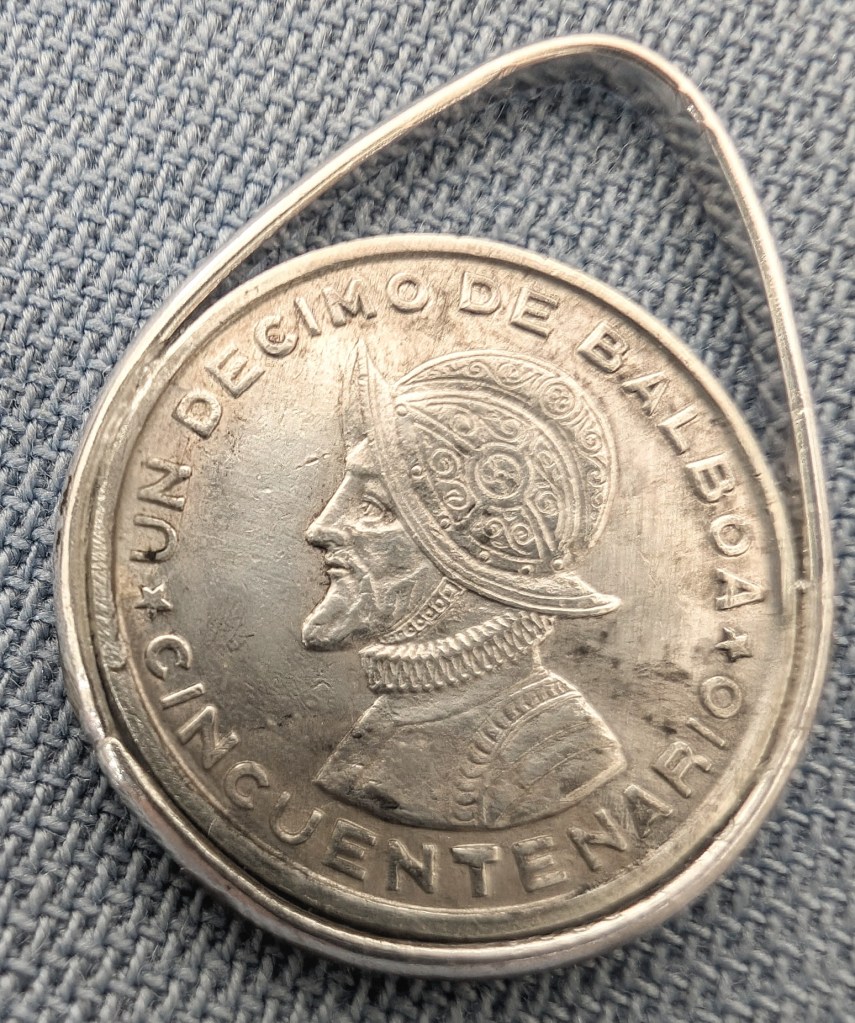
A few months after my father passed away I hauled out that old tub and looked again at those coins. In the collection were about 30 old silver coins, all the same size and all from the Republic De Panama. I started to think of what those coins could become. I wanted to use them as embellishments on a shawl, So, I took the coins to my Silversmith friend Joan and left it with her.
I think that this will be an interesting way of creating a unique piece of knitting while honouring my memories of my father.
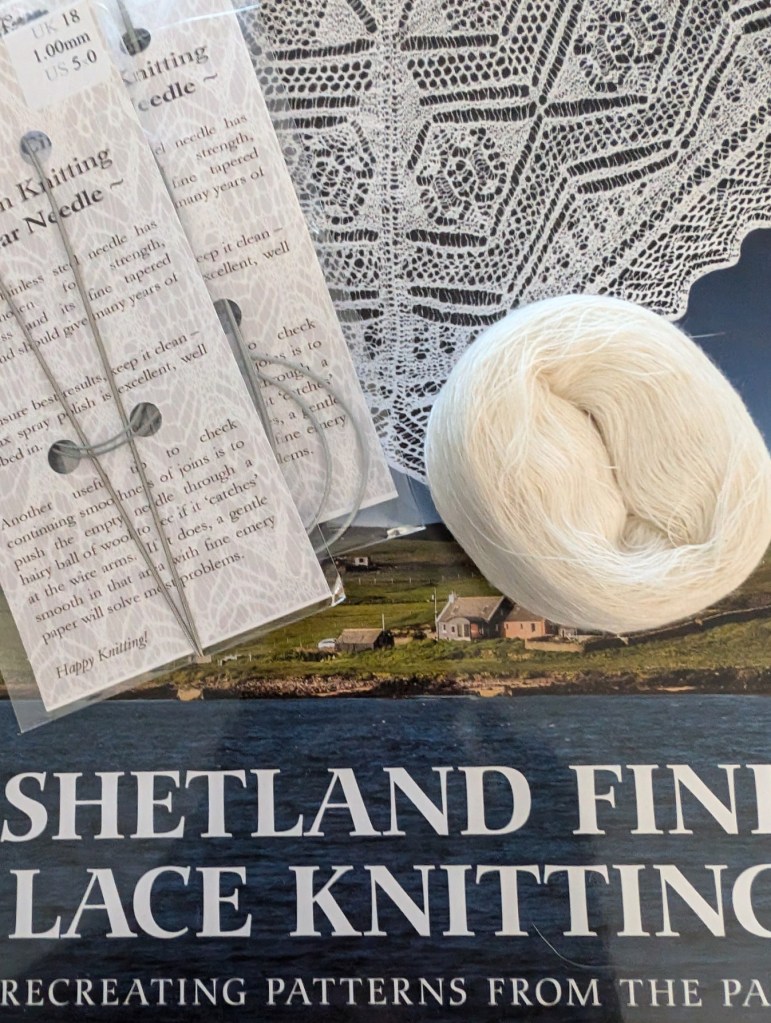
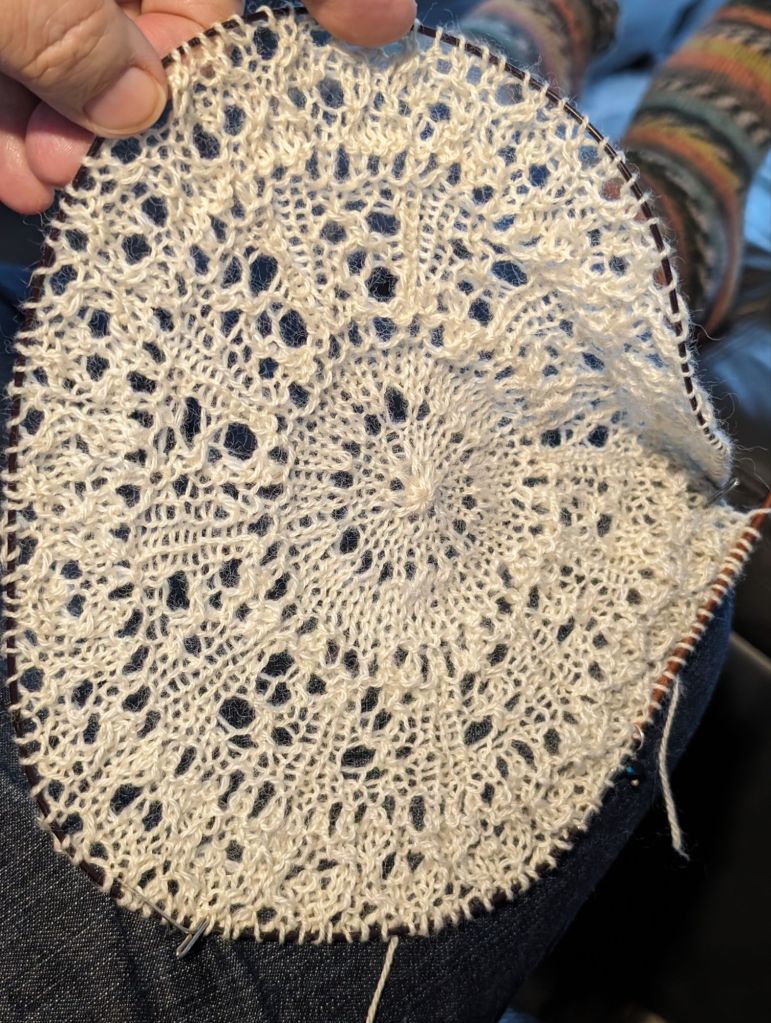
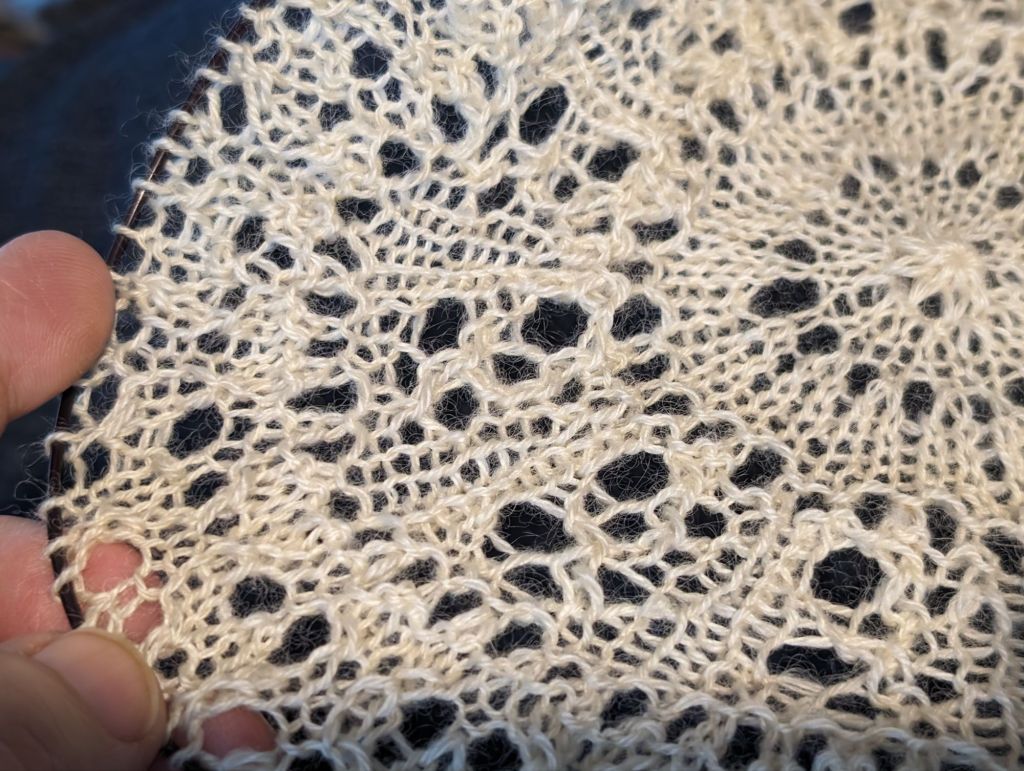
Remember this one? Well it was put on hold while I waited for the book and then it arrived and needed to be examined for new ideas. Which I really couldn’t find. I was in an odd headspace I think. I was looking at my knitting, on the 1.75mm US #00 needles, and thinking it was too loose. I had to get my head around that. So, yesterday I also ripped out my little bit of knitting and put away the the 1.75mm needles and pulled out the 1.0mm US #00000 needles and cringed. I have never, ever, knit with anything that small. So sometime in the next week I will be casting on a new project.
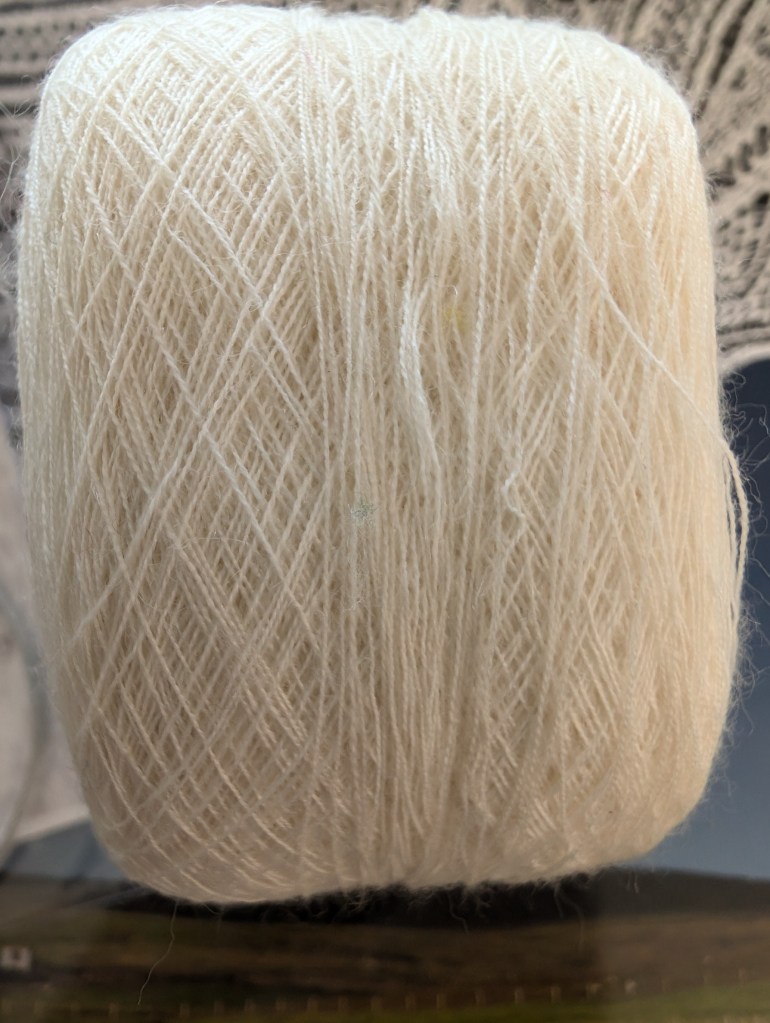
Still trying to get my head around that as well. Do I order more yarn, or do I design a smaller project. Still thinking on it!
This one has been on hiatus for a while, but I am planning on picking it up at the end of the month. I am not far off the waist and I am hoping to reach the shoulders around Christmas.
There are other projects in the background and more classes to share, but that can be for another day!
My Sunrise sweater is finished! I am quite pleased with it! And it fits perfectly!
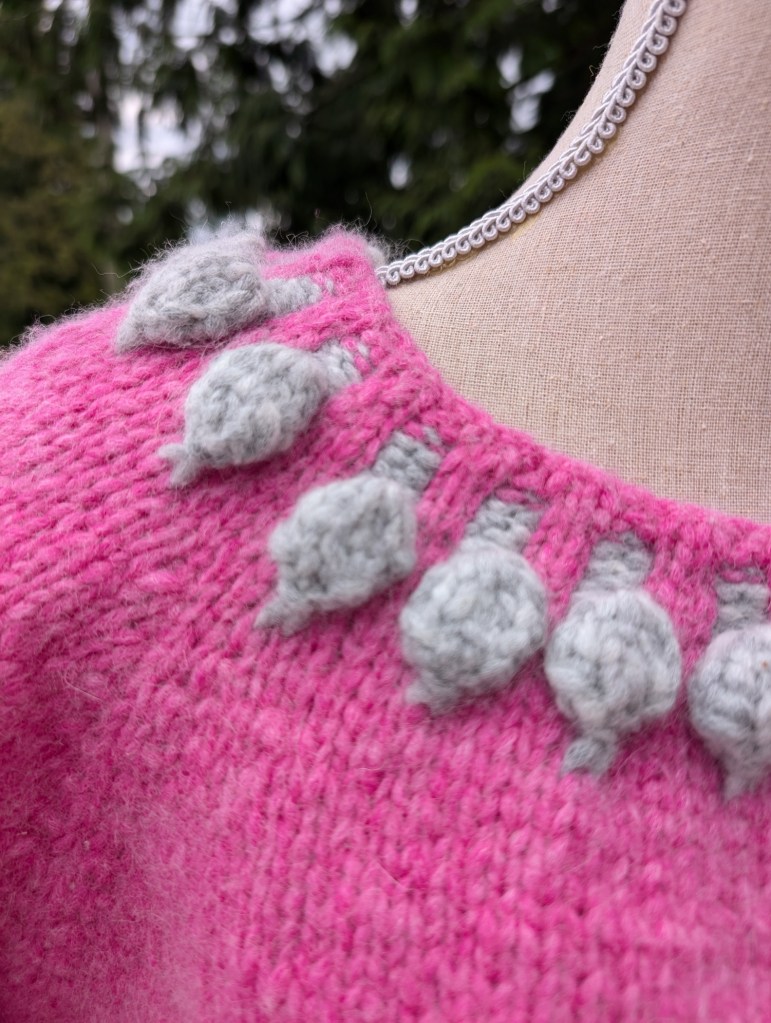
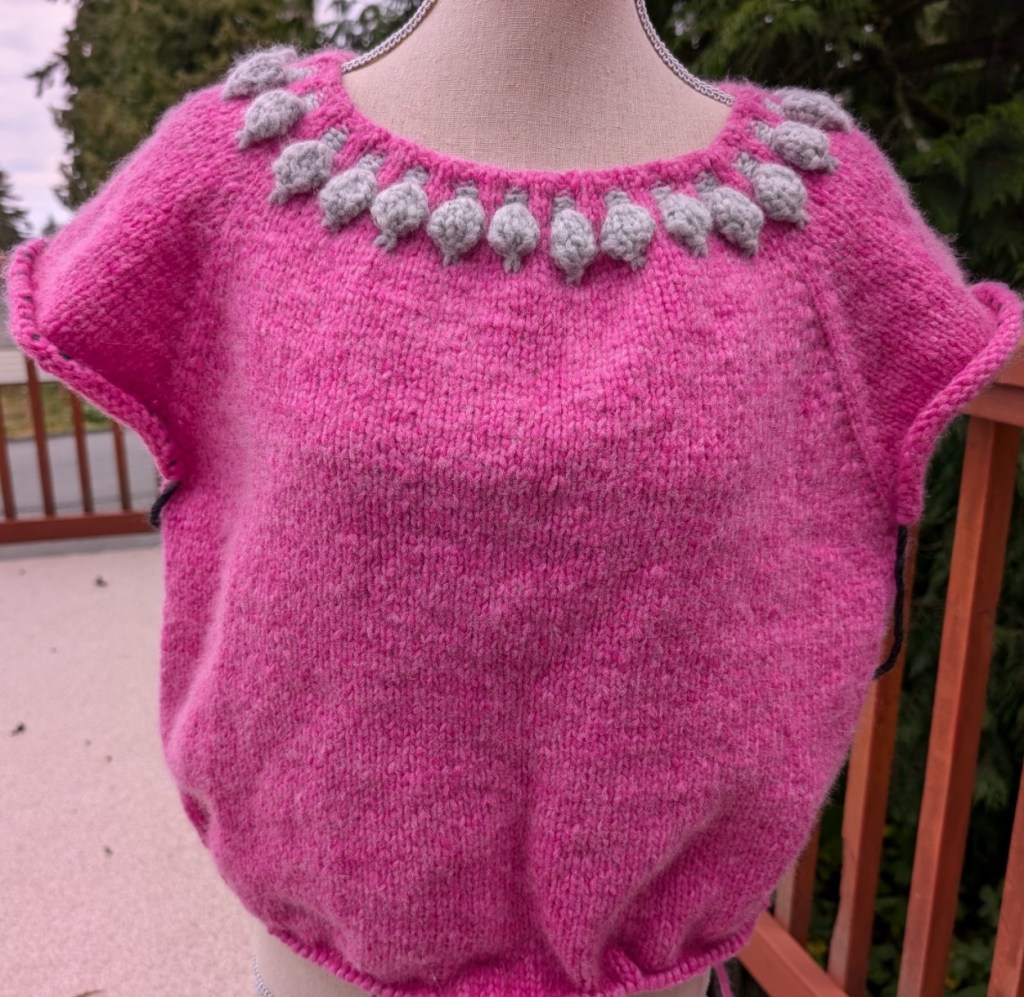
In tidying up my workroom I have stumbled across a couple of other sweaters for myself. The Pink Juniper Moon Beatrix is the next one on my list to finish. I love the softness of this yarn. It is sooo light and sooo soft! And it knits up so quickly! The other sweater did not pass muster and was quickly ripped back and rolled into a ball, waiting for a different style to work into. 🙂
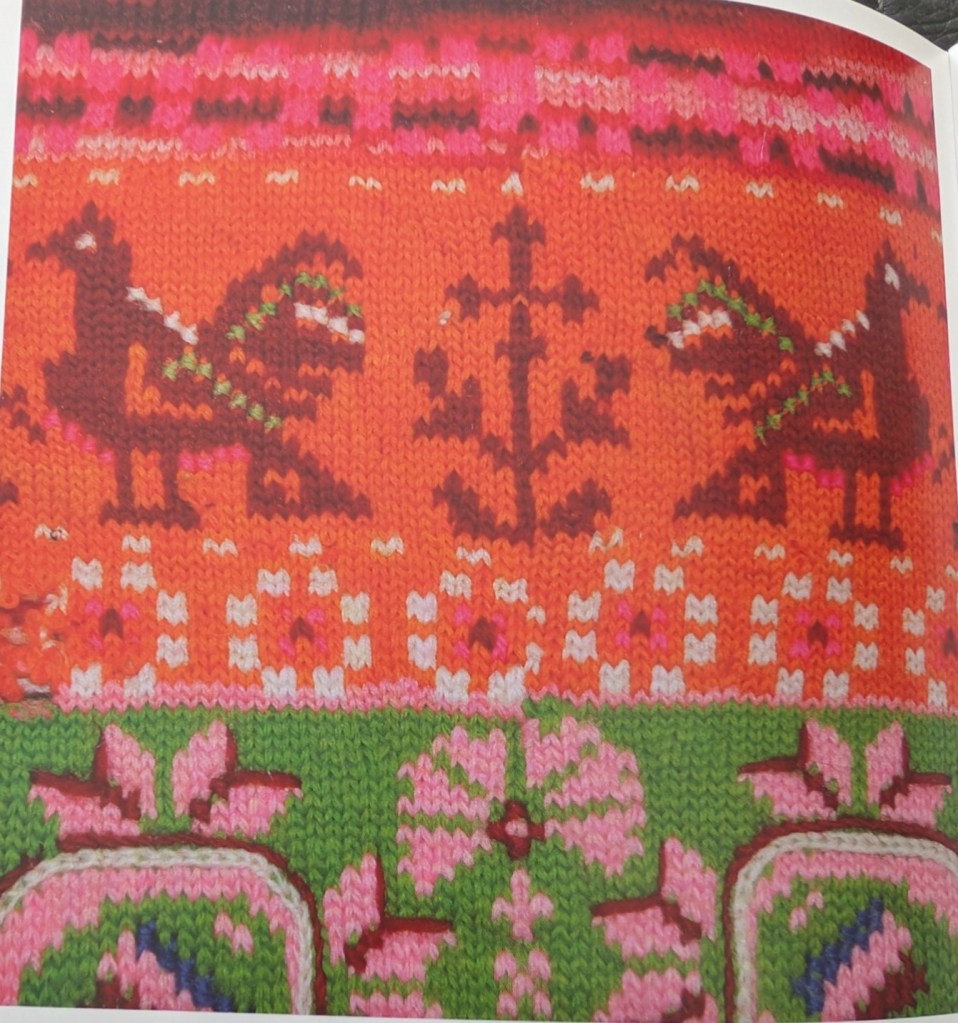
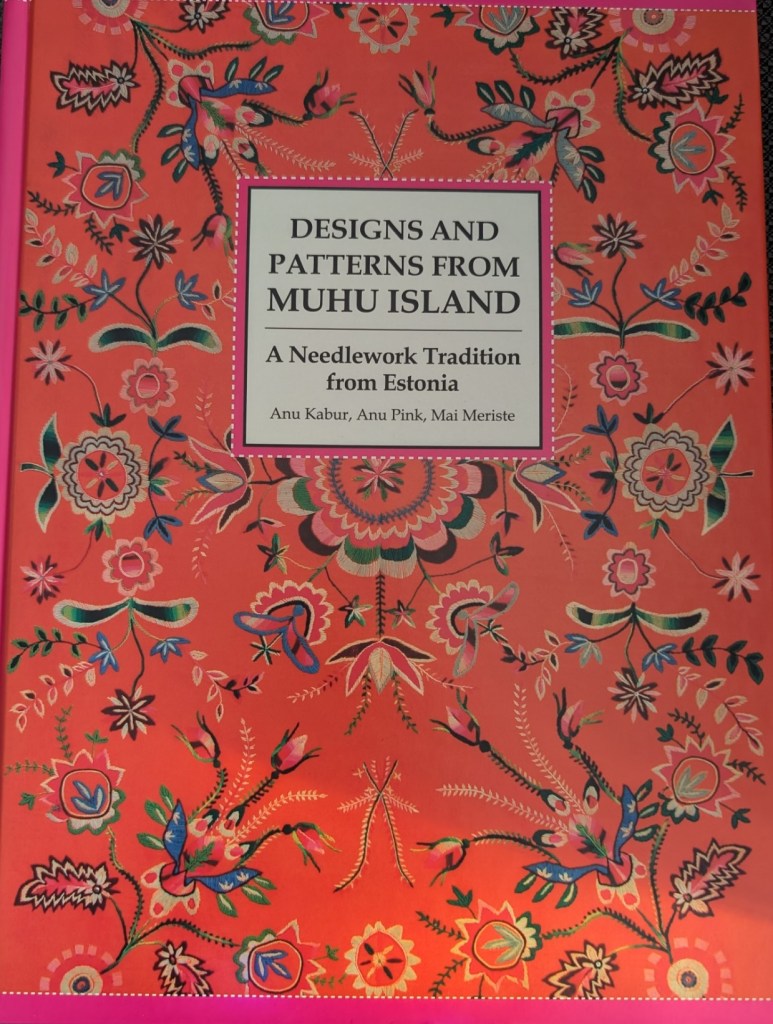
You may note a bit of a trend here… most of the sweaters I knit for myself are tunic length. I hate to be cold and a longer sweater keeps my back nice and toasty! I do have a plan for another piece, most likely a vest, longer, with split sides, a knit belt, and colourwork, colourwork in the Muhu style. Which is bright! Oh so bright! Just my style.
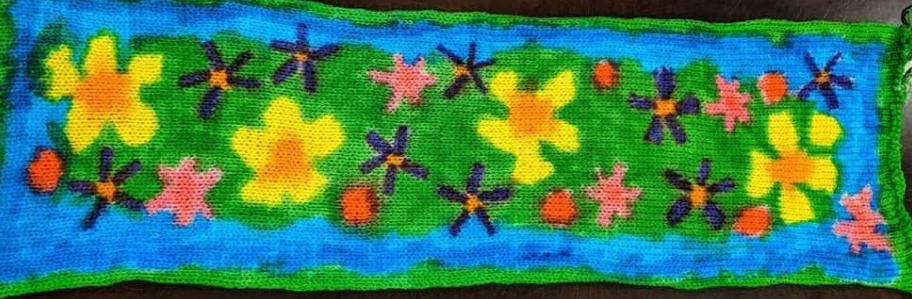
Roosimine and Knitting an Estonian Garden
Embroidery on Knitting
So much inspiration!
Eco Scandinavian Chunky
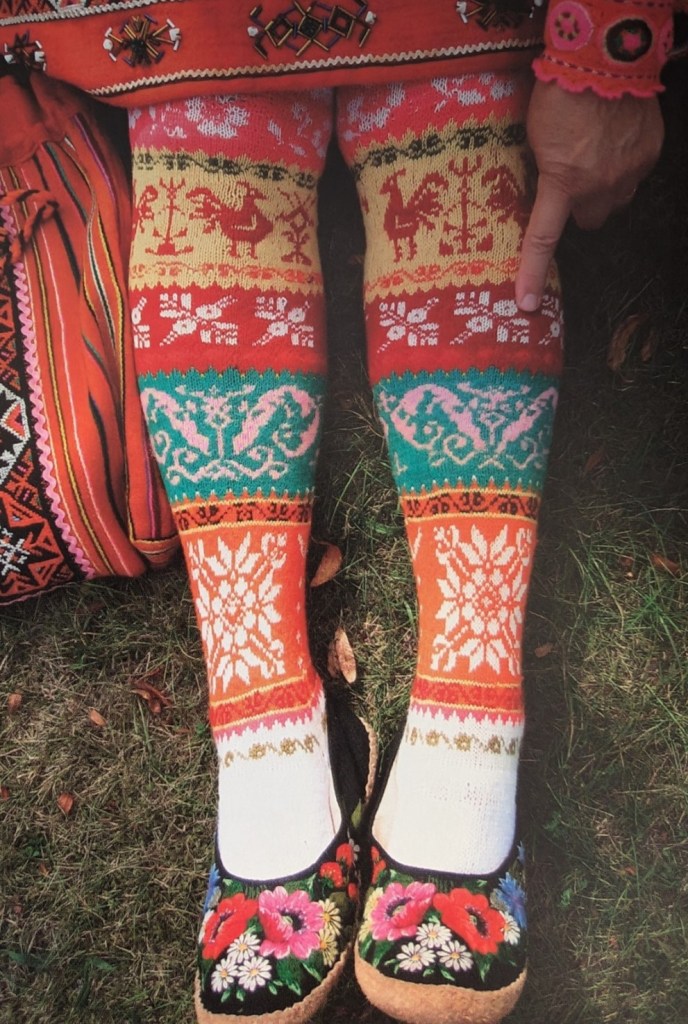
Oh these socks just make my toes curl! are they not amazing?
I will have to revisit my pattern Knitting and Estonian Garden, for some Roosimine patterns to add to the vest. Roosimine is an embroidery style technique from Estonia that is worked on your knits as you knit. It is quite common for knits to have surface embroidery to add details.
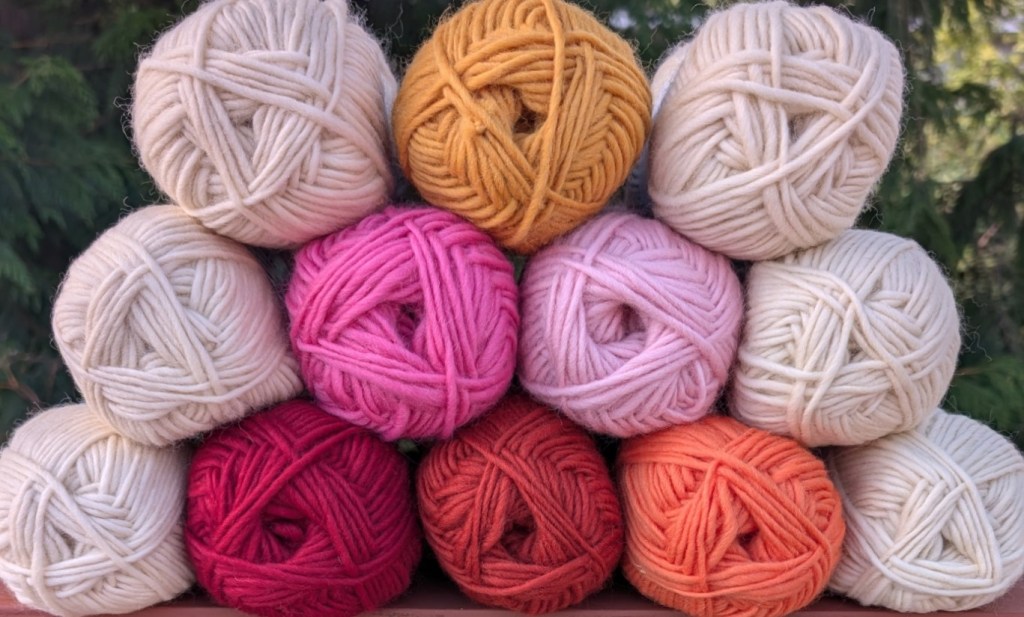
I will not be using a fine yarn. I am going to work with a new Chunky, Eco Scandinavian Chunky. It is new this year from Estelle and it is a lopi style yarn. You can see the colours I picked. I may need to add a green or blue. Still thinking on it! Swatching should commence this week.
And Finally! I have written up a little pattern that hightlights my current mindless, evening or travelling project. i hope that you will like it.
Crystalline Lattice
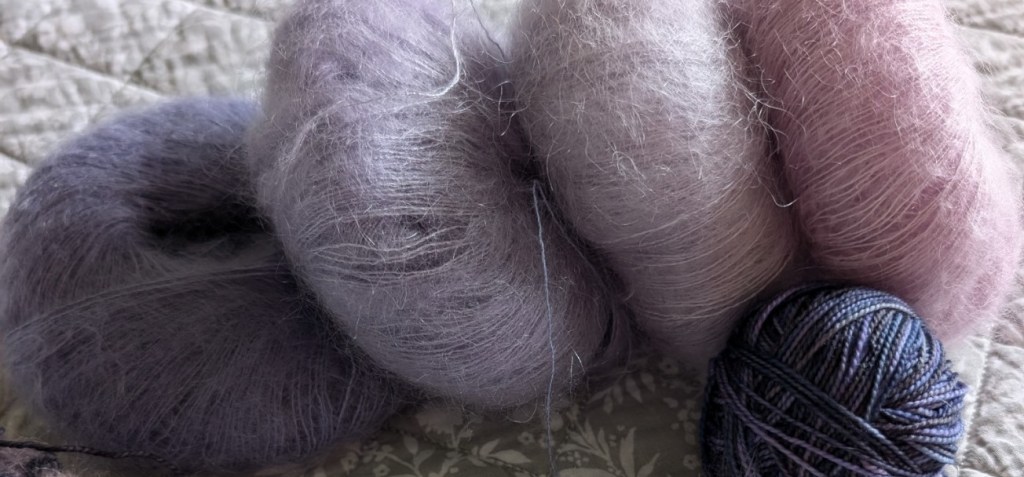
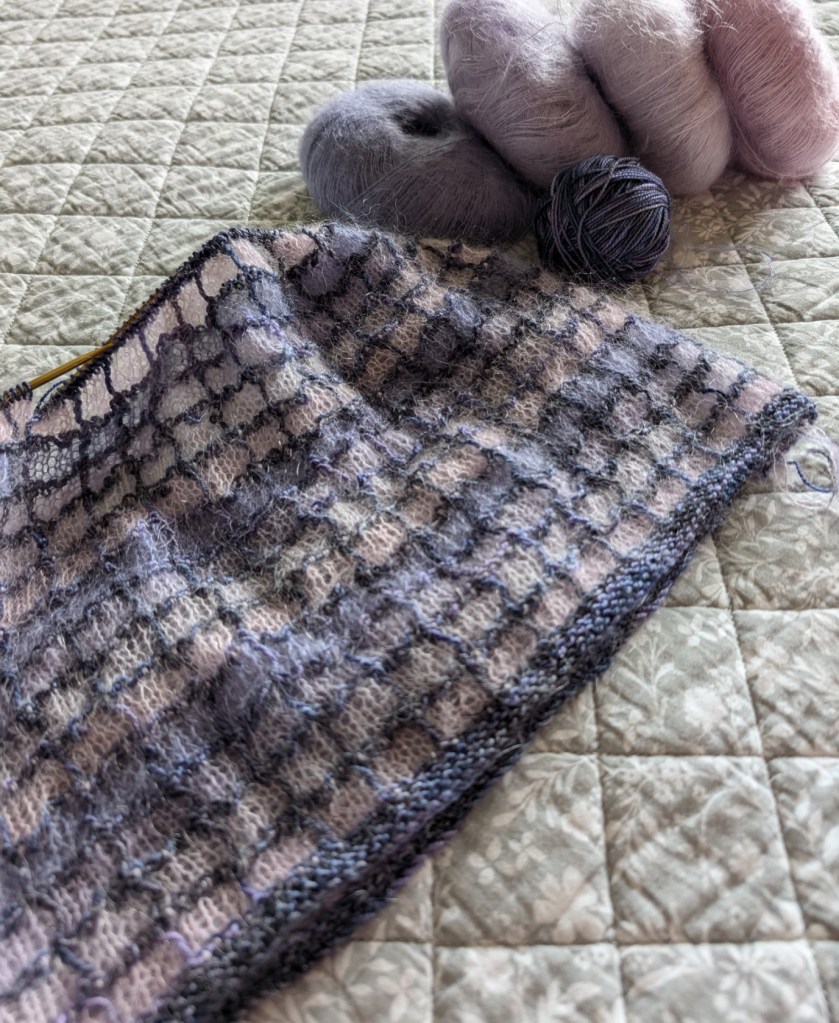
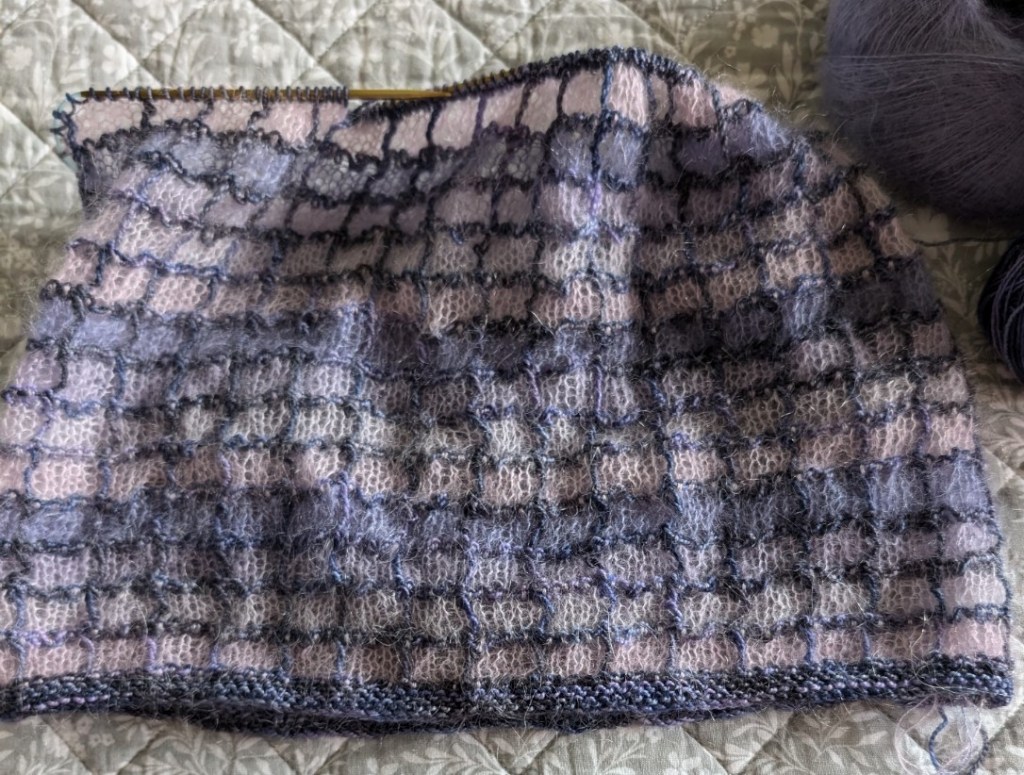
This Cowl, Wimple or Scarf pattern is the perfect project to mop-up of all of the left-over bits of laceweight silk mohair that we all seem to be collecting. This is a tube scarf, that can be something different at different lengths. Right now it is only Cowl size, but as it becomes longer it will grown to be a Wimple (a tube that covers both neck and head) and then a scarf. I am aiming for a scarf myself. So, until it is a scarf the pattern will be free.
The very basic atomic shape of a natural crystal as it grows is a lattice. So here we are growing our own crystal. Mine shows as shades of purple. What will your Crystalline Lattice show?
It is a super simple pattern, 7 rows, slipped stitches, stockinette and little garter stitch. The slipped stitches are twisted as we slip them, it gives them a very linear, ropey appearance.
As you work through the repeating pattern you can change up the colours of the mohair/silks. I am working with 4 close shades, and rotating them from lightest to darkest. But I am thinking of making a second scarf, and picking up all sorts of bits to make a really wild colourway with no stripe the same and/or no pattern to the colour stripe sequence. Or maybe I should get some earthy tones and make something a little more organic. This pattern could go so many places.
I’ve been talking a great deal about the Green Man Shawl, something for a new KAL.
So what is a Green Man?
I guess it depends on how you want to research the motif. The Green Man as art is mainly that of a face covered by foliage. It is known as a foliate motif and is found in art across the globe dating back in Europe to at least the 1300’s, and is much older in other cultures. Many art historians think that the motif was from India and then was carried across Europe. It was often seen on churches or in the art of the Celtic monks.
The motif could also have been brought across the European Continent even earlier. Many ancient Roman sites in Great Britain have contained masks that relate to the Green Man.
So basically the Motif is old, ancient even, and has meaning throughout many cultures. In folklore the Green Man has many meanings. He symbolizes fertility and harvest, regrowth and change. Peter Pan, Robin Hood were Green Men. They symbolized the need for change. We are in need of change.
Green Man as a concept has inspired artists and authors alike over the 500 years. And he still inspires today. For many modern pagans, the Green Man is used as a symbol of seasonal renewal and ecological awareness.
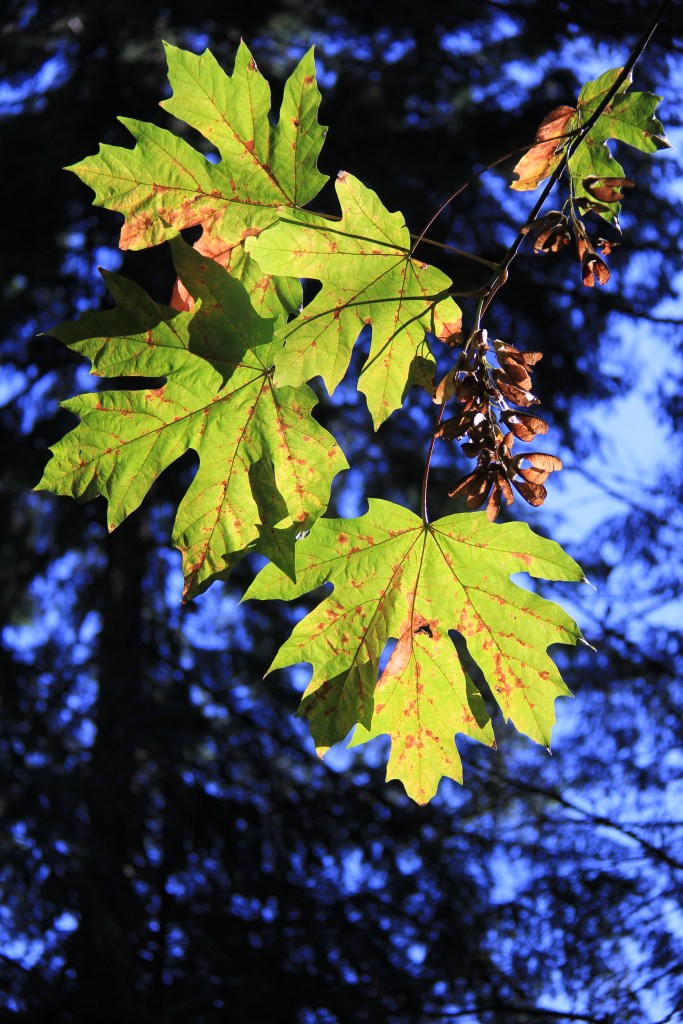
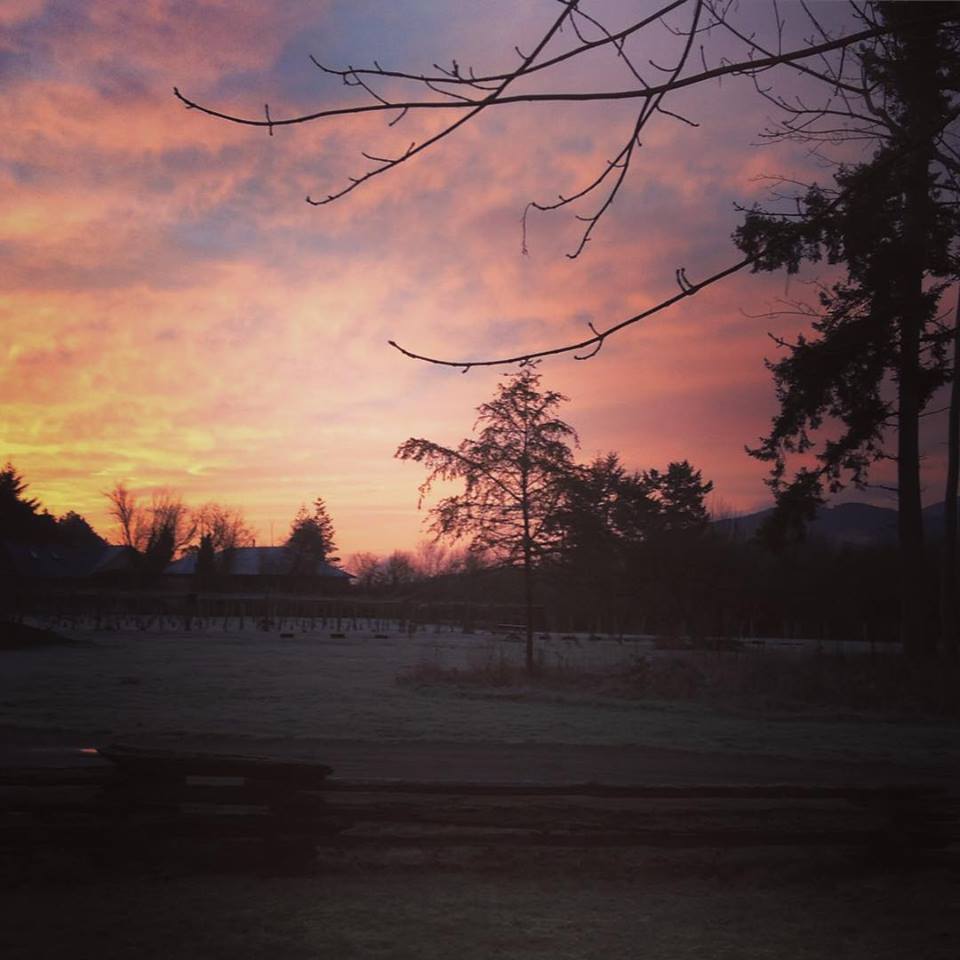
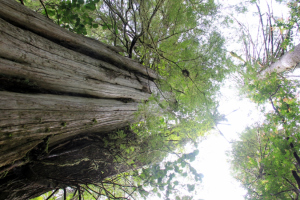
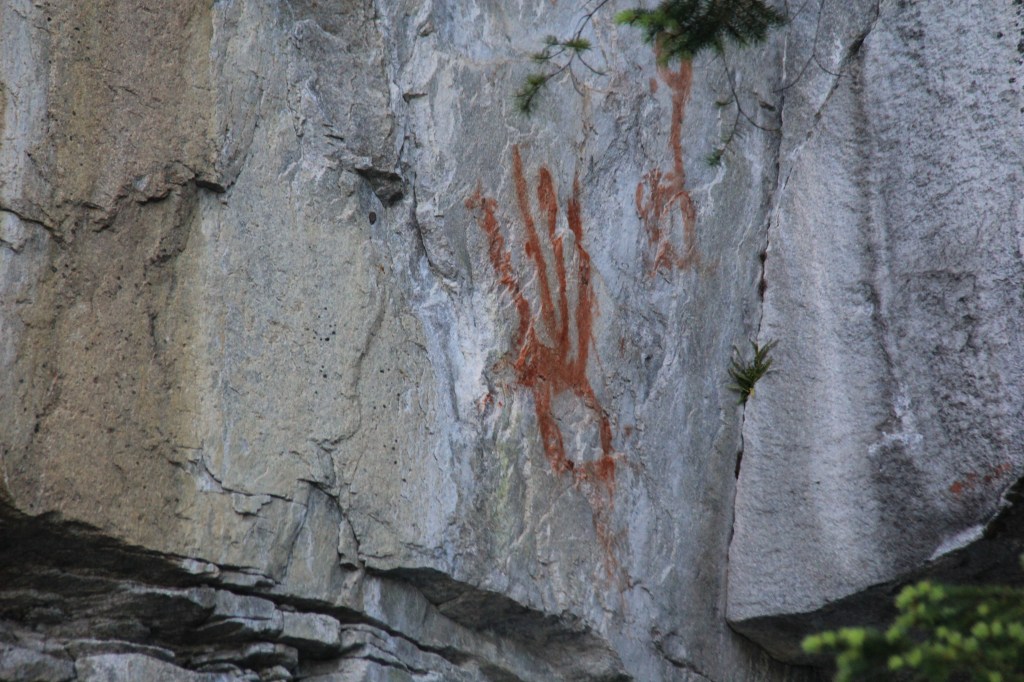
I take a lot of photographs and I am constantly in awe of the beauty of this world. It is all around us and you just have to look. I have been looking.
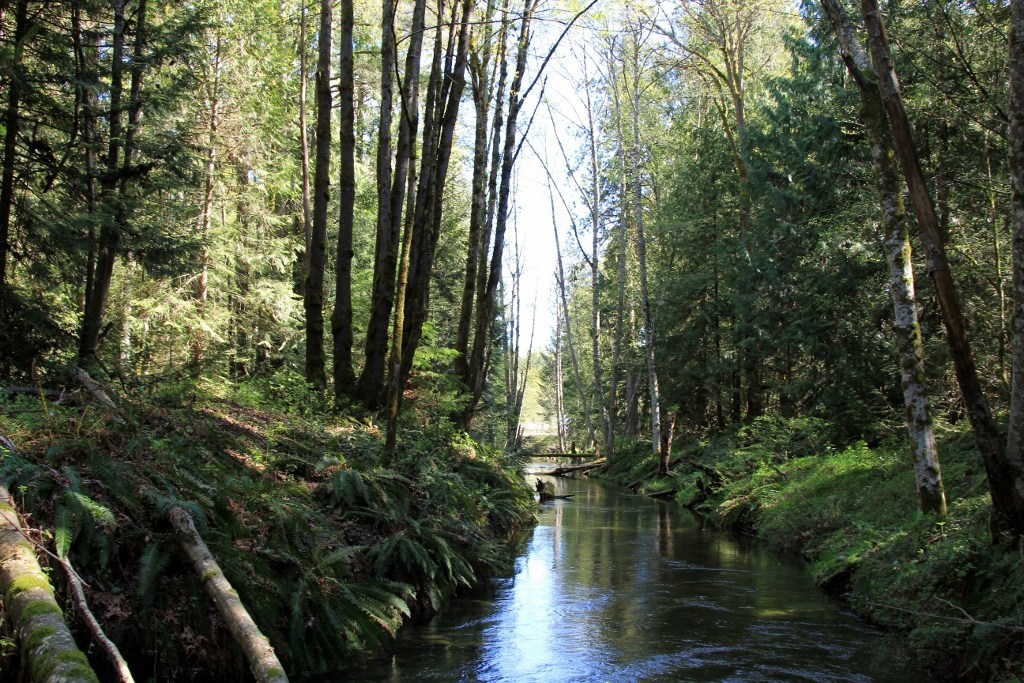
I stay pretty close to home. Most of these images are from around Nanaimo or the West Coast. Whistler, Bute Inlet and the west coast of Vancouver Island.
While I am not a modern pagan, or perhaps I am, (obviously a conversation for another day), I have been inspired by the Green Man images I have seen, in books, on the internet and in conversations about the image.
To me, Green Man is the modern environmental warrior. A symbol for the modern generation. Of making small and large changes in our lives with the environmental future of our planet in mind. As a long time reader of science fiction and science fact, where the future of our planet has always been up for for speculation, my head is filled with a myriad of ideas. Will we destroy ourselves or will we reinvent ourselves or will we move ourselves outward into the rest of the universe. I think all three.
Change takes a monumental amount of personal energy, a destruction of current self. I am slowly making my own personal changes and watching the changes happening and also not happening around me. I want to encourage others to think about the changes they can make. They don’t need to be big, small changes, incremental change is the most sustainable and can, when added together create a major shift. Think of water on stone… We are the stone.
I am an optimist at heart. I really believe there is a future for our world, the only question is, will humanity be a part of that future. Our choice. Our actions will make the decision.
Google Green Man. The images are amazing, inspiring, beautiful, ugly and all places in between.
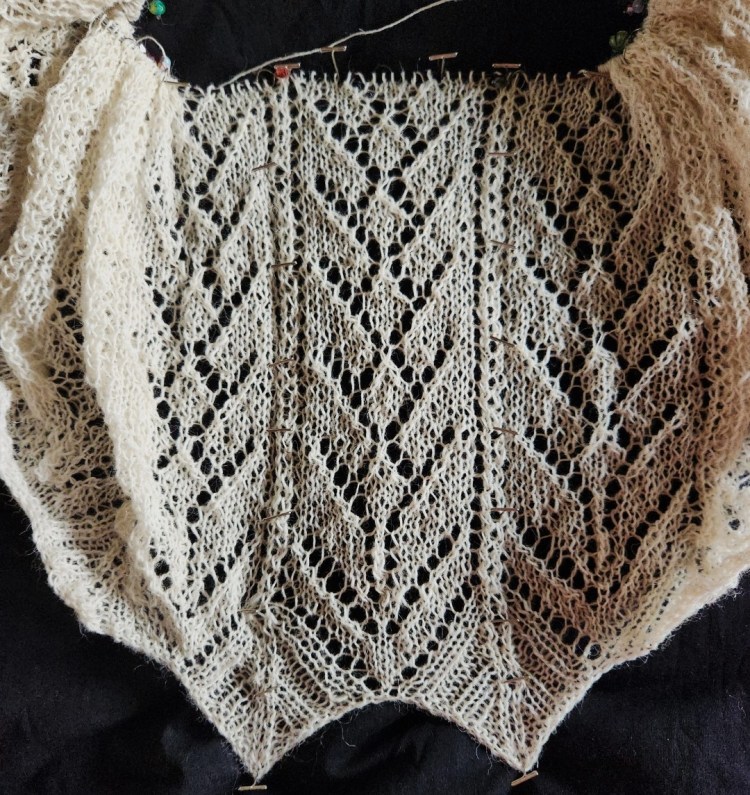
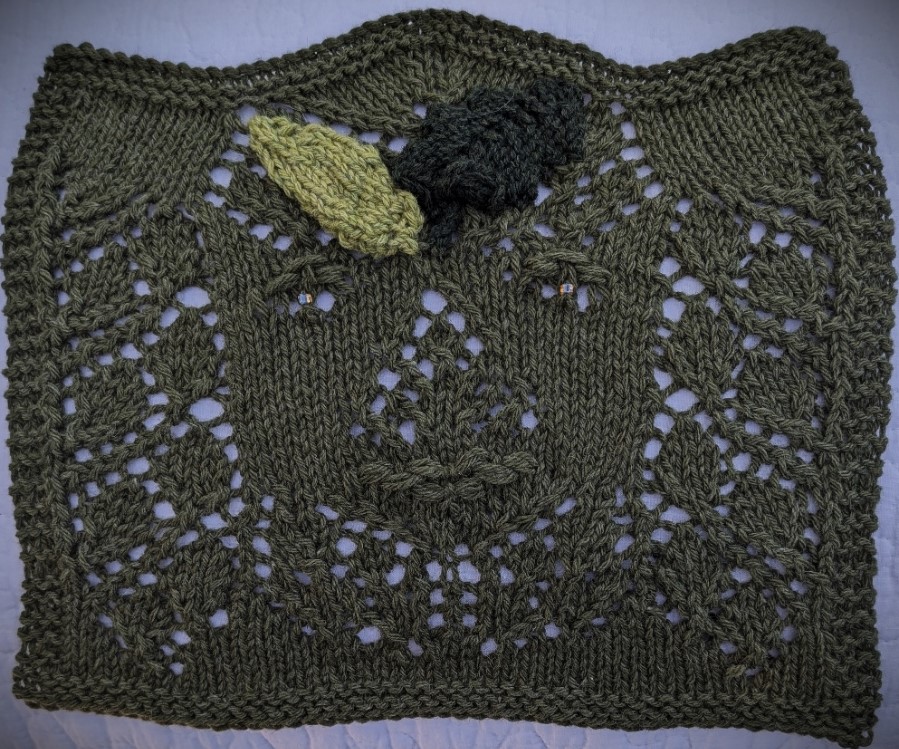
This is my Green Man. My third attempt at capturing the feeling in knit. I am happy with it now. The next step is to incorporate it into my shawl.
My swatch is knit with Estelle Eco Shetland Worsted
What do you think? Should I give up my day job? LOL! I am satisfied.
Nope I haven’t been sick, but I am looking to mend!
I am going to learn how to mend my clothing. Well, I am teaching myself how to mend my woolens mostly.
I have been a sewer, (sewist?) all my life. I started with Barbie clothes and I have made my own and my children’s clothing, at various point of my life, with varying levels of success. I have designed and created costumes for live theatre. And I can mend many of of clothes, as in hem, fix seams, adjust fit and play with anything fabric. But I have seldom mended my clothing, as in fixing actual holes in the fabric! That needs to change.
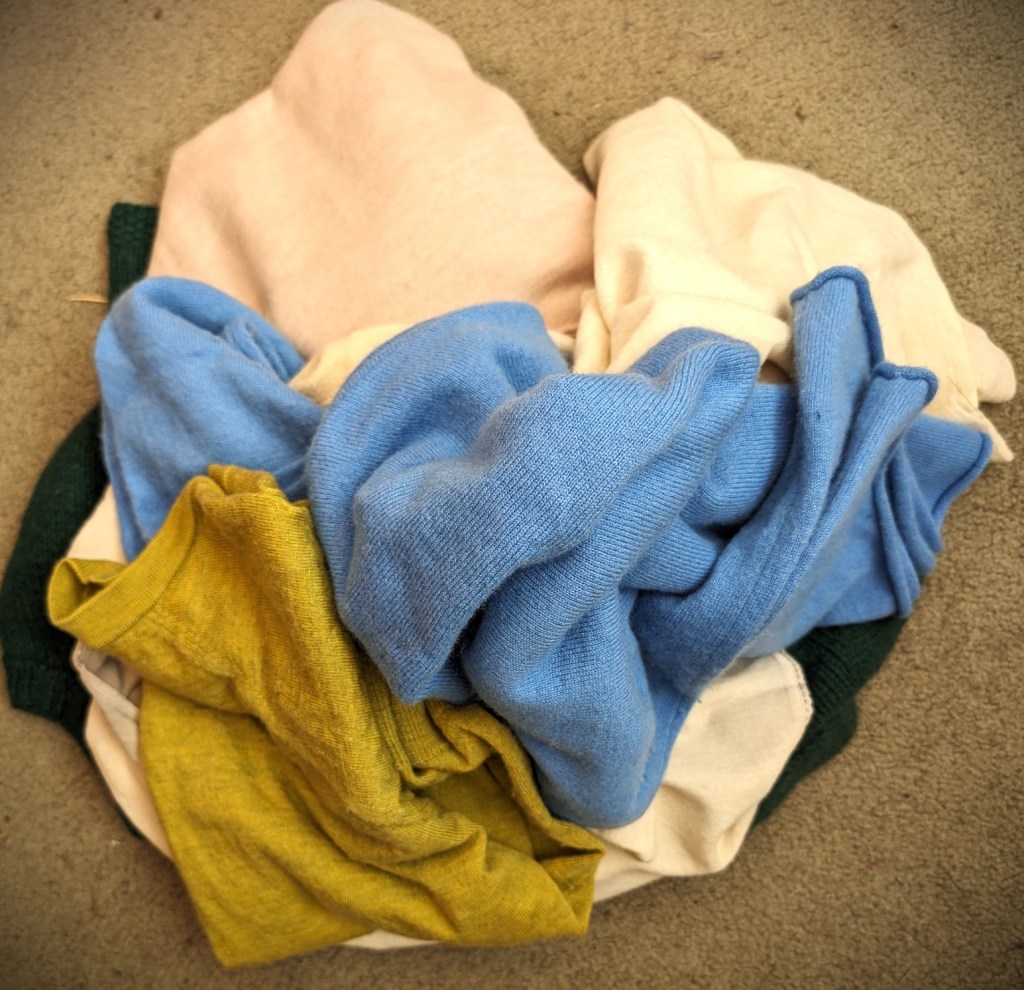
I also knit. And I have knitted steadily for the last 40+ years. Like most of us knitters I have a stack of woolens to mend. I hate to throw things out, especially now, when we are talking of sustainability and slow clothes and making everything count. So I have been looking at my own pile of clothes that need saving. From woolen undershirts (sorry, they are not pretty enough to be called camisoles) to fine merino sweaters to my handknits – I have things that need mending.
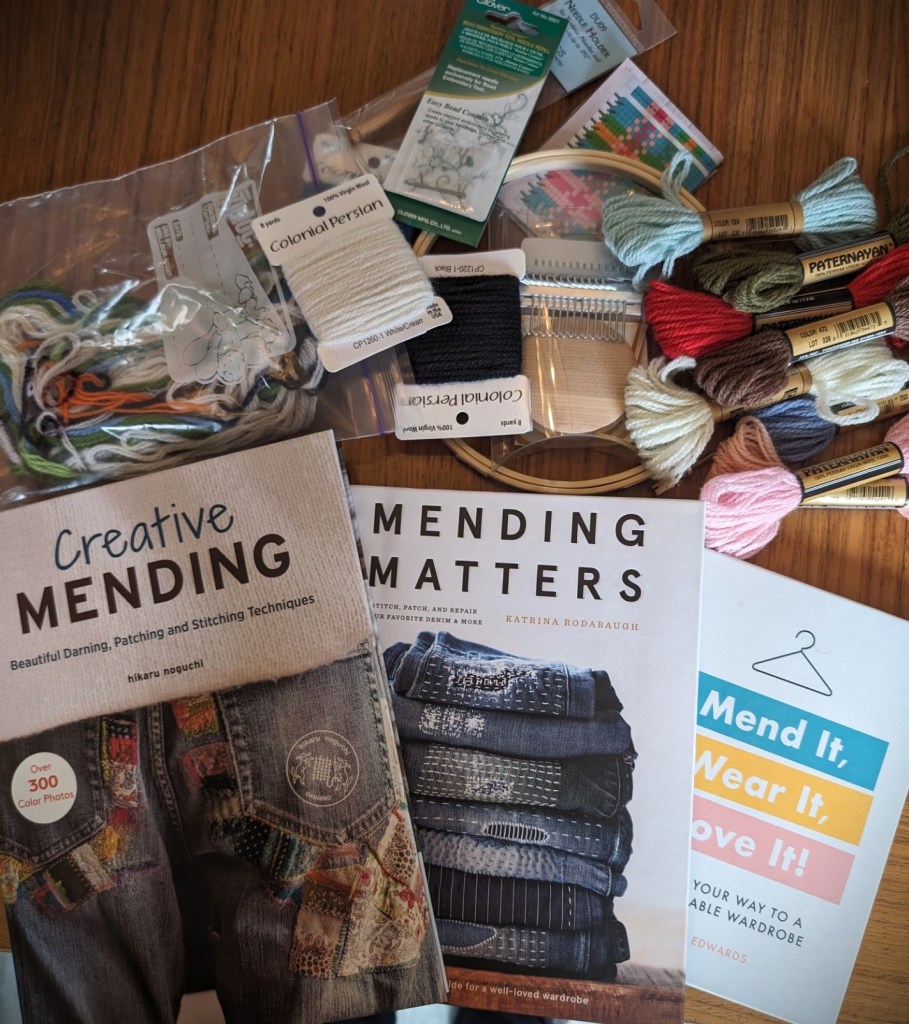
So, over the last few months I have been collecting books and tools to start teaching myself the basics. Okay, not just the basics, in some cases the more interesting and artistic ways of doing things!
Not that I will be starting with the fancy patterns, but the possibilities are interesting.
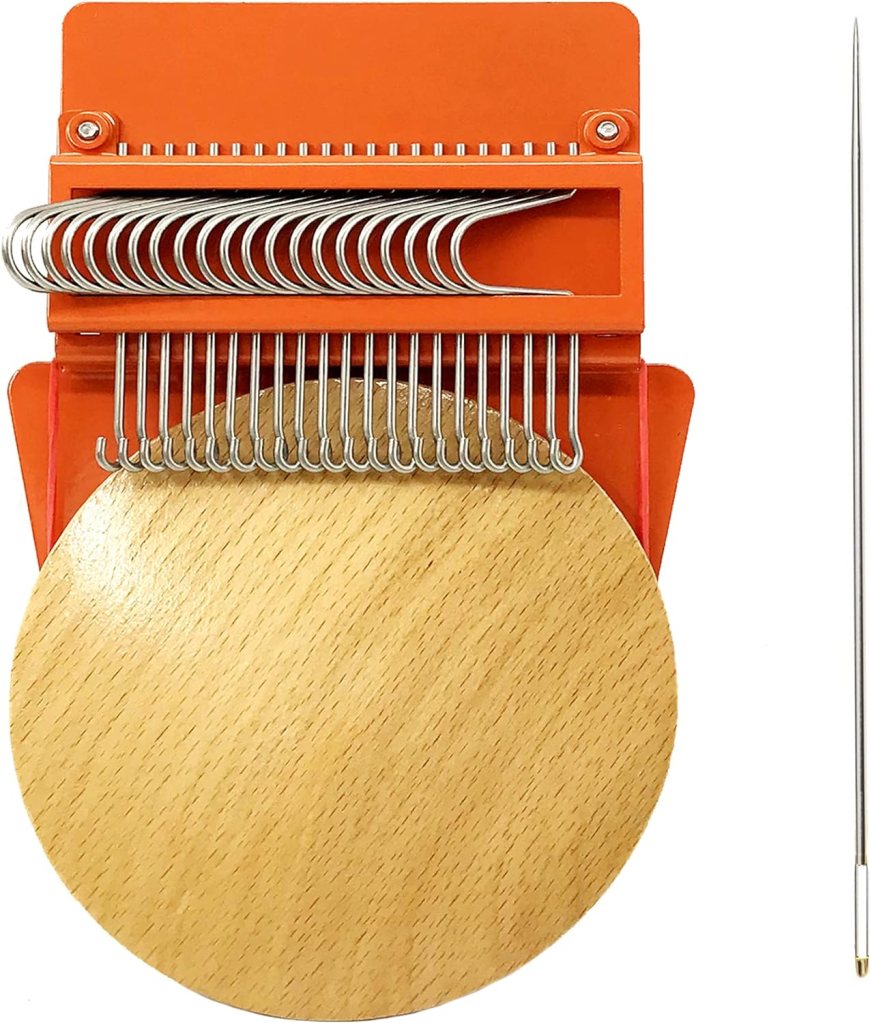
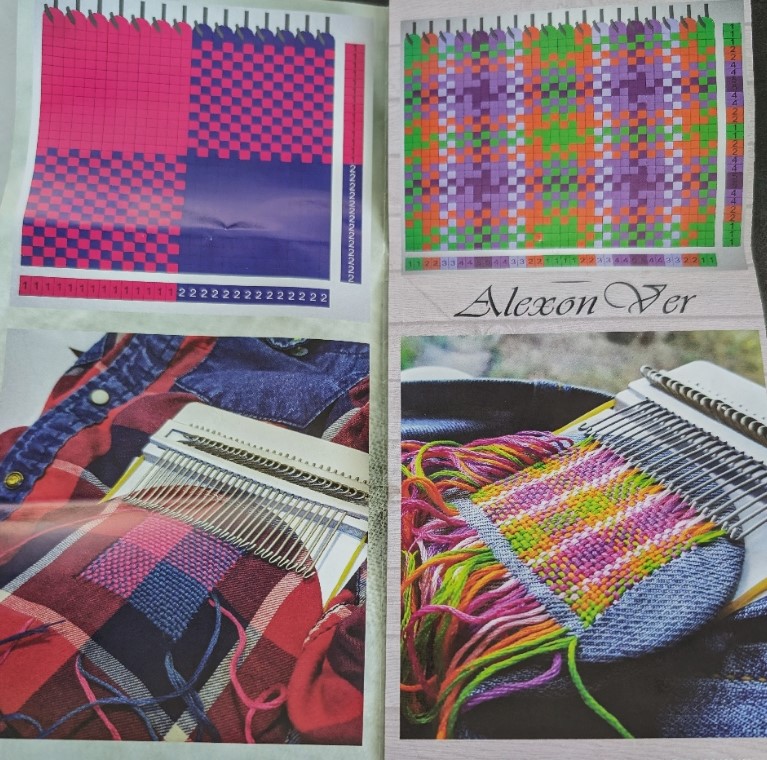
I am also going to learn how to use a tiny punch needle, really a needle for tambour bead embroidery. Beads as mending! you can see that this is a whole new rabbit hole for me! For mending you are supposed to forgo the beads and just use a fine wool to punch through your knit fabric. And I have just purchased a Speedweve style mending tool. A small one (14 hooks), with a bigger one (21 hooks) on the way.
Tambour beading is a technique that developed in Europe in the late eighteenth century. A small hook (tambour hook) is used to attach the beads to the ground cloth, rather than a needle. The word tambour is French for ‘drum’ and is named after the drum-shaped tensioning frame that was originally used.
Plus there are the traditional means of mending as in swiss daring, patching and overdying. Overdying is a great way to recover sweaters that have been stained by life. I have used this method a few times! I would also like to try some leather patching for sweaters, especially hems at neck and sleeves. So, lots of things to explore!
This is going to be so much fun!
And then, this fall, there will be a class at Mad About Ewe Fine Yarns in Nanaimo. After all, there are not many things better than sharing an interest!
I had to swatch one more time for the Kate Davies MKAL. And I think it is a winner. Subject to change without notice off course!
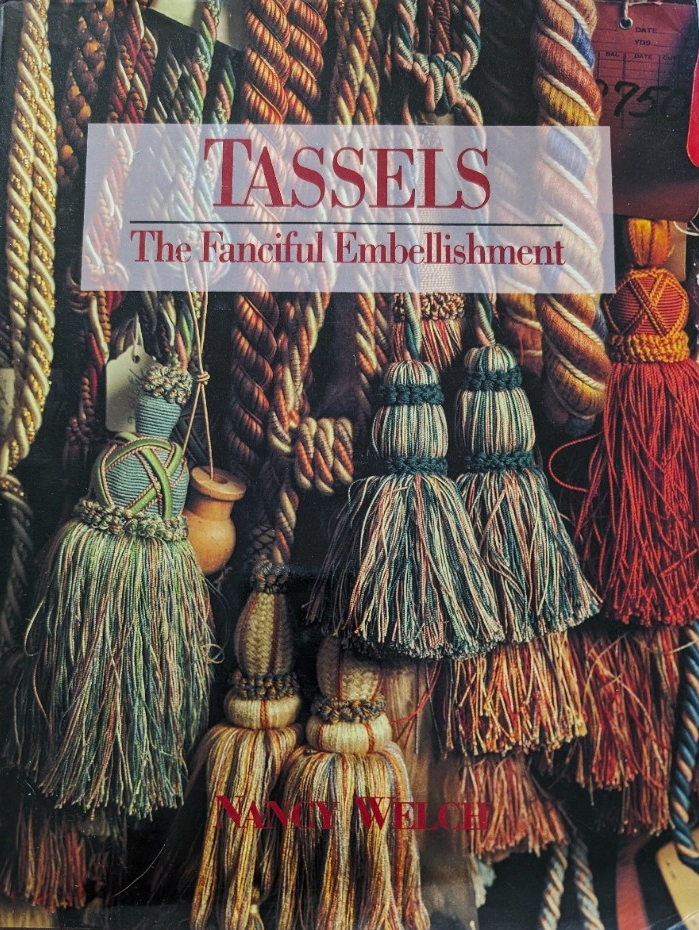
This year I am trying to widen my horizon beyond knitting books and knitting everything in general. It is going to be a year of recovery after my last year of coping with everything life was throwing at me. So I will be knitting someone else’s pattern and reading a new to me author, Margery Allingham! All good things. While checking out a couple of local second hand book stores – no lucking finding any of Margery Allingham books – but I did find a beautiful book on the history of and the making of tassels! So much fun!
Knit a Dress with Me is on hiatus as I catch up with the pattern writing that I need to do! Classes, yarn and pattern samples need to be created and/or written. I am also submitting pattern ideas to a couple of yarn companies/magazines etc., as I get on with the business of paying for my yarn habit!
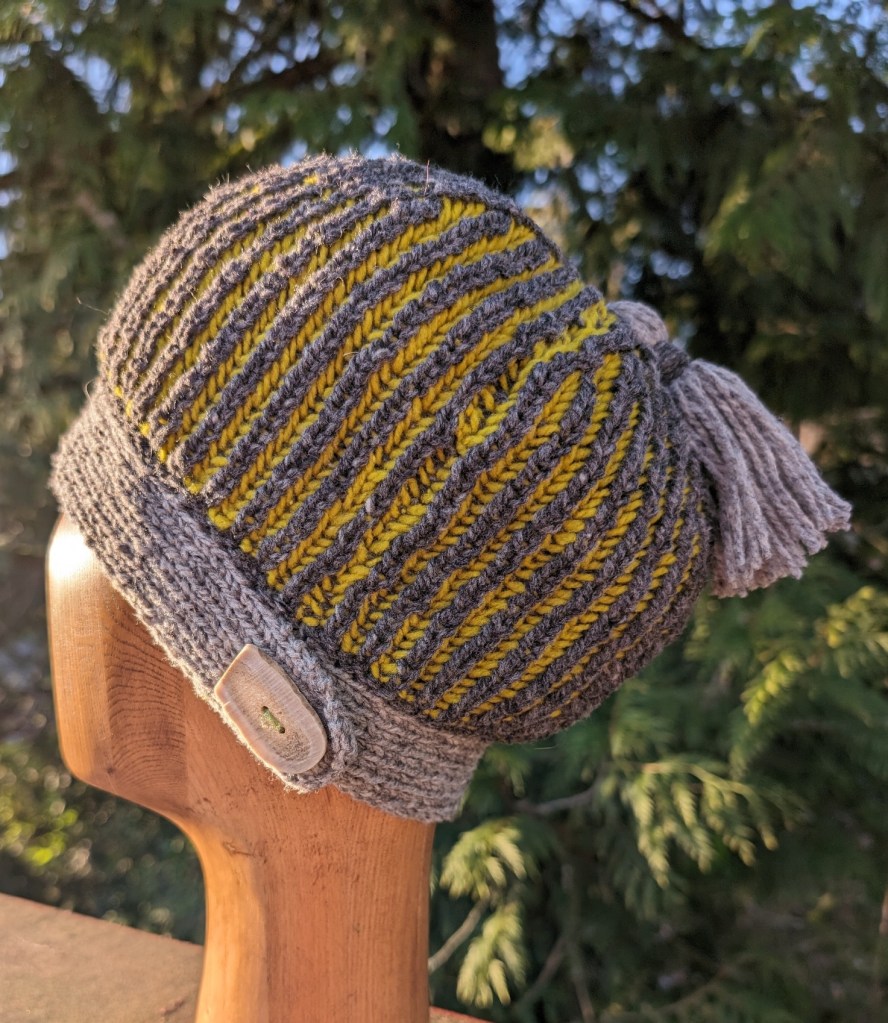
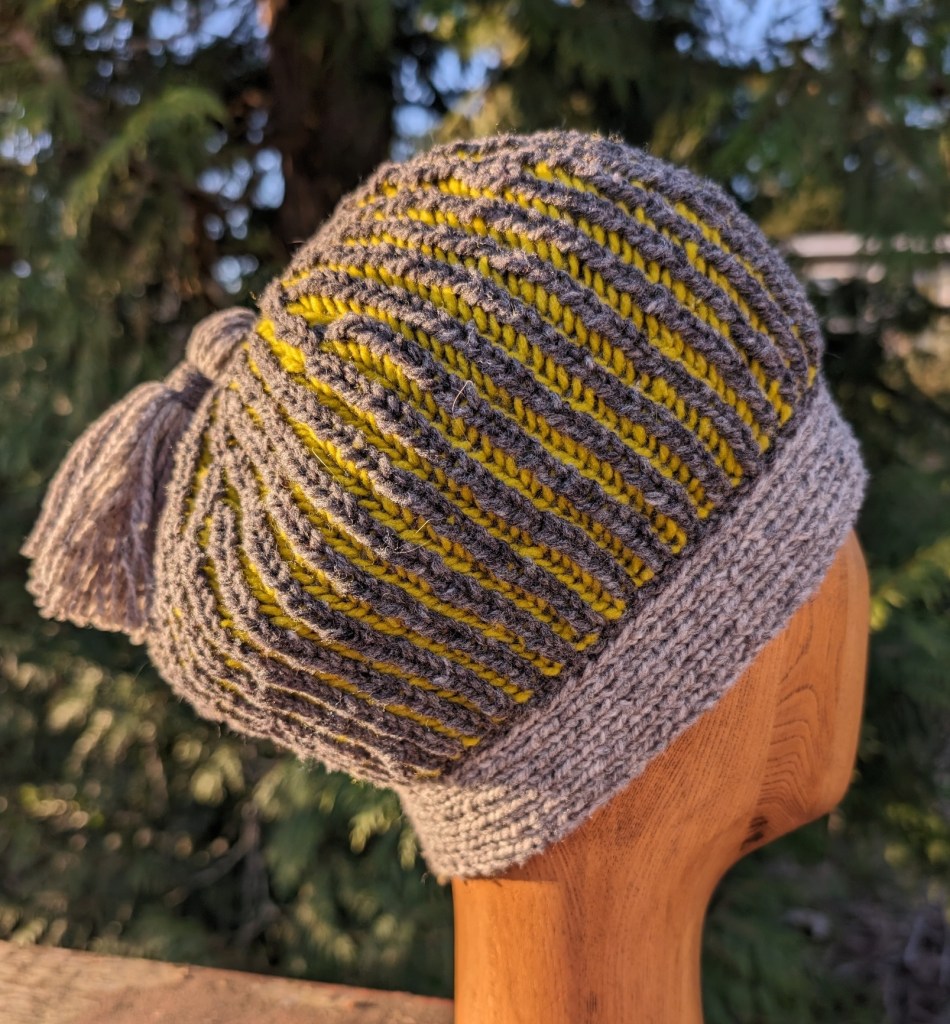
Tasseled Brioche for class – knit with Brooklyn Tweed Shelter
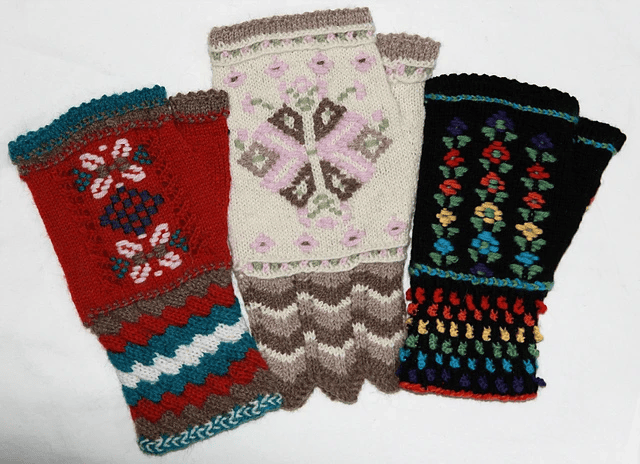
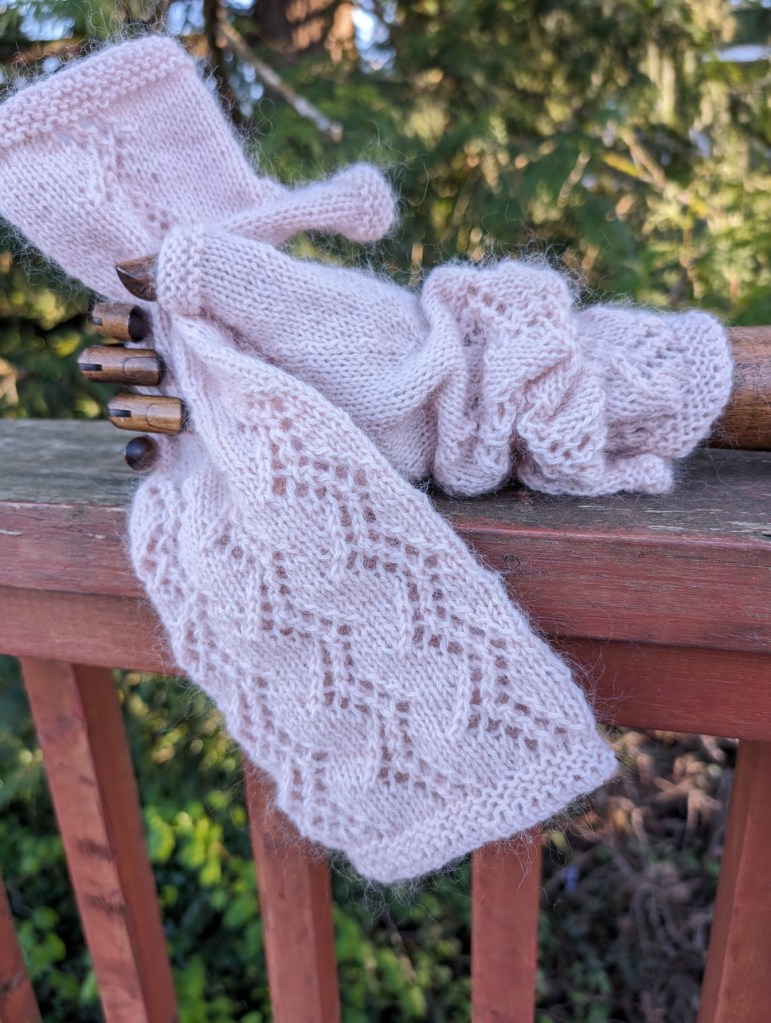
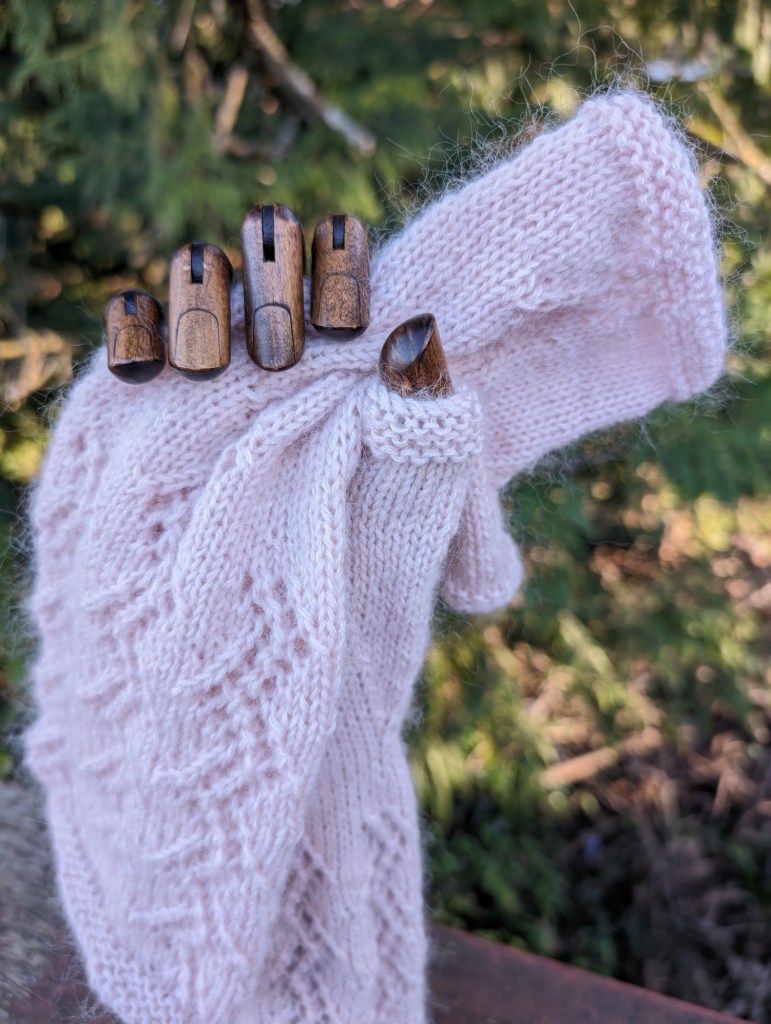
Allingham Fingerless Mitts – knit with Knitting for Olive Soft Mohair and Merino
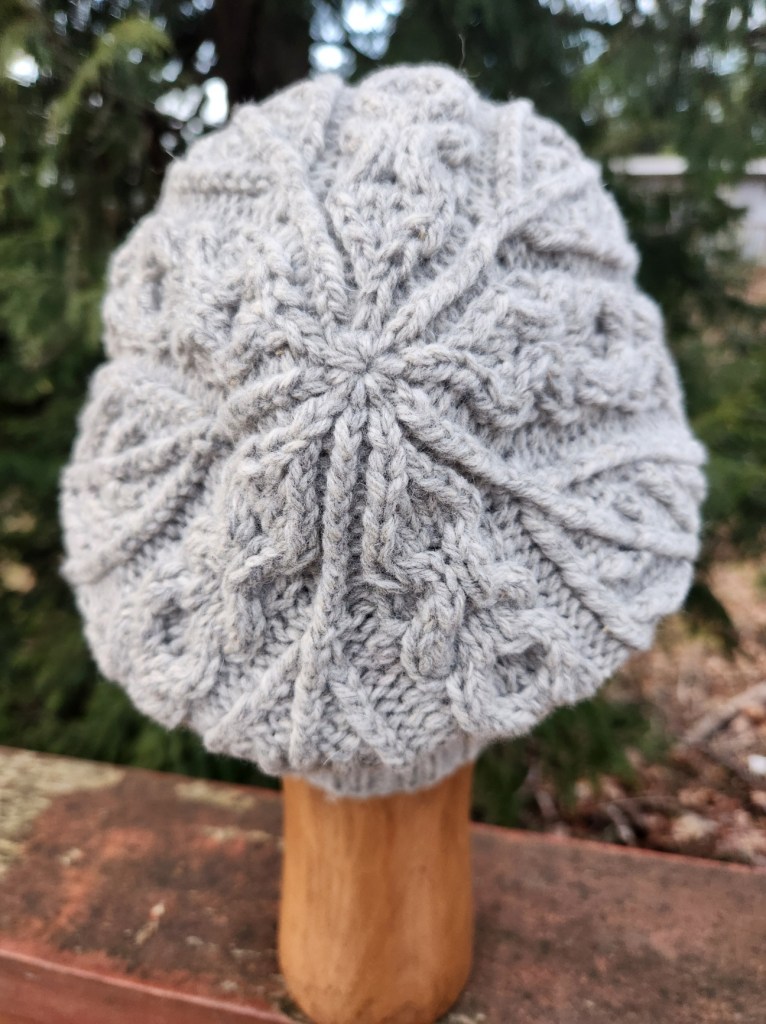
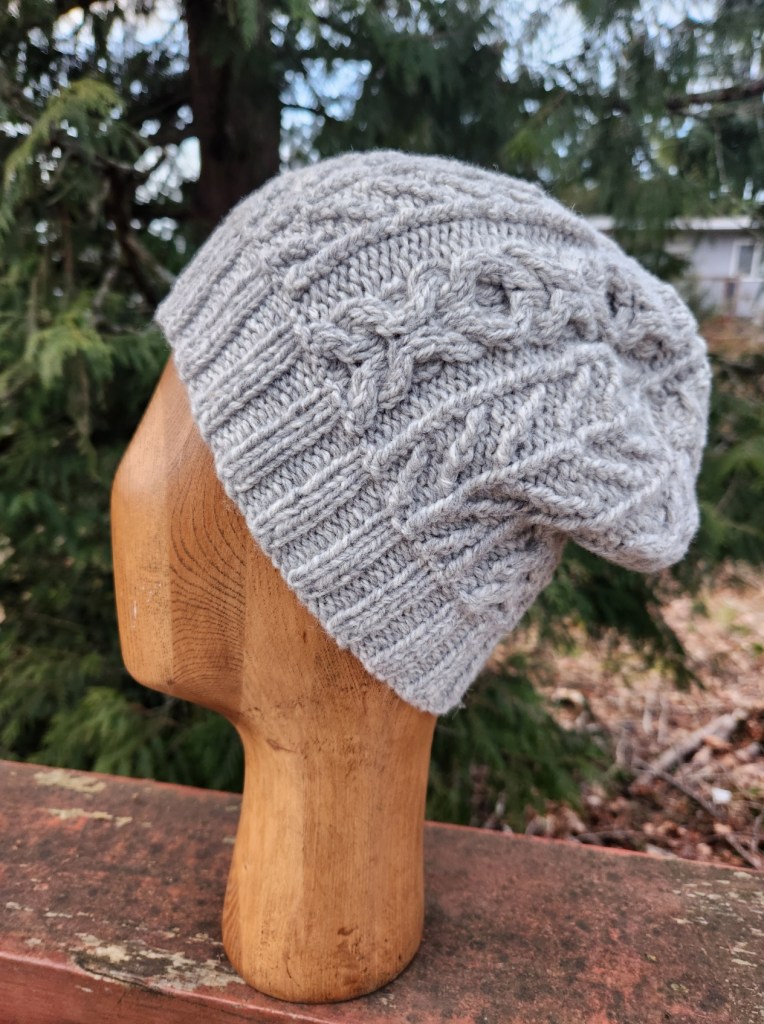
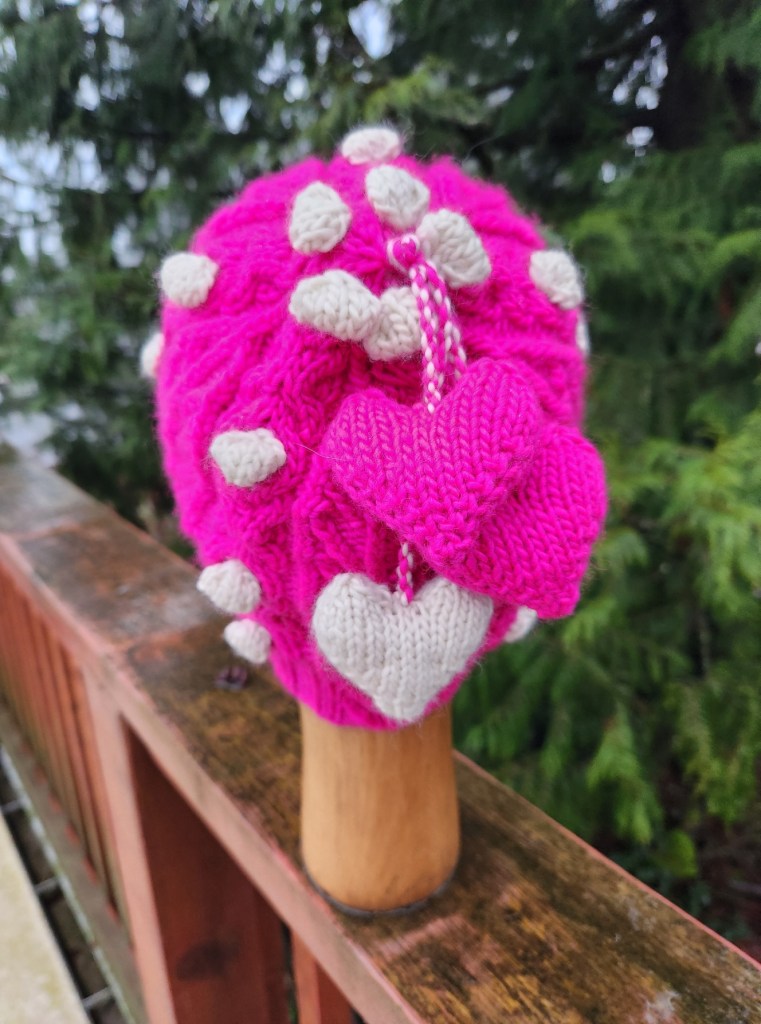
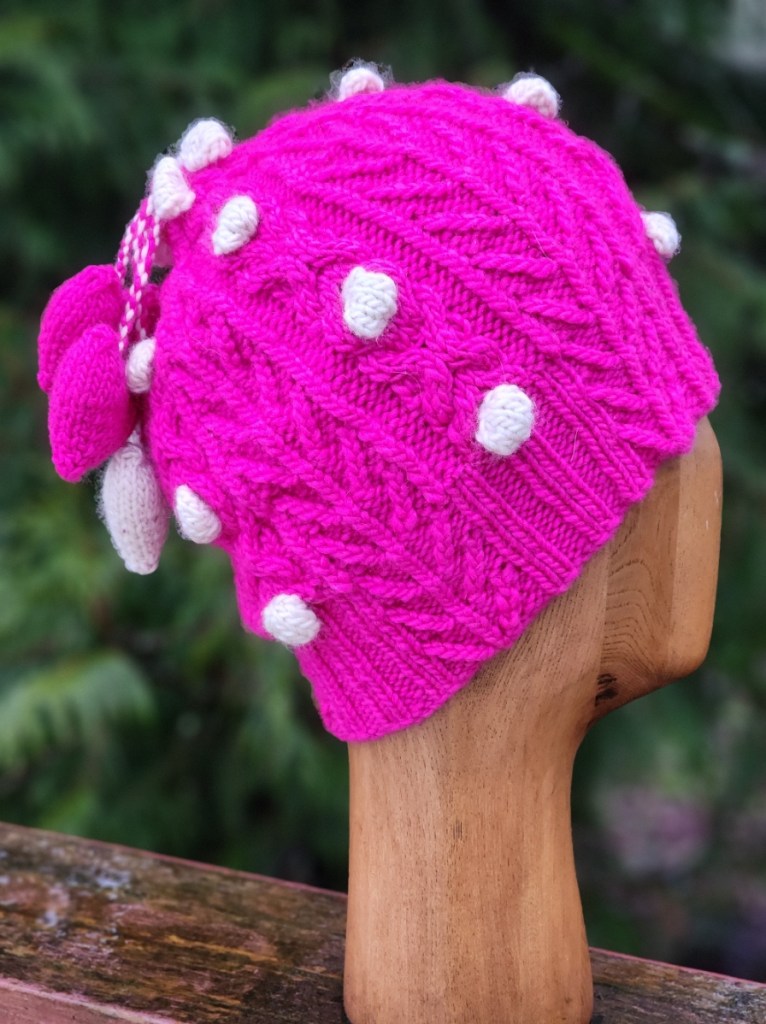
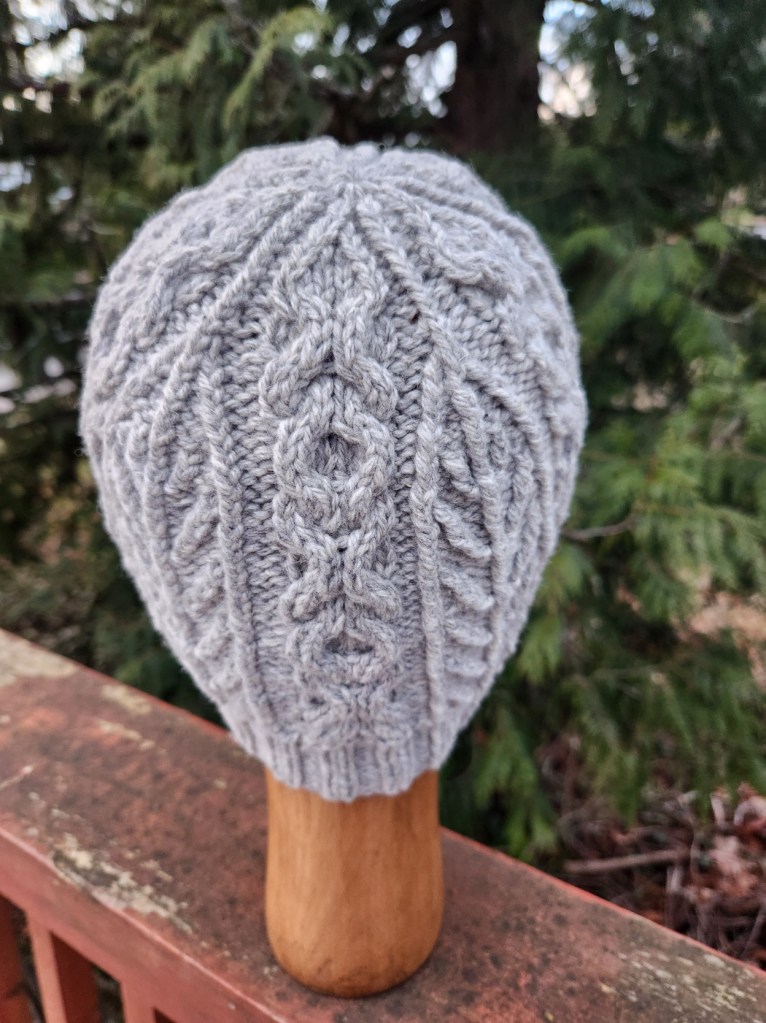
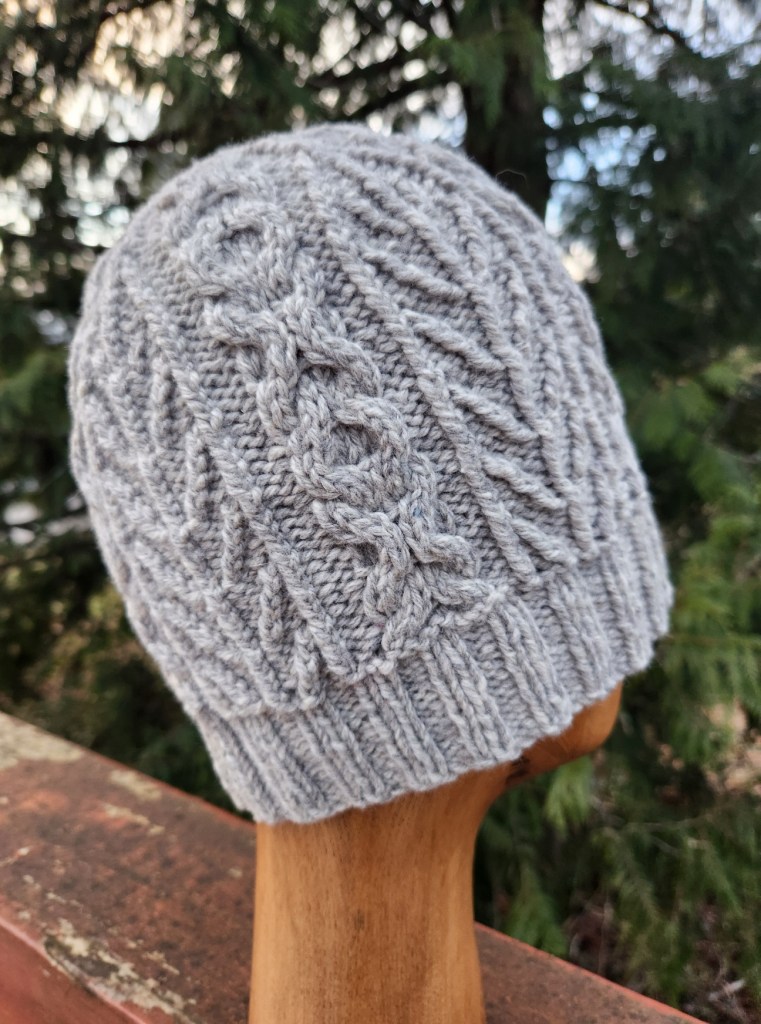
Smitten – two versions – grey knit with Juniper Moon Santa Cruz and pink knit with Malabrigo Worsted
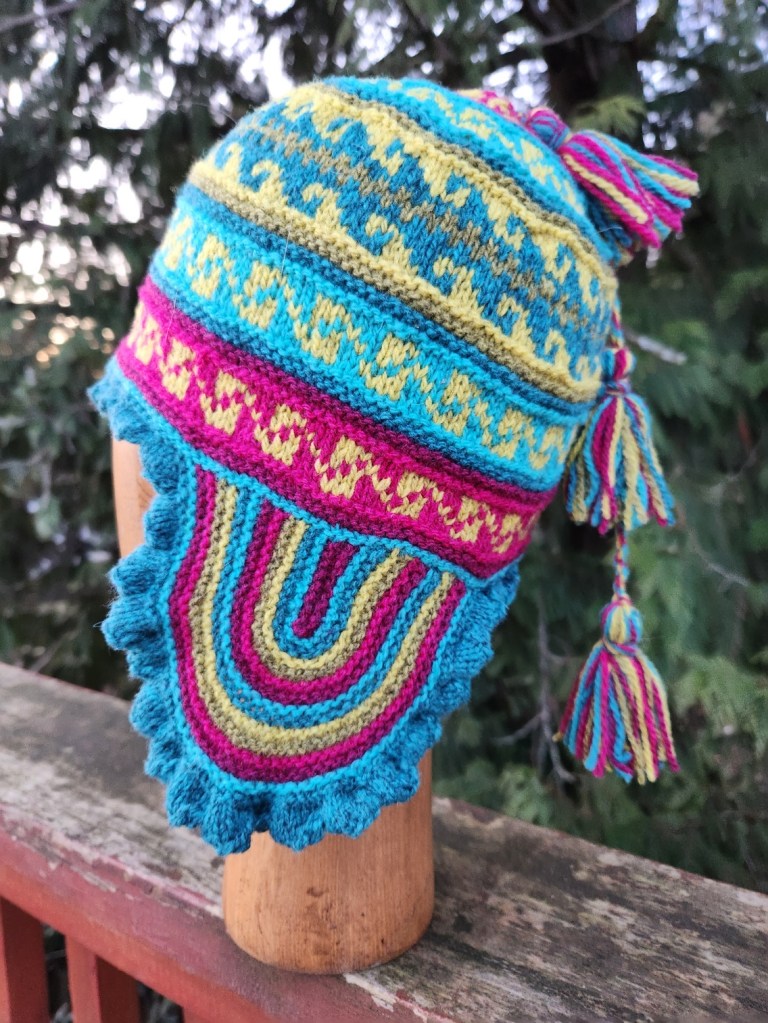
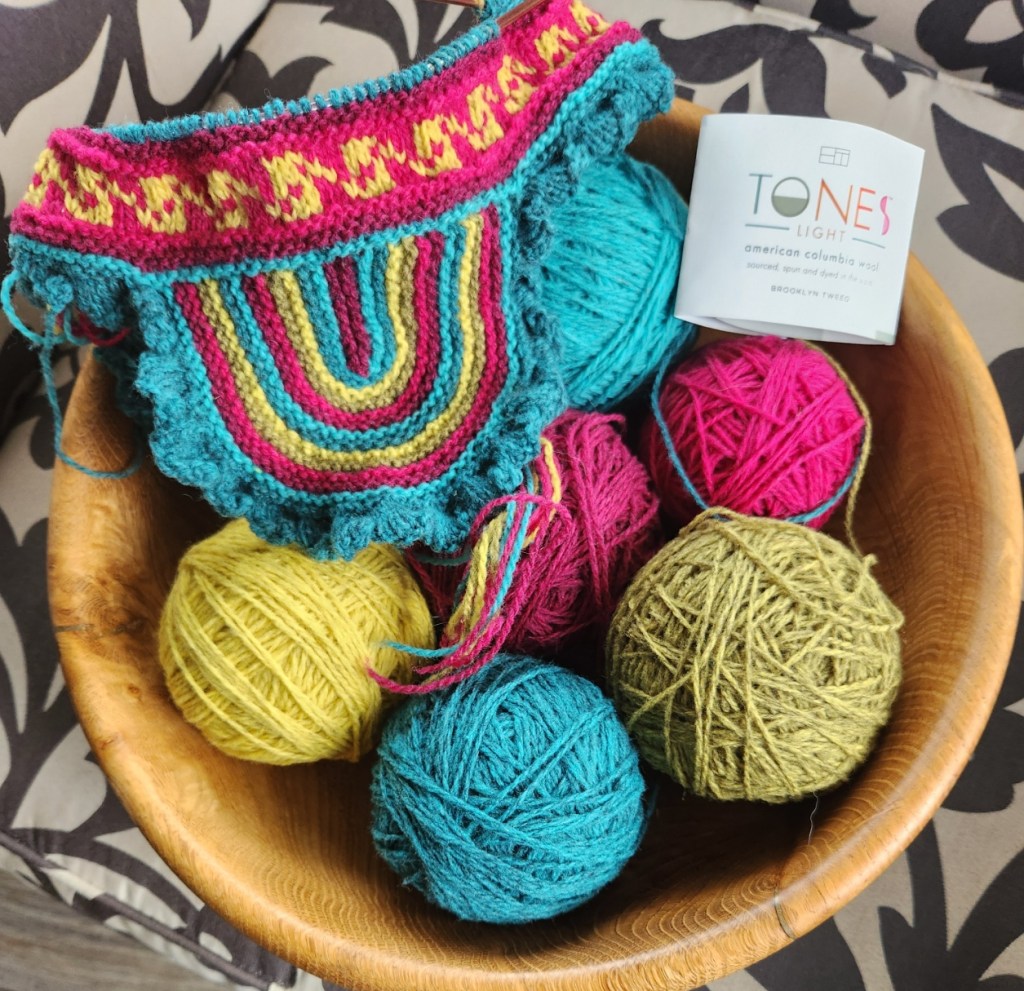
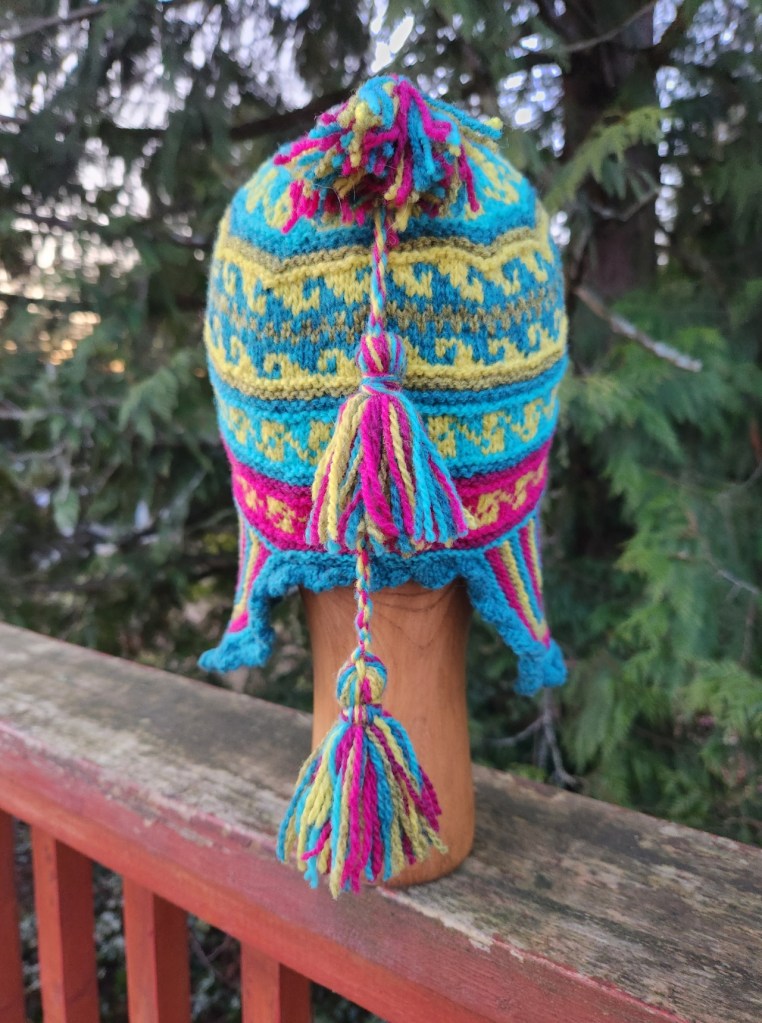
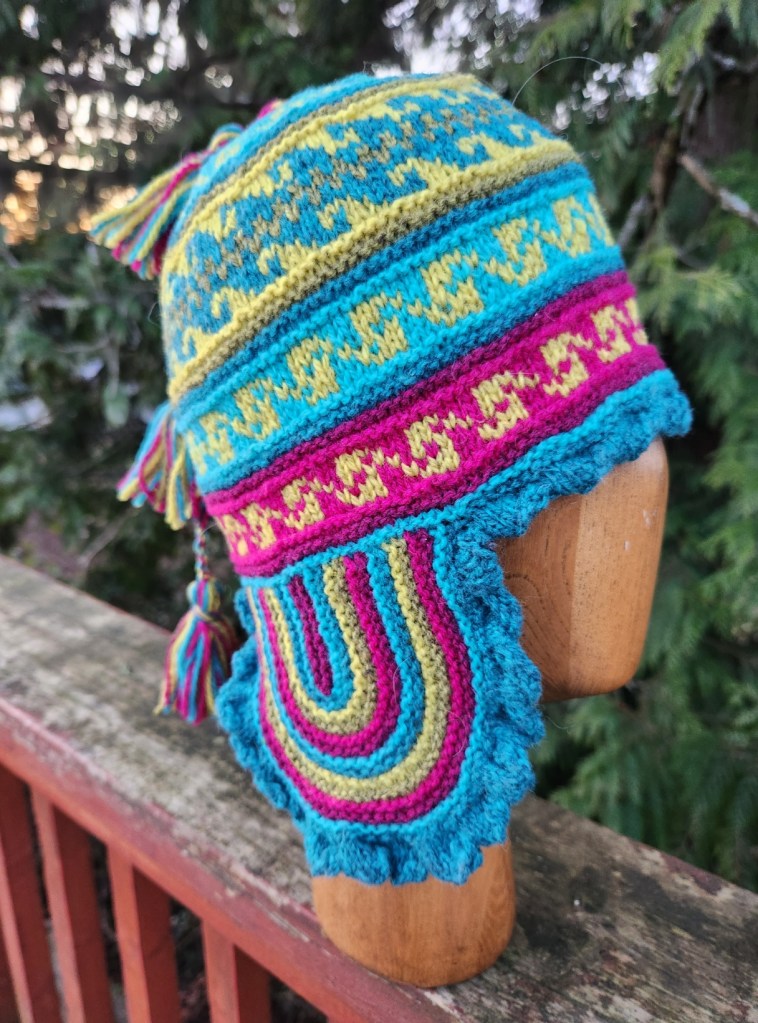
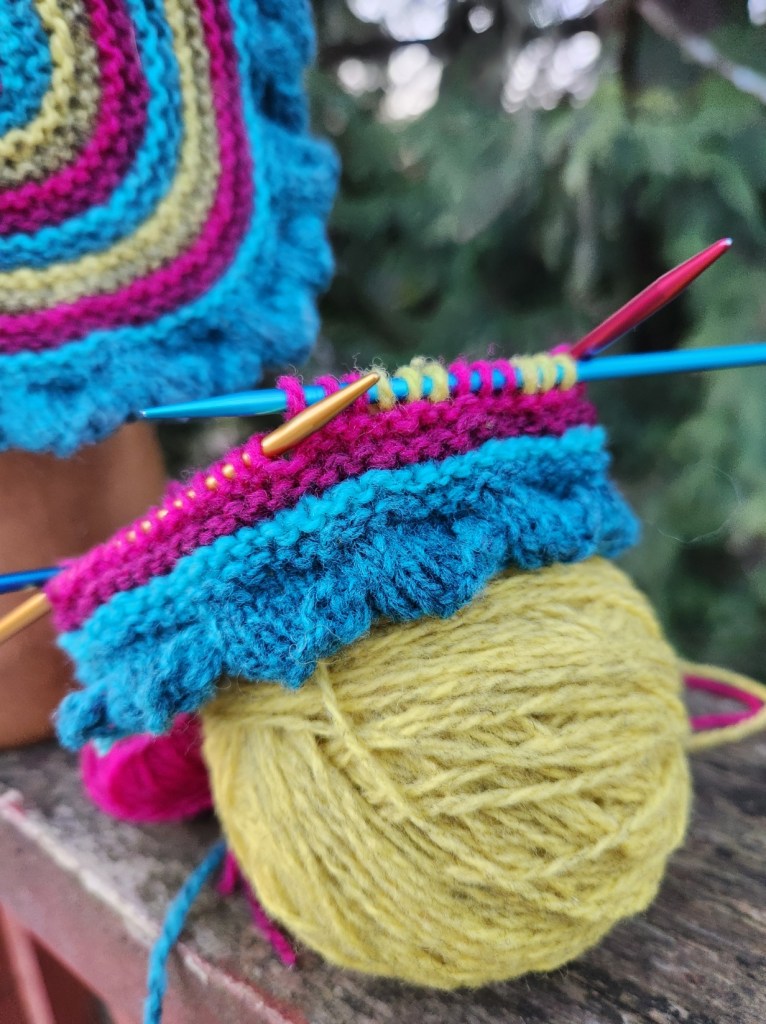
Rainbow Chullo – knit with Brooklyn Tweed Tones
Boho Mitts – knit with Estelle Eco Shetland Worsted
All patterns are under construction and will be coming out soon!
Yesterday we got out into the garden. Tom has been tidying up and pulling weeds for the last week or two, so I got out there are we got some planting done. Potatoes, Peas and lettuce went in. When it warms up we will add a couple of tomatoes!
I also planted a new peony and have a couple of new lavender plants and a french tarragon still to put in the ground. Hopefully this weekend.
If you are following the my design notes on Ravelry you will find this to be repetitive but if not I hope that you are enjoying the journey!
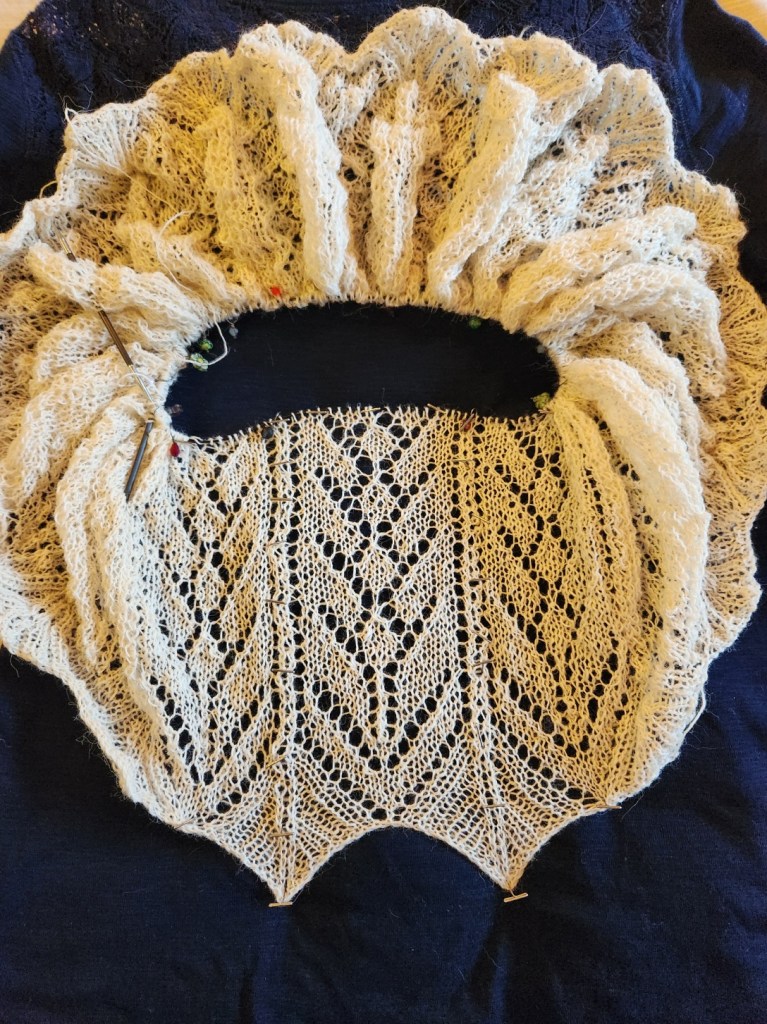
Three rounds to go and then I start the panel shaping!
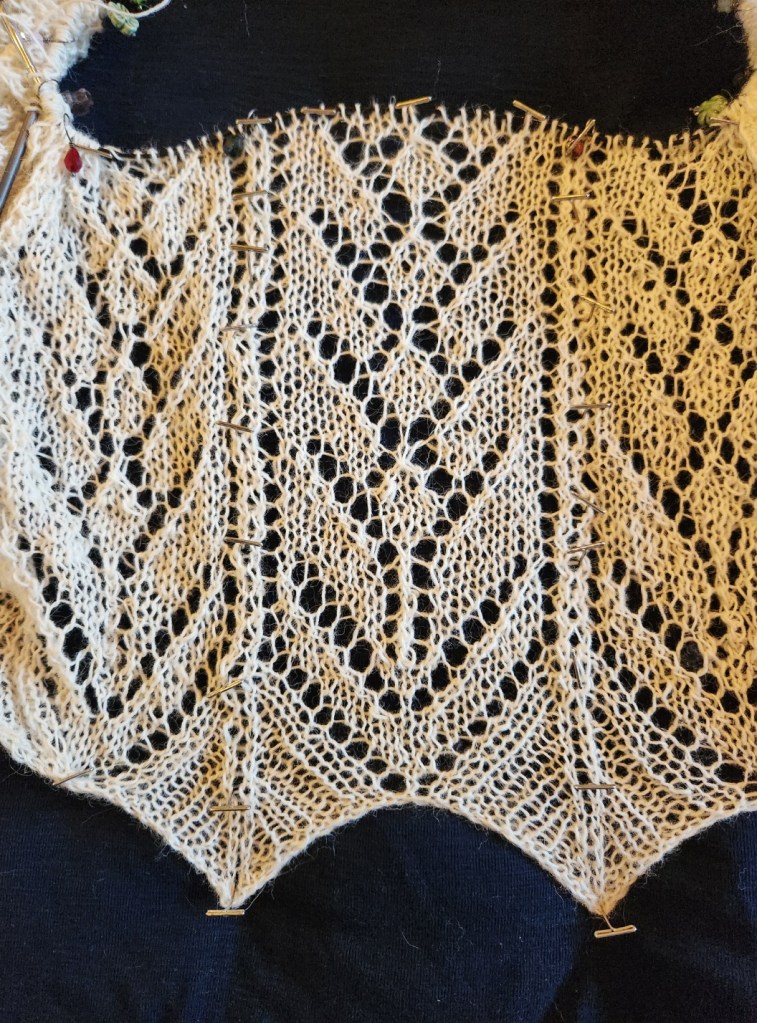
Dry blocked I am at about 12 inches. The Panels will add approx 7 to 7.5 inches to the length – dry blocked.
Things I am thinking about and would really appreciate feedback on.
How closely fitting should the dress be? I am thinking fitted with about 2 inches of ease around the waist for comfort and to smooth out over a slip of some type. I have a pretty good idea of how to achieve the shaping as we get closer to the waist. Which will involve more panel shaping.
Are you thinking of something that could be pulled over the head?
If fitted there will need to be an opening of some type in the side seam or up the back. I am thinking side seam buttons under the arm and down past the waist – no zipper – zippers and knits are very chancy. I love the vintage feel of the side seam opening – very old fashioned dress finishing. I am not a big fan of buttons up the back – besides then so much of the dress would need to be knit flat as opposed to circularly. Though there is something about a long swath of tiny buttons up the back of a dress….
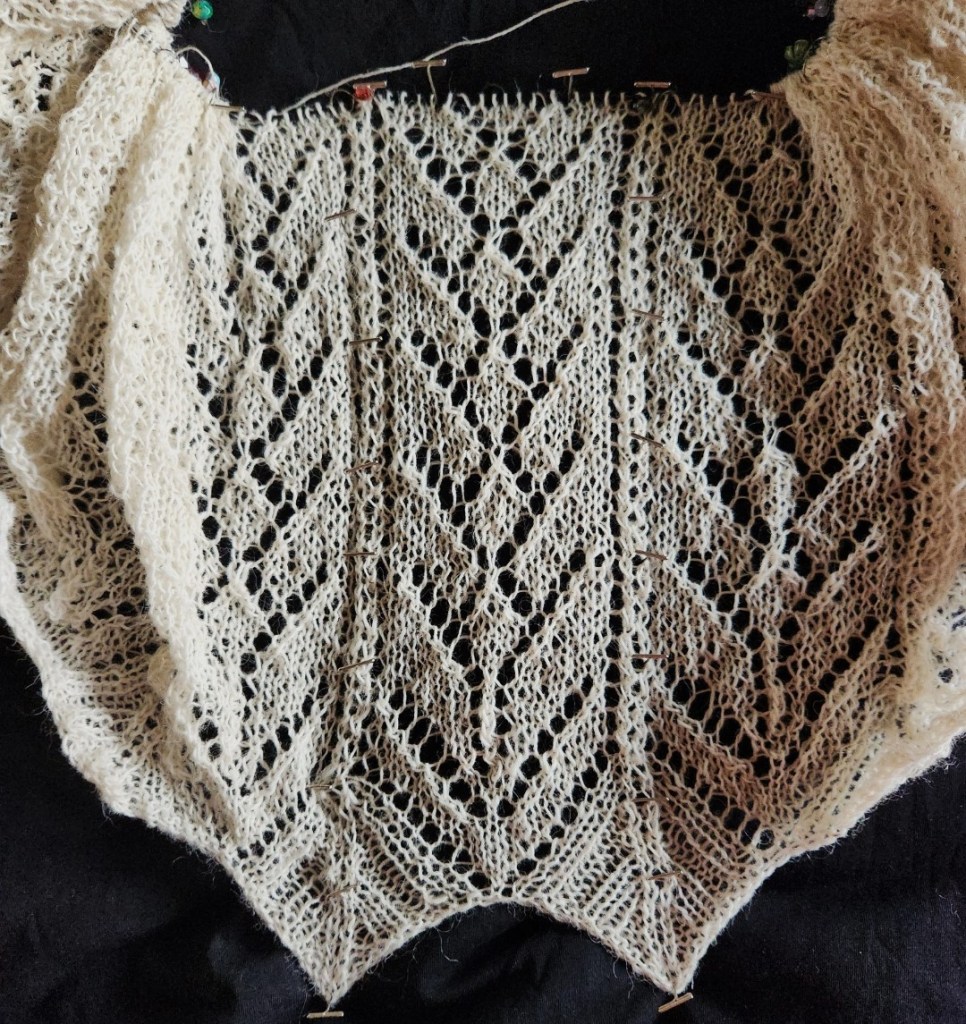
If fitted, then after the waist area there will need to be darts. I chose the panel approach to make it easier to add waist darts if I wanted. But then will I need to add bust darts? If so, how? Short rows are the traditional way, but that would interrupt the lace pattern. I could end the lace pattern on the side of the front after the waist and just have panels in the front, but my vision is still of all over lace. Things to think about as I knit.
If you are looking for a pullover style of dress – the option will be there and quite easy to make work – let me know.
I am going to see how far I can get in the next week, after that I will be working on a sample and pattern for a yarn company which will slow this down for a couple of months!
I will be changing needle size on round 15 of the decreasing chart. Just another quarter point from 3.75mm to 3.5mm (US#4).
I am not sure when I will go to the 3.25mm. Most likely before the waist area.
As for shaping the bodice depending upon your shape you may need bust darts or you may not – but you will need some shaping if you want it fitted – even if your bust only has a gentle curve.
If you want a waist line and would like your dress to be a pullover style, we can add a double knit tubular channel for a belt or Gathering cord. Knit a fine belt in i-cord or 1×1 ribbing to run through the channel and we have a waistline. Alternatively we could run elastic through the channel. Anything to gather to the waist.
For a more fitted style, then back to the buttons along the side seam. Or maybe an A-line shape with a slow, gentle line of decreasing stitches.
But before we get there…
At round 29, if you want a shaped waist, stop knitting. We may be adding more shaping panels. Not sure when I will be able to work those out.
If you want a waist that is gathered into the belt or elastic, knit until your skirt is your desired length, and then wait for me to get there.
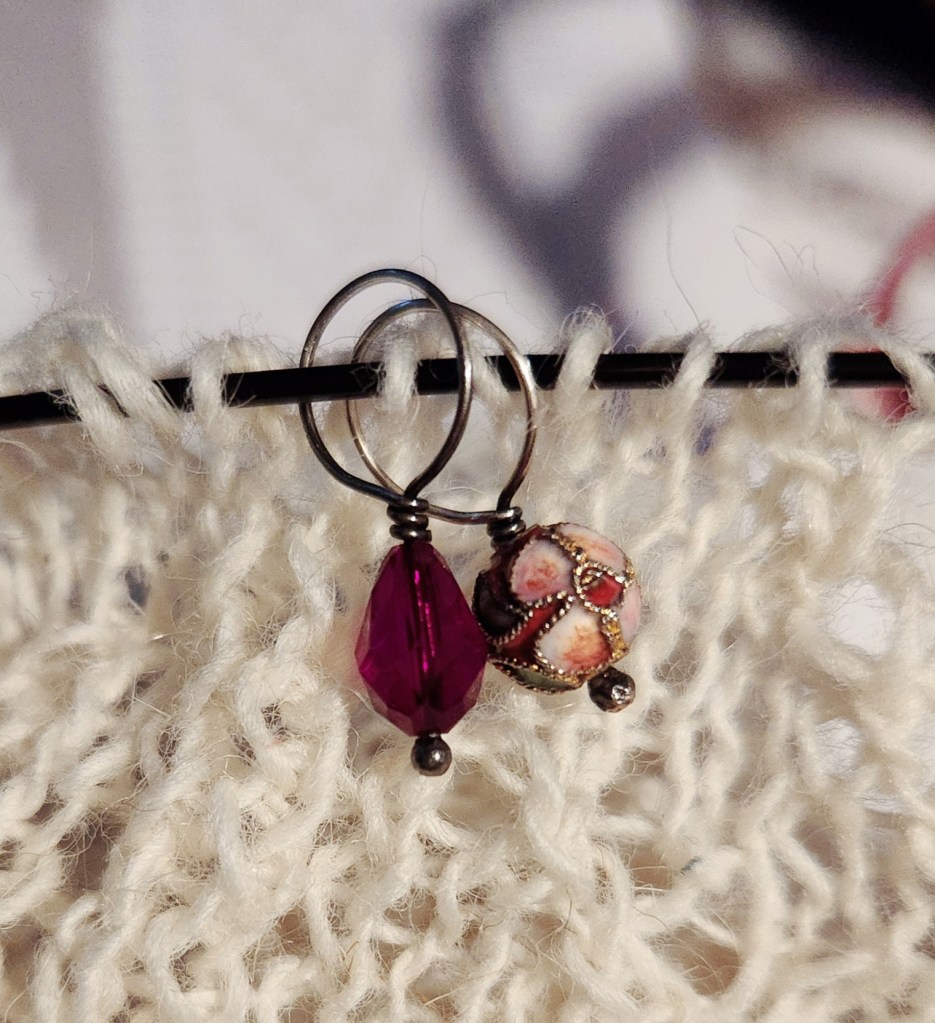
Double markers for double tracking! I started my first shaping round!
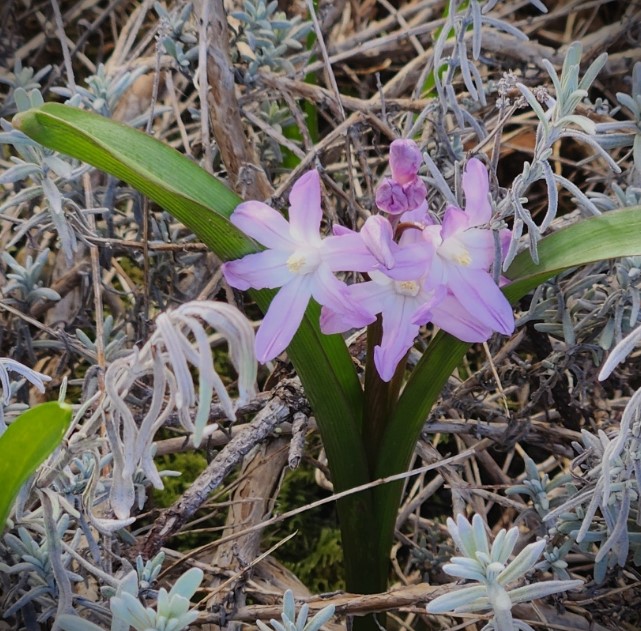
Spring flower popping up through the Lavender!
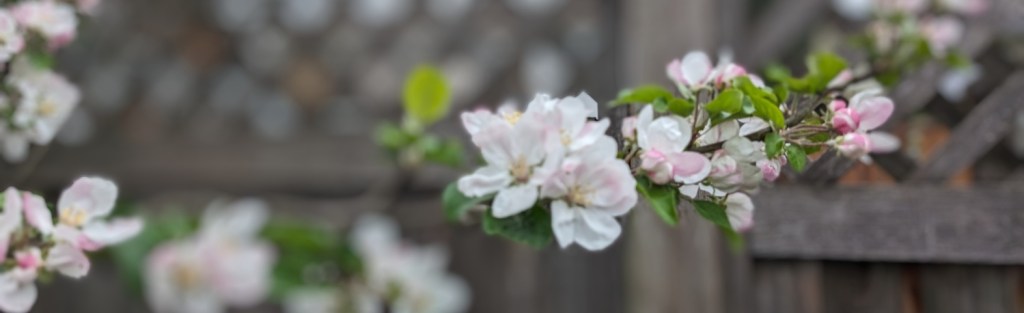
We are facing a glorious weekend of sunshine here! And the flowers are starting to come. The buds are on the trees and the cherry blossoms are starting to bloom! I love the colours of Spring!
Happy Knitting
Lynette
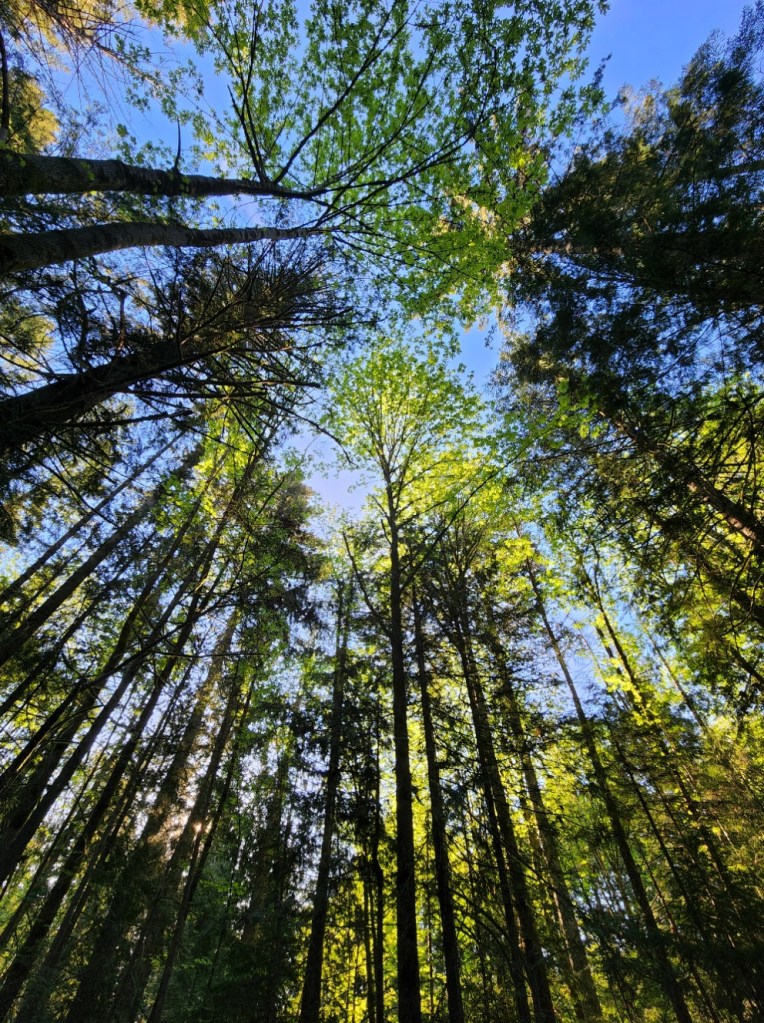
The lacy tracery of branches and leaves against a blue sky! How wonderful is nature.
I am now at the point where the skirt is growing, at what seems like an agonizingly slow rate. I must focus on the fact that the skirt is growing and the pattern is repeating and that is what is supposed to happen.
I switched to a 3.75mm needle about 12 rounds ago to start the slow shaping of the skirt. I will most likely drop the needle size to 3.5mm in about 40 more rounds. So between the changing the size of the needles and shaping the panels I am hoping for a lovely, gradual shaping the skirt to the waist. At that point the needle size will be 3.25mm for the bodice of the dress.
Dry blocked the skirt is 10 inches deep from the top of the 4th pattern repeat to the curve of the hem. The points are not included as length. I think that three more repeats will get me to the start of shaping panels (approx 15 inches) which will reduce the stitch count of the skirt. The reducing section will take about 45 rounds.
I work at Mad About Ewe and I get to play with the yarn. We are now carrying Brooklyn TweedShelter and Tones Light. I have been playing.
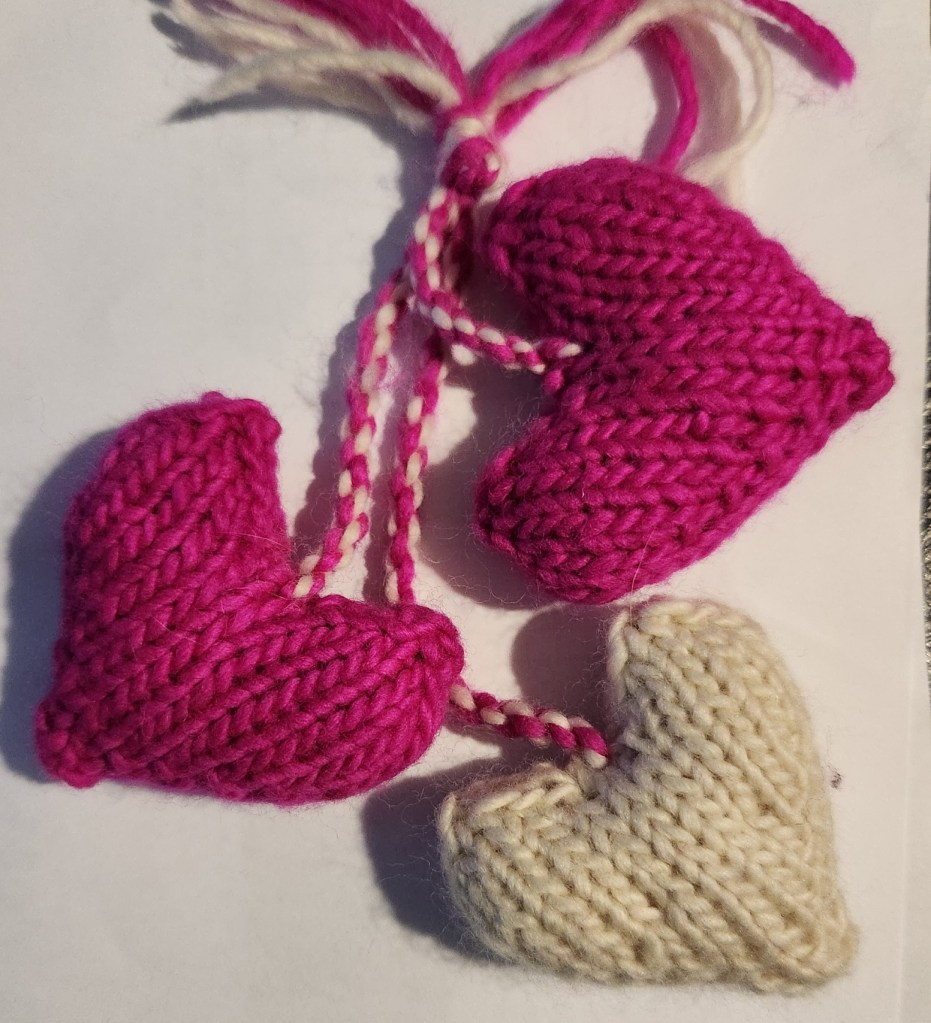
Wait there’s more! More hats, cables and hearts; double knit fingerless mittens and just so much more to do and create!
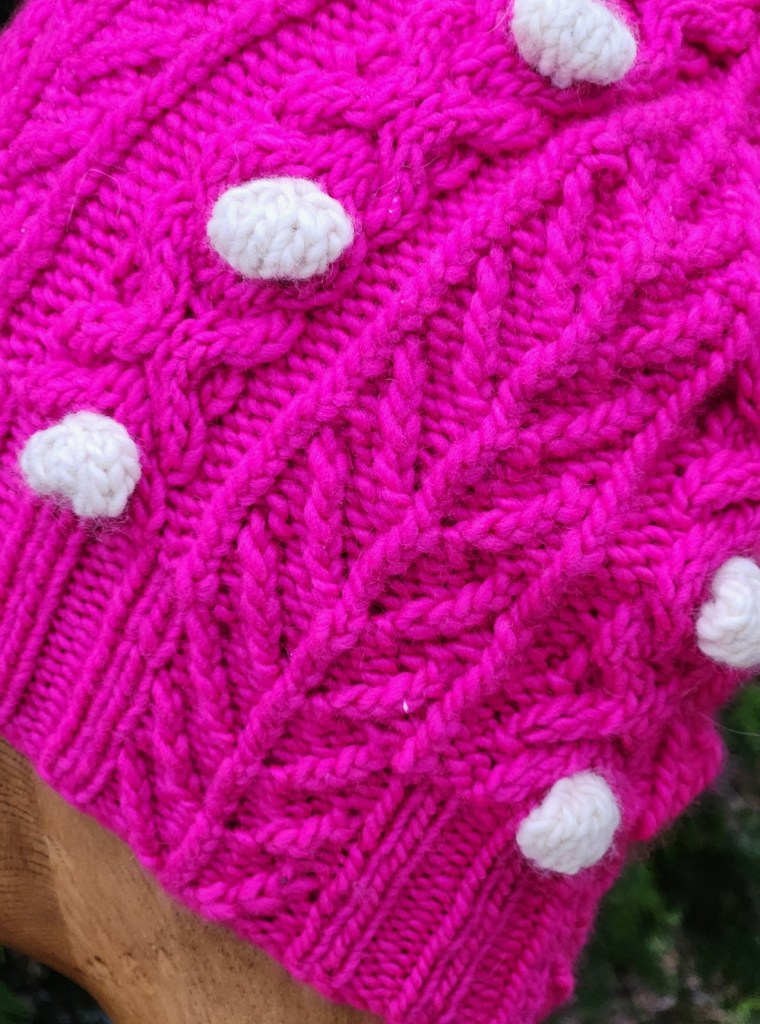
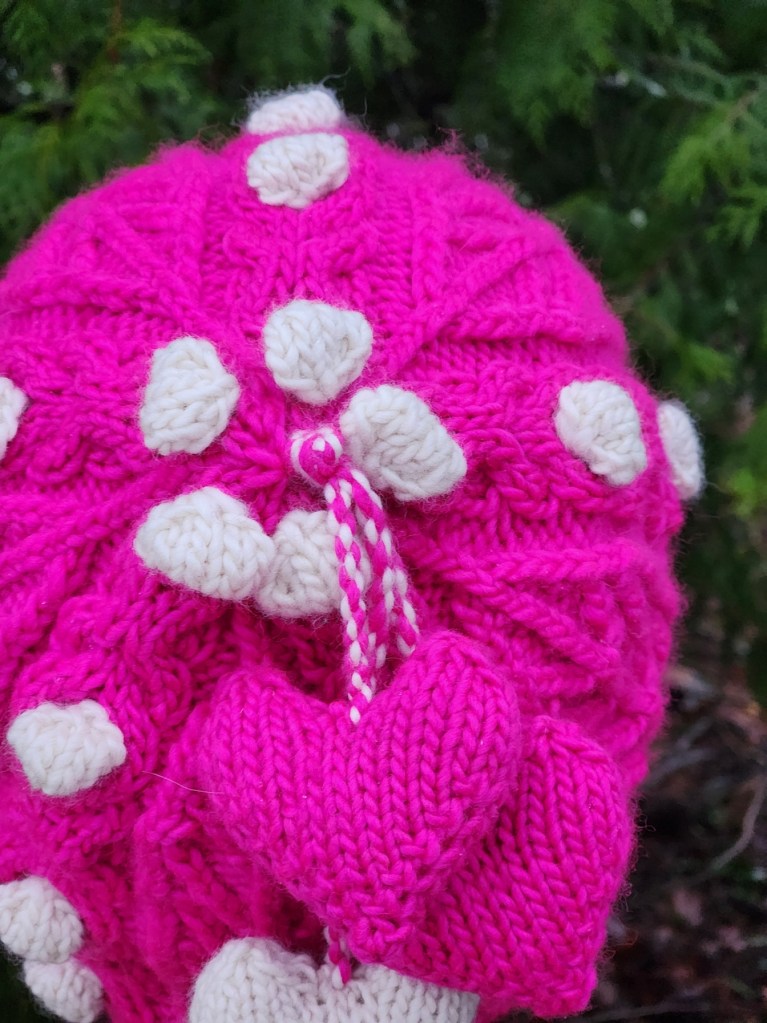
Below is “Smitten” A cabled hat with the “hugs and kisses” cable and the tree of life pattern. Classic in Grey and no bobbles, knit Juniper Moon Santa Cruz in the Palladium colourway! And Wild in with everything – cables, bobbles and hearts, knit with Malabrigo Worsted in the natural and Very Berry colourways.
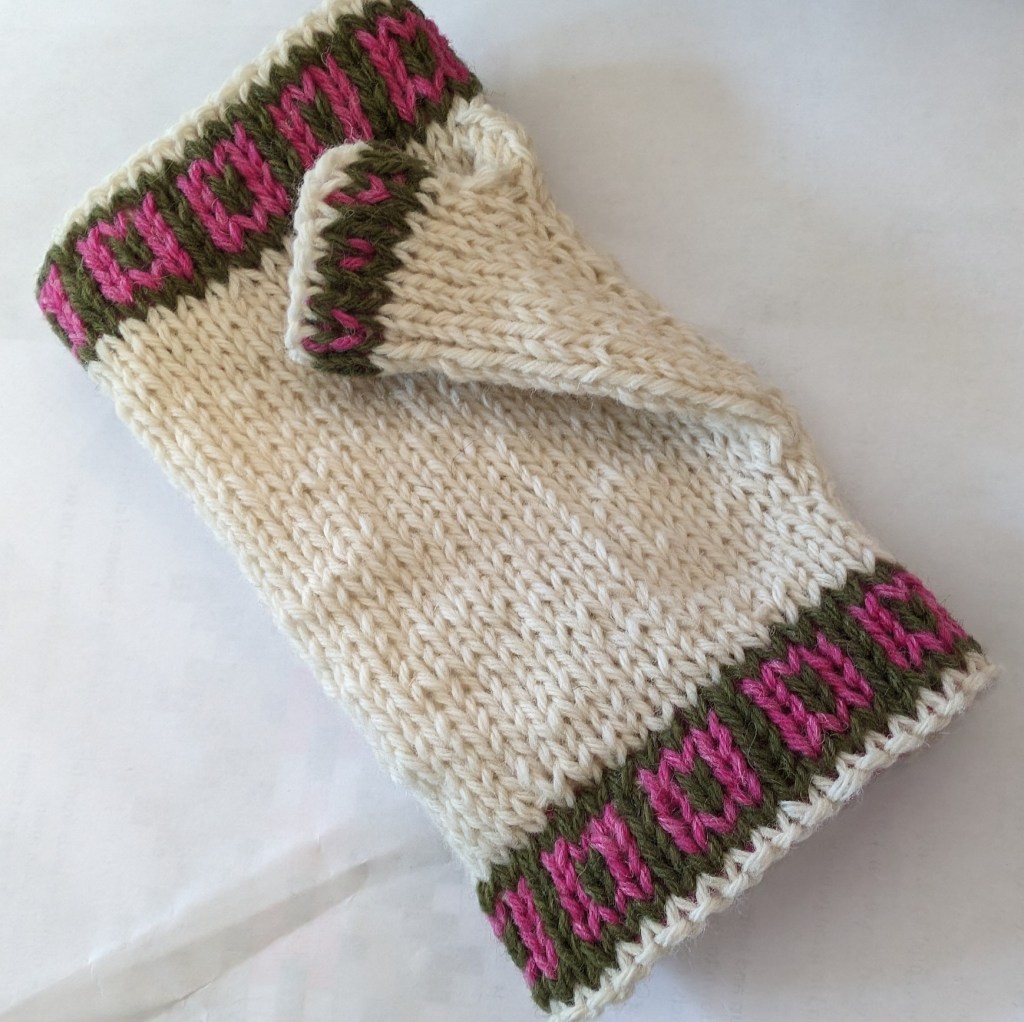
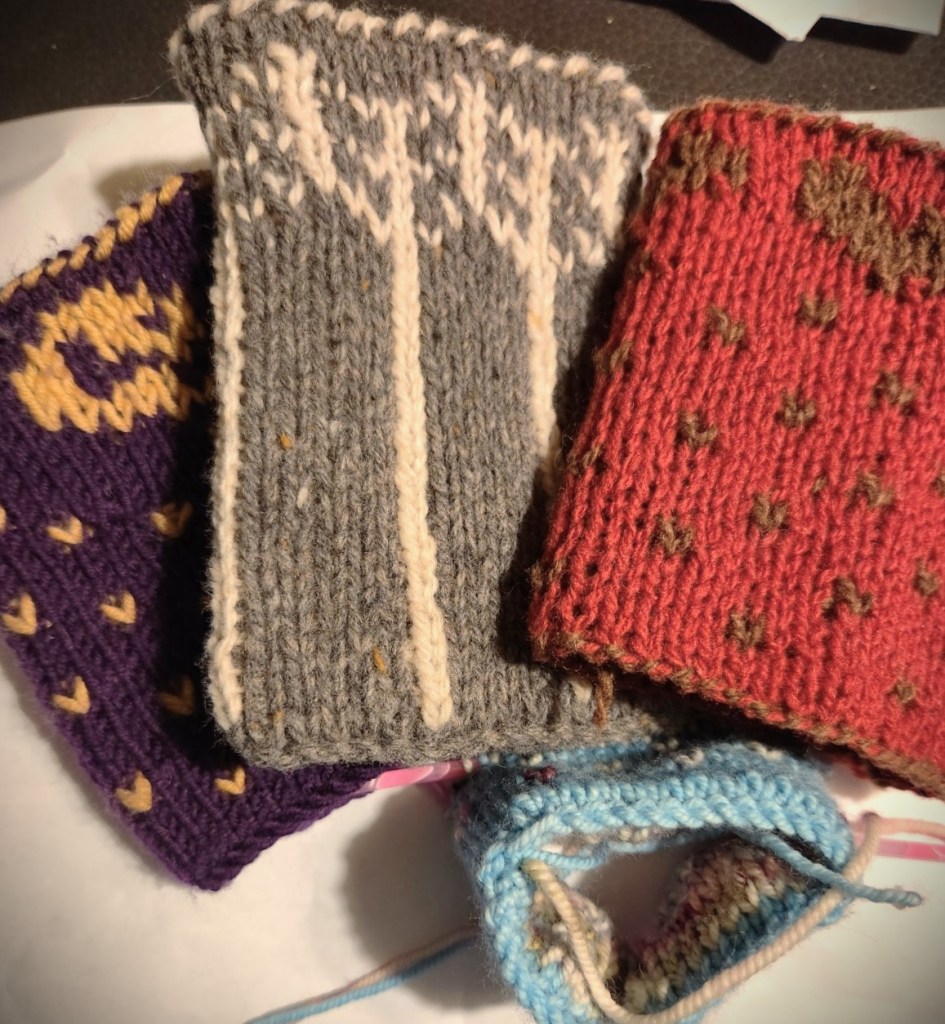
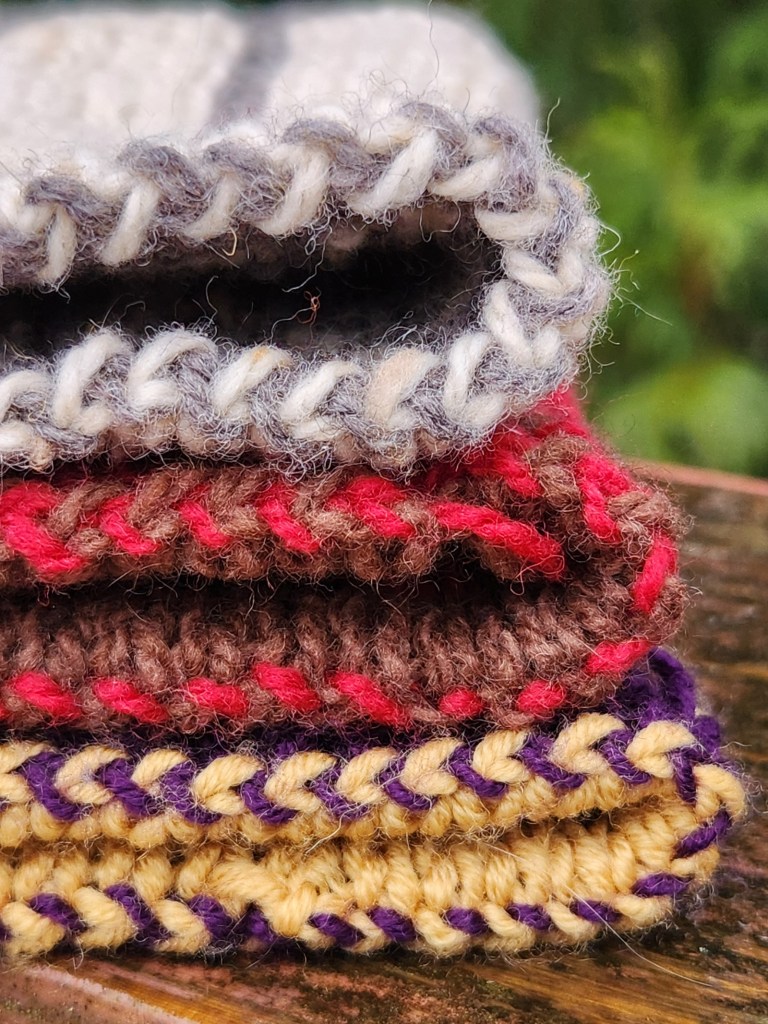
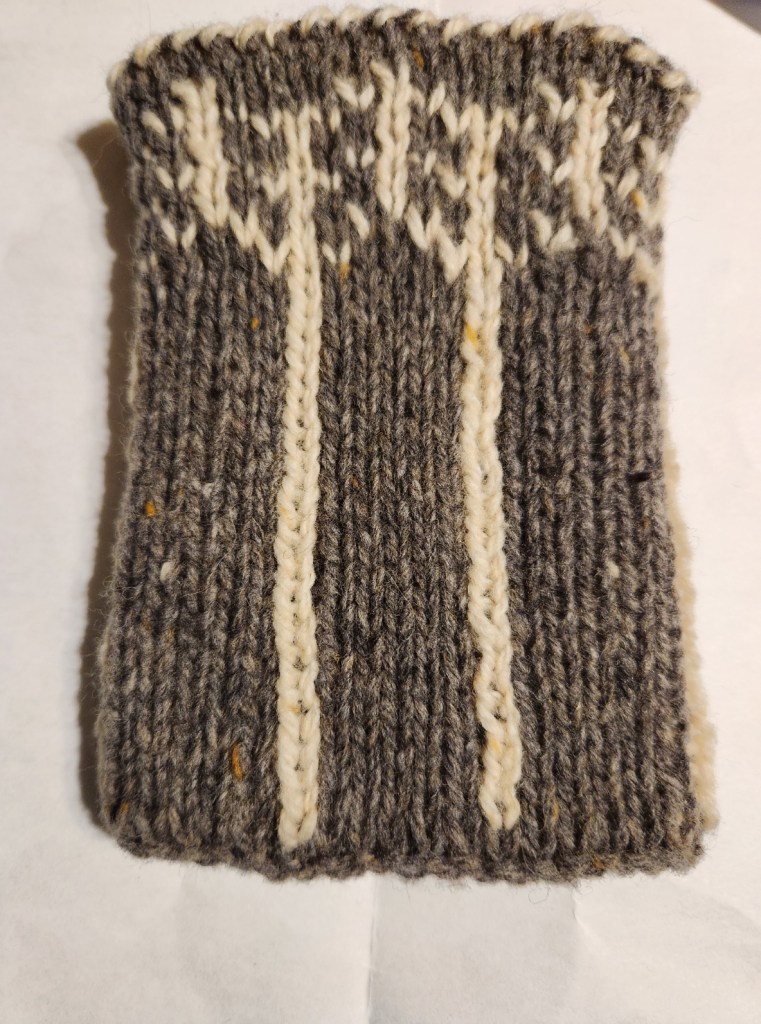
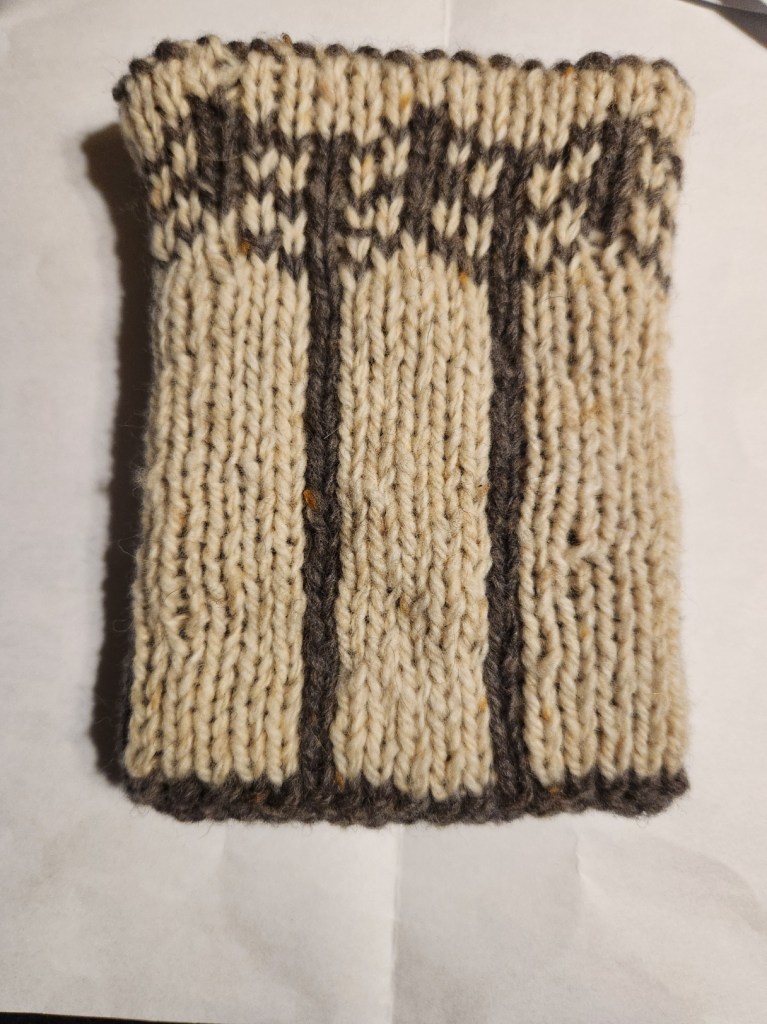
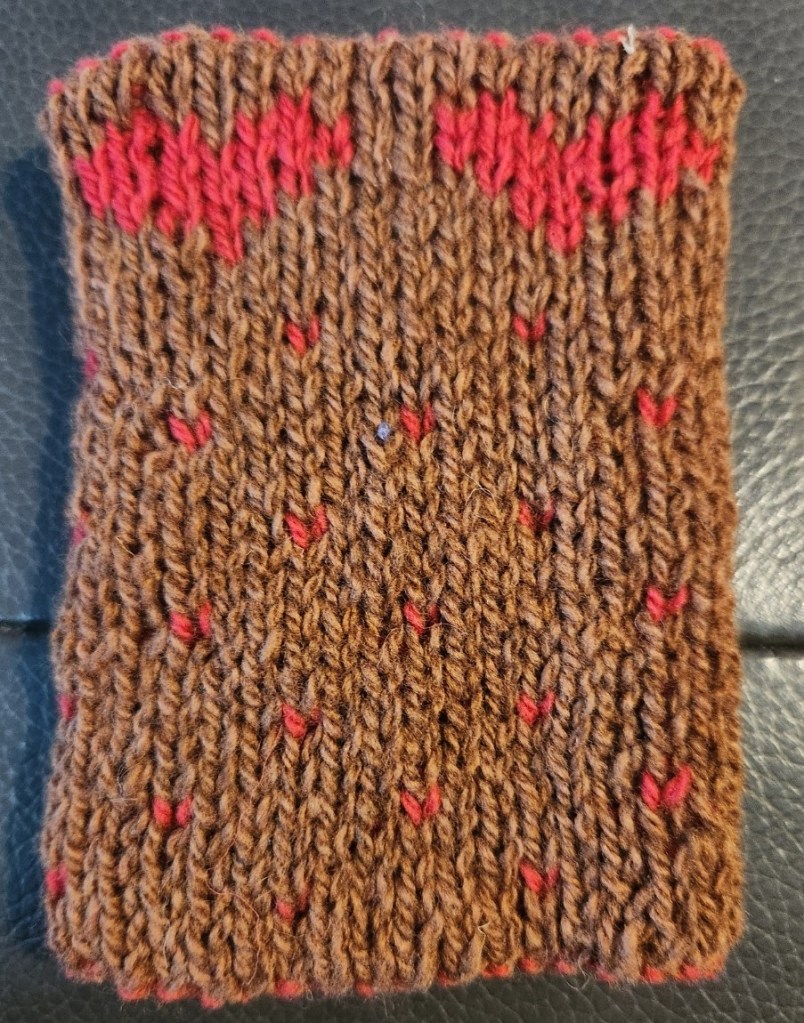
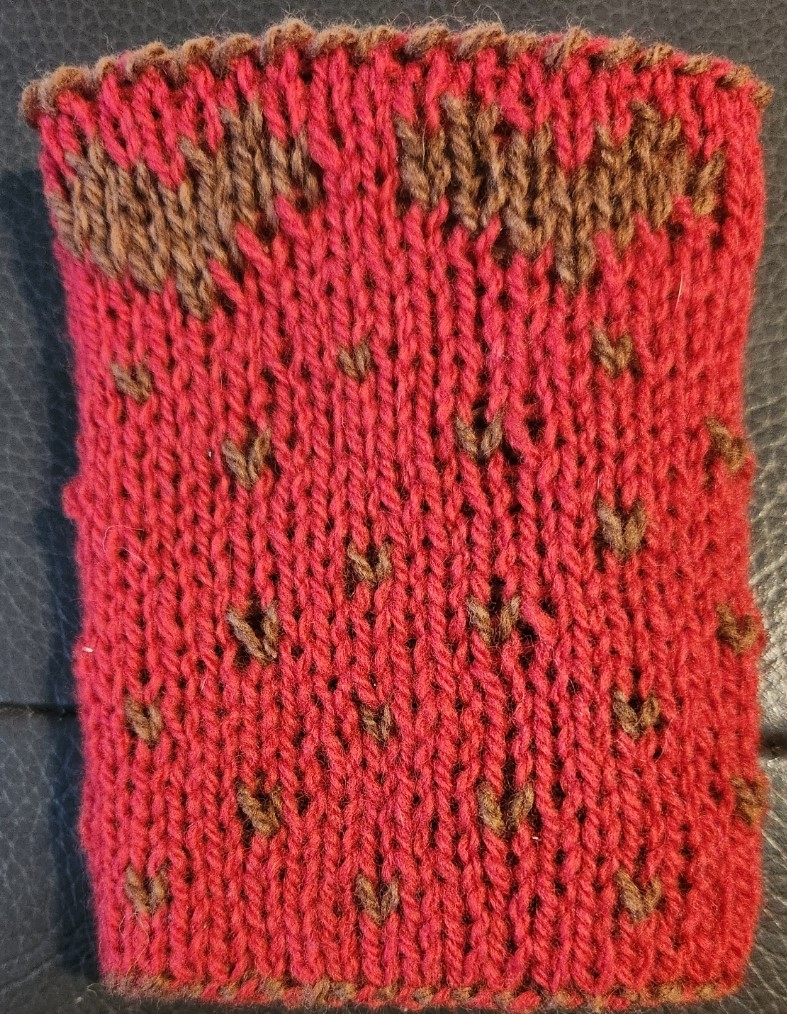
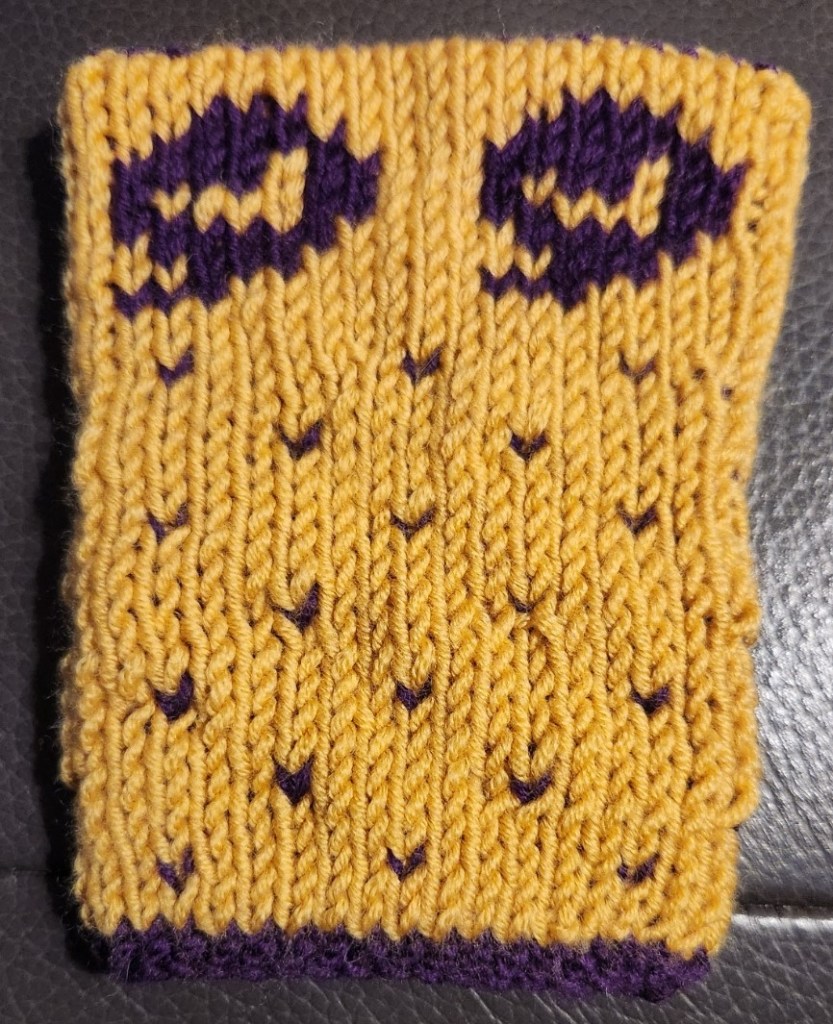
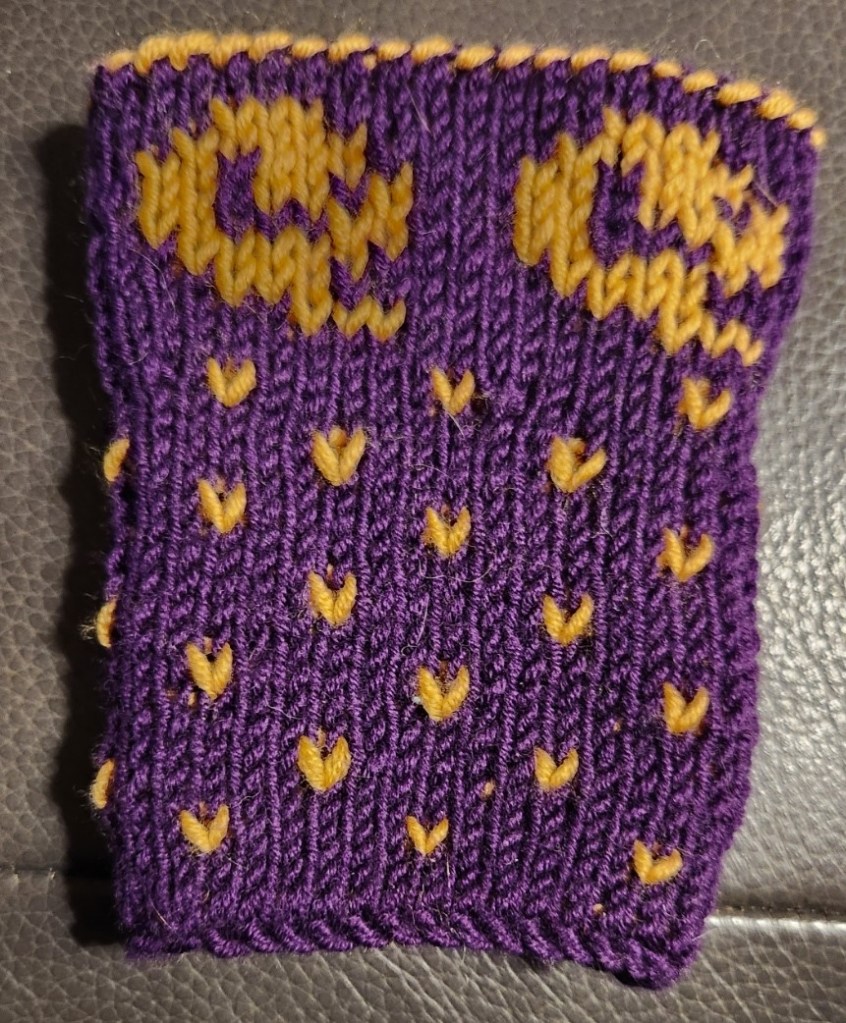
Straight forward and cozy these double knit wristers are super cozy and super easy! These Cozy Wristers can be knit in any dk or sport weight wool that you might have to hand.
Because they are double knit they are also totally reversible.
I hope that your knitting adventures have been moving along with lots of colour and texture to keep your mind occupied and your hands busy!