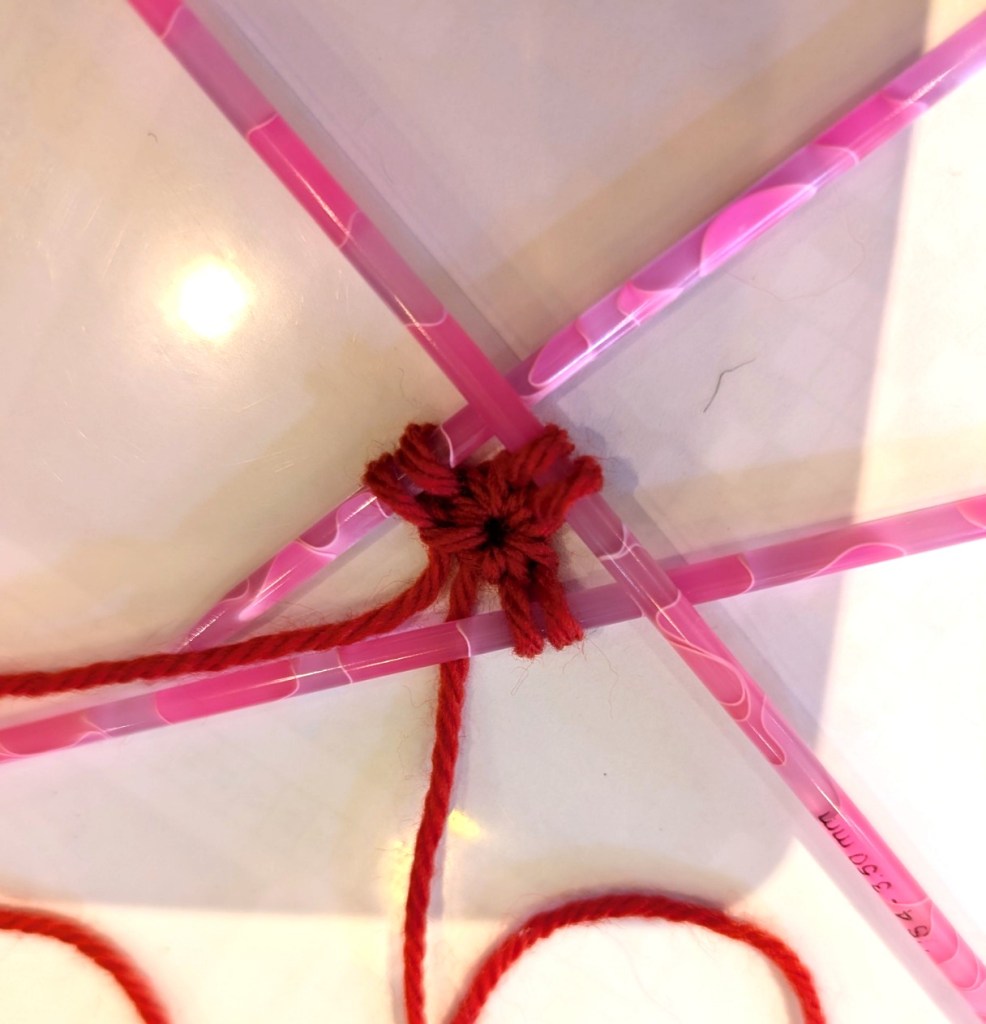
My favourite cast-on is the Emily Ocker Cast-on, also called the German Pinhole Cast-on.
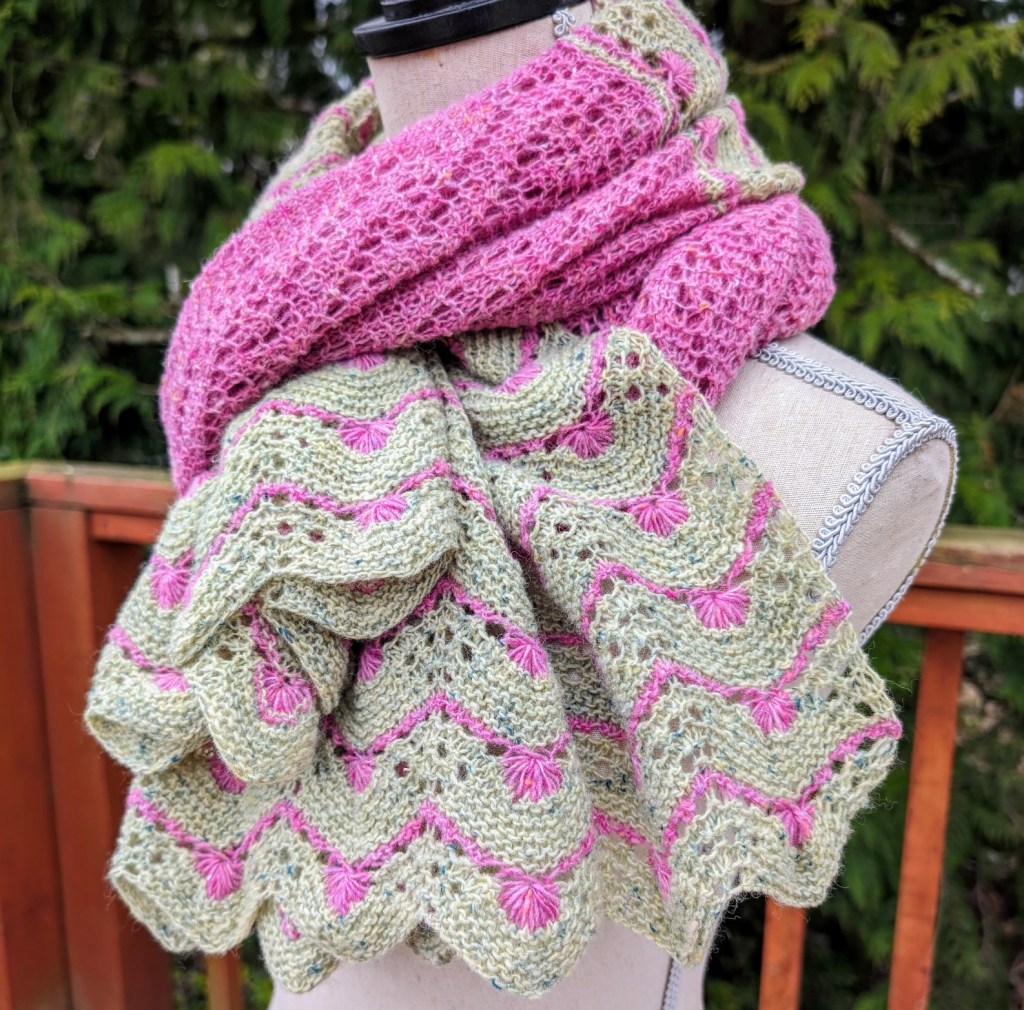
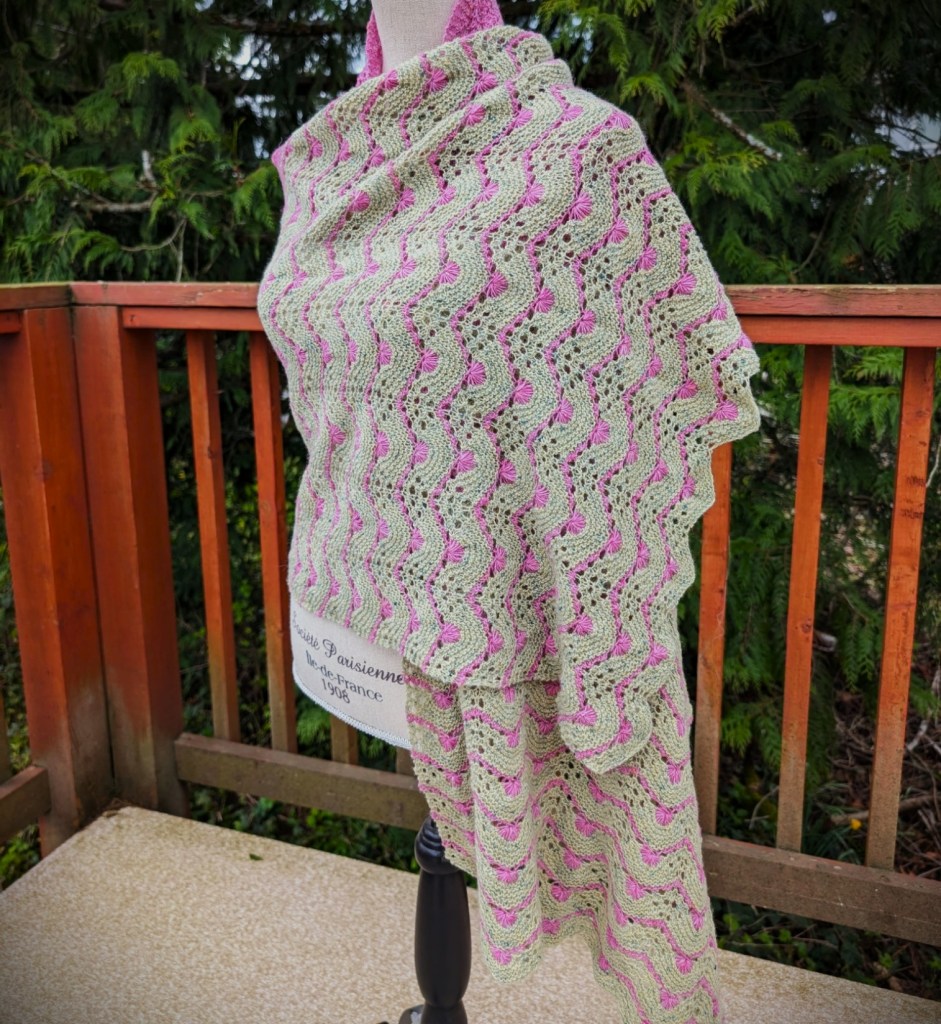
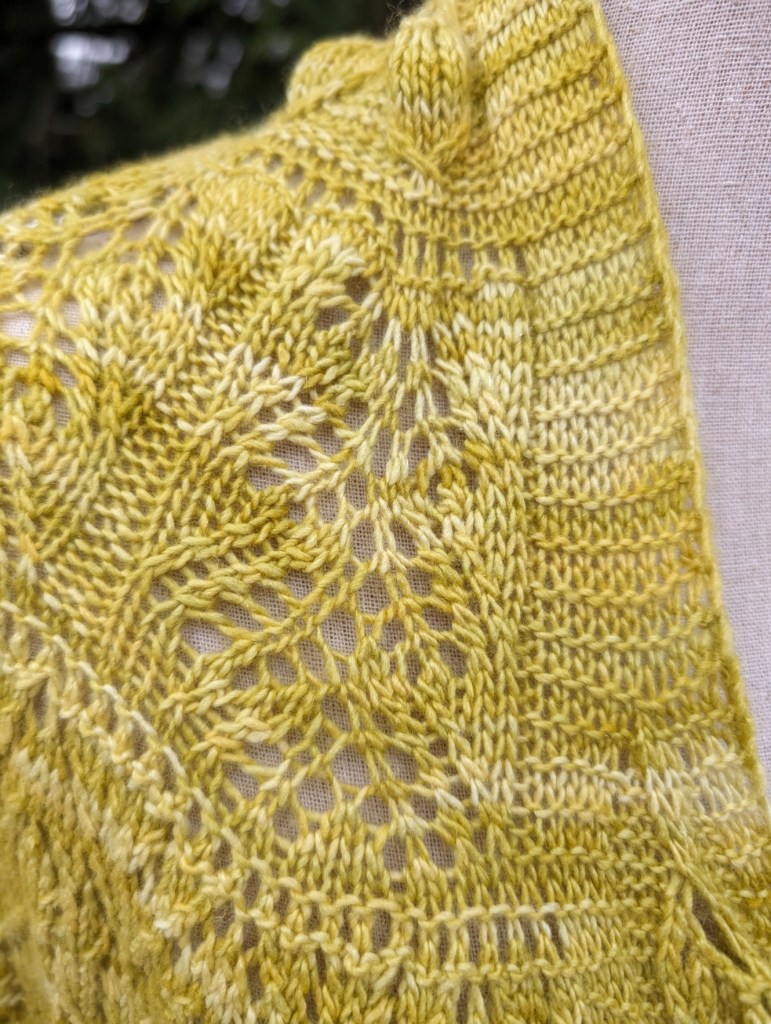
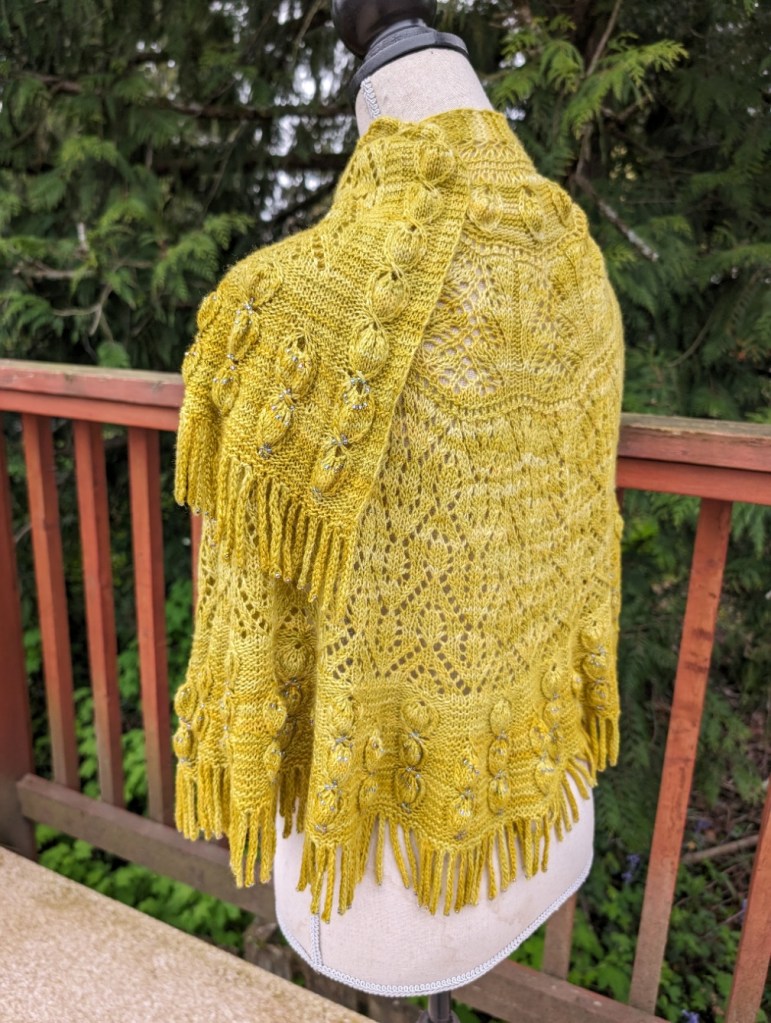
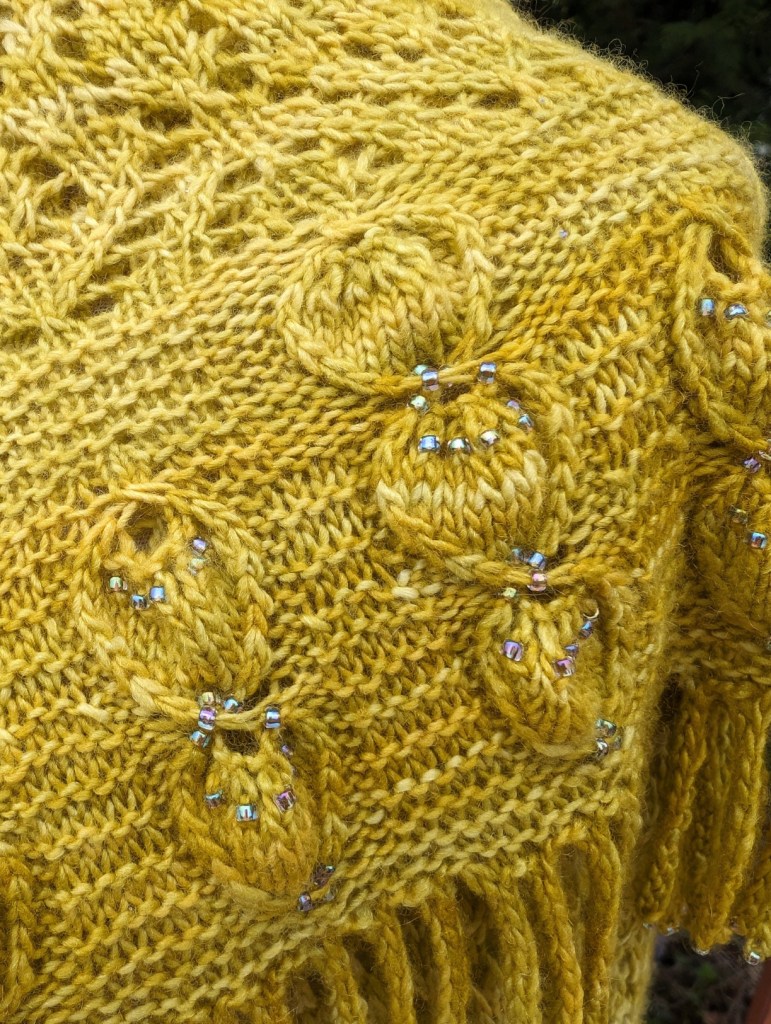
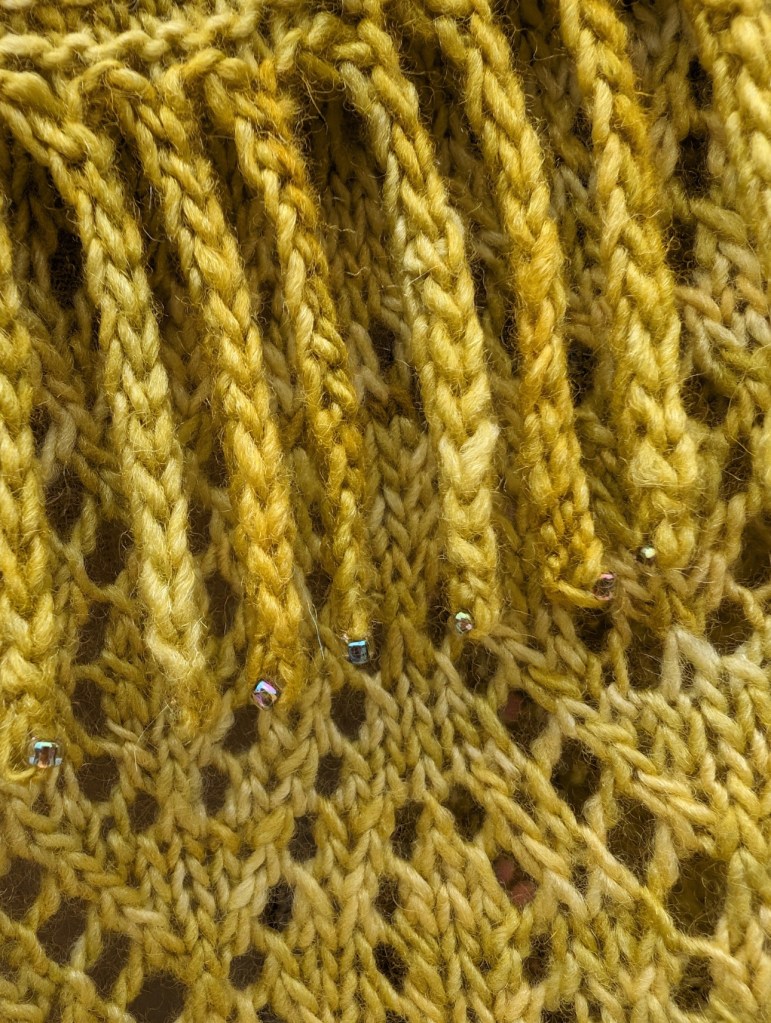
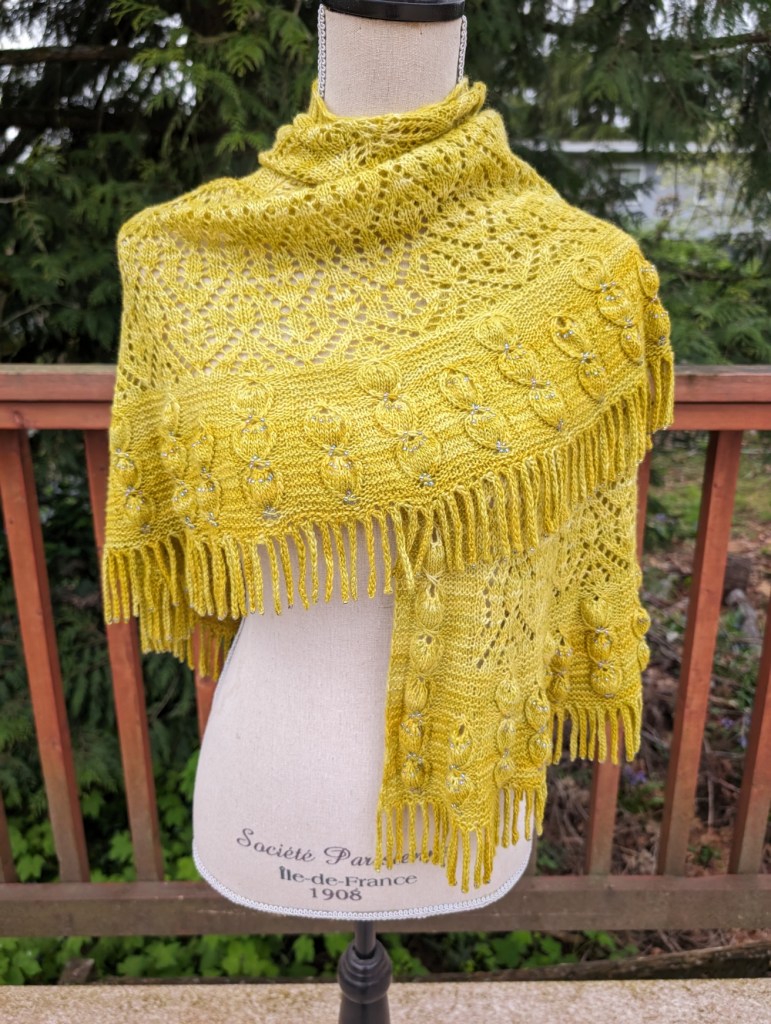
Do to technical difficulties I am going submit a short video and then a series of photo’s on how to start the GreenMan Shawl.
Tools that will make the cast-on easier; a straight crochet hook or a hook/point tool, it simplifies the moving of the sts from the hook to the needles. Wooden or other lightweight dpn’s, they are a little sticky and very light, metal needles are usually quite heavy and slide out far too quickly.
If you have never held a crochet hook I can recommend a simple cast-on;
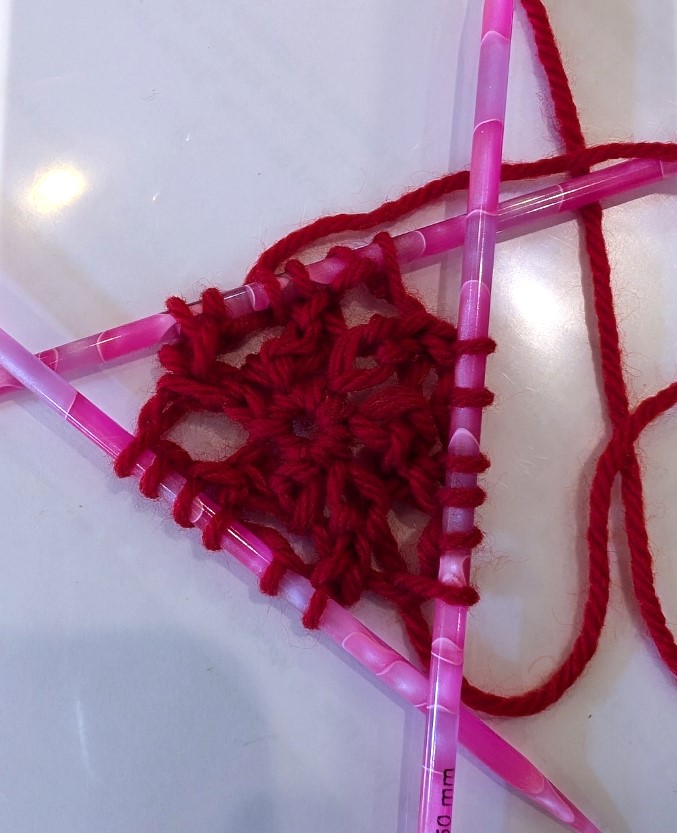
Cast-on 6 sts to a single dpn, transfer the sts as the photo tutorial below, join into a round and start to work the shawl. The center of the shawl will not be as neat to begin with but when finishing your shawl the tail can be used to gather up and gently close the hole in the center.
In the video you will see the yarn, tail to the right and underneath the working end of the yarn. There is no sound, but the written description is below the video.
Please note: I am not a confident crocheter and you will see that in the video. But that does not mean I can’t fumble my way through a single crochet.
Emily Ocker Cast-on also called German Pinhole Cast-on
Grasp the ring where the yarn crosses
with your hook go through the ring and hook a loop of the working yarn
pull through the ring
hook the working yarn again and pull through the loop already on hook.
I single crochet is on the loop
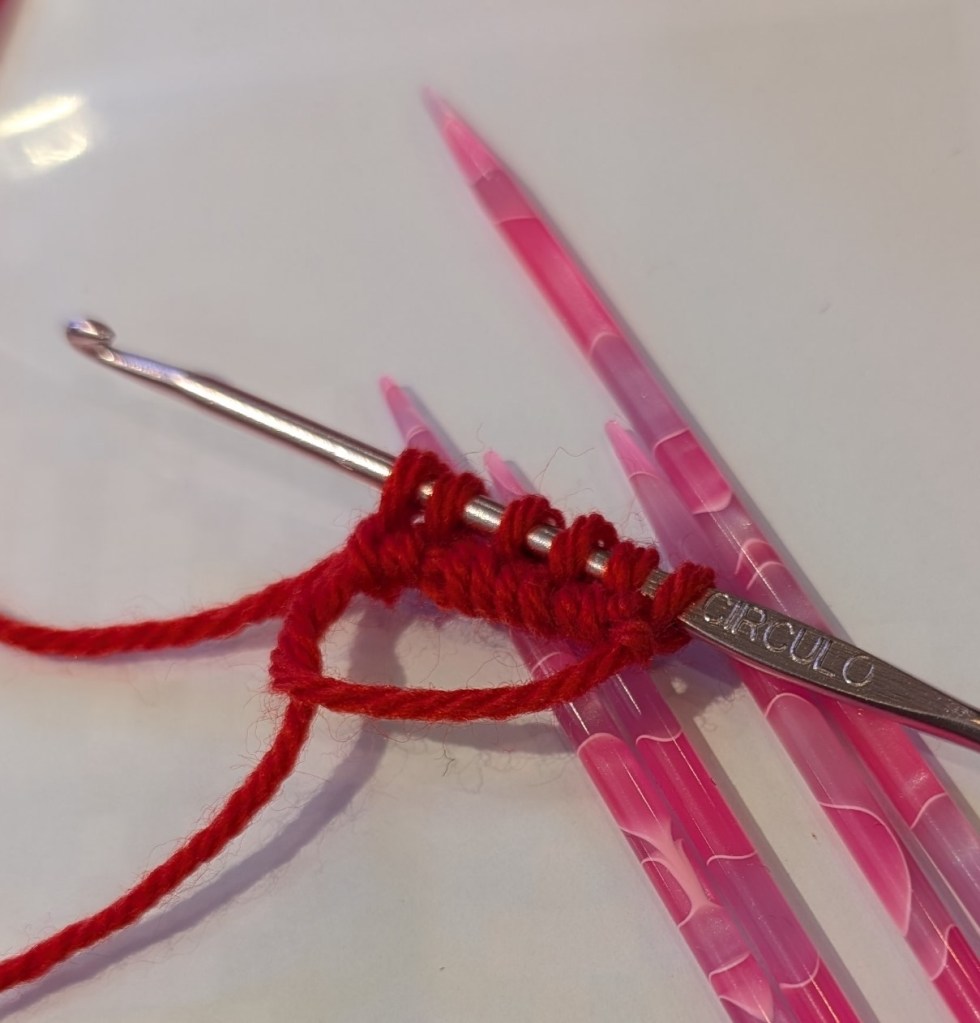
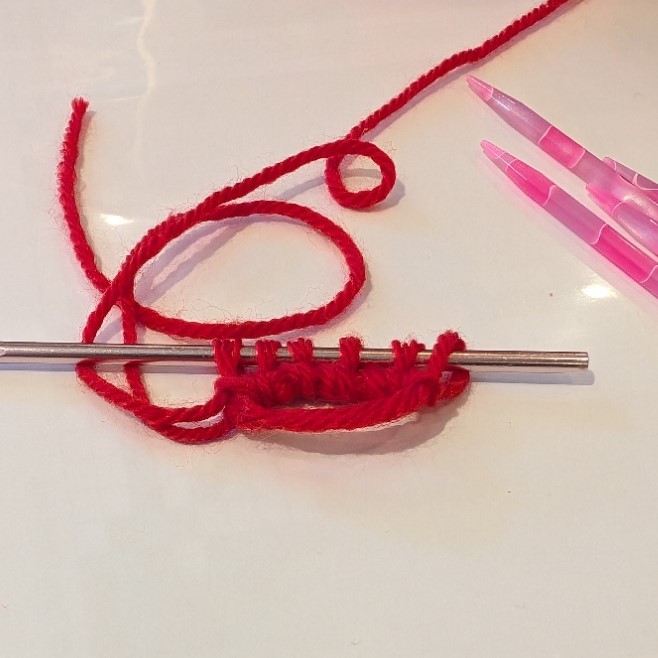
Repeat from the top five more times until there are 6 loops on the hook.
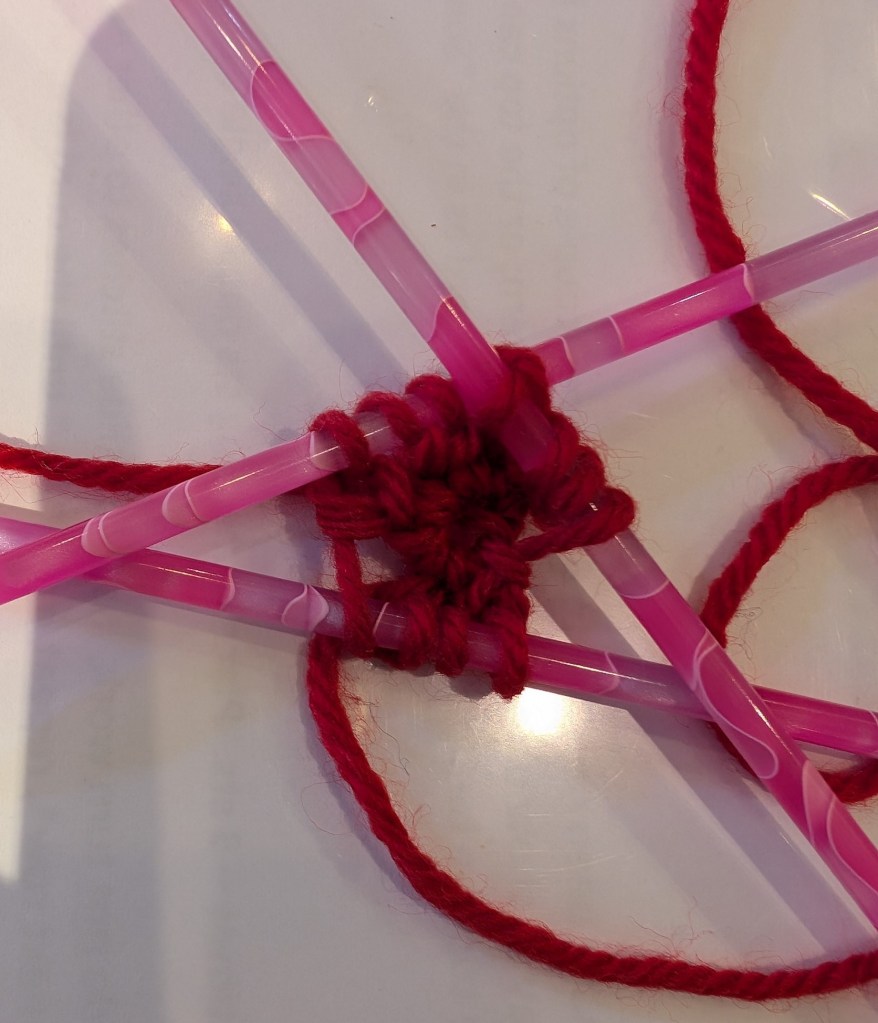
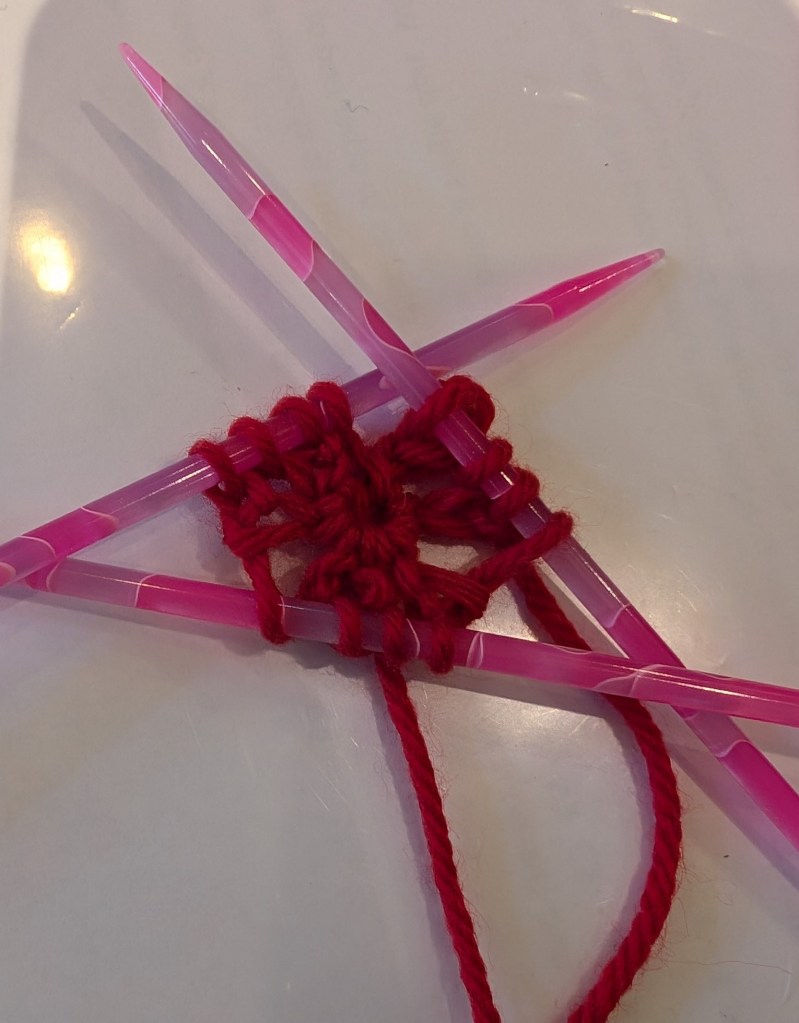
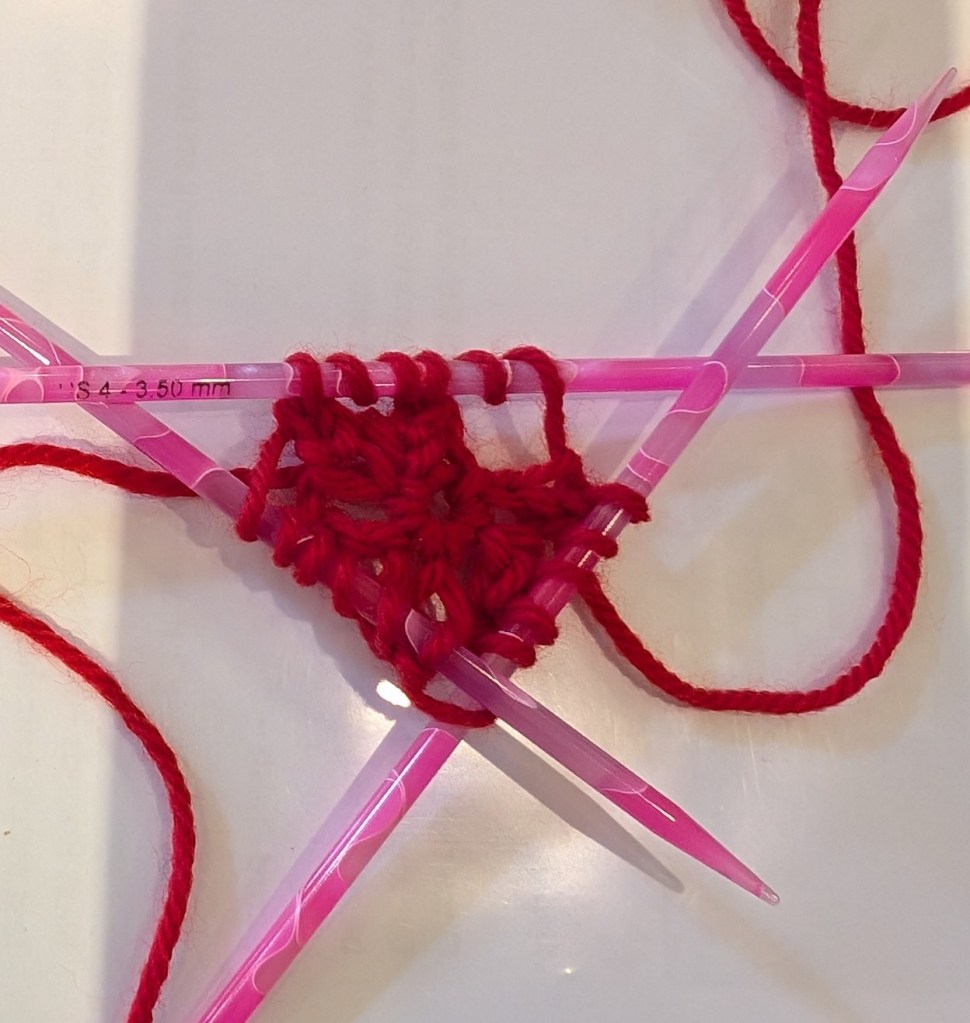
Below is the step by step set-up and first rounds of the shawl.
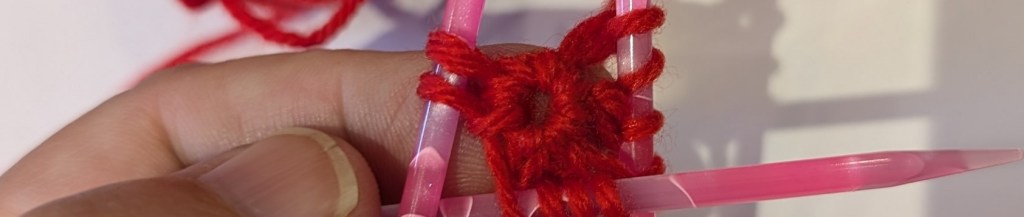
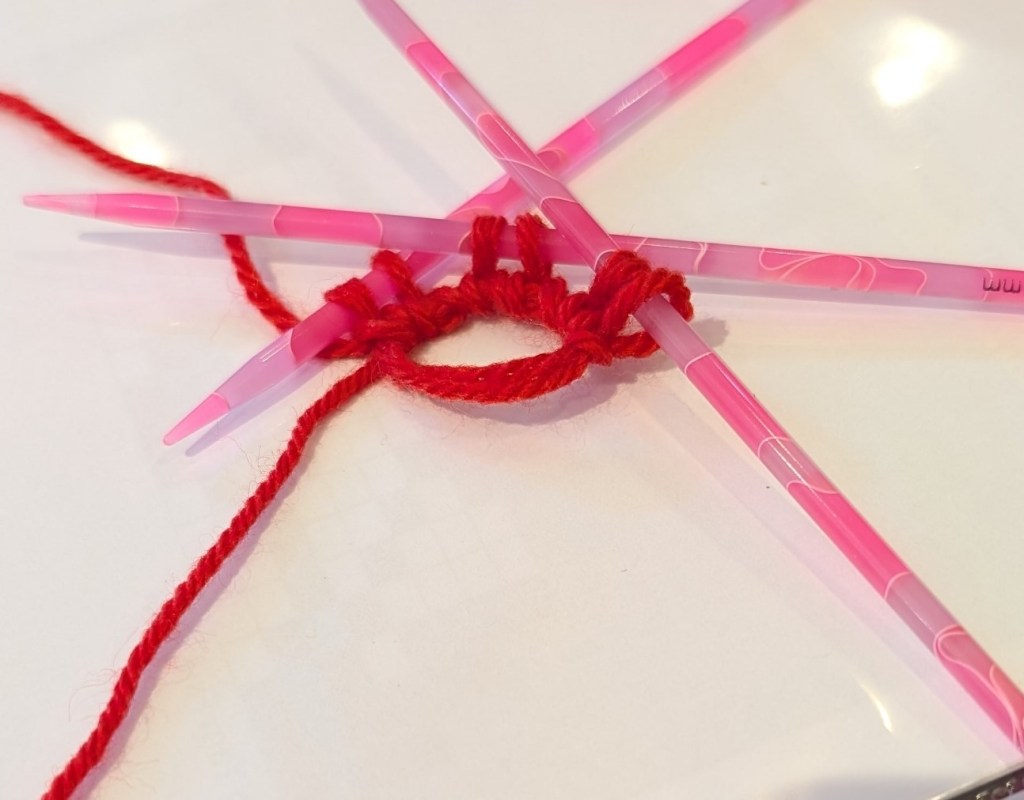
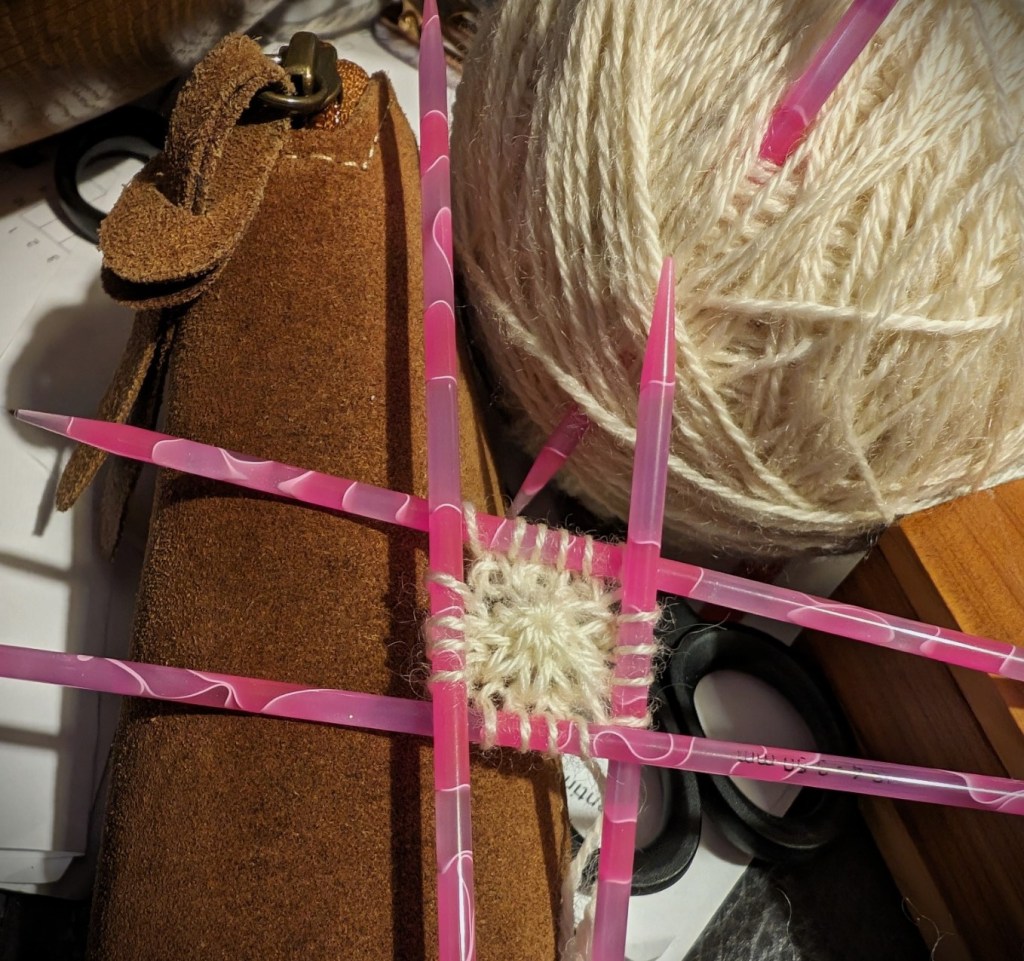
6 single crochets on the hookSlide the stiches to the end of the hookDivide the stitches onto 3 dpn’s, 2 sts per needlePull the tail to tighten the loopWork the 1st set-up round, *YO, K1; repeat from * 6 times – 12 sts.Work 2nd set-up round – K12.Work 1st round from charted or written instructions ; Double YO, K2tog, 6 times – 18 sts.Work 2nd round of charted or written instructions – K1, P1, (K2, P1) 5 times, K1 – 18 sts.
Once you reach this point the needles will start to co-operate and the knitting will go more smoothly.
I hope that this helps you start your shawl.
I am hoping to make the video as promised with sound and moving pictures – perhaps tomorrow. Getting my tools to co-operate has been a challenge.
Really it is still Summer, but the evenings have a little chill and it gets dark just that much earlier, letting us know that Summer is on the way out! So I am working on stuff for the Fall, both personally and professionally!
Part of my job description is teaching. I teach people how to knit, how to knit better, how to execute specific skills that you, the student, may want to add to your repertoire. It is one of the more challenging aspects of my job. Just figuring out what to teach and how to present the goals.
Professional Projects
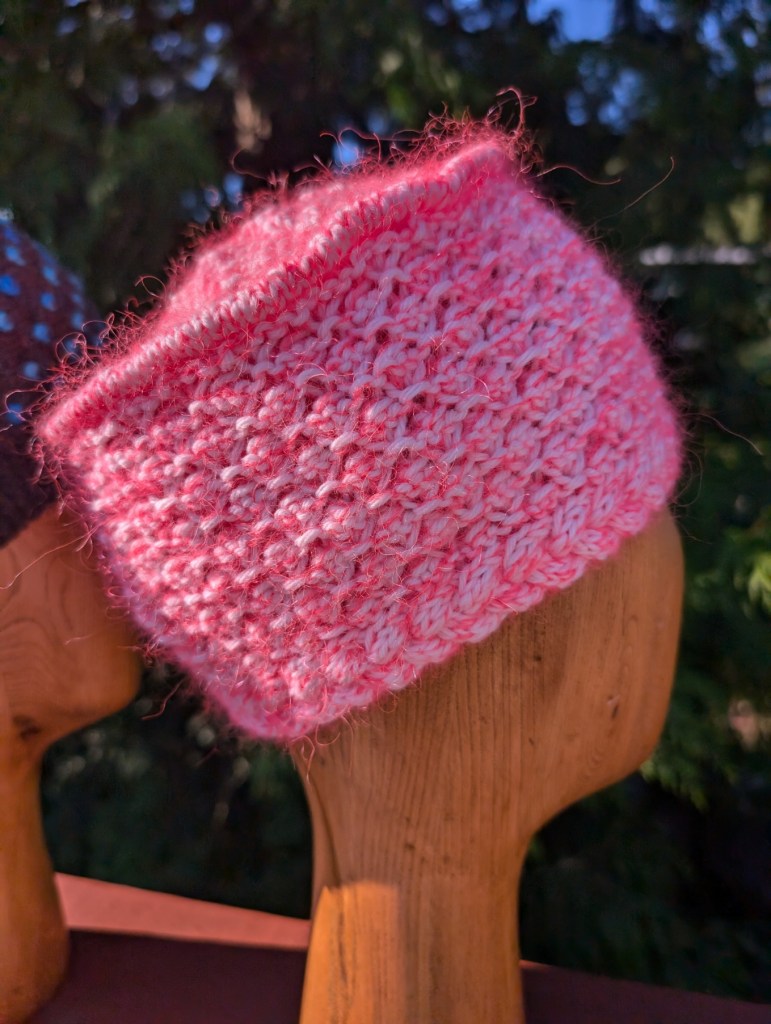
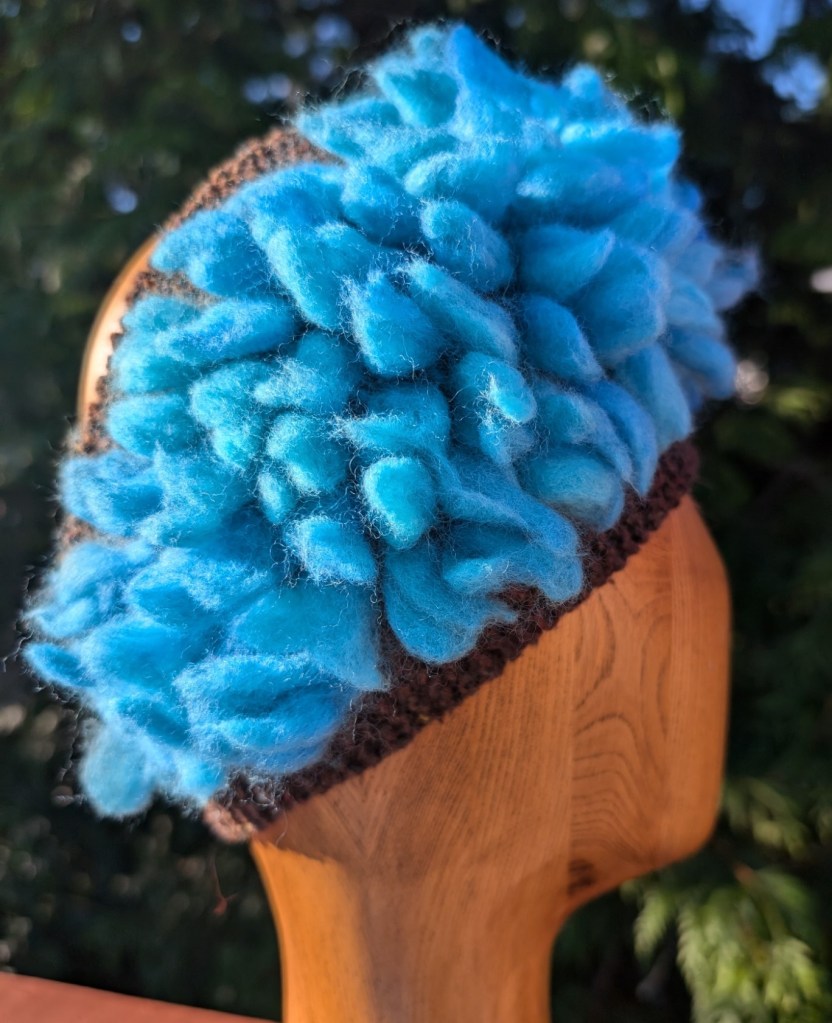
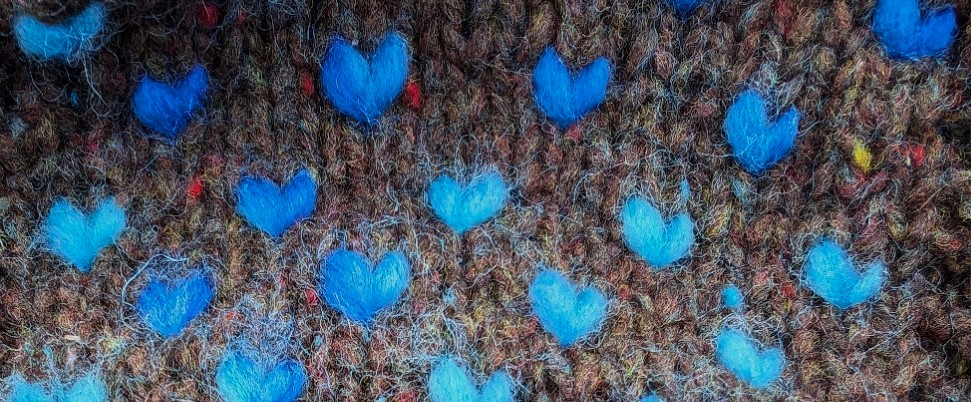
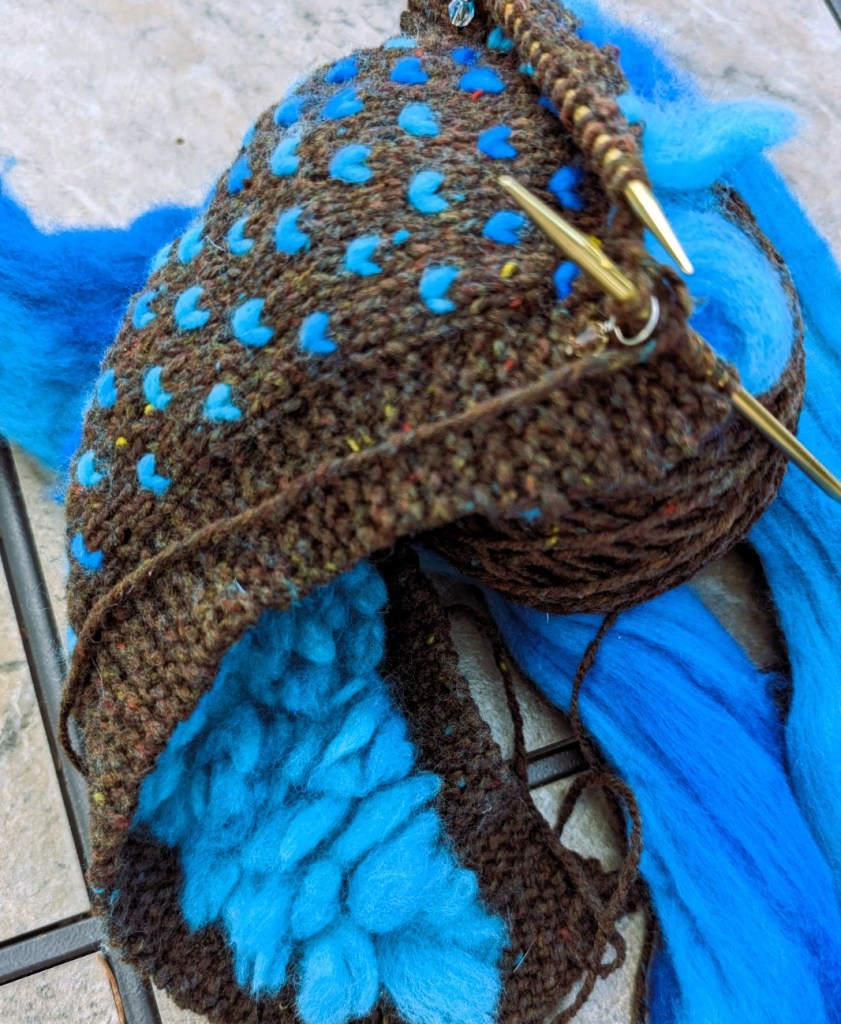
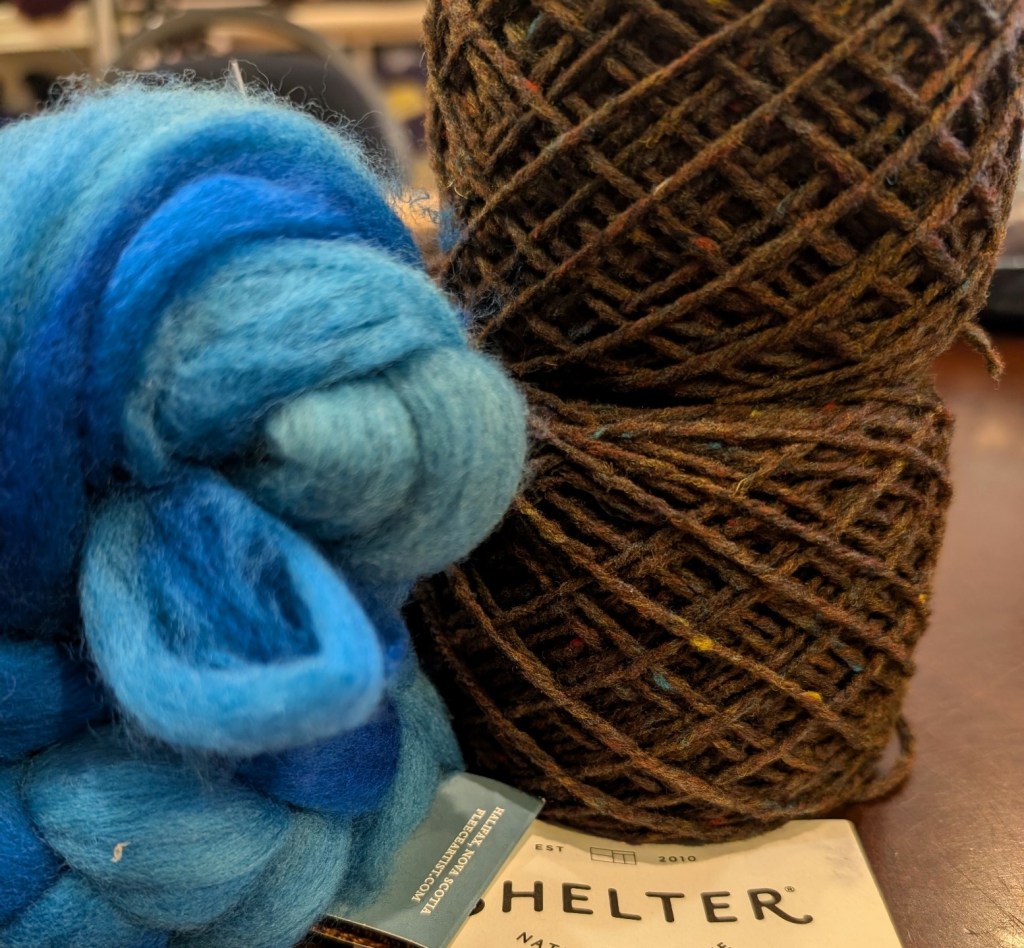
This fall has started with a successful Thrumming class and a not successful cables class. Perhaps the project wasn’t interesting enough or perhaps those who wanted to learn were looking for something more traditionally shaped. I will still write up the pattern later in the fall as I really do like it a lot! The thrumming headband will be out later this week.
This one didn’t work.
Right now I am working on a 3 part series on finishing for knits. This is loosely based on a Fear of Finishing Workshop that we at Mad About Ewe Fine Yarns ran for years. It was our most popular workshop – Tons of information presented in a six hour workshop. Everyone went home dazed and confused. So this time, it is three, four hour workshops, with time in between so there is time for everything to sink in!
Part 1 – Button Holes and Button Bands. This will be an in depth look at how to pick-up stitches to create button bands. We will look at ratios and gauge, at button holes large and small, how to sew on buttons, and we will start to look at I-cord. This class is already more than half full and I think that the new format is going to work really well.
Part 2 – Seams – I think that says it all. We will look at ratios – ratios are very important to all aspects of finishing. There will be 8 seams built off of the swatches. Seams will include; grafting, 3 styles of mattress stitch, 2 styles of 3-needle bind-off. One unique seam and I am still looking for the last option. There may be some finishing techniques as well.
Part 3 – Everything Else! You know, how to lengthen or shorten our knits. How to add anything after your knitting is finished. Ie Heels to tubes, afterthought pockets. Maybe some dimensional embellishments. Things to consider before we start knitting as well. Swatches, how to make and use them before we start knitting. The best place to work shaping. How to work a short-rows. All of those extra things. Which really aren’t that extra.
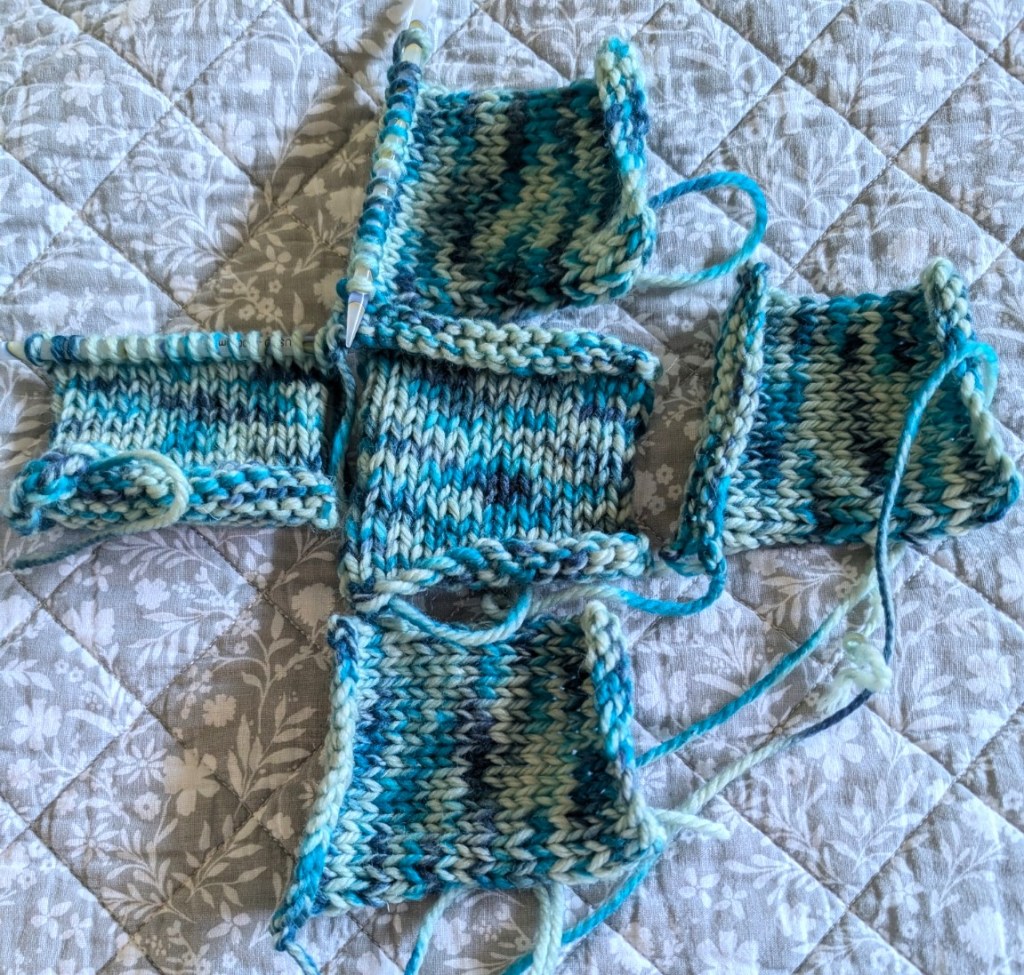
Every workshop will include homework beforehand of some kind. Mostly some swatches, something to practice all of the new techniques on!
Personal Projects
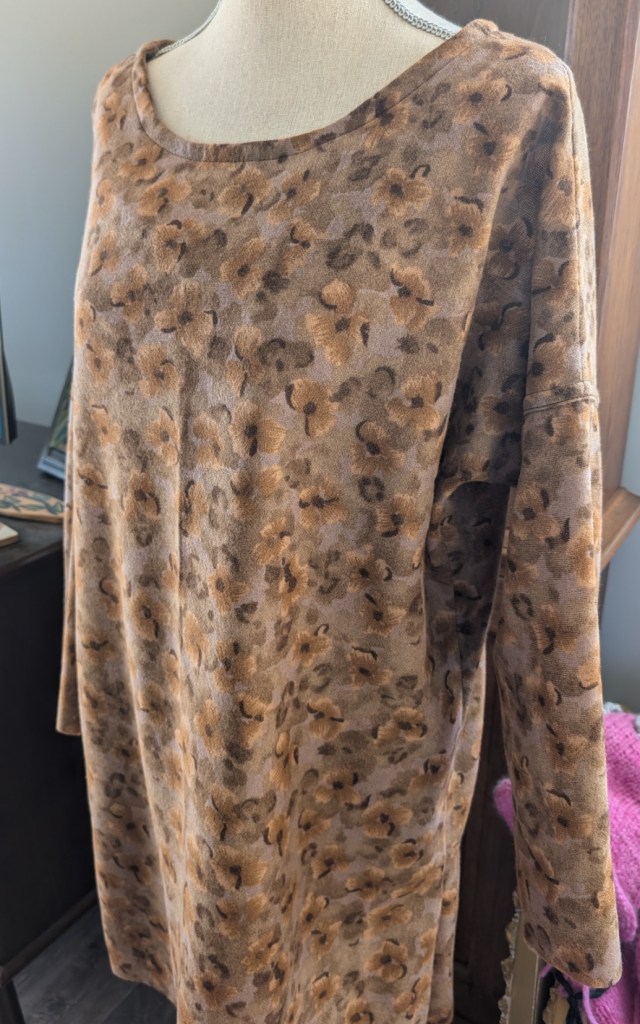
Yesterday I cut out a blouse and a pair of pants for myself. Though apparently I made the blouse for my daughter. I missed a couple of key measures. I am really thrilled with the finishing. French seams and fine finishing on a napped wool flannel fabric. My daughter is thrilled.
I hope that the pants turn out a little better as I know I am the only one who will want to wear them!
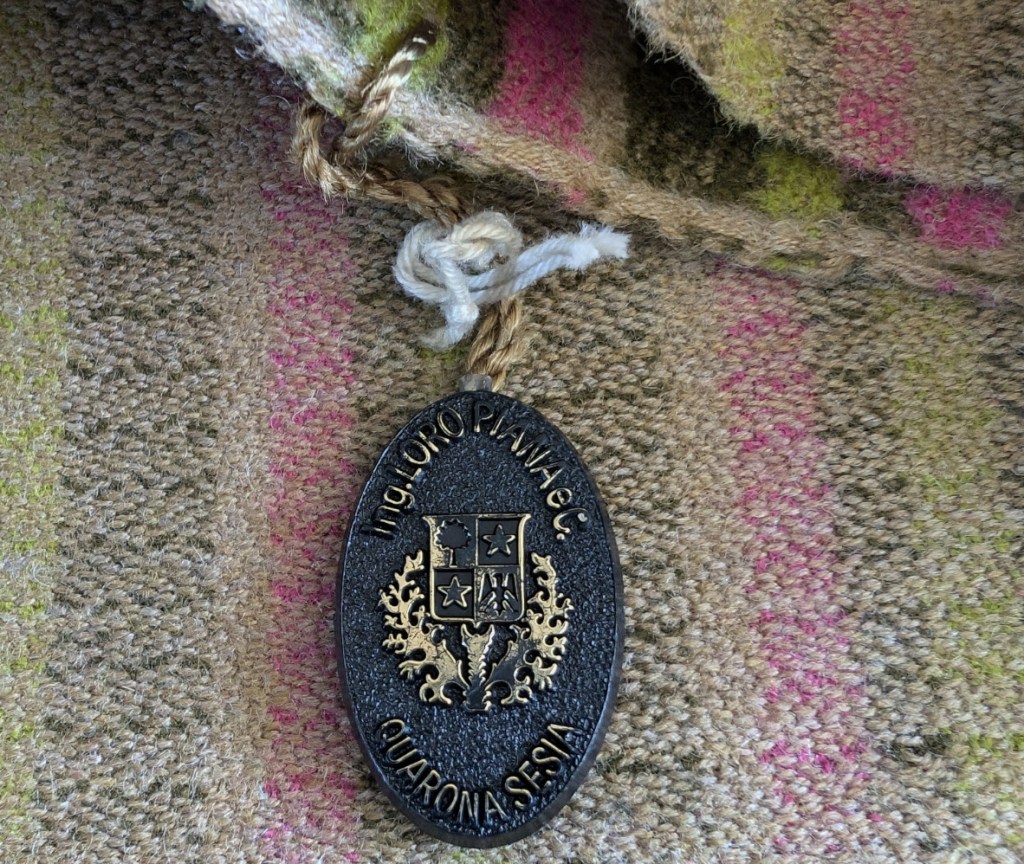
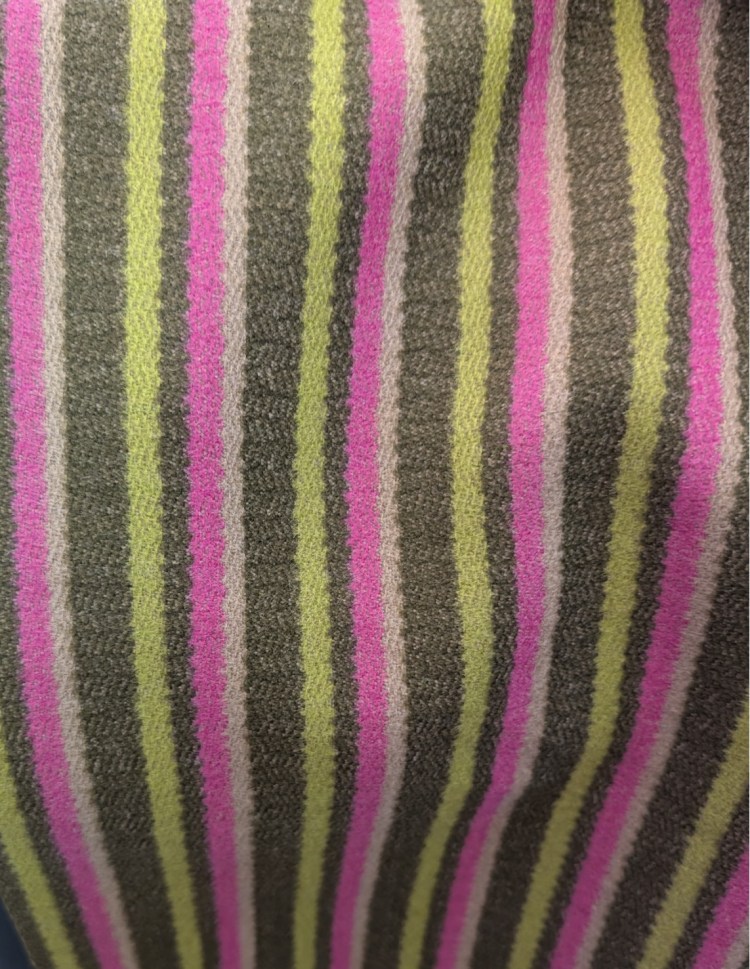
Italian wool woven fabric. I am planning pleats in the front and maybe a button fly instead of a zipper. Those colours!
When I was much younger I collected coins. Old Canadian and English pennies and coins from when we went to Malaysia. When I was a teenager my father gave me his coin collection. I
As a collection it was very informal. It consisted of an old plastic tub of coins most of them from Panama and Peru. Most from the late 1950’s, from when he was in the Navy and his ship cruised those waters. I had put away my coin collection by then and wasn’t actively collecting, so I put the tub with my collection and proceeded to spend the next 50 years carrying the collection around with me.
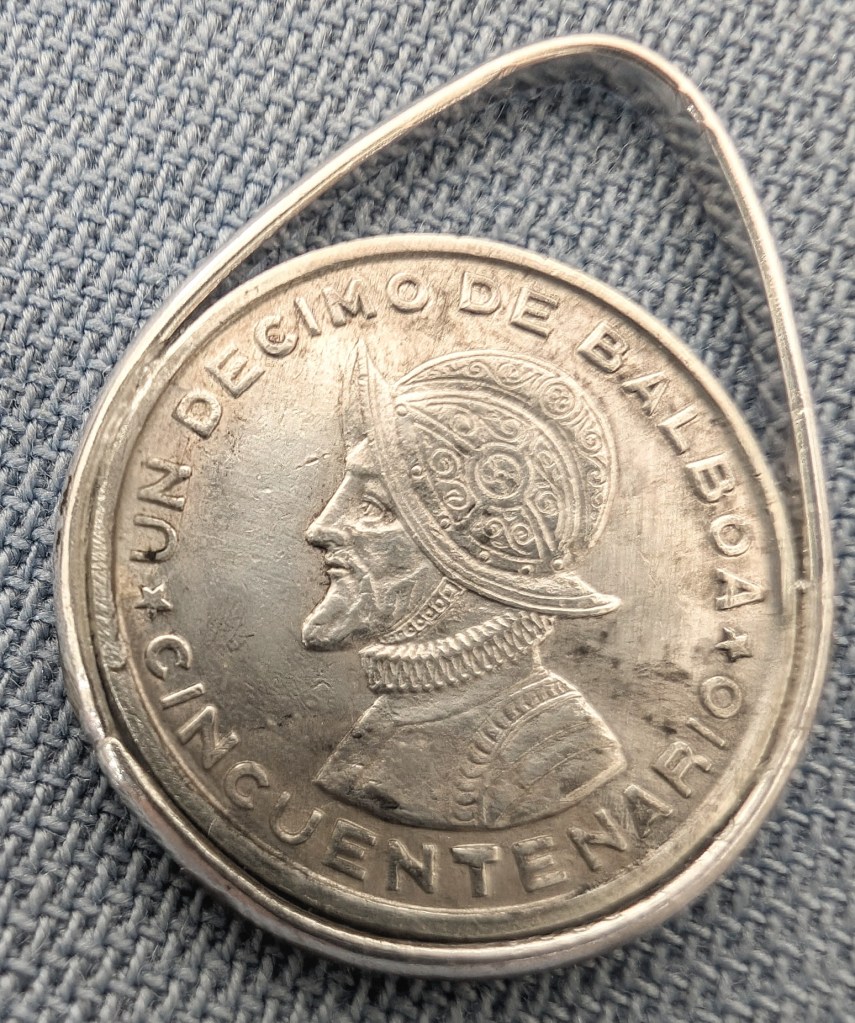
A few months after my father passed away I hauled out that old tub and looked again at those coins. In the collection were about 30 old silver coins, all the same size and all from the Republic De Panama. I started to think of what those coins could become. I wanted to use them as embellishments on a shawl, So, I took the coins to my Silversmith friend Joan and left it with her.
I think that this will be an interesting way of creating a unique piece of knitting while honouring my memories of my father.
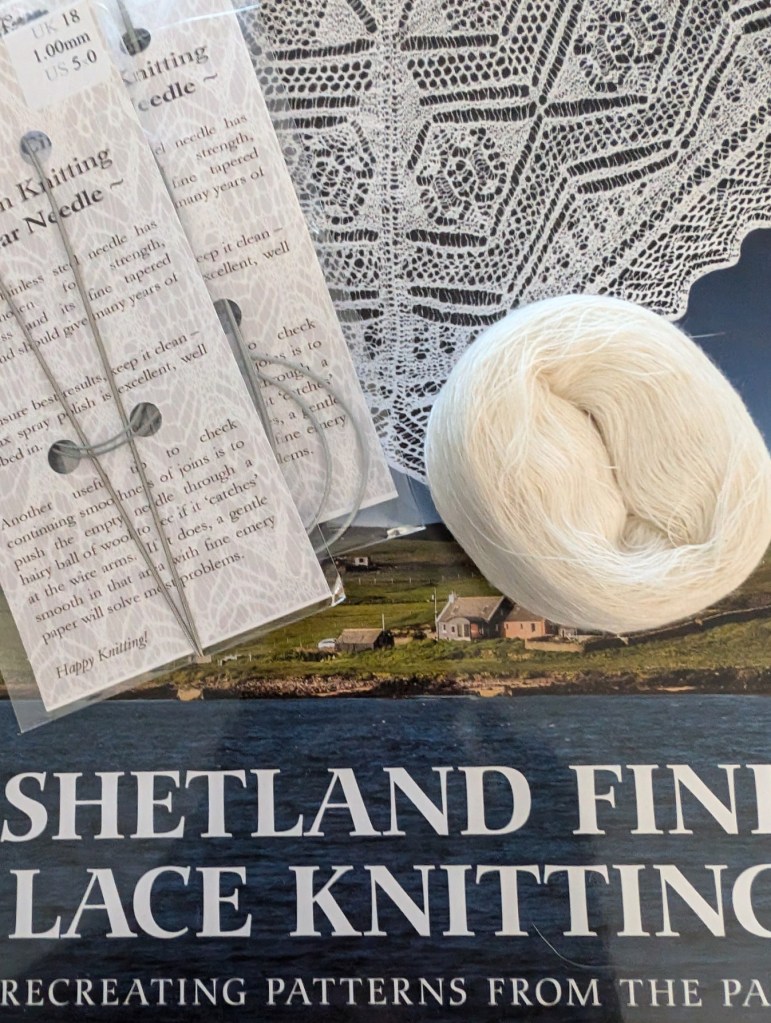
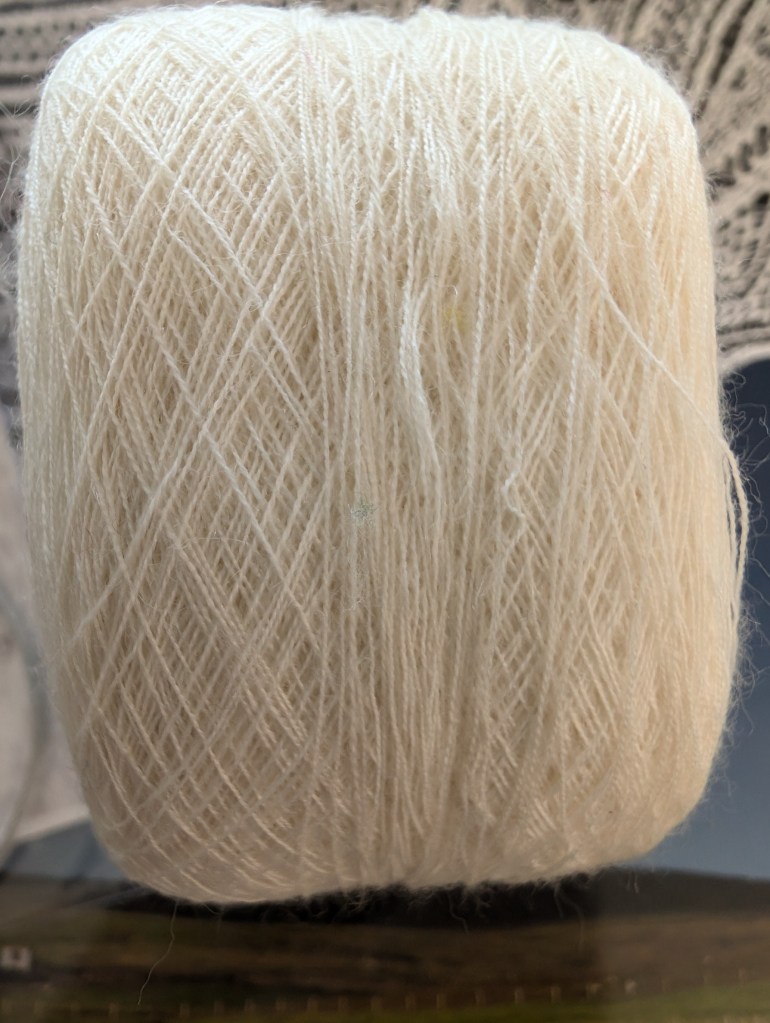
Remember this one? Well it was put on hold while I waited for the book and then it arrived and needed to be examined for new ideas. Which I really couldn’t find. I was in an odd headspace I think. I was looking at my knitting, on the 1.75mm US #00 needles, and thinking it was too loose. I had to get my head around that. So, yesterday I also ripped out my little bit of knitting and put away the the 1.75mm needles and pulled out the 1.0mm US #00000 needles and cringed. I have never, ever, knit with anything that small. So sometime in the next week I will be casting on a new project.
Still trying to get my head around that as well. Do I order more yarn, or do I design a smaller project. Still thinking on it!
This one has been on hiatus for a while, but I am planning on picking it up at the end of the month. I am not far off the waist and I am hoping to reach the shoulders around Christmas.
There are other projects in the background and more classes to share, but that can be for another day!
In the Summer I always try to finish up a project for myself. A sweater or vest, something new that I can wear to work.
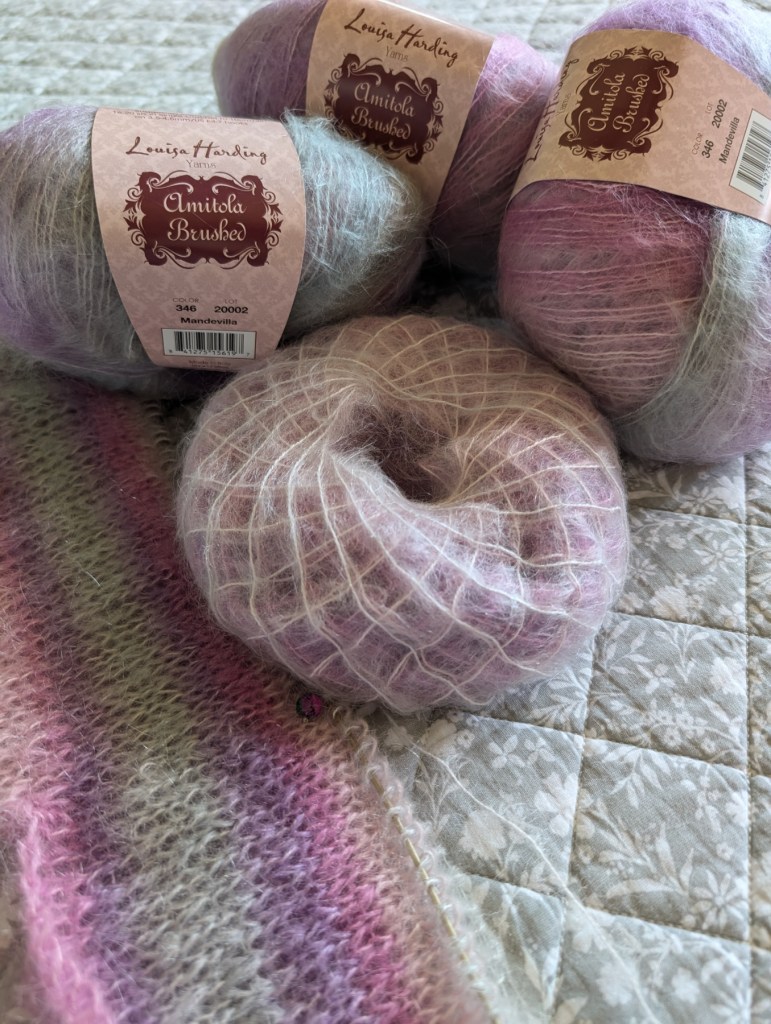
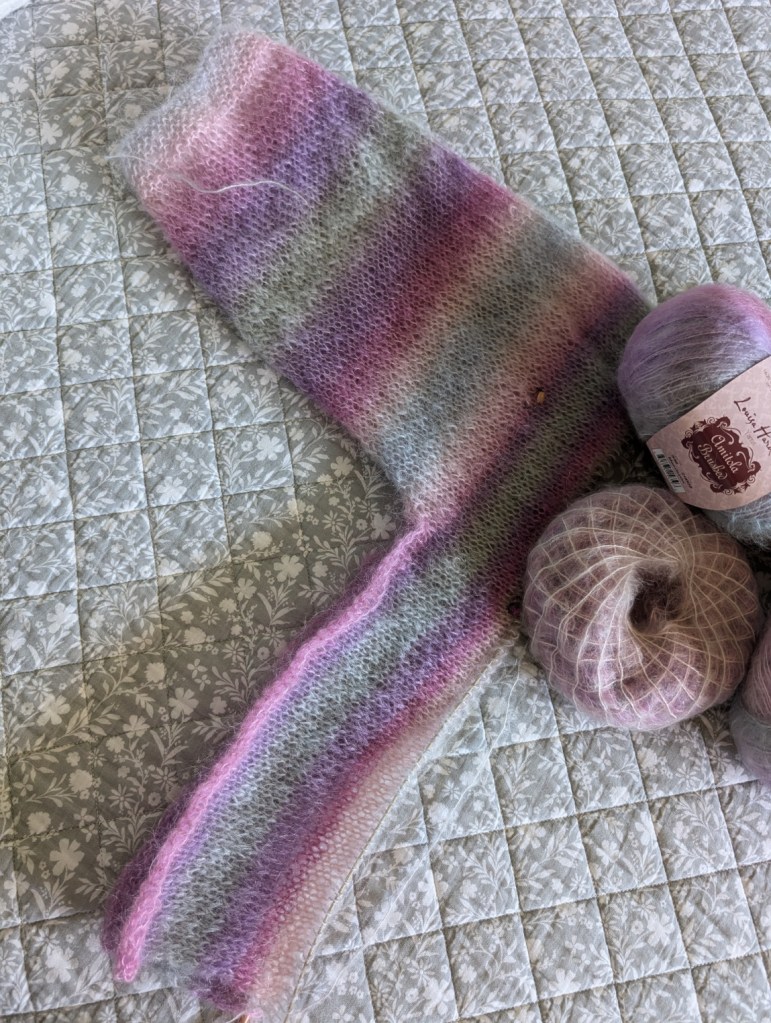
This year I have at least two things on the go. A light and airy mohair sweater knit with Amitola Brushed by Louise Harding. This is a heavier mohair and silk blend and I am knitting it quite loosely. I love mohair’s loft when the you let the fuzz fill in the stitches. It makes the garment light but still cozy! This sweater is underway and will be knit from sleeve to sleeve. The Amitola has a long, slow stripe and it is showing beautifully. I am barely through 60 grs of the first ball. I think that I will have plenty of yarn. I am knitting on a 6.0mm US #10 – this sweater is knitting up fast!
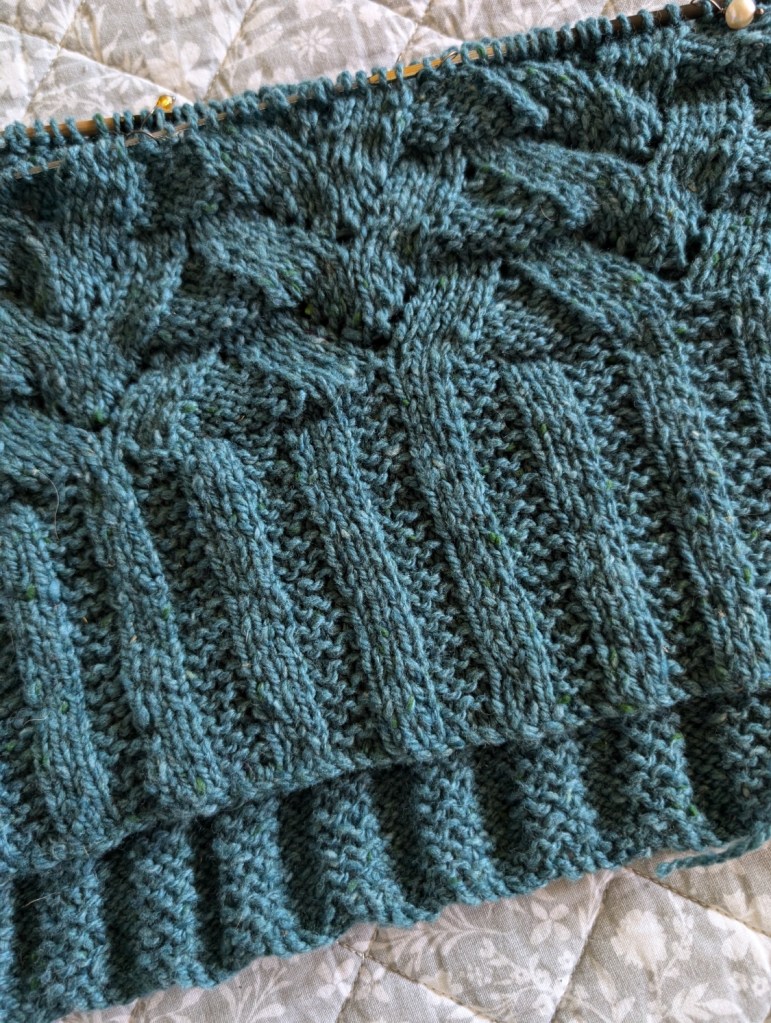
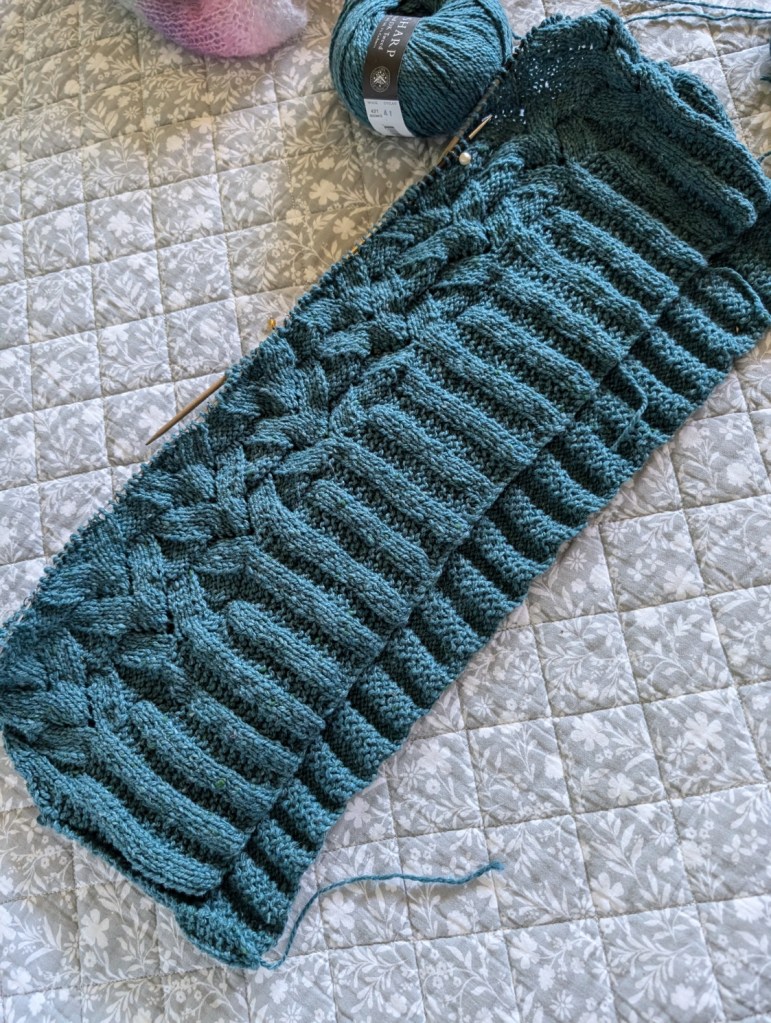
The Jo Sharp Silkroad DK Tweed yarn is going to take much longer to knit. Right now it is going to be a vest. But I am loving it so much and I think I have enough yarn, so it might turn into a full sweater. I am loving the stitch pattern. Time, as always, will make the final decision. And yardage, where is the rest of the yarn? Somewhere in my stash!
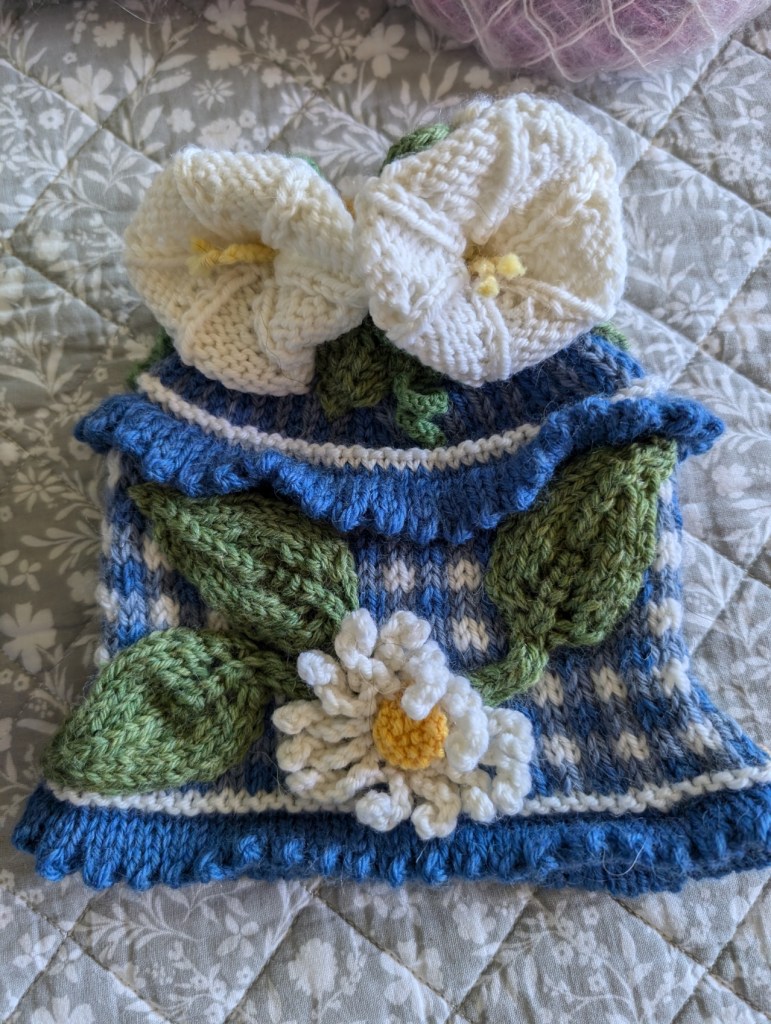
Summer is also when I make tea cozies. They are small and fun and I think I might design a class around a new idea I have.
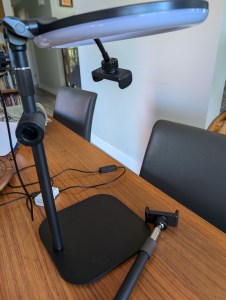
Last week I bought a new toy. It is designed to hold my phone as I video myself knitting a new technique. You have already seen it at work as I ripped back my last hat!
The weather here is back up to being hot again. So I am looking at small projects as well. Beading something, anything, is always good for hot weather knitting.
I also love to knit shawls in the Summer. Tomorrow I hope to have the Green Man motif ready to show.
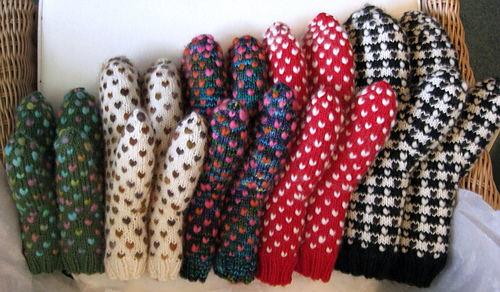
Do you have a “colour” ? Something you know you love to knit with. Something that you “lean” towards. Something you sometimes are unaware of. I do. Apparently I wanted a co-ordinating set. LOL!
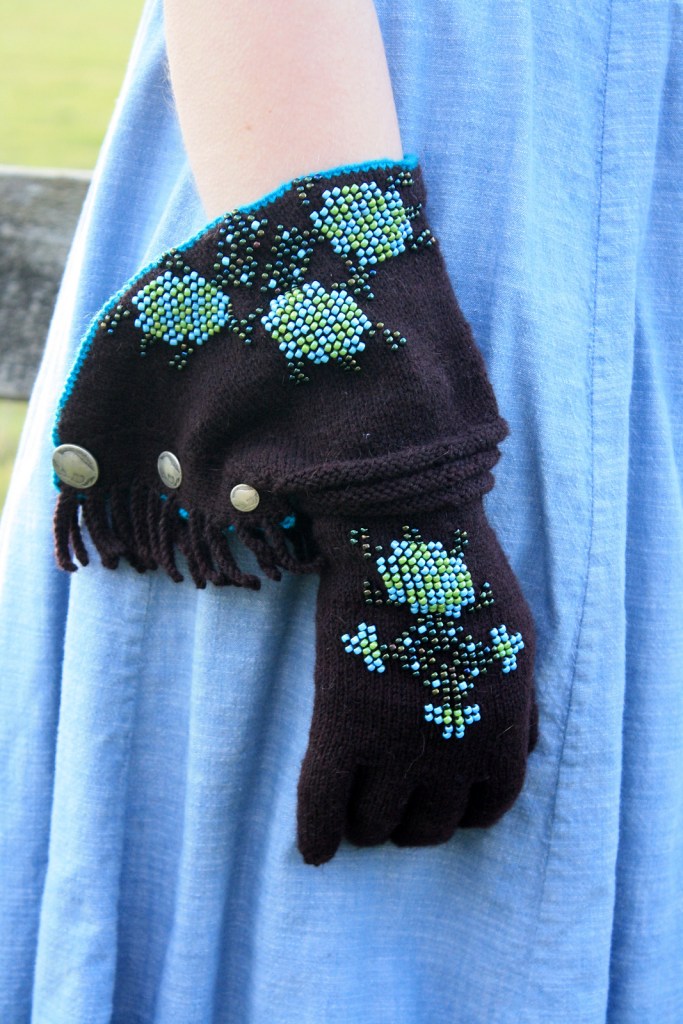
Don’t they look great together? I guess I will have to finish the gloves sooner rather than later!
Below are some random images of this Summer and Summers past! They are part of my inspiration as I dream up new ideas.
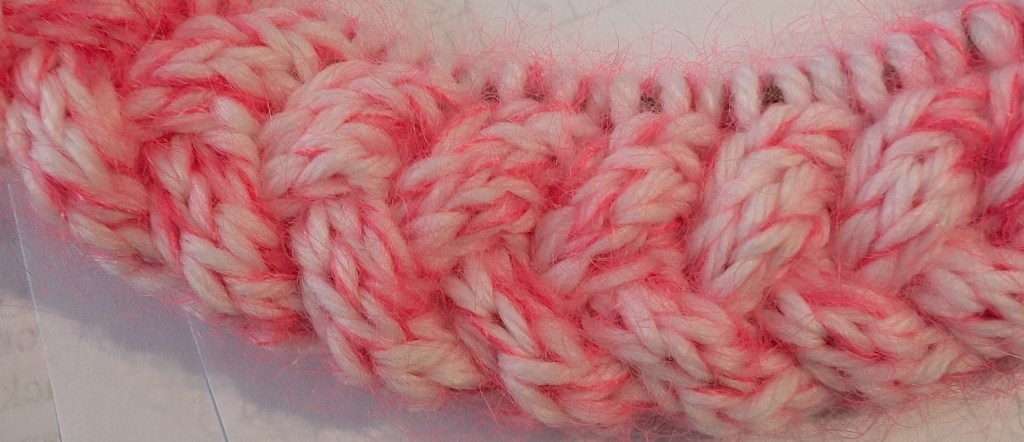
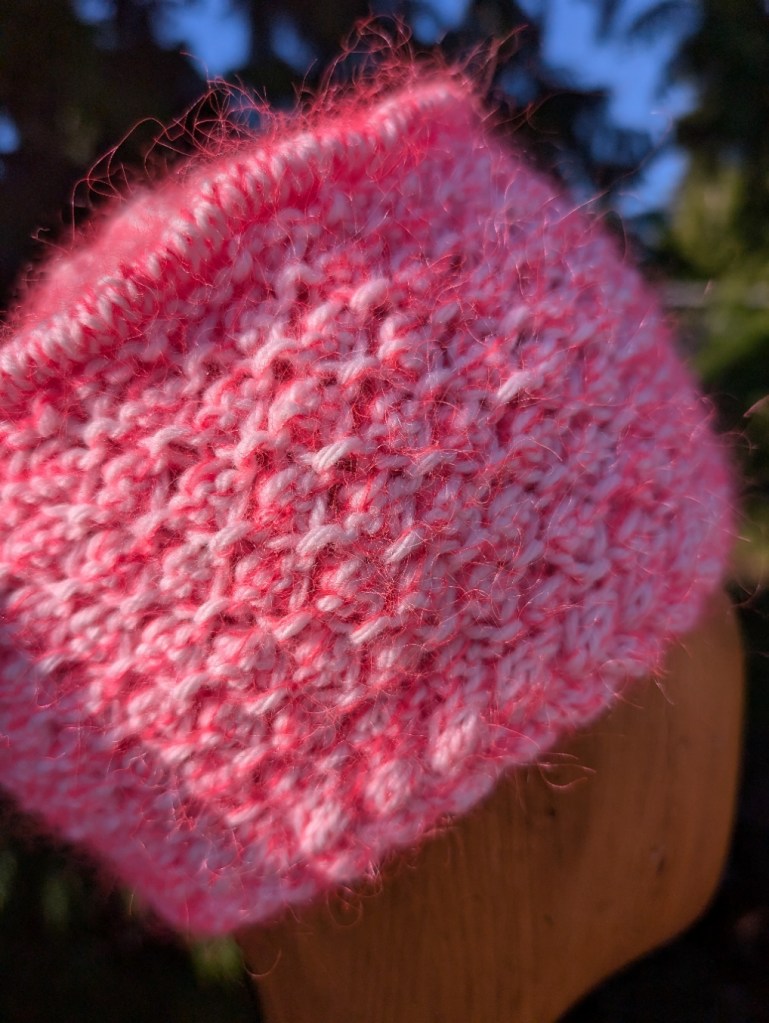
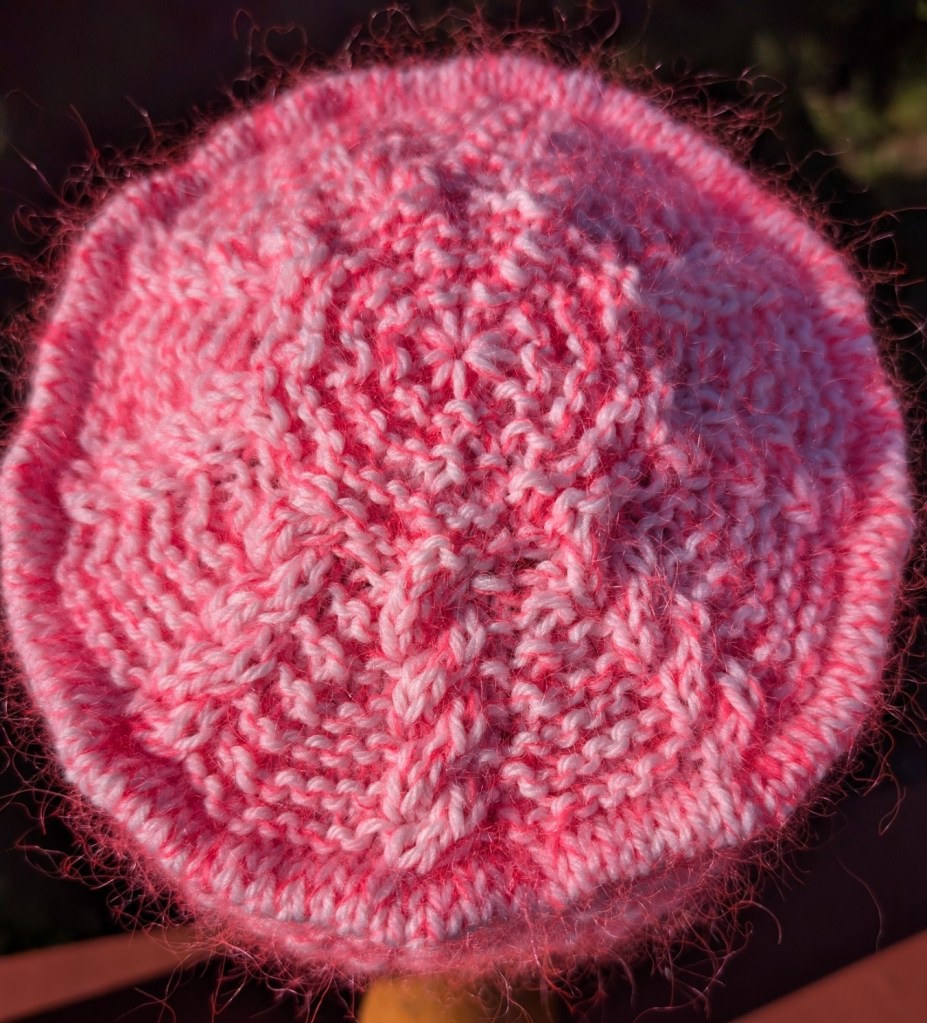
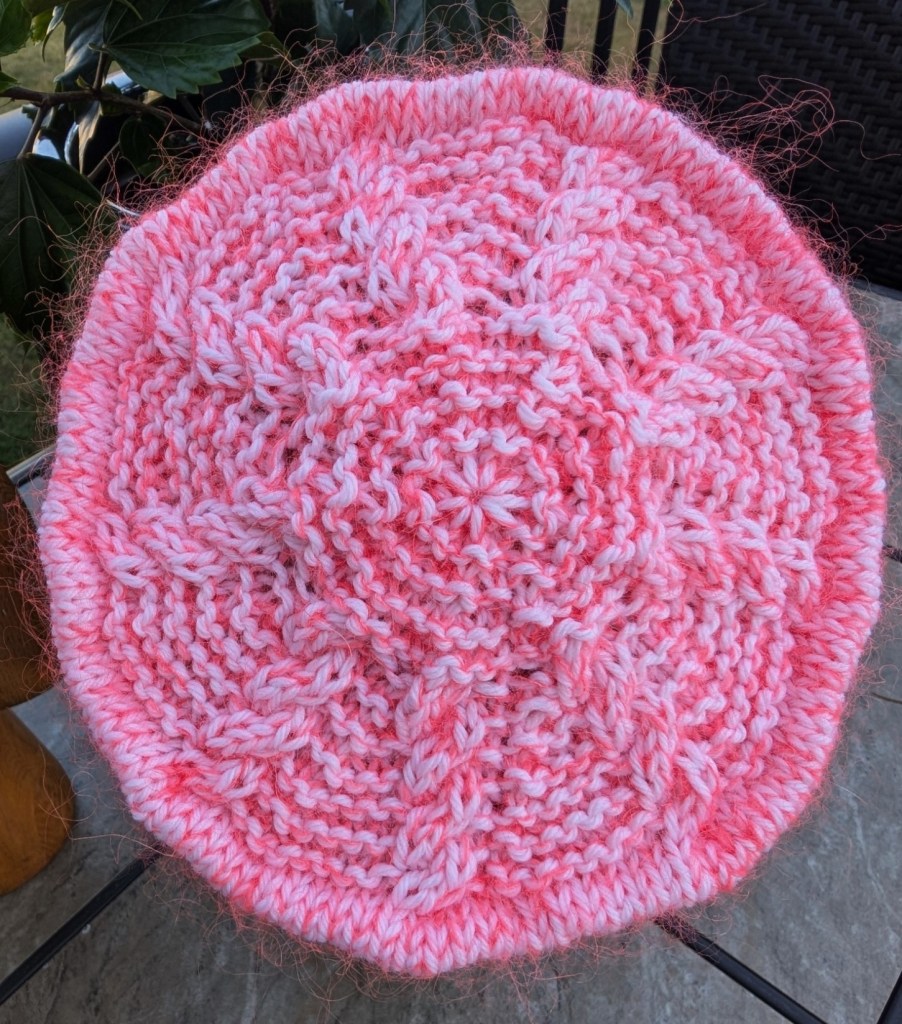
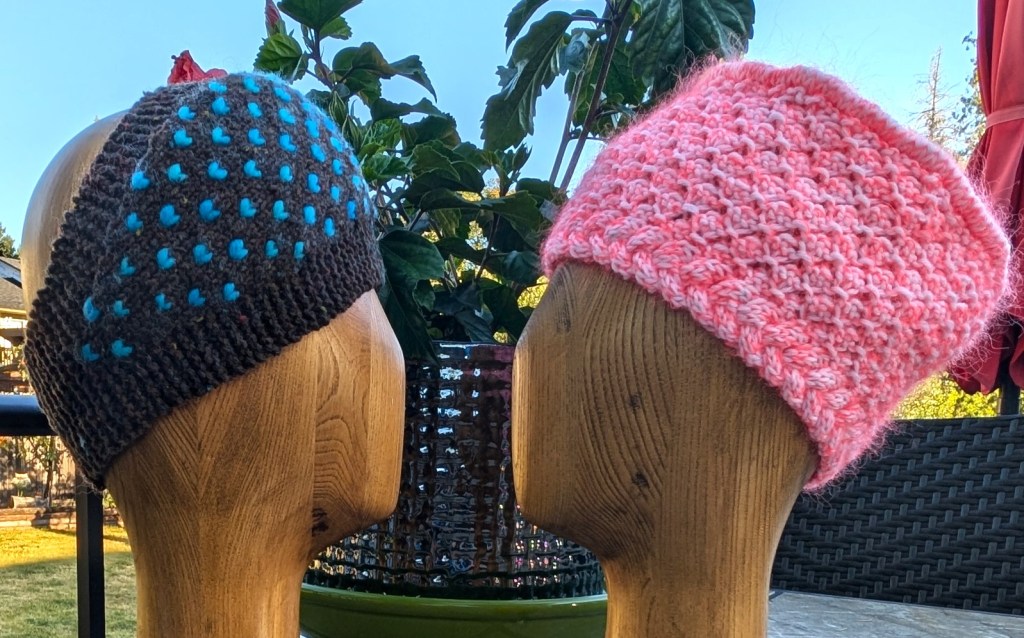
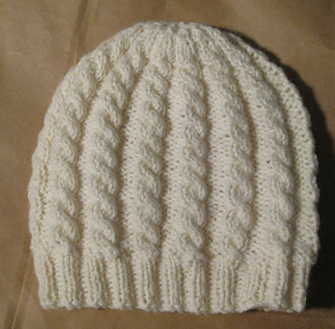
I have finished two of the class samples. Still at least three more to go! I am happy with the results so far! They include a thrummed headband and a cabled pillbox style hat. I took the pictures in different lighting conditions, just to see how the colours would change.
I have no name for the headband pattern, but the pillbox is going to be called Candy Cables – just something about the colour. The white base with the glowing peach mohair looks like candy to me. Check out the mohair halo – so pretty!
Have you ever made thrummed mittens? Or slippers? Well I am working on a Thrummed Headband. It has an easy shape and will be easy to learn the technique so that you could make mittens or slippers if you wished!
2) Cables
A simple cable hat?
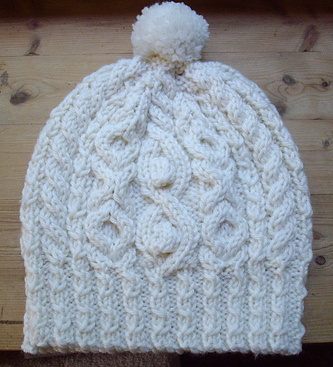
Or maybe a not so simple cable hat?
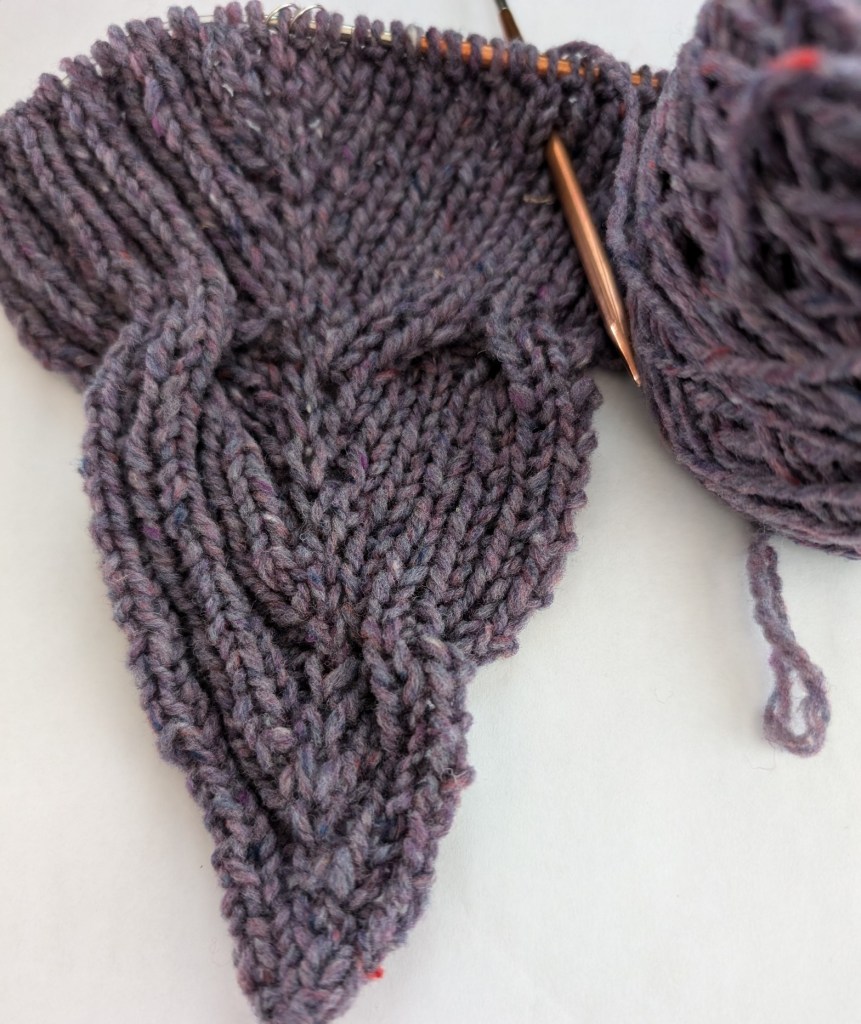
How about a reversible cable scarf? As you can see this idea is still in the very early stages!
3) Maybe something more long term, with once a month meeting/classes.
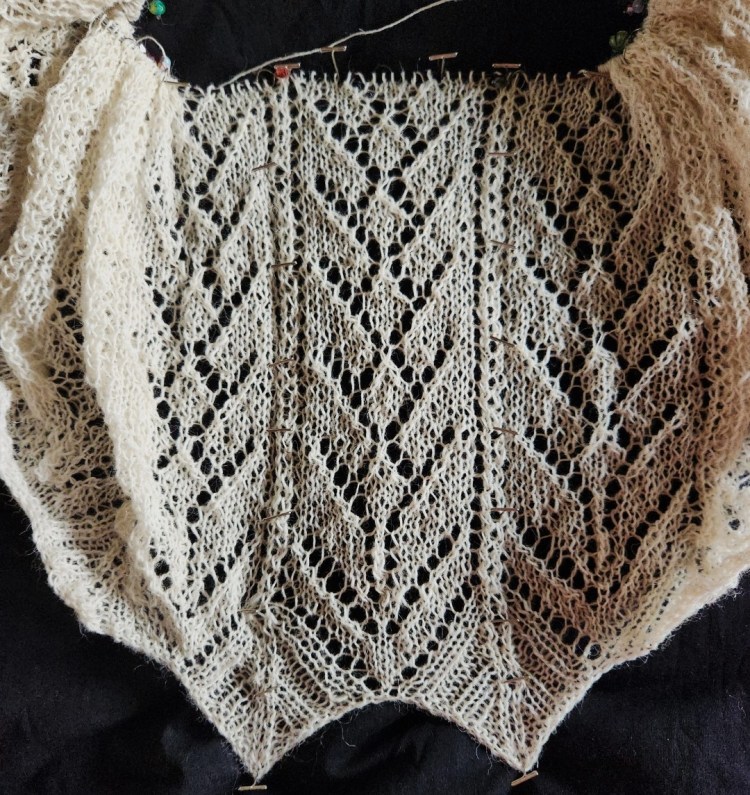
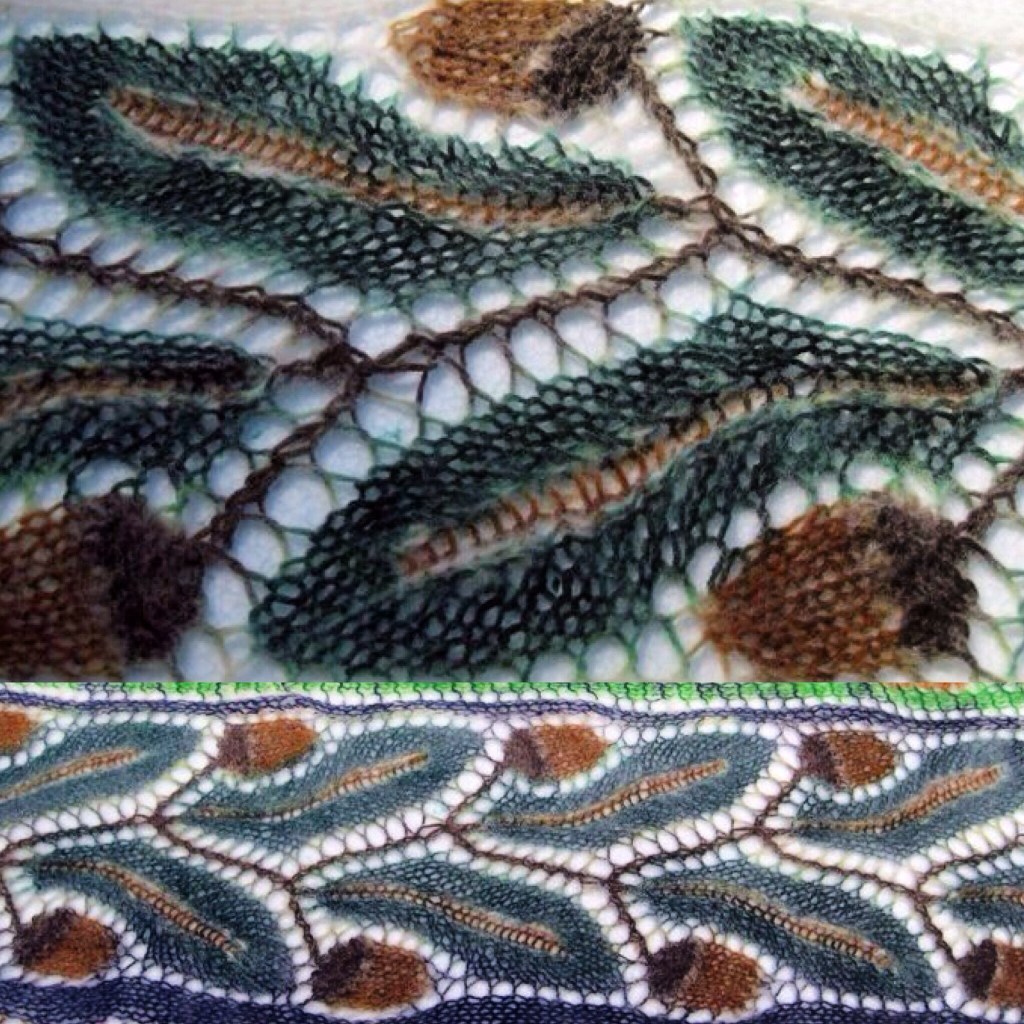
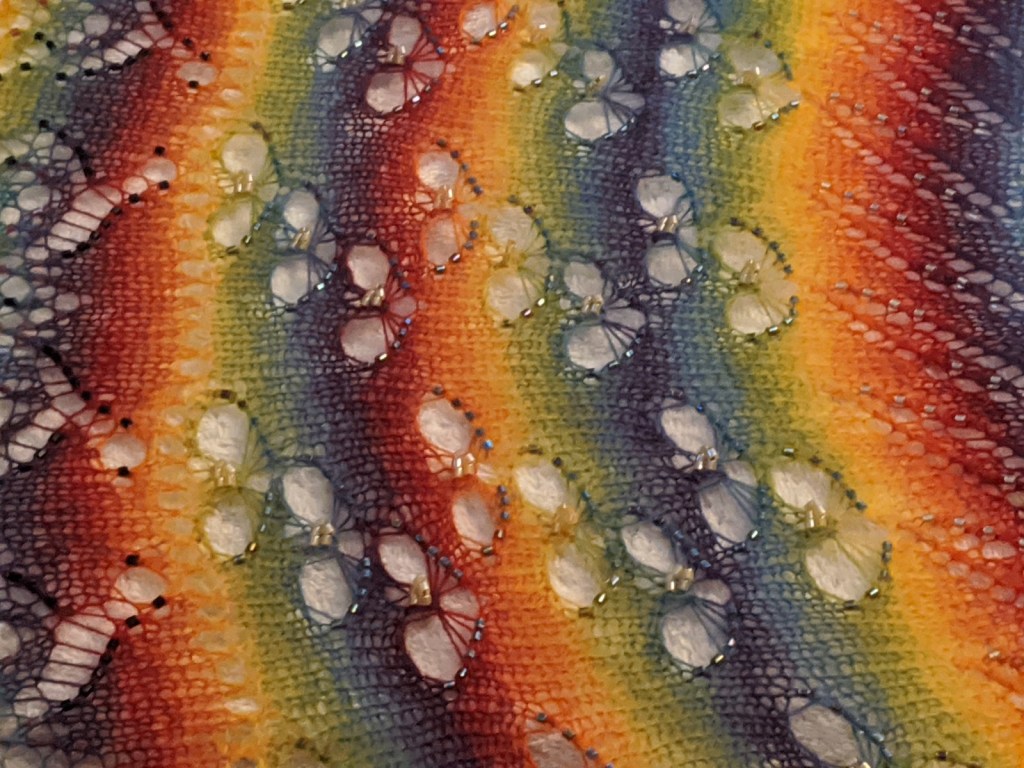
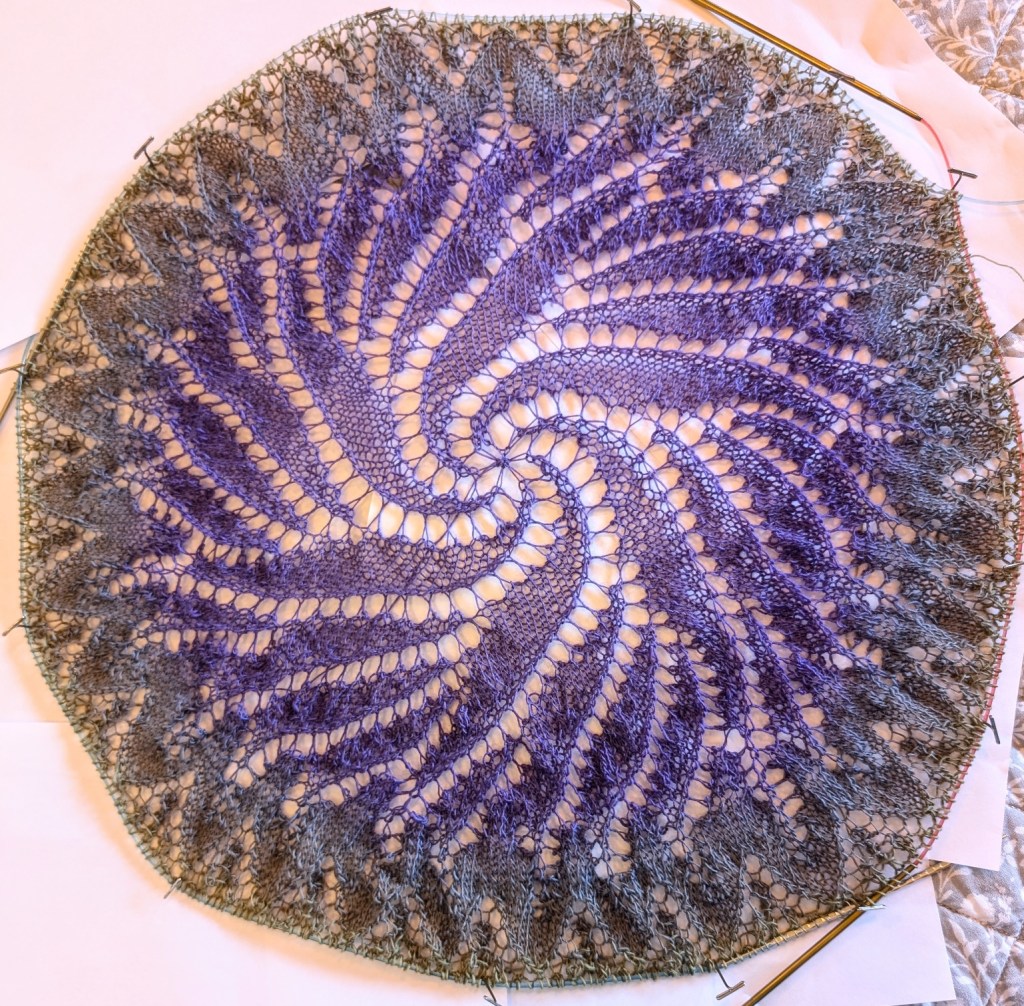
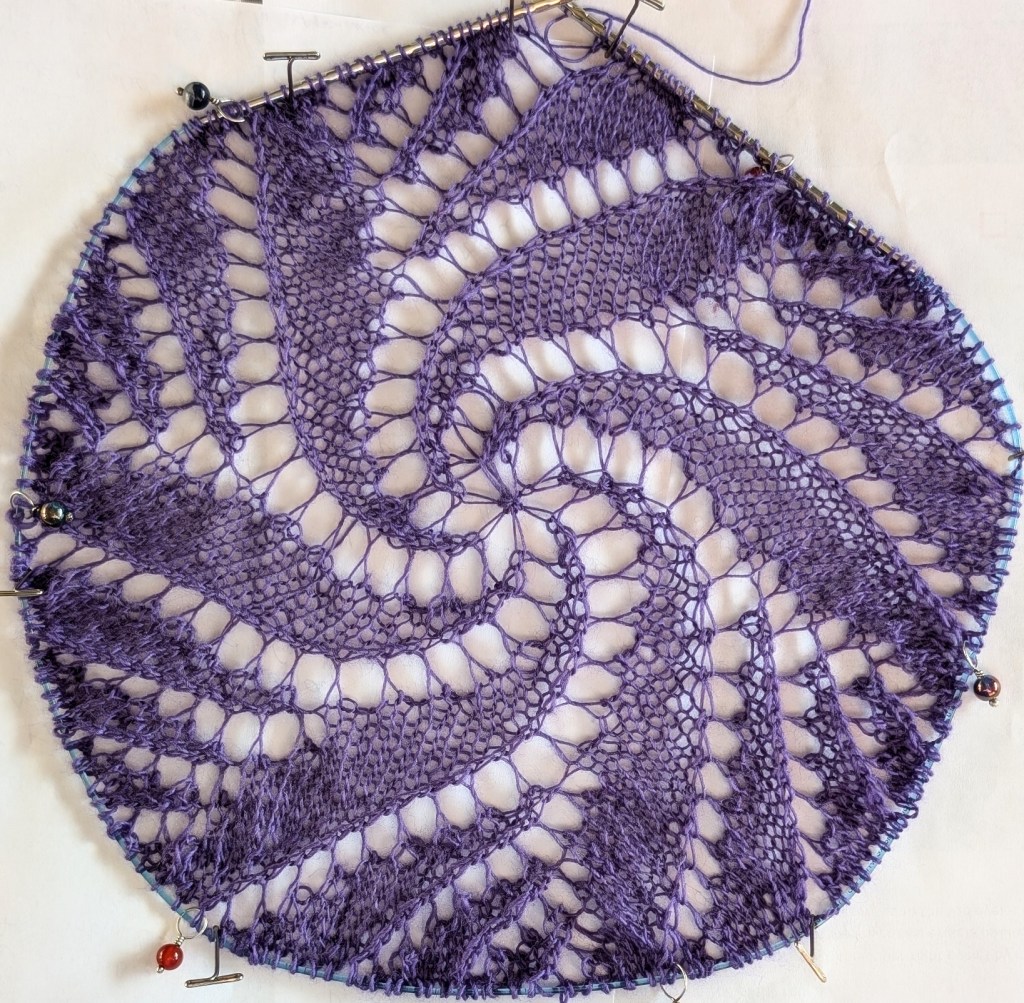
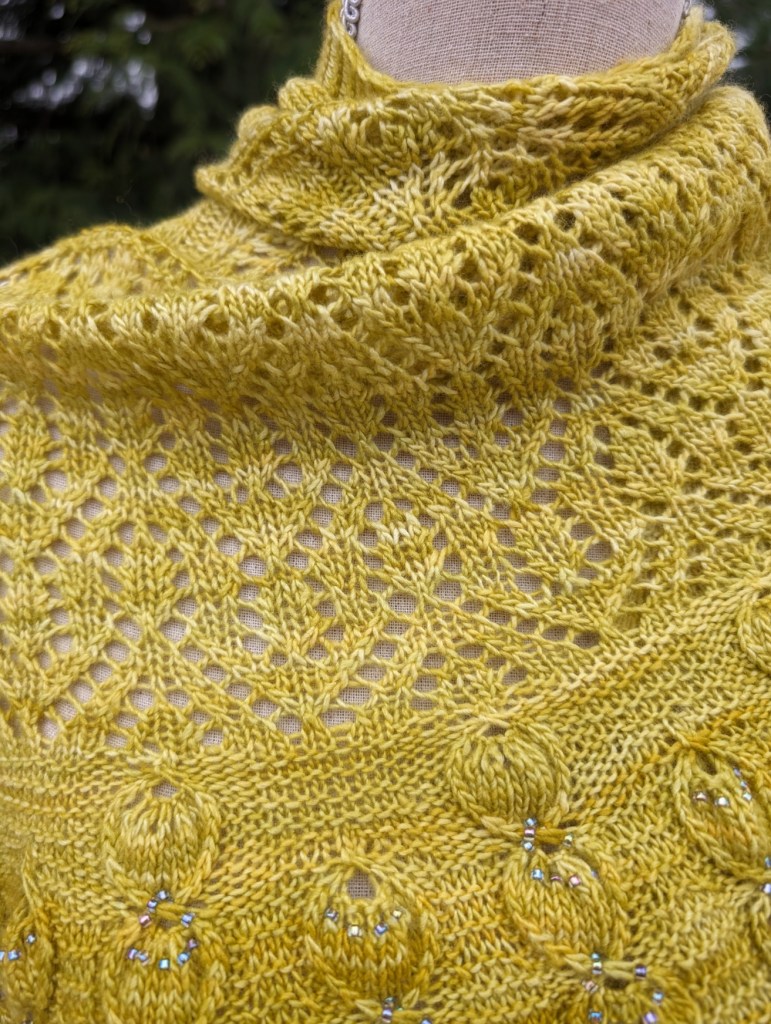
I am planning a Knit-a-Long. KAL for short. The Green Man KAL. This will be a lace shawl for the more advanced knitter. It could be knit in a fingering or lace weight yarn, knitters choice and there will be how to video’s attached for those who don’t live in the area and in person classes for those who do. Techniques we will cover include circular cast-ons, adding beads (if desired), three dimensional embellishing, some interesting lace techniques and finishing with knitted on edging. Sample below is knit with Schoppell Zauber Lace 100. Right now I am working on the chart for the the Green Man and will share updates as that comes together.
4) Of course I will run the Fear of Finishing Workshop – an in depth look at some basic and not so basic finishing techniques. Including the best start to create the best finishes and things the pattern always forget to tell you.
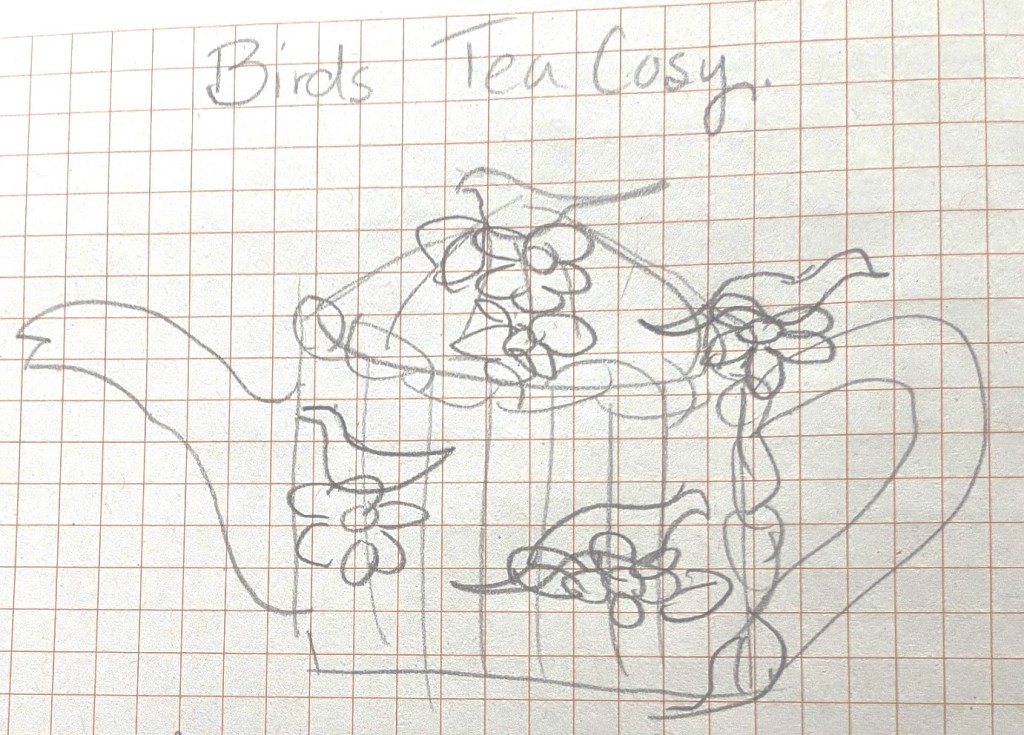
5) I am thinking of a designing a new tea cozy this fall. Something with birds I think!
6) A class on mending is in the works as well! Darning socks, fixing holes with some creative mends and swiss darning the old fashioned way!
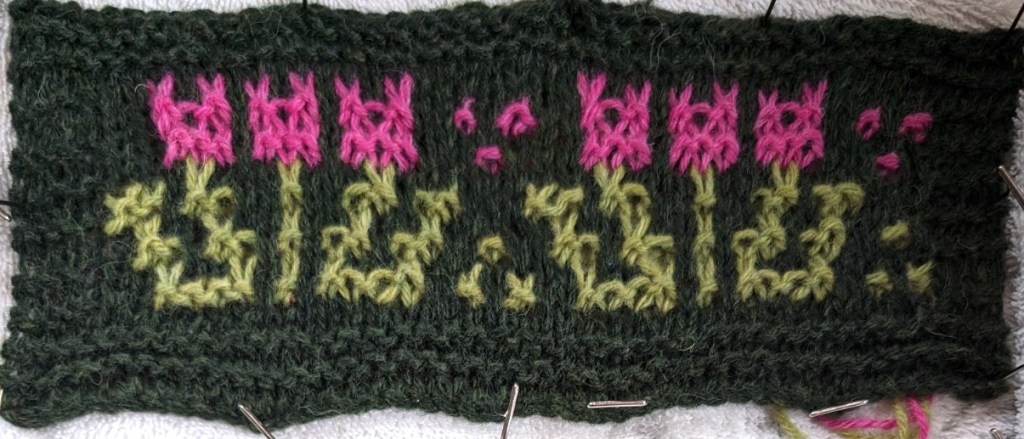
I am also looking for new ideas. What do you want to learn? Can I teach it in a class or does it need a workshop? I could teach something in Mosaic Stitch, or maybe Twinned Knitting? Some simple fair-isle mittens or cowl for gifts?
What style of project would you like to see? A simple shape to show up the new technique, a pillow perhaps, maybe bolster style with knitted on fringe for finishing. Or a new hat, a pillbox or cloche style, something a little different from your basic beanie.
I am off to dream up and then knit up some new samples. I hope that you have a dreamy week as well!
It can be said with some authority that I am more than a little obsessed with beads and the many possibilities they offer for embellishment on our knits. It is more than a pity that our society really isn’t so much into the glittering styles of the past! I would so rock those days!
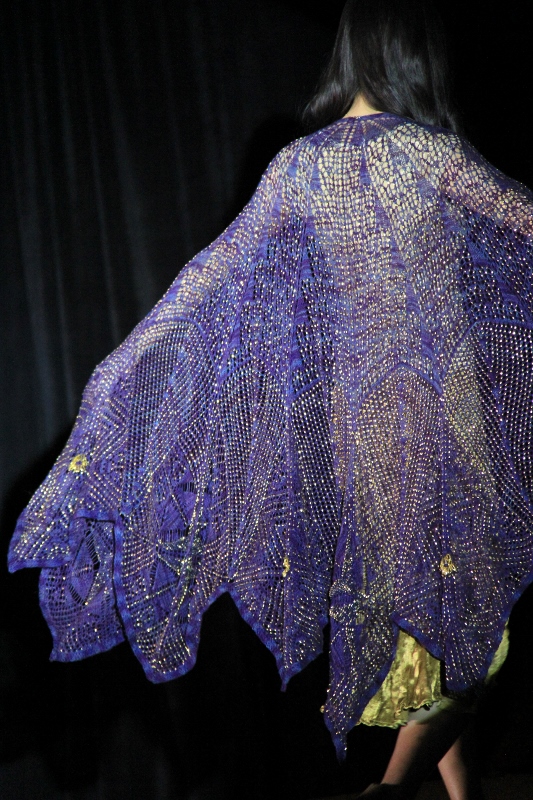
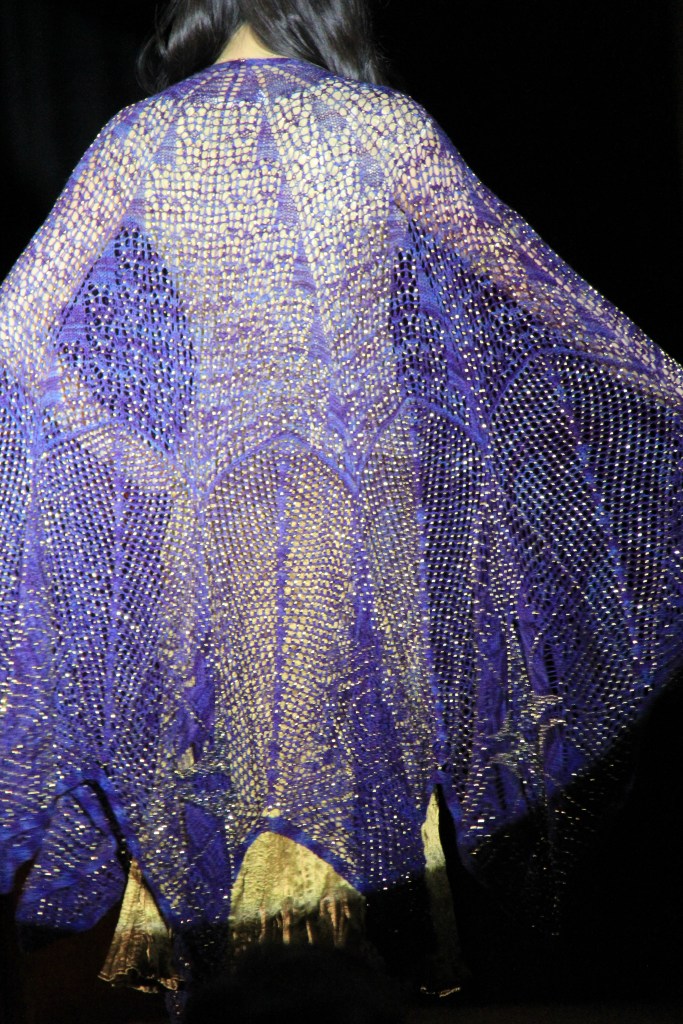
Rhiannon – knit with Buffalo Wool Co Sexy yarn and 20,000 + 24 k gold dipped delicas and crystals.
Knitting with beads – There are several methods for placing a bead onto knitted fabric: between the stitches, on one arm of the stitch or on both arms of the stitch. Some methods require that the beads be strung on the knitting yarn before knitting. Some are placed on the stitch as it is knit and others are added after the work is finished. The size of bead will determine whether it can be placed on the stitch or whether it needs a separate strand. If you are planning to use thousands of beads on a project, do work a sampler first to determine the most efficient method of working the beads. When stringing beads make sure that there are no knots in the yarn.
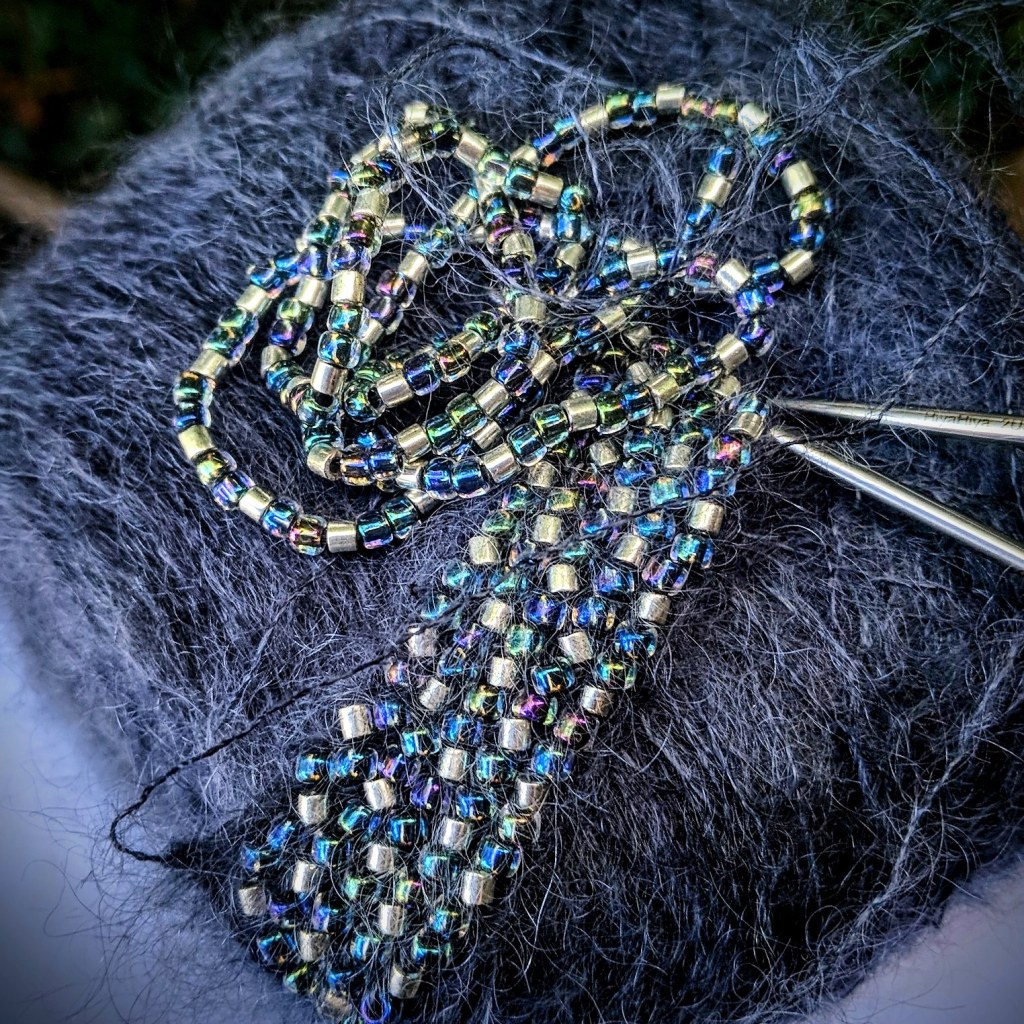
Pre-strung beads used for loops and beads placed between stitches in a garter stitch background.
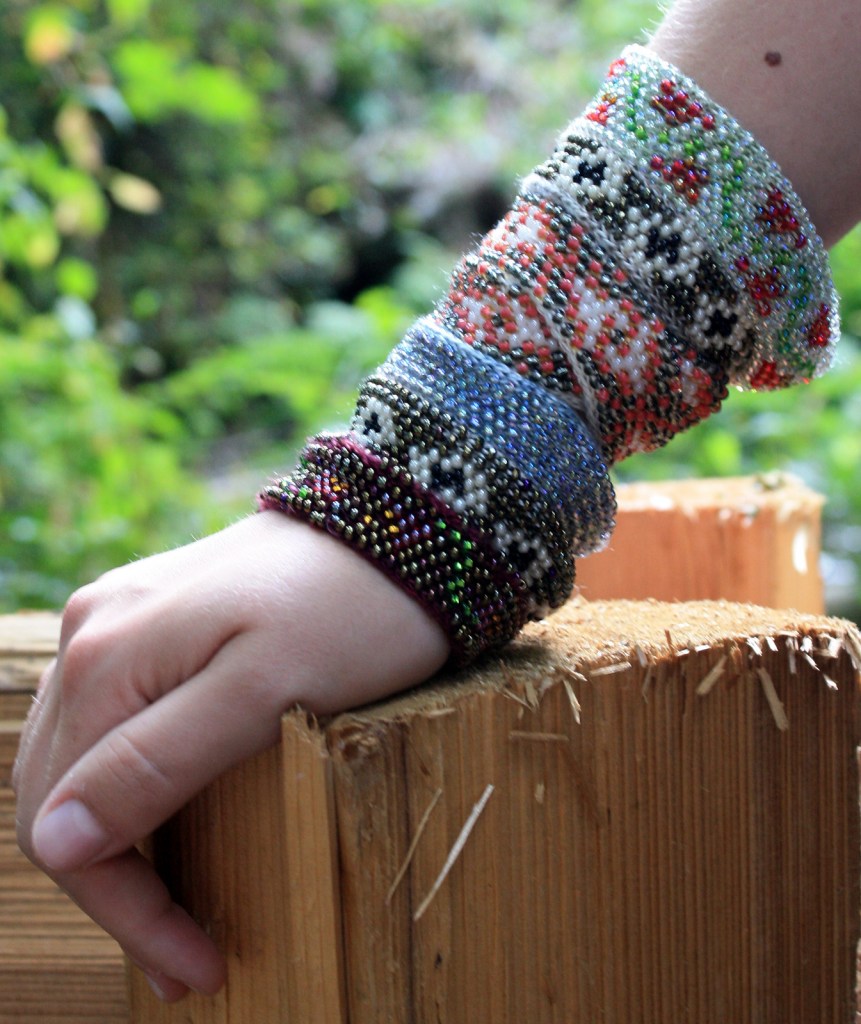
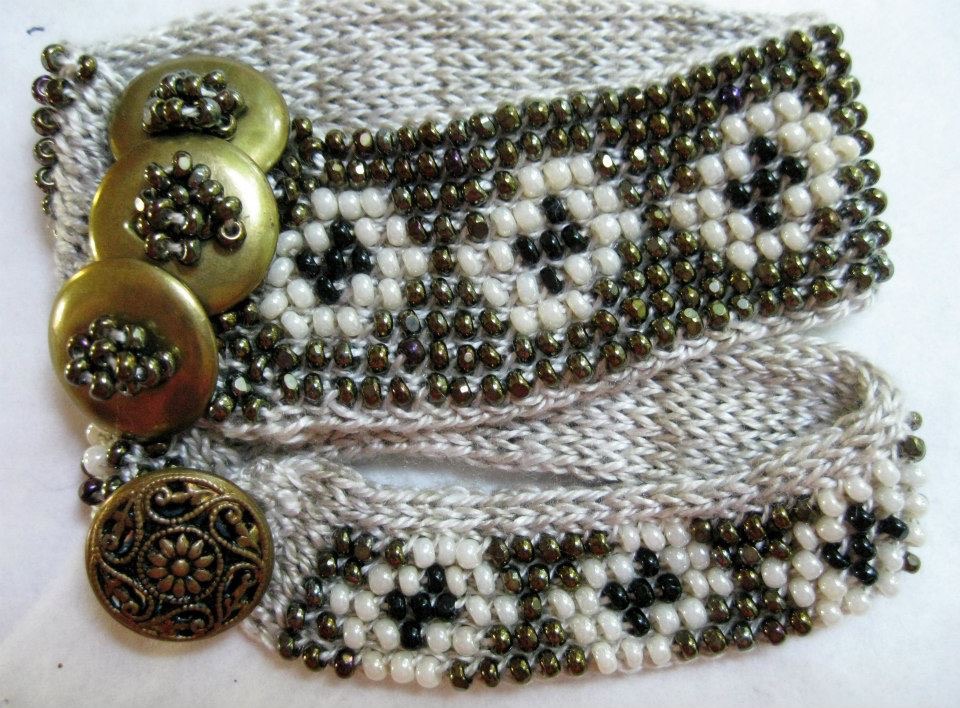
Traditional bead knitting -The bead is placed on one arm of the stitch. All beads need to be pre-strung and if using multiple colours they need to be pre-strung in reverse order.
Bead knit gloves, mitts, gauntlets and jewelery!
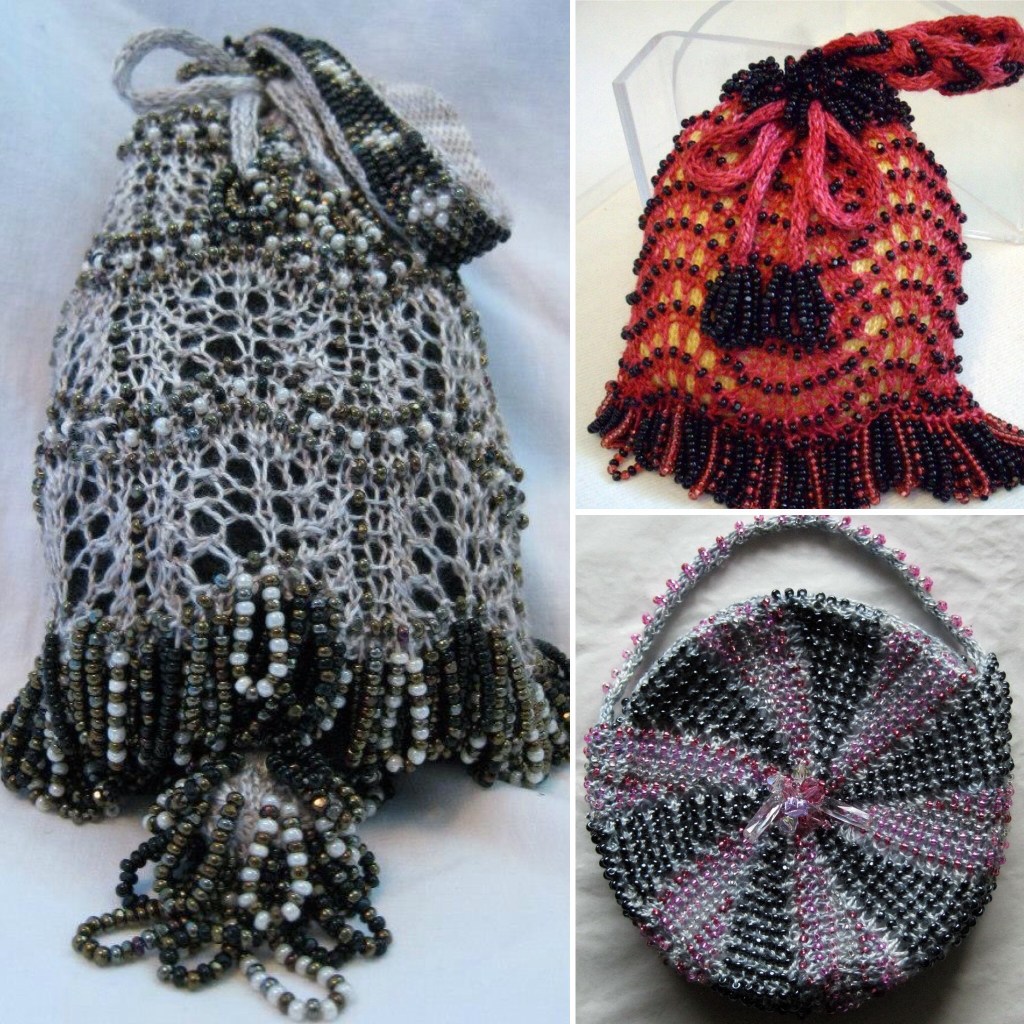
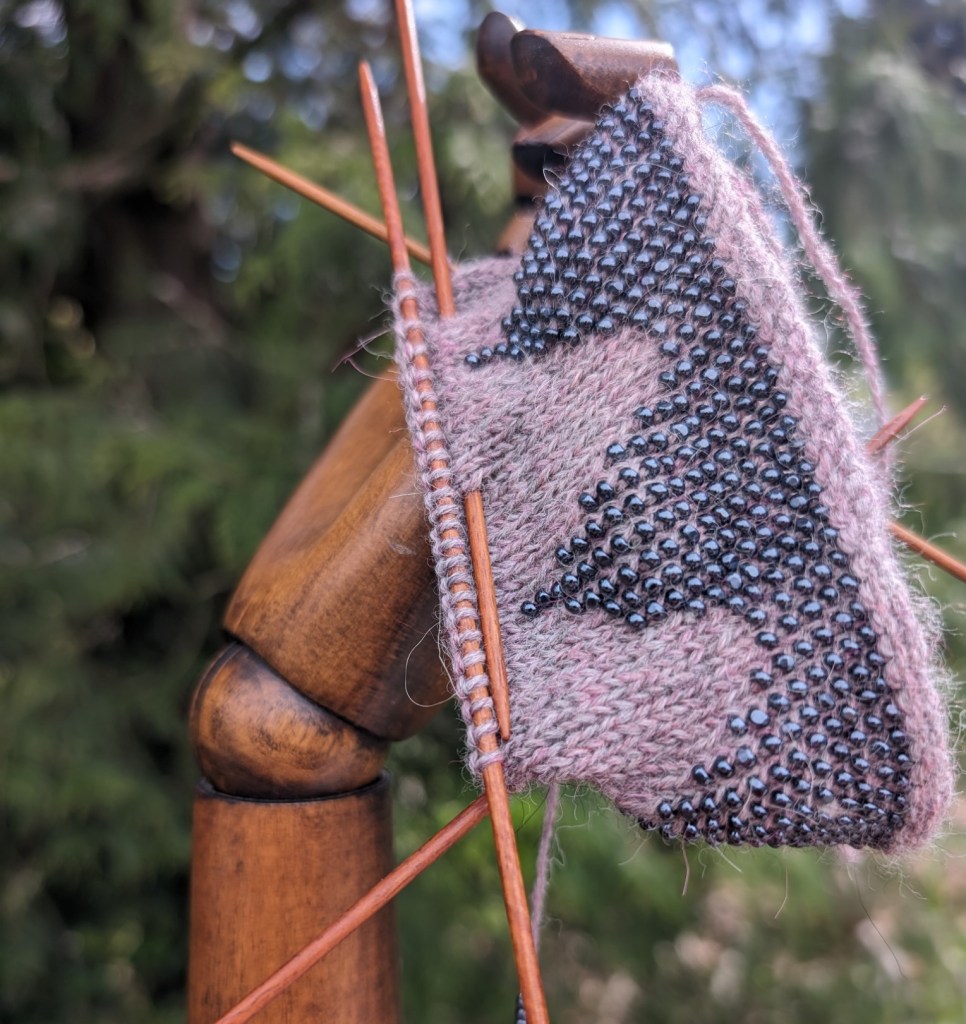
A bead is placed on an arm of each stitch, as you are knitting through the back of the loop. This style of knitting will have a tendency to bias. This is not a problem if the fabric is knit circularly. (Which is the only way I will tackle it!) Most Victorian purses were worked circularly and the biasing was not readily noticeable. The other advantage of working circularly is that you do not need to work a purl stitch through the back (try purling through the back of a loop and placing a bead at the same time!) Bead knitting used to be worked with small (think micro) seed beads and silk or cotton thread and very fine steel needles. There are still knitters who work in this way.
I work bead knitting with small beads (not micro) and fine yarns – lace or fingering weight yarns (not threads) and small needles, anything from 2.0mm US#0 to 2.75mm US 2. I haven’t done any bead knitting for quite a while. I have taught both styles of bead knitting but always had a hard time convincing others that working traditional bead knitting was worth the effort!
I still use a lot of beads in my knitting but they are mostly placed with a small crochet hook, and not always pre-strung as in traditional bead knitting.
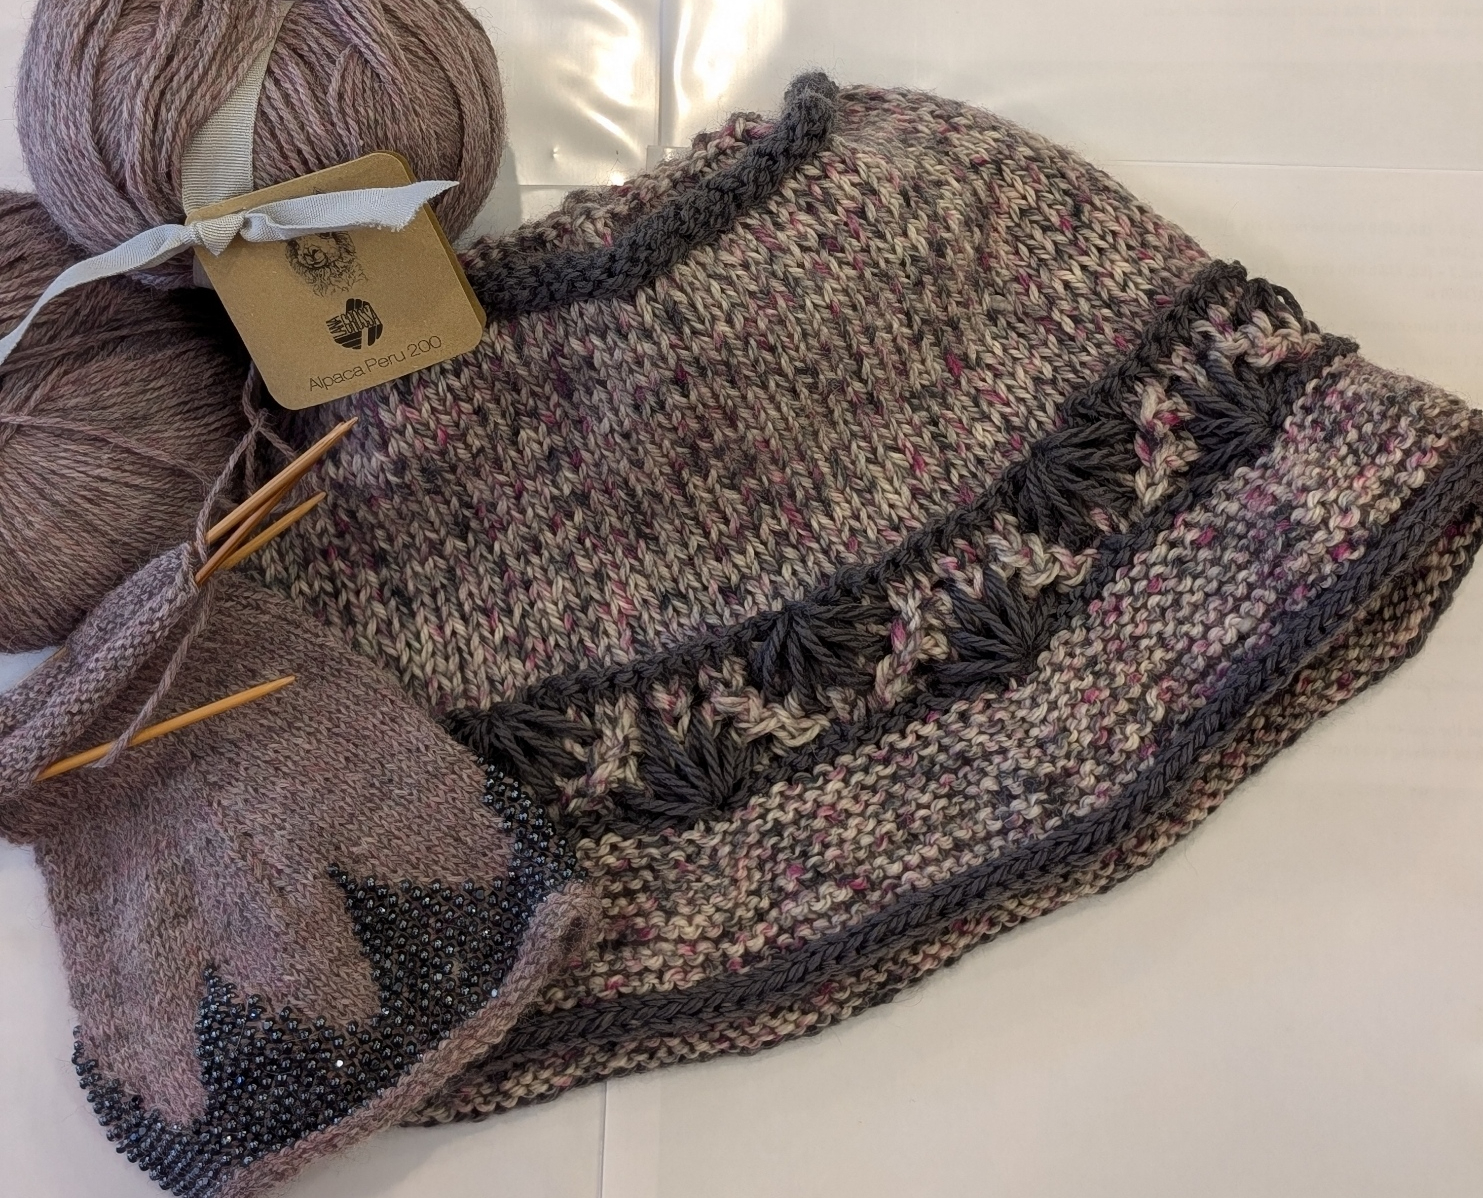
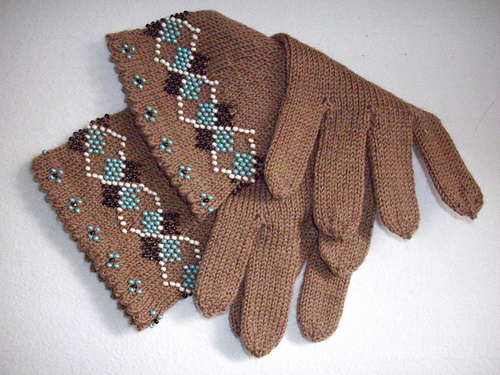
So, when I decided to knit a pair of gloves with some beautiful new yarn I also decided to knit myself a beautiful bead knit edge for those new gloves.
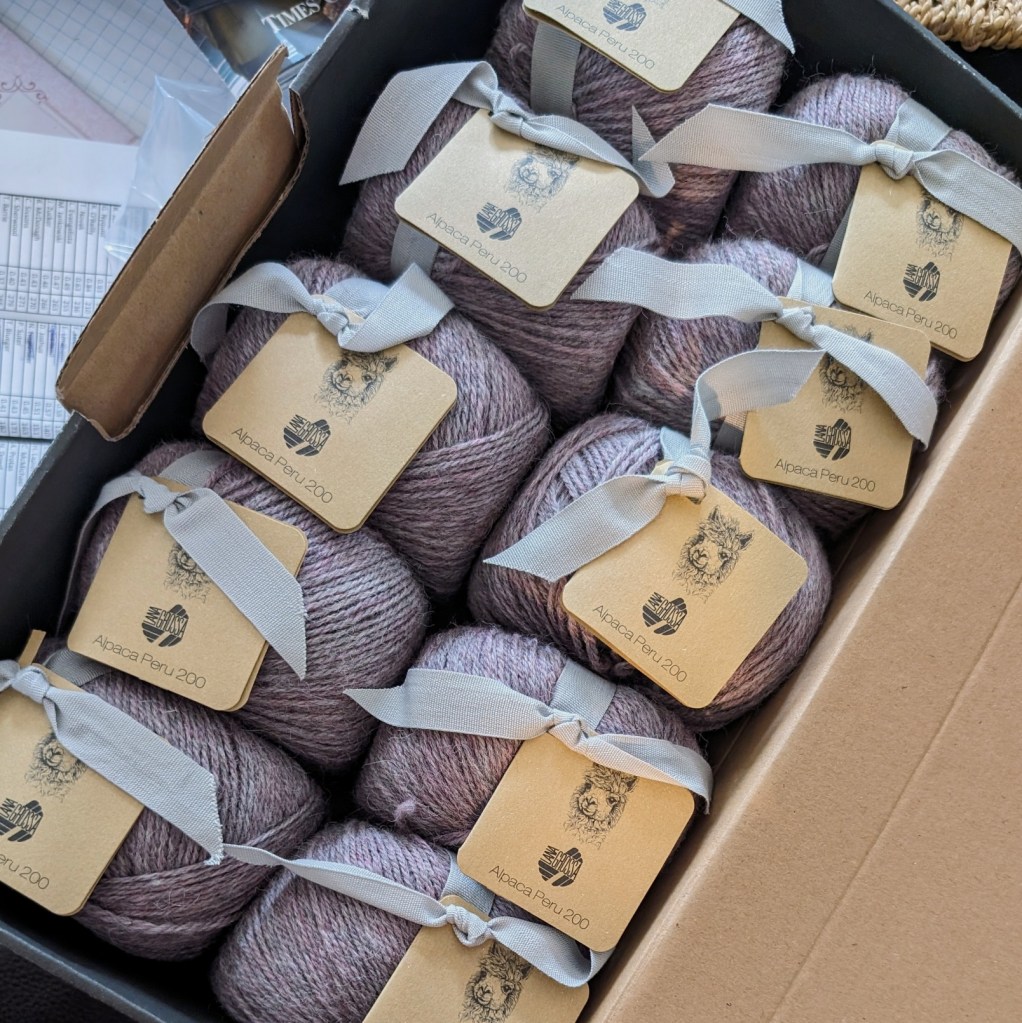
I am seeing a short beaded gauntlet with either short finger gloves or mitts! But maybe I won’t be able to resist the lure of a proper pair of gloves! These gloves are my “swatch” for the yarn. From this I can learn about the yarns strength, how or if it has a “halo”. How much will it stretch (alpaca has no memory – so if it stretches it won’t go back). And I have something useful at the end of the knit. Many of my hats are gauge swatches. A trick that Elizabeth Zimmermann suggests as a means to learn your yarn and create something useful at the same time!
The yarn is a breeze to knit with. And yes, there is a lovely halo. The yarn is also handling the weight of the beads without too much obvious stretch. So I will continue on, and isn’t it a beautiful colour?
I was wondering if anyone would be interested in a workshop this summer to learn how to bead knit…. I would love to lead you down the garden path and introduce you to another side of working with beads and knitting!?
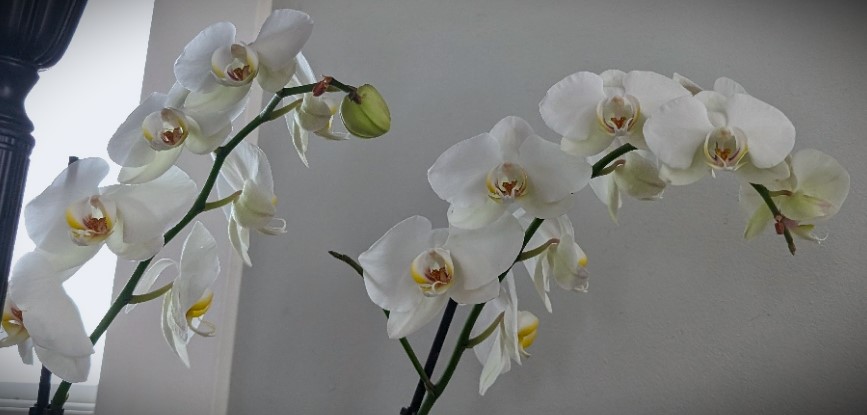
Check out the Orchid! It is still kicking and has opened some new blossoms!
I had a couple of shawl samples come back from my test knitter in the last couple of weeks. It was planned and it worked! They both are knit in fabulous fresh Spring colours! And I hope to have both patterns out by the end of May!
Cockleshell Love – knit in B.C. Garn Loch Lomond Lace, Eggshell and Baby Pink (more rose pink) colourways.
Fushia – knit in Manos Fino, Topsy Turvy colourway.
Yarn is my Happy Place. Knitting with yarn is the perfect expression of my state of mind. Knitting with yarn that is new to me and often has been gifted to me is my idea of perfection!
I am in my heart a lace knitter – it is one of the most beautiful expressions that can be created by two sticks and some string. And right now I am extra Happy!
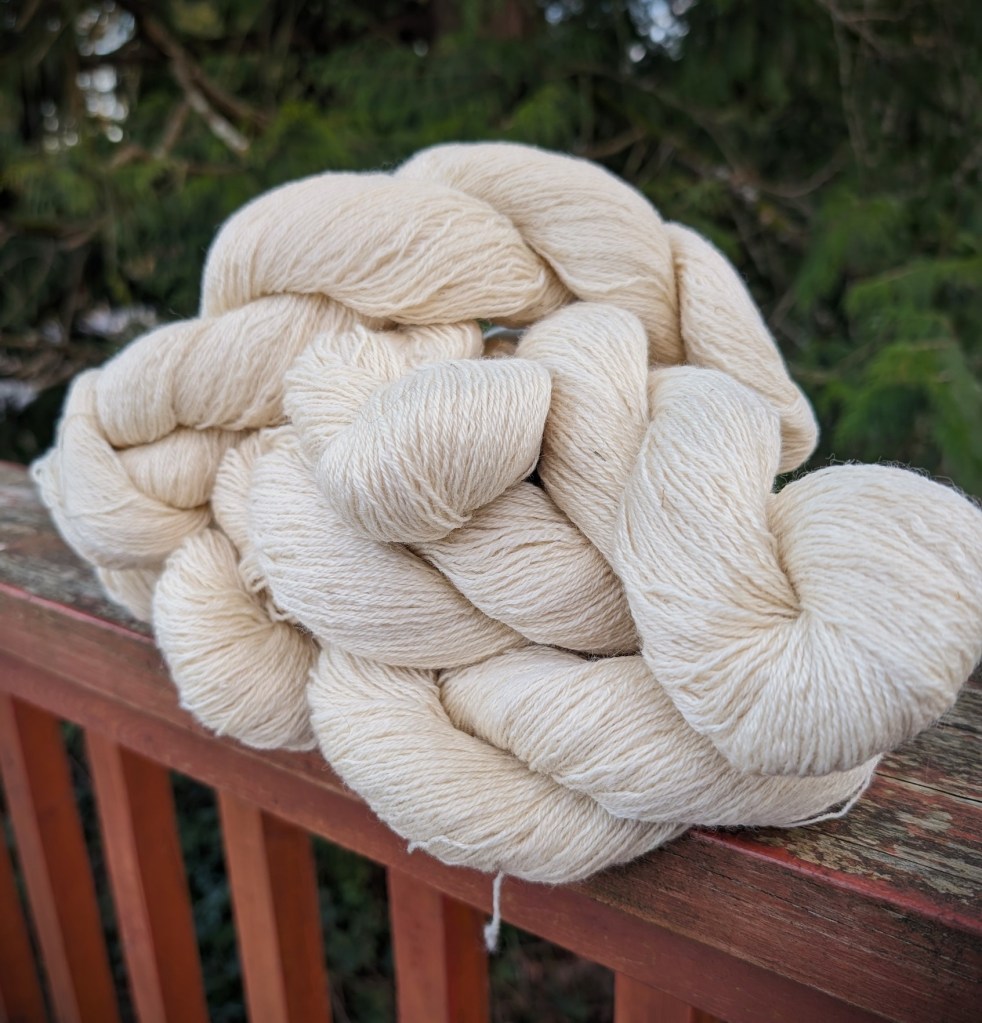
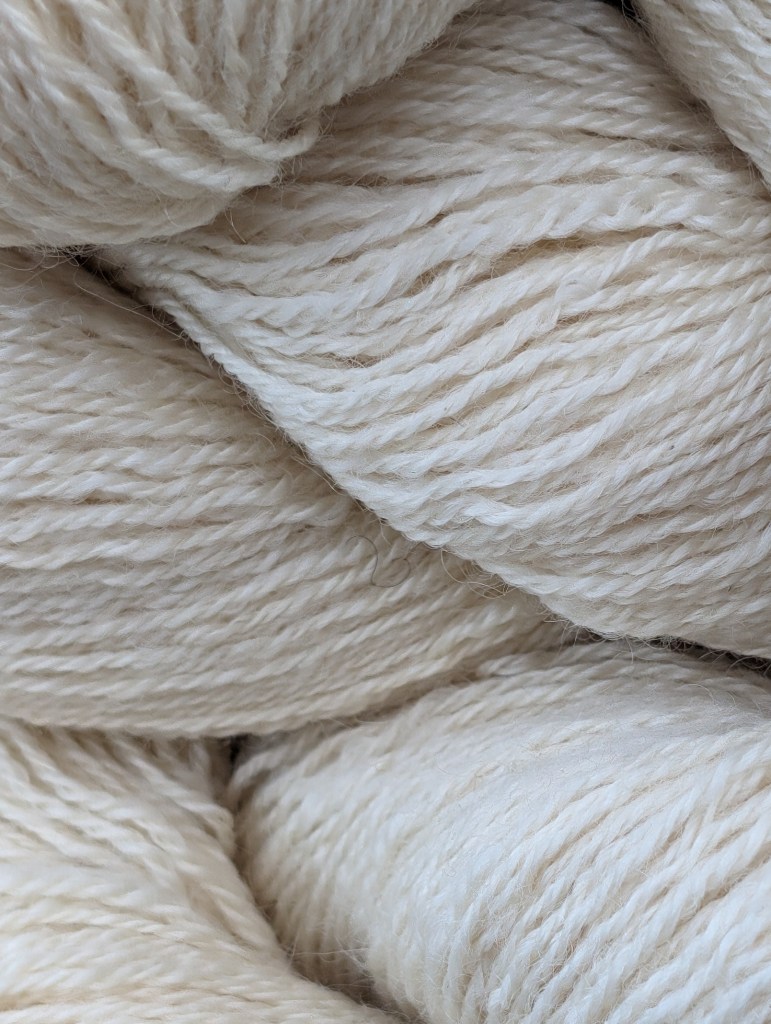
Yesterday Angela Beltane of Widdershin Farm, which is just outside of Duncan, gifted me with some of her BFL, Blue Faced Leicester, fingering weight yarn… enough for a large shawl. I am thinking a large Pi shawl! This yarn is soft and glossy and Oh so smooth!
The Bluefaced Leicester (BFL) is a remarkable breed of sheep that traces its origins back to the eighteenth century in Dishley, Leicestershire, United Kingdom. Let’s delve into the fascinating details of these woolly creatures:
Appearance:
BFL sheep have a distinctive blue-gray face, which gives them their name.
Their ears are long, and their fleece is curly and fine.
Unlike other woolly breeds, they lack wool on their heads and necks.
The Roman noses of Bluefaced Leicesters reveal dark blue skin beneath their white hair.
Wool Quality:
Their wool is one of the softest among UK sheep breeds.
Fleeces weigh between 1 to 3 kilograms (2.2 to 6.6 pounds).
Although not heavy, their wool is lustrous and prized for its quality.
It is going to be gorgeous. I took the day off of my other projects – dress knitting, class knitting and future planning to play with my new yarn.
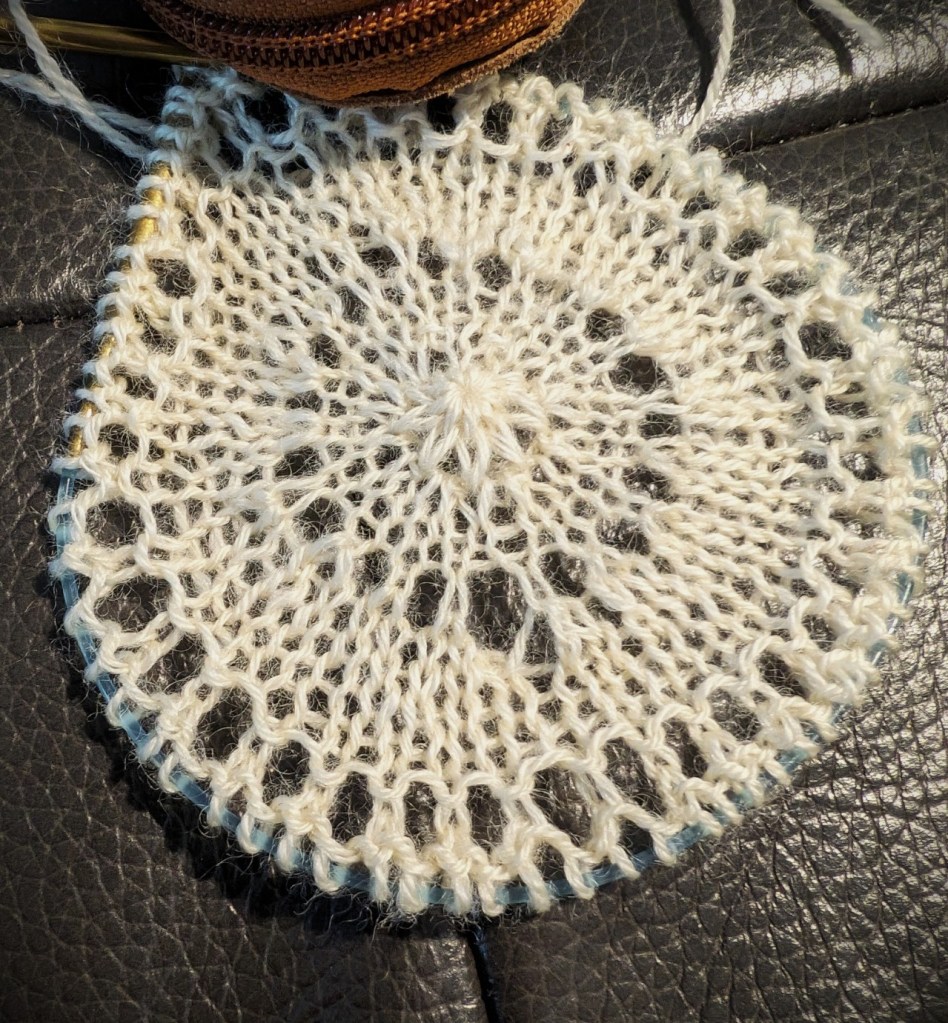
Umm, just ignore the mistake in the first round of eyelets! I am! LOL!
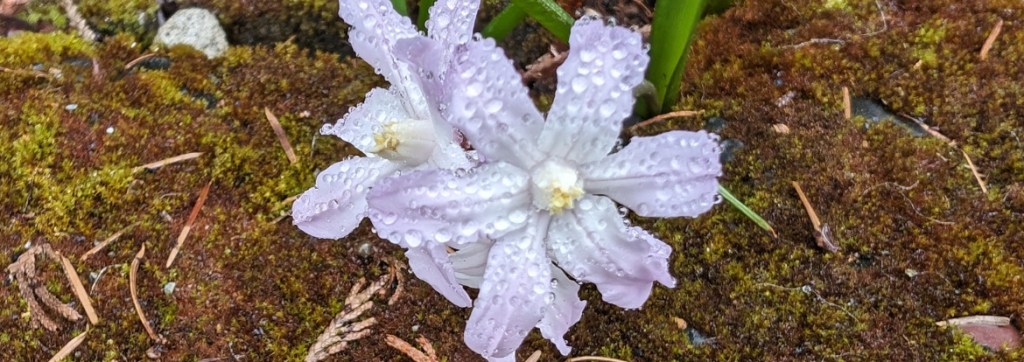
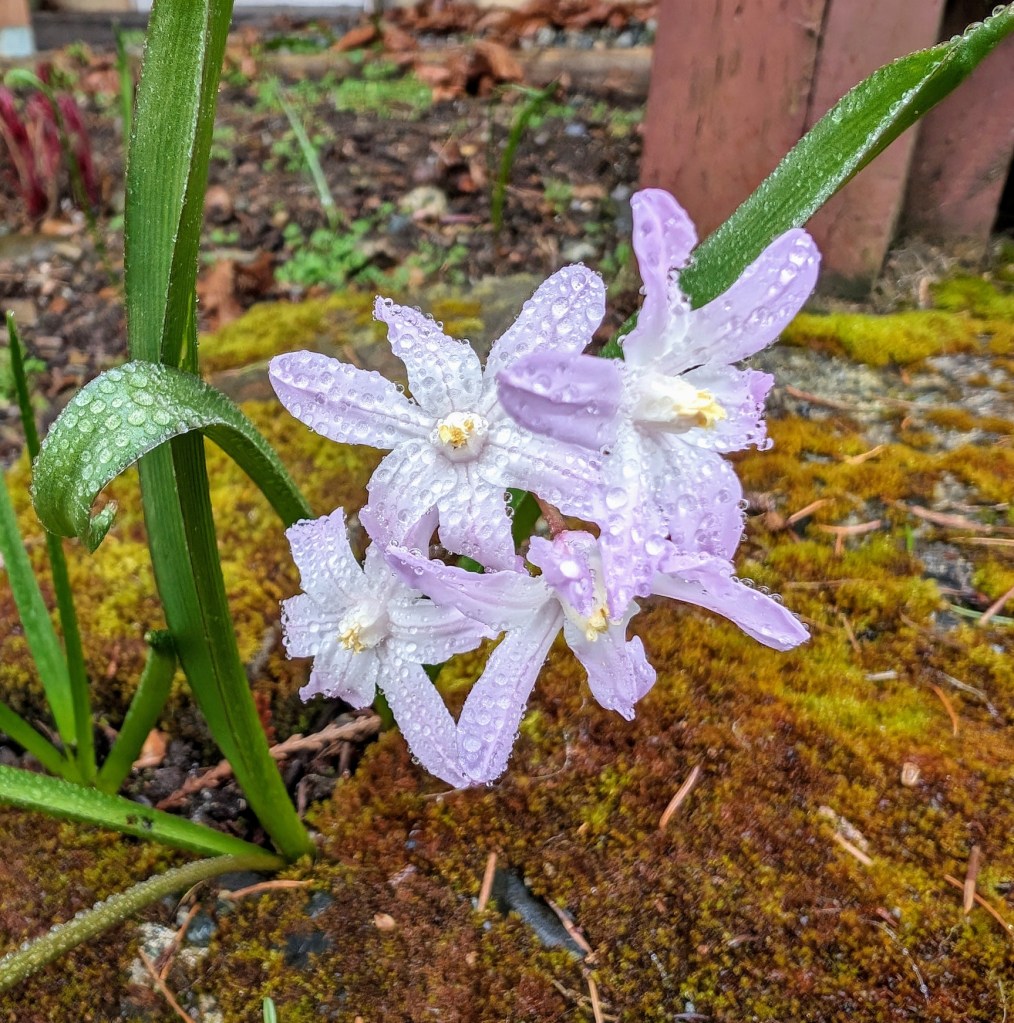
Today is one of my day’s off and it is rainy and gray and the perfect kind of day to knit! Rainy days also produce some lovely photographic opportunities! Check out the Scilla (Glory in the Snow) from the garden. They are the inspiration, and name, for my Pi Shawl, one of my favourite shapes for a shawl. A PI Shawl is circular and can be as big as you can knit! It is going to be full of floral, water and leaf motifs!
I am going to work from Elizabeth Zimmerman’s basic Pi Shawl tutorial and fill it full of my own patterns!
Can’t you just see crystal beads on the shawl? Just like the flowers!