Le Tissier Designs

Of Larks and Linnets and Flying Fingers

Category: techniques

  • Knit a Dress With Me – Update

    Knit a Dress With Me – Update

    If you are following the my design notes on Ravelry you will find this to be repetitive but if not I hope that you are enjoying the journey!
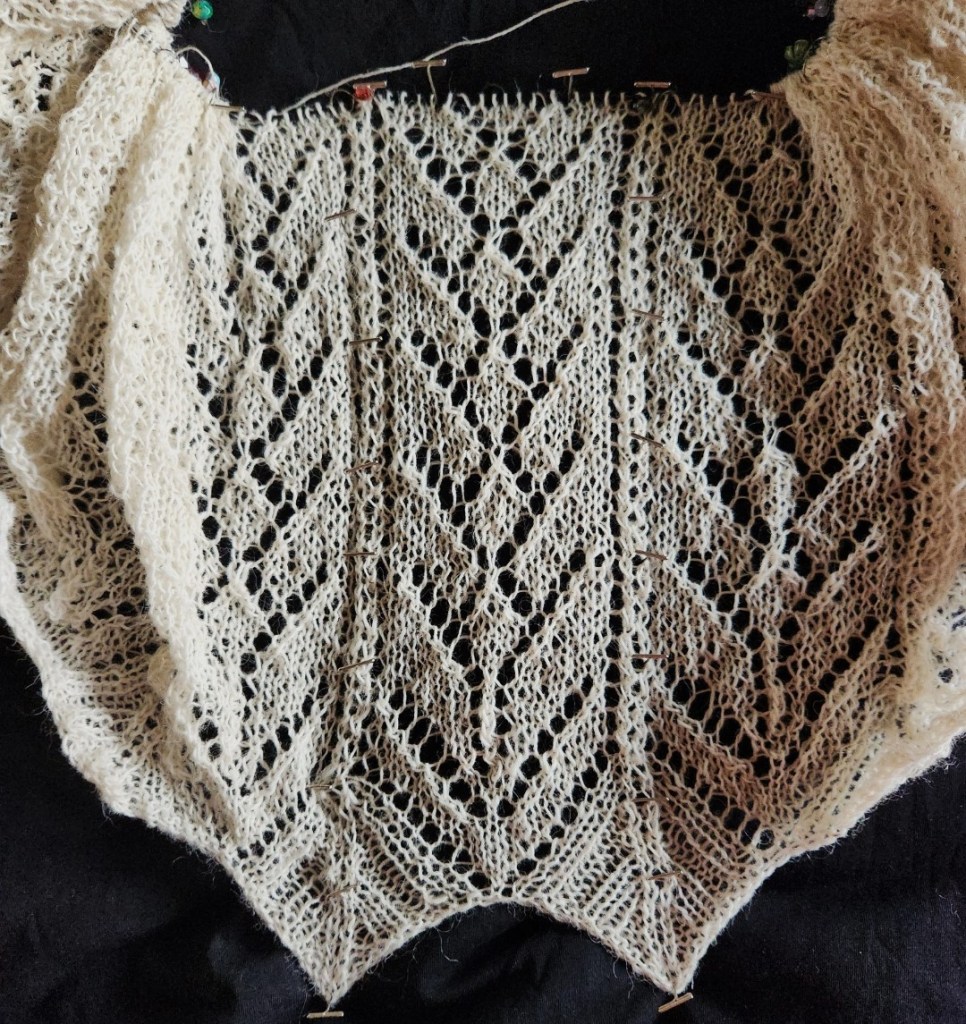
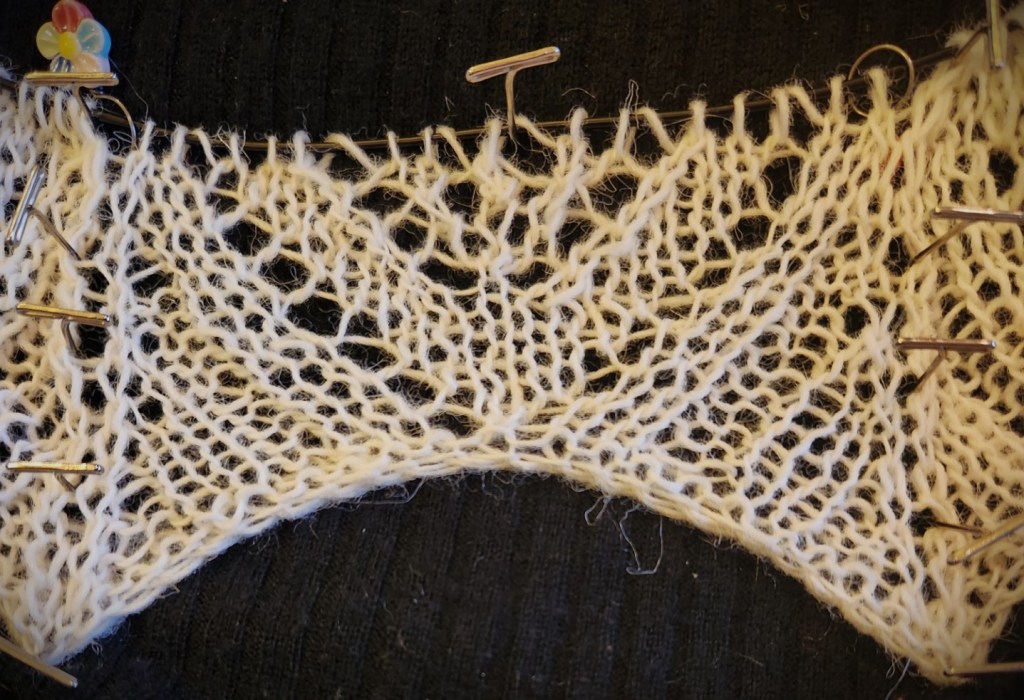
    Three rounds to go and then I start the panel shaping!

    Dry blocked I am at about 12 inches. The Panels will add approx 7 to 7.5 inches to the length – dry blocked.

    Things I am thinking about and would really appreciate feedback on.

    How closely fitting should the dress be? I am thinking fitted with about 2 inches of ease around the waist for comfort and to smooth out over a slip of some type. I have a pretty good idea of how to achieve the shaping as we get closer to the waist. Which will involve more panel shaping.

    Are you thinking of something that could be pulled over the head?

    If fitted there will need to be an opening of some type in the side seam or up the back. I am thinking side seam buttons under the arm and down past the waist – no zipper – zippers and knits are very chancy. I love the vintage feel of the side seam opening – very old fashioned dress finishing. I am not a big fan of buttons up the back – besides then so much of the dress would need to be knit flat as opposed to circularly. Though there is something about a long swath of tiny buttons up the back of a dress….

    If fitted, then after the waist area there will need to be darts. I chose the panel approach to make it easier to add waist darts if I wanted. But then will I need to add bust darts? If so, how? Short rows are the traditional way, but that would interrupt the lace pattern. I could end the lace pattern on the side of the front after the waist and just have panels in the front, but my vision is still of all over lace. Things to think about as I knit.

    If you are looking for a pullover style of dress – the option will be there and quite easy to make work – let me know.

    I am going to see how far I can get in the next week, after that I will be working on a sample and pattern for a yarn company which will slow this down for a couple of months!

    I will be changing needle size on round 15 of the decreasing chart. Just another quarter point from 3.75mm to 3.5mm (US#4).

    I am not sure when I will go to the 3.25mm. Most likely before the waist area.

    As for shaping the bodice depending upon your shape you may need bust darts or you may not – but you will need some shaping if you want it fitted – even if your bust only has a gentle curve.

    If you want a waist line and would like your dress to be a pullover style, we can add a double knit tubular channel for a belt or Gathering cord. Knit a fine belt in i-cord or 1×1 ribbing to run through the channel and we have a waistline. Alternatively we could run elastic through the channel. Anything to gather to the waist.

    For a more fitted style, then back to the buttons along the side seam. Or maybe an A-line shape with a slow, gentle line of decreasing stitches.

    But before we get there…

    At round 29, if you want a shaped waist, stop knitting. We may be adding more shaping panels. Not sure when I will be able to work those out.

    If you want a waist that is gathered into the belt or elastic, knit until your skirt is your desired length, and then wait for me to get there.
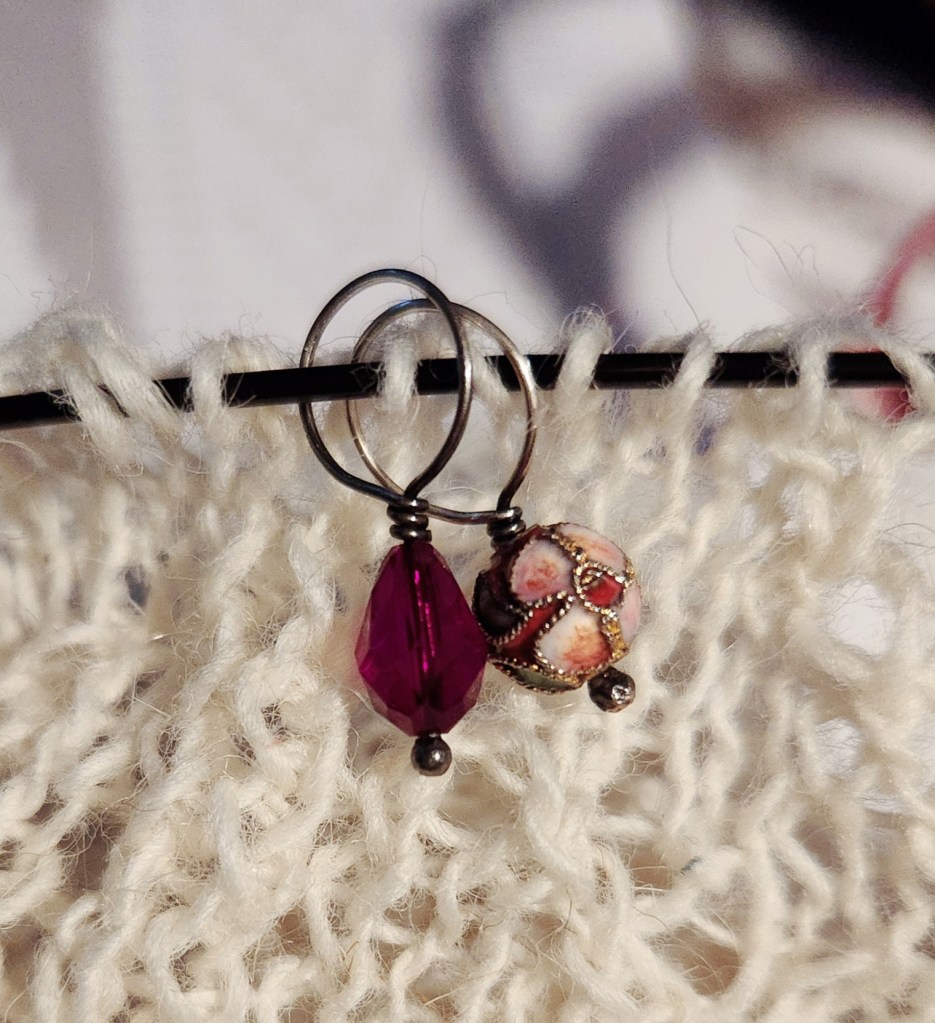
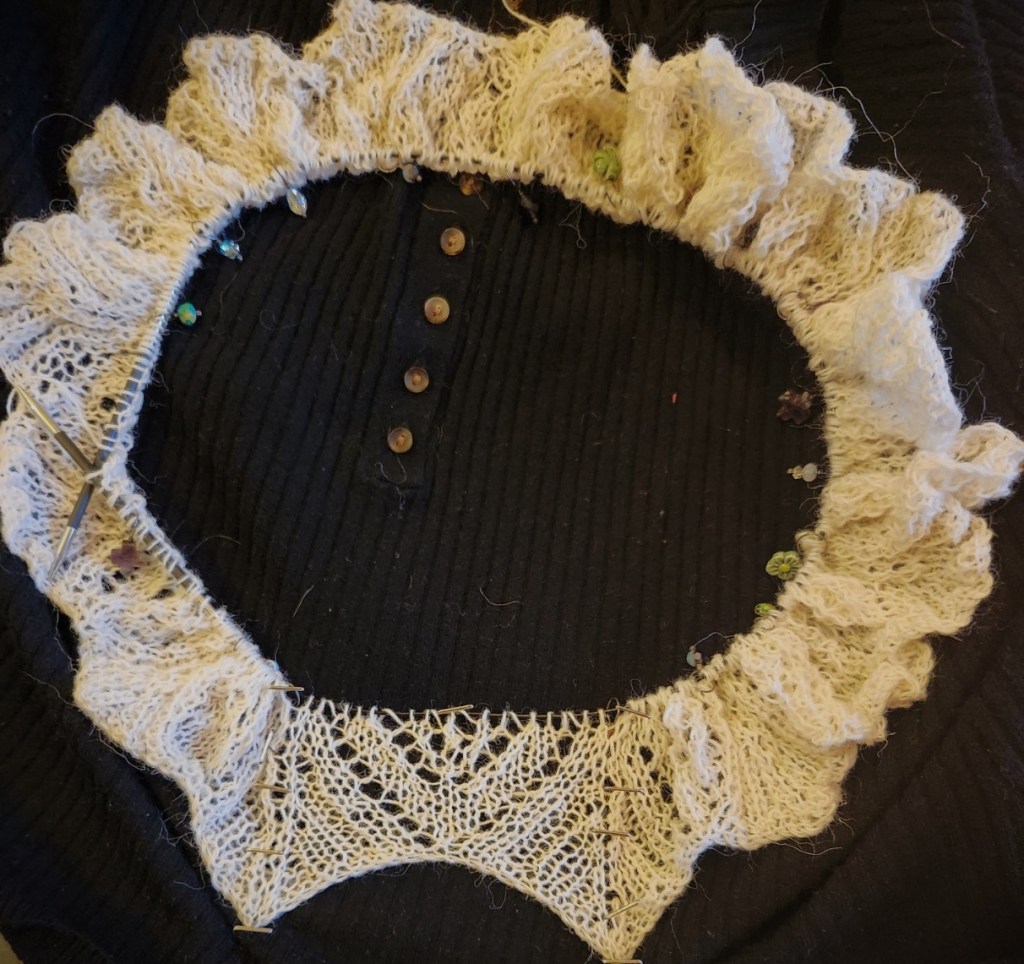
    Double markers for double tracking! I started my first shaping round!
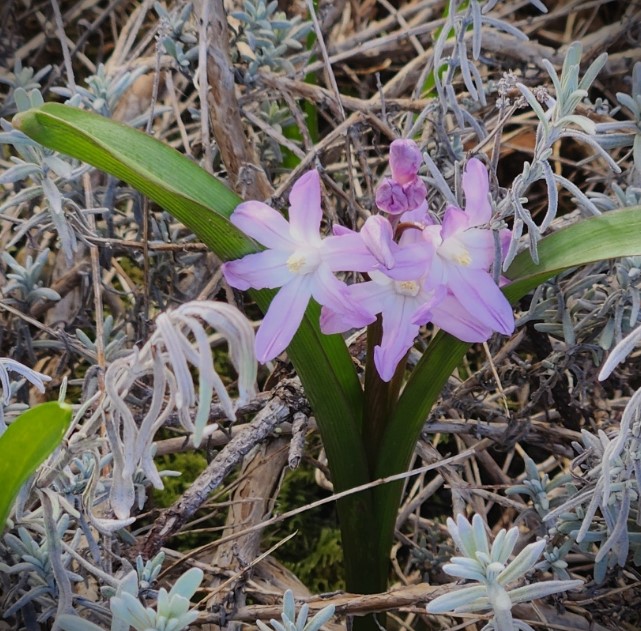
    Spring flower popping up through the Lavender!

    We are facing a glorious weekend of sunshine here! And the flowers are starting to come. The buds are on the trees and the cherry blossoms are starting to bloom! I love the colours of Spring!

    Happy Knitting

    Lynette

    The lacy tracery of branches and leaves against a blue sky! How wonderful is nature.
  • Knit a Dress with Me – Part 3

    Knit a Dress with Me – Part 3

    Why a Dress?

    Why not?

    Is the glib answer. But for me it is a statement about what I am starting to discover about myself and my relationship with the world right now. Now that was the weighty answer. Reality is always somewhere in the middle.

    Over the years I have seen several dresses knit by customers, often with my help interpreting instructions and working out gauge issues. These dresses often looked and felt heavy to me. On-line I have seen the most stunning knitted wedding dresses. Made with love from lace stitches and many hours of knitting.

    Many knitted dresses are simply a long sweater worn as a dress with leggings. The concept of knitting a dress like this for myself was kind of ludicrous. I am short, quite rounded and I have always thought that a knitted dress, especially a sweater styled dress usually clings, making it look its best on on tall willowy types. I believed that I could never put a sweater dress on and not look foolish.

    I am usually an optimist at heart, but not on this topic! I needed to rethink how I looked at my clothing choices.

    I had already started to rethink my wardrobe in light of todays challenges with sustainability, examining the concept of slow clothes and the making and mending movements. Then I looked at my wardrobe for what I really wore the most often and what I had been putting my money into. I saw a huge difference between my Summer and Winter wardrobes.

    In the summer I wear dresses. Longer, fuller dresses with cotton slips and lots of movement, quite often with vintage details. Several of which I had recently made for myself. I used to sew, in the past, and i am now refreshing my skills.

    My winter wardrobe suffered by comparison. Most of my work pants were old except for the two pairs I had made myself. They don’t fit as well as I would like, but they are easy to wear and are made of wool or wool blend fabrics. My sweater and shawl collection really was what my winter wardrobe was all about. I didn’t wear dresses because they were never warm enough. I hate to be cold.

    So why not knit a wool dress?

    Boredom! The thought of all that plain knitting would drive me crazy. There is a reason why most of the things I knit are colourful, or textured with cables and patterns, or covered in lace patterns, or all three! I am often defeated by large swathes of stockinette fabric.

    It only dawned on me recently that my dress didn’t need to be plain and it didn’t need to be heavy and I could wear it everyday in different ways. Sort of like the 100 day merino dress. Though I don’t think I could wear it 100 days in a row.

    So I took some time to examine my summer dresses . What was working and why it was working. Every dress was shaped to the waist or an A-line shape. I wanted a shaped dress, not tight at the waist, but shaped and comfortable. I may look at A-line for my next dress.

    How to create the shape? I thought about reversing a pi style shawl shaping for the skirt, but I think that might have been too full. I most definitely didn’t want to make a tube and then gather it to the waist, even with a lace weight yarn that is too much fabric sitting at the waistline.

    I have knit myself a couple of sweaters that employed shaping around panels and thought that should also work for a skirt. Once decided, it was the matter of researching patterns and panel patterns in particular to create the way I wanted to go.

    I am making a couple of adjustments. After 1 more 10-round repeat I moving my needle size down to 3.75mm from the 4.0mm. I have decided to combine physical shaping of the skirt with decreasing panels and the tightening of the gauge. This will make a smoother shape – I think. Everything is a bit of an adventure through this. I am lucky to have knit as much as I have and tried as many types of knitting as I have, it does allow me to make decisions based on experiences in the past. They may not all translate to this project, but they do help form a starting point.

    Progress Report

    I have knit up to the end of the chart and started my next 10-round repeat. After this repeat I will be changing my needle size. It is looking like each 10 round repeat adds approx 1.5 inches to the skirt when dry blocked. It may add a little more when wet blocked.

    I am going to start designing the chart for the shaping panels this week (I have this week off from work and so have extra time). I am thinking that I will start by shaping out 1 panel out of every 3. And shape each of those panels over 40 rounds. I am hoping that this will be a slow enough to keep the shape from “belling out” and just be a smooth progressive line.

    Belling out – the decreases are too quick and the dress suddenly looks like it has a line across the skirt where it has been gathered up. If it does bell – the knitting will need to be ripped back and the decreasing will have to be slowed down.

    I have had a couple of people ask me why I choose Einband for my dress. They think of it as itchy. I chose it because I have used Einband before, for the Spring into Summer KAL, The Garden Gate Shawl. I was very pleased with the results from that project.

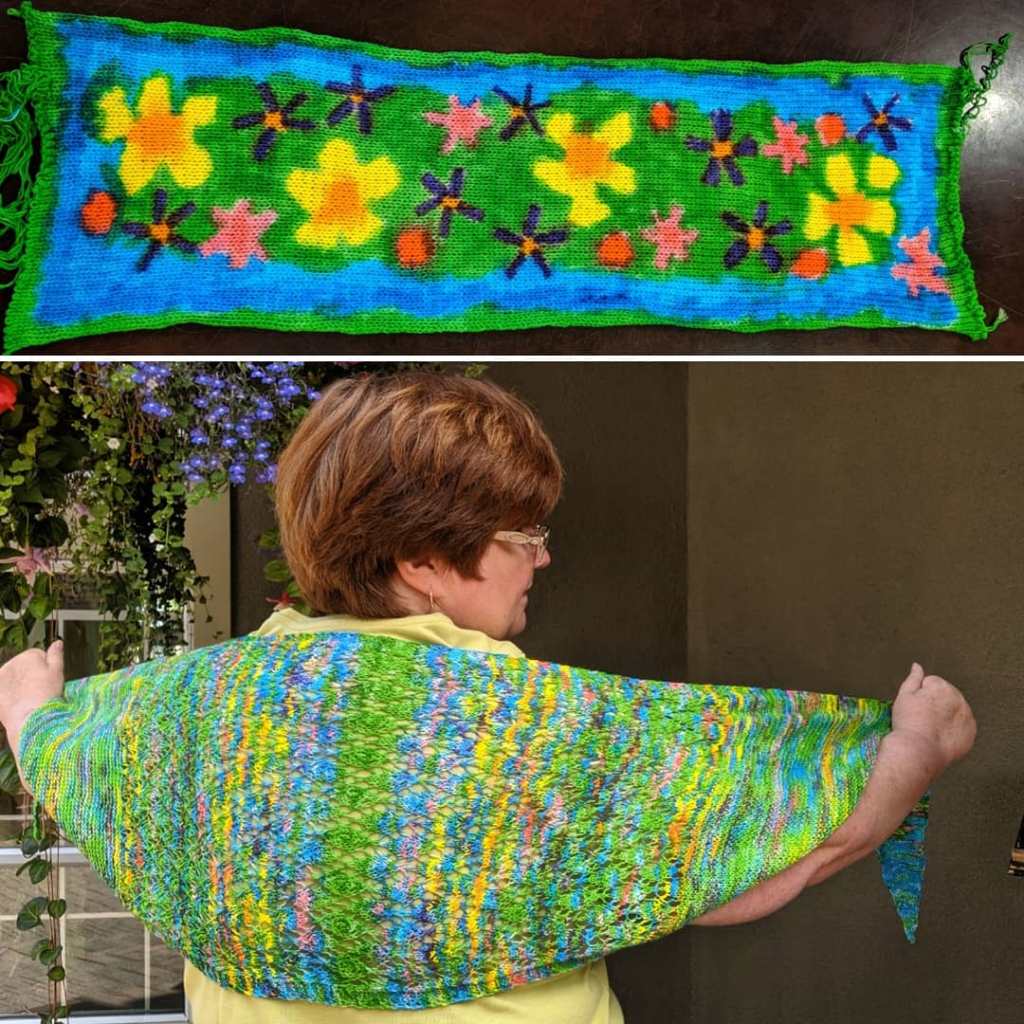
    I had knit a shawl and then hand painted it with dyes. Once blocked the I found that the yarn holds the shape well. Something that I felt was important for this project. It also takes dyes beautifully and since I couldn’t decide on a colour before hand I am hoping to be able to decide after the knitting is complete! Maybe I will even paint the fabric with dyes and not immerse dye it. We shall see.

    Happy Knitting

    Lynette

  • Knit a Dress with Me

    Knit a Dress with Me

    A little over a year ago I decided to knit a dress for myself. I bought the yarn, did some swatching and started to knit.

    My father’s illness and subsequent passing sort of put everything on hold.

    Yesterday I pulled out my knitting and decided it was time to start it again.

    Would you like to knit a dress for yourself? Come and knit one with me. It is free. It is “pithy”, to quote Elizabeth Zimmerman and it (the pattern) will be very flexible. This will be a creative recipe, a guideline, not a hard and fast pattern that you can only knit one way!

    This pattern is designed for intermediate knitters with some experience with lace knitting. The lace patterning will not be difficult, in fact knitting the skirt could be a little repetitive and boring. Shaping, and fitting the top of the dress could be a little challenging. But by then you may be a professional lace knitter.

    Dress pattern will be written and charted. You can find the link to the pattern in my Ravelry Store and on a post in my forum, also on Ravelry.

    knit a dress with me

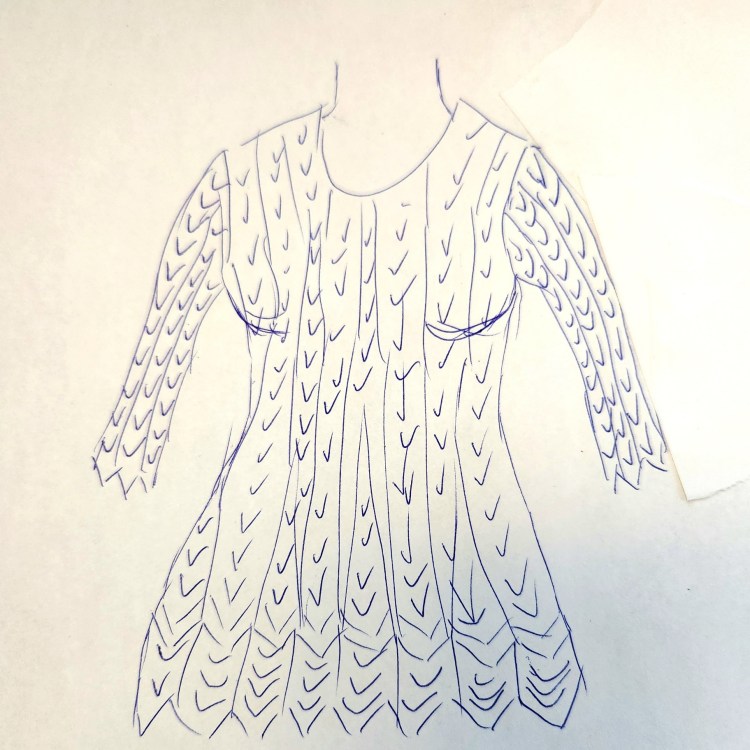
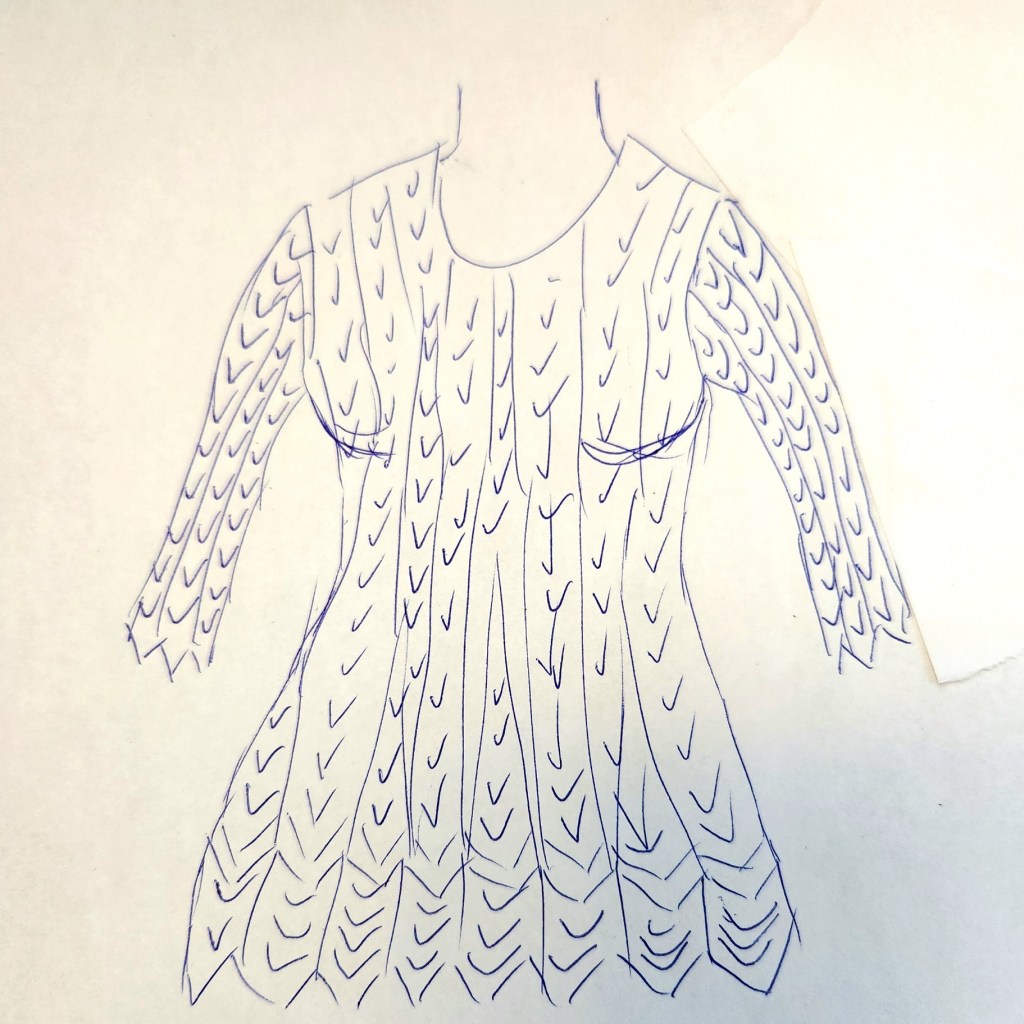
    The dress is knit in panels. The dress starts at the hem and will be shaped to fit loosely at the waist and darted to fit a bust line. There will be sleeves, but as they will be fitted they could be omitted to turn the dress into a sleeveless dress or jumper. I am sort of putting in three sizes. Right now those sizes refer to the hem. How wide do you want your hem? These sizes were created from my gauge.

    There are two panels to choose from. One (titled Skirt) will give you a lace panel at the hem and a solid skirt (the shaping will still work in the panels, these panels will also be solid knit)(no picture available). This was my first idea. Then I decided I wanted more lace and less plain knitting. I suffer from boredom without patterning.

    The other panel (titled Dress Panel), the one I will be working, will create linear lines of lace up the skirt, through the shaping and into the bodice. Work the first 29 rounds as written and then repeat rounds 30 – 39 for the rest of the skirt.

    Please note – the shaping panels have not been written as yet. They will be added when I get there, maybe in about 4 months. So don’t hurry your knitting along. I will not be.

    My gauge is roughly 5 inches per panel (dry stretched, and pinned) I am expecting that the actual hem may be a bit larger.

    Why Panels?
    Panels will allow the knitter to easily add or take away panels to the cast-on (how full do you want your hem to be?) and then remove them when I start adding the reducing panels. I recommend adding repeats in either, twos or threes – to make the later shaping easier. So you can take away the stitches evenly around your skirt.

    Each Panel is 21 sts – 5 inches.

    I am working with Lopi Einband – a heavy laceweight (or light fingering). I have approx. 2500m in my stash. I am working with undyed yarn so that I can dye it later. For a longer or fuller skirt up to 3000m of yarn might be required.

    You can work with any yarn from light fingering to sport/light DK. The needle size is 4.0mm US #6 circular.

    You will need to work a circular swatch to check your gauge. Or not, a swatch is just for your information.

    By the way – my size is 50 inch hips, 42 inch waist and 43 inch bust. I am planning my skirt to come to just below my knees, so approx. 22 or 23 inches long. I will start the skirt shaping at about 15 inches in length. I have just over 2 inches (16 rounds) knit so far. This will not be fast. I am thinking the dress will be a year or two in the making.

    Happy Knitting

    Lynette

  • A Shetland Lace Project

    A Shetland Lace Project

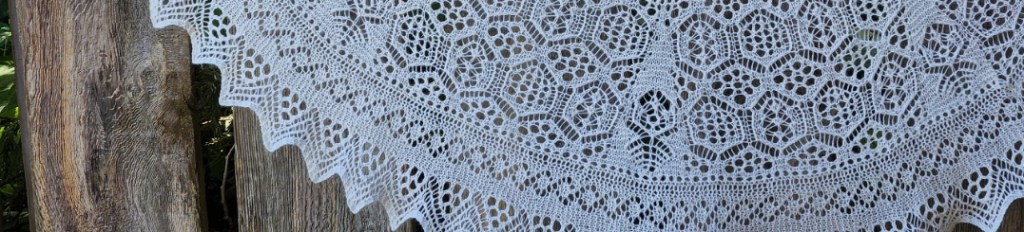
    It is no secret that I love to knit lace, the more complex the better. I love to design the lace first and then dive in and explore what I think the design should do.

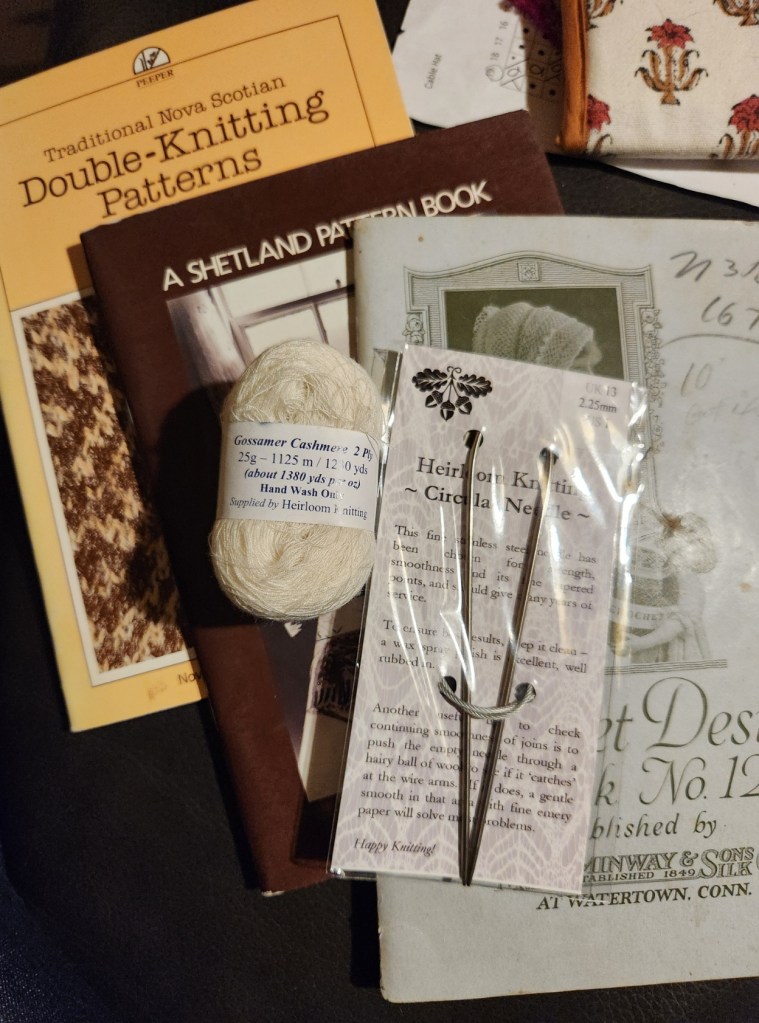
    I have knitterly friends who love to aid me in my process. Anne is one of those friends. We really got to know one another about 10 years ago at one of Mad About Ewe’s Retreats and have talked a few times over the years. She came in recently and asked If I was interested in working with some Gossamer Cashmere yarn from Heirloom knitting. She came back a few days later with the yarn and some vintage knitting books! Such a wonderful gift.

    And of course, I am interested!

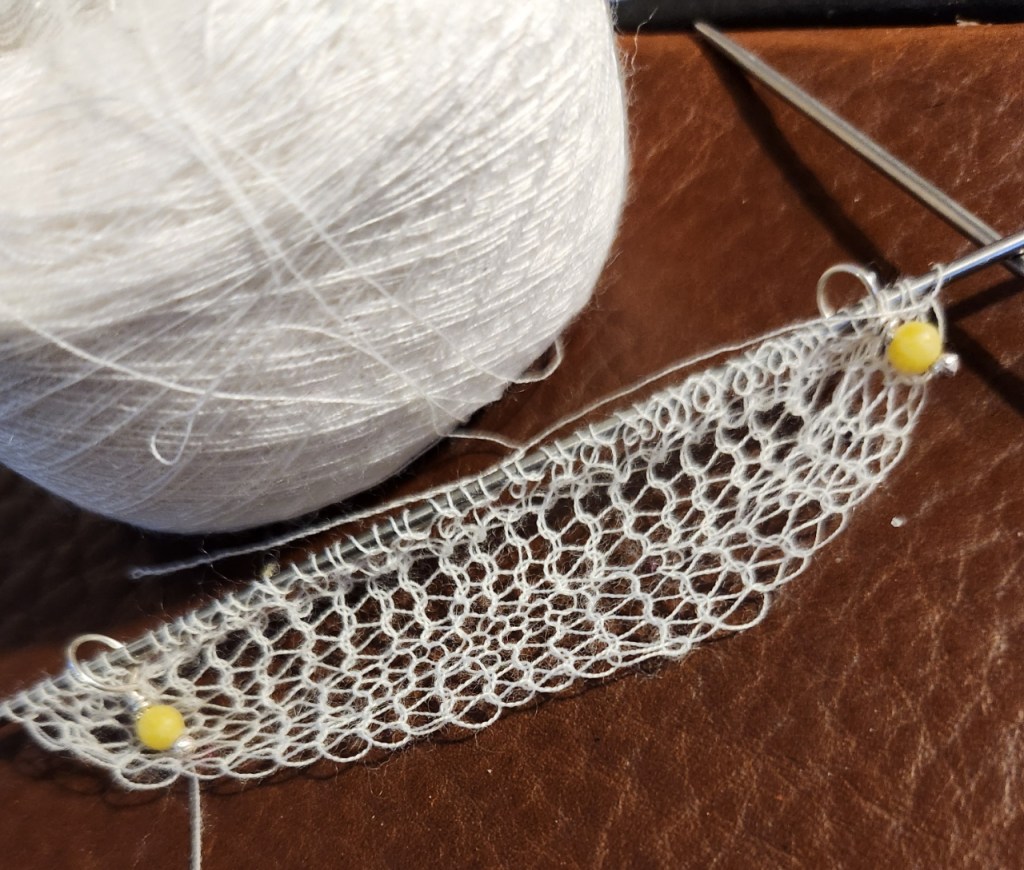
    I received the yarn on Monday. This beautiful yarn, a 2-ply cashmere that weighs in at 25 grs with 1230 yds in the ball is going to be a challenge!

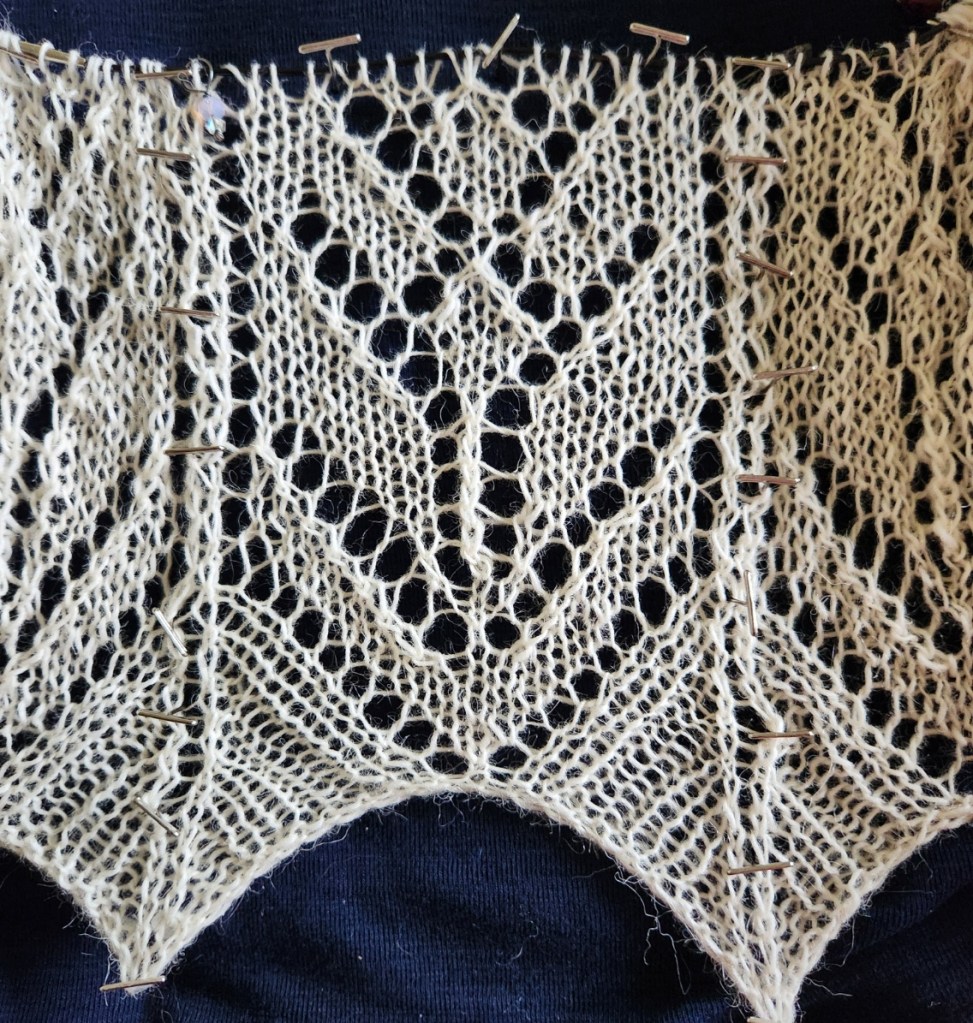
    Monday evening I was swatching. I felt a little like Goldilocks, it took three tries before I decided on the correct needle size to get the look and feel I wanted. I am going with a 1.75mm and I am using the beautiful lace needles from Heirloom Knitting. They have such smooth joins and a great cord.

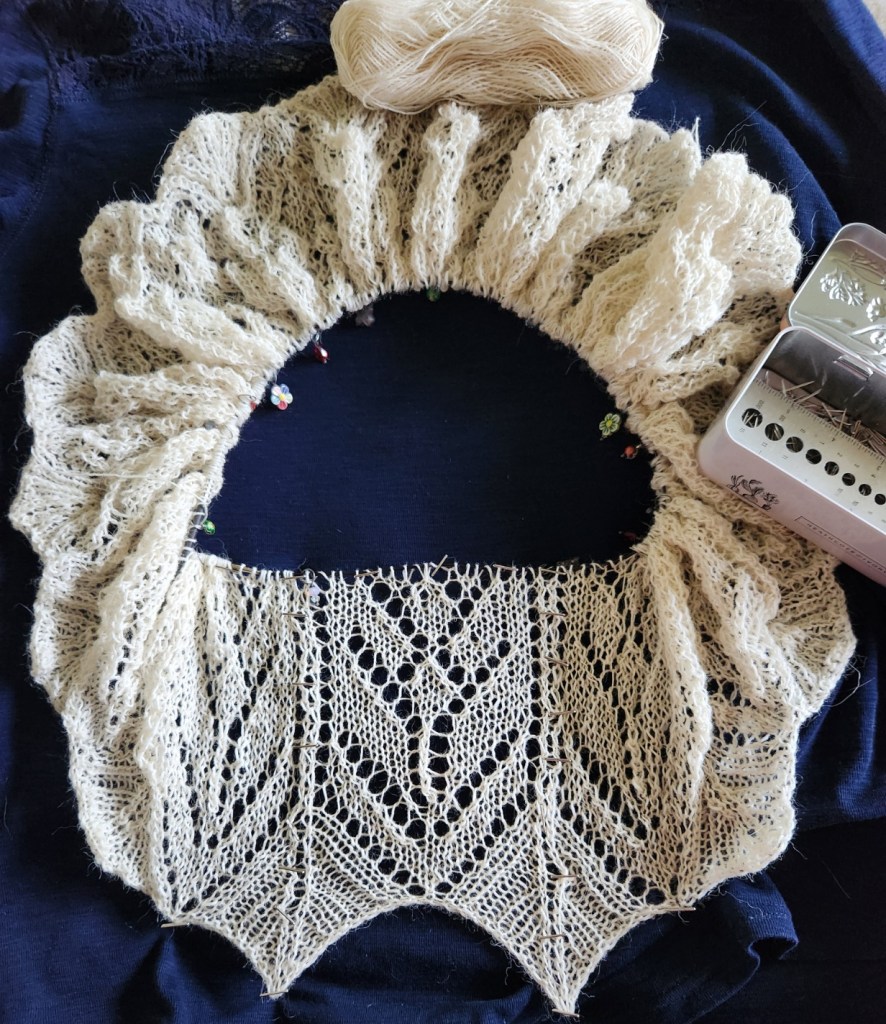
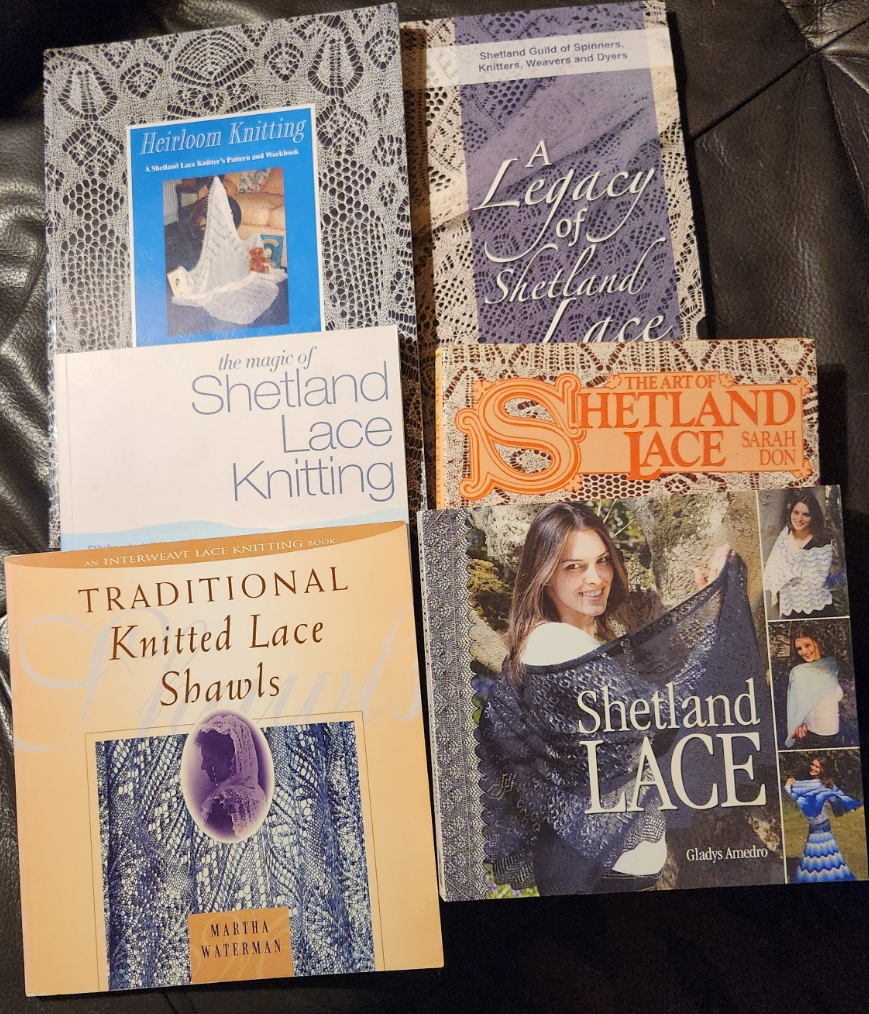
    Right now I am pouring over my Shetland Lace Books. Looking at the patterns and thinking about the shape – I am pretty sure that I am looking at a half or three quarters circle – but I might also need more yardage. So I have things to consider.

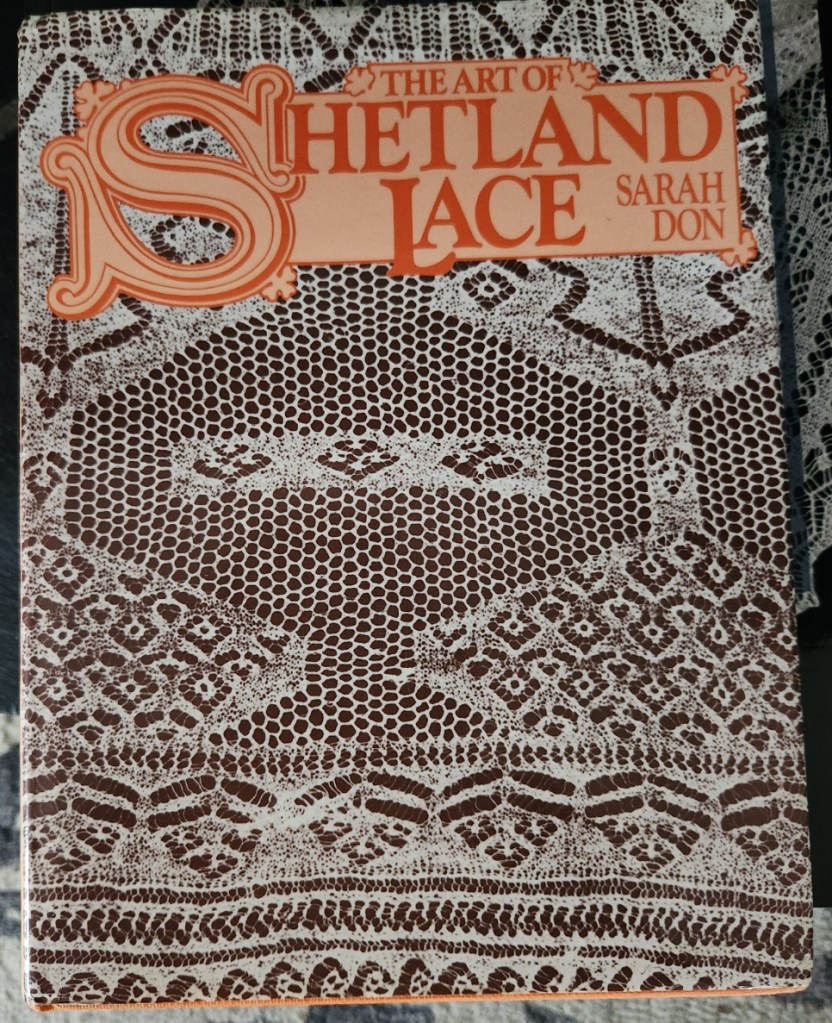
    Another knitterly friend gave me her copy of the Sarah Don’s The Art of Shetland Lace. It has a lovely inscription from Jeanie and I treasure the book. 

    The Art of Shetland Lace was published in 1980 and includes photographs of some of the amazing lace work from the the (Lerwick) Shetland Museum and Archives. It was an amazing book for its time. It is notorious for all of the pattern mistakes. But it was for a long time the only source of Shetland Lace Patterns. It was last reprinted by Lacis in 1991.

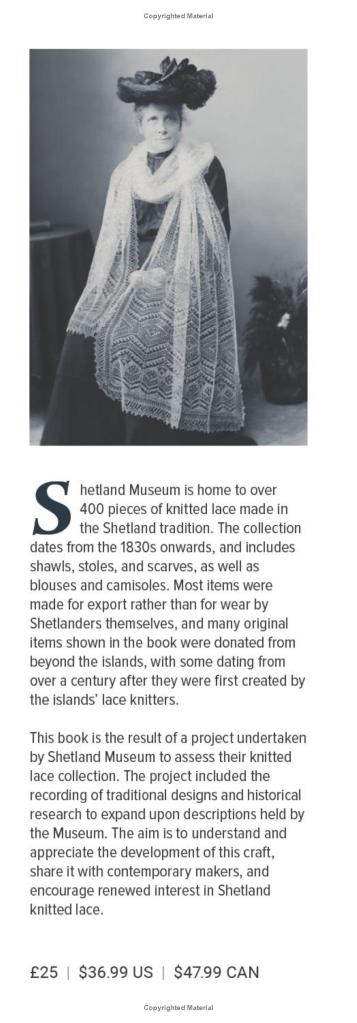
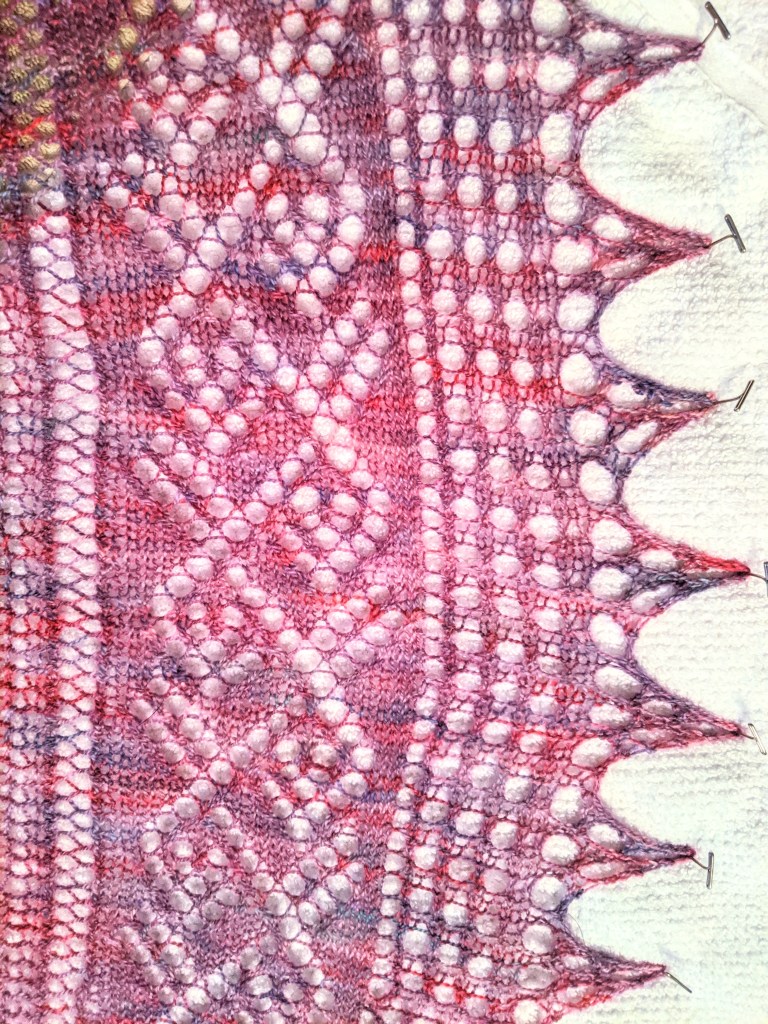
    At the same time as I was contemplating this new project I was also getting messages on instagram that a new Shetland Lace book was coming and will be available at the beginning of April –Shetland Fine Lace Knitting. This is book is written by Carol Christianson. It was written to assess and chronicle the Shetland Museums Lace Collection and will have pictures, swatches, charts and some of the history of lace knitting, most from the Museum. I am so excited!

    Shetland Museum and Archives

    Just a note on the price of knitting books. This new book is just under $50 and is over 200 pages. The Sarah Don book still has the original price ticket. It was $26.95 and has 100 pages. The current buying power of $26.95 from 1980 today is $100.00. Sobering thought. Books are not really that expensive today if you look at it in this manner.

    So I have started the set-up for the shawl, but is going on hold until the new book is here. I might knit just a little bit more, because I can always add to the design! 
    Happy Knitting

    Lynette

  • A New Year – New Resolve!? Maybe!

    A New Year – New Resolve!? Maybe!

    I Resolve that: 

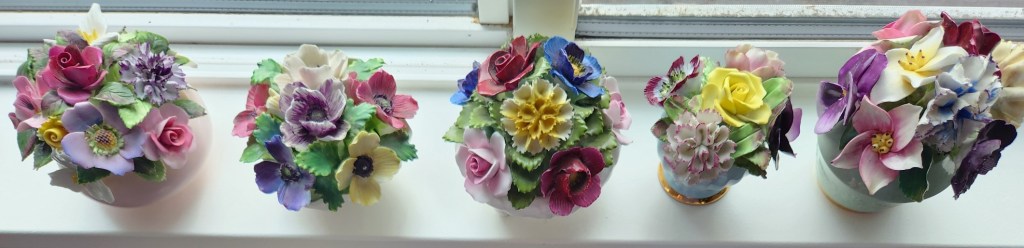
    This is going to be the year of flowers. Floral motifs in my knitting – you bet! Flowers on my walls – always – courtesy of my mum! Flowers in the garden – we will see how green my thumb gets! 

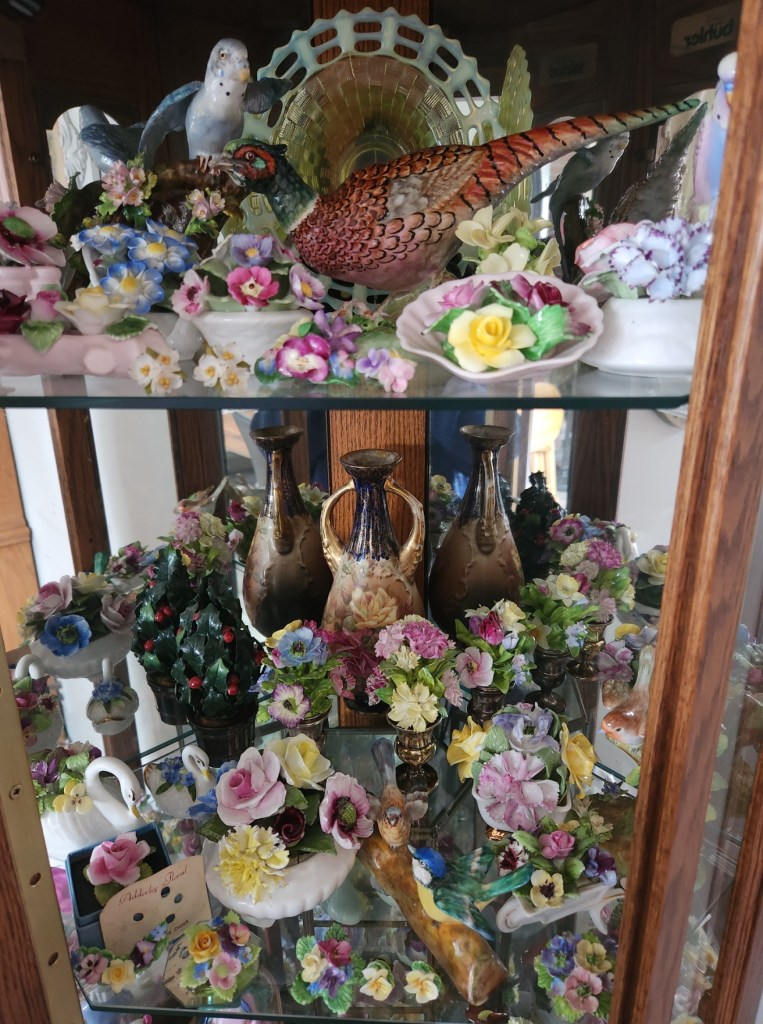
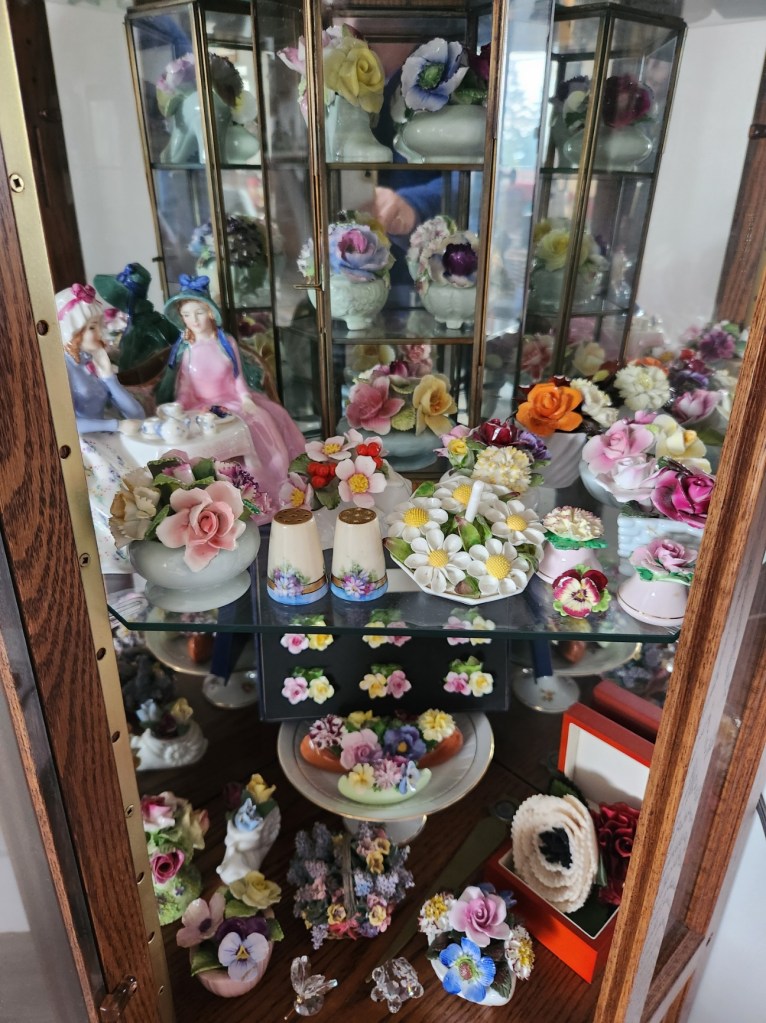
    And flowers on my shelves!

    Pansies and Florals – Oh My!

    I am a collector – yarn (of course) – vintage knitting books – knitting books – yarn (did I mention yarn) and antiques.

    The antiques are mostly the small stuff. Silver things, porcelain posies, china and other small things.

    Many know about my small obsessions and every now and then I am asked if I would like some more items for my collection. Mostly my flower collection. It was their mothers or their grandmothers and really they have no use for, need of, or interest in them. And I get it, we all have our hobbies. And I on the other hand love all the things that mothers and grandmothers loved in their day. Especially the floral posies, in all my years of collecting I have not a single double, or repeat of a flower not even ones that are close. 
    Each pot is different, each flower is different. Certainly they are all the common flowers, roses, peonies, pansies, anemones, tulips or trilliums. But each one is hand made, hand coloured, and just like nature, each flower is totally unique from every other flower. Some flowers come with birds on stems, perching on a nest, or about to take flight. Some flowers come in silver vases – those are perhaps my favourites!
    I think that the fact that human hands formed each flower, placed each flower in the pot and a human mind chose the colours of glaze to finish each bloom, is what fascinates me about these china posies. Some of the older posies are true works of art, holding a moment in time as the breeze moves the flowers about.

    Posies are delicate, easily chipped along the edges of petal and leaf. Petals and leaves also break in half and are often poorly glued back together, again human hands trying to preserve something that they loved and valued. I find the love of flowers such a human thing, something that many of us share in so many ways.

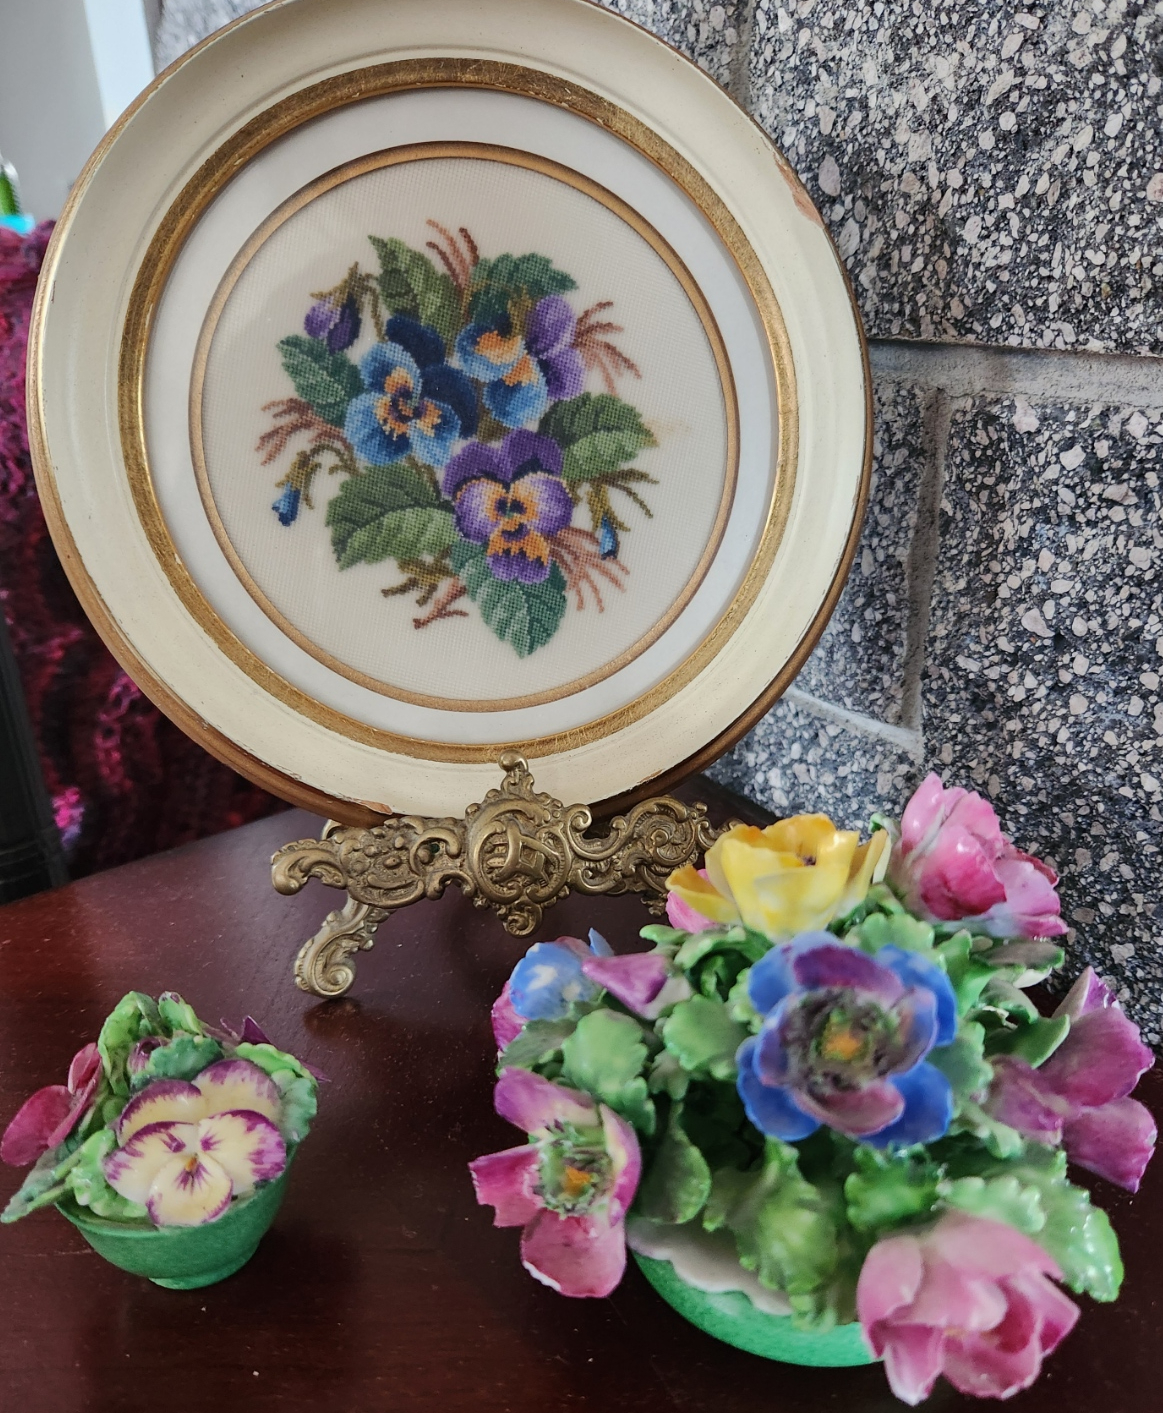
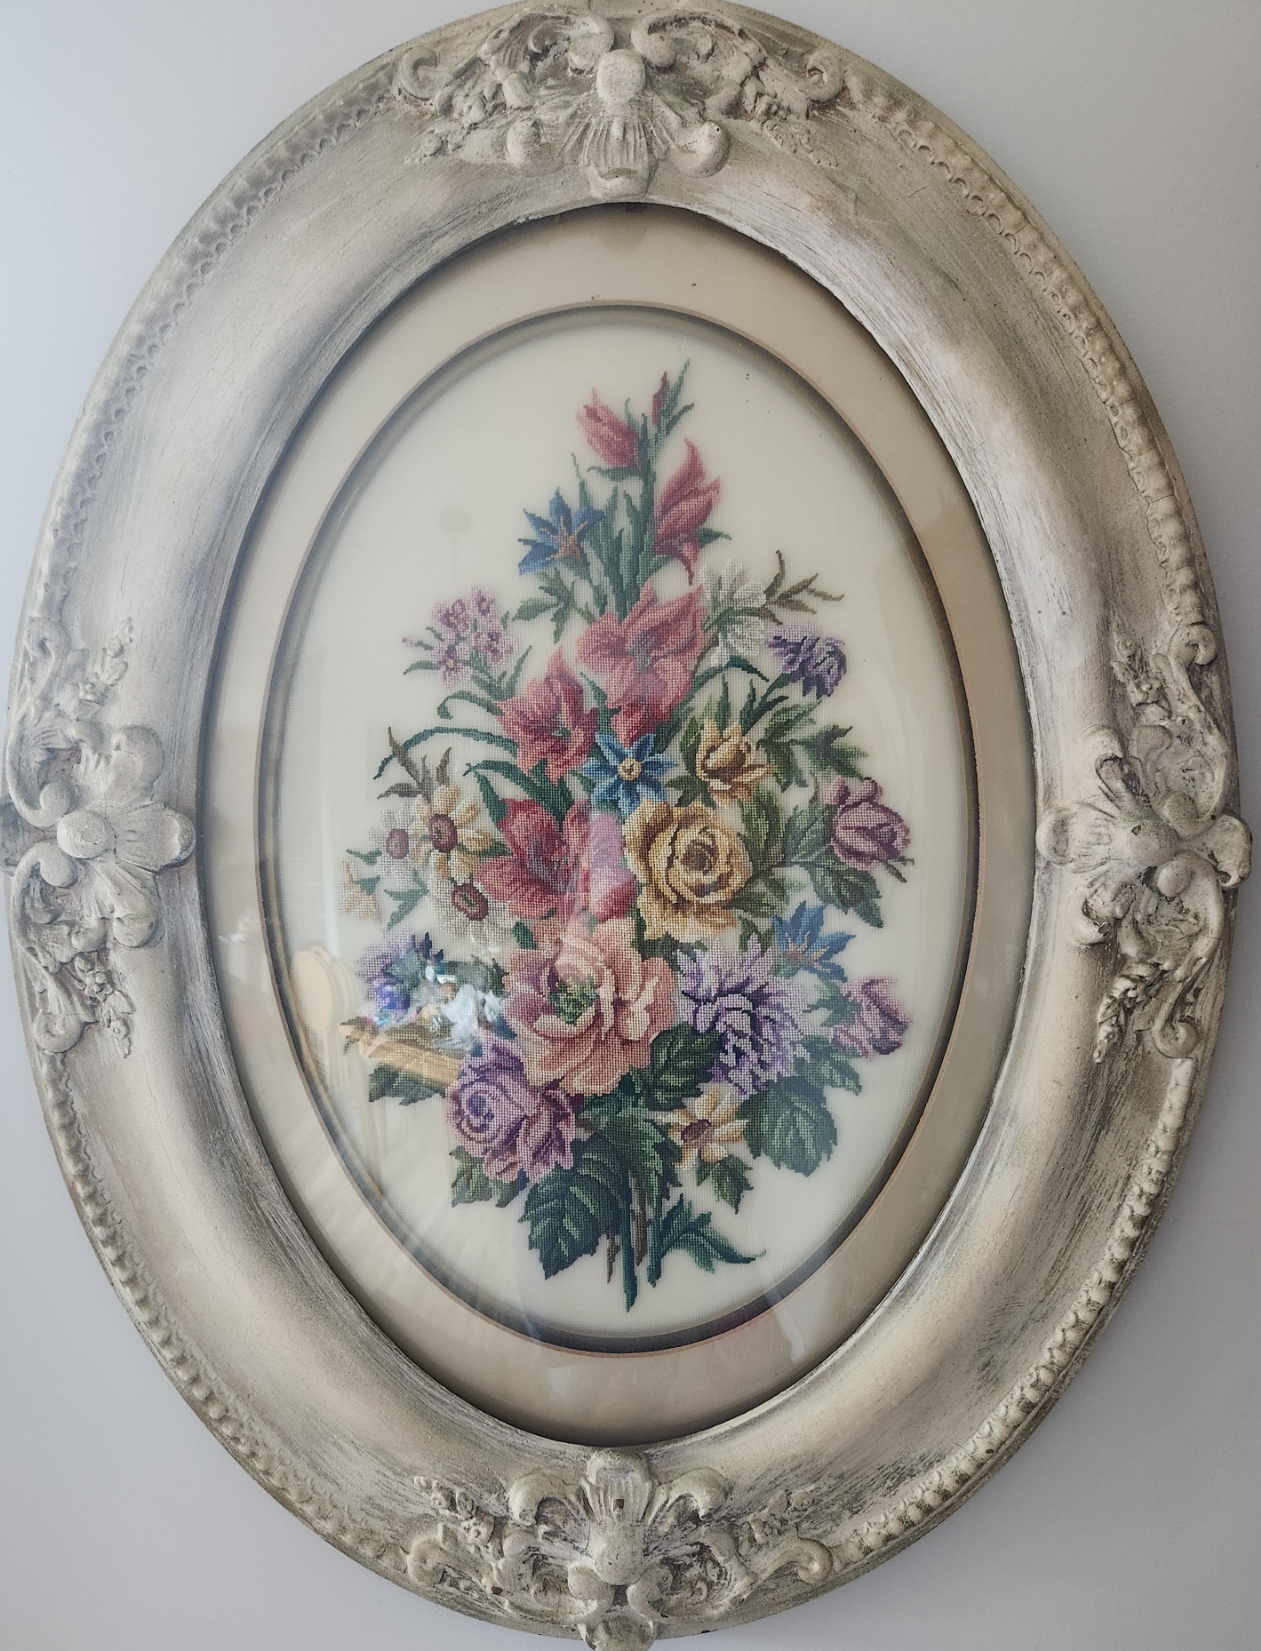
    The posies I collect also go well with the many petit point bouquets that I have on my walls and shelves. All lovingly created by my Mother. She spent hours working on each piece. Somehow many of her floral pieces came my way.

    My Mothers work – she even refinished the frame to complement the work.

    I will most likely have to divest myself of some of the “things” I collect. We all usually have to “downsize” at some point in our lives. Until that time arrives, I will enjoy them, celebrate them and share that love!

    So do you collect? Have you got a stash of something special that means a lot to you? I would love to hear about it.

    Happy New Year, Happy Collecting, Happy Knitting

    Be well,

    Lynette

  • Due Process

    Due Process

    Designing is a process. Designing with a new yarn has a few extra steps. Designing for another person has a few more steps. So, process.

    I am doing some designing for Gathering Yarns. They are a yarn distributor out of Alberta and they are expanding a little and are wanting to add some patterns to their inventory.

    Recently Cindy sent me some recycled cashmere. I started to play with it. I wanted to know how it felt to the hand. How it reacted to different techniques, what needle size I wanted to work it on, etc.

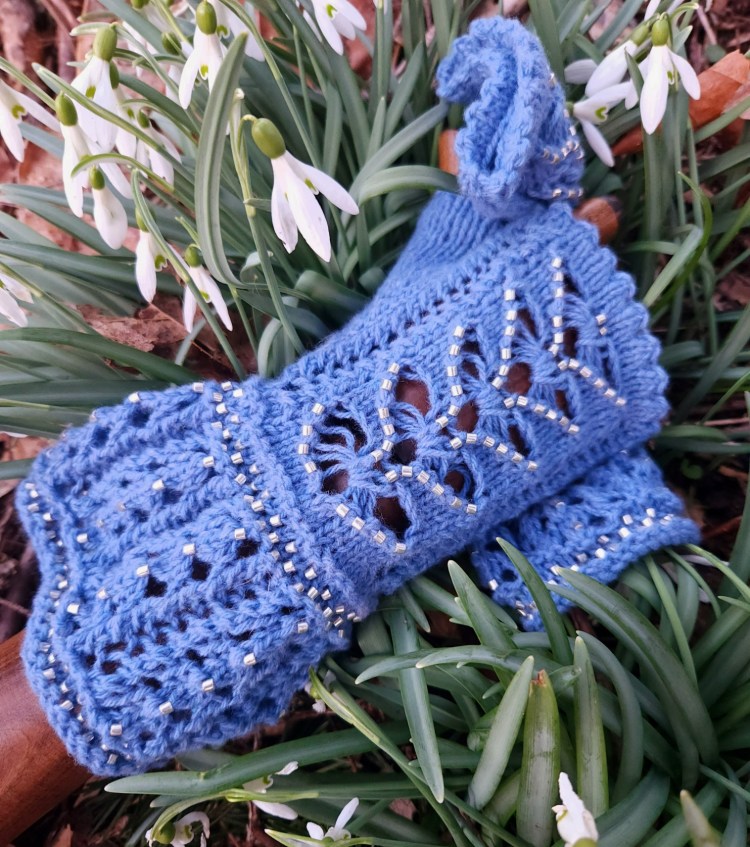
    So I knit a pair of beaded fingerless mitts – Bee’s Knees’ Mitts. This was a pleasure to work with with great results. So maybe something bigger was in order…

    Swatch

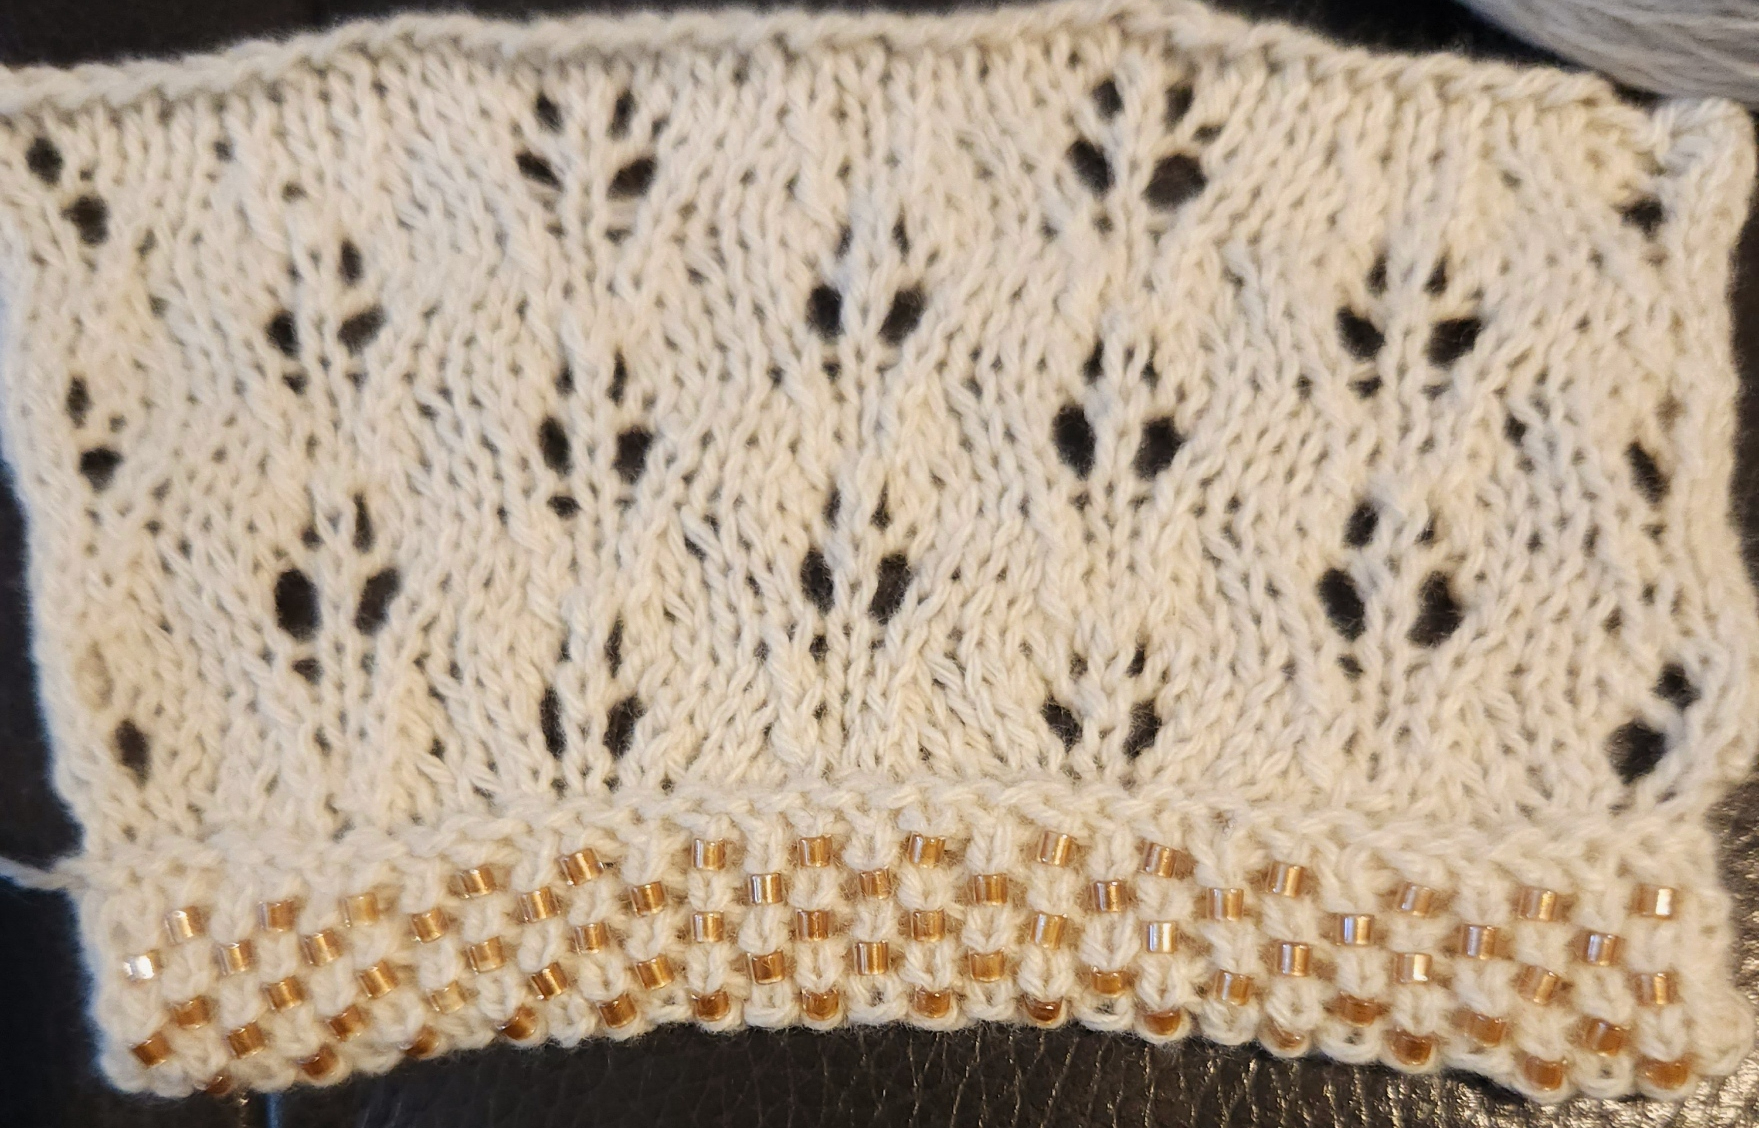
    A shell or halter, something not to big to keep it affordable. So I ran the idea past The Powers that Be. Idea was approved – more cashmere came my way. So I swatched my idea. Swatch was approved.

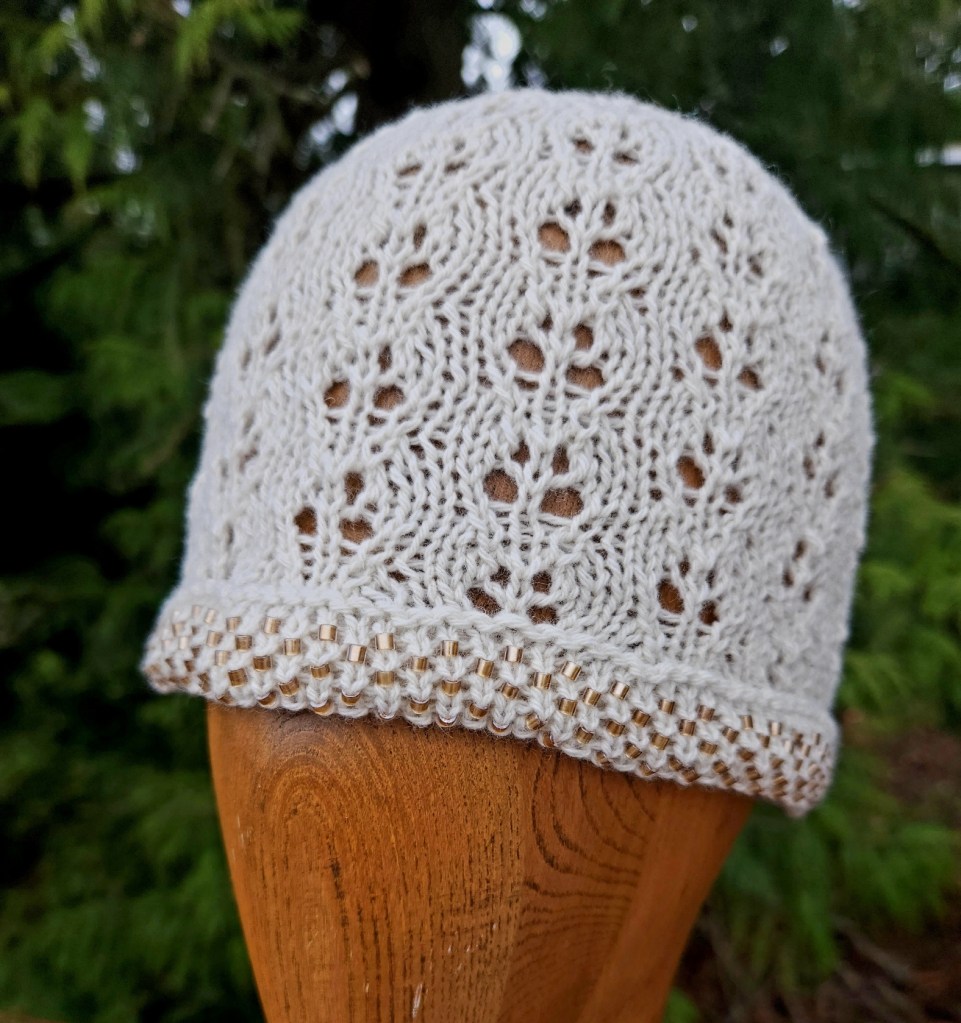
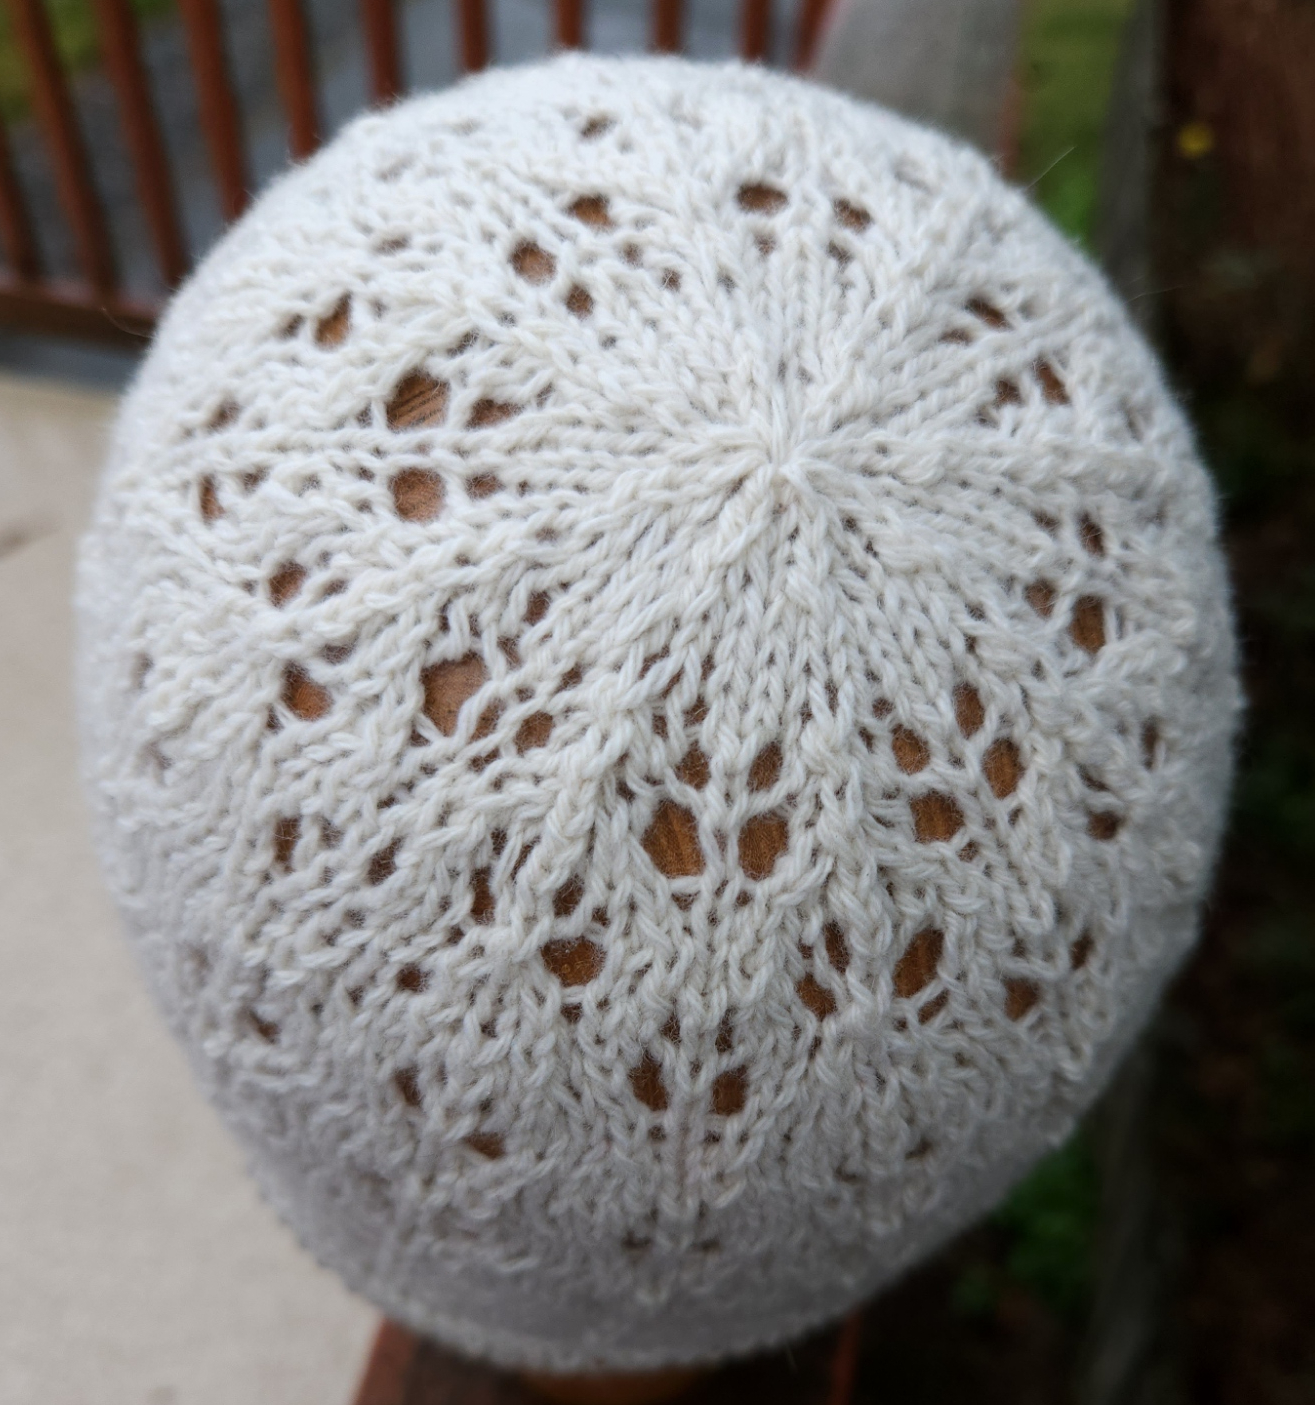
    There were still a couple of questions to be answered. So I made a beanie, a bigger swatch that can tell me more. What’s the best gauge? How much give? How much stretch over the larger area? Ribbons Beanie – it will be an accessory to the Shell/Vest pattern I am going to design.

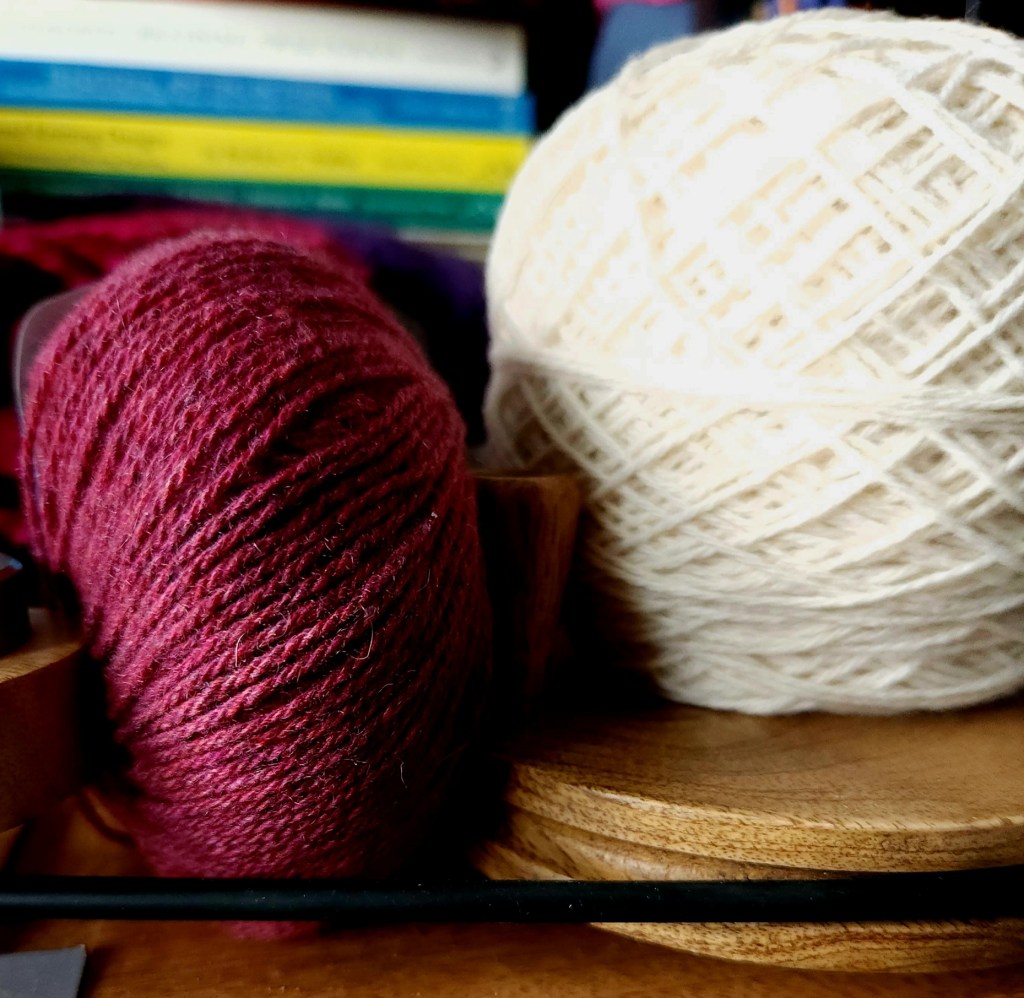
    Sketching is next. Or maybe I will work on the red and white cashmere gloves I can see in my head! Isn’t this a luscious red?!

    That Red!

    I have a love/hate relationship with Spring! I start so many things as I cannot seem to decide on just one!

    So Due Process – perhaps with a touch of Spring startitus!

    Be Well and Knit Happy!

    Lynette

  • Thumbs UP!

    Thumbs UP!

    I have been knitting a lot of full mittens lately (as opposed to the fingerless variety). They seem to be my gift of choice is this year. They are fun and quick and are great vehicles for learning new techniques – they are sort of like hats that way.

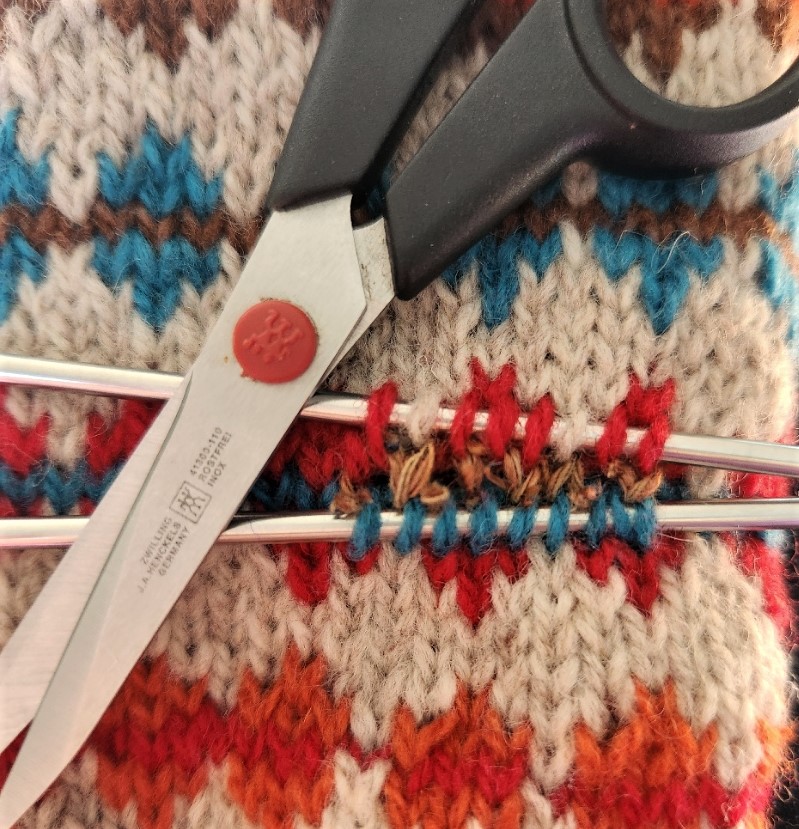
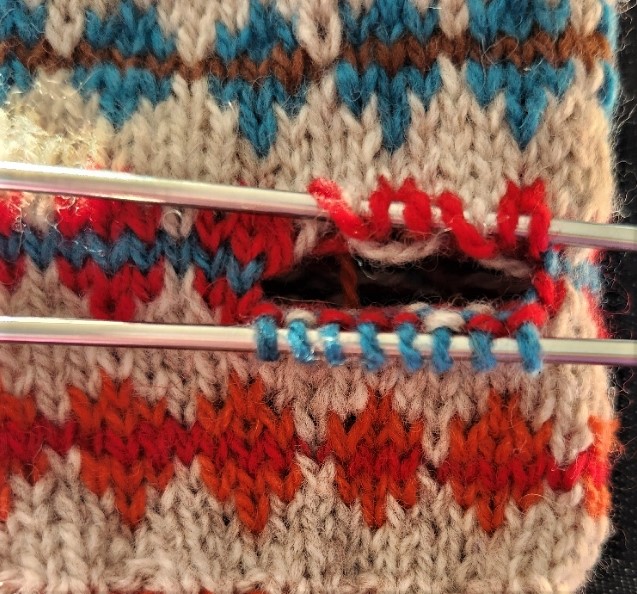
    Adding the thumb is the only really fiddley bit. The most popular thumb is the fully shaped gusset with thumb. They are the classic thumb for mittens, but my favourite thumb is the afterthought thumb.

    Why the afterthought thumb? Well, it is especially great with patterned mittens, colourwork, texture or cable techniques. Why is it better? I am so happy you asked! LOL! The best and strongest reason is that an afterthought thumb (or afterthought heel) will not interrupt your patterning. Or does not require a special pattern separate from the rest of the mitten – though it can be a great vehicle for more patterning. Afterthought thumbs are usually added after the mitten body is finished and then worked in the main colour yarn in stockinette – making them an easy finish.

    How about a step-by-step tutorial?

    Technique 1

    I love this one for almost everything! But especially textural patterns in any weight. See Boldly Tweed Set.

    1. first work in pattern to the thumb insertion point; drop the working yarn and pick-up a length of waste yarn and work the desired number of stitches for the thumb as per the pattern size
    2. slip the waste yarn sts from the RH needle back to the LH needle; now resume working the pattern – knitting over the waste yarn insertion – with the mitten yarn and ignore the waste yarn until the mitten body is complete.

    Work next round of thumb as follows; K2tog, knit to 1 st before next divide, SSK, K2tog, knit to 1 st before next divide, SSK – thumb is now ready to complete as pattern requires.

    Technique 2

    I use this one mostly with heavier yarns. I find it easier to work than the other method.

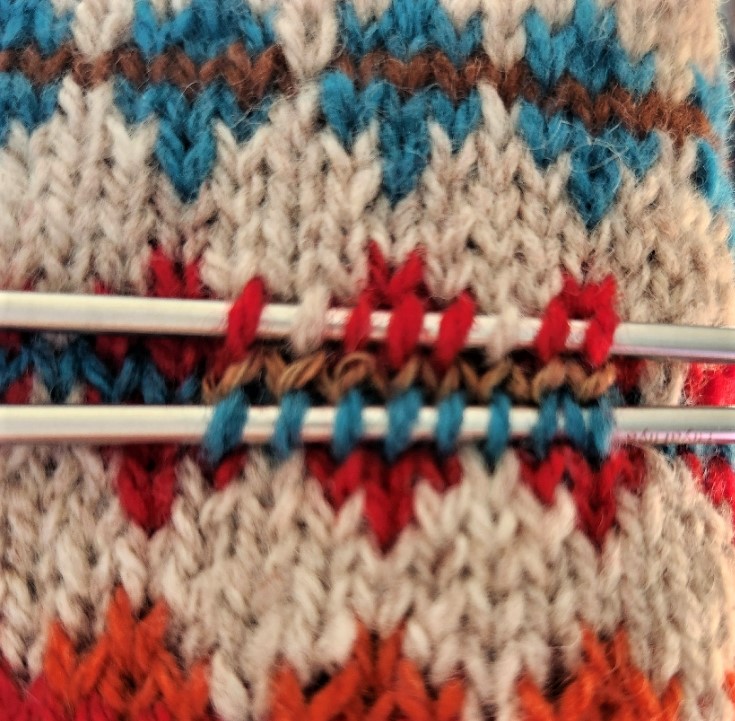
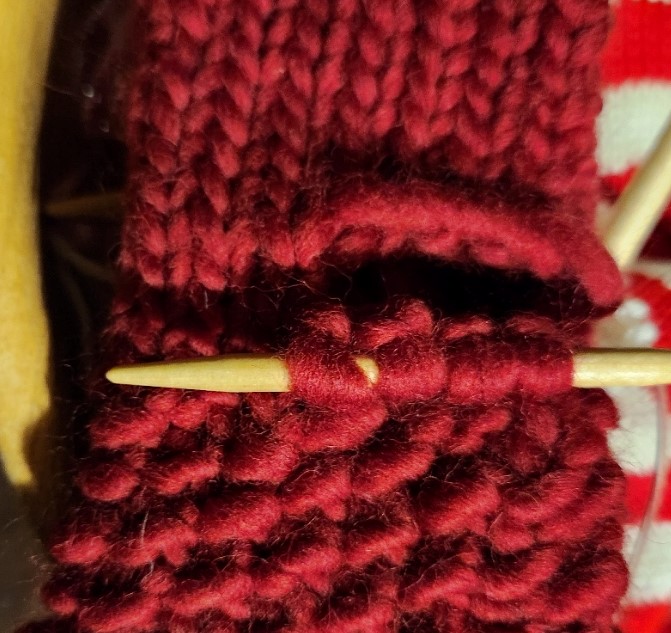
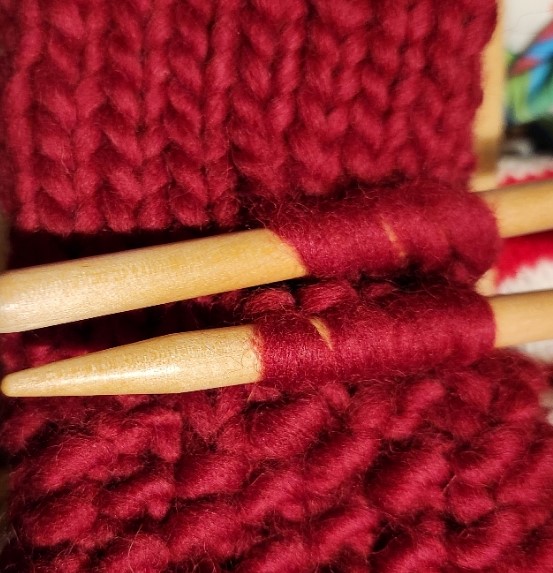
    1. Knit to thumb insertion point, place required sts onto some waste yarn (cable needle in picture – it was handy and the mittens were fast LOL!.
    2. Backwards loop same amount of sts as are on the waste yarn, continue knitting the mitten.
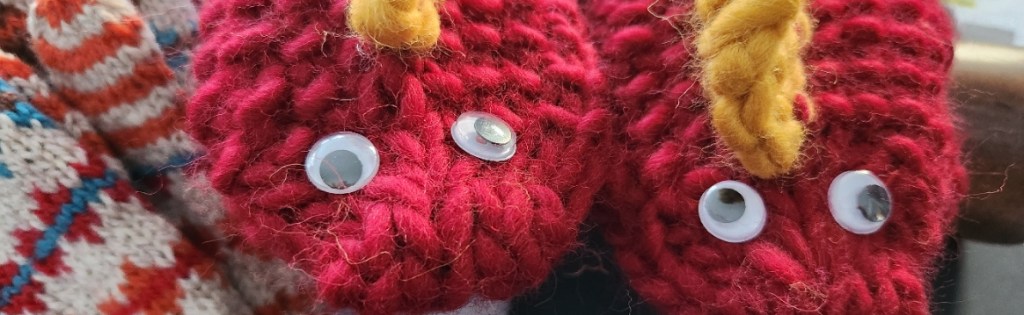
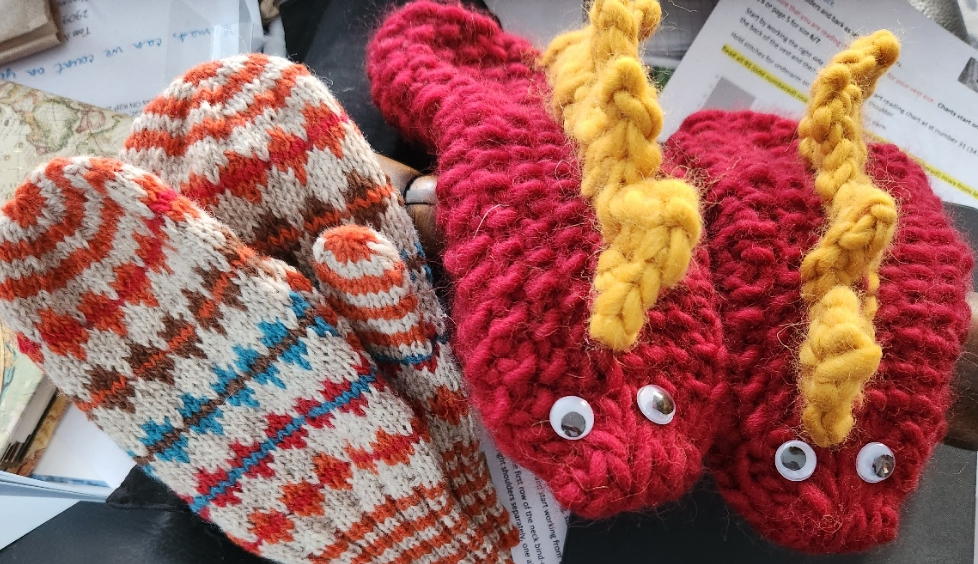
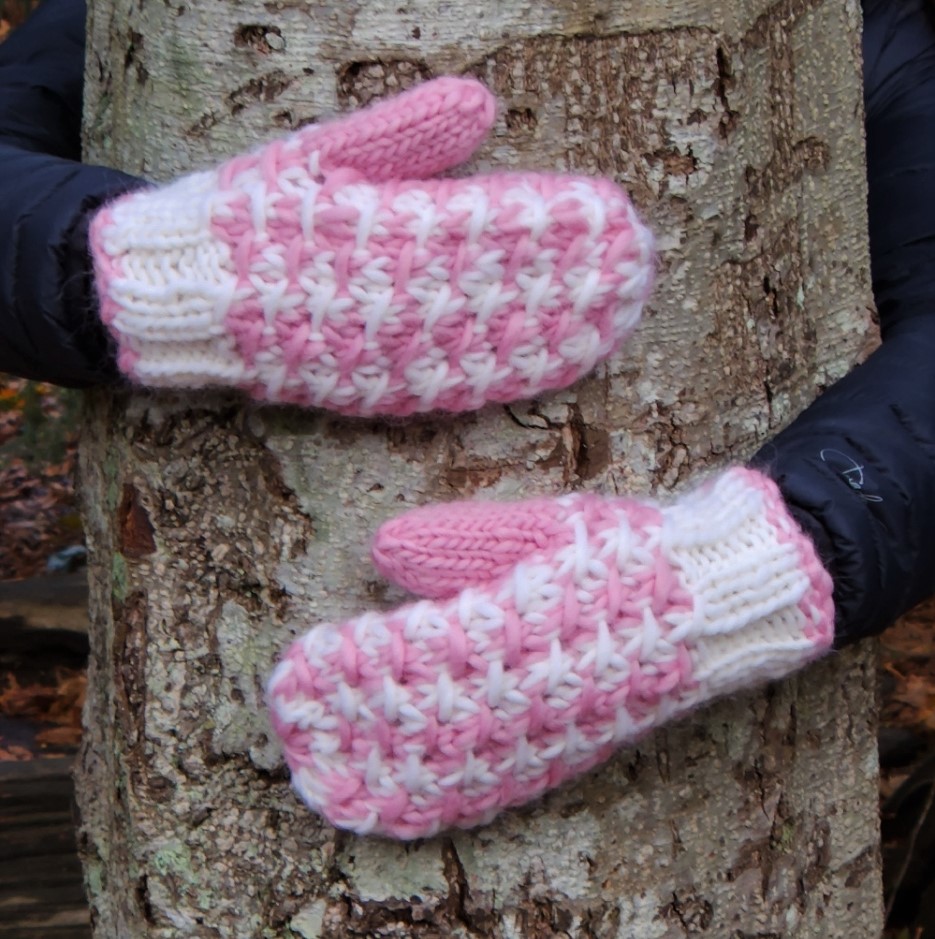
    My Grandson’s Christmas Mittens – Jester Mittens and the Monster Mittens

    There will probably be patterns for these mittens – just not sure when!

    Happy Mitten Knitting, Be Well!

    Lynette

  • Mitten, Mitten who’s got the Mitten!?

    Mitten, Mitten who’s got the Mitten!?

    My grandson’s favourite knitted items are mittens and hats. He has a large collection of hats as his head doesn’t grow anywhere near as fast as the rest of him! He has a large head size for a seven year old – bigger than his mothers!

    So, I have started to knit him mittens, a new pair or two every year. They are fun projects and can be quick as well! I seem to have problem with mittens though – I always start out smaller than they should. This year, just like last year, I have made the first mitten too small. I should have checked my own pattern for the average lengths of the spacing!

    These pattern in these mittens is from my Reindeer Vest pattern. I made him the vest and his bear a matching vest a few years ago. I have always like the colourful diamond motif! If I have enough time – I might make him some dragon mittens! You see I have this idea….

    The First mitten is of course too small – so on to the next one! Yarn is Patagonia Organic Merino.

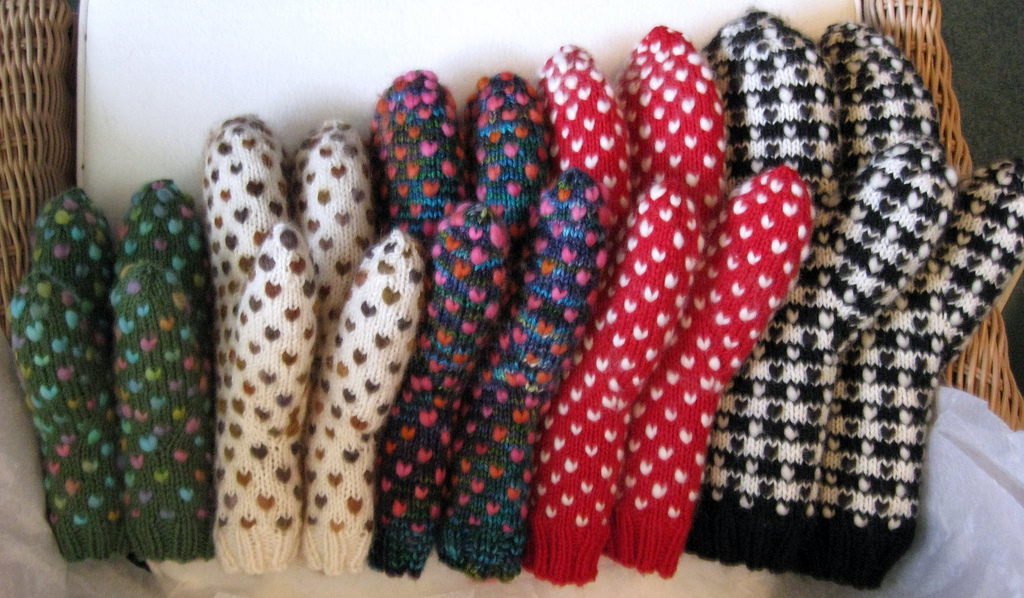
    I have been designing mittens for a few years and have several patterns out there! My first mitten pattern was for Thrummed Mittens – East Coast Mittens. And from that start came heavy weights like Mitten Love Again or Standing Tall and Multitude of Mittens as well as North Sea Mittens, Eileens Mittens (these ones are lined for extra warmth), Makin’ Mittens, Birds Nest Brioche Cowl and Mittens and my latest mitten pattern – Boldly Tweed, plus countless other gloves and fingerless mittens – keeping hands warm is so much fun!

    My favourite mittens to design and make were the Patchwork Mittens. I loved the combo of the yarn and pattern! And the colour simply made me happy!

    Do you make Mittens? Do you work from patterns? If so, which are your favourites?

    Or have you made so many mittens that you just cast-on and go!

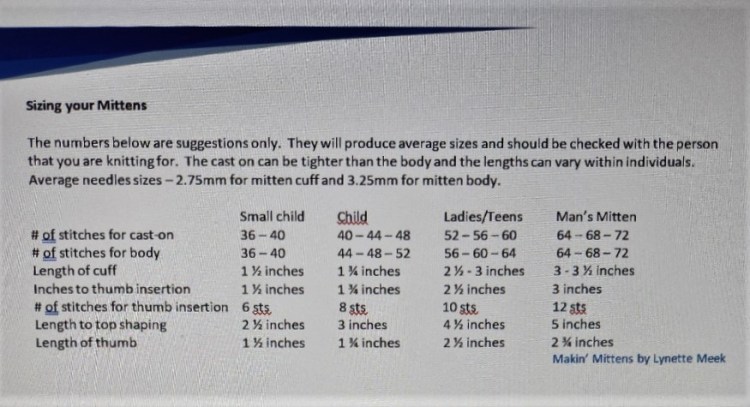
    Below is my pithy pattern for 4-ply mittens – though the measurements can be applied to any mitten – just not the stitch counts.

    Well, I need to get knitting and so do you! Christmas is coming!

    Be Well and Knit Happy!

    Lynette

  • Knitting Alternatives

    Knitting Alternatives

    What do knitters do when they want to play with fibre but really don’t feel like knitting? I am primarily a knitter, but I can sew, but that isn’t quite the same is it? And I have dabbled at hand-dying yarns and hand-painting my knitting with dyes, two very different approaches to adding dye to your knitting. I love them both.

    Hand-painted after knitting – Garden Gate Shawl

    Hand-dying yarns is much faster to do, but takes longer to get to the finished product. Hand-painting your knitting with dyes gets you a finished product quite quickly, as you have already done the knitting! However painting your knitting takes longer to do than painting your yarn. For a quick fix – I like to paint my yarn!

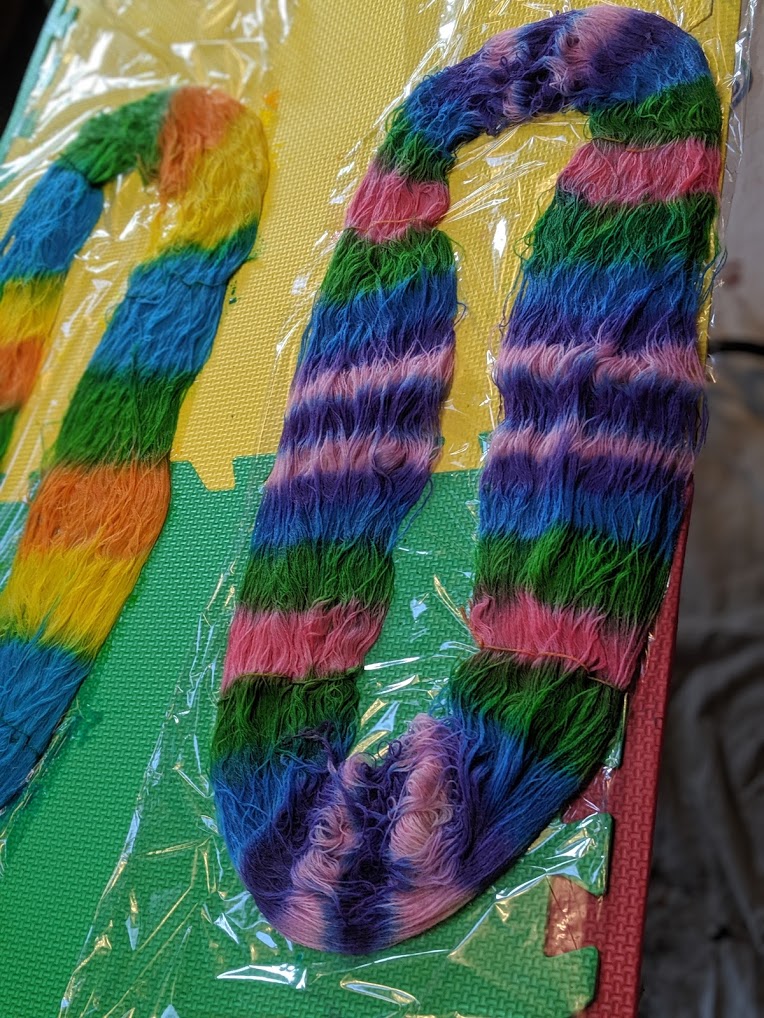
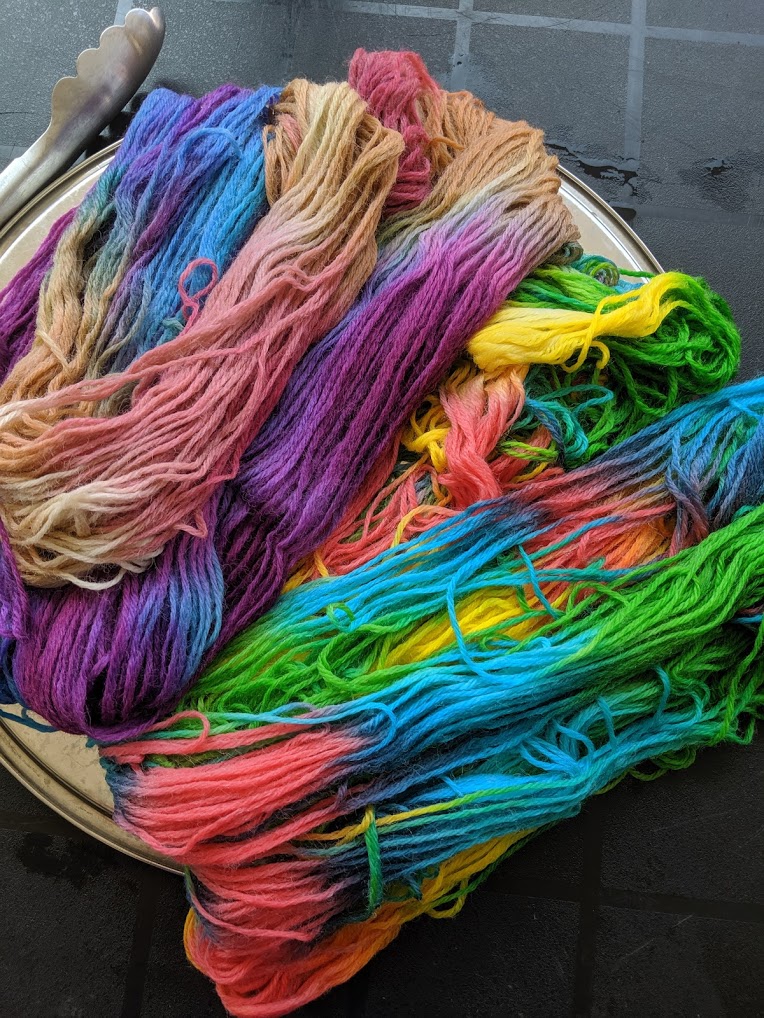
    Two years ago I started to play at dying with Darlene – my co-worker and friend. She is an old hand at it and basically held my hand as I learned the in’s and outs. We worked with Wilton Cake Dyes – non-toxic – bright colours – inexpensive to play with and a hole lot of fun! Take a minute and google dyeing with Wilton Food Dyes – there are lots of great how-to instructions!

    We painted a sock blank and then we painted some hanks of yarn. I had some fine alpaca laceweight and then some fingering weight non-superwash merino, a good basic worsted wool and some mohair/silk blend yarn. Darlene had a similar collection.

    We had a ball!

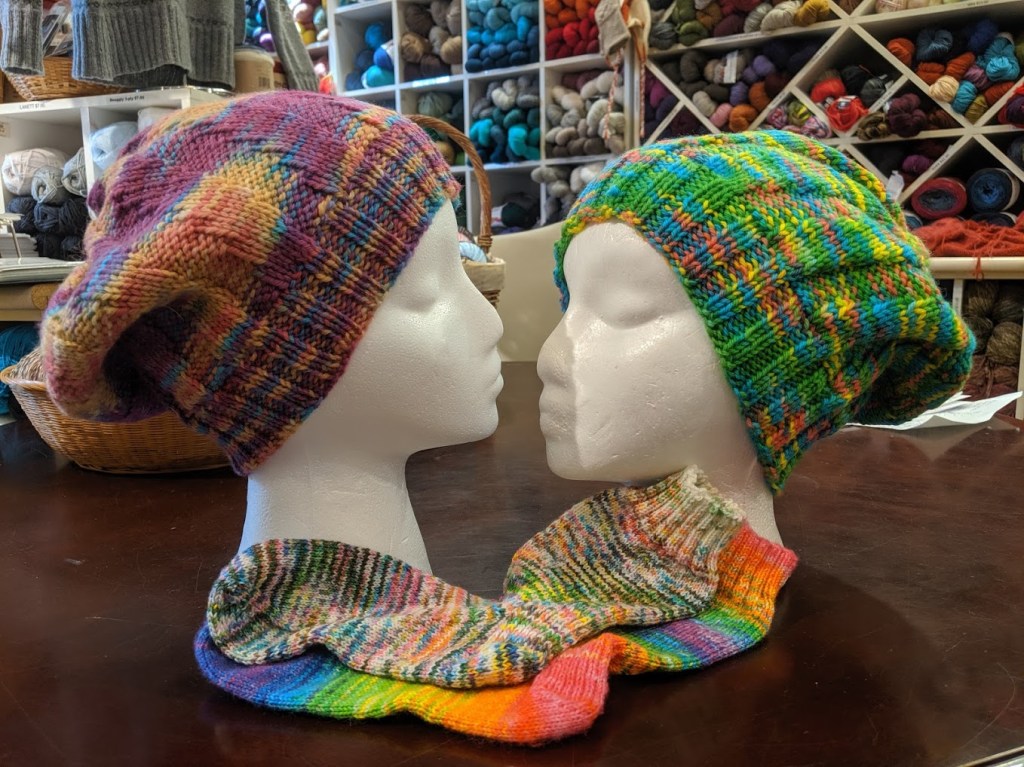
    Merino Sock blank knit into a small shawl called Shoulder Blade

    Why am I thinking about this now? Well, now that covid restrictions have been loosened, we are thinking of doing it again! Maybe with more traditional acid dyes this time! I will have to start collecting some undyed yarns to play with – stash diving here I come!

    I have already made a bit of a start – I do have a fairly extensive collection of undyed yarns – always thinking that I would do more knitting and then painting – there is never enough time in the year or all of my ideas! What do you think?

    Last time the alpaca went from undyed to Wow! I think that this time I will go for a more subdued sultry kind of vibe, reds with black and gold highlights maybe – or maybe not – dyeing is not a precise craft when you are learning – but we must have goals. I will need to wind off a couple of 100 gr hanks first though!

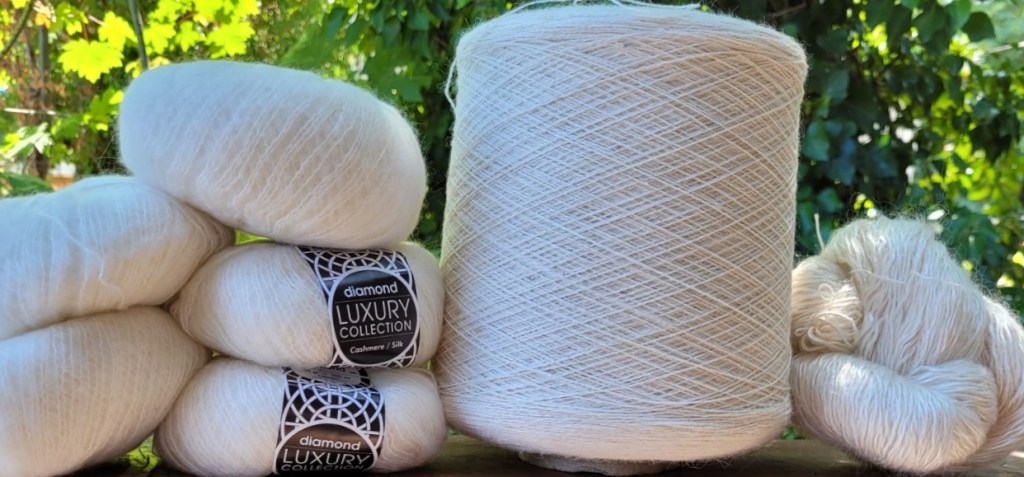
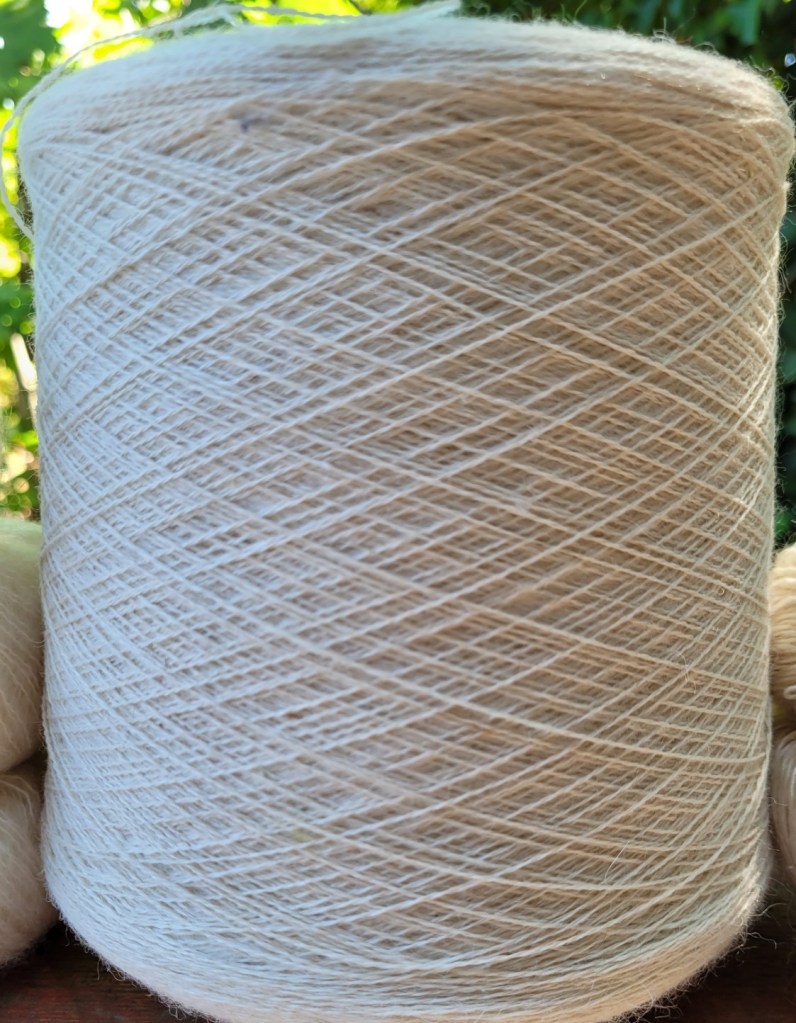
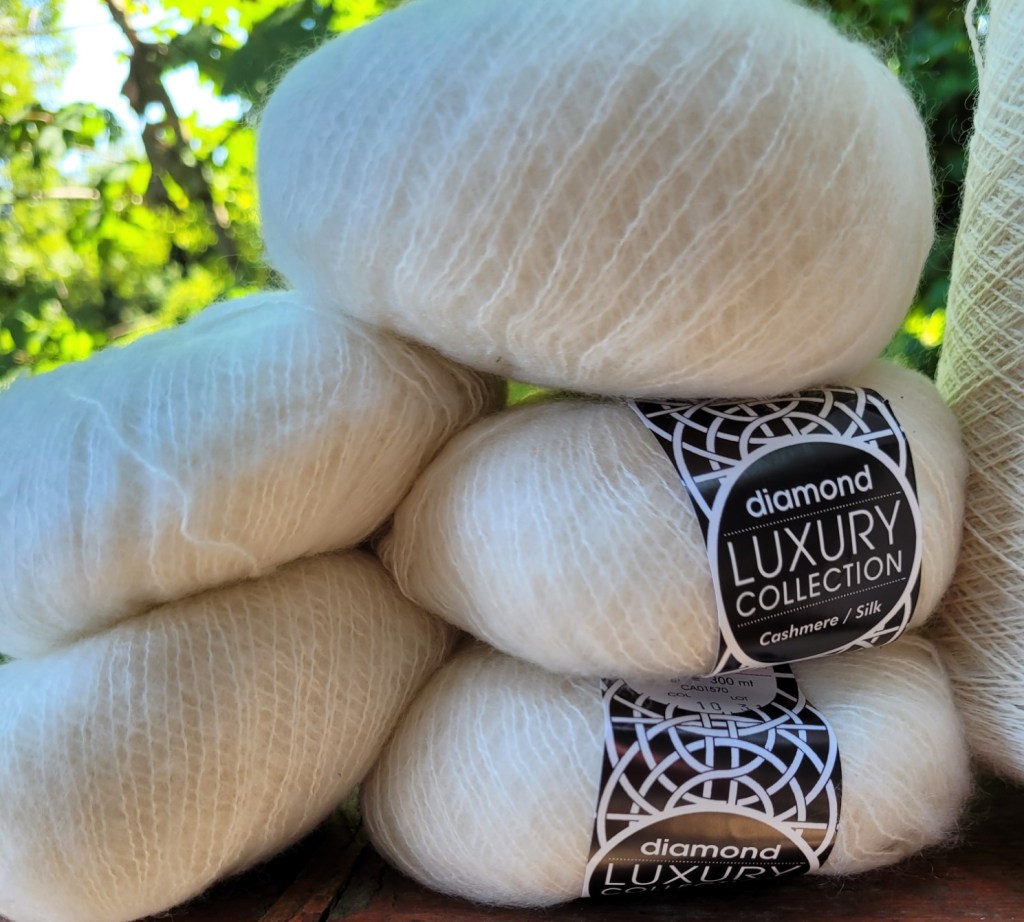
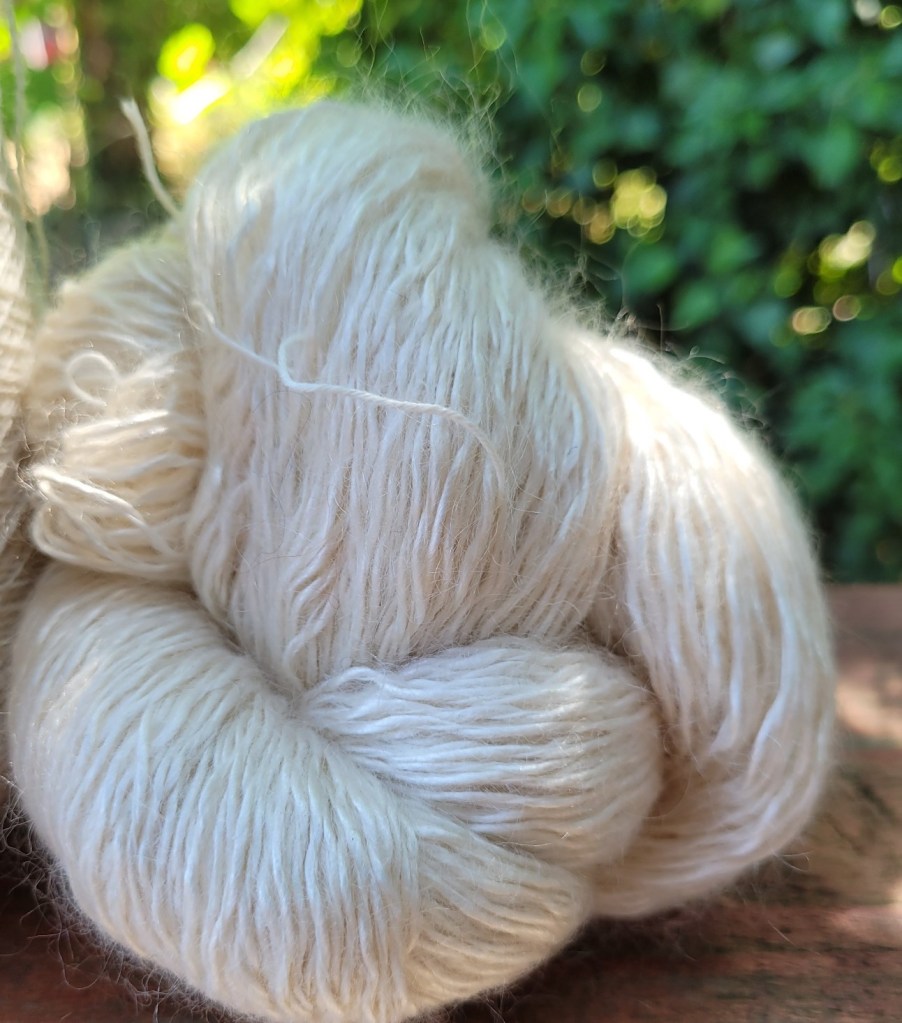
    I have about 1500 yds of the brushed cashmere and silk, I will need to wind those as well! I am really curious to see how this takes the dyes. Cashmere is usually a little subdued when dyed, but silk takes the dye vividly and glows. The combination is intriguing. I know the Mohair and silk, Maidenhair from Handmaiden will be gorgeous. I have painted this one in knitting many times! But I have never dyed it in the skein before. A good start don’t you think? What else should I try? Any suggestions?

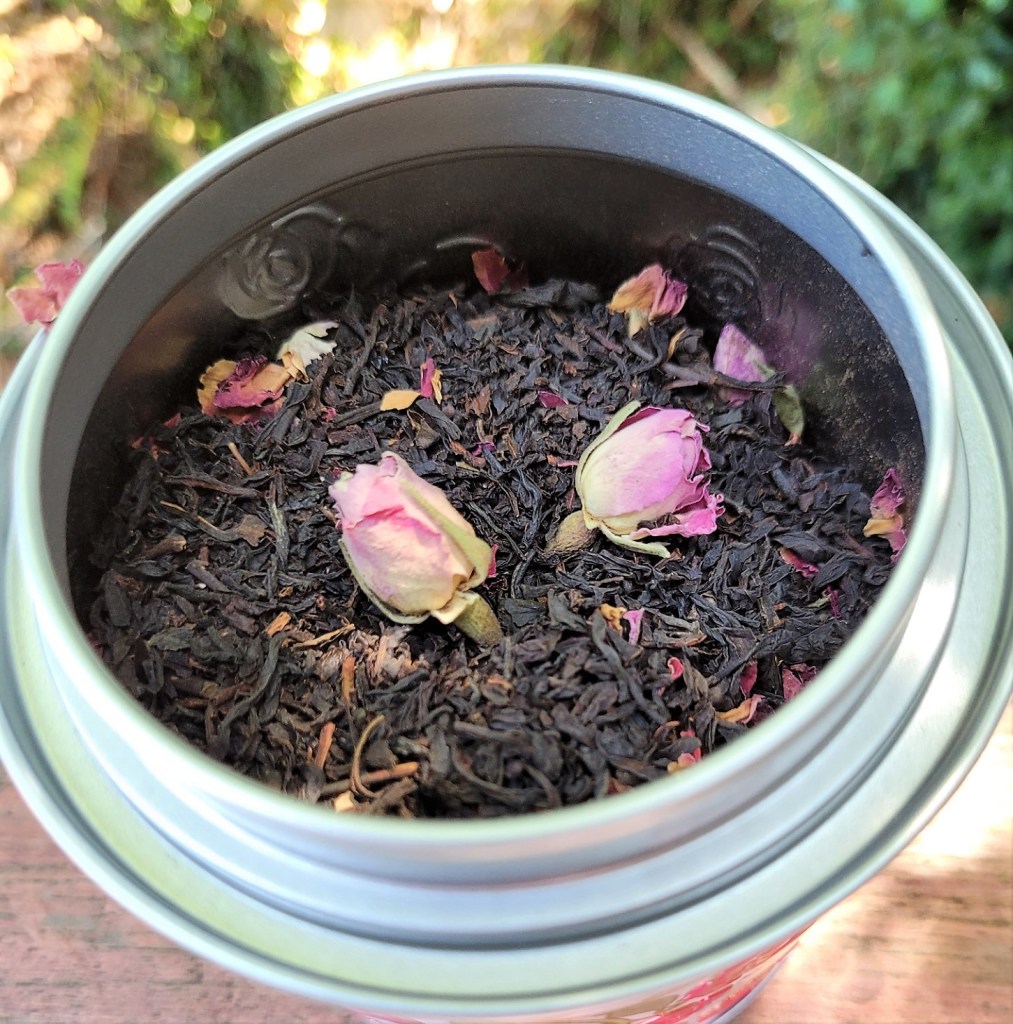
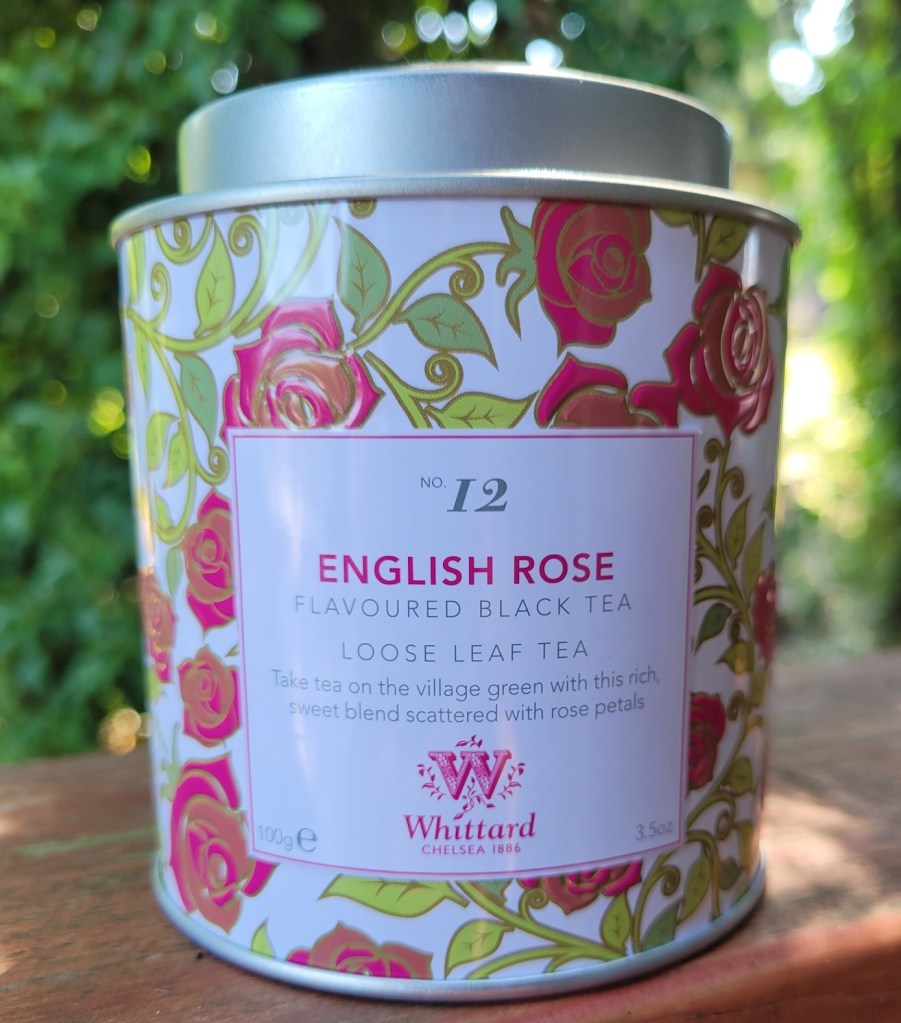
    Well back to my knitting and it is also time for tea. I am going to try a new (to me) tea, It is Whittard # 12, English Rose flavoured black tea. I bought it this morning and when I opened the cannister! Isn’t it beautiful? I hope it tastes as good as it looks! The aroma is that of old fashioned blooming Summer Roses!

    Be well and knit Happy!

    Lynette

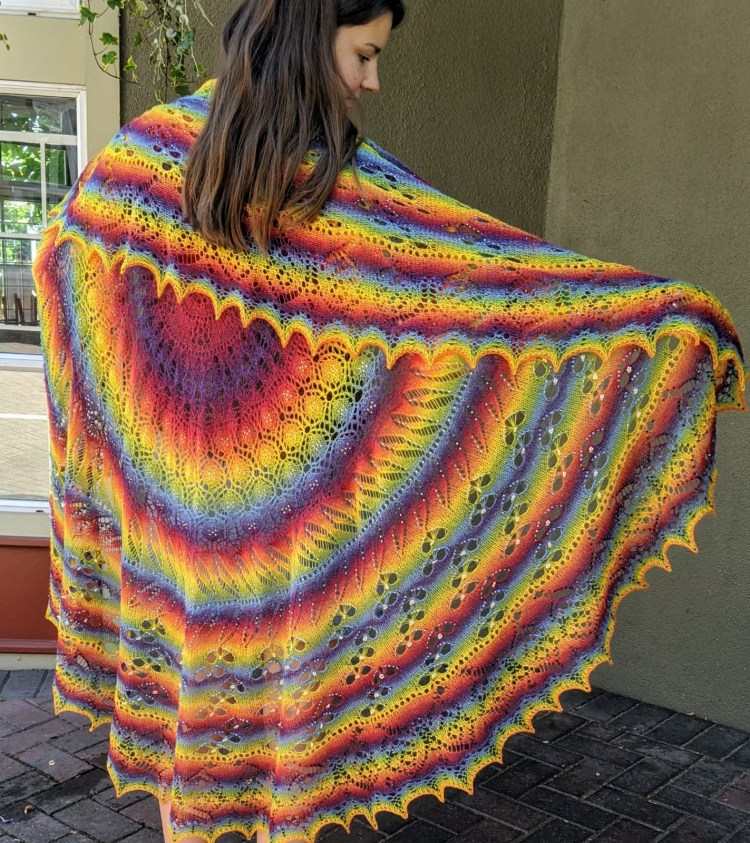
    PS – below is the hand-dyed version of the Celebration Shawl

  • Directionality in Knitting

    Directionality in Knitting

    Did you know that knitting only moves in one direction?

    That you can only knit “up” even when you are knitting “down”?!

    When you are knitting you are creating both fabric and garment at the same time and the action of knitting takes “up” the yarn always in one direction. Your knitting will only frog in one direction, will only “run” in one direction and often will only allow you to design in one direction.

    The other day Greta, a friend of mine, asked why certain patterns were upside down when wearing them as a shawl. For example the butterfly pattern in my Covid be Damned Shawl. Why couldn’t they be the other way around?

    Unfortunately, that particular pattern that cannot be reversed, the lines that make up the shape of the butterfly only move in one direction. To make the butterfly right side up, we could have cast-on the stitches, knit the butterfly and then graft the stitches to the body of the shawl to make the butterfly right side up. This would have been a lot of work with certain drawbacks and not worth the effort. Most of the interesting patterns, especially ones with distinct shapes and line are literally irreversible.

    It can be easier to reverse the simpler patterns, but even they can be stubborn. I remember a young designer trying to make a simple sprig go the opposite way in her knitting as she wanted it to go “right” side up, but in the end she bowed to the knitting.

    I just went through the same kind of process.

    I wanted to knit a pattern that was representative of my feelings of shock, grief and sadness. The announcements coming out about the residential school properties and the bodies of the children they were finding were hitting me hard and I know that there is more to come. I decided on a top-down poncho, knit with a stitch that always had reminded me of tears. I wanted to knit the poncho top down and still keep the tear drop shape of the motifs, the stitch pattern did not co-operate. This pattern was a pattern that I could not reverse, after a day and a half of trying I gave up and went to a bottom up version of the poncho.

    The pattern immediately started to behave itself and it knit up in no time at all!

    Tears for the Children

    Knitting this pattern was a type of catharsis for me. I felt compelled by my emotions to knit this idea out. I stopped my other project for a moment (Sundial Shawl) and knit this out of my system.

    The announcements about the Residential Schools and the unmarked graves has hit me very hard. I am not a particularly political person or one who has strong opinions on most political topics, but this, this was very different. As a mother and now grandmother, the thought of my children or grandchild being forcibly removed from my care and culture was a gut blow. That this happened in Canada, my Canada, has really caused me to think and feel things that I had never before considered. I am humbled by our past and want our future to be better thought out and more caring of each other.

    Tears for the Children is the name of the pattern. It is free for all. There are links to donate on the Ravelry Page in lieu of payment. It is very little, but it is a start.

    Below are a couple of links if you are interested in learning more about this issue or donating to the funds to support the healing process for all indigenous Canadians. I am sure that there are more.

    Donate here for the Gord Downie and Chanie Wenjack Fund.

    Donate here for the B.C. Residential Schools Survivors Society

    Be well, Be aware, Listen to the stories, hear the grief, help the healing.

    Lynette